Use Cases Of HTML Blocks
Go to app.jwero.ai
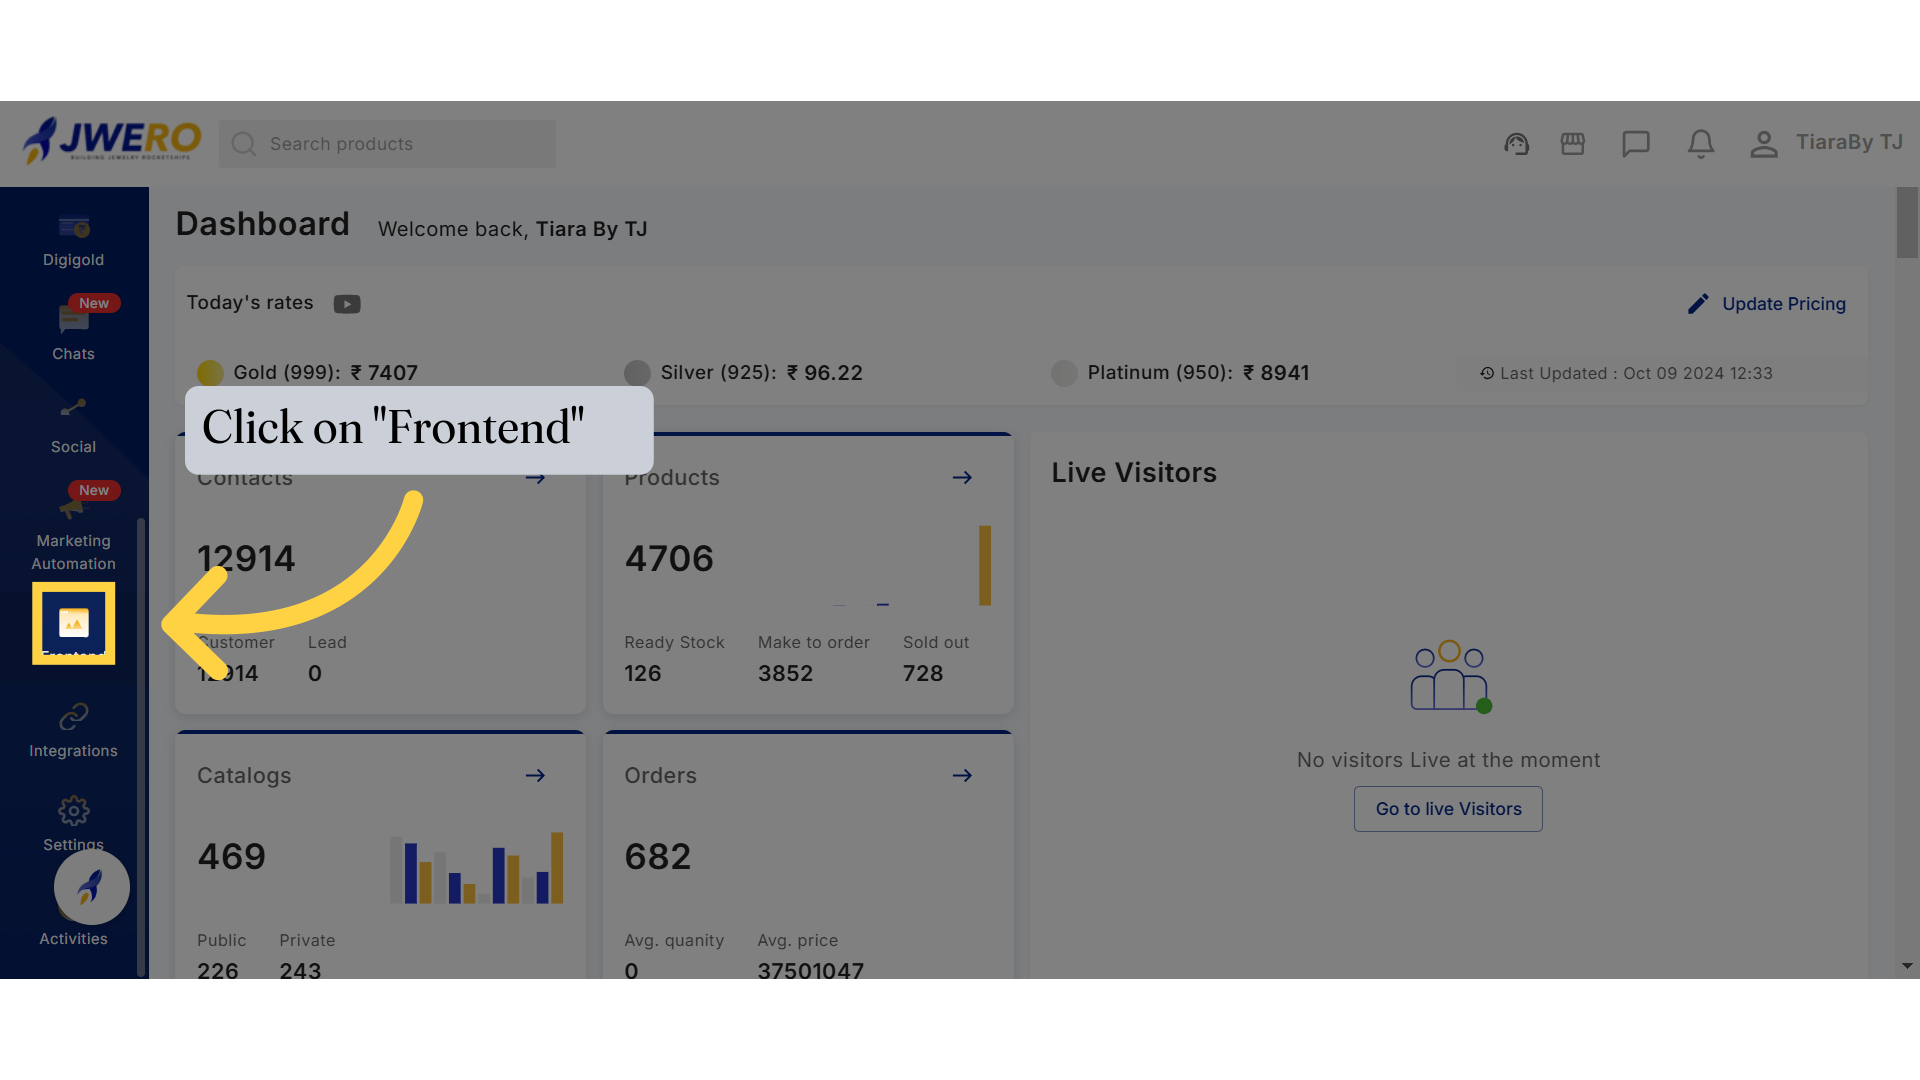
1. Click "Frontend"
Access the backend to do the required changes.
2. Let's first start with Footer.

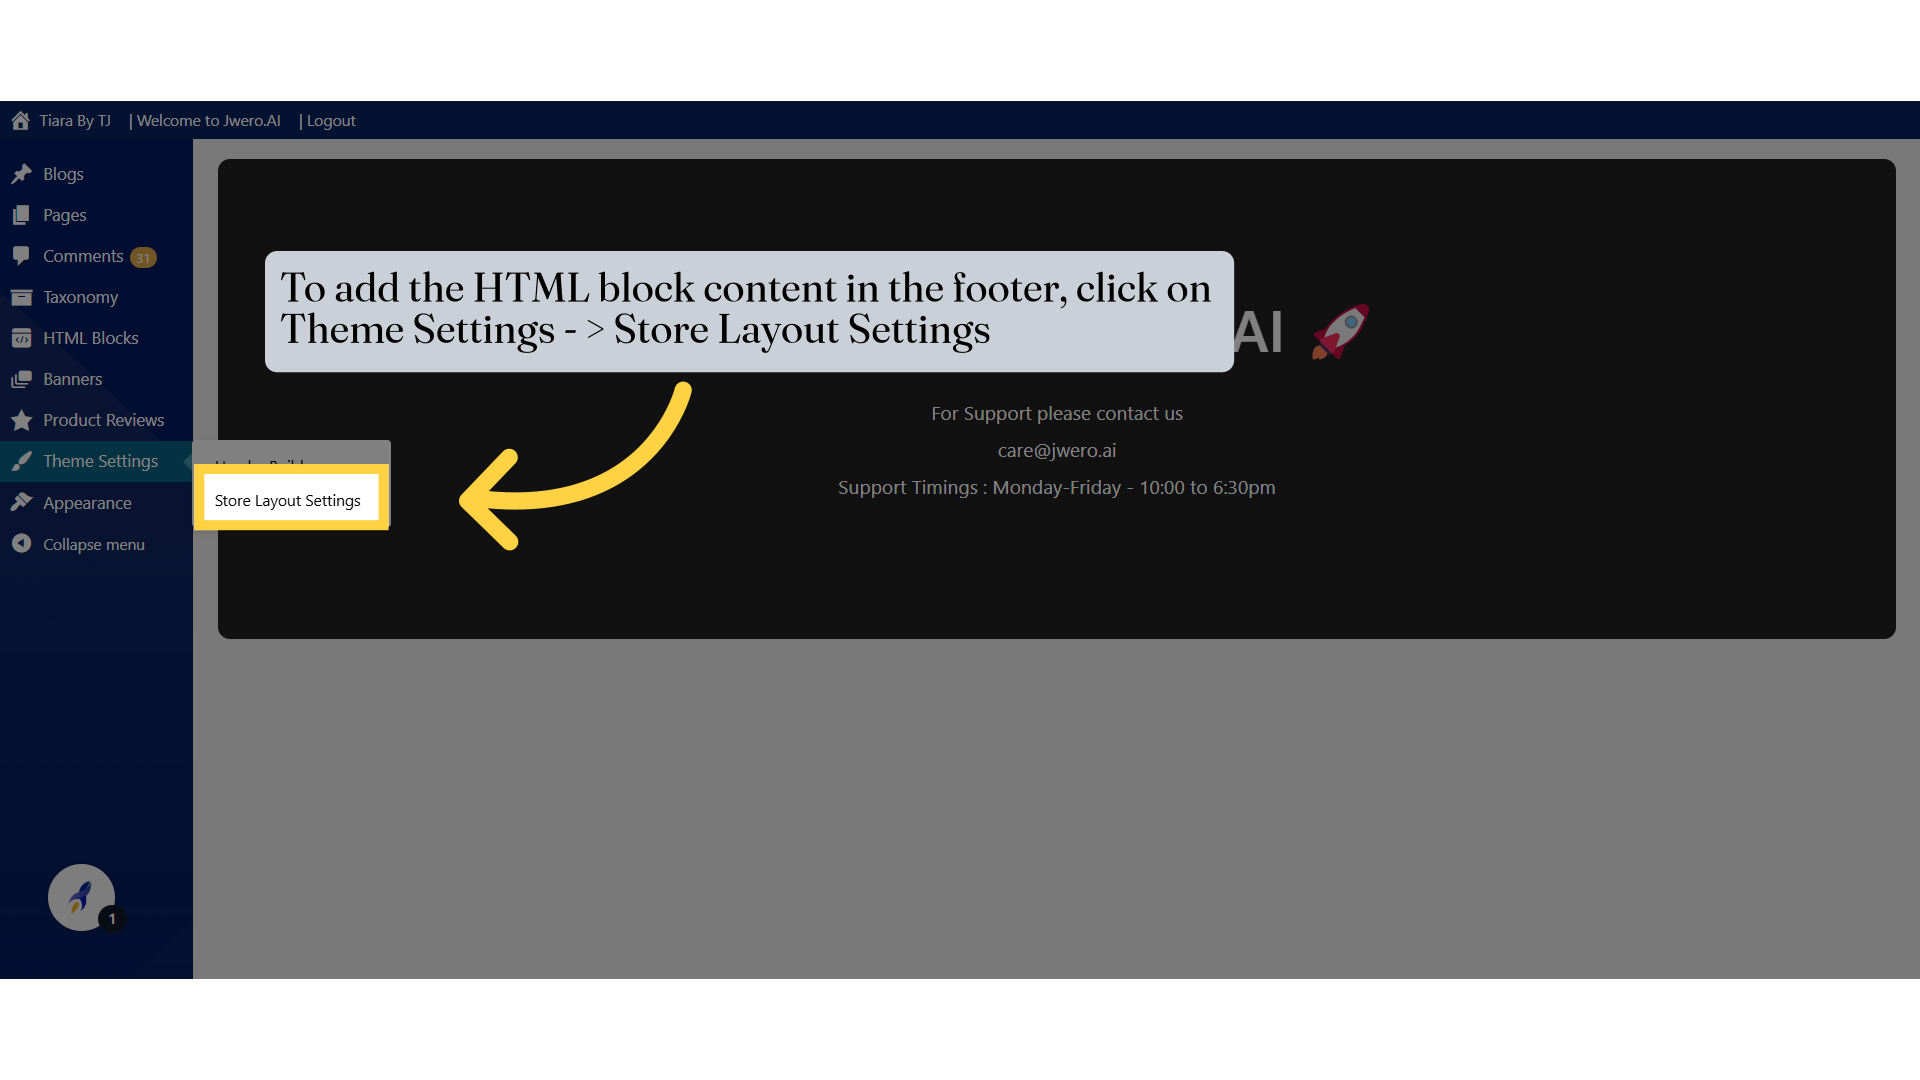
3. To add the HTML block content in the footer, click on Theme Settings - > Store Layout Settings
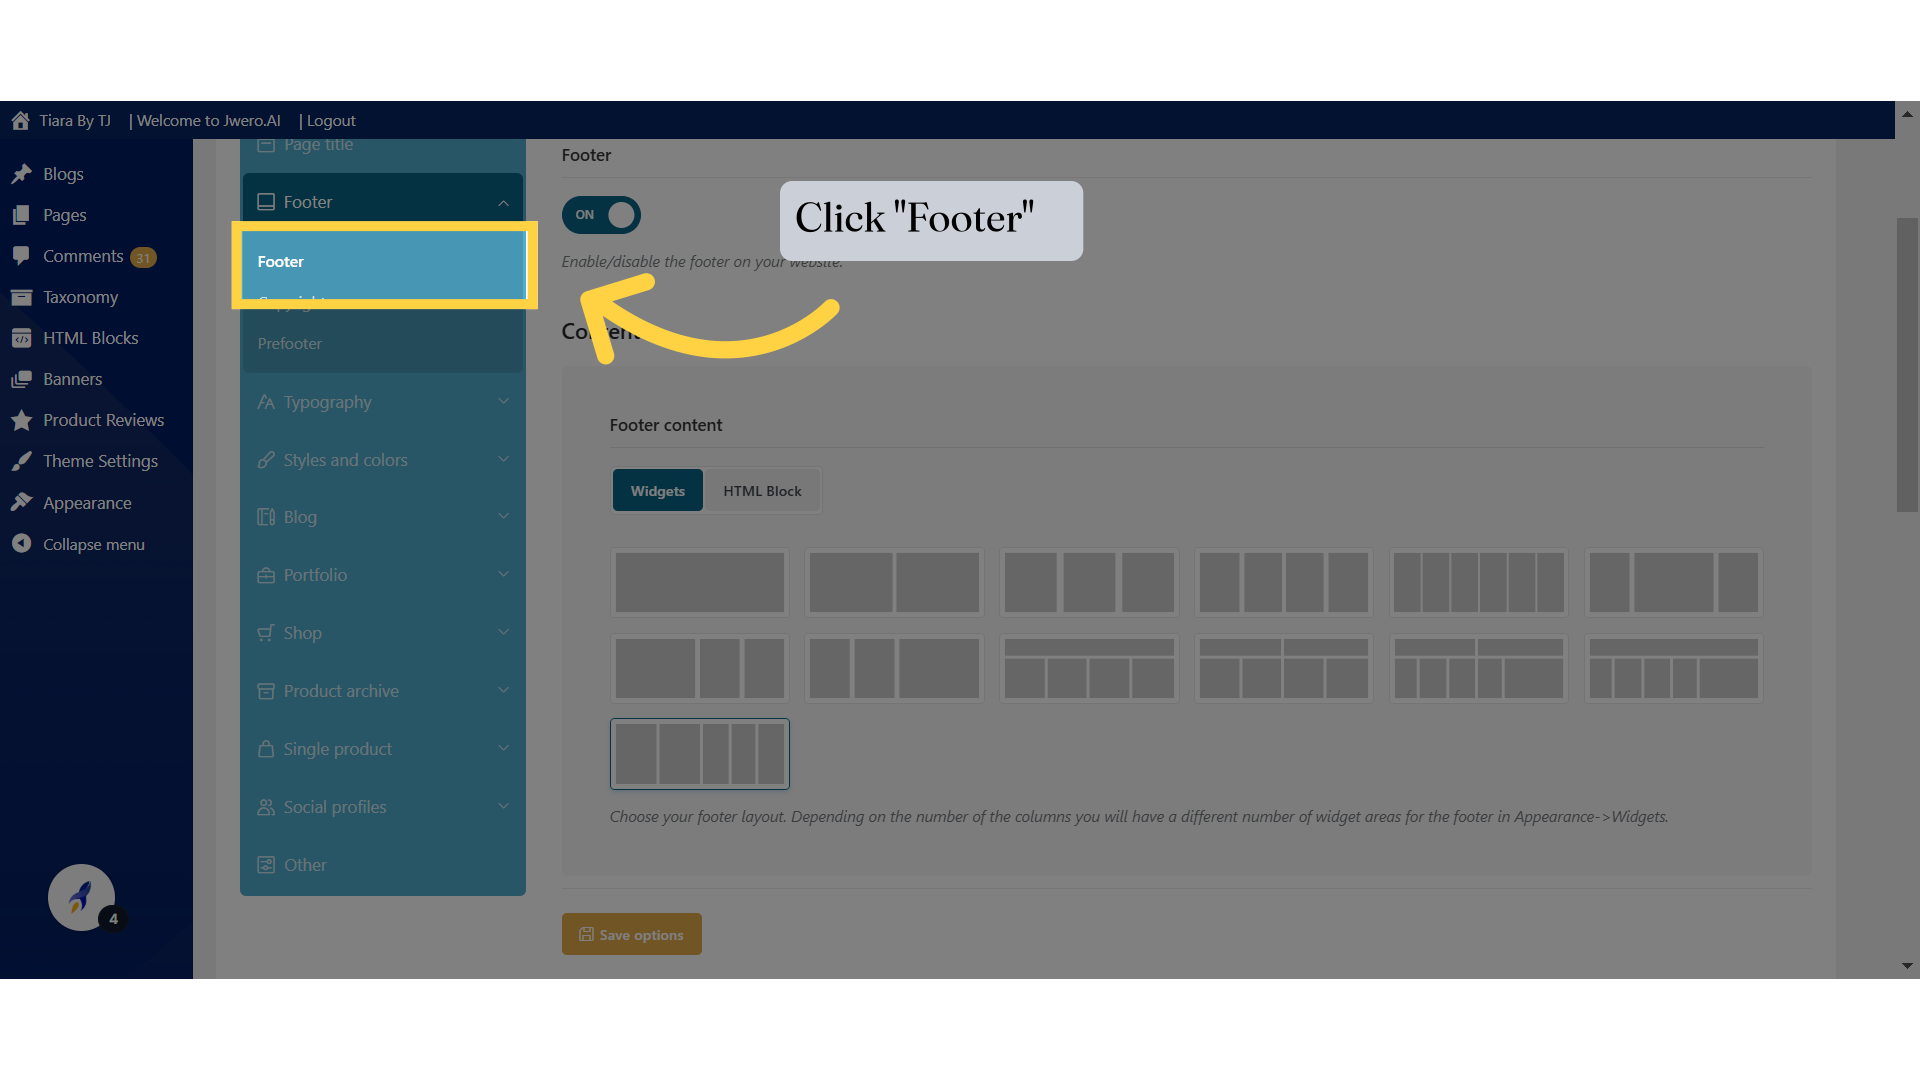
4. Click "Footer"
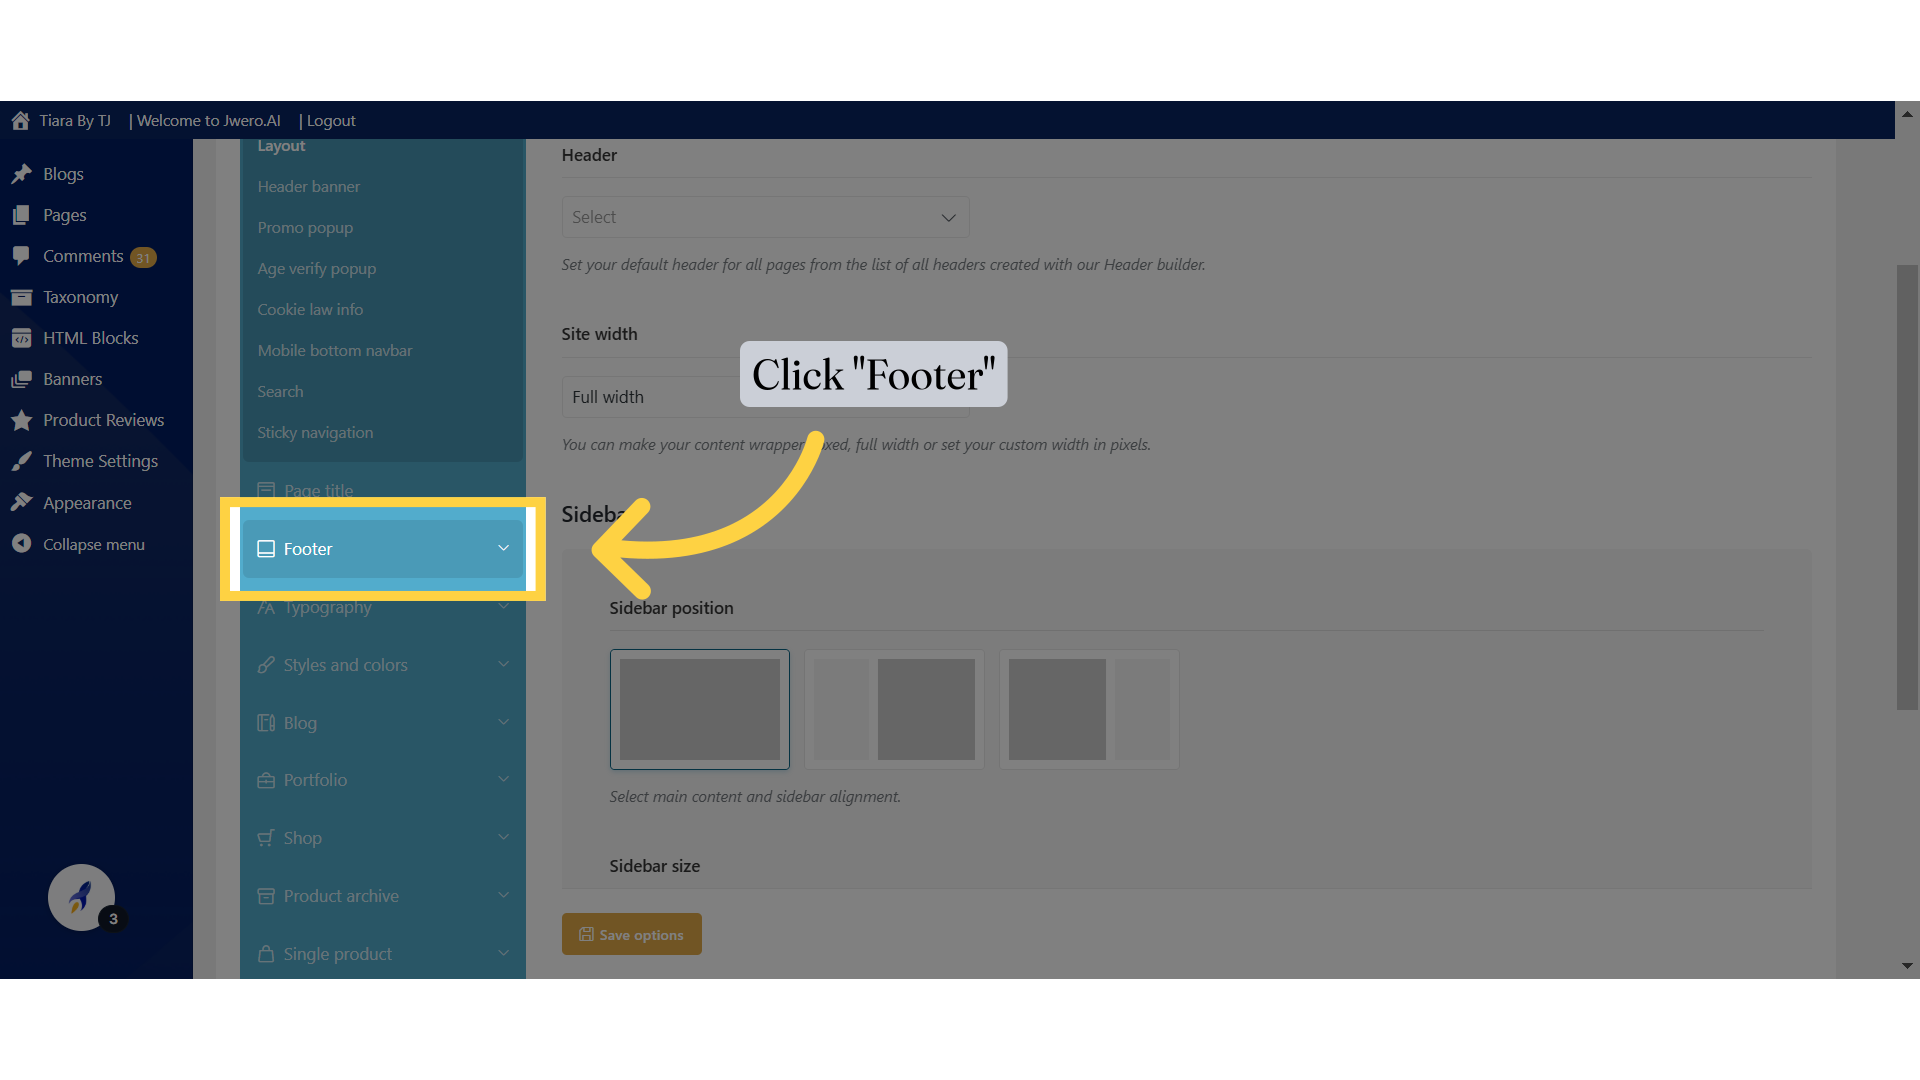
5. Click on "Footer" submenu
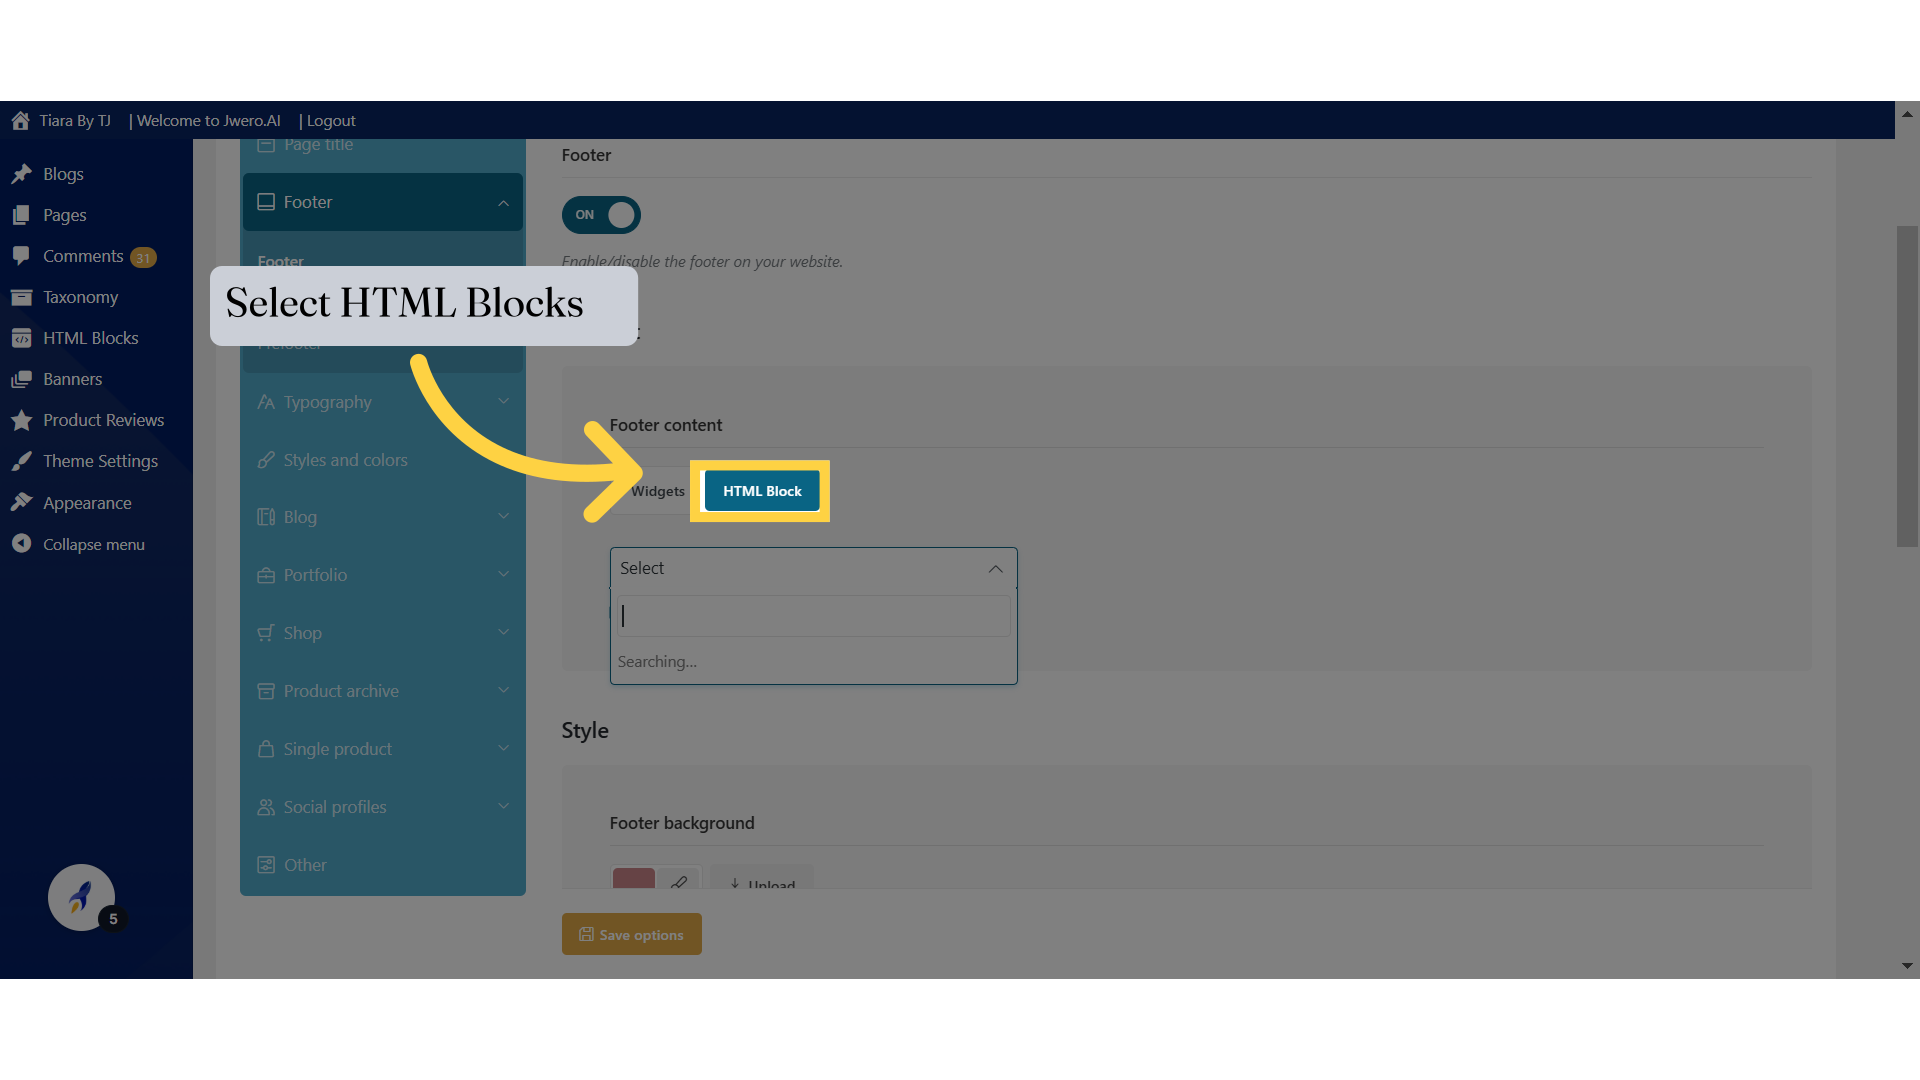
Choose the "HTML Block" feature
6. Select HTML Blocks
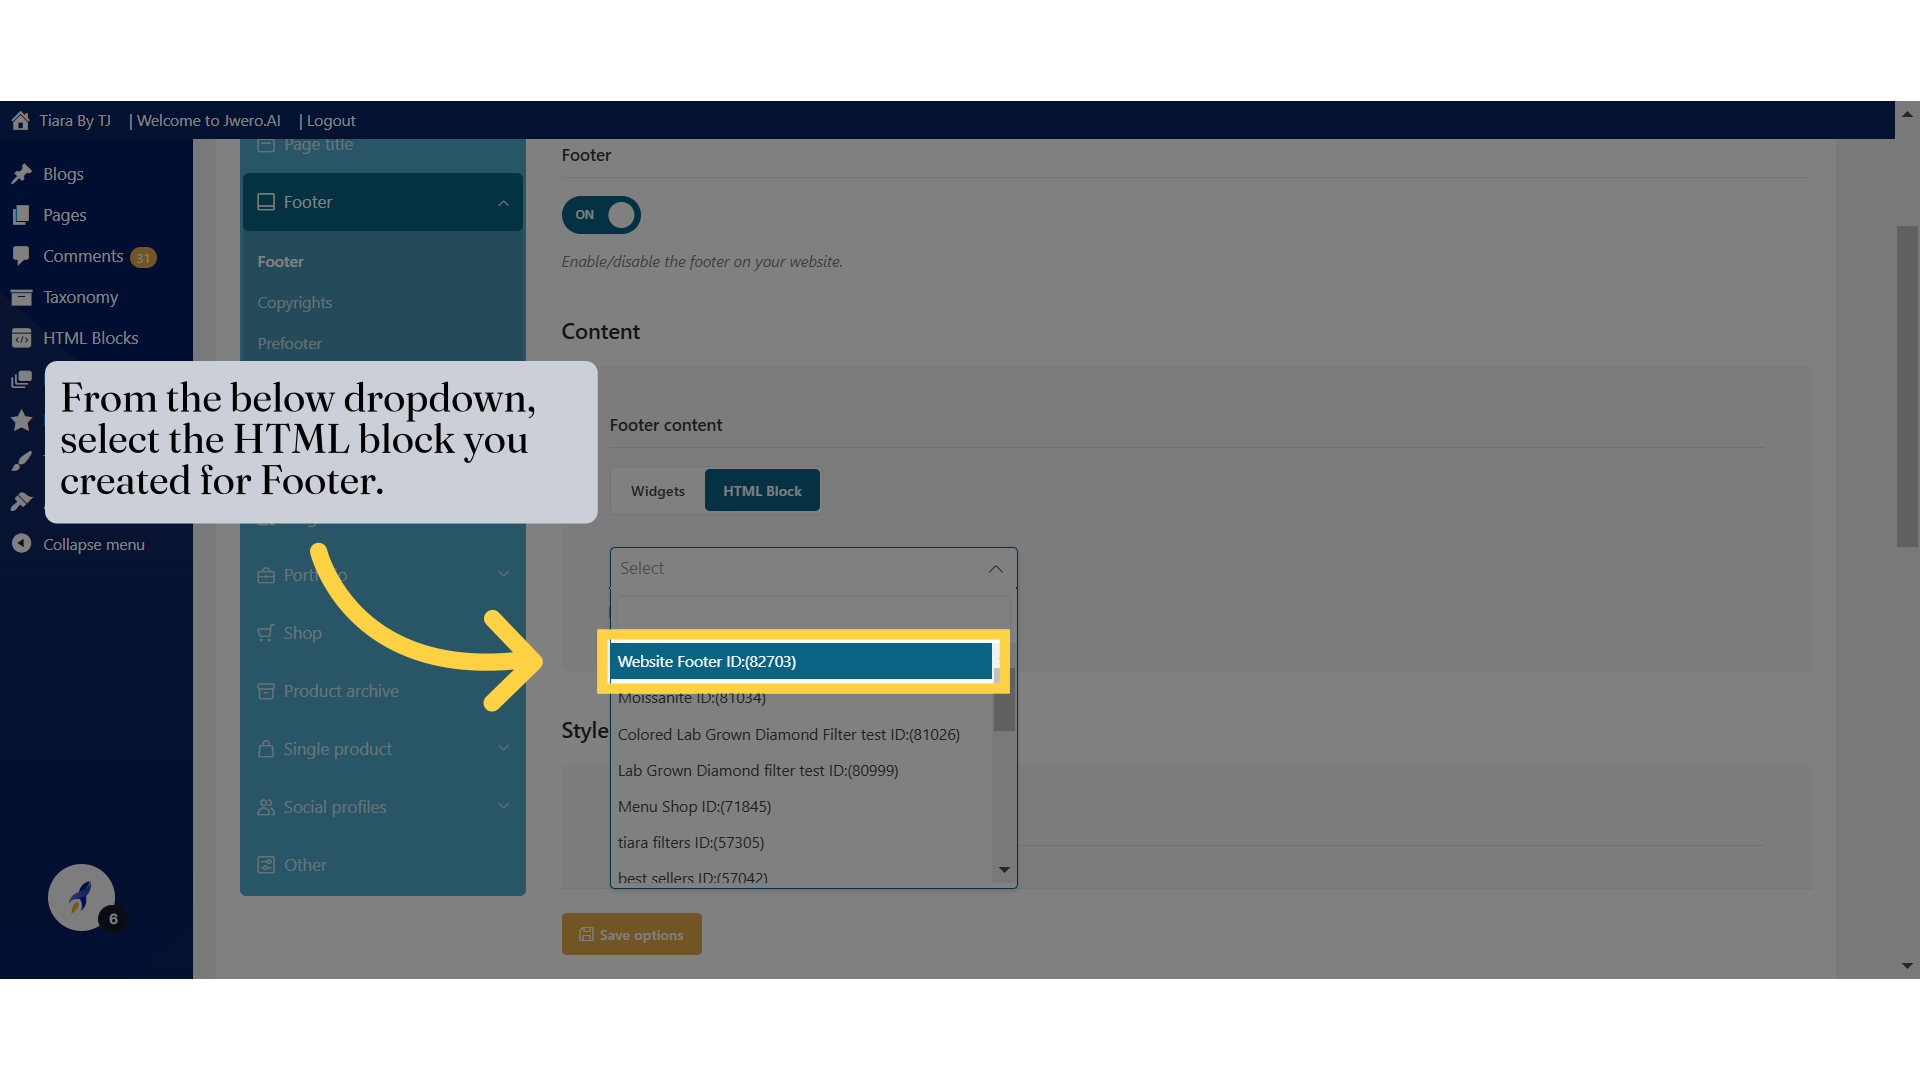
7. From the below dropdown, select the HTML block you created for Footer.
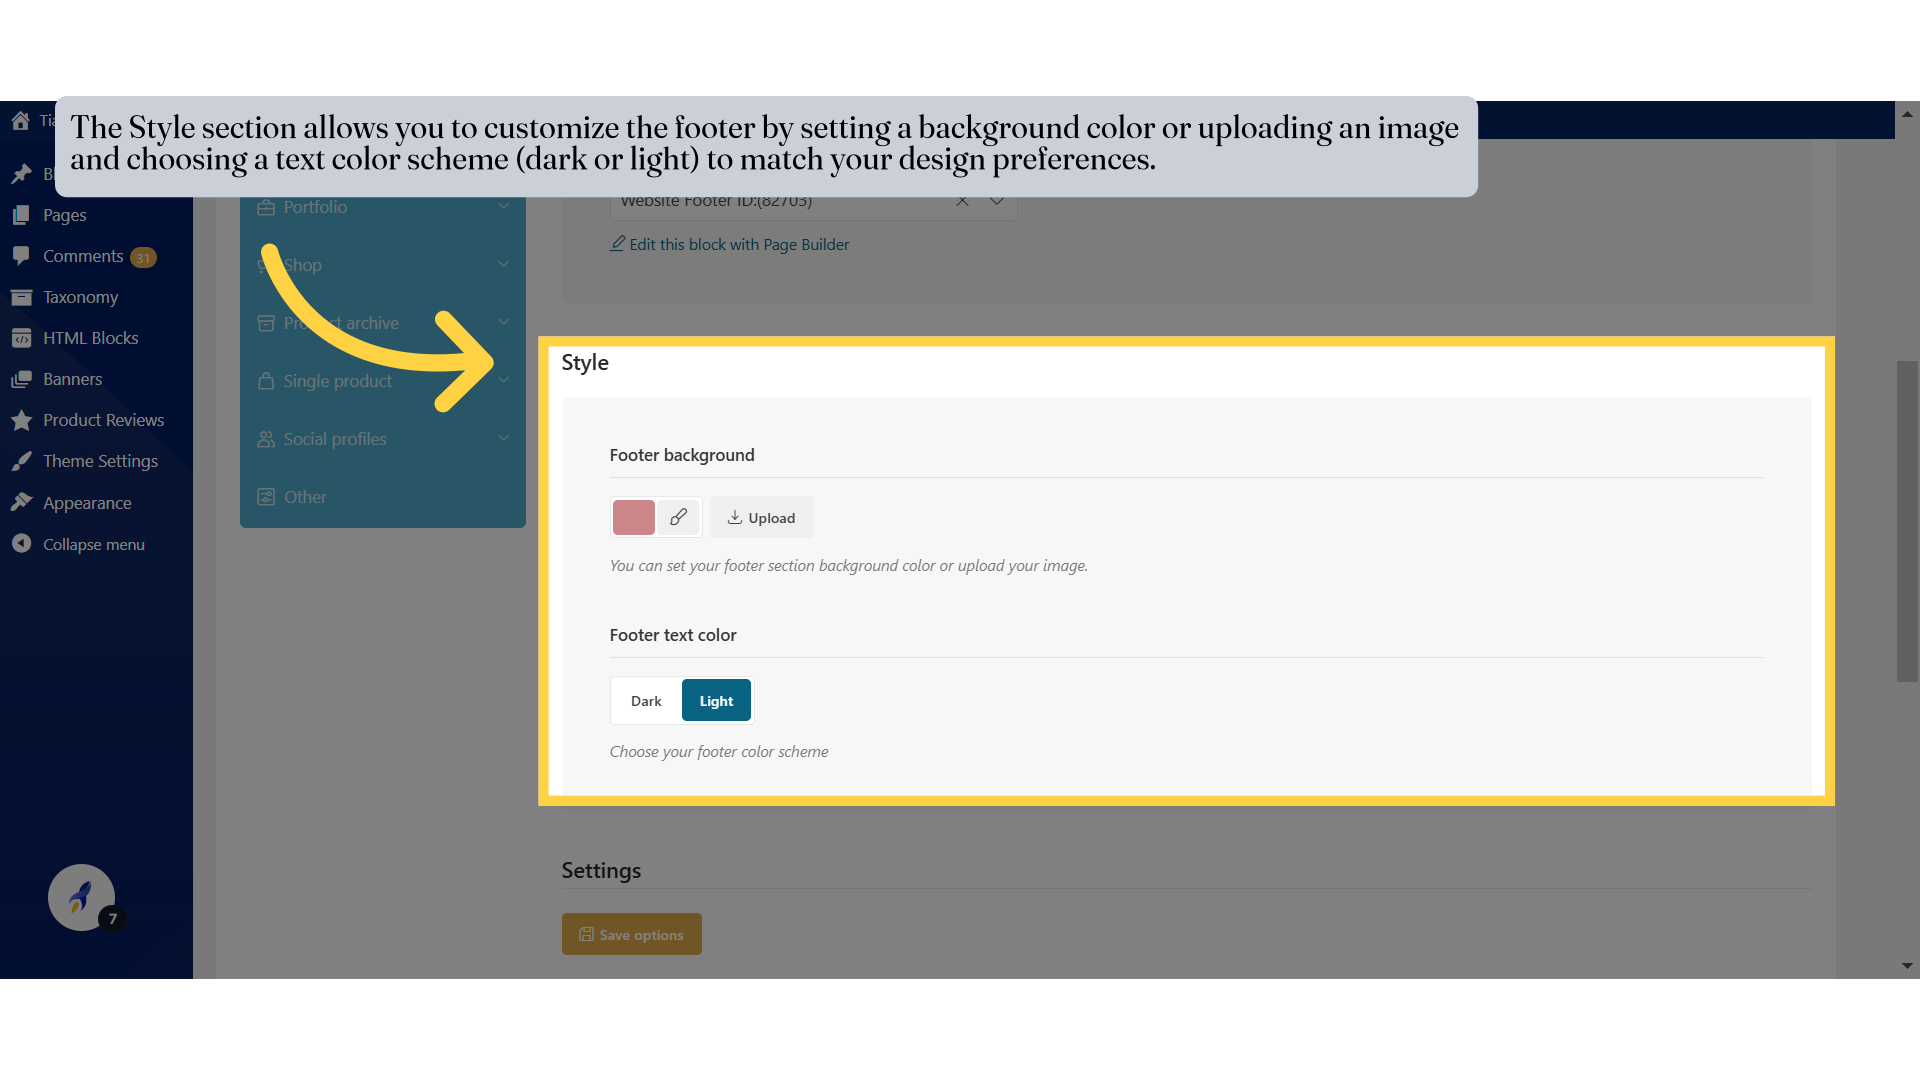
8. The Style section allows you to customize the footer by setting a background color or uploading an image and choosing a text color scheme (dark or light) to match your design preferences.
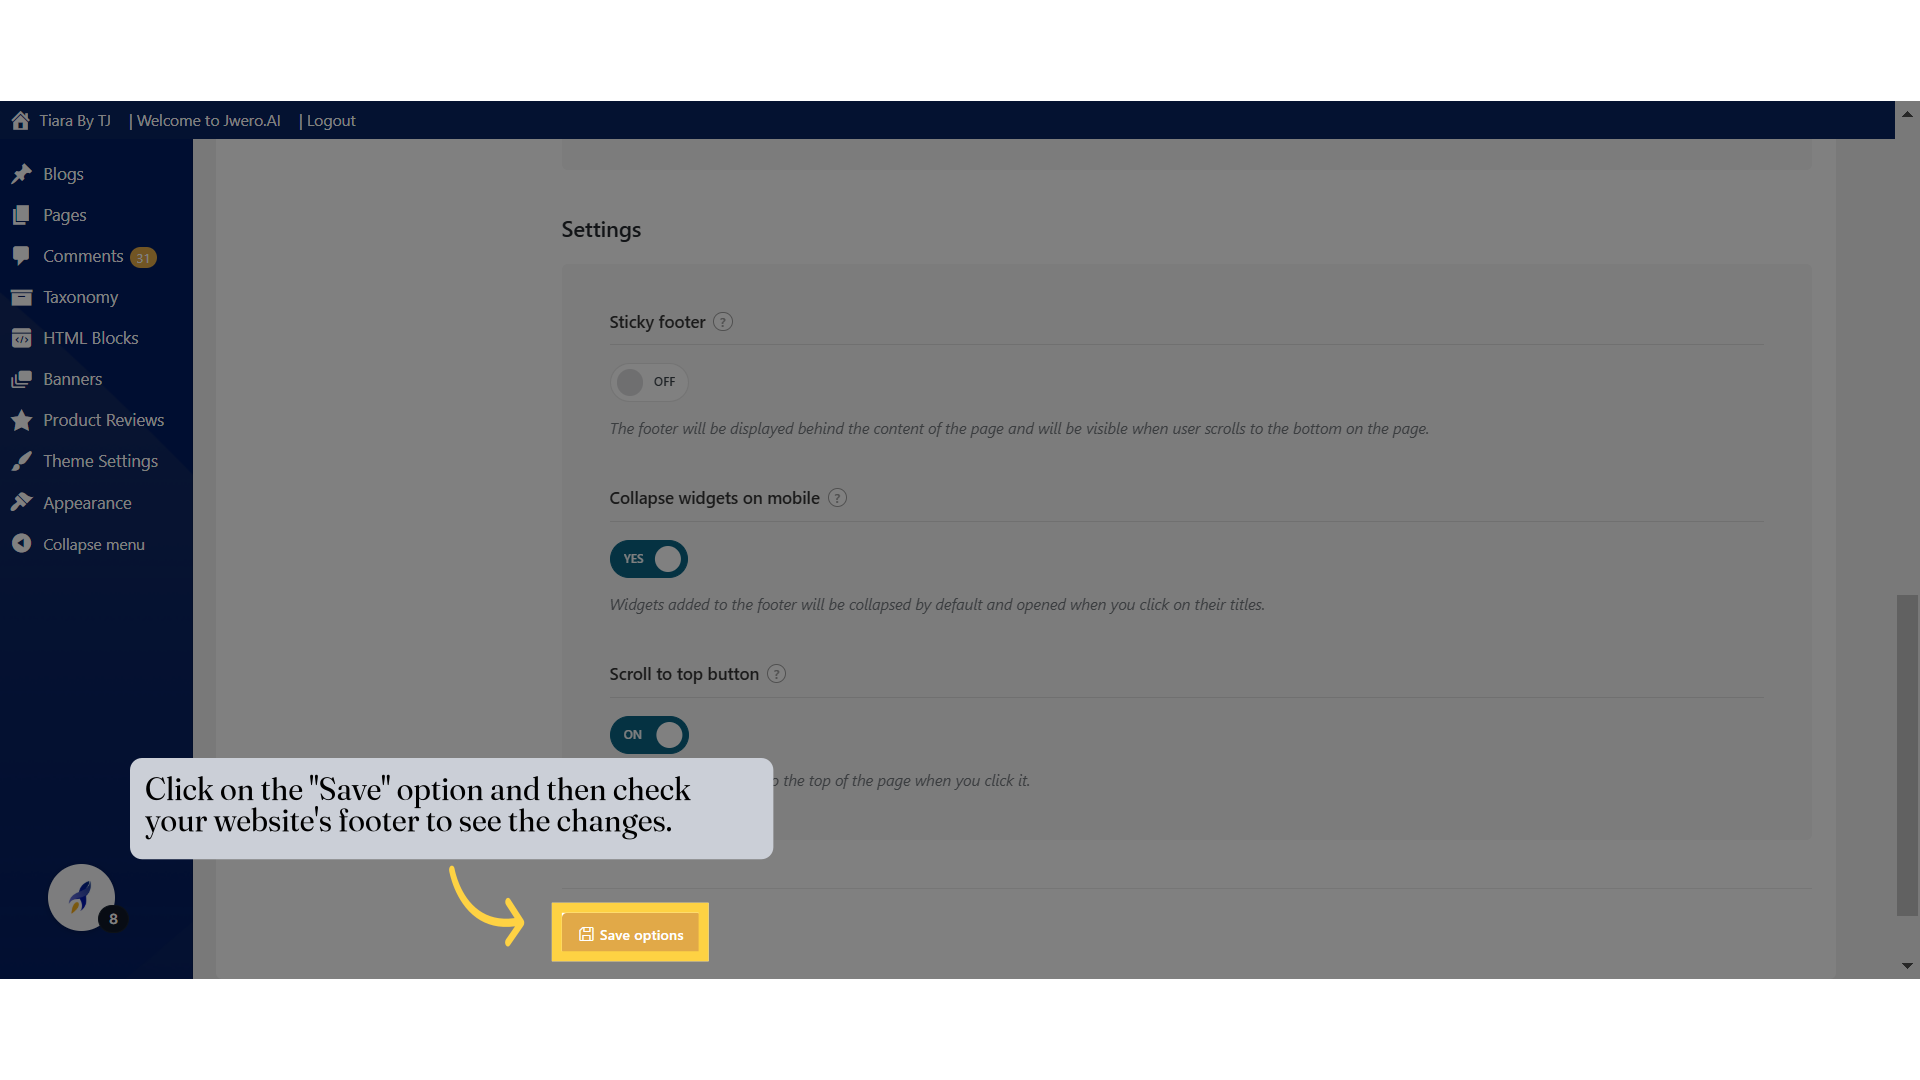
9. Sticky Footer: Keeps the footer fixed at the bottom of the page and visible when scrolling to the bottom.

10. Click on "Save Settings" to save the changes.
11. Use Case In Prefooter

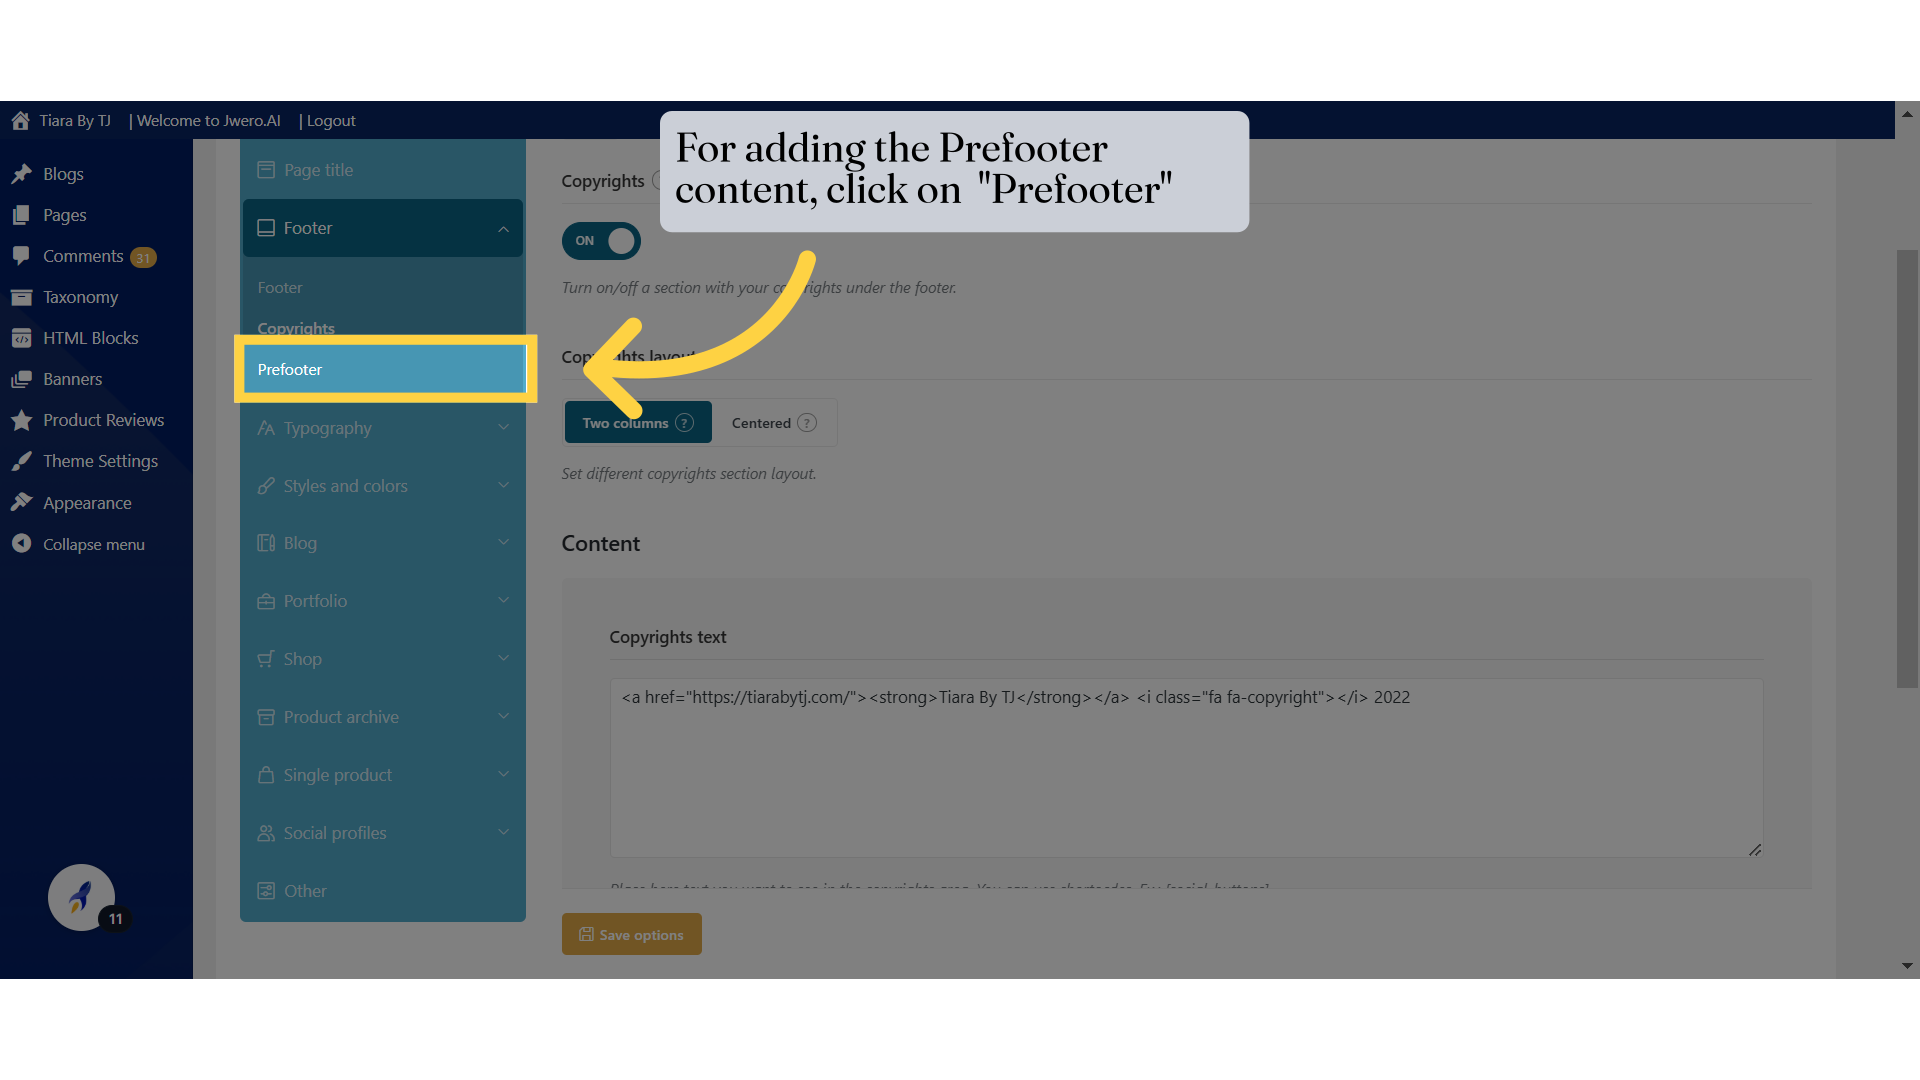
12. For adding the Prefooter content, click on "Prefooter"
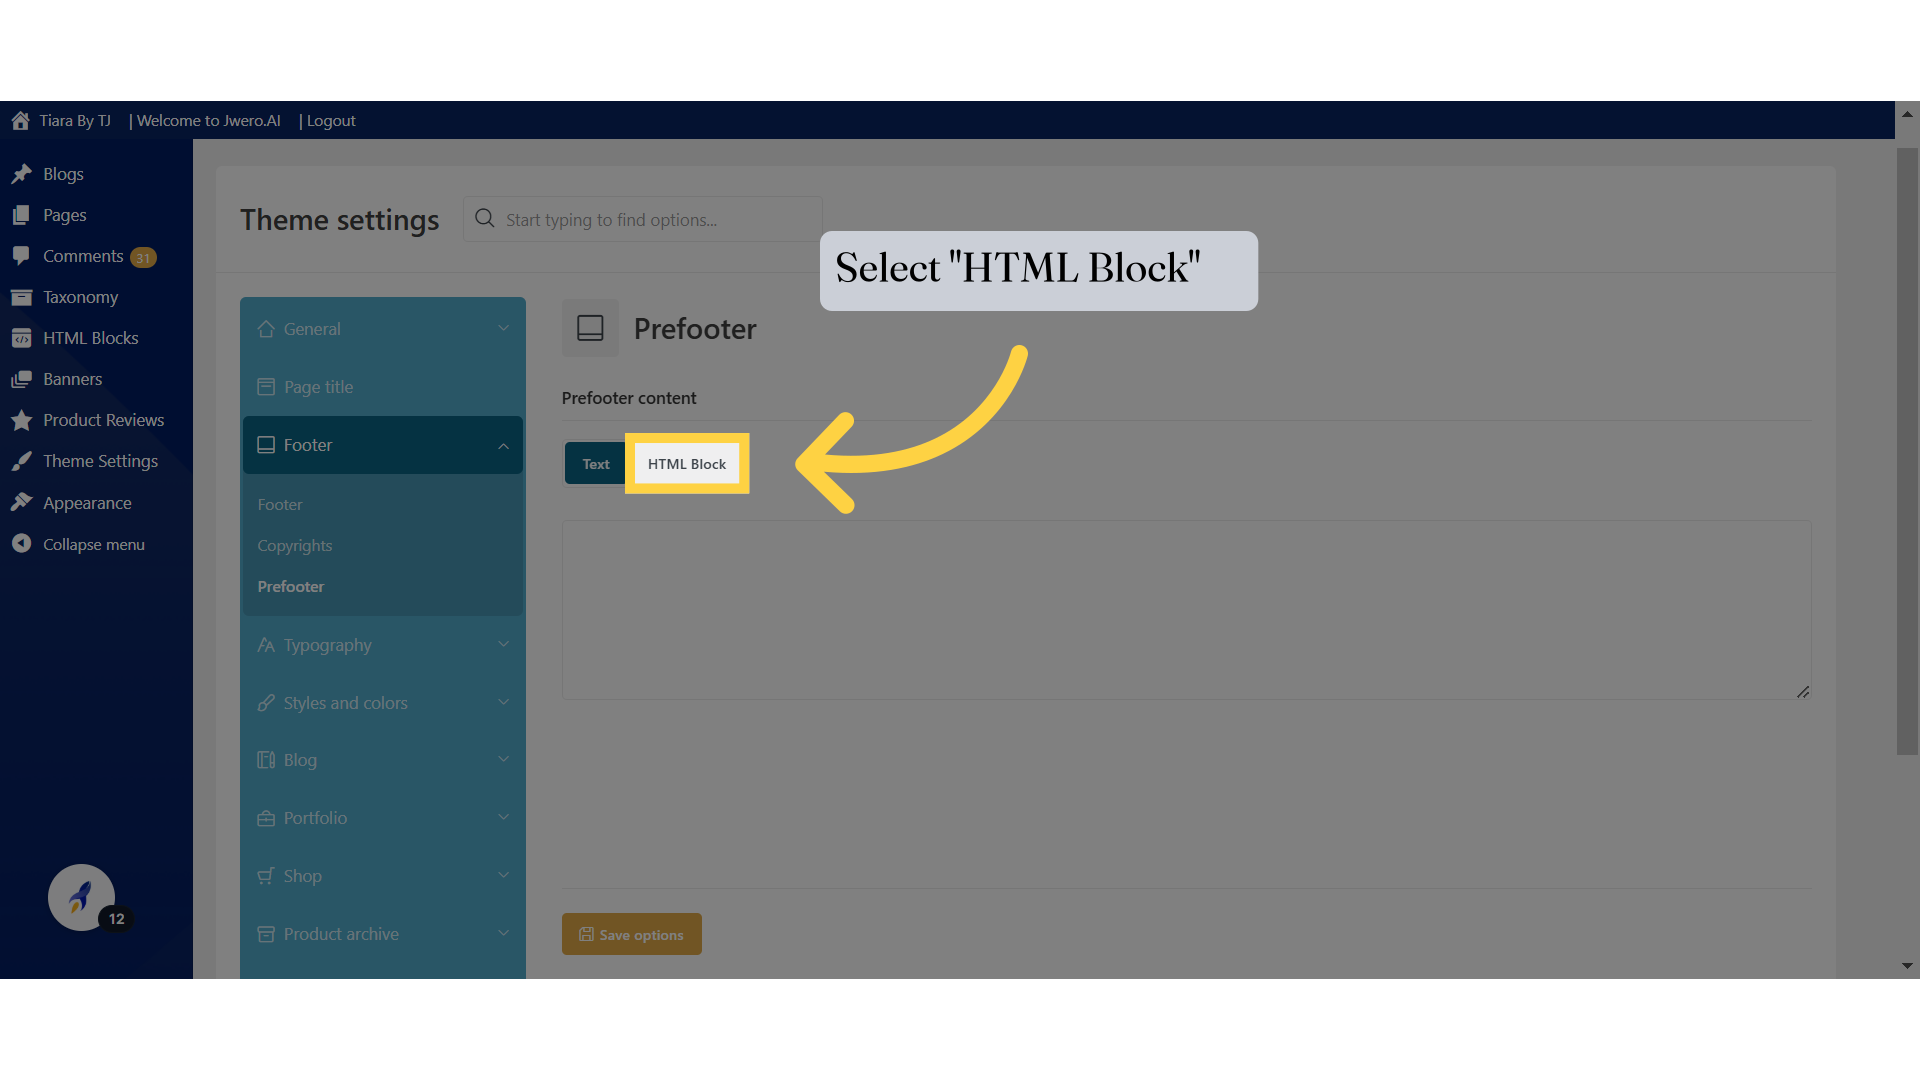
13. Select "HTML Block"
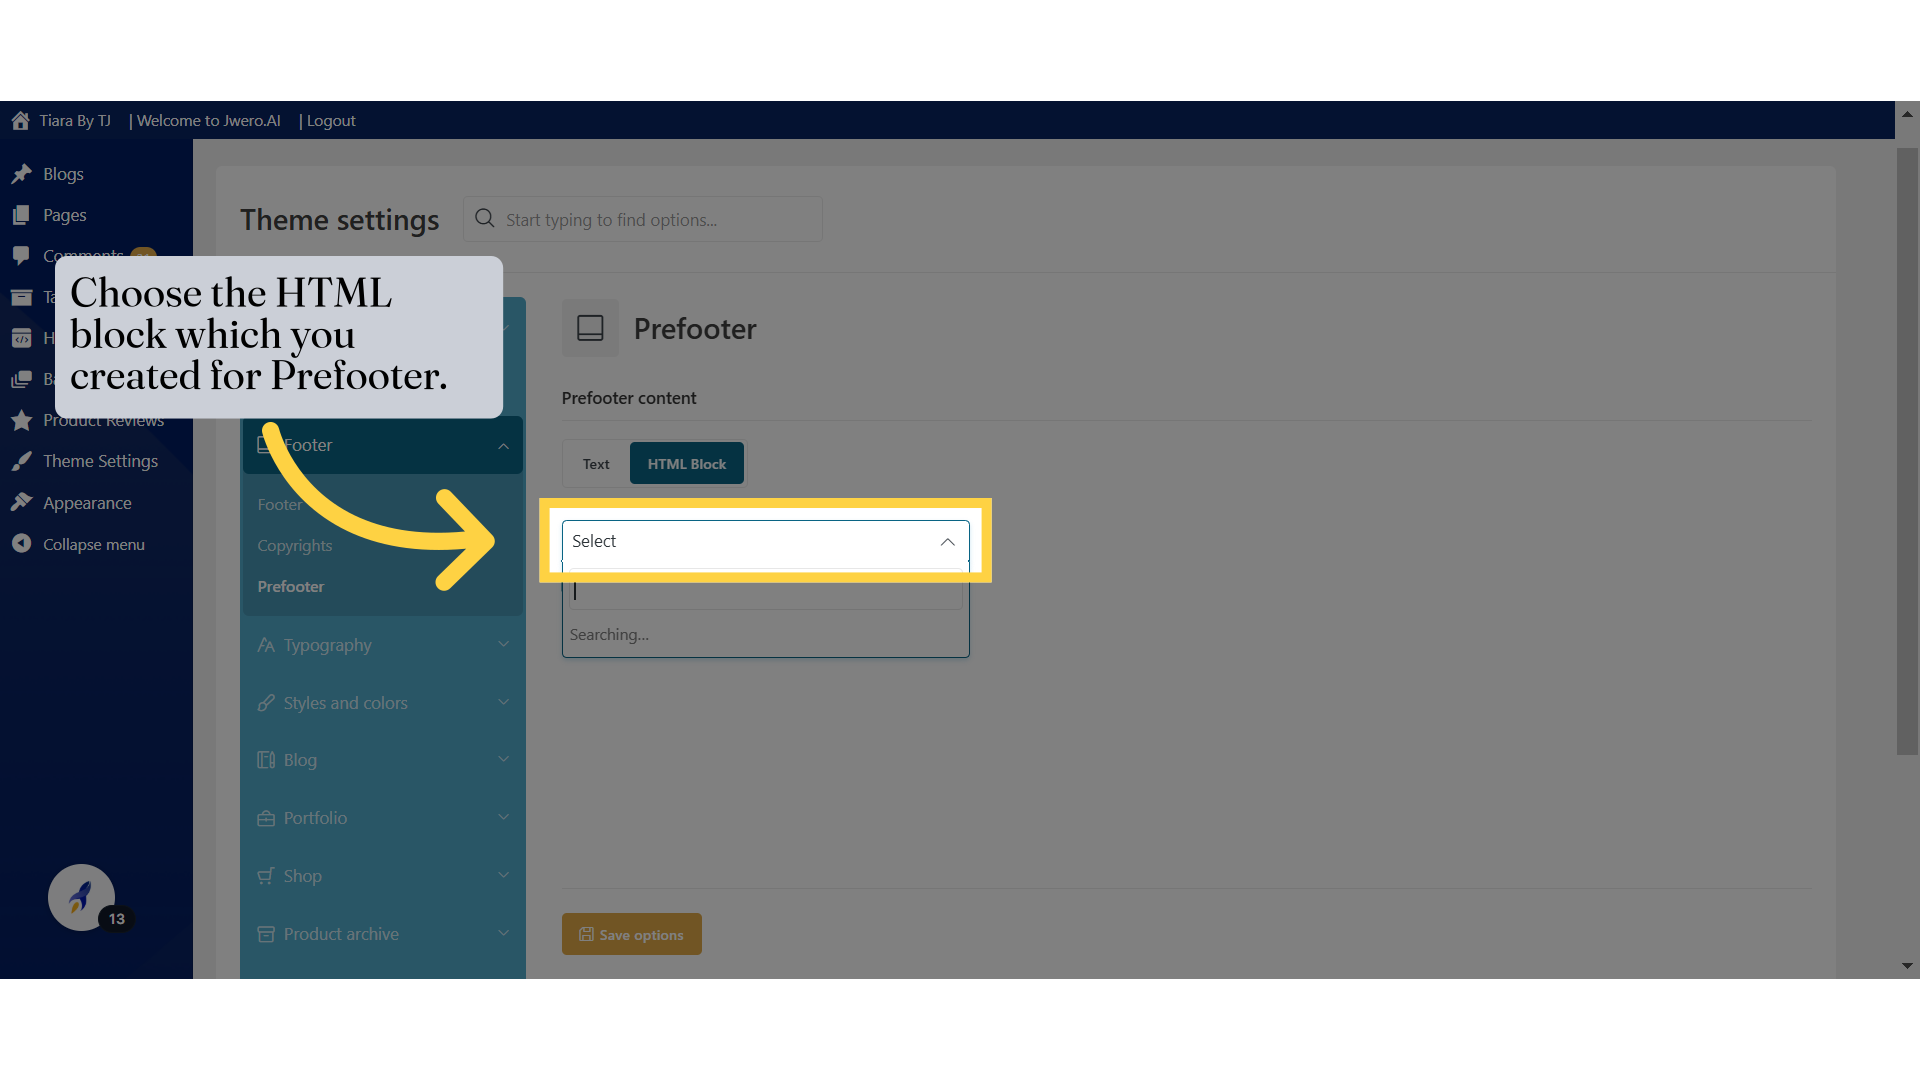
14. Choose the HTML block which you created for Prefooter.
15. Use Case In Promo Popup

16. To add the popup, first insert the content in the HTML block.
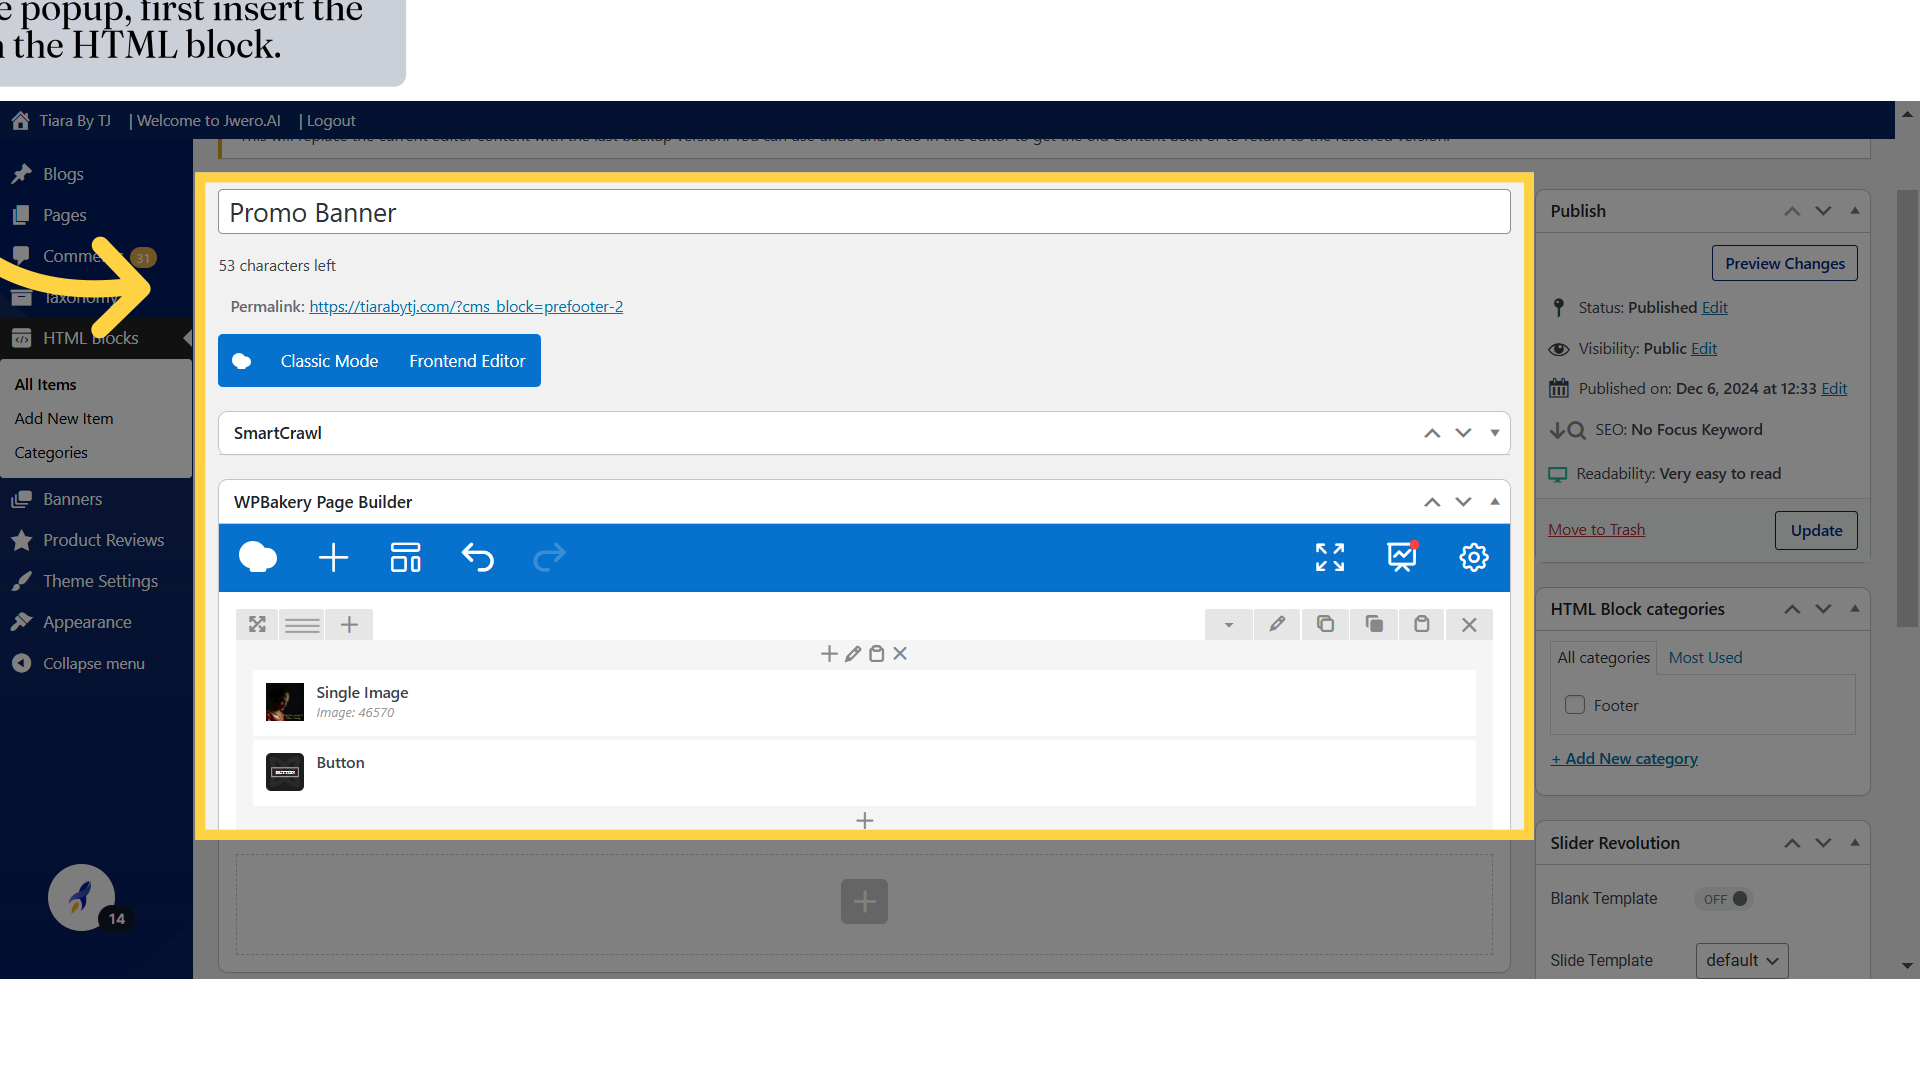
17. Pop Up will look like this.

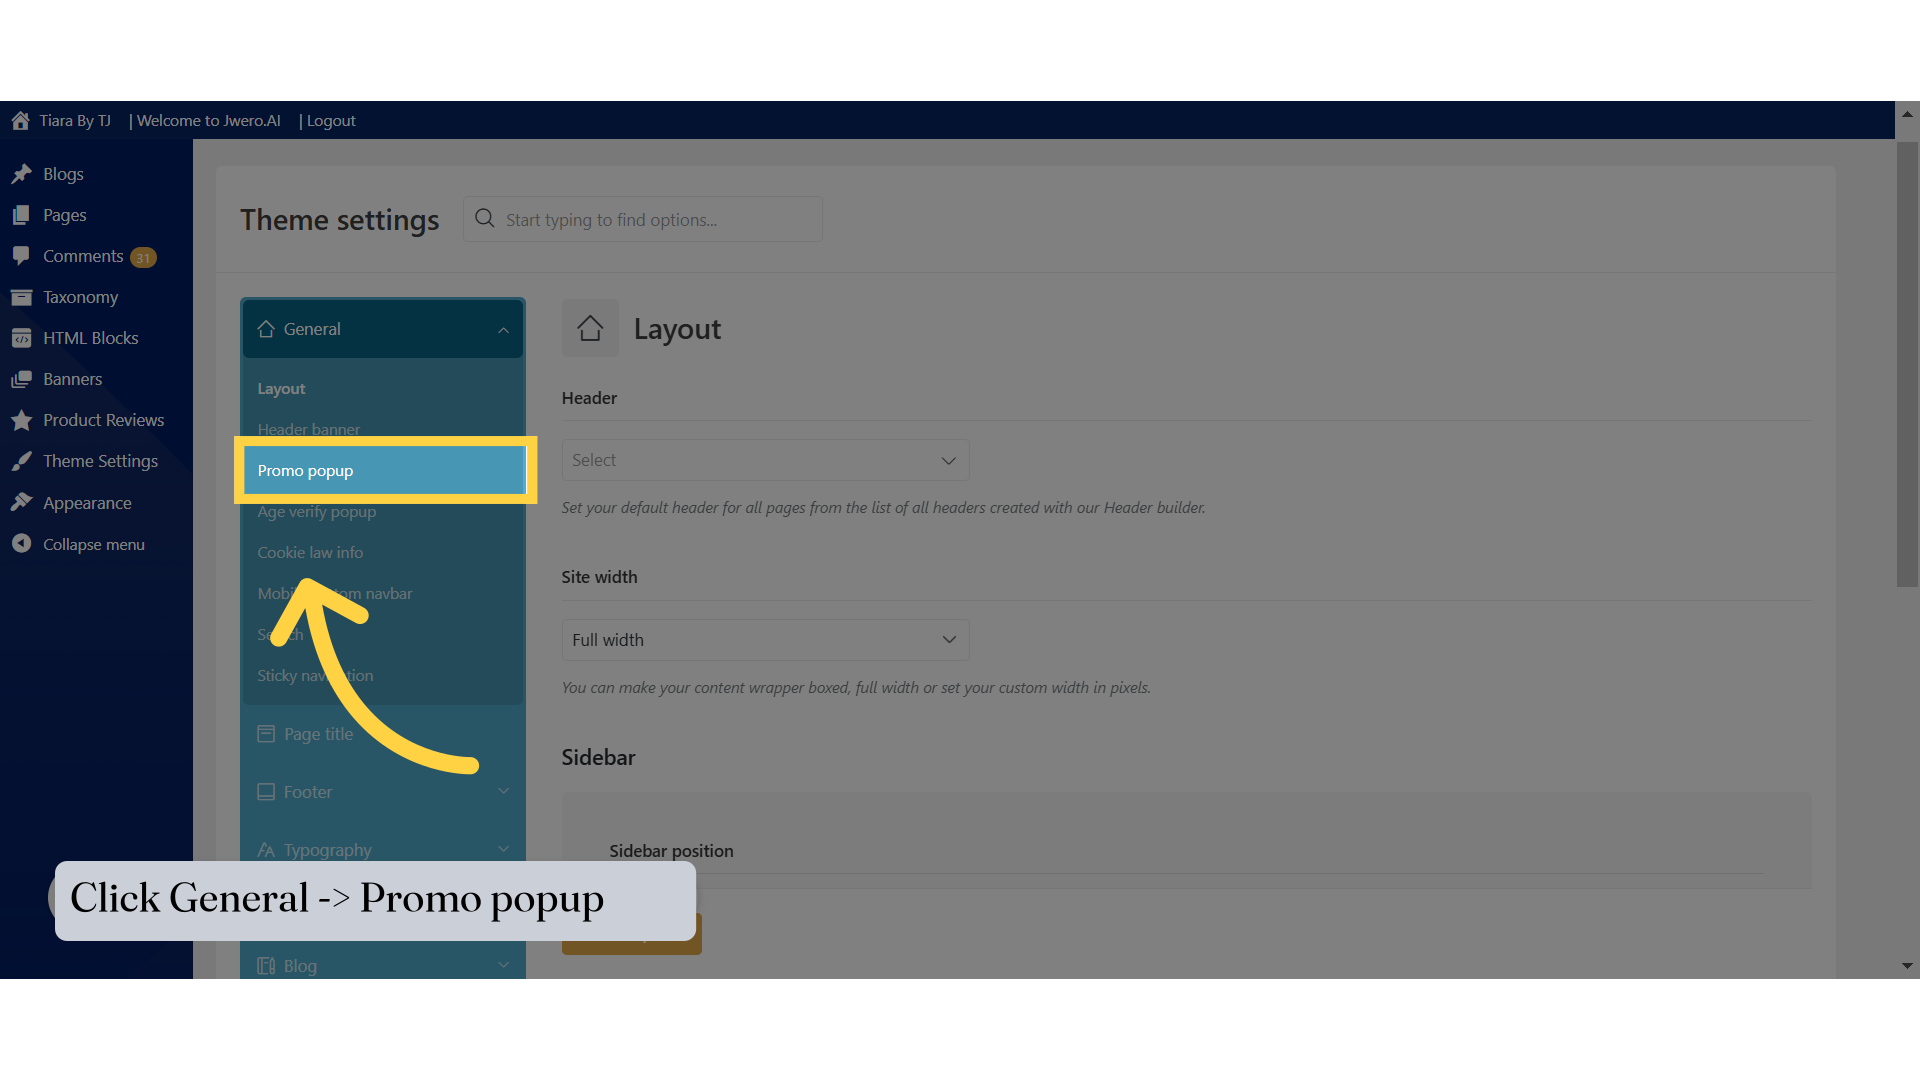
18. Click General -> Promo popup
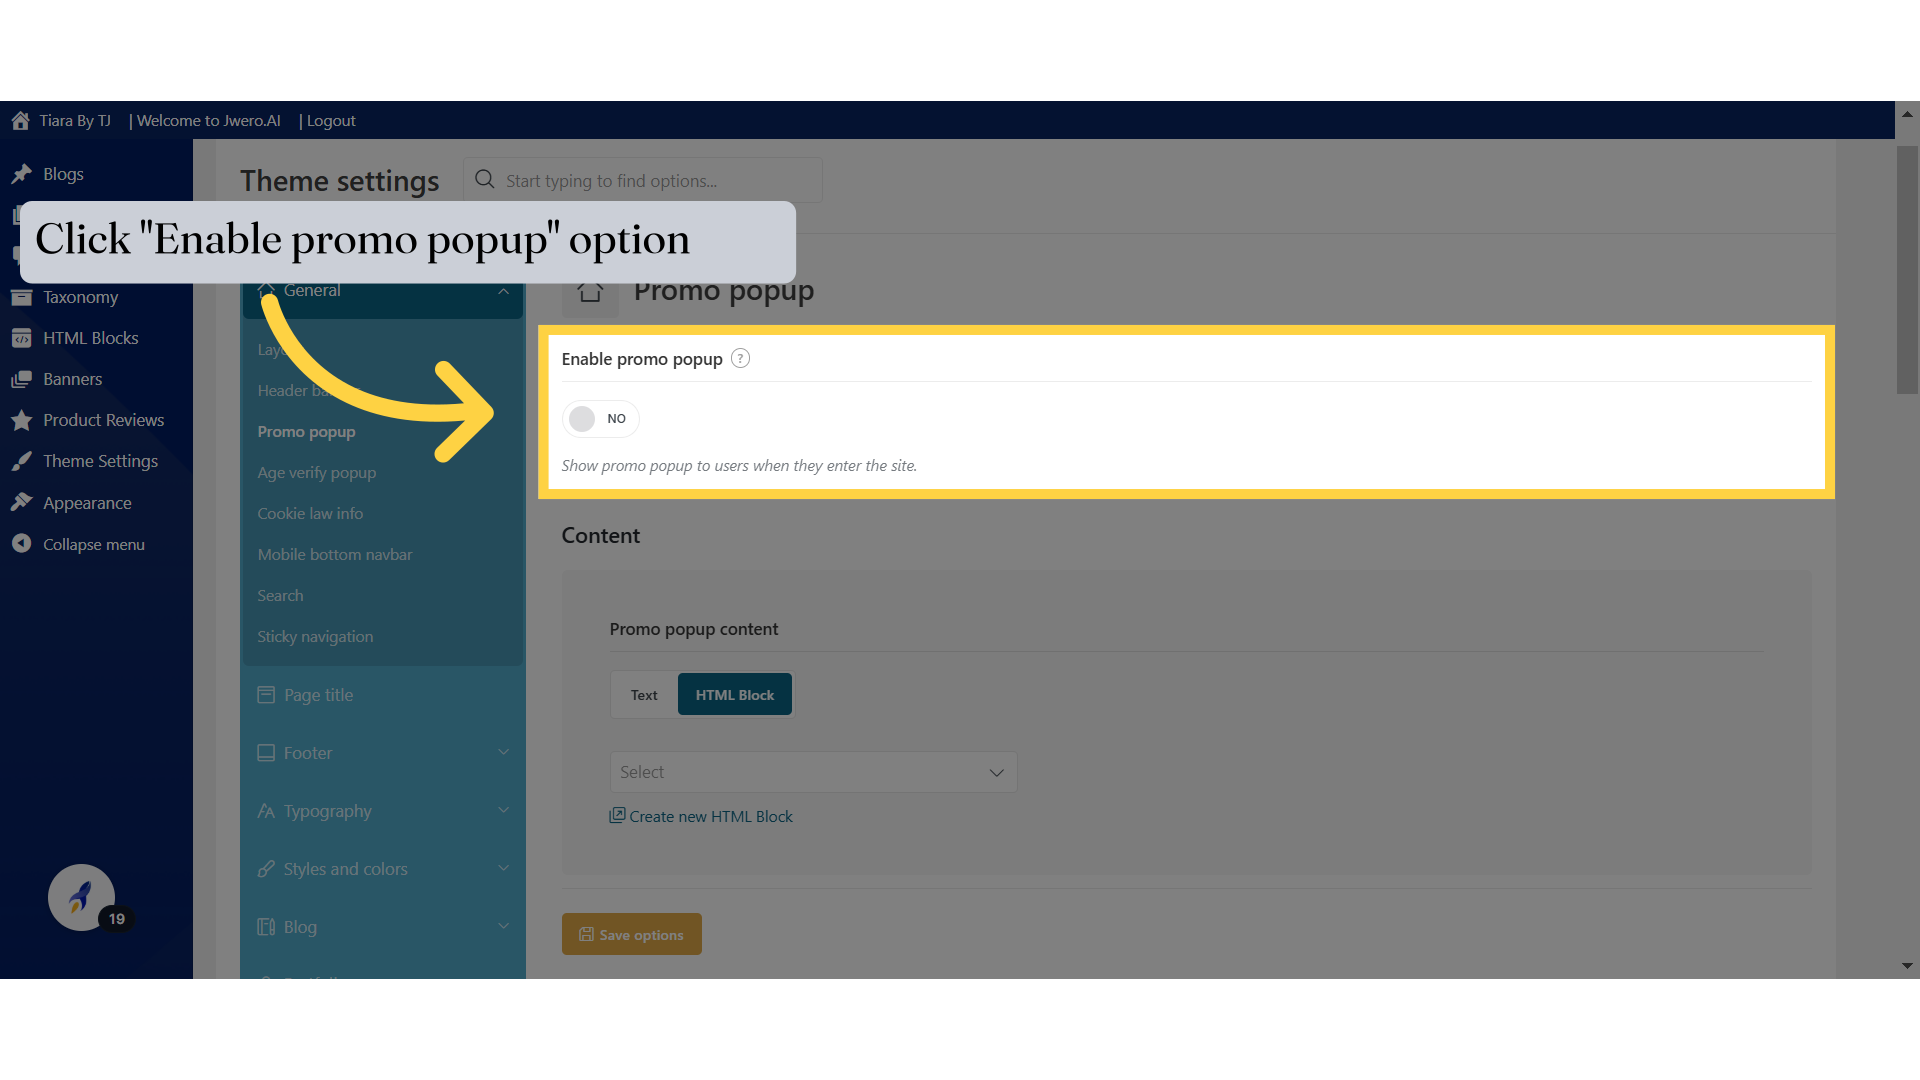
19. Click "Enable promo popup" option
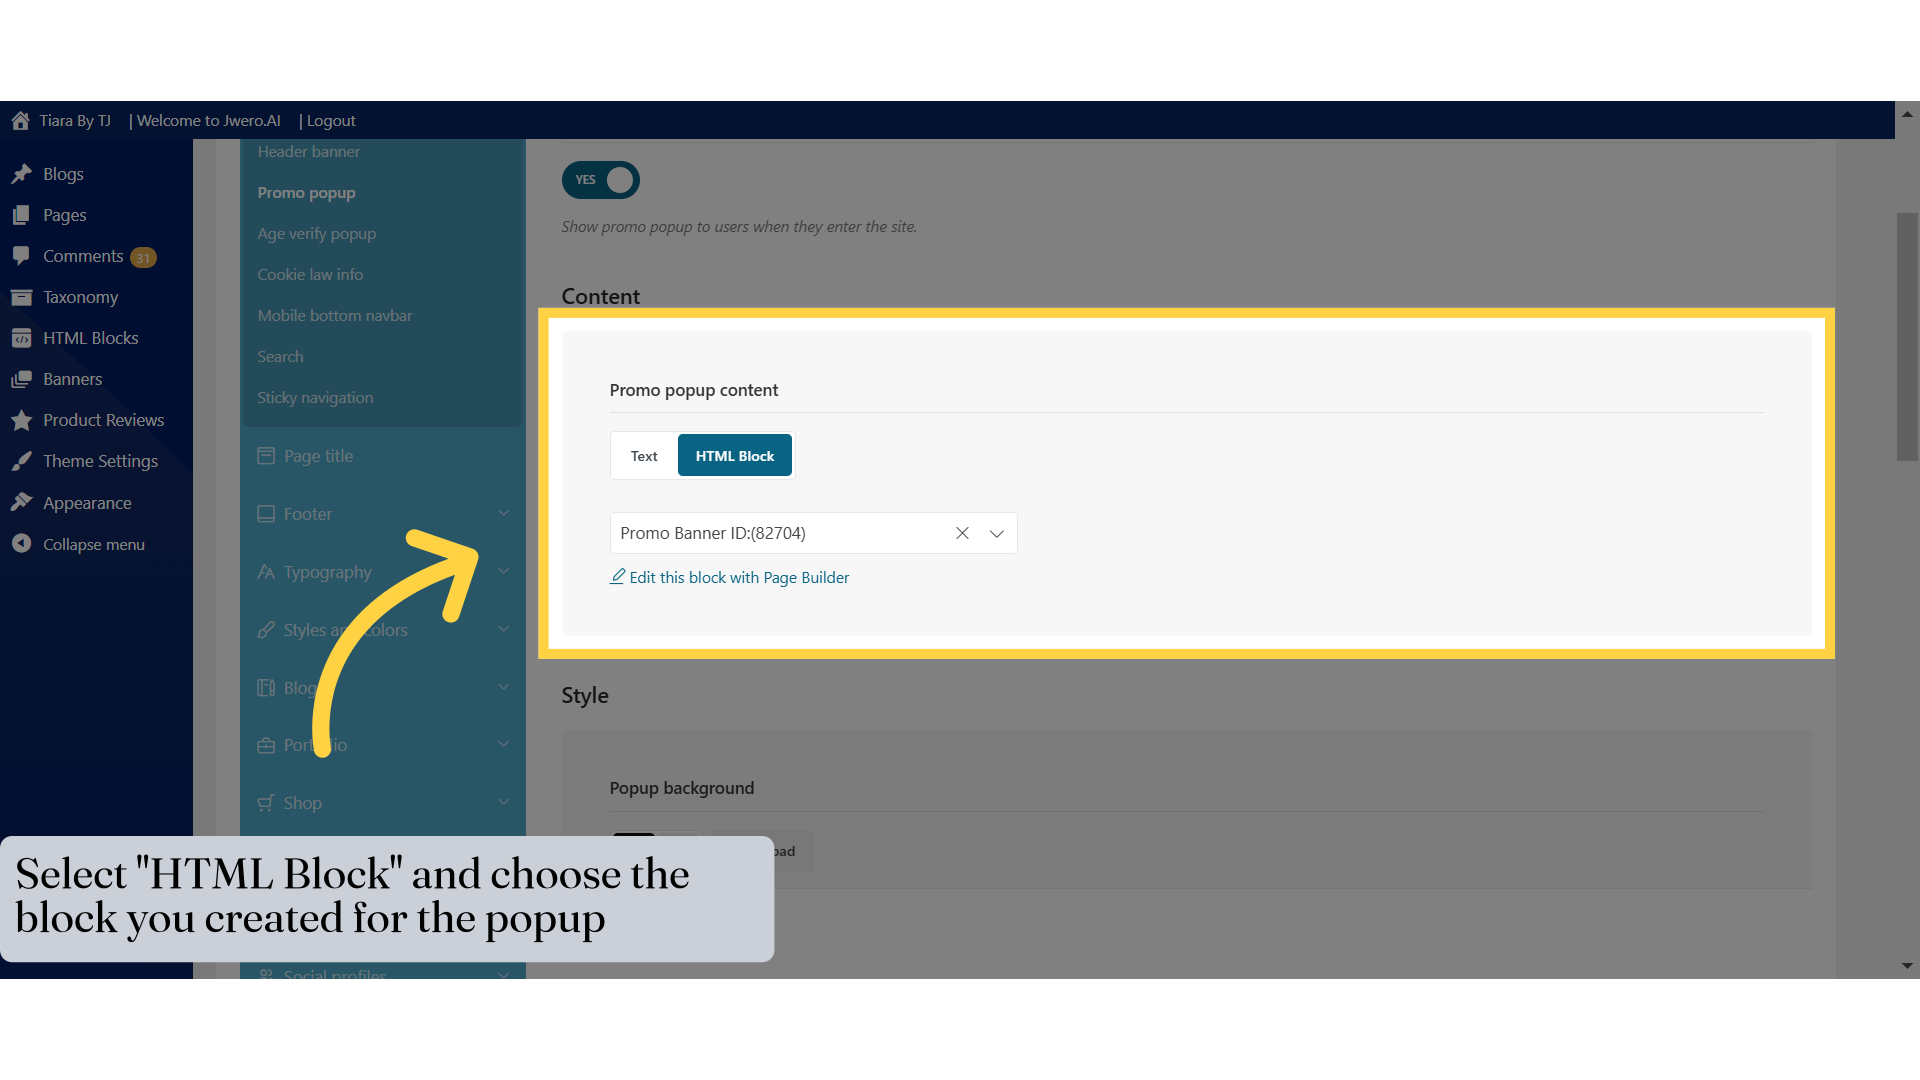
20. Select "HTML Block" and choose the block you created for the popup
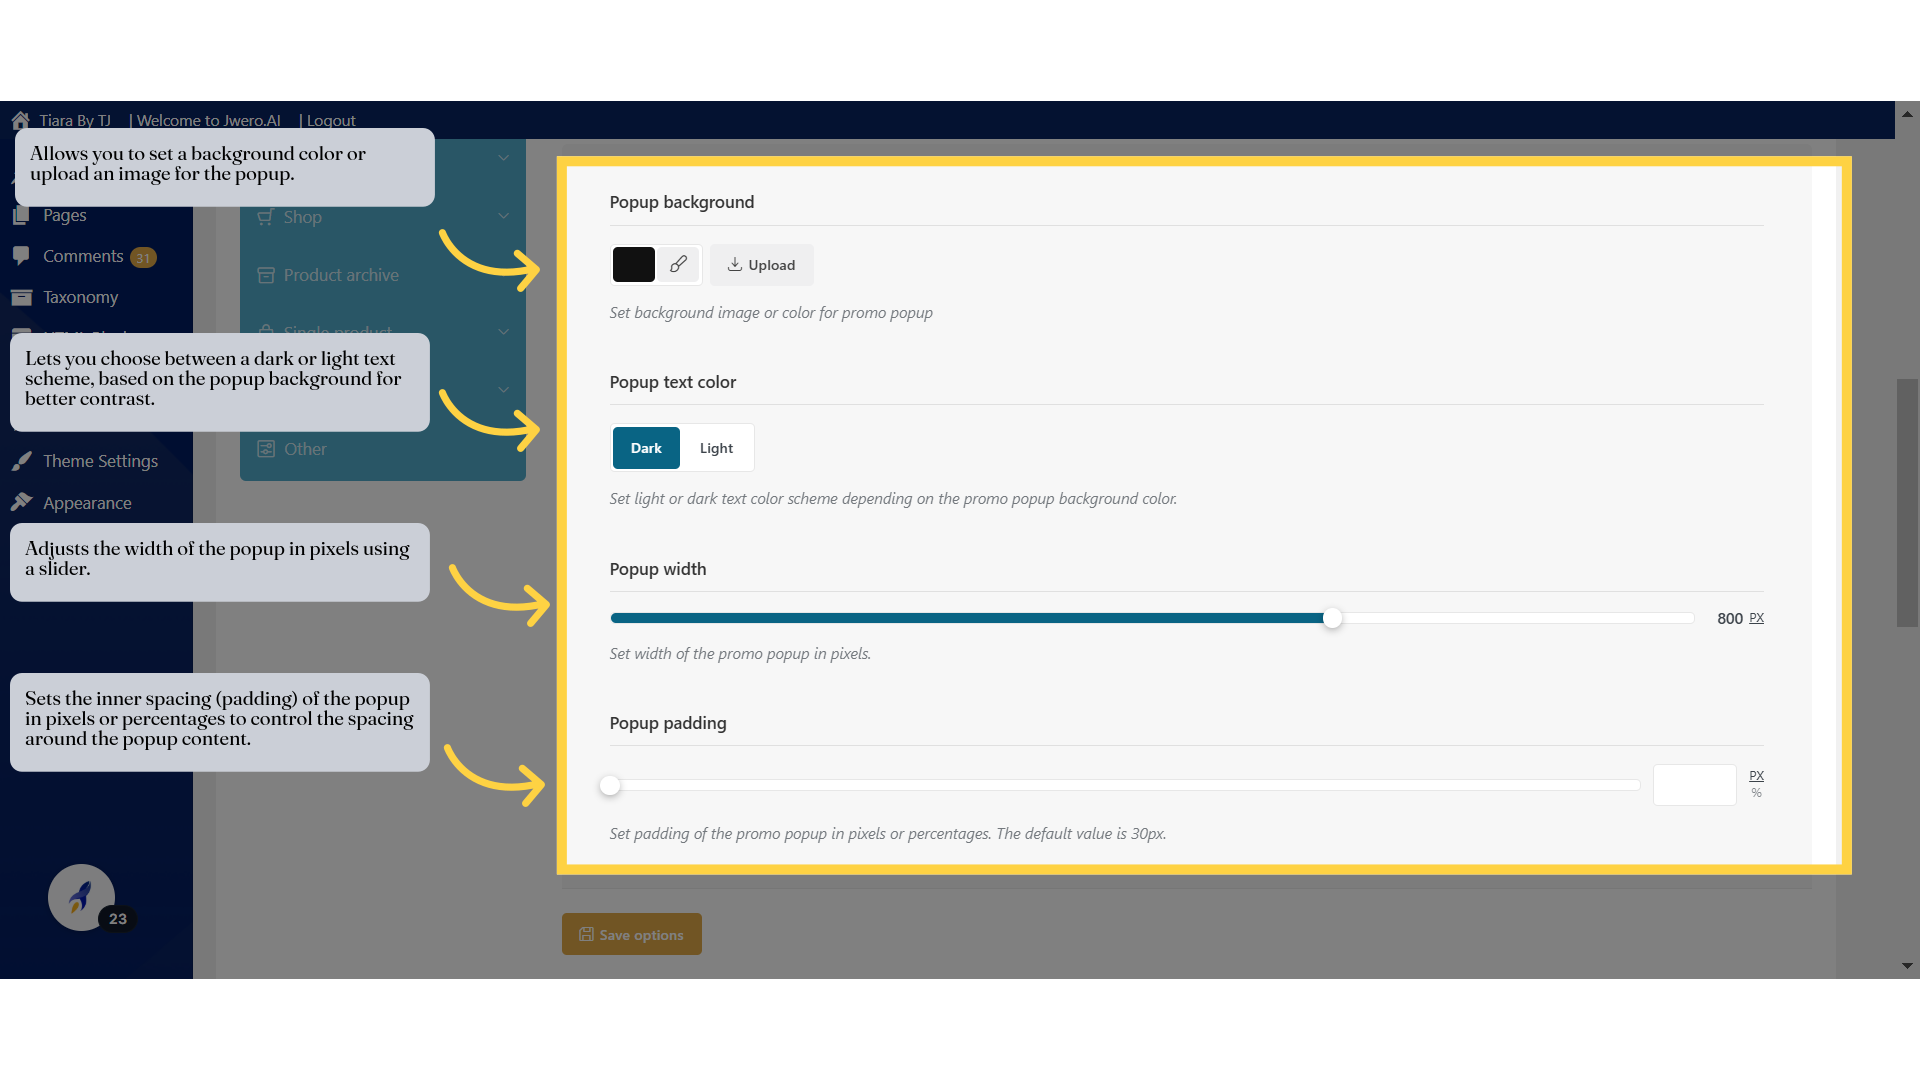
21. Allows you to set a background color or upload an image for the popup.
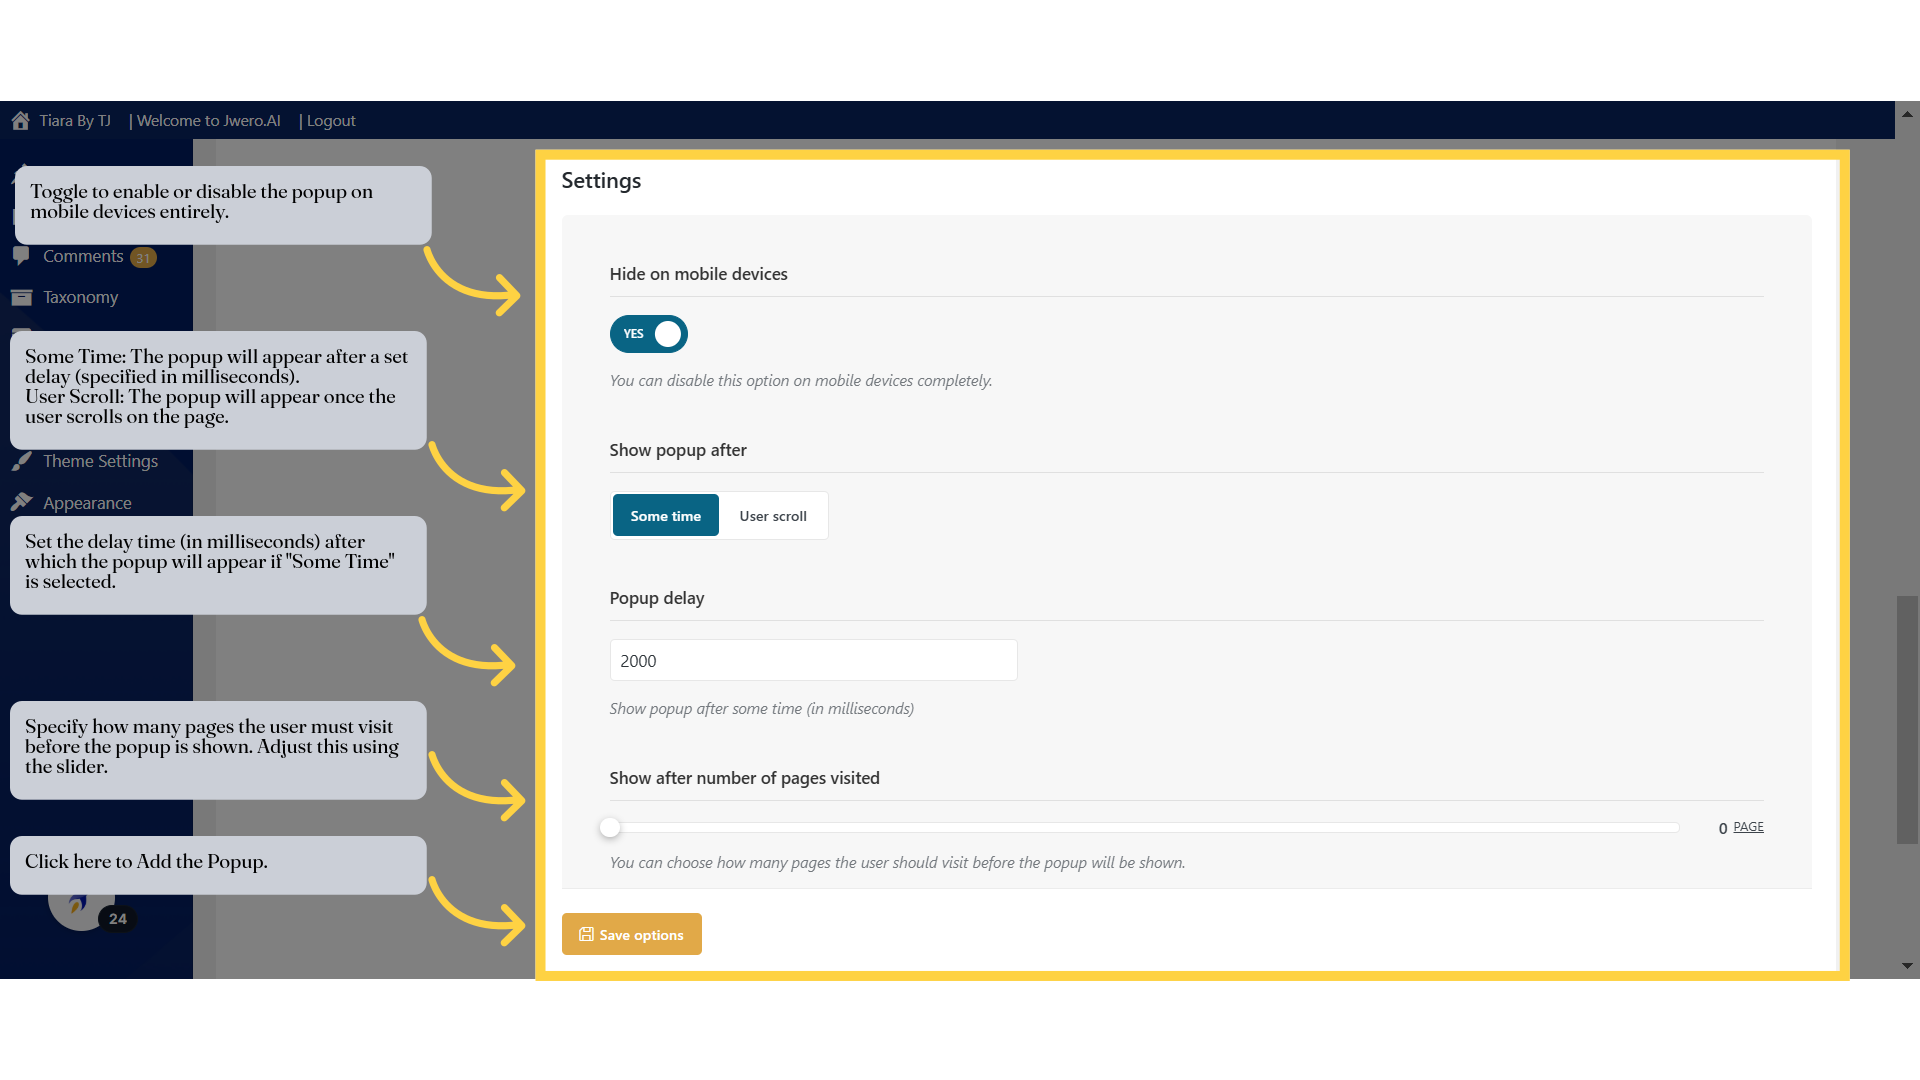
22. Toggle to enable or disable the popup on mobile devices entirely.
23. Use Case In Category Pages

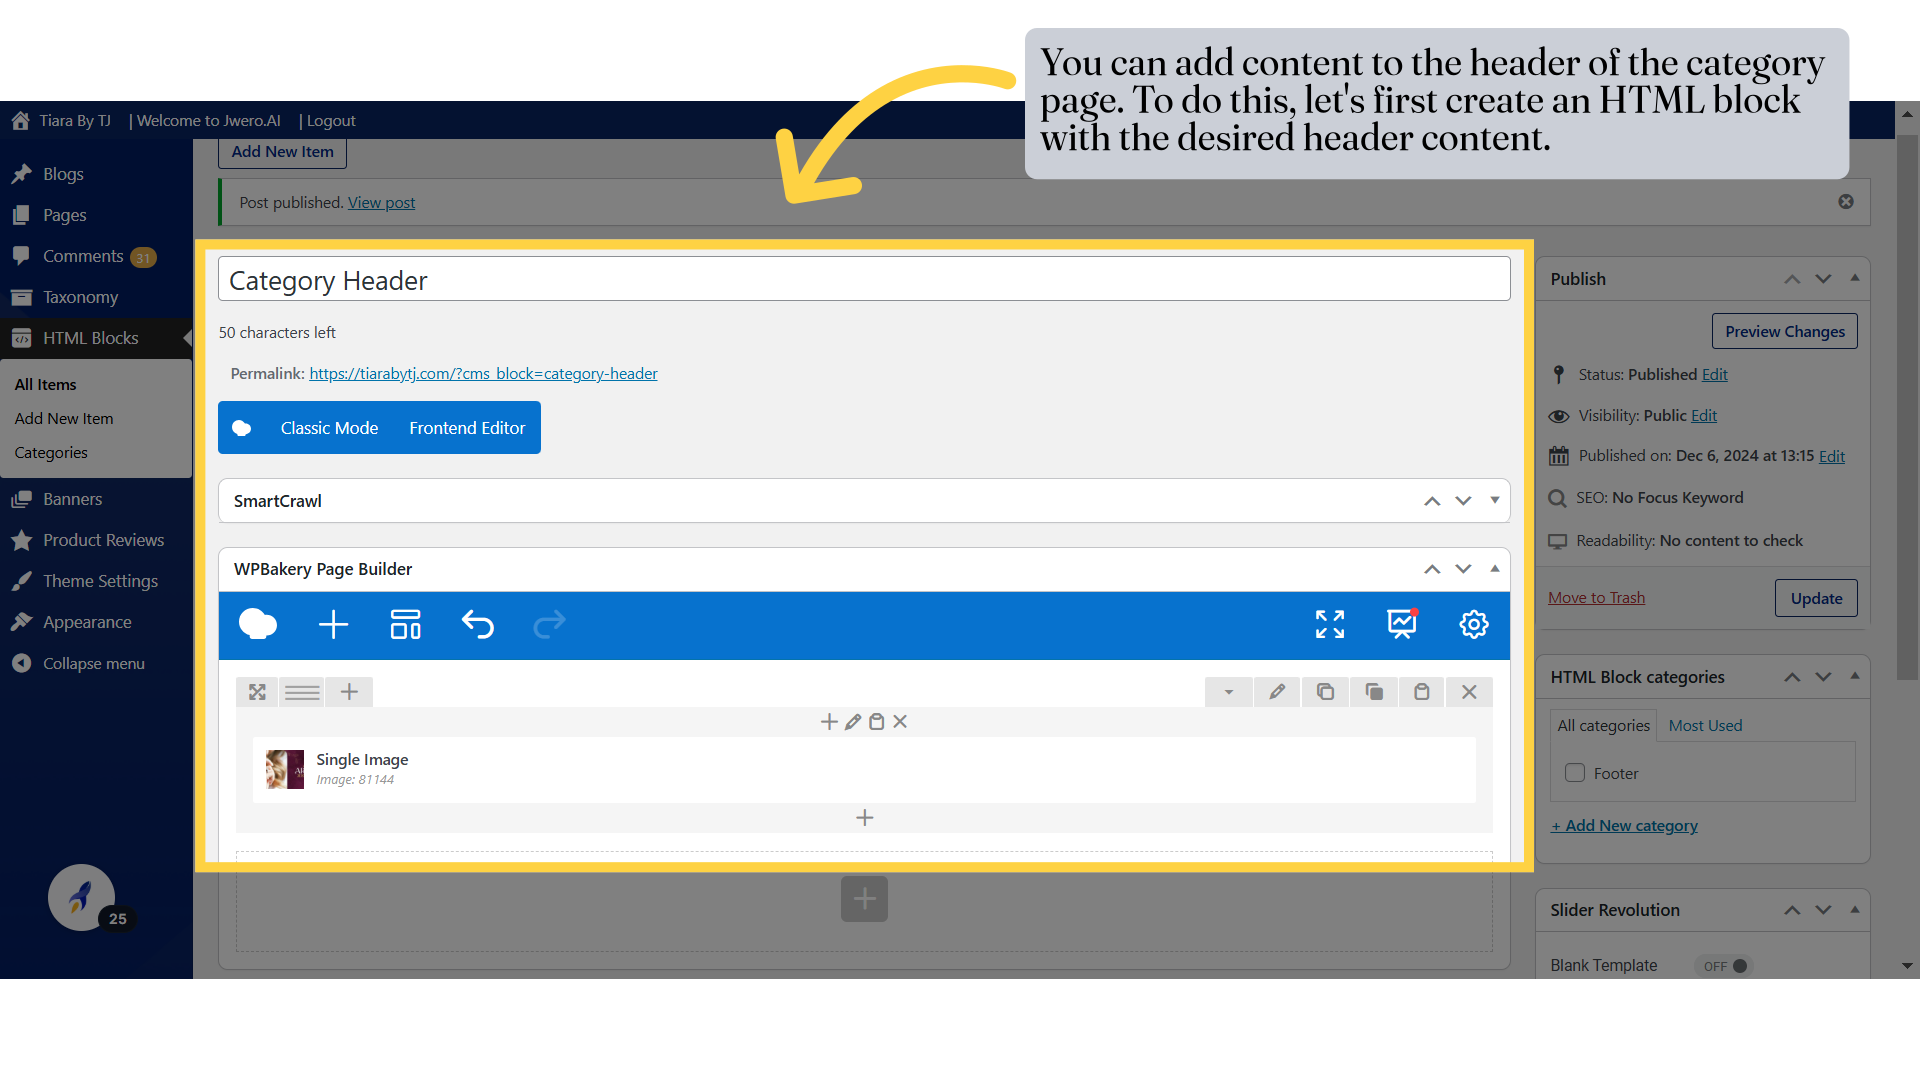
24. You can add content to the header of the category page. To do this, let's first create an HTML block with the desired header content.
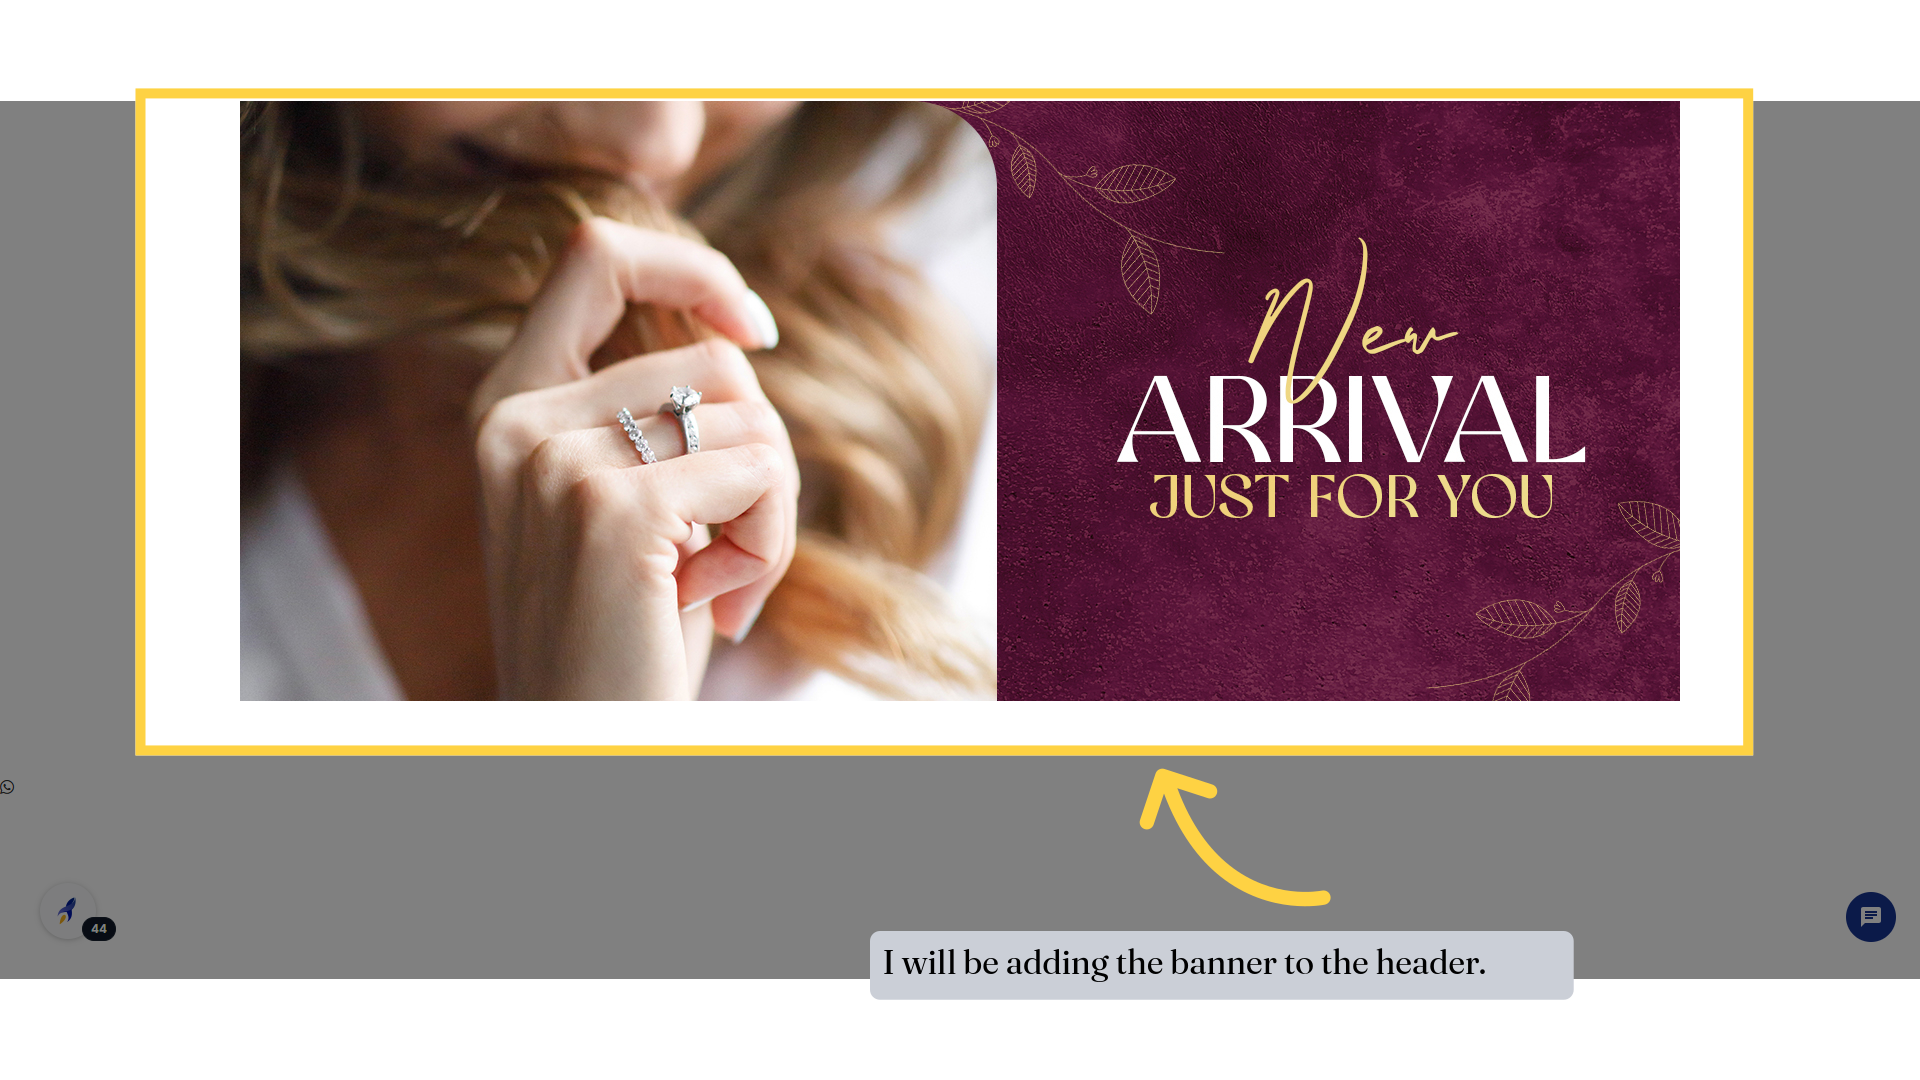
25. I will be adding the banner to the header.
26. You can also add footer content to the category page. Let's create the footer content too.
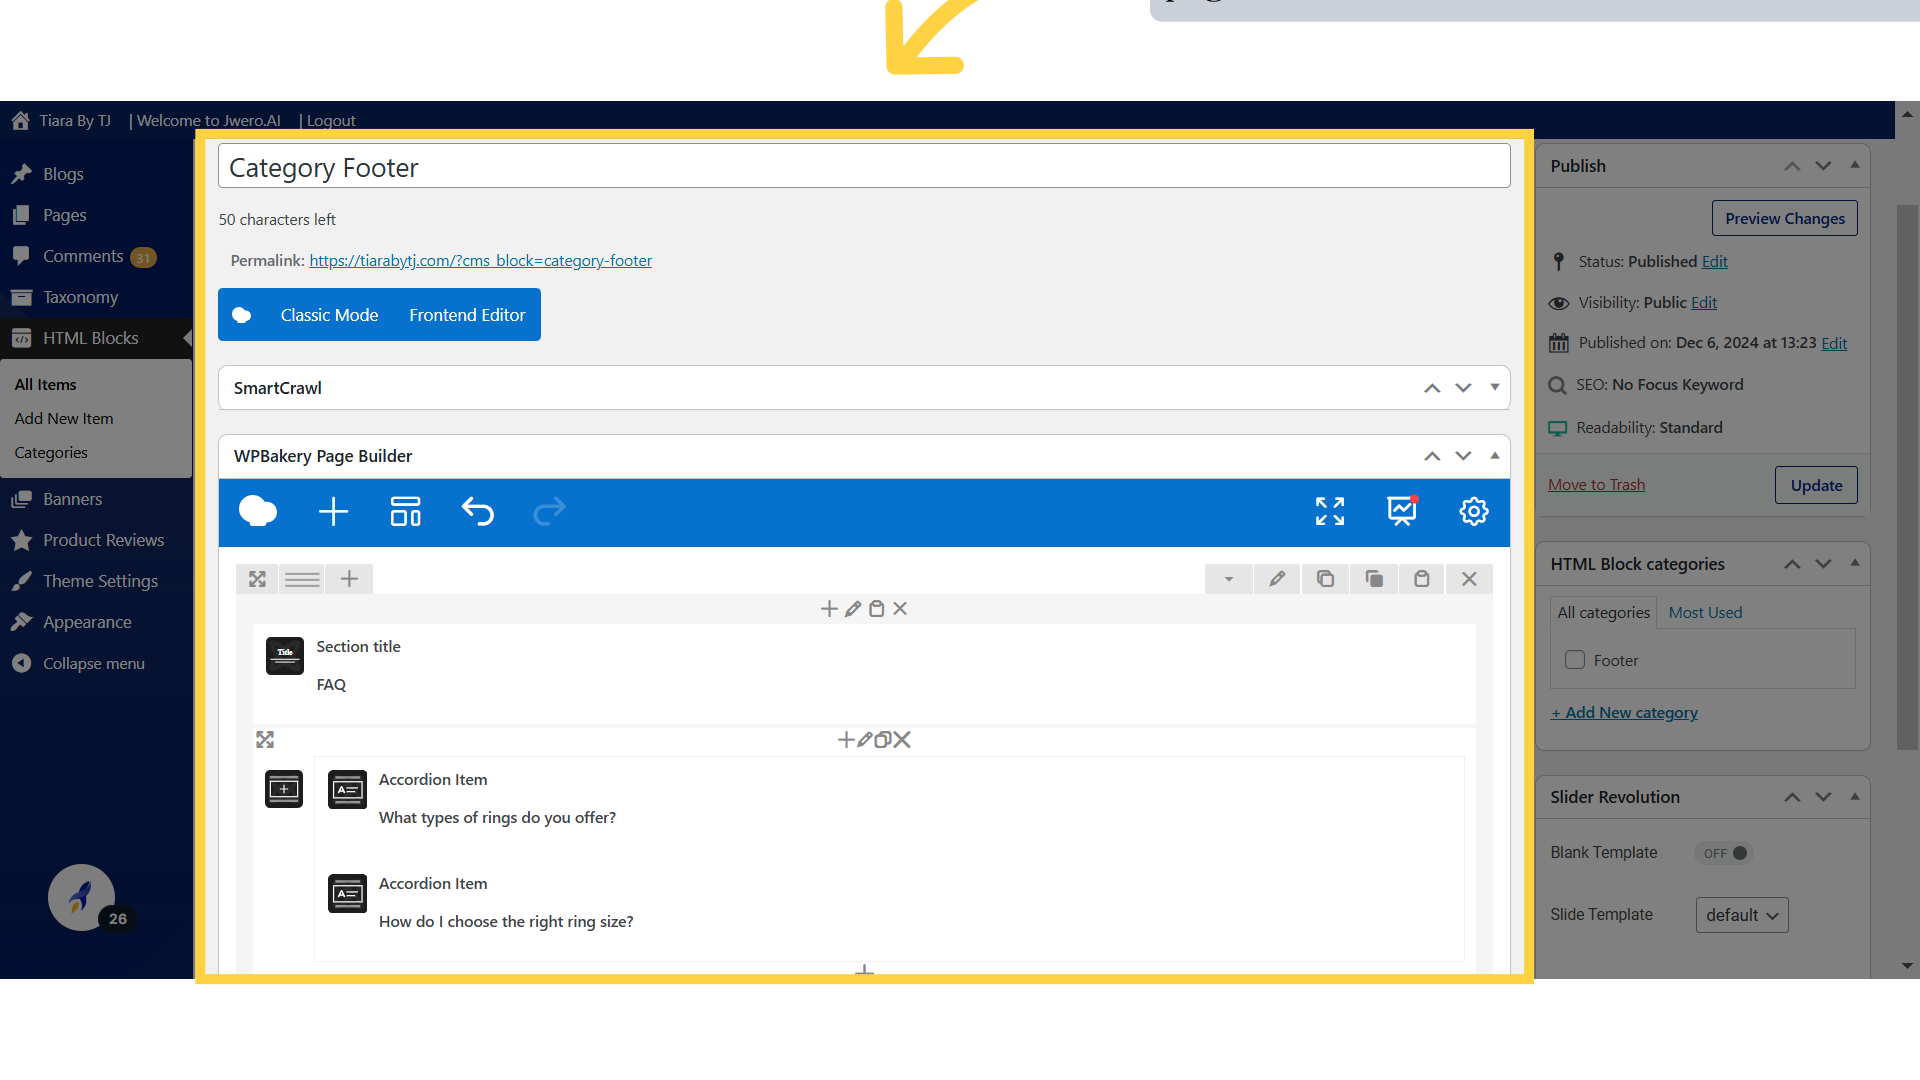
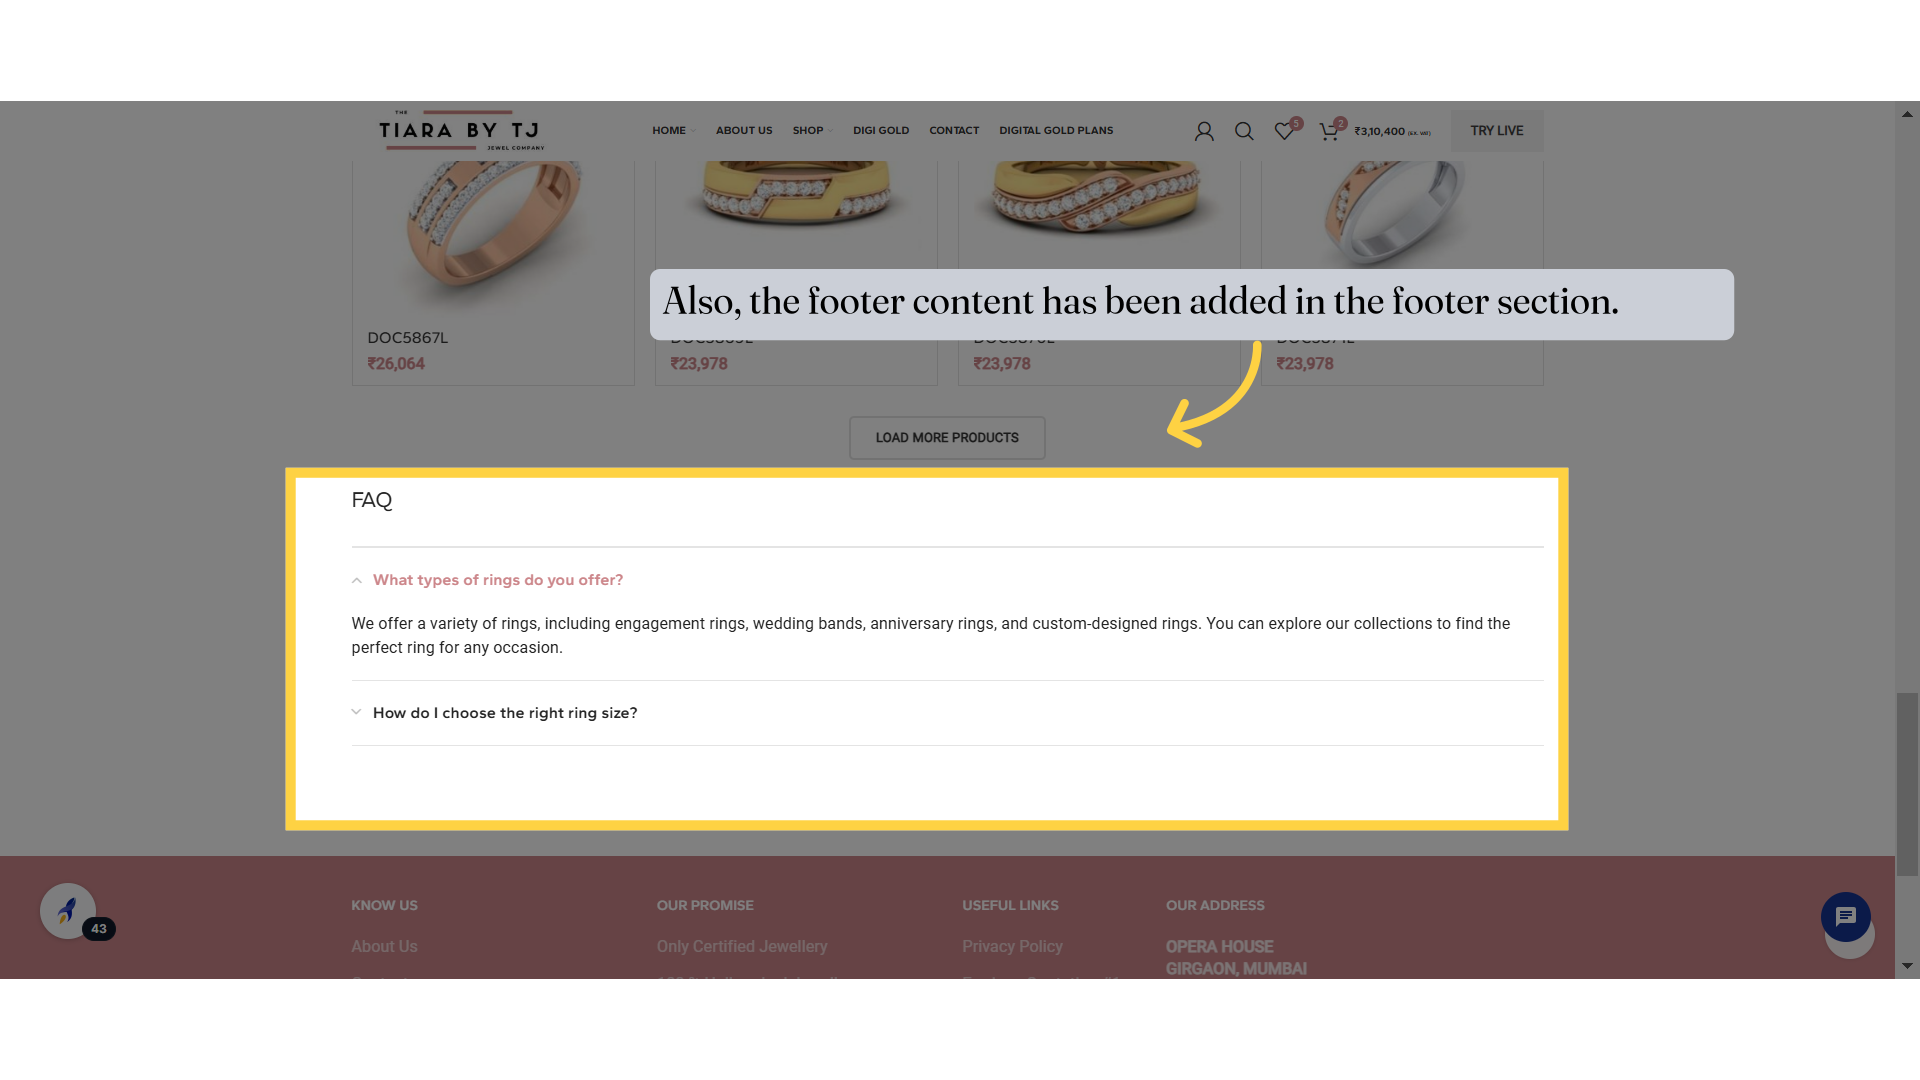
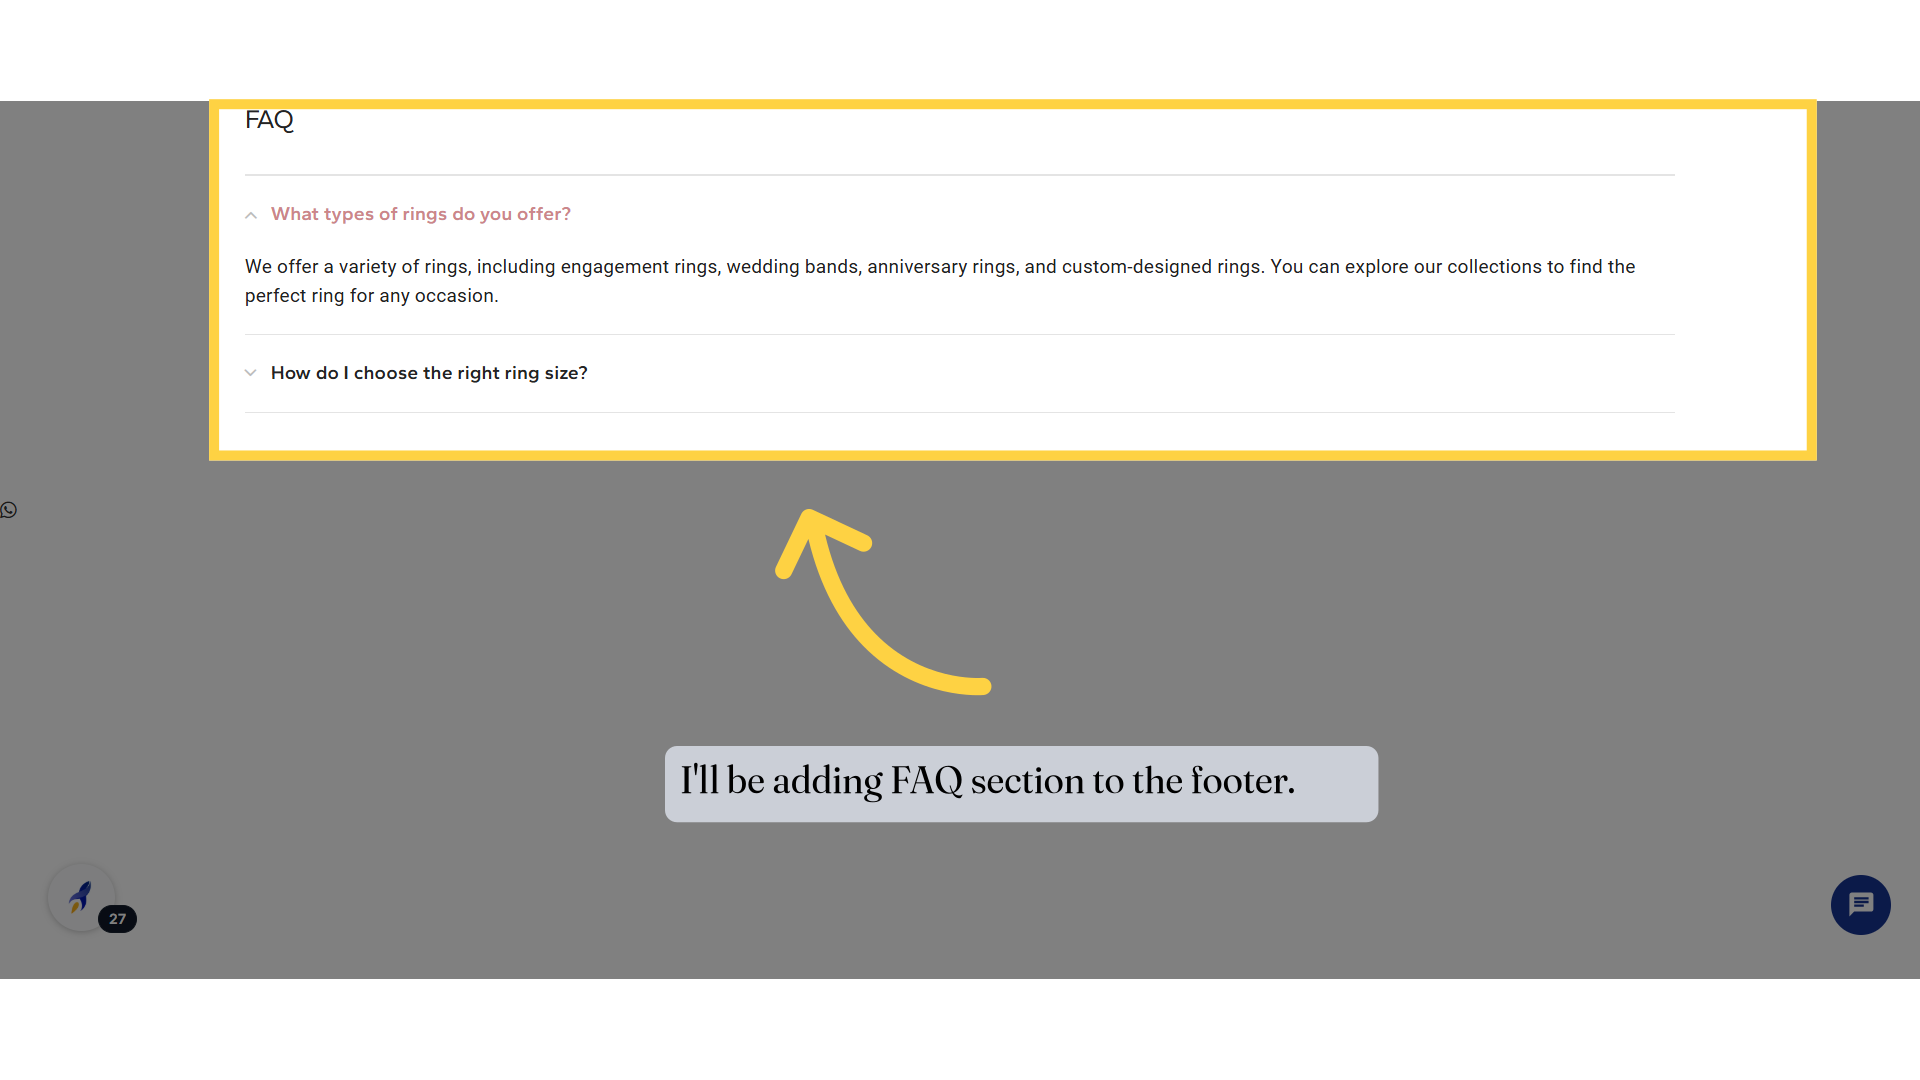
27. I'll be adding FAQ section to the footer.
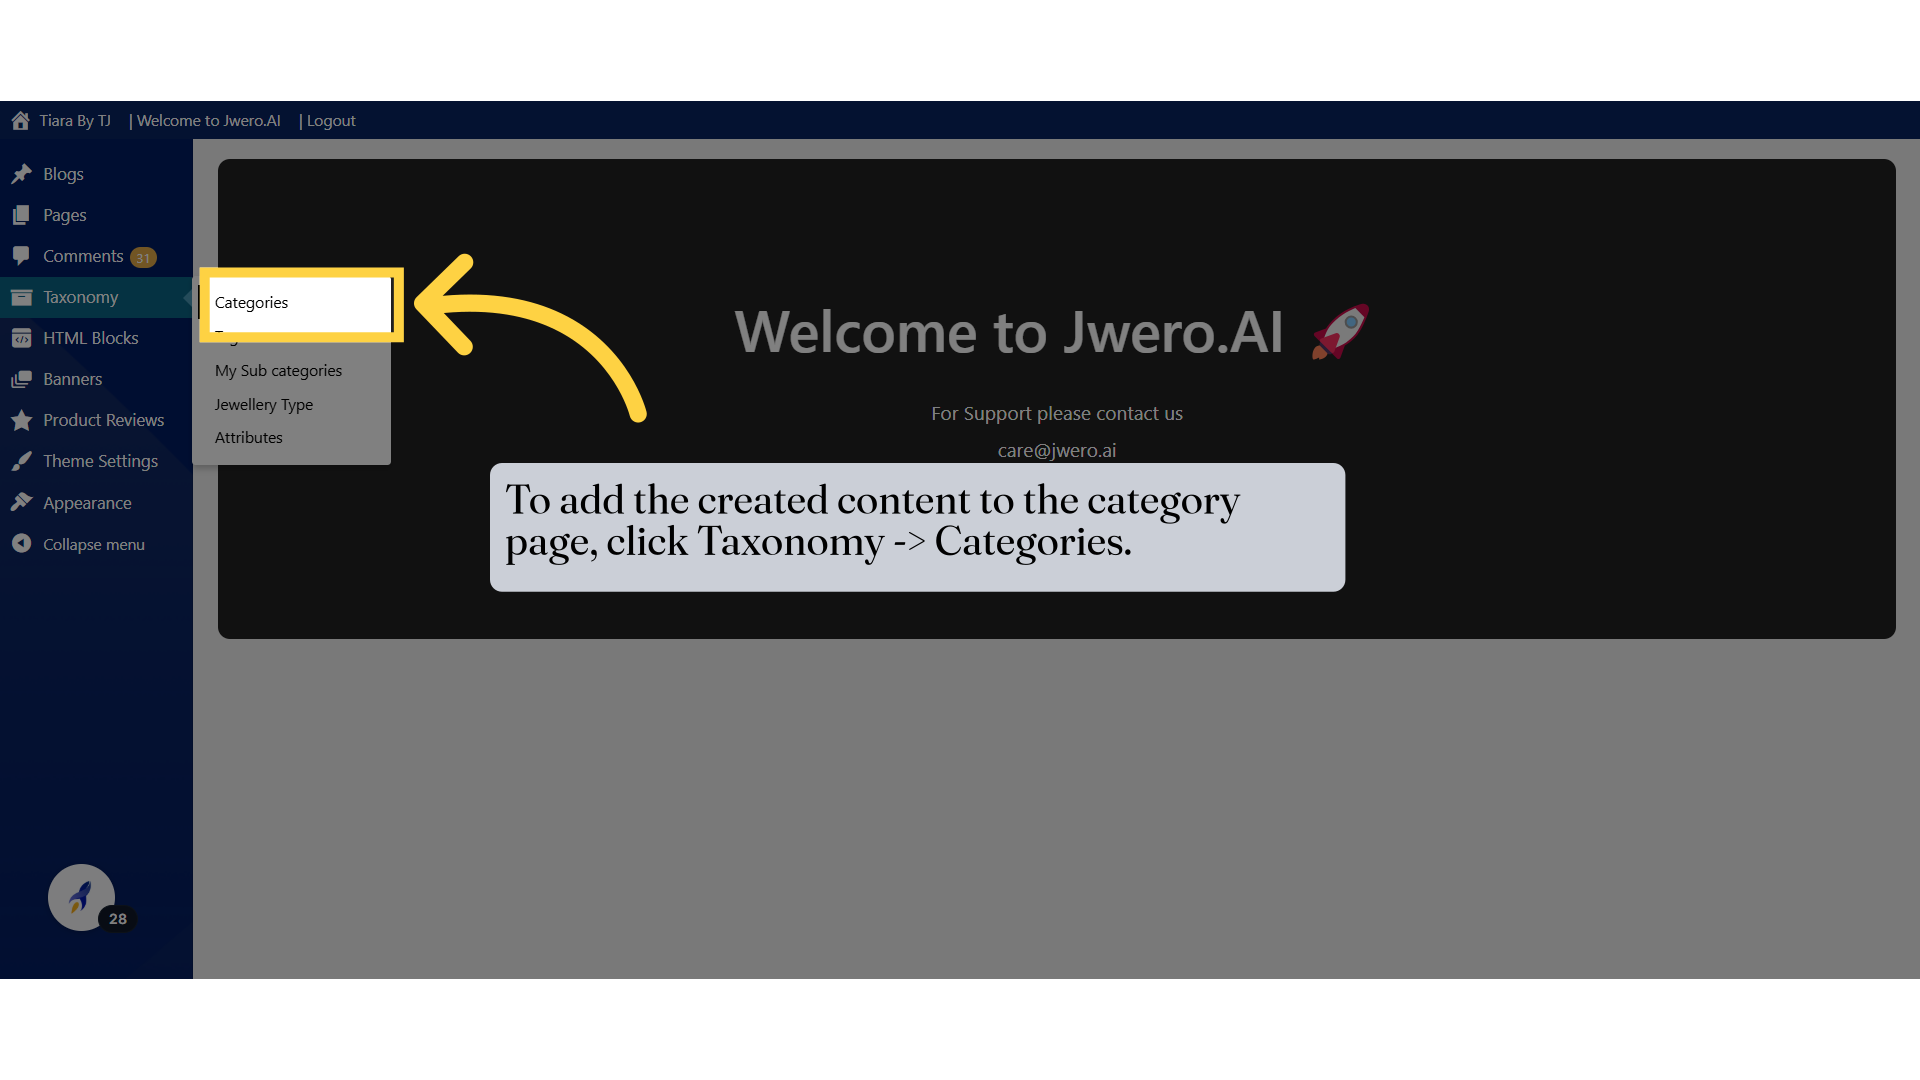
28. To add the created content to the category page, click Taxonomy -> Categories.
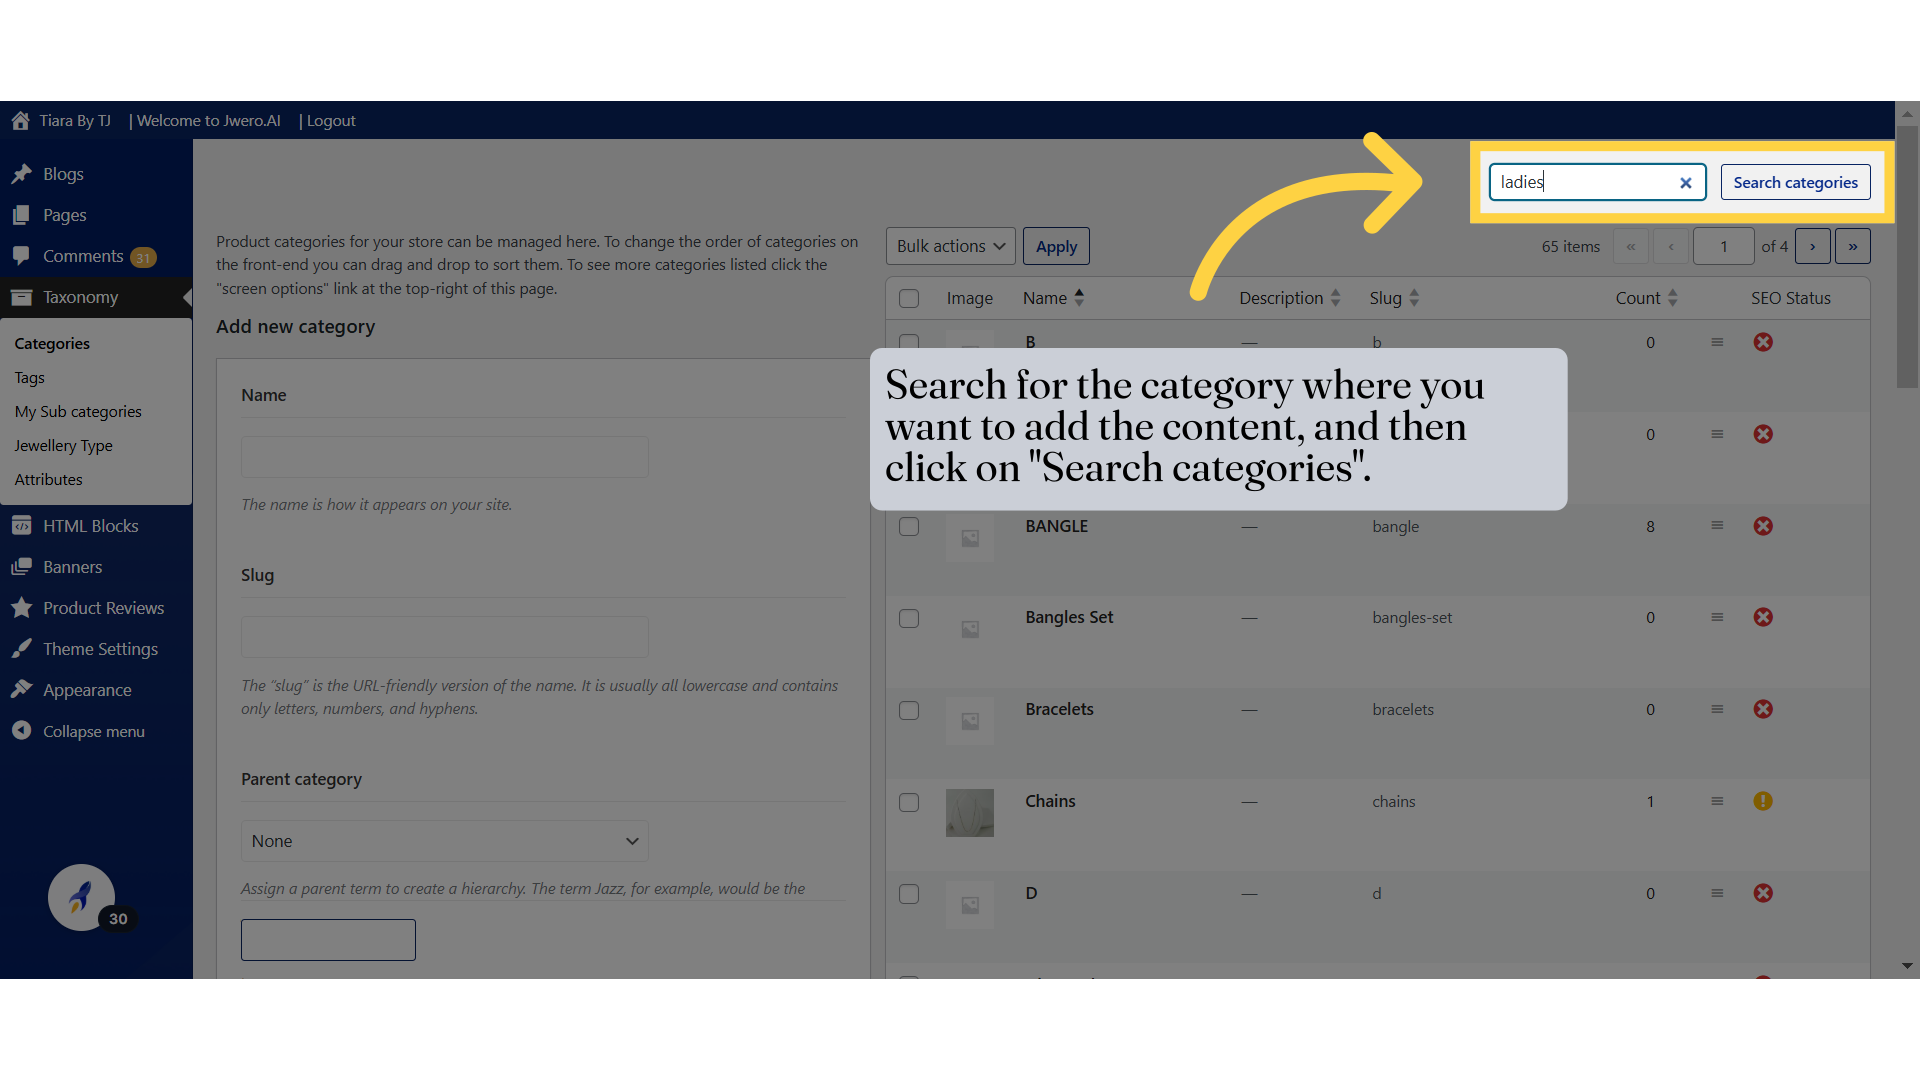
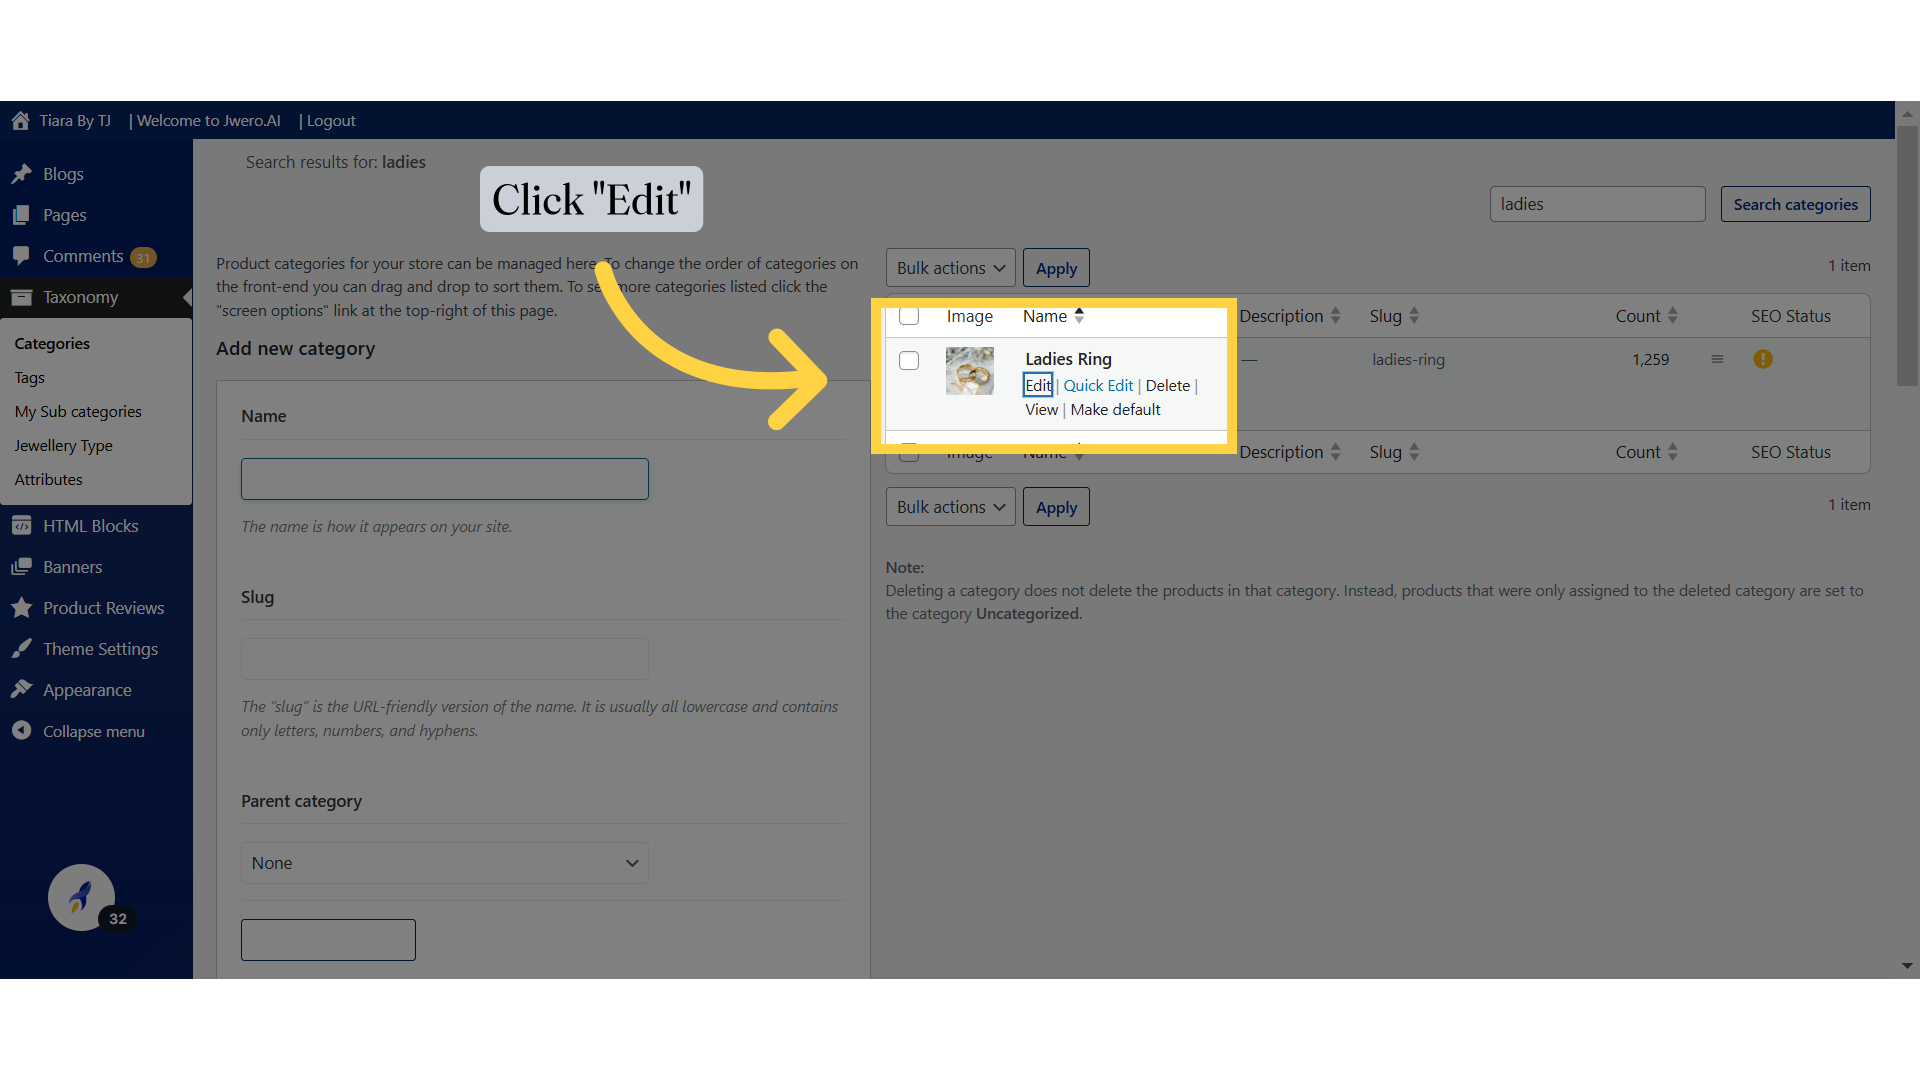
29. Search for the category where you want to add the content, and then click on "Search categories".
30. Click "Edit"
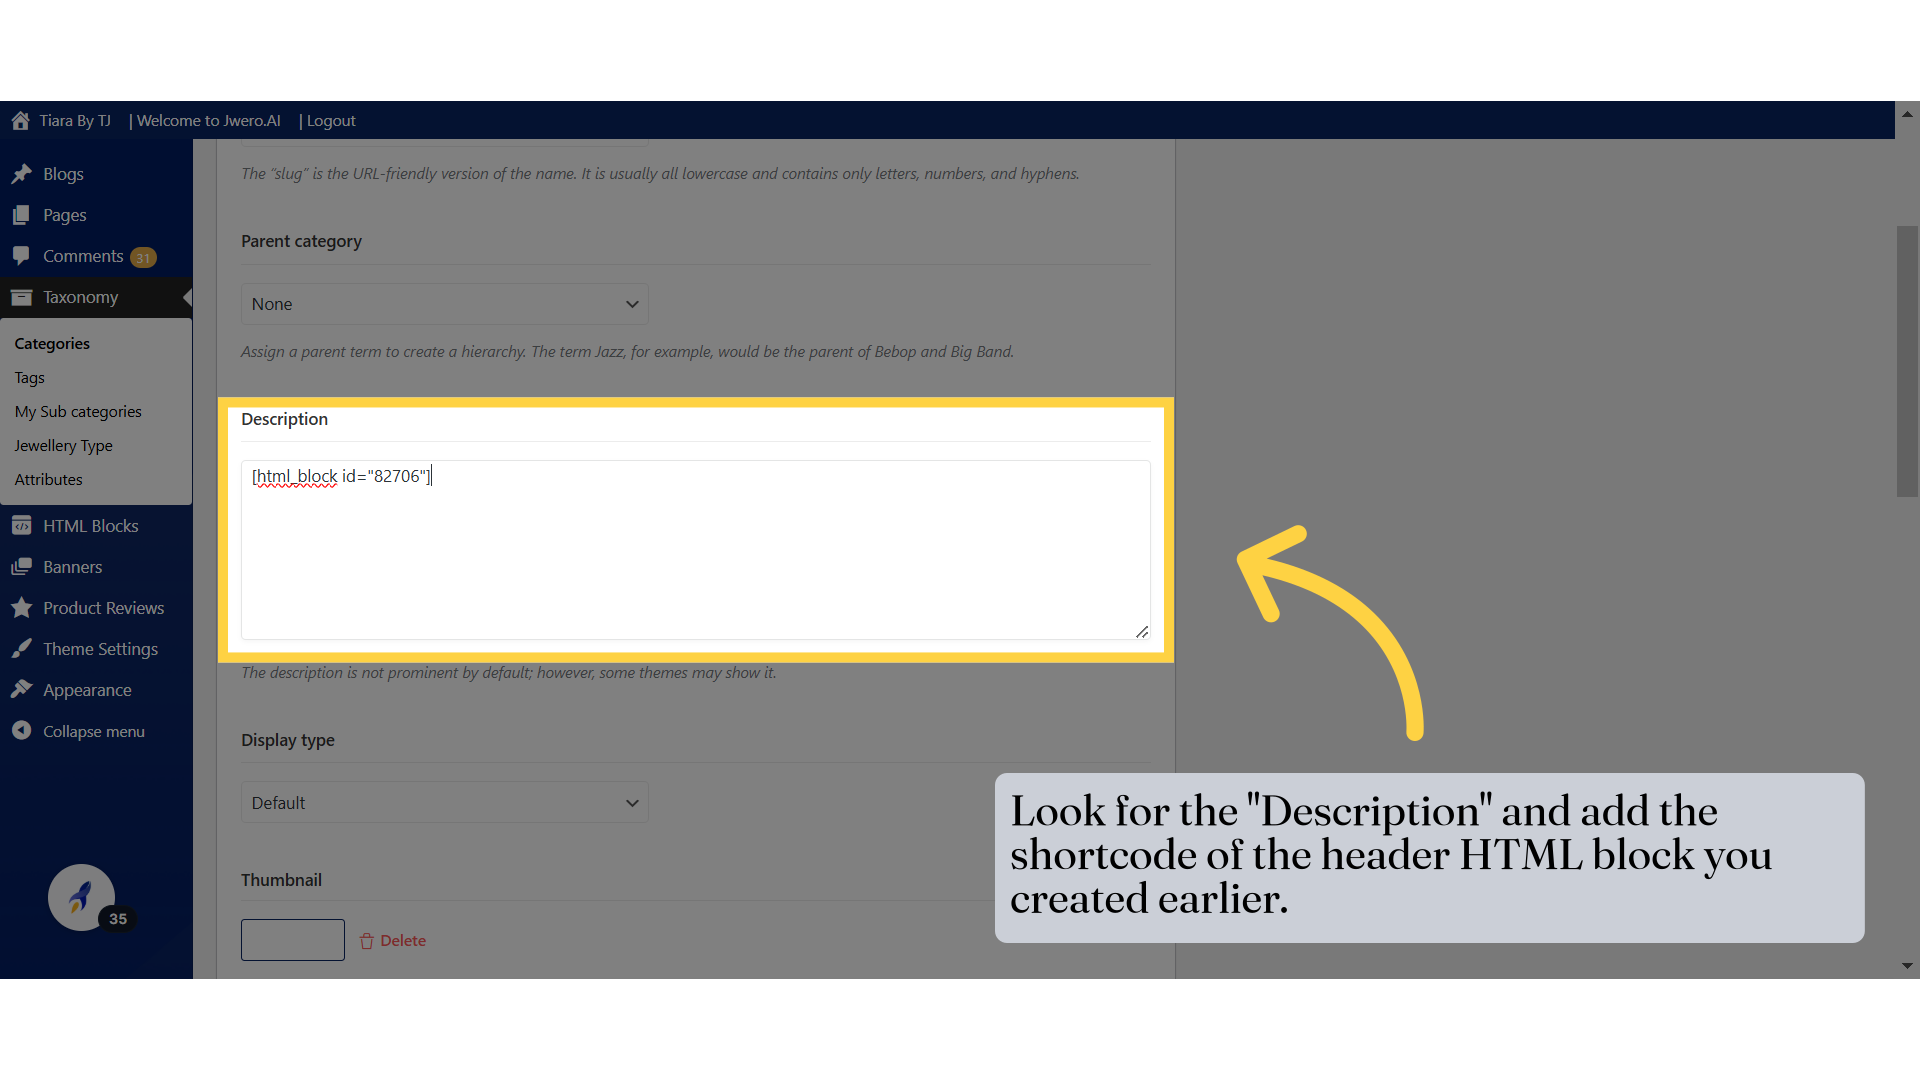
31. Enter the HTML Block shortcode.
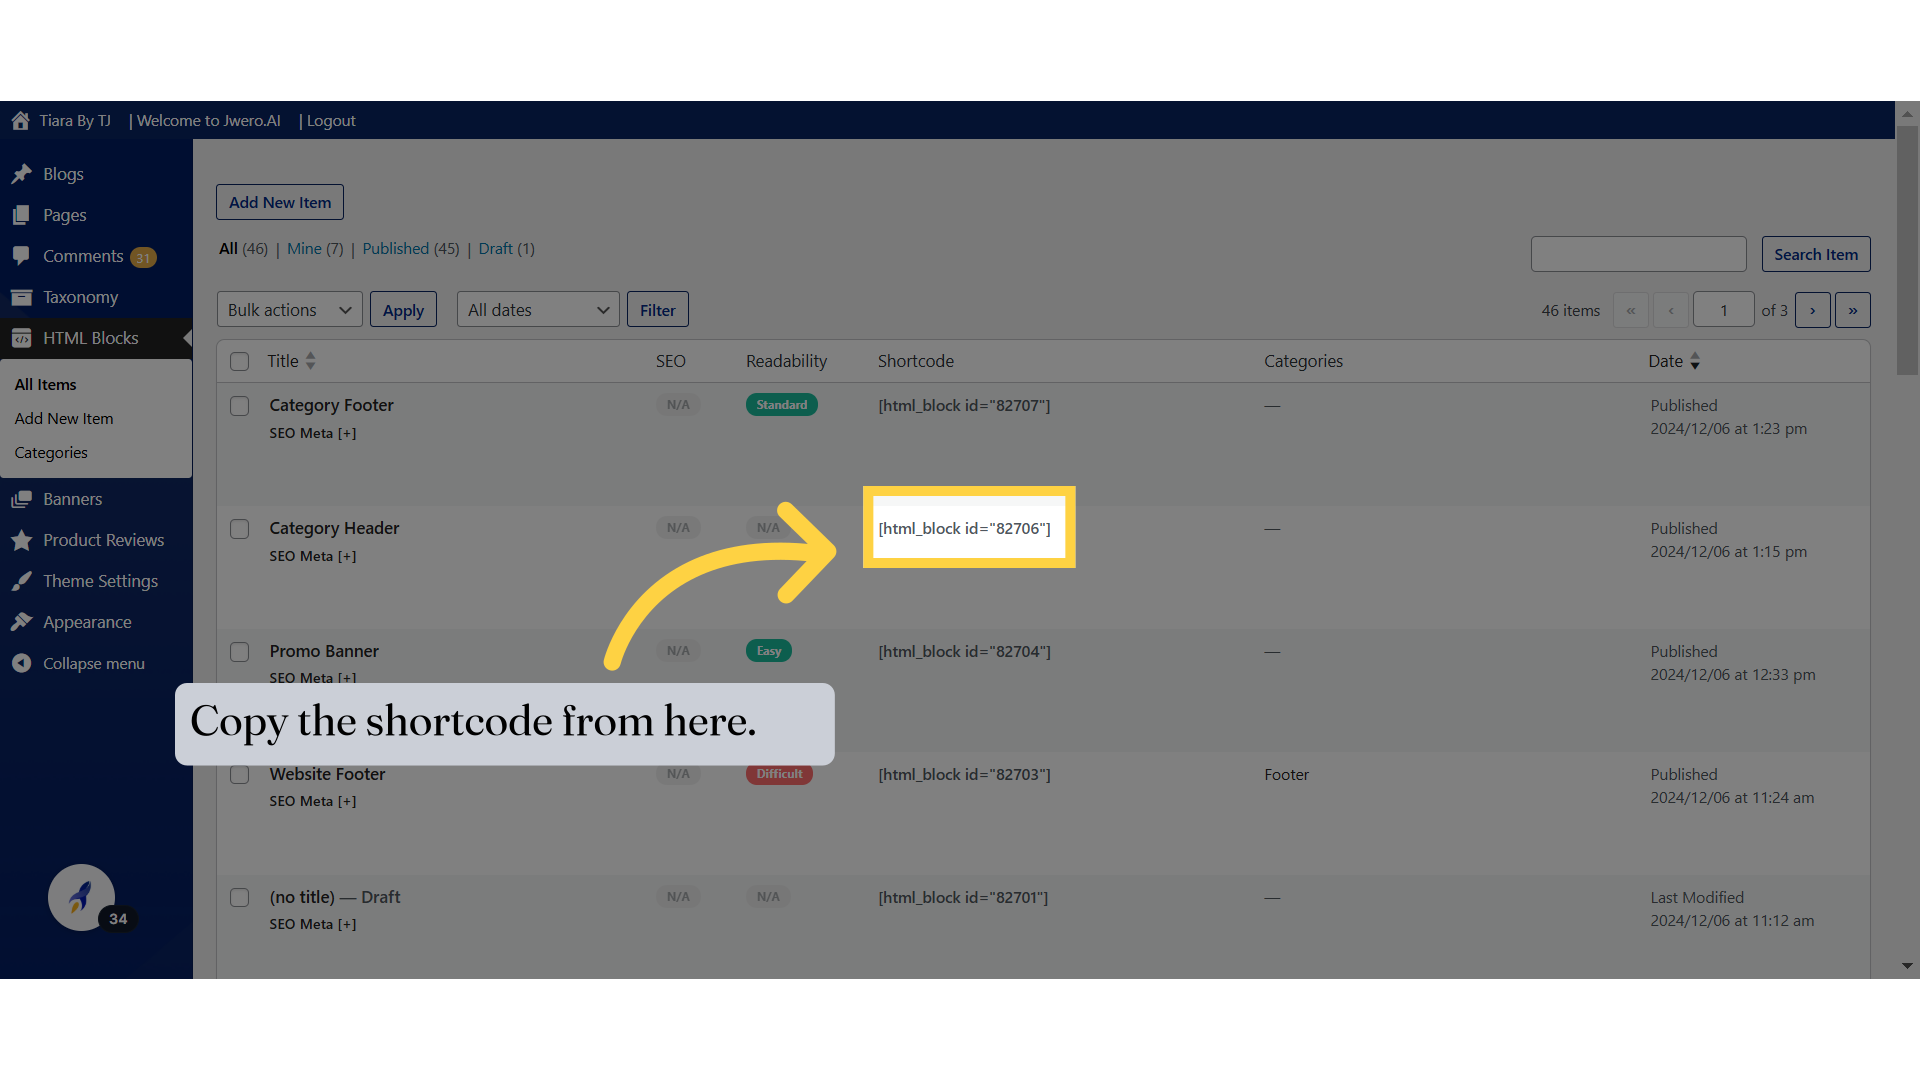
32. Copy the shortcode from here.
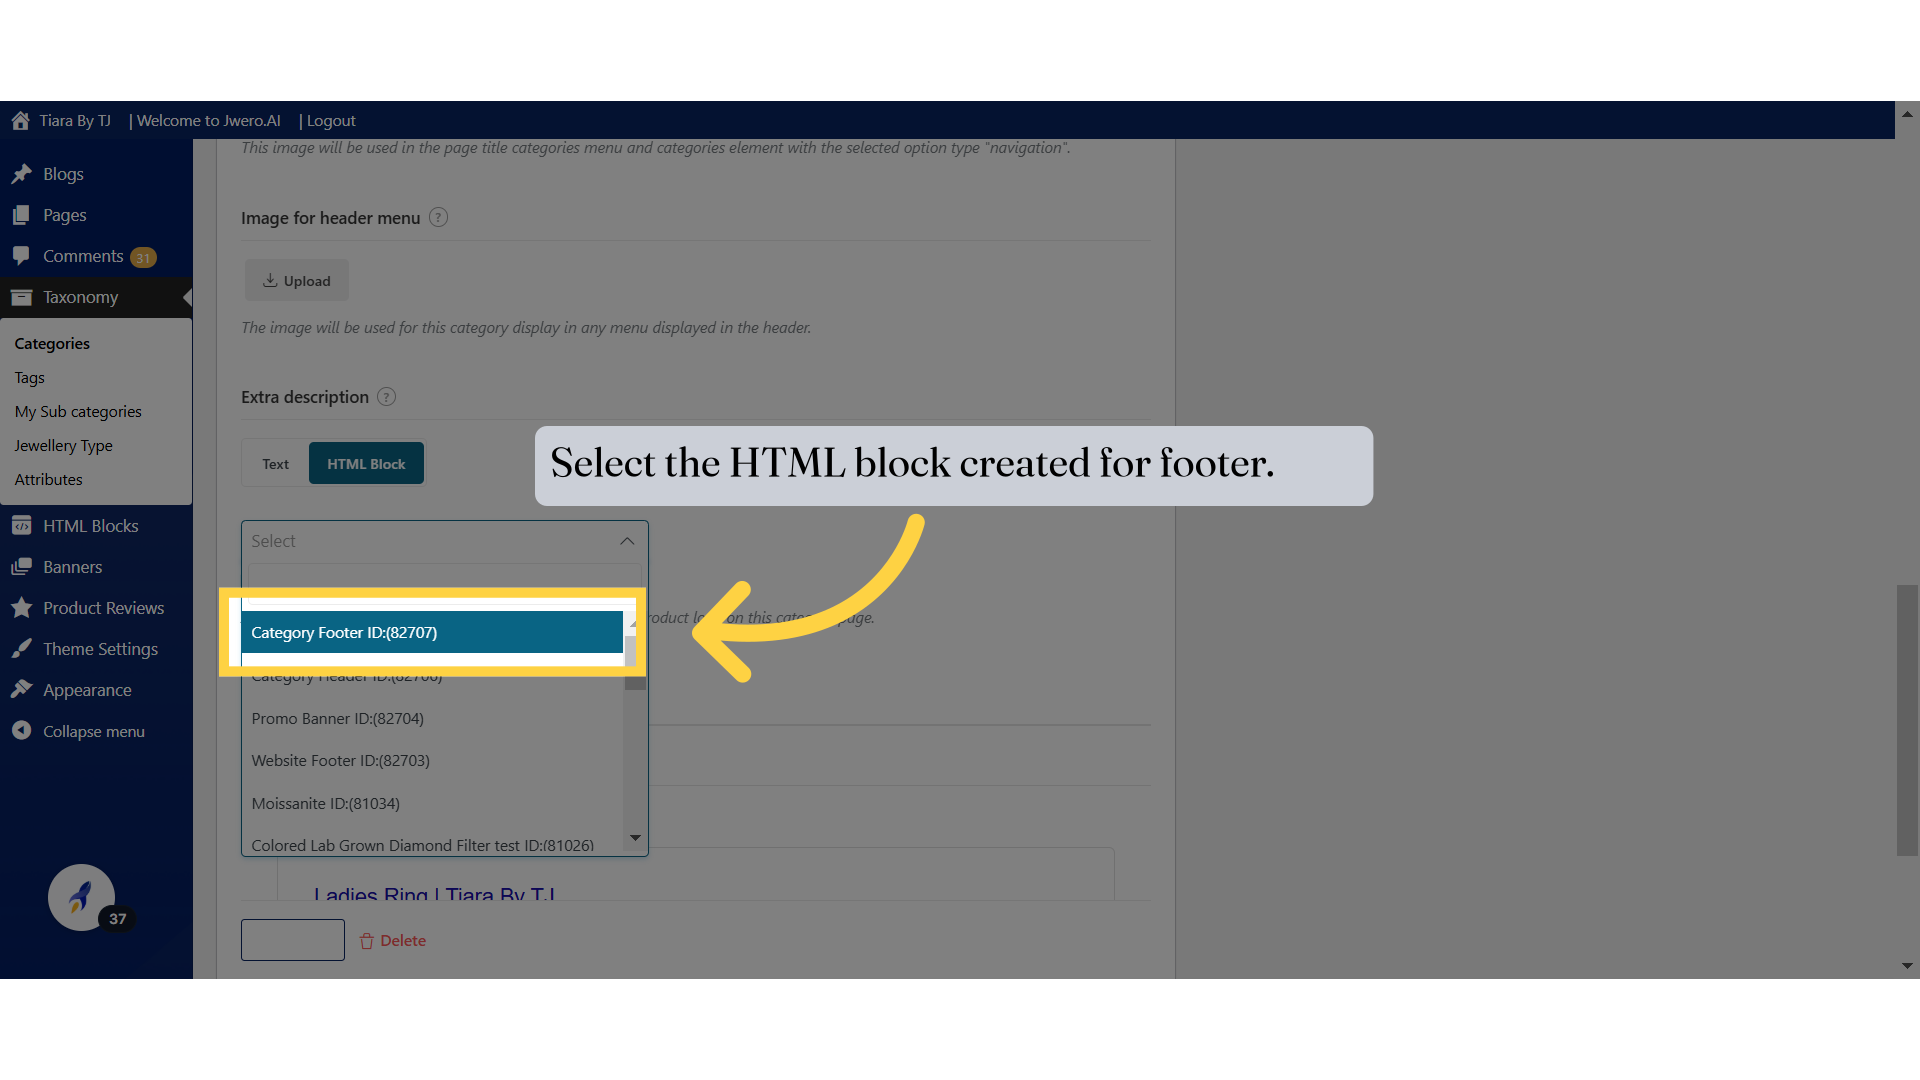
33. To add the footer content move down to "Extra description".
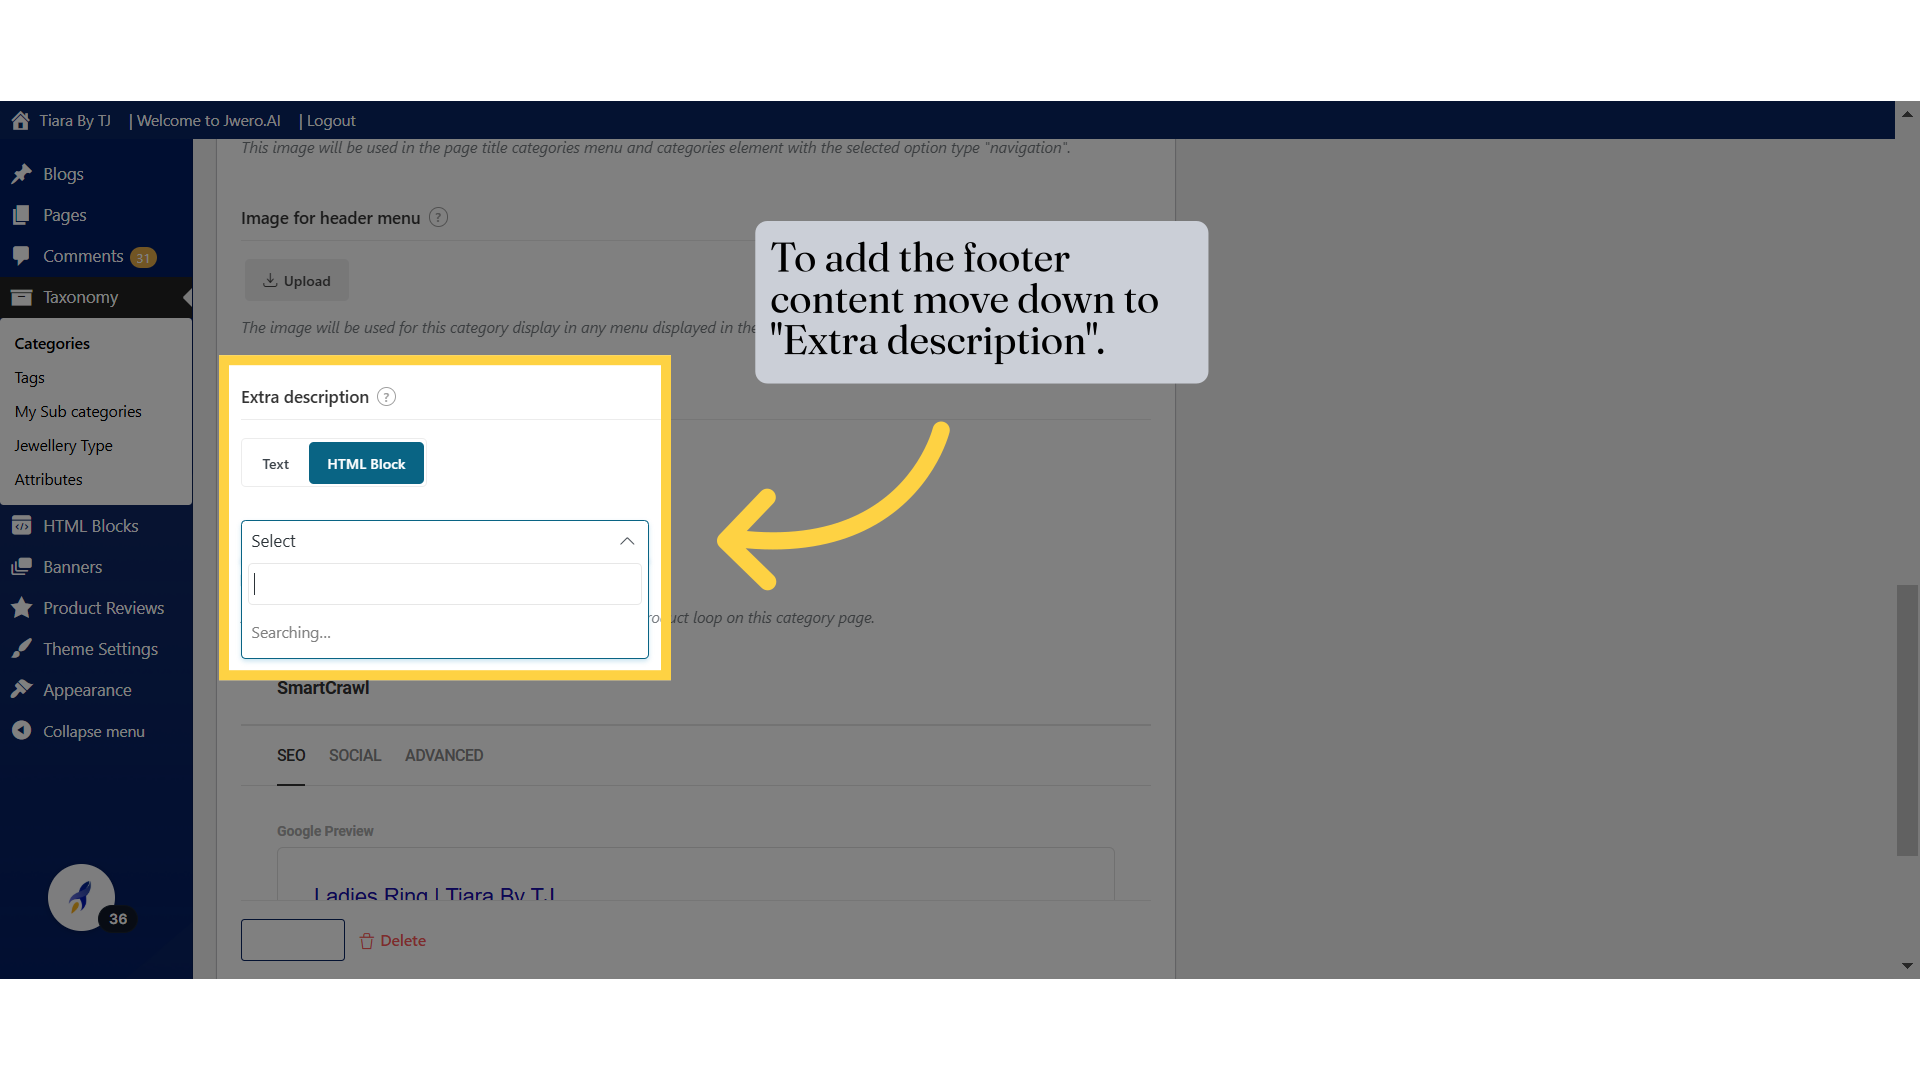
34. Select the HTML block created for footer.
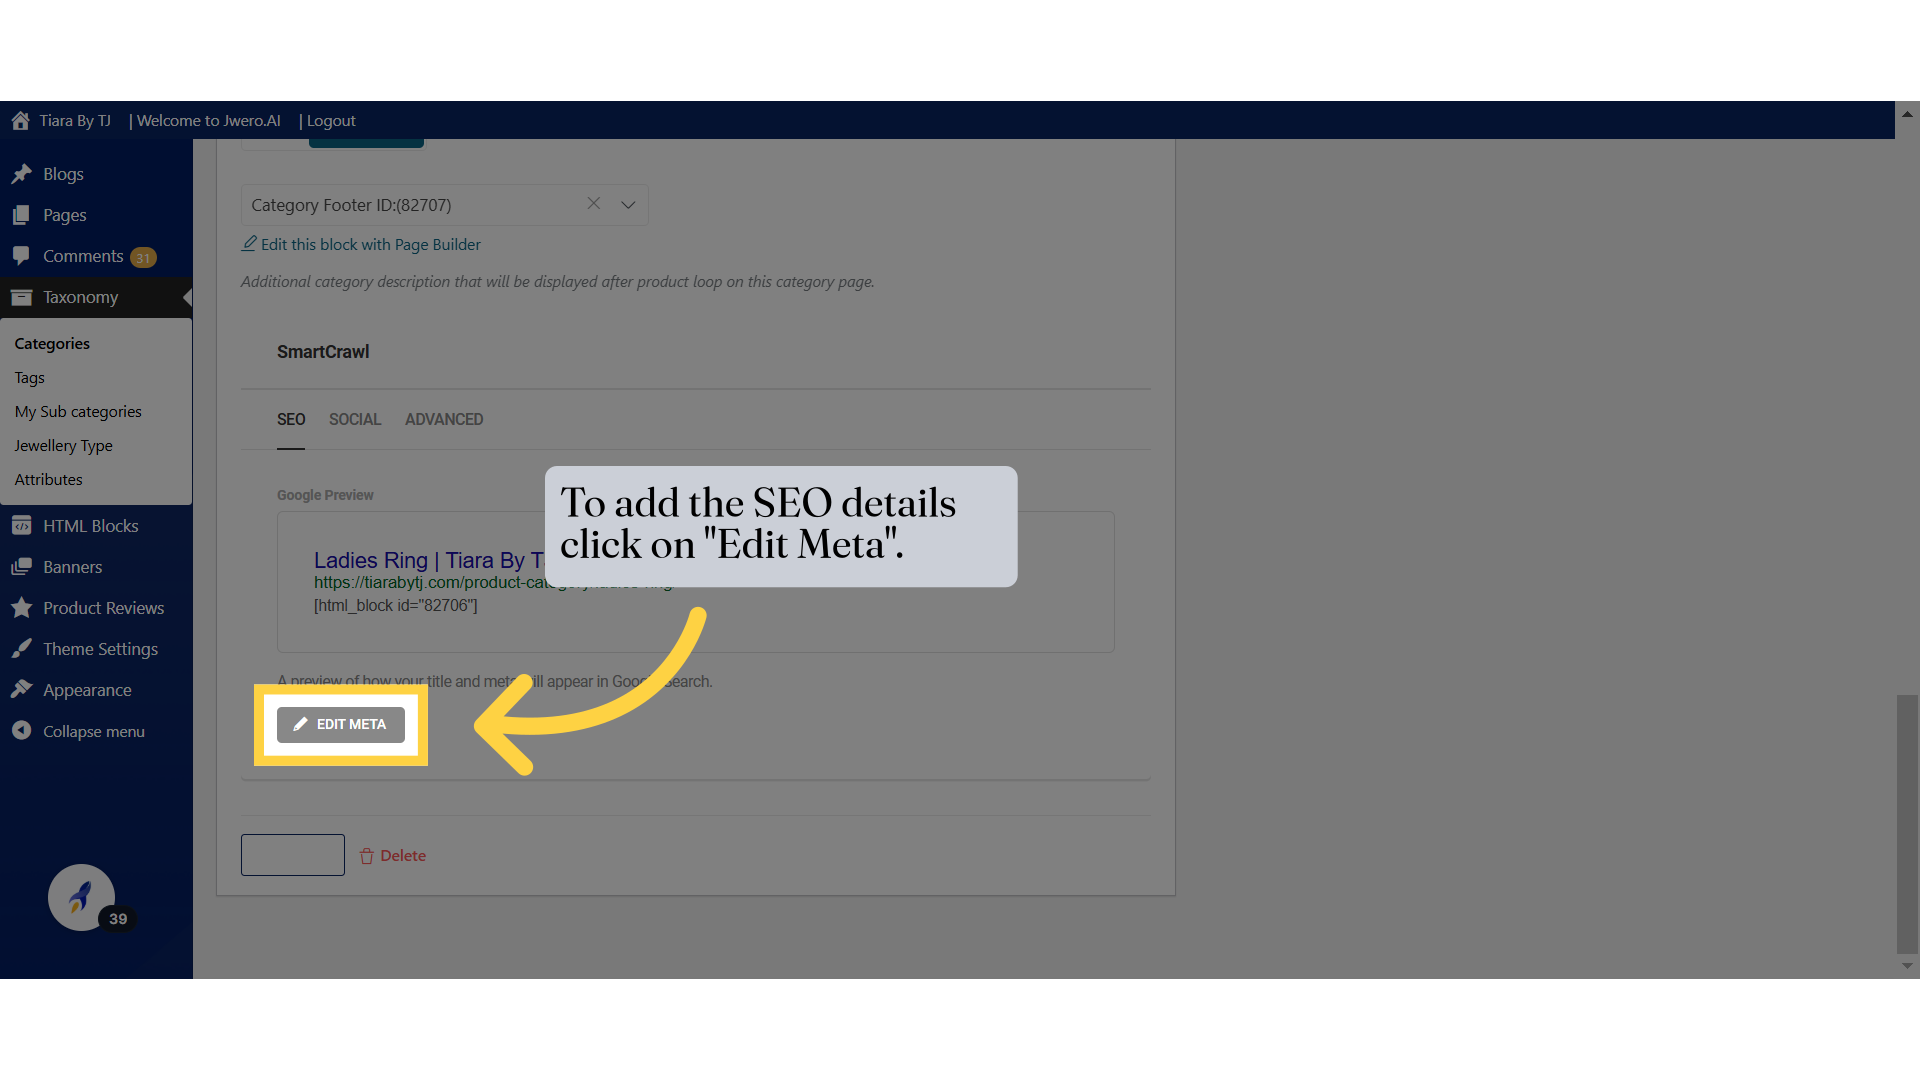
35. To add the SEO details click on "Edit Meta".
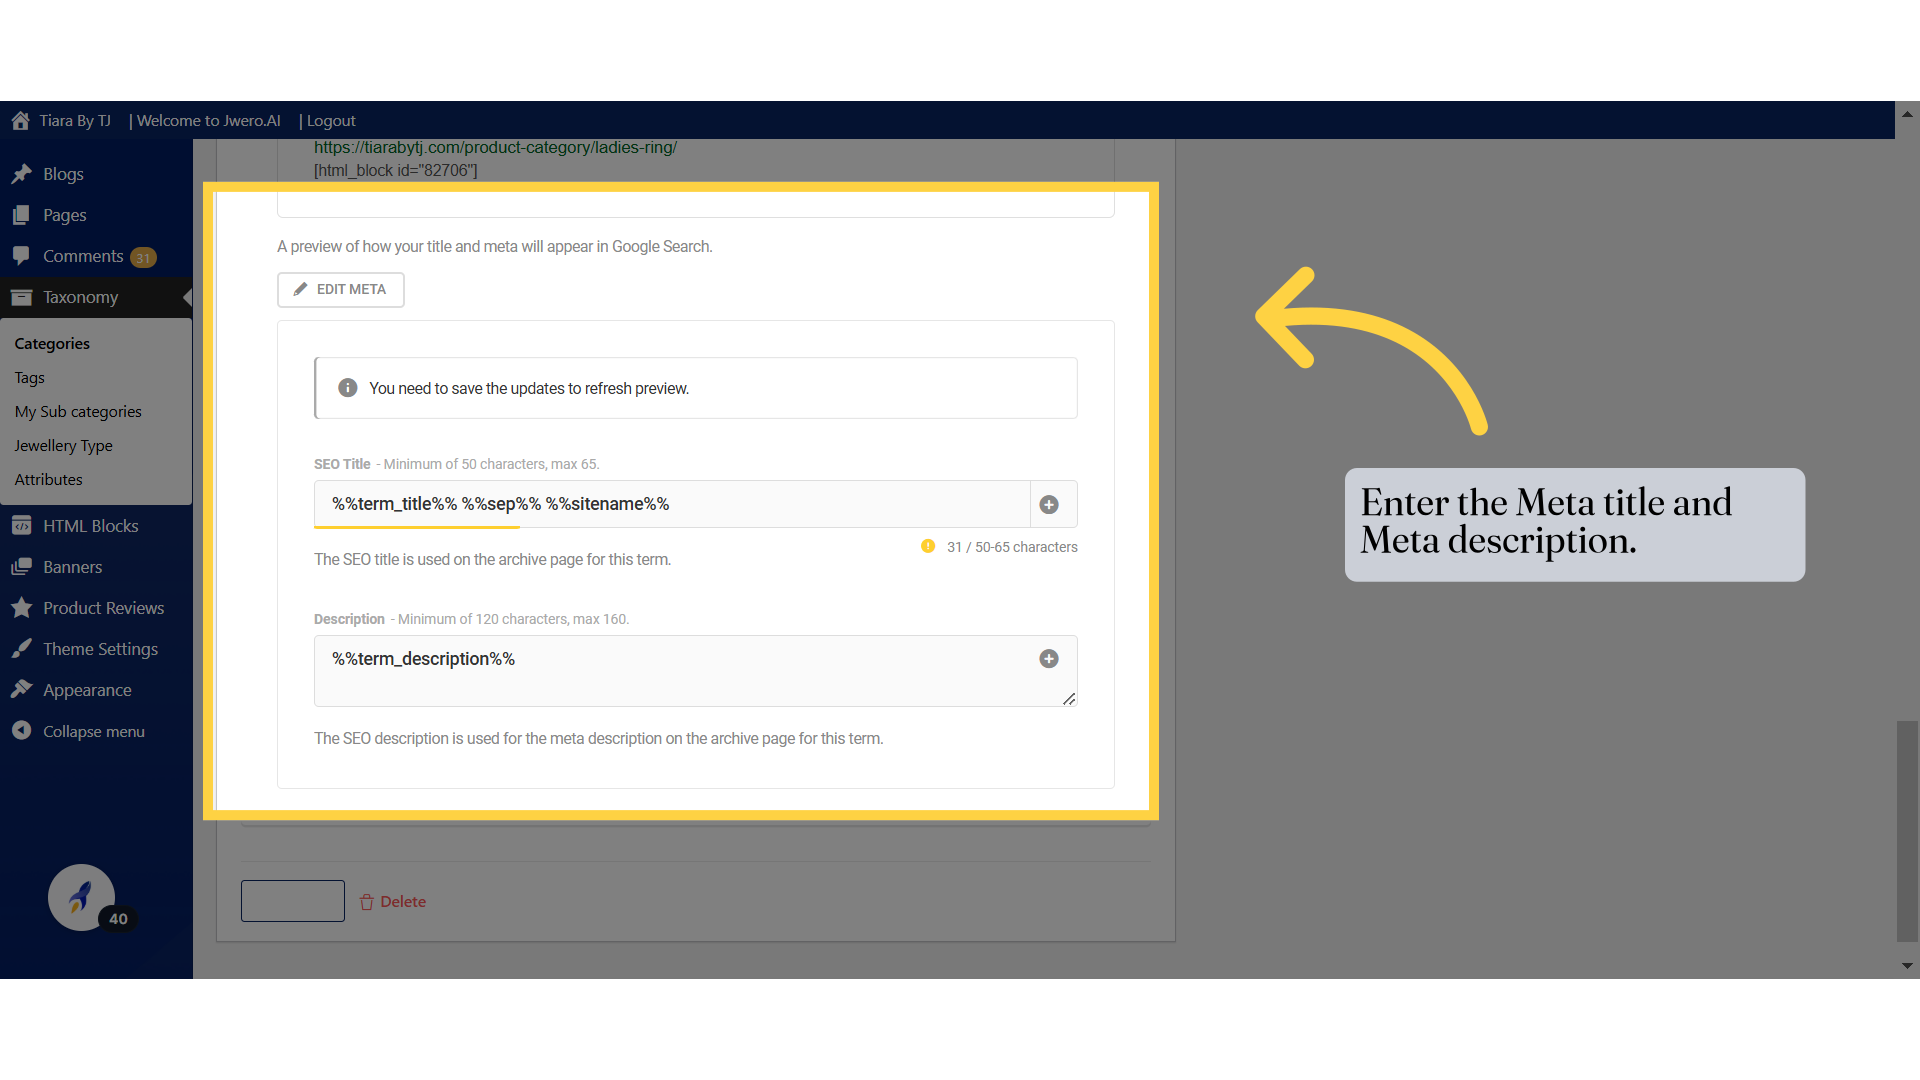
36. Enter the Meta title and Meta description.
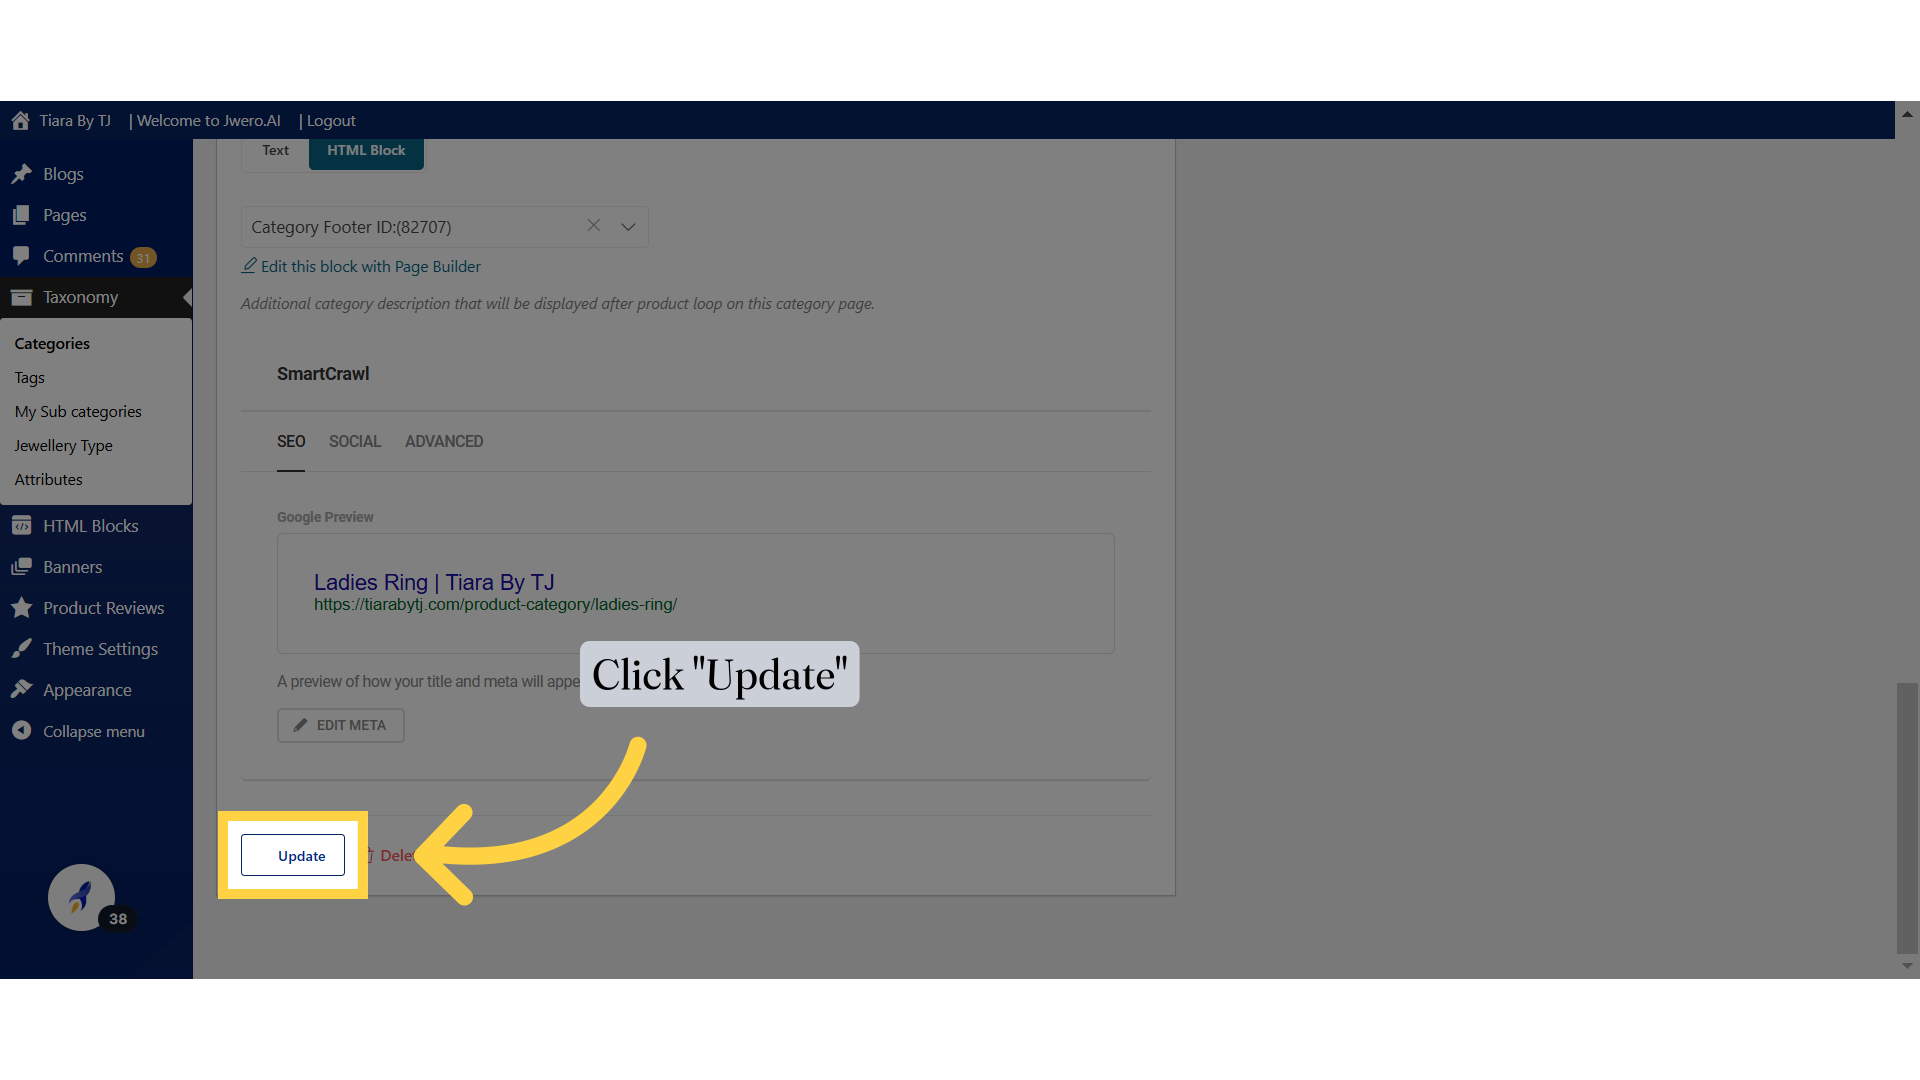
37. Click "Update"
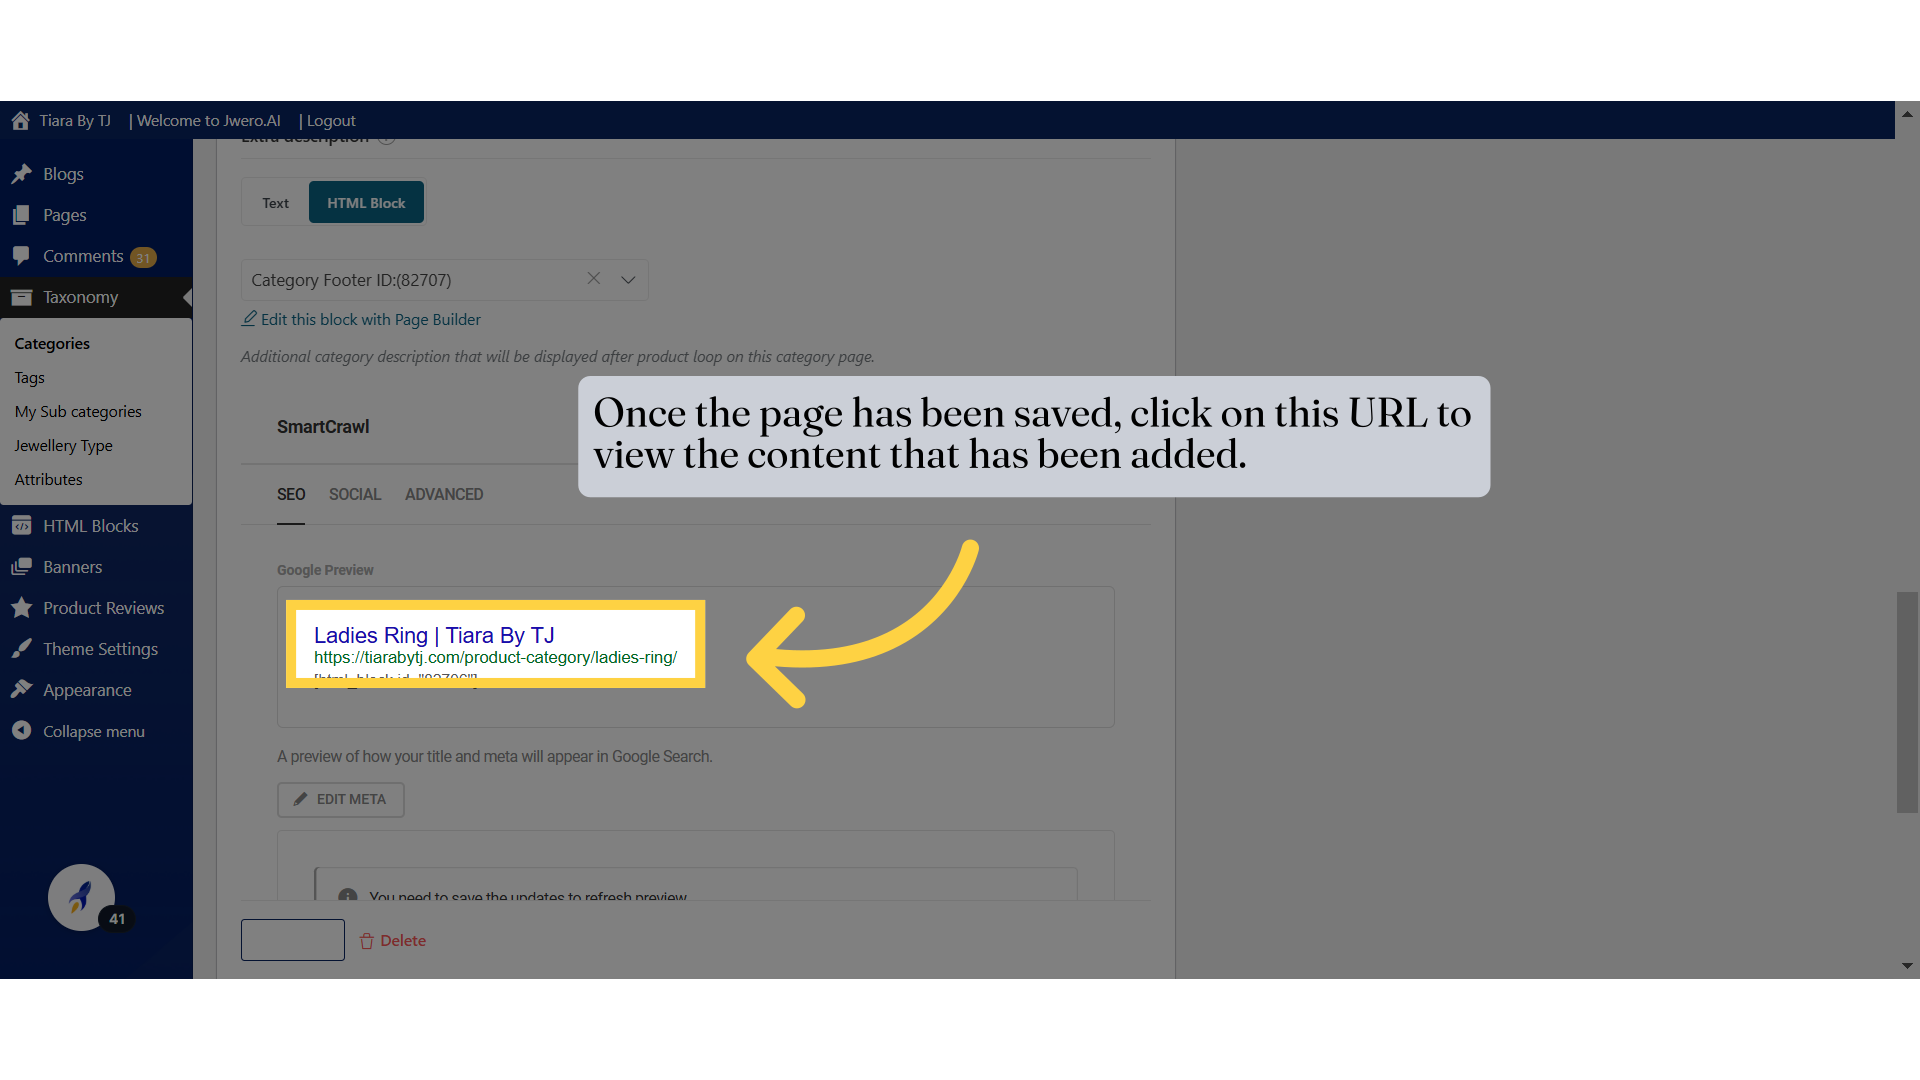
38. Once the page has been saved, click on this URL to view the content that has been added.
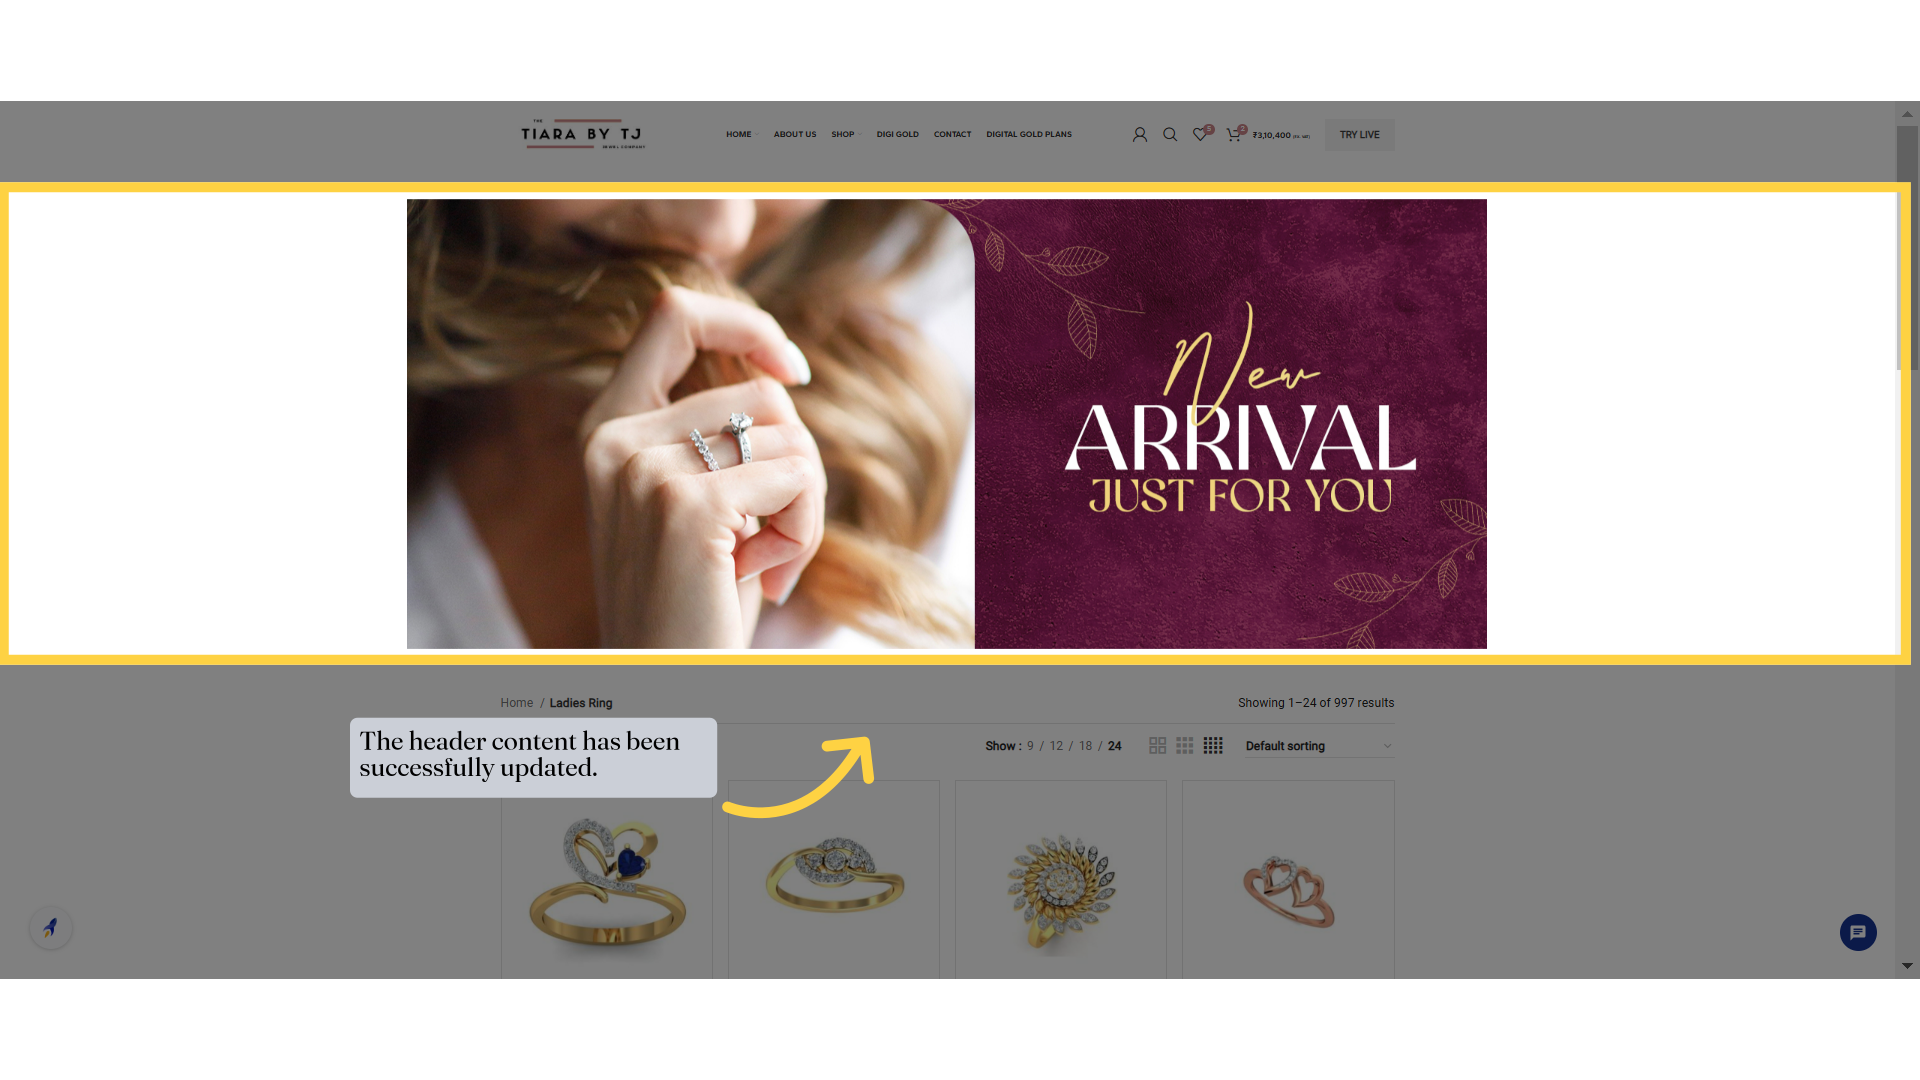
39. The header content has been successfully updated.
40. Also, the footer content has been added in the footer section.