Trigger on Email
1. Email Trigger
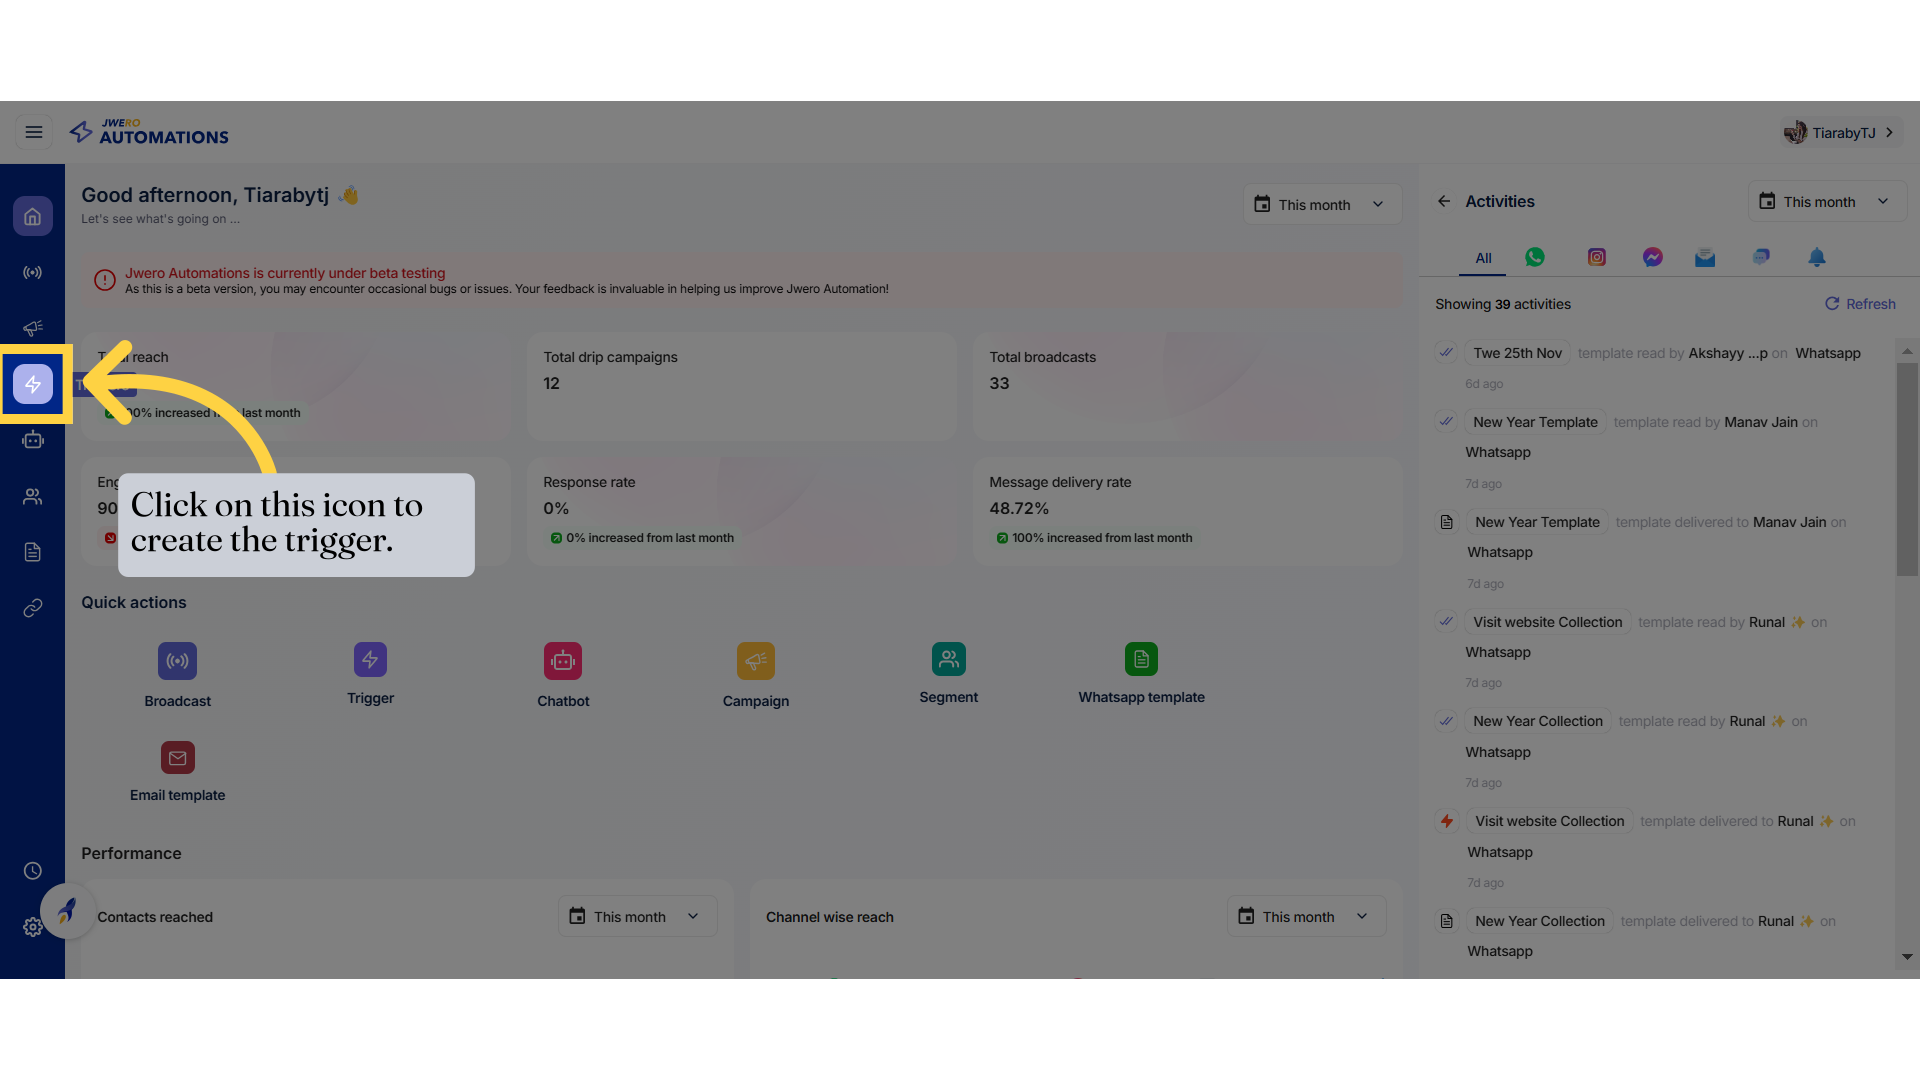
2. Click on this icon to create the trigger.
Click on the designated area.
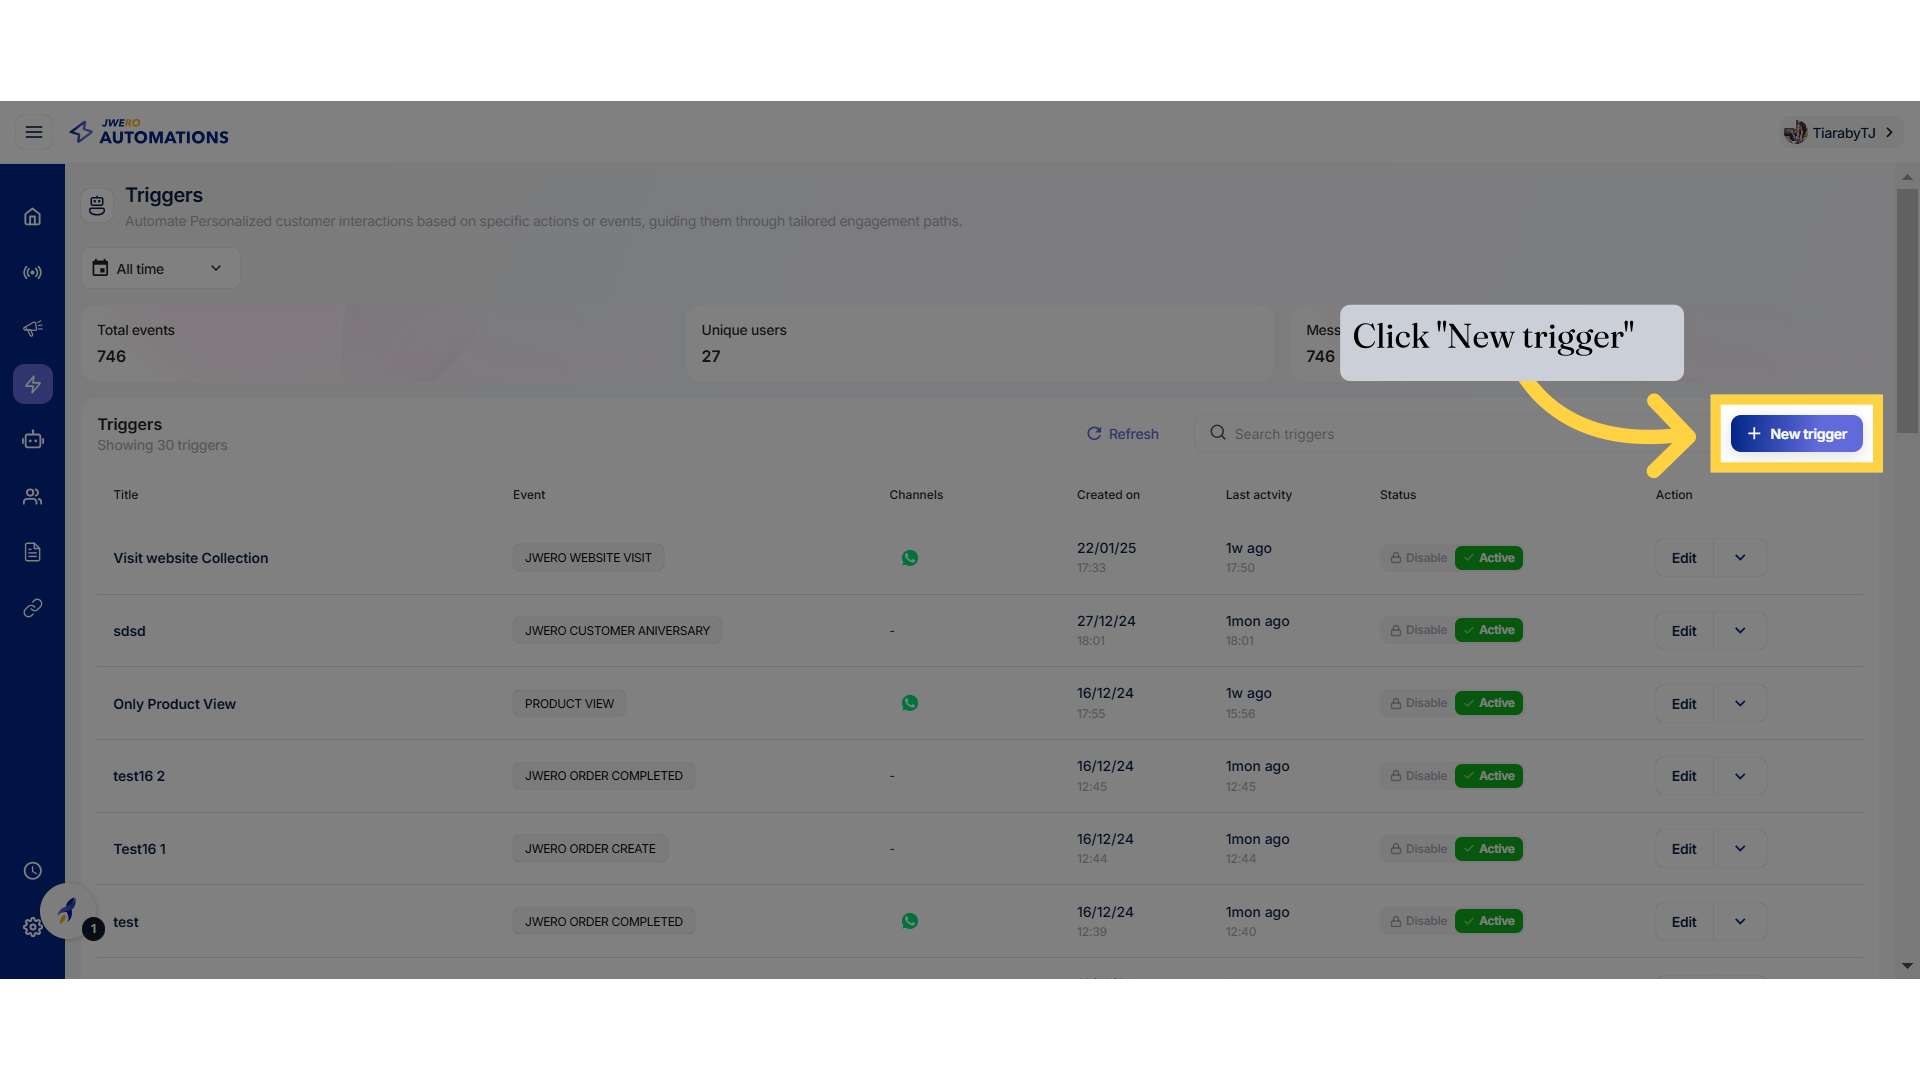
3. Click "New trigger"
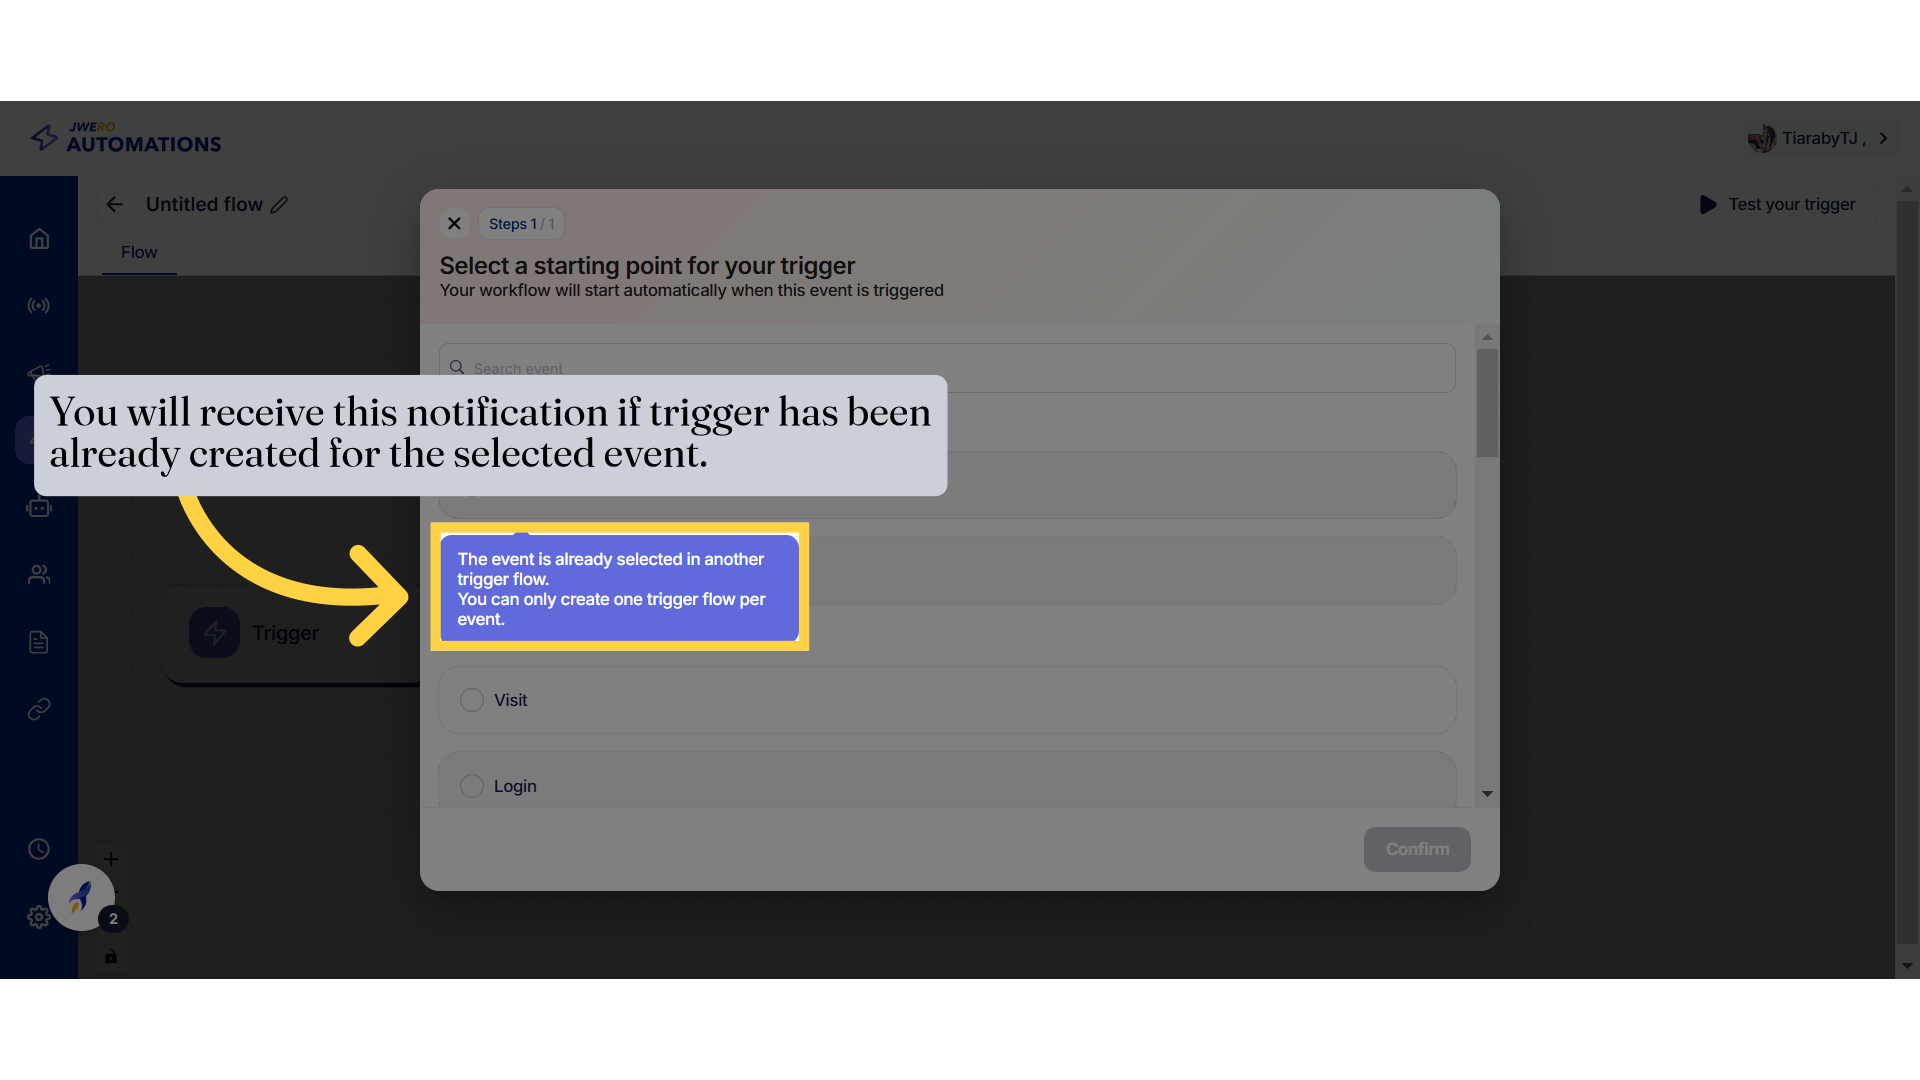
4. Notification if trigger has been already created for the selected event.
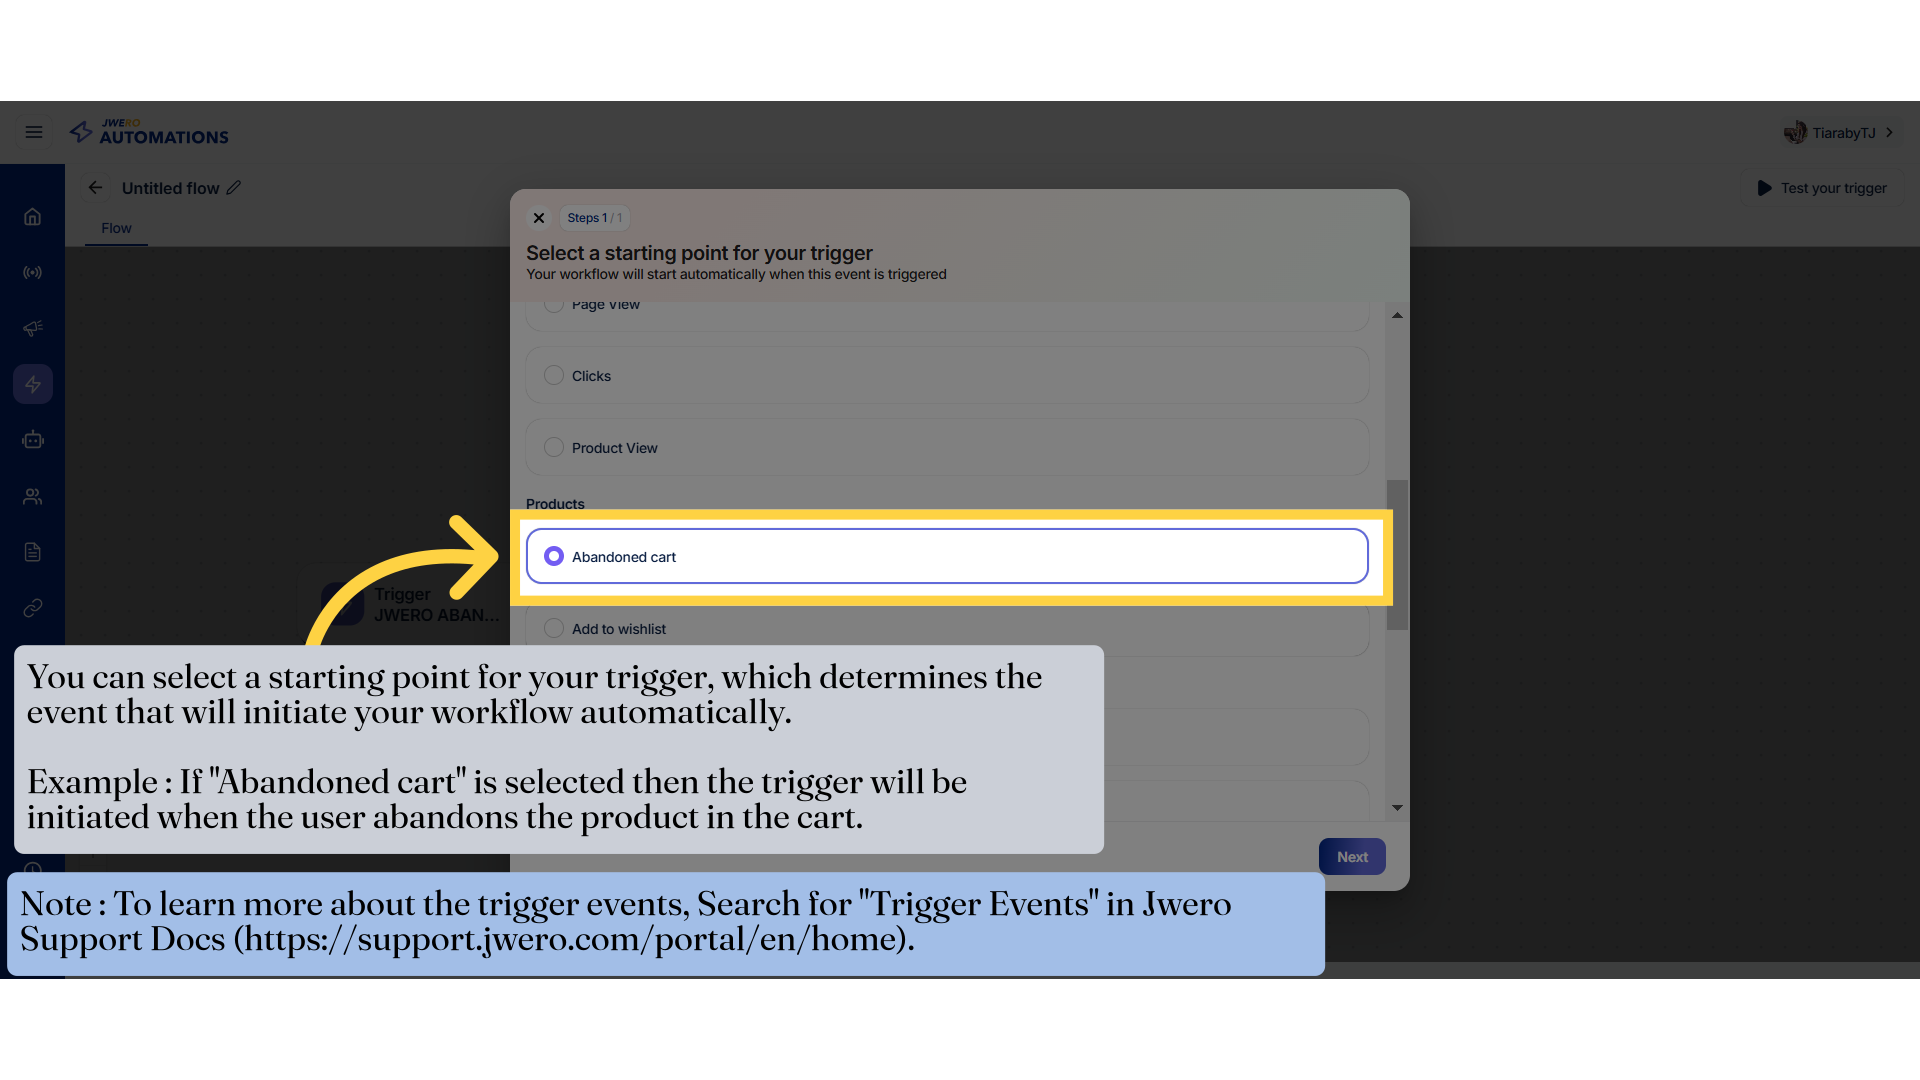
5. Trigger event
Jwero Support Docs - https://support.jwero.com/portal/en/home
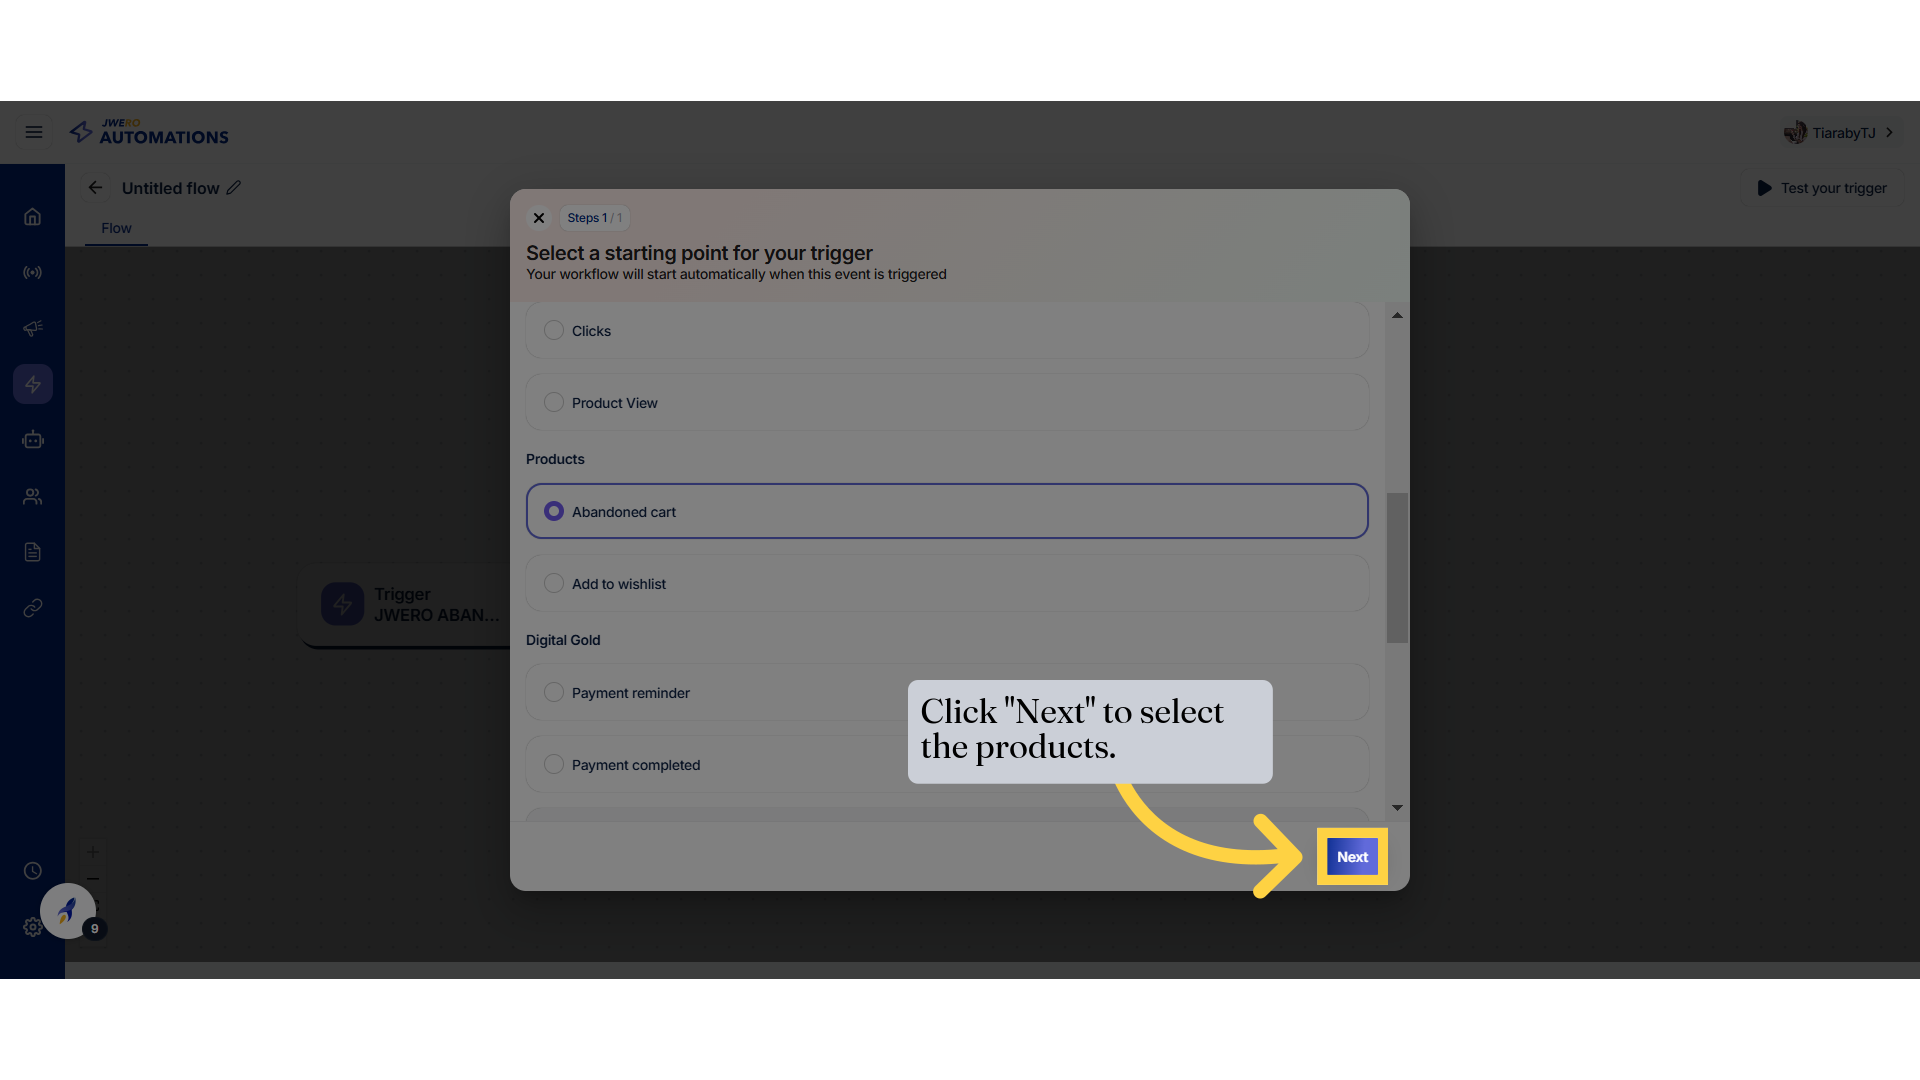
6. Click "Next" to select the products.
7. Select the Products

8. Click on "Confirm" after selecting product/category
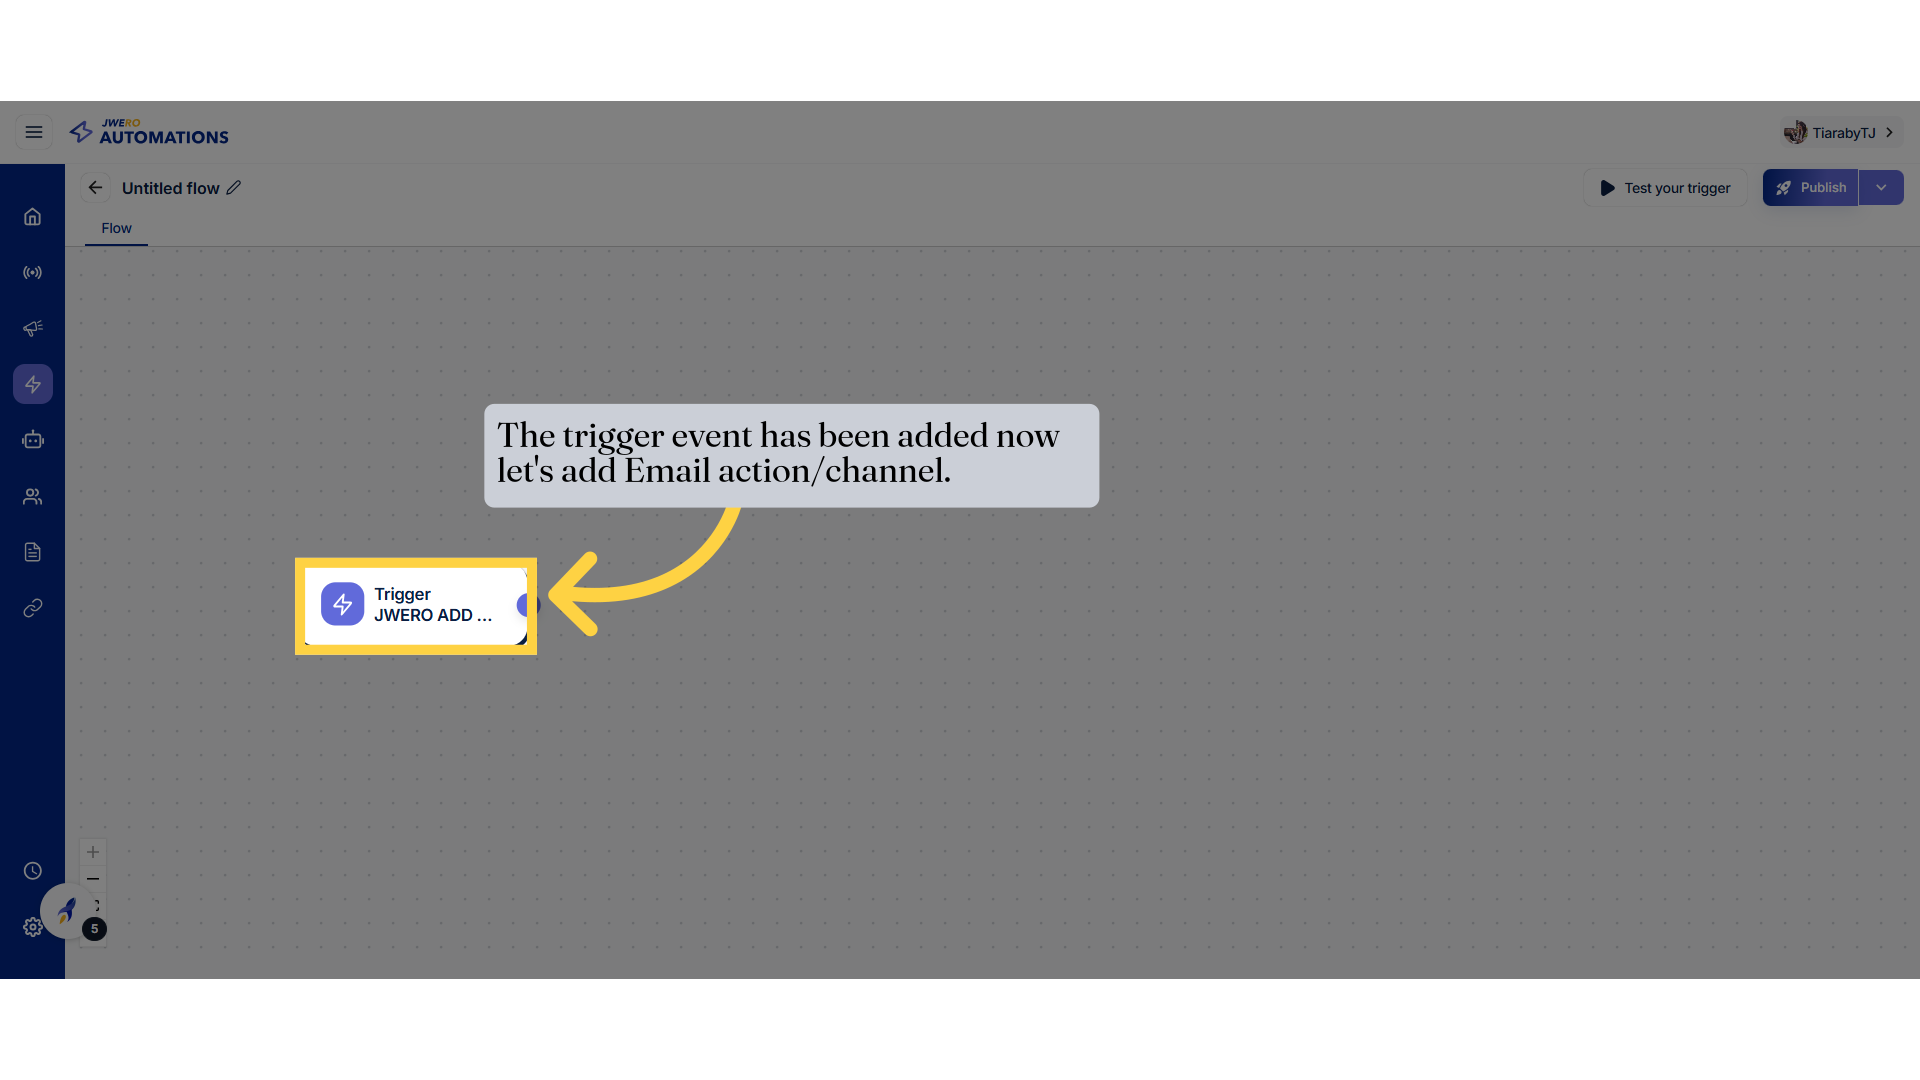
9. Starting point of the trigger
10. Click on the "+" icon.
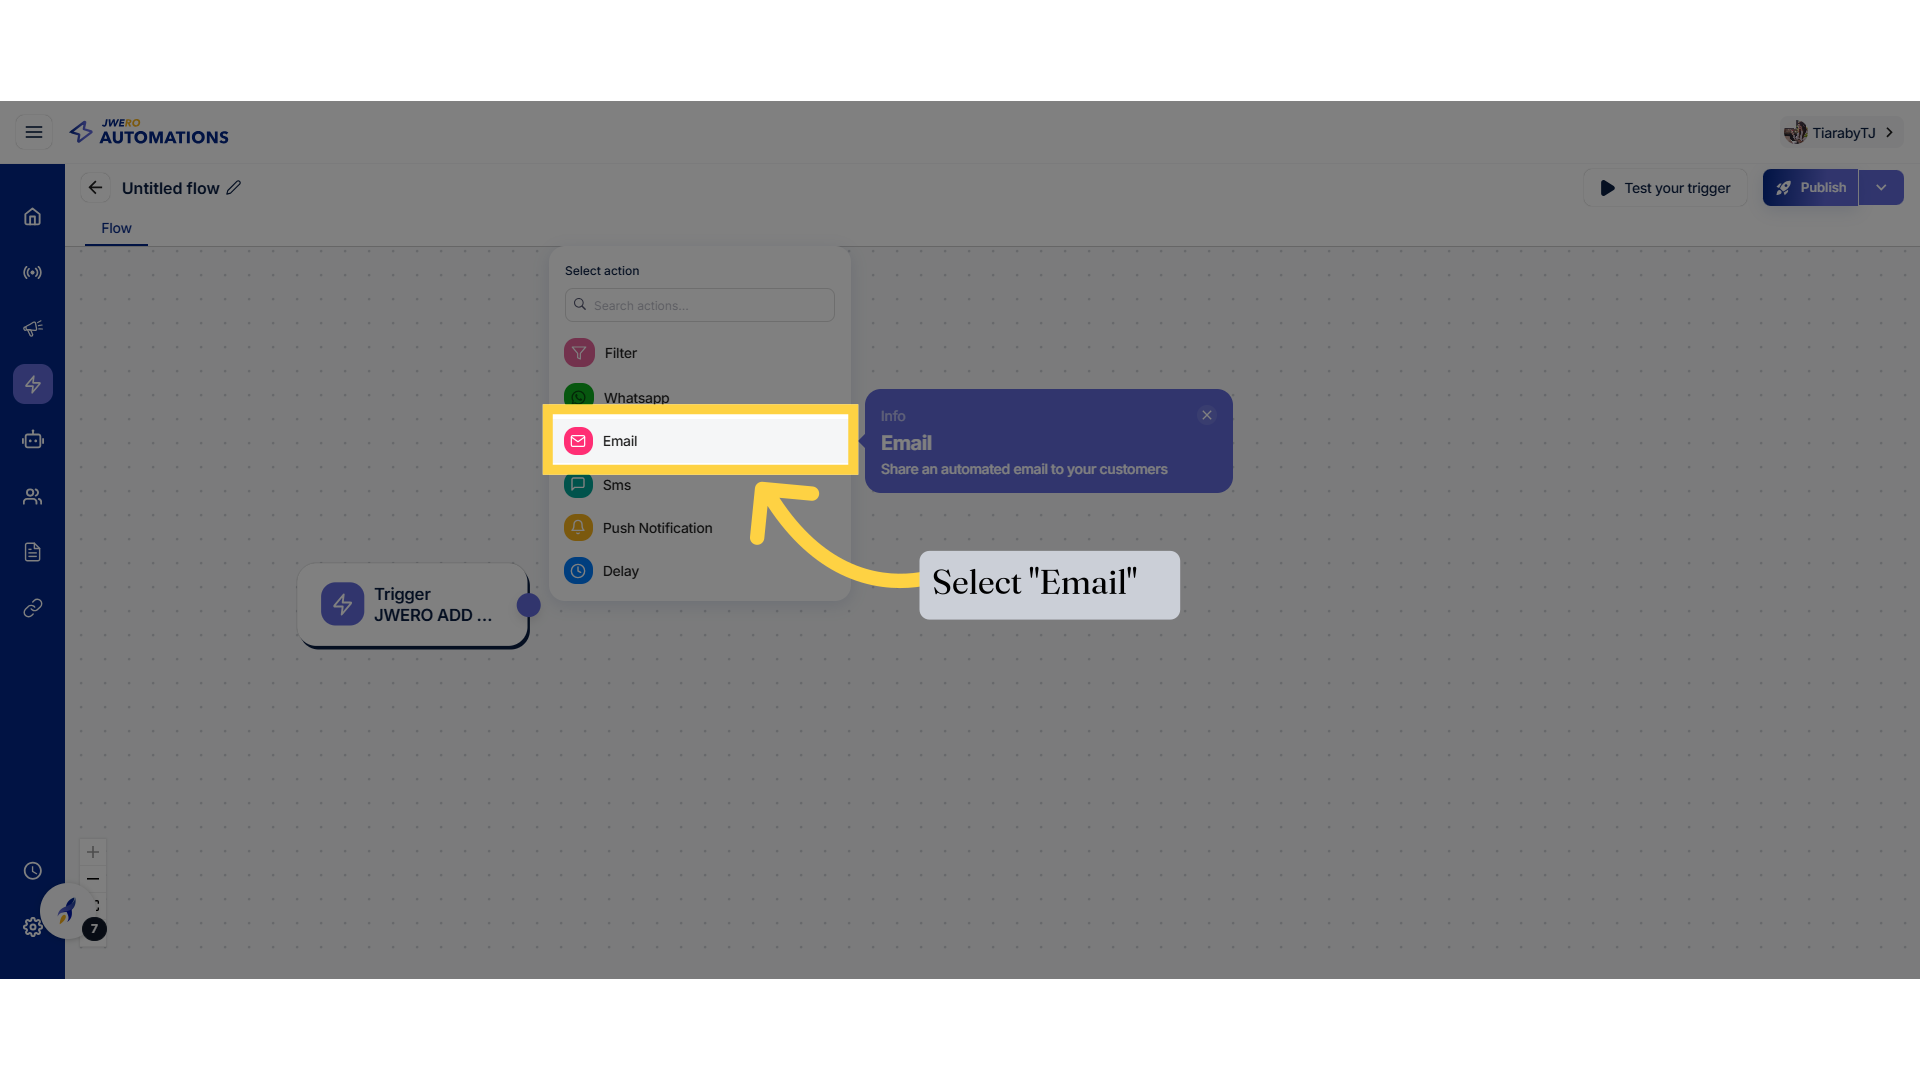
11. Select "Email"
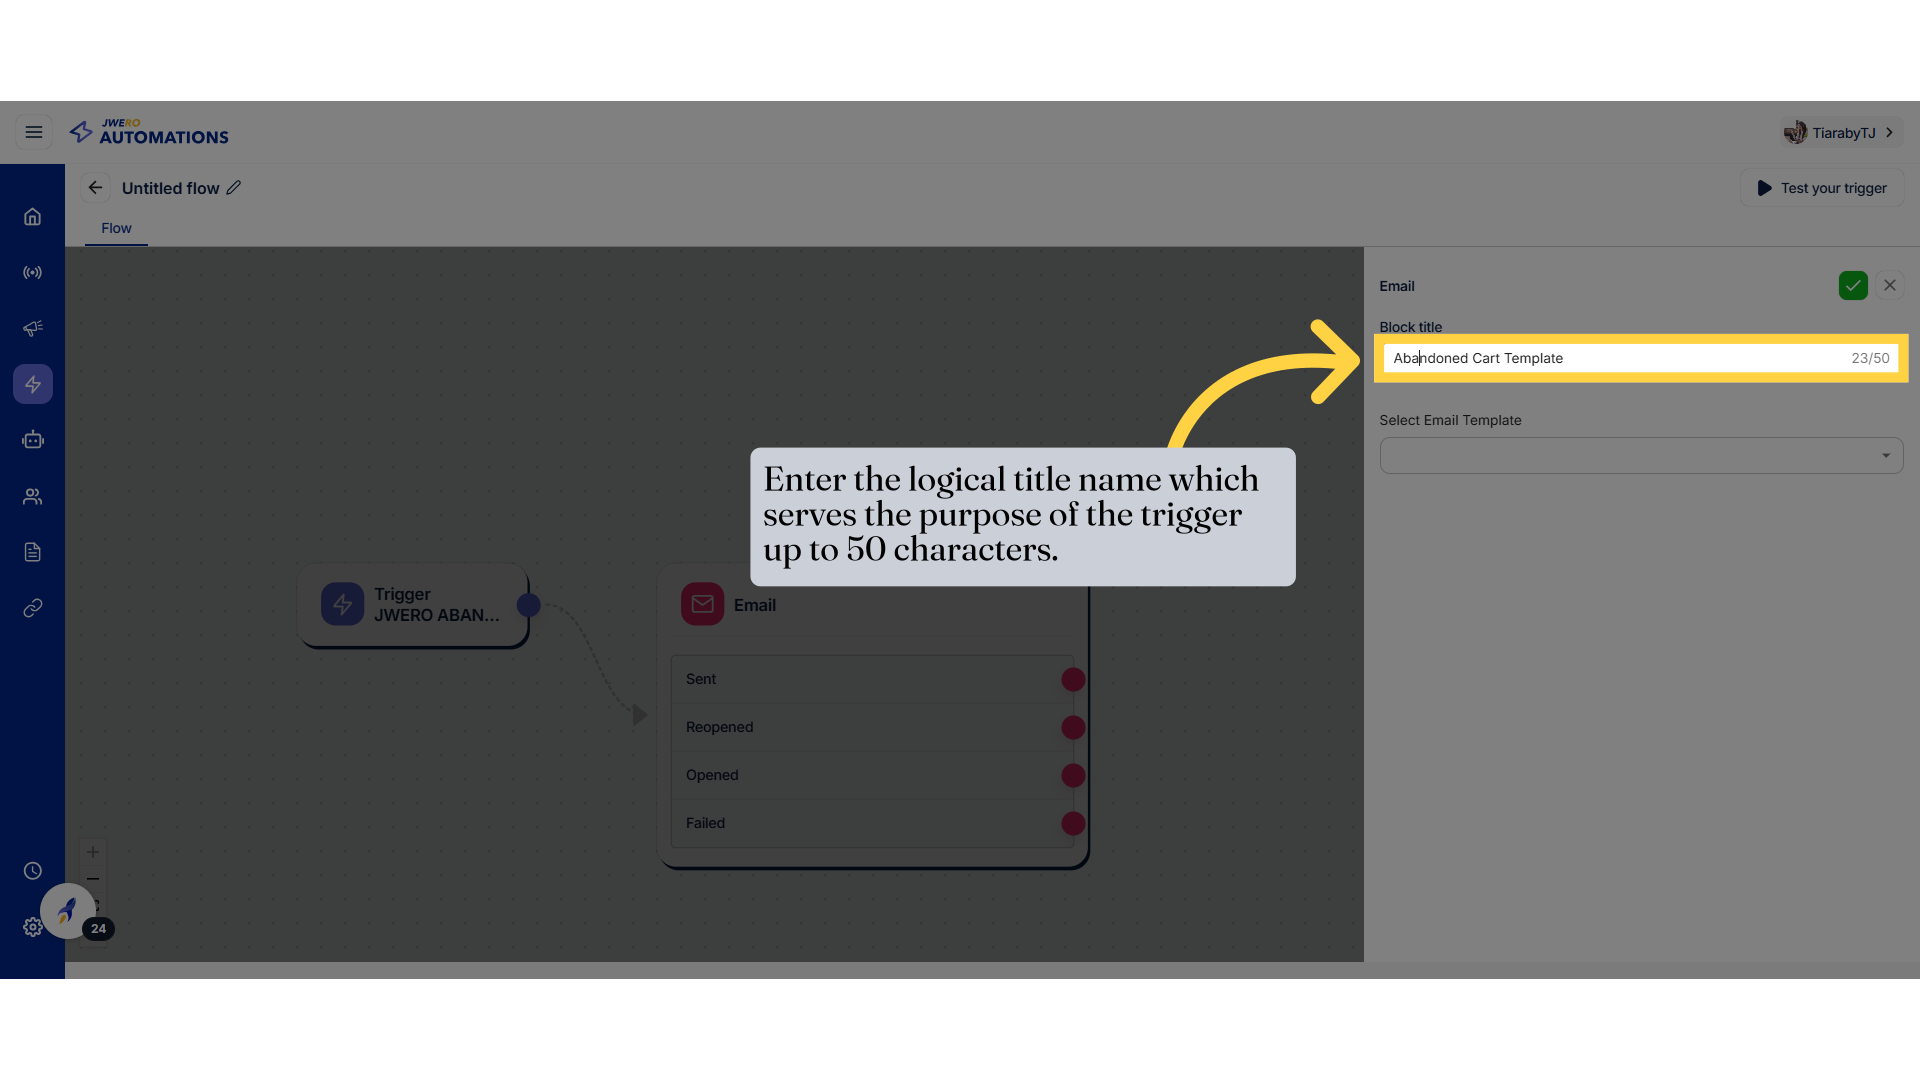
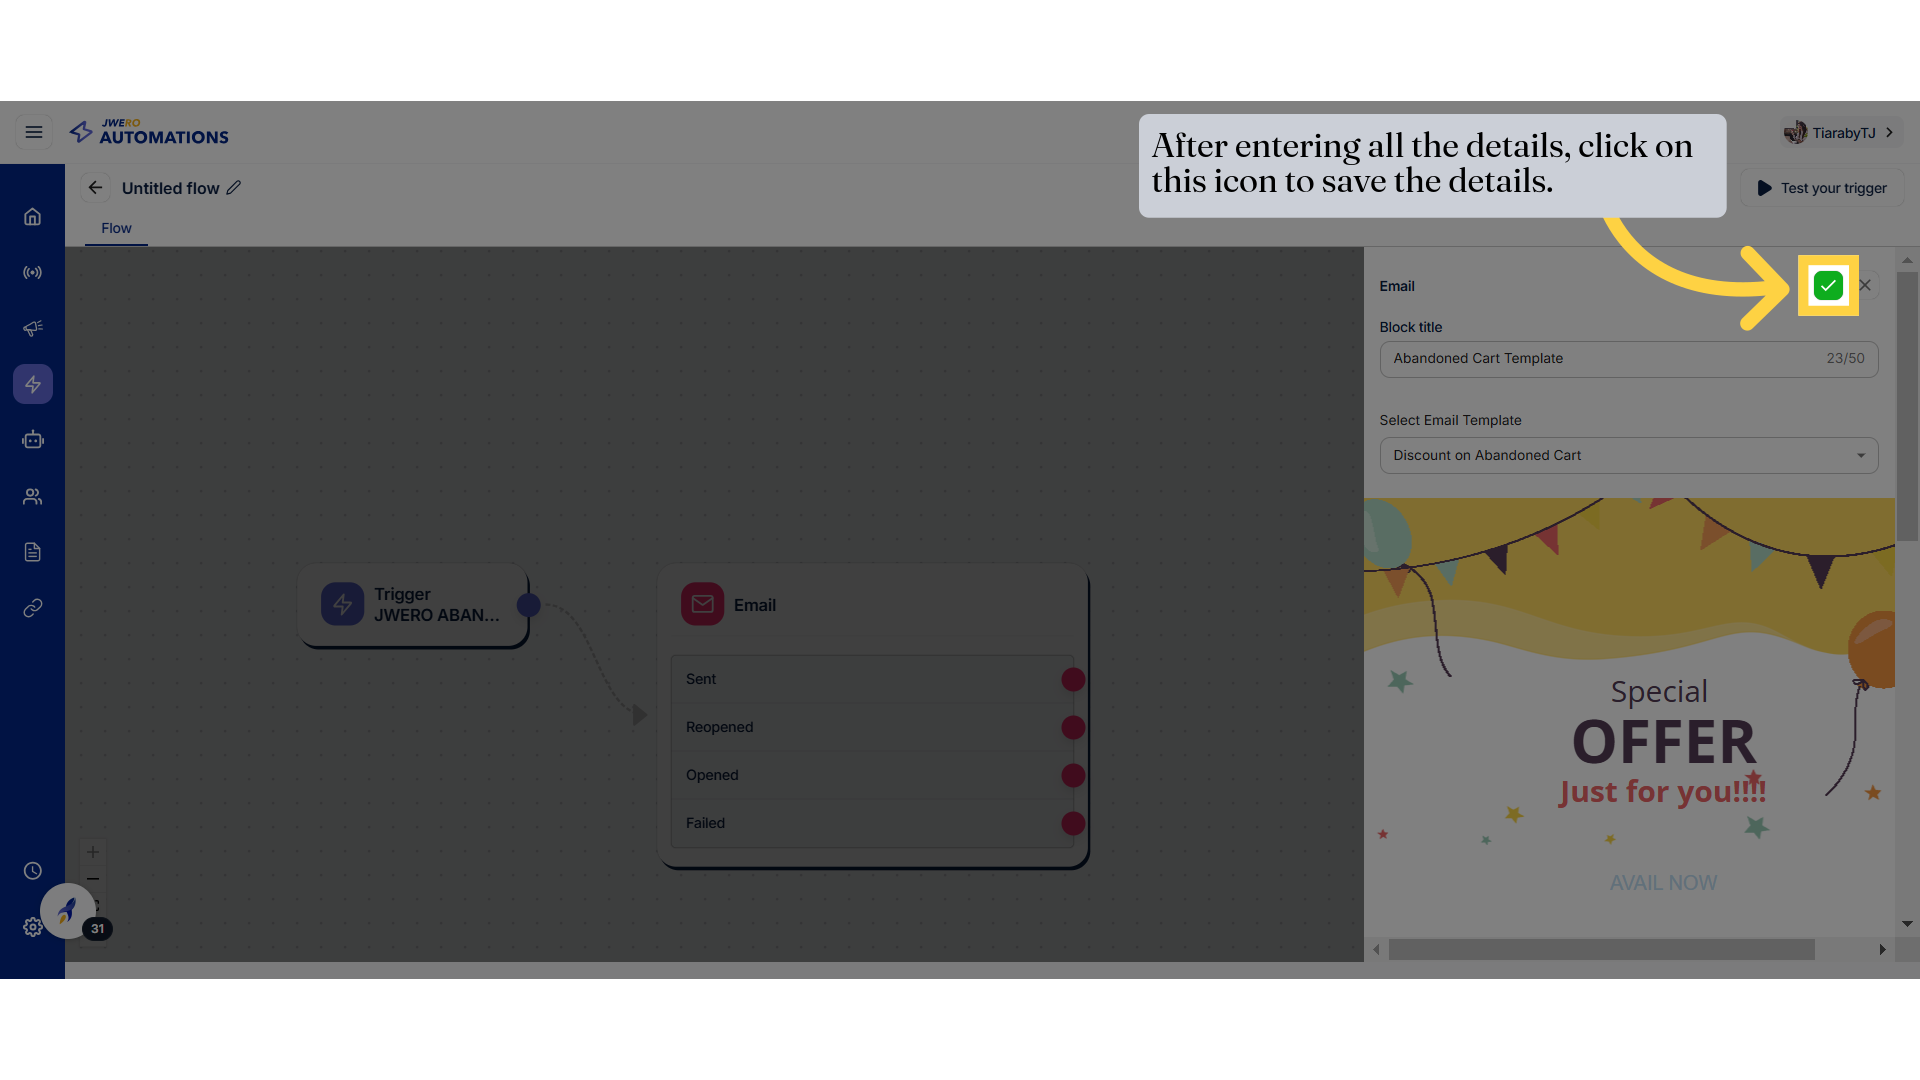
12. Block title name
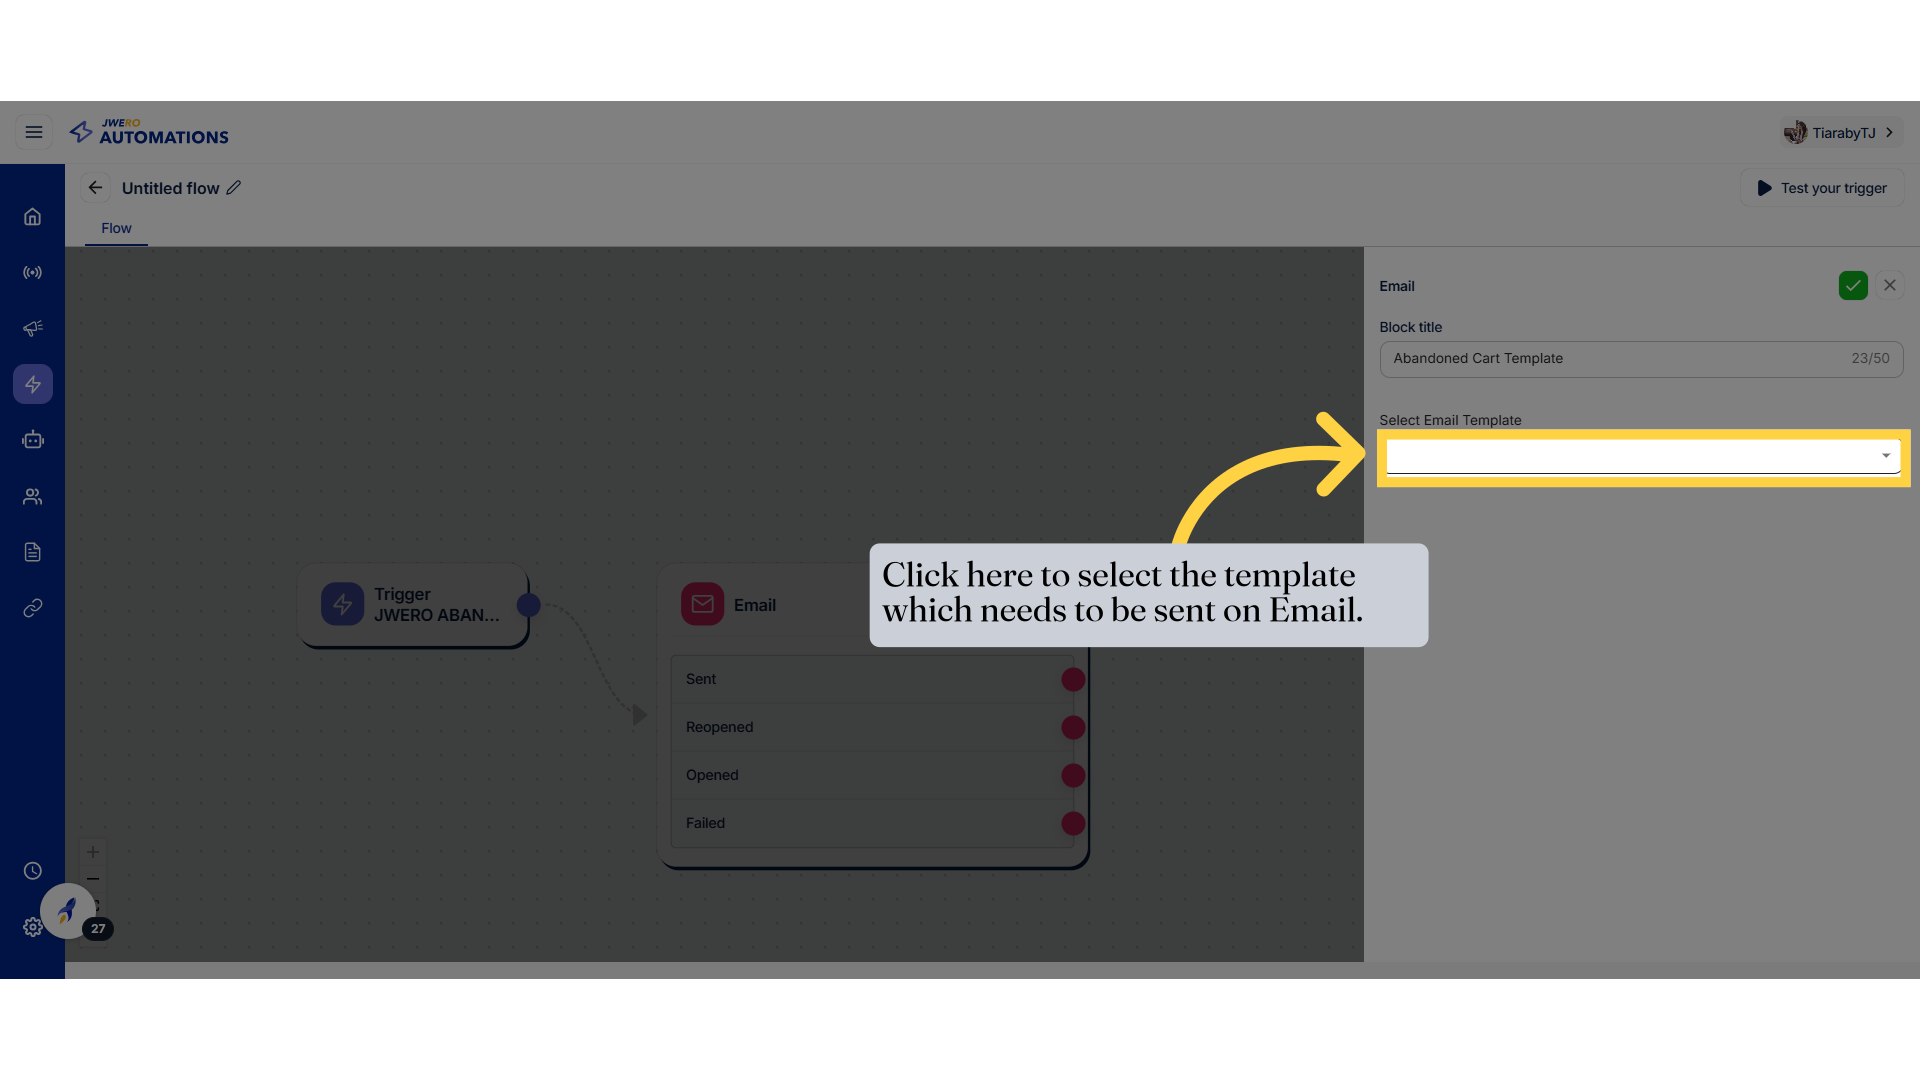
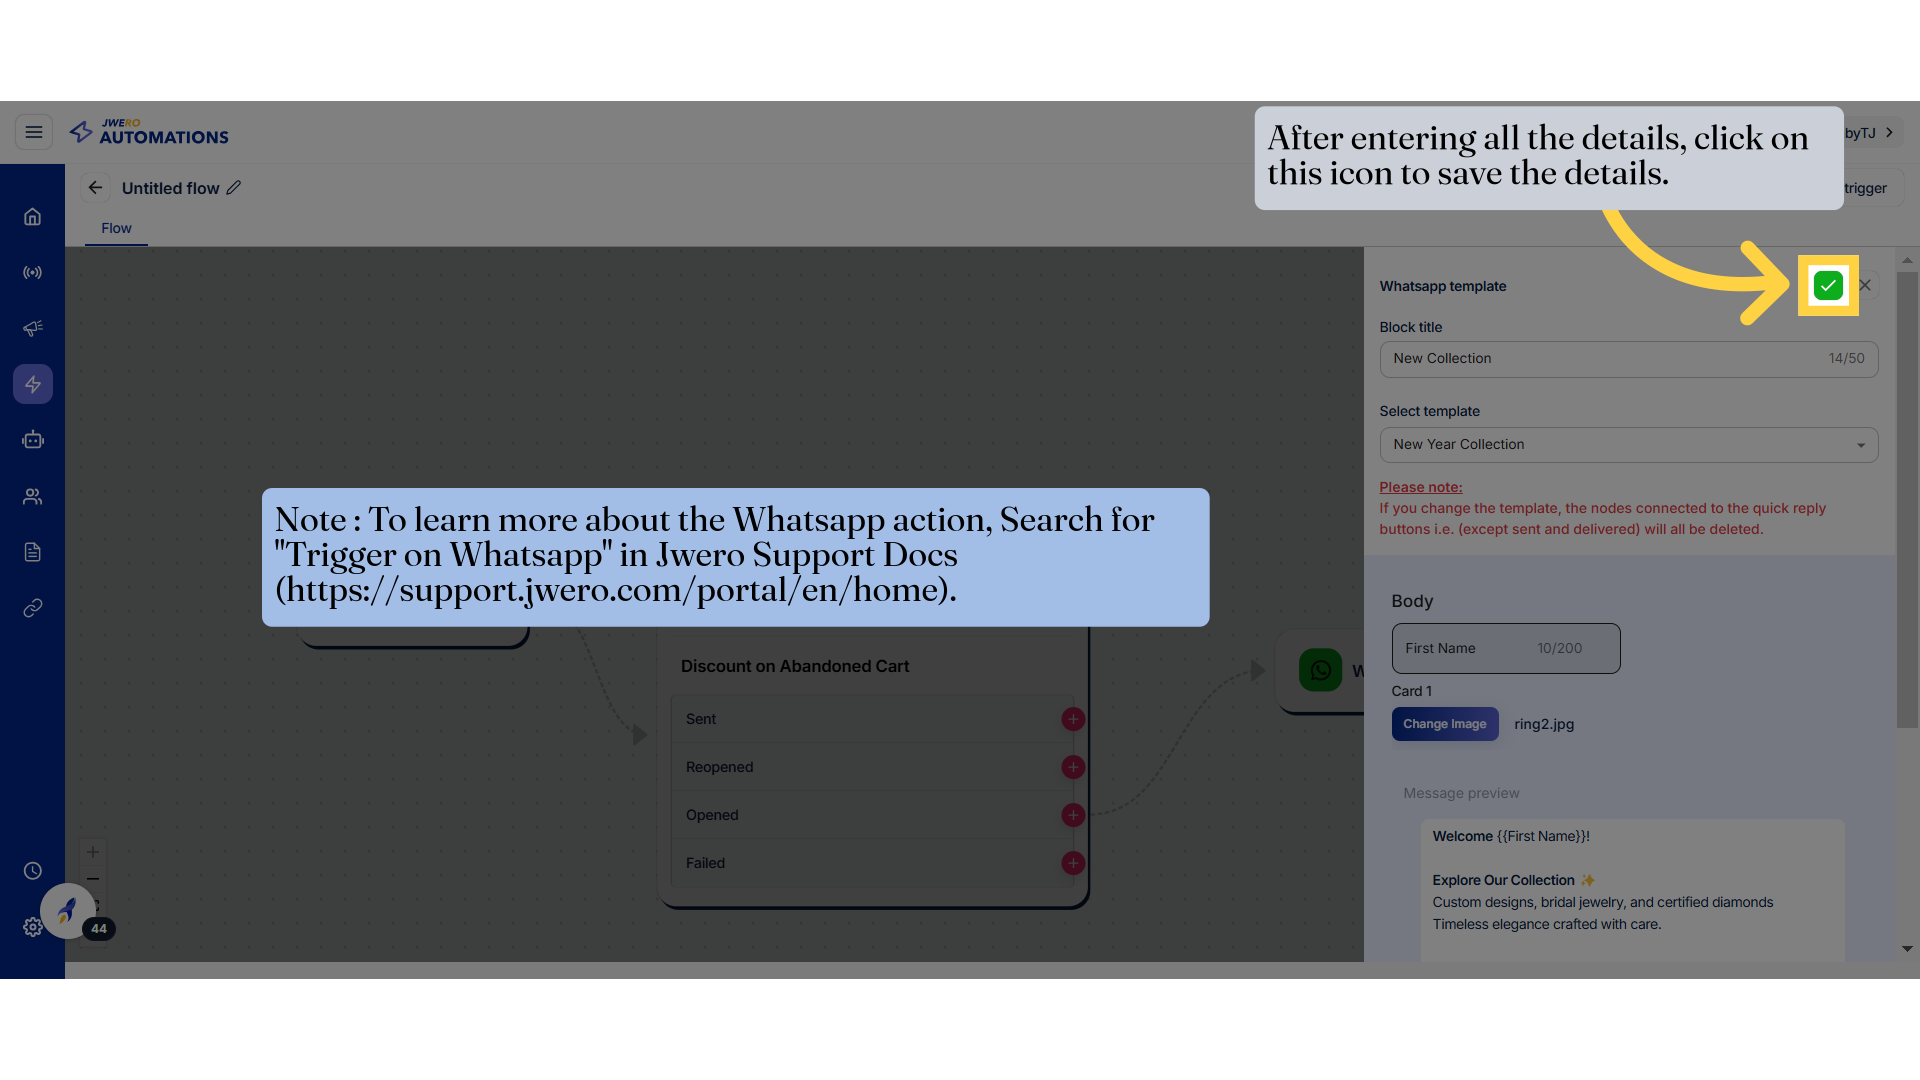
13. Click on dropdown to select the template
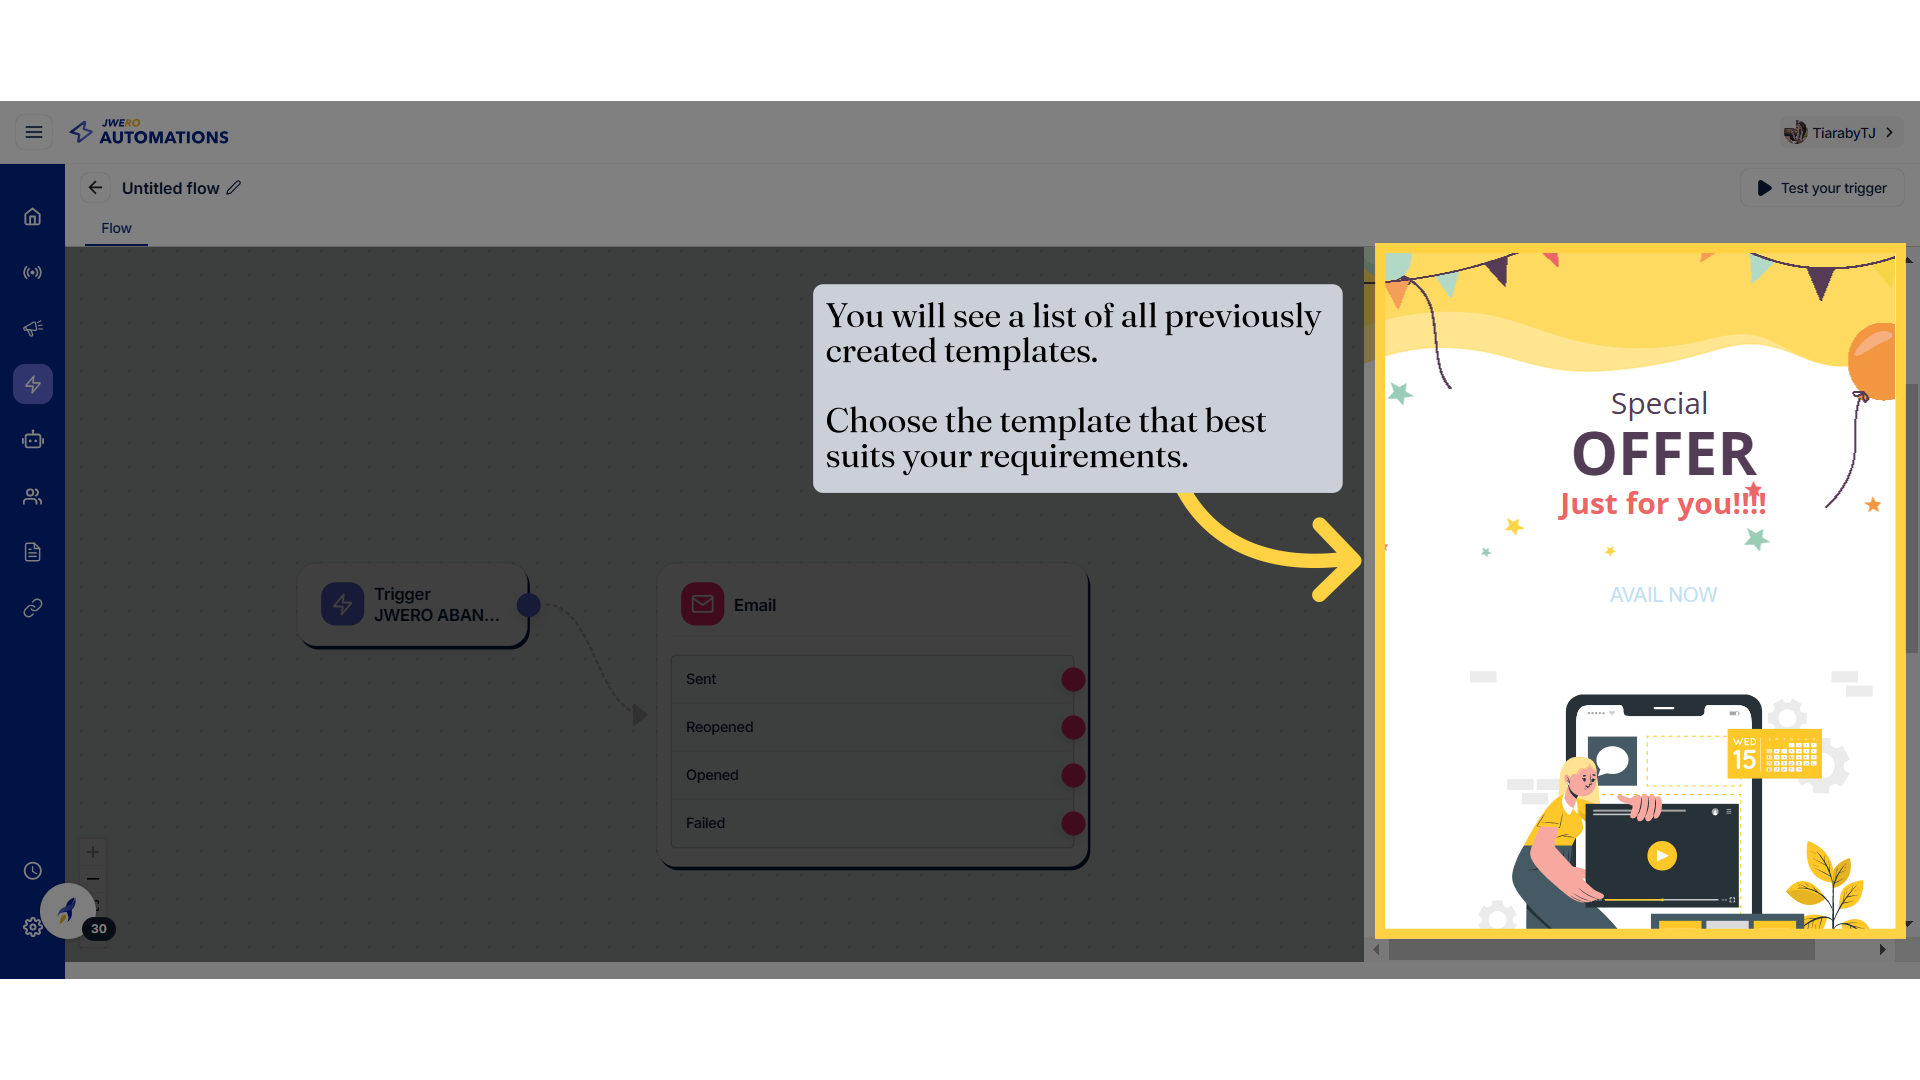
14. Select the template
15. Save the changes
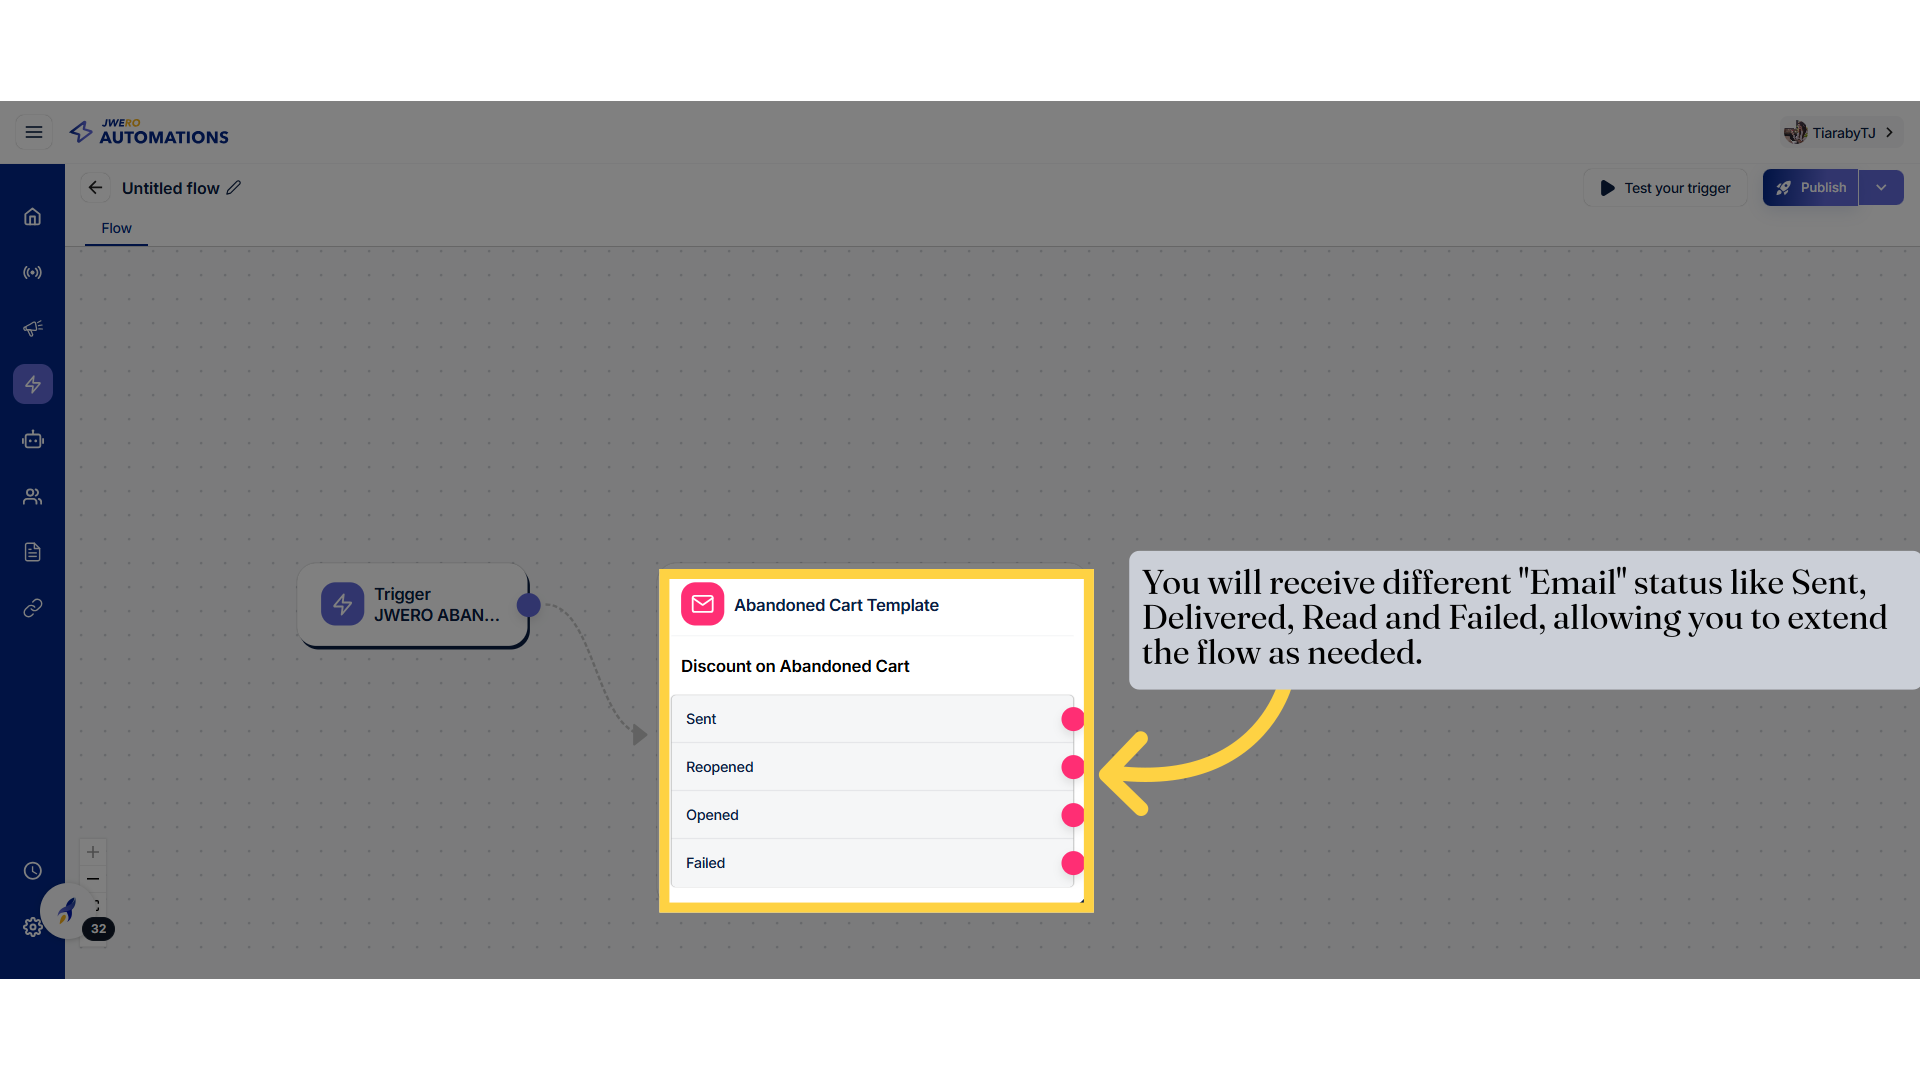
16. Email action status
Below the subtitle, there is a list of statuses:
Sent: Indicates the number of emails successfully sent.
Reopened: Likely refers to users who reopened the email after initially closing it.
Opened: Refers to users who opened the email.
Failed: Indicates emails that were not successfully delivered.
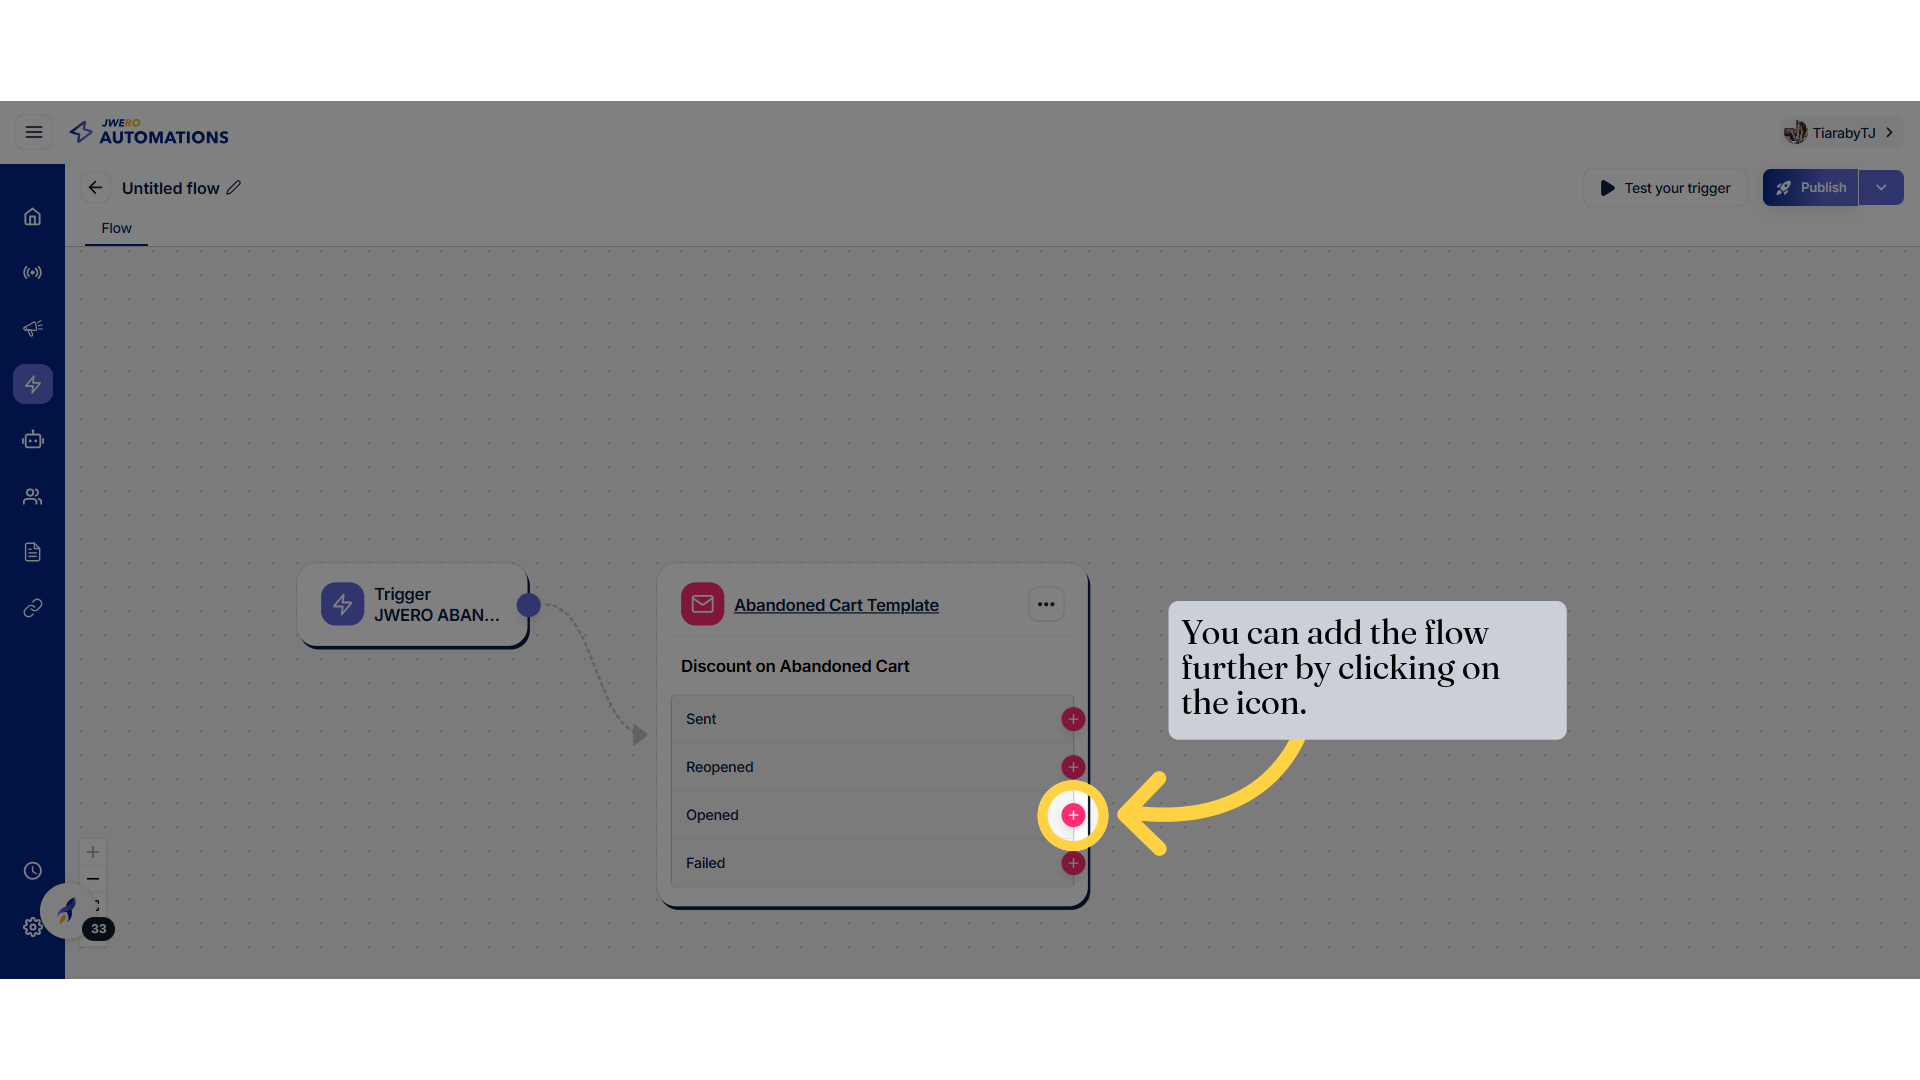
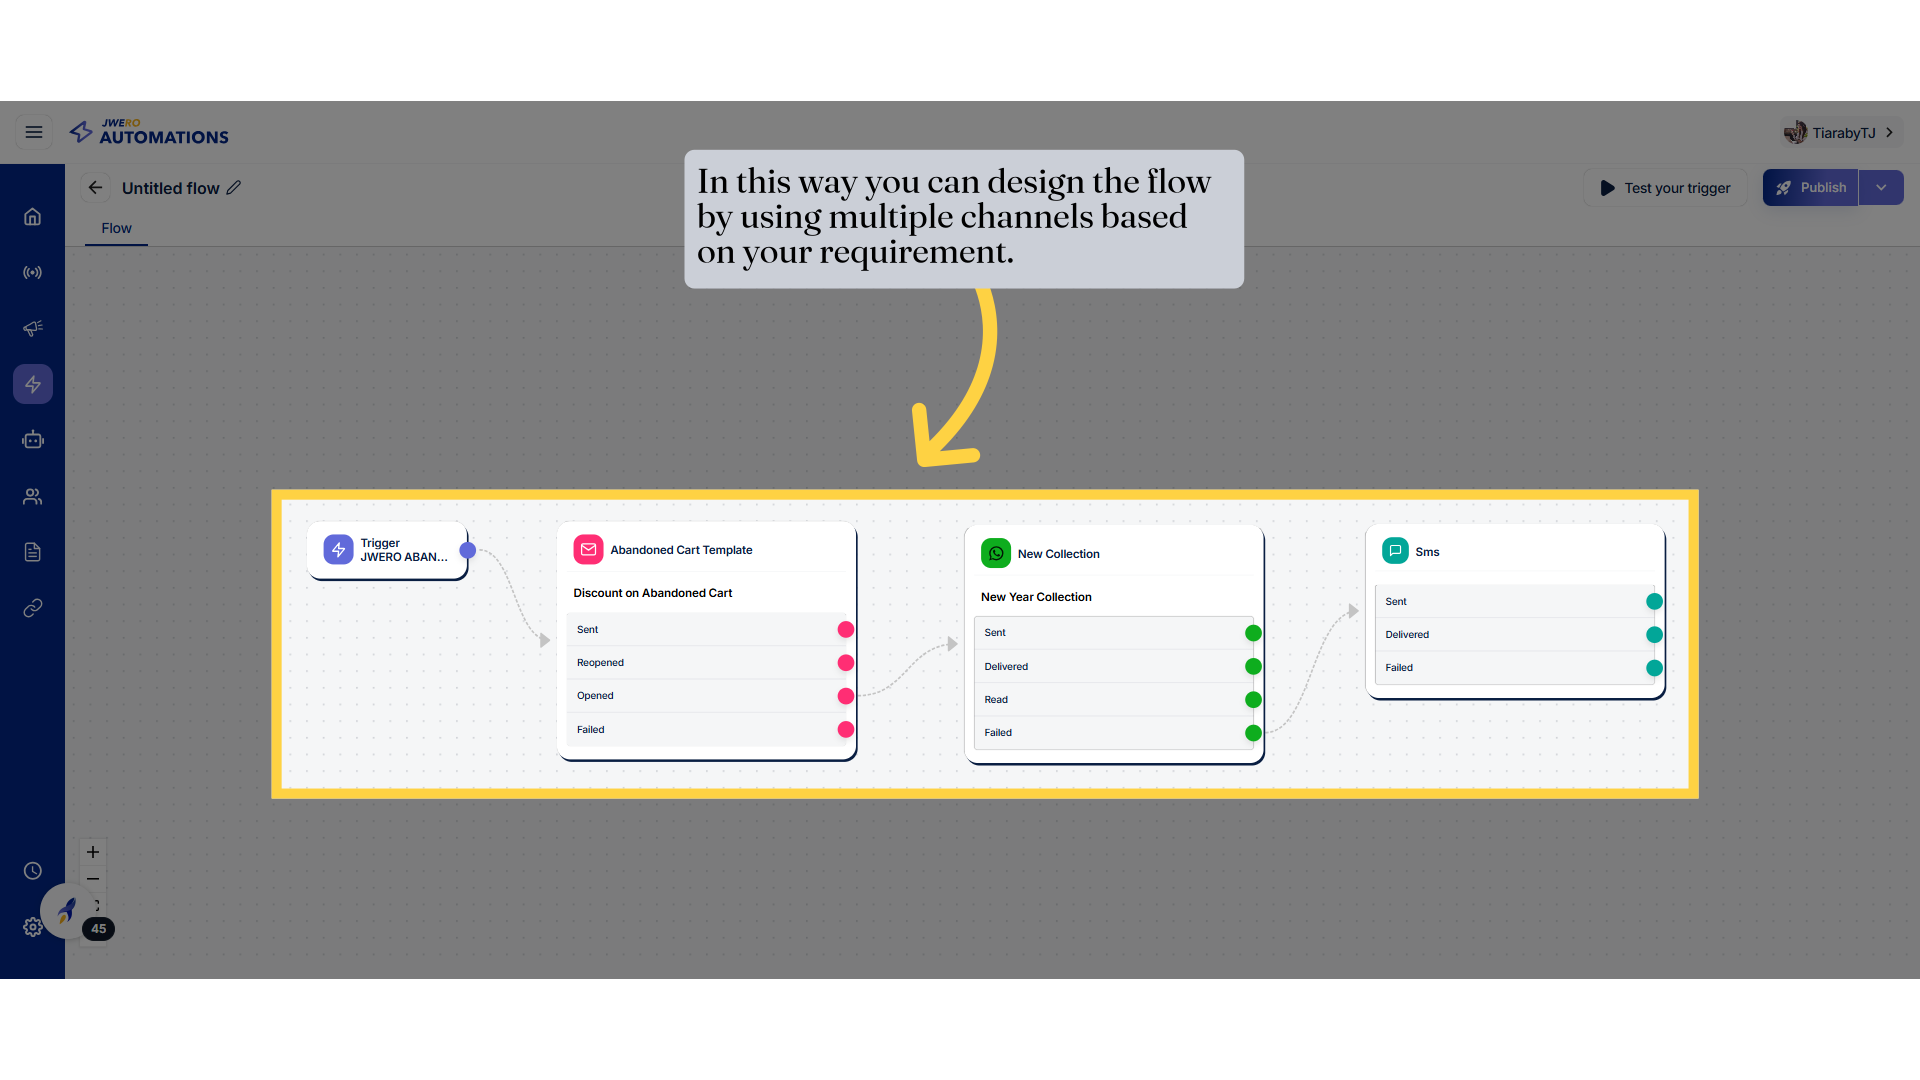
17. You can add the flow further by clicking on the icon.
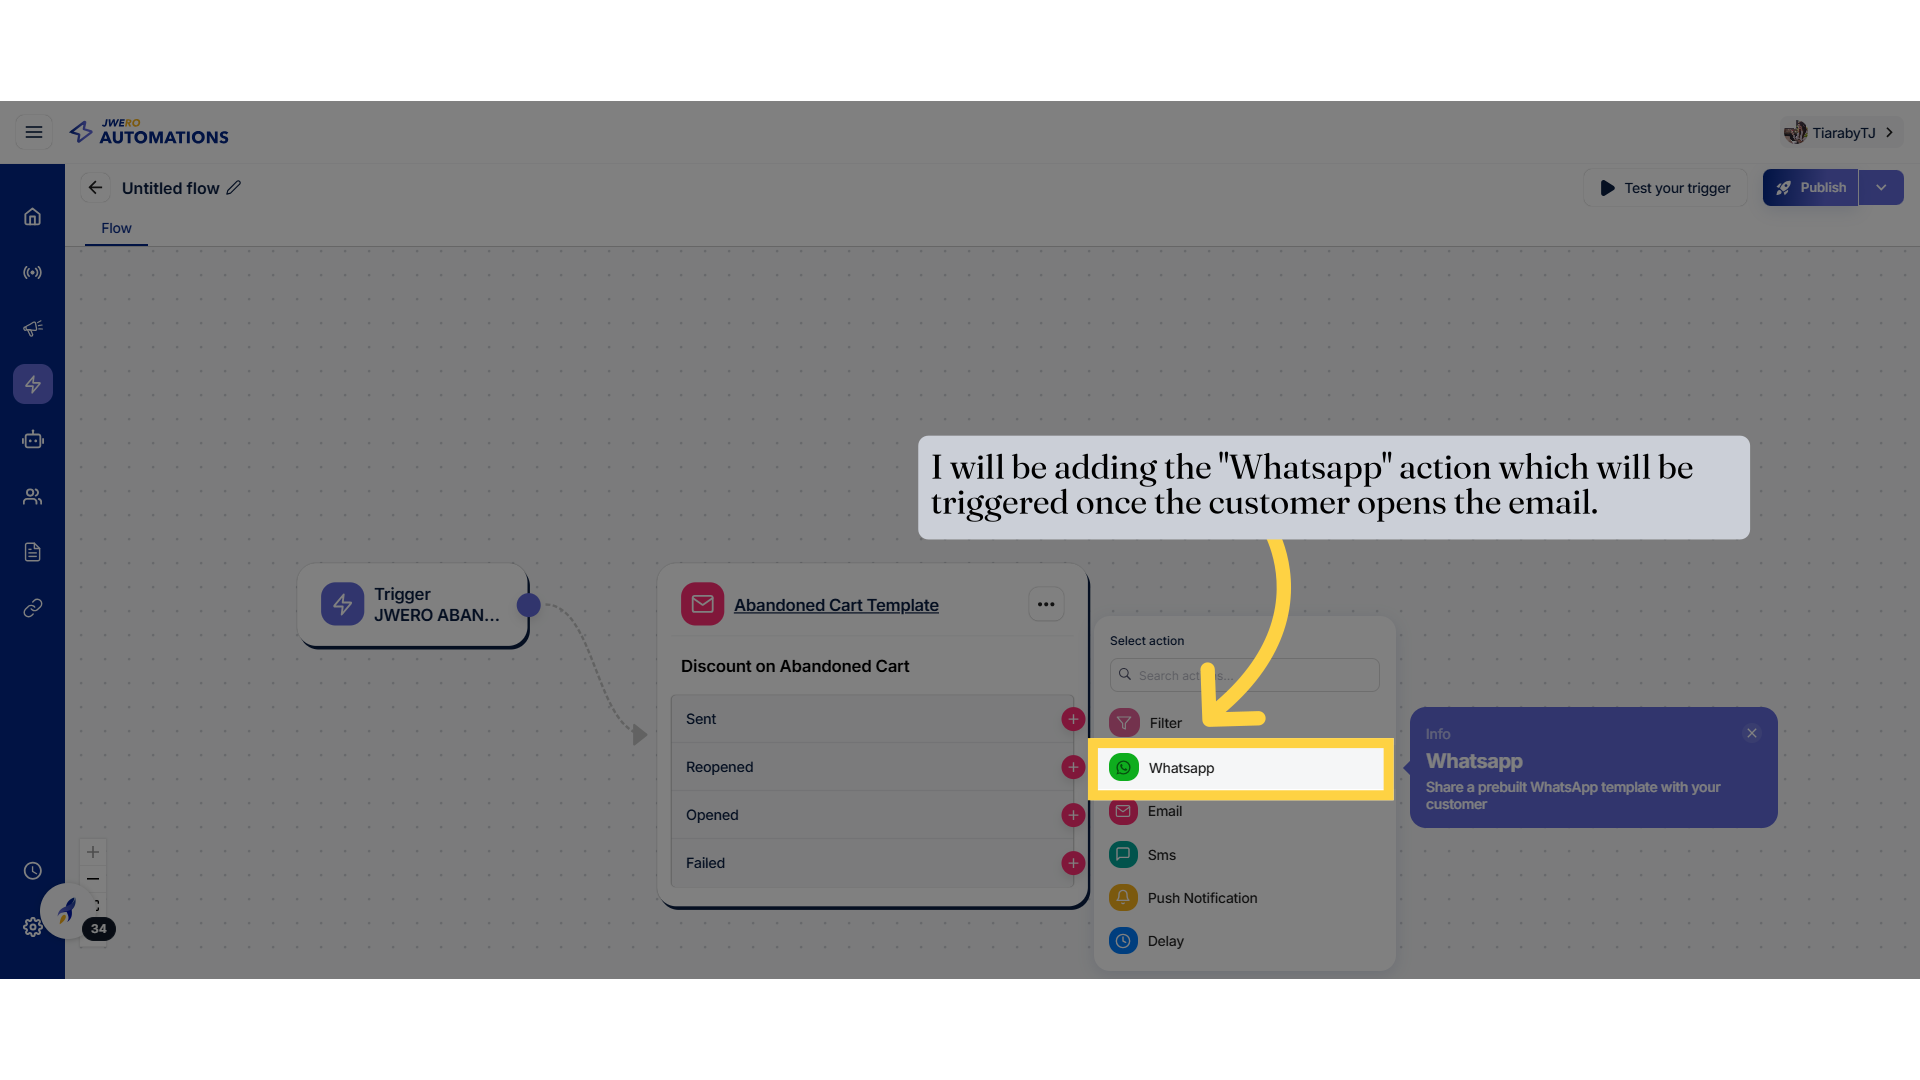
18. Select the action/channels to extend the flow further based on your requirement.
19. I will be adding the "Whatsapp" action which will be triggered once the customer opens the email.
20. WhatsApp Action
Jwero Support Docs - https://support.jwero.com/portal/en/home
21. SMS Action / Channel
Jwero Support Docs - https://support.jwero.com/portal/en/home
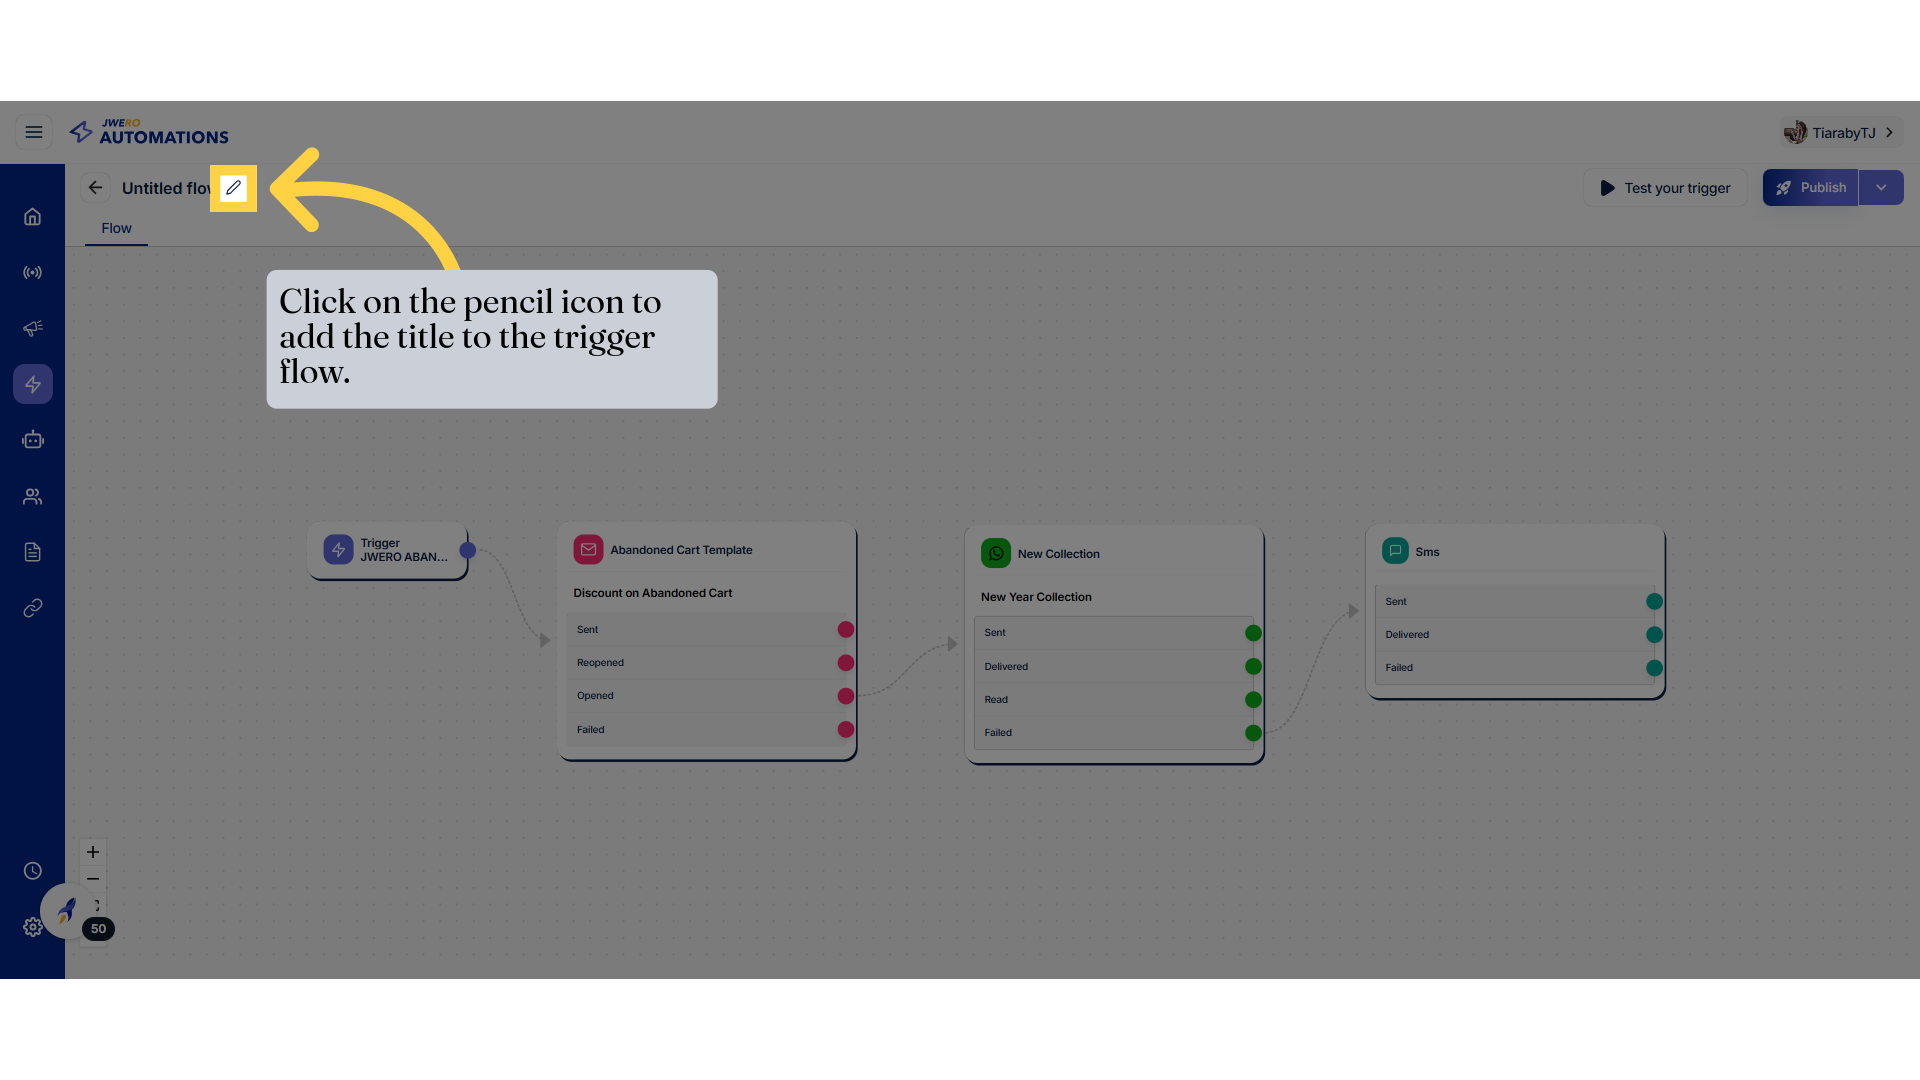
22. Trigger Flow
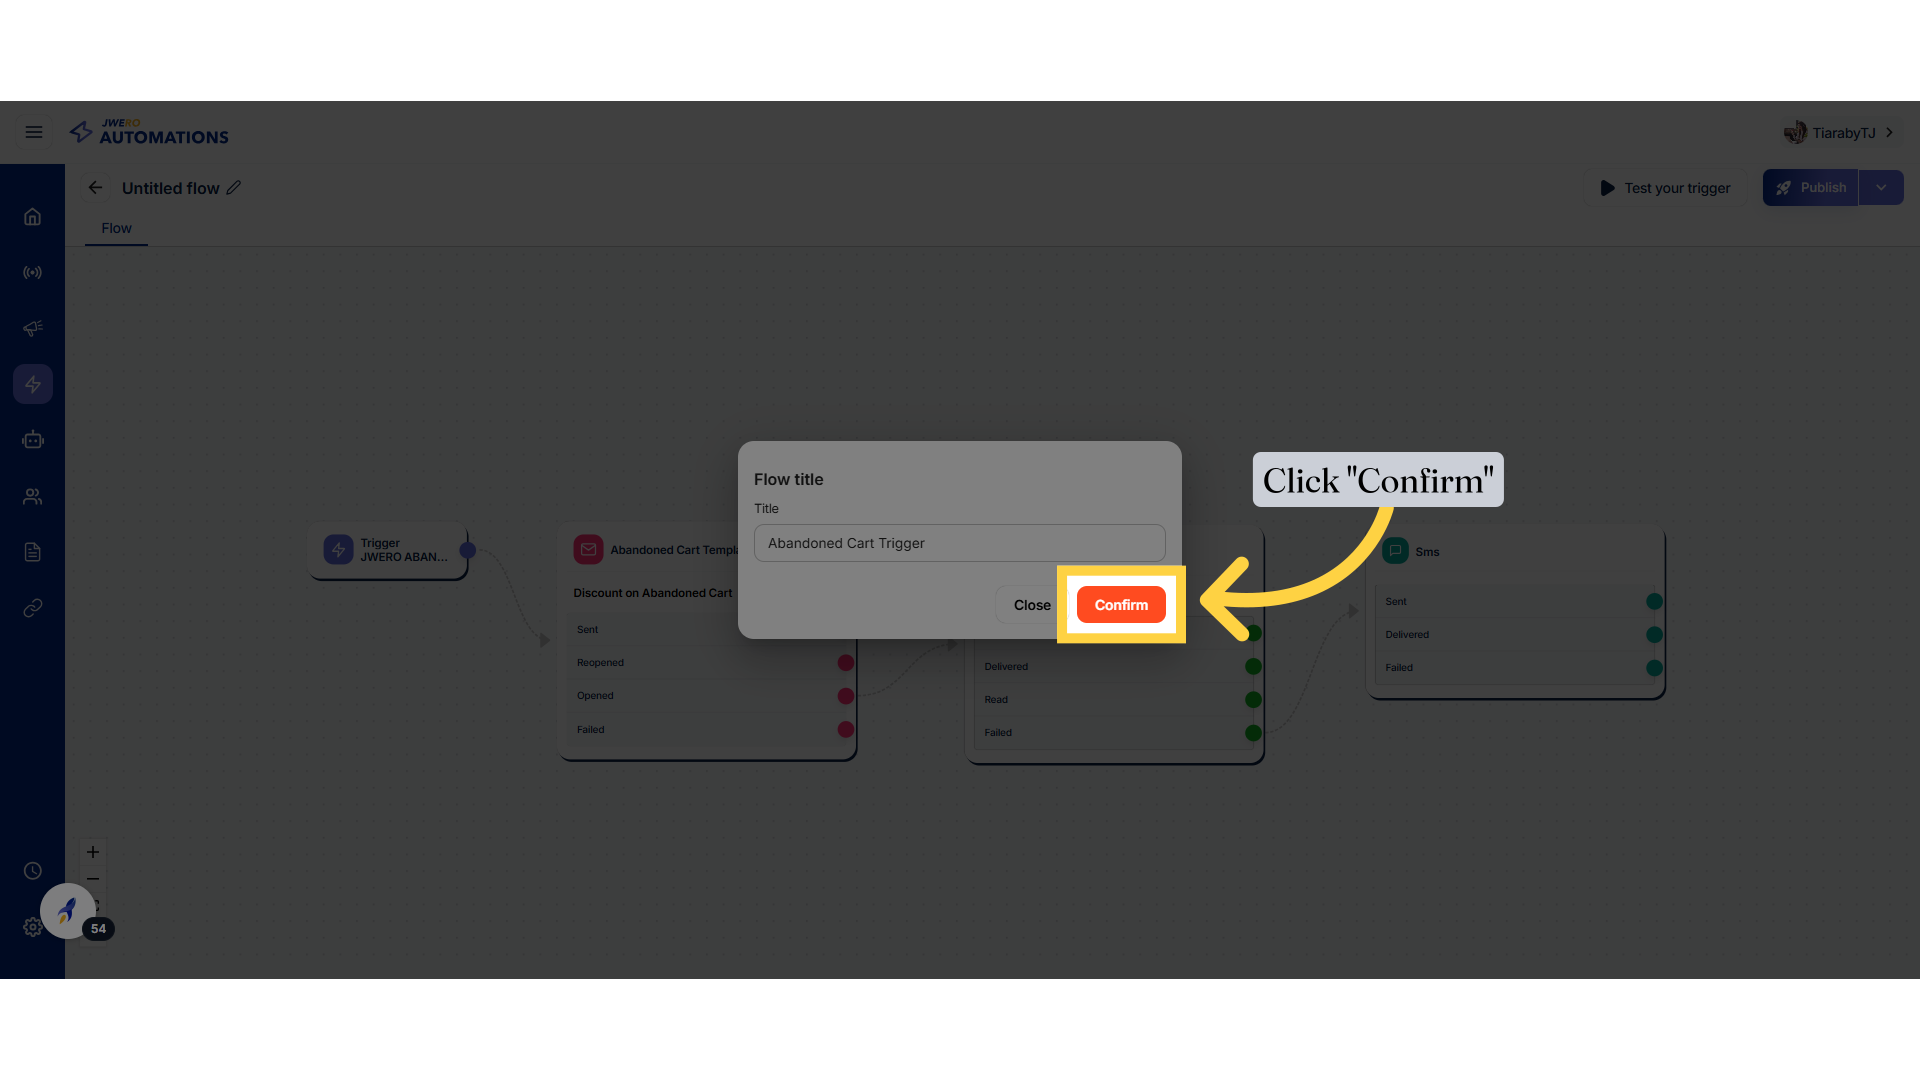
23. Trigger Flow Title
24. Enter the title name based on your requirement.
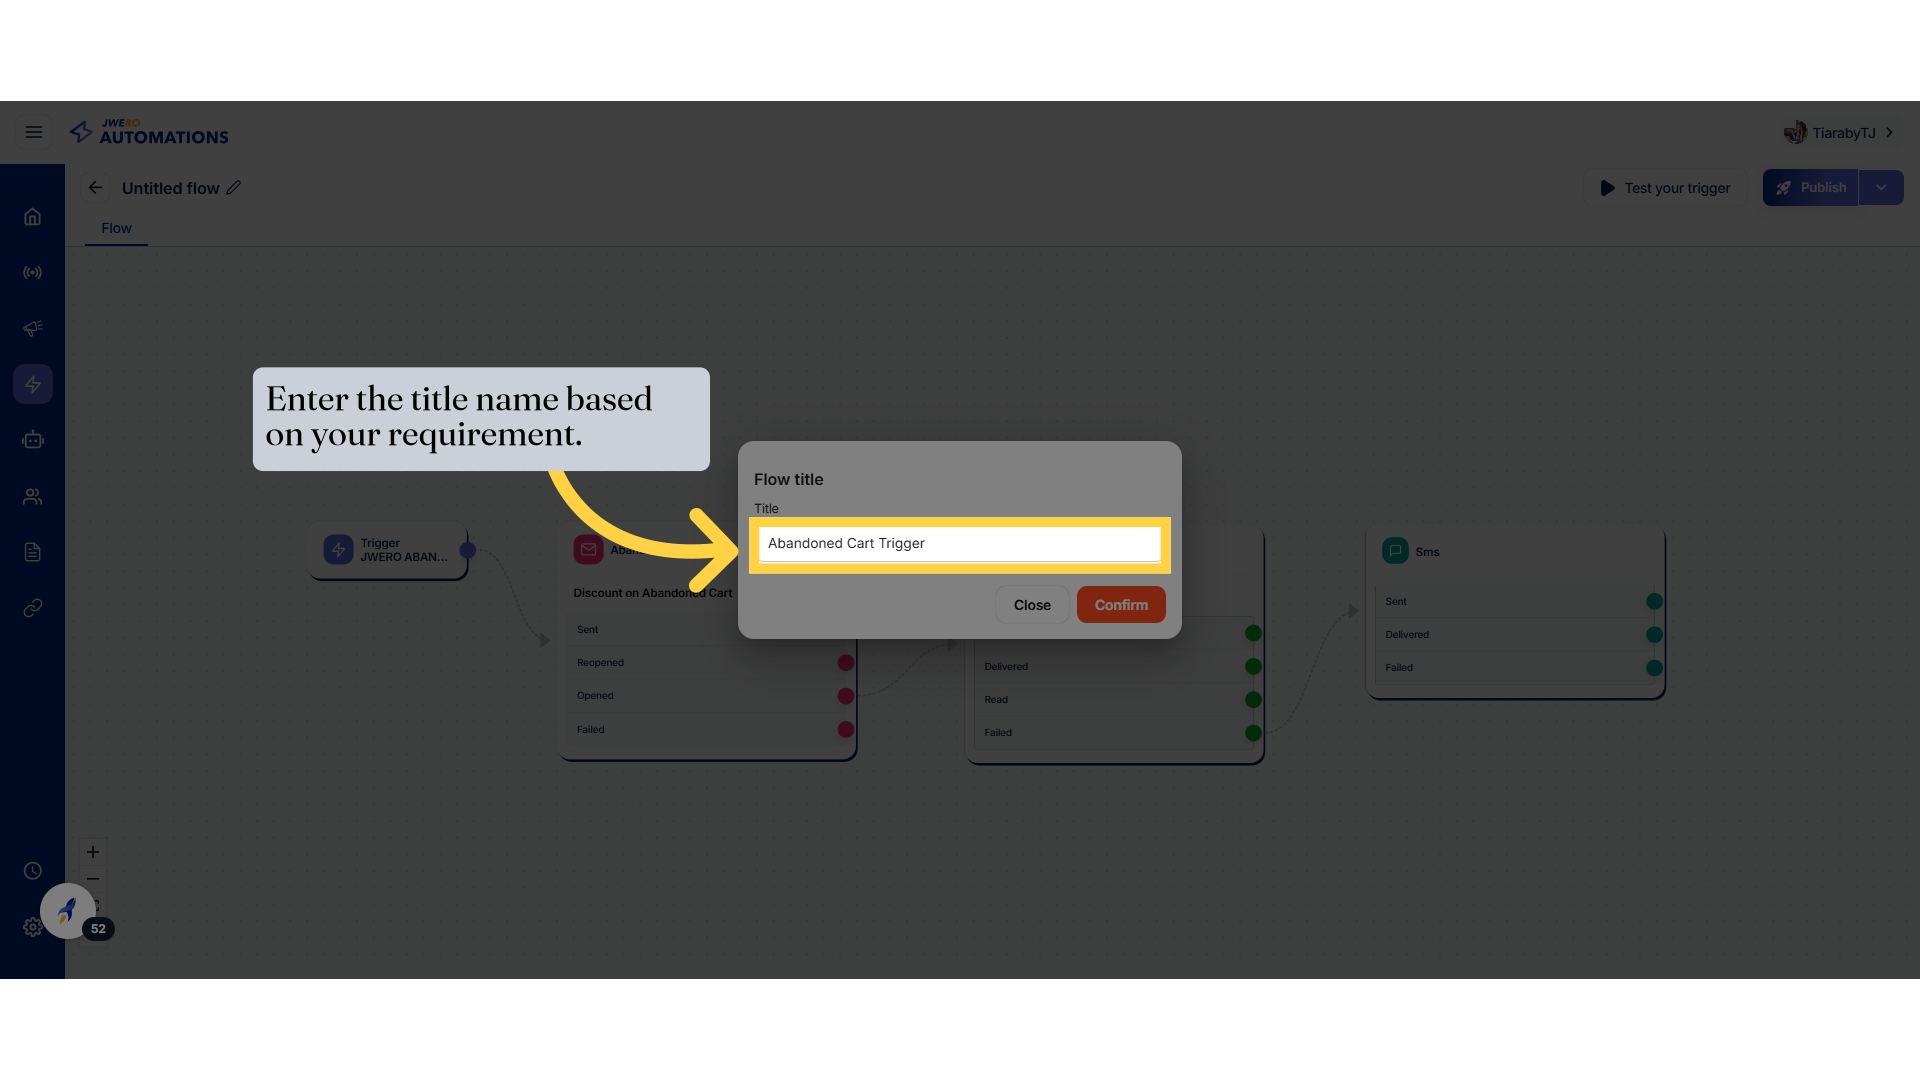
25. Click "Confirm"
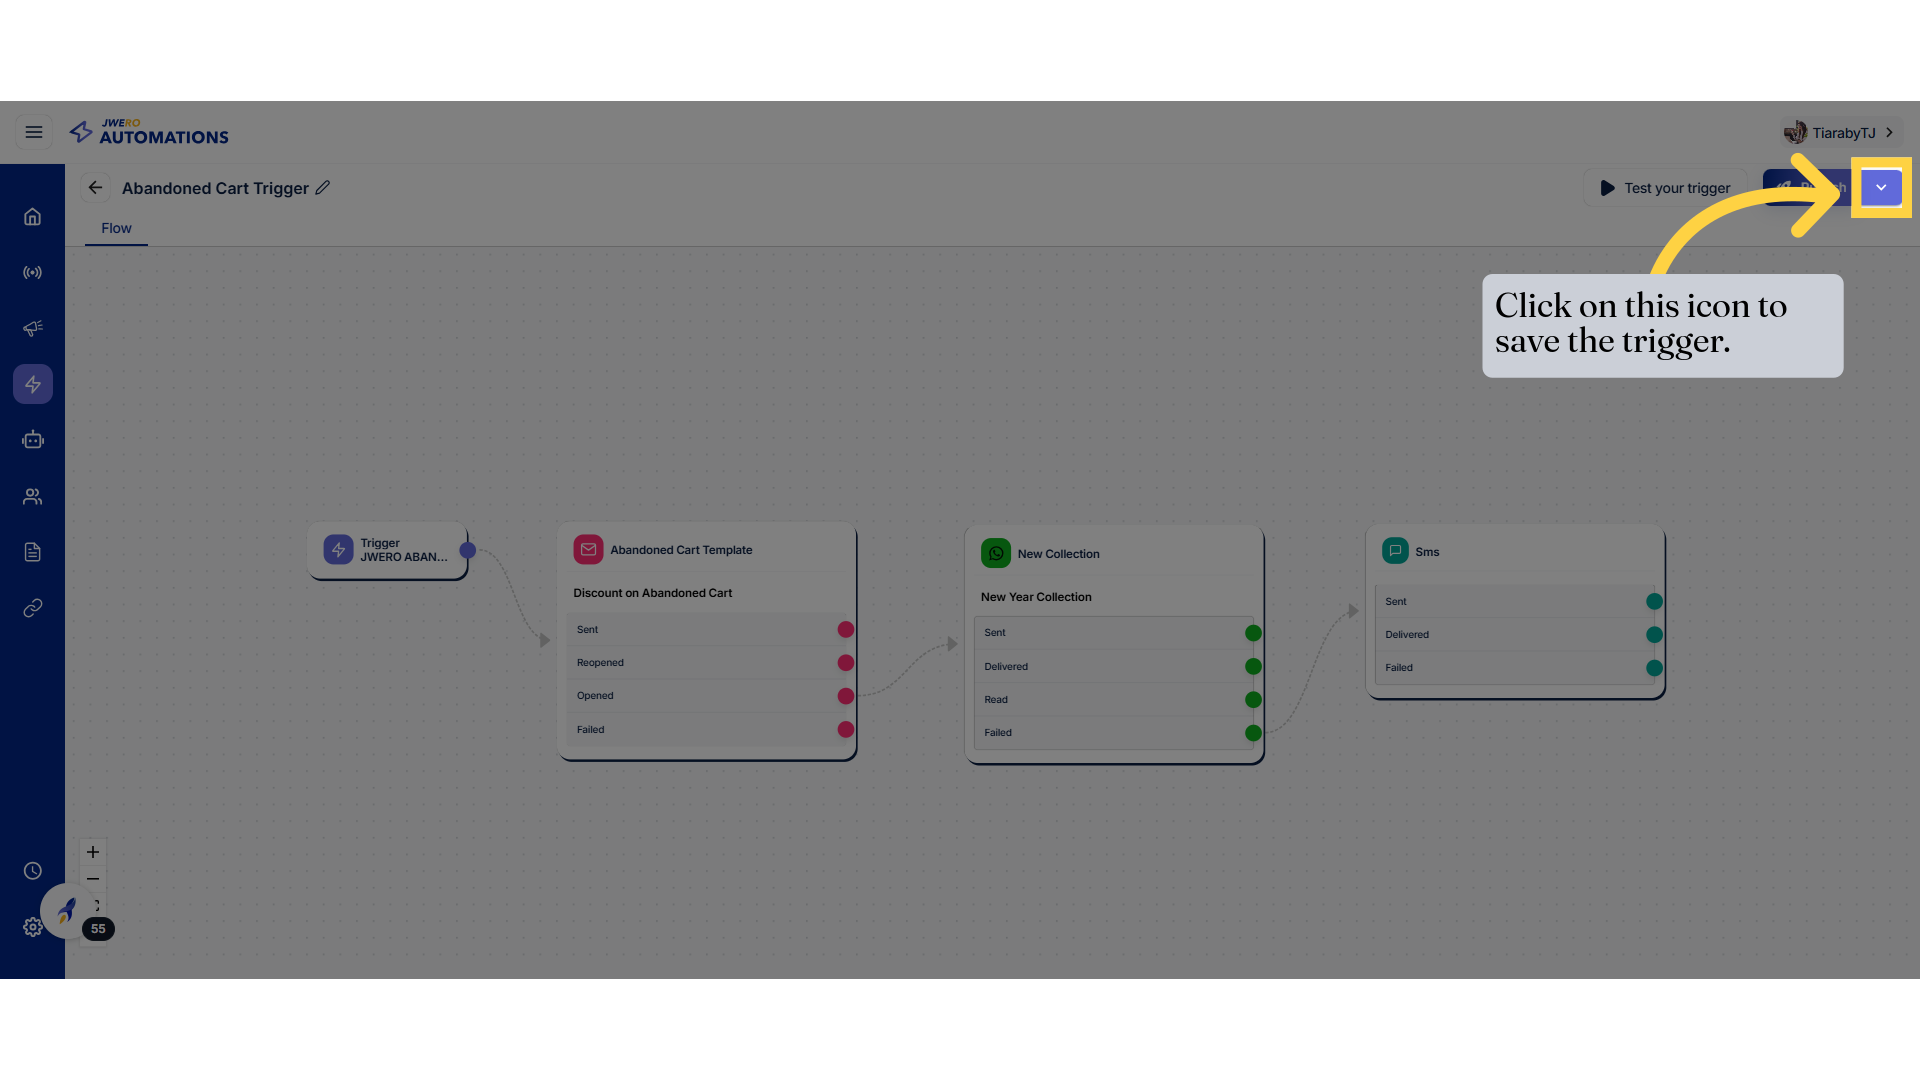
26. Click on this icon to save the trigger.
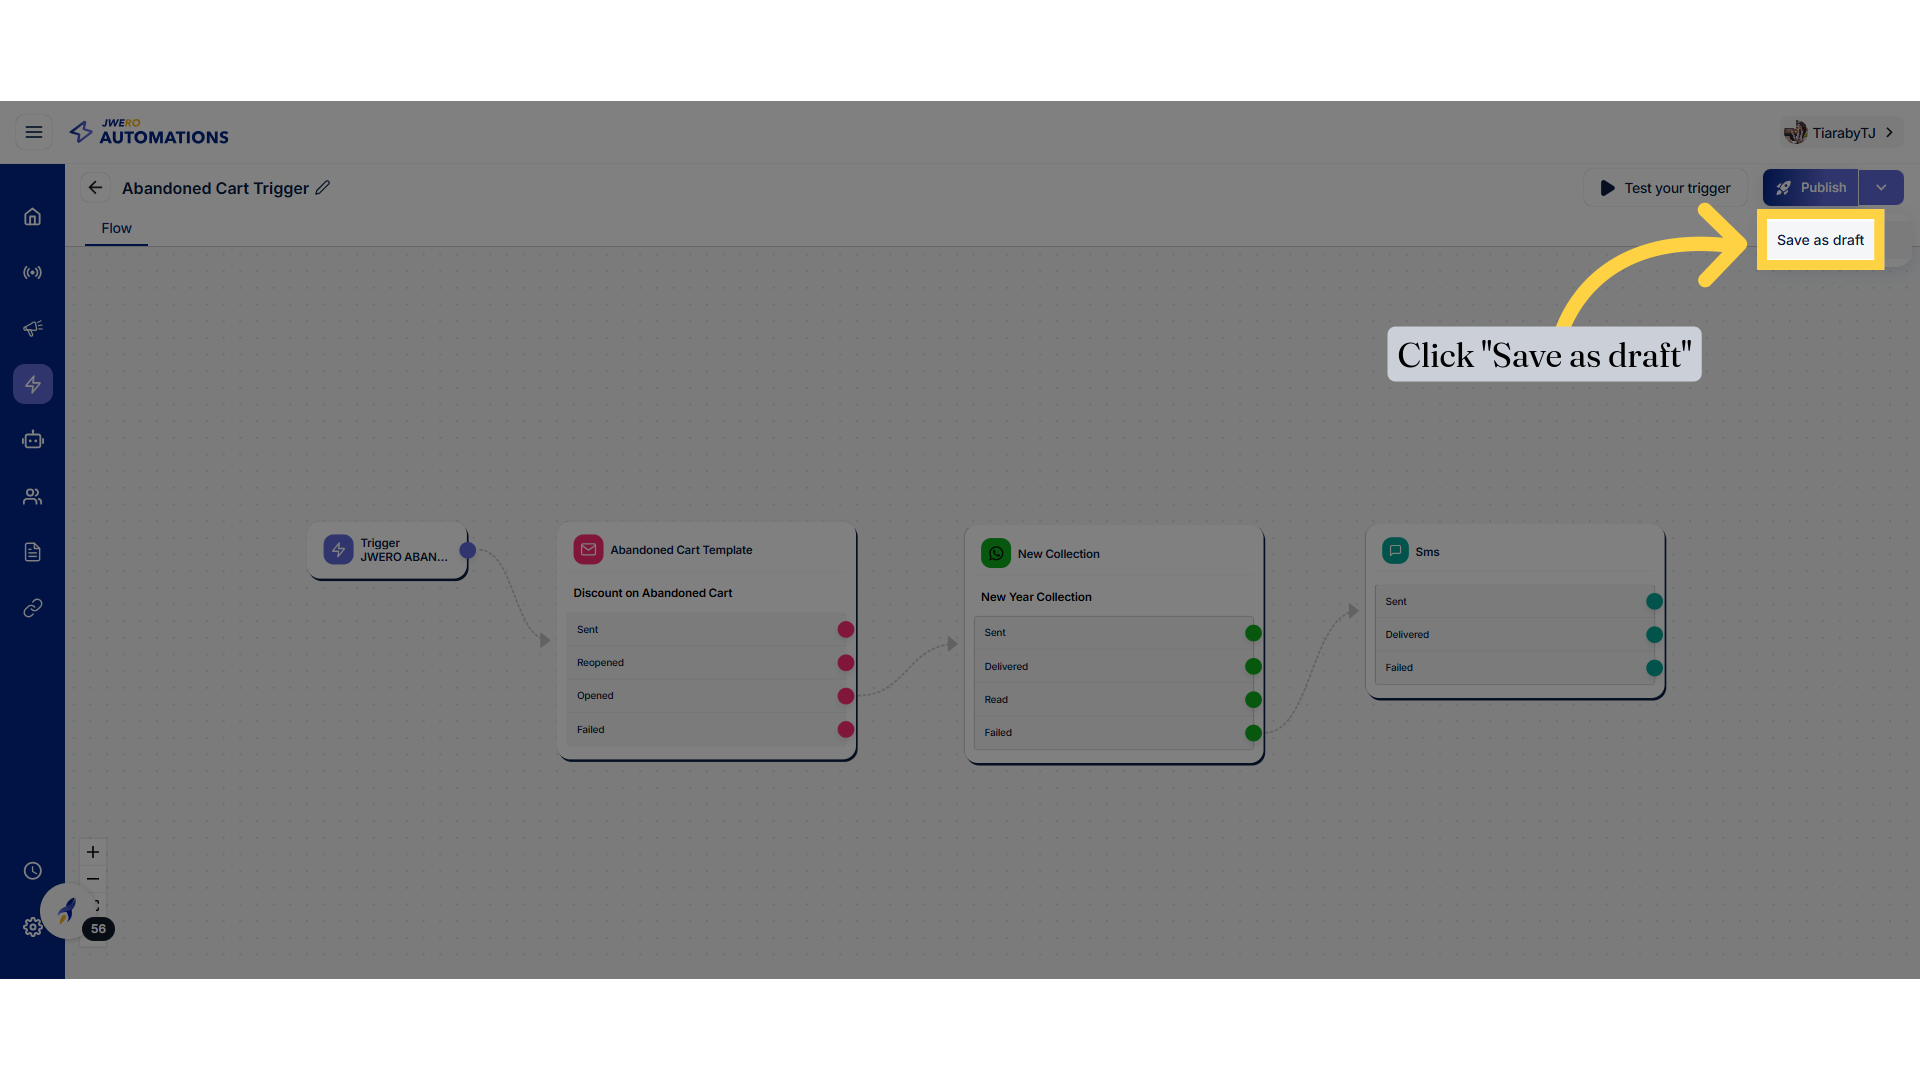
27. Click "Save as draft"
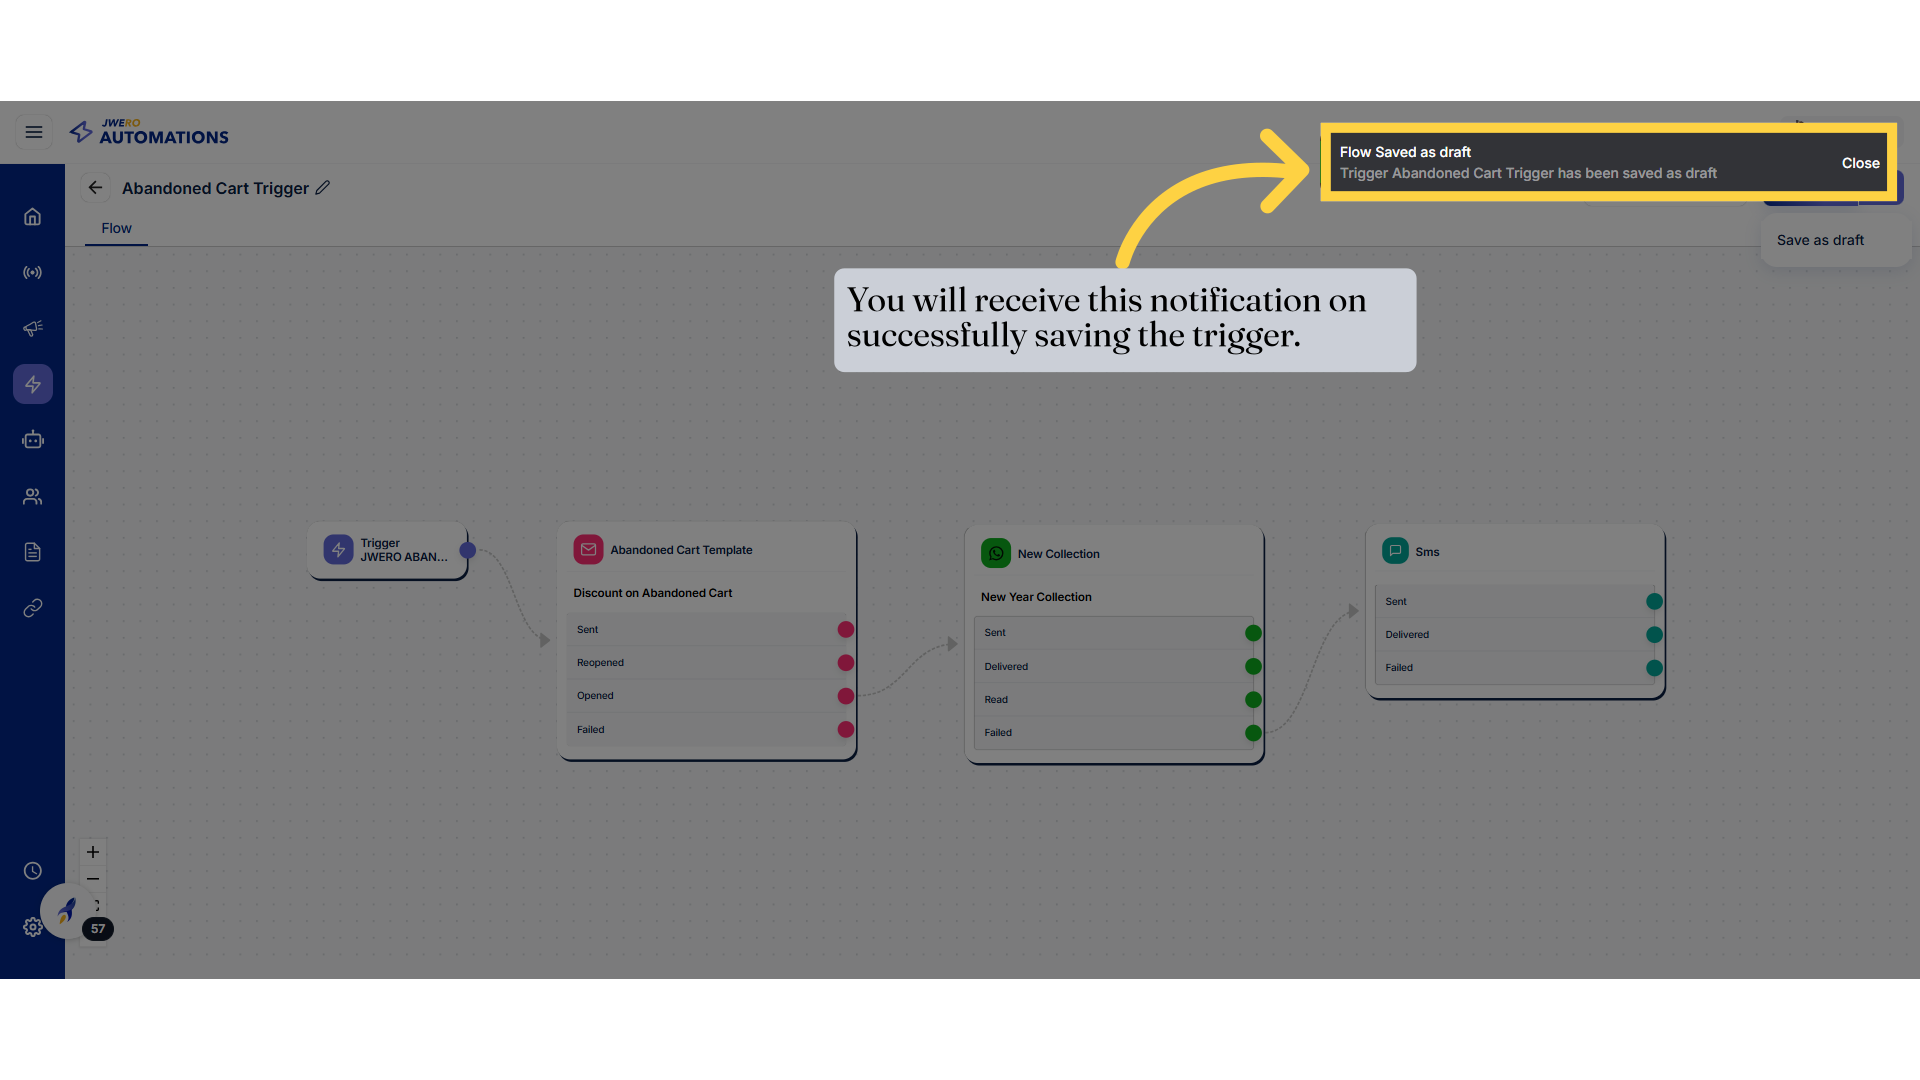
28. You will receive this notification on successfully saving the trigger.
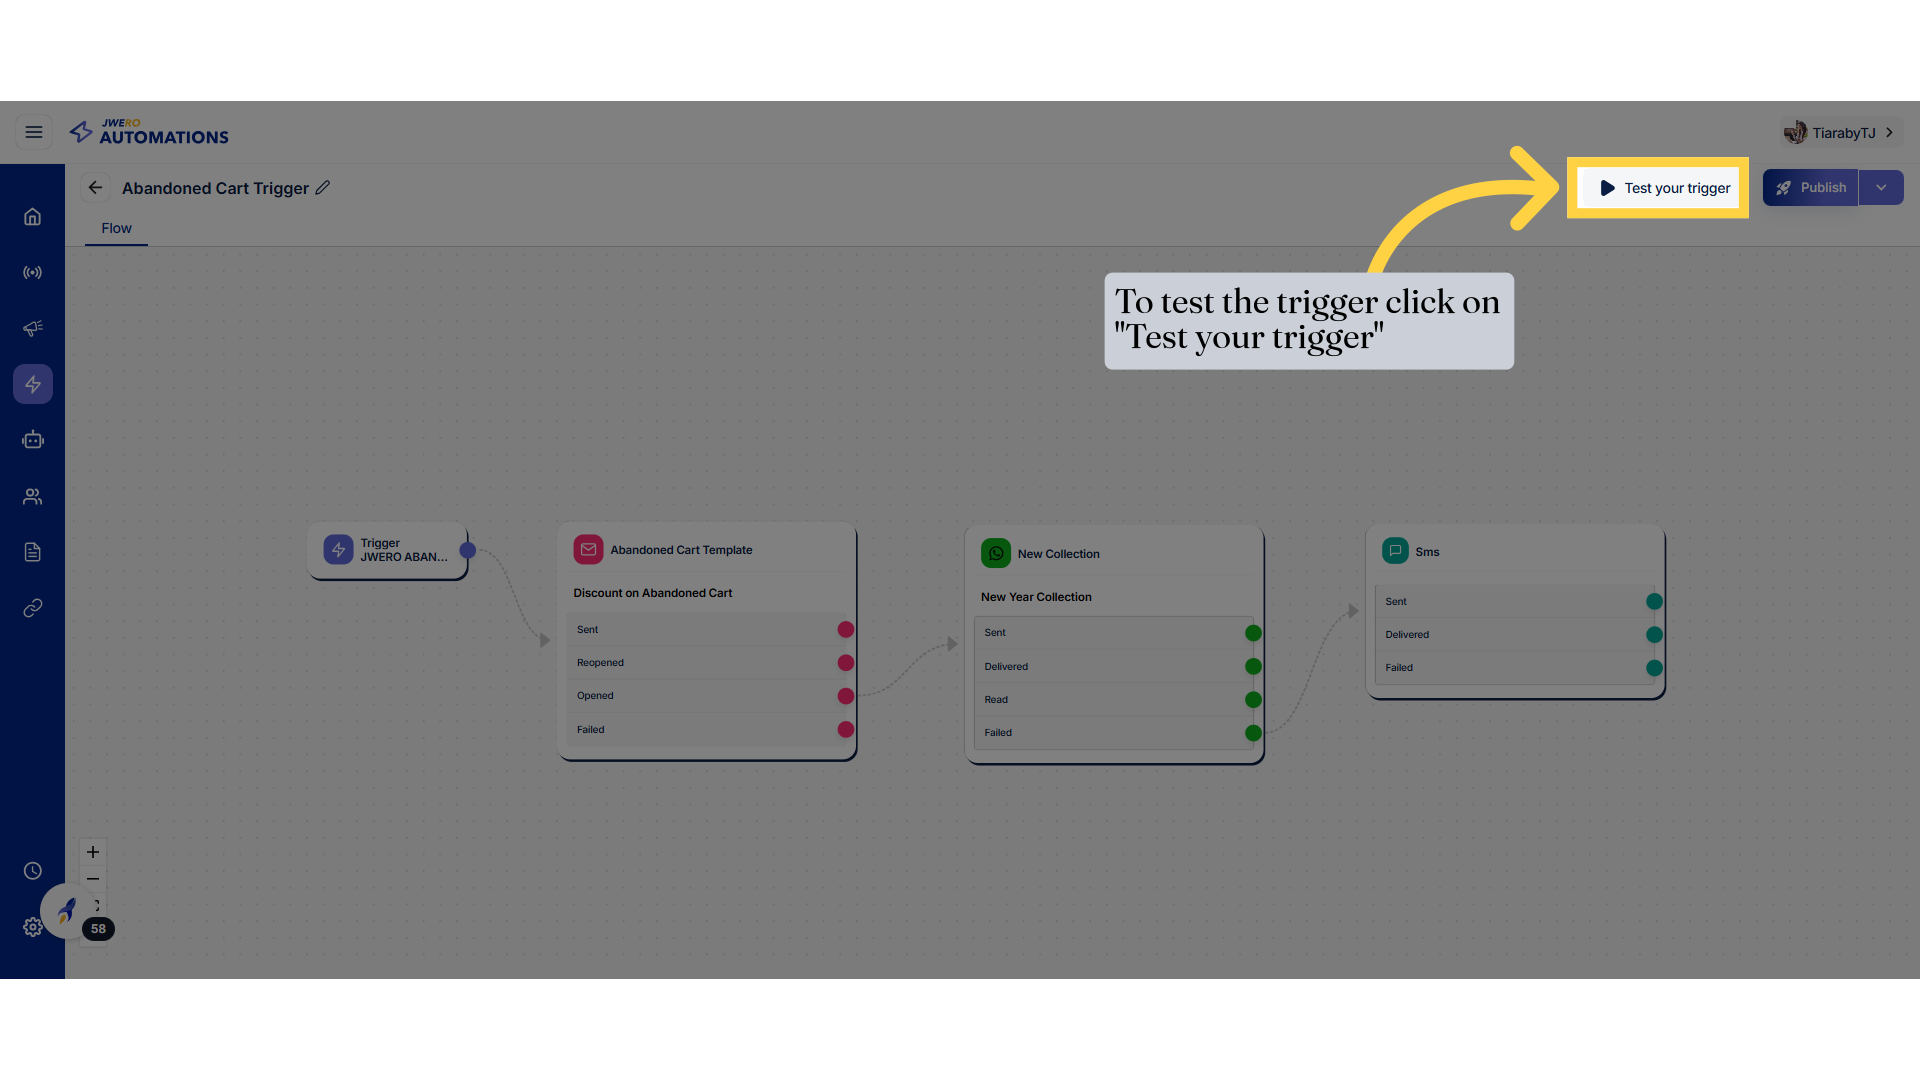
29. To test the trigger click on "Test your trigger"
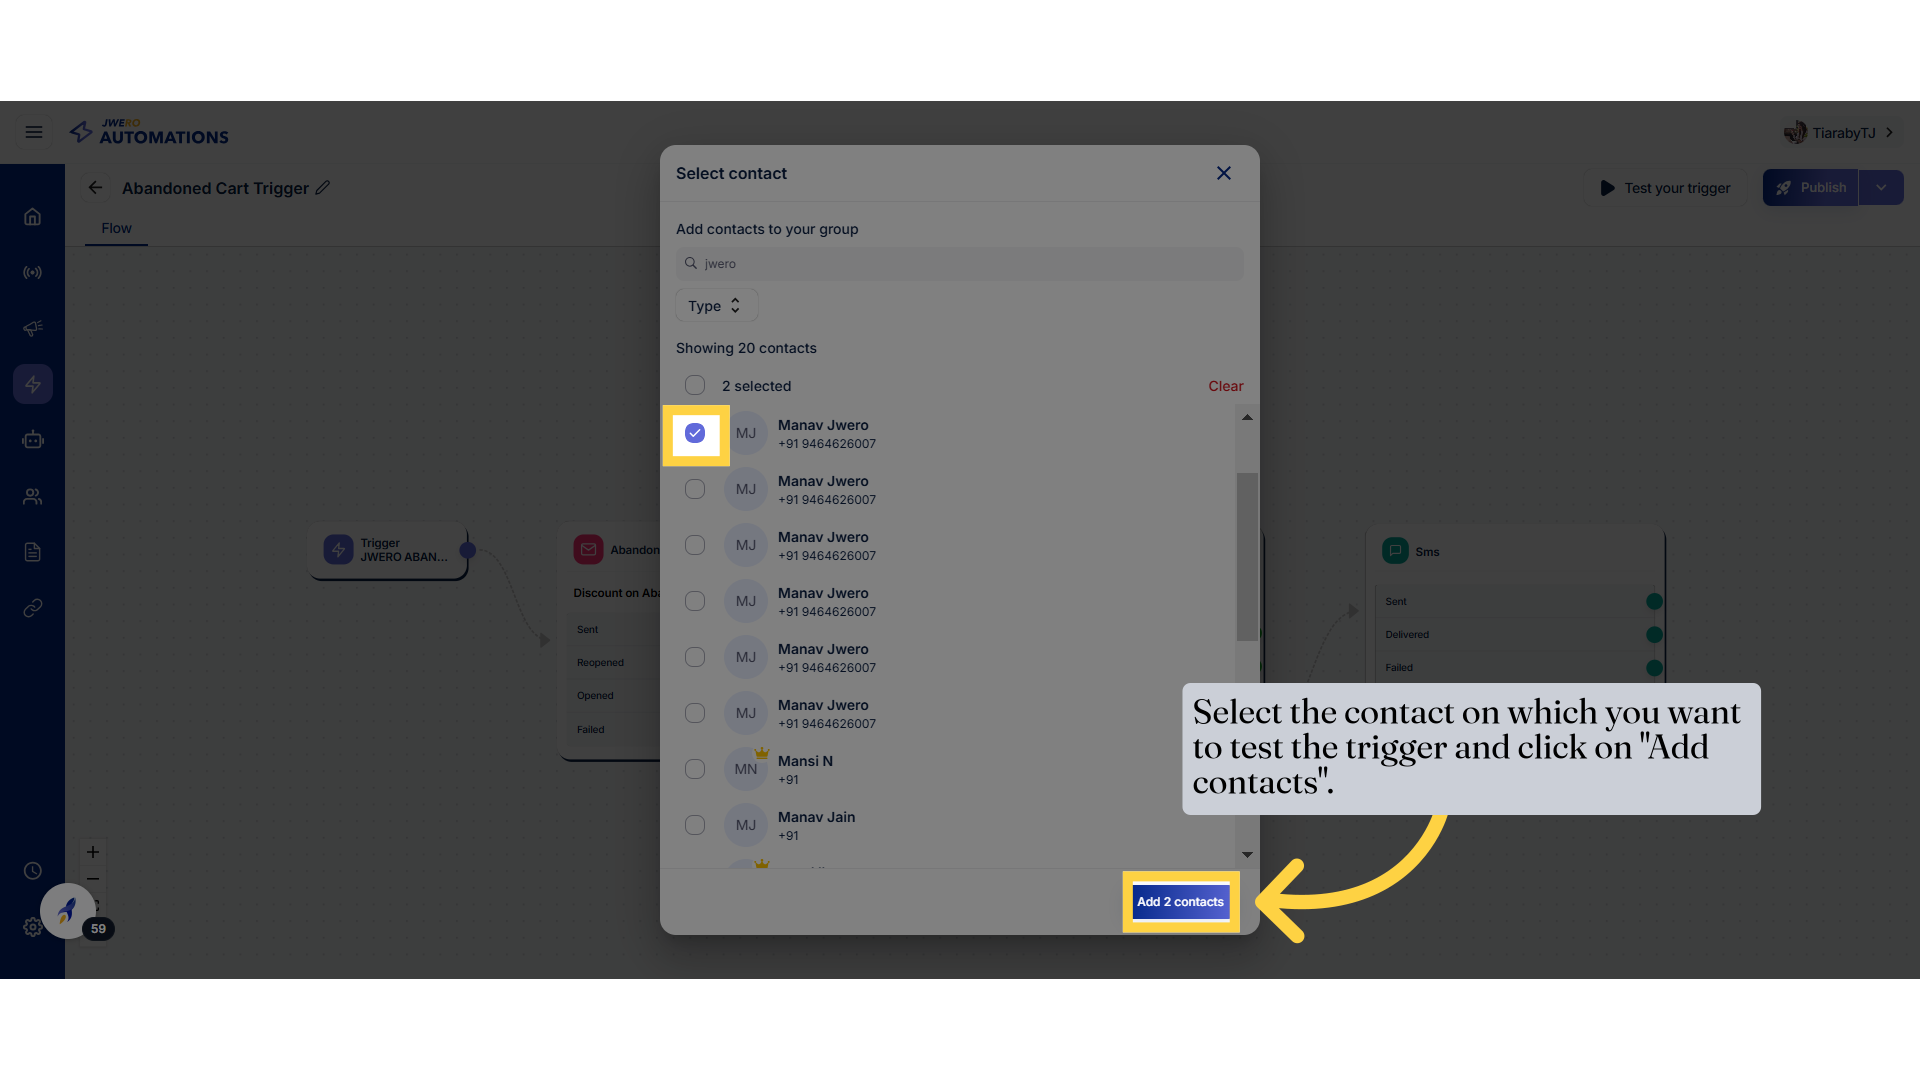
30. Select the contact on which you want to test the trigger and click on "Add contacts".
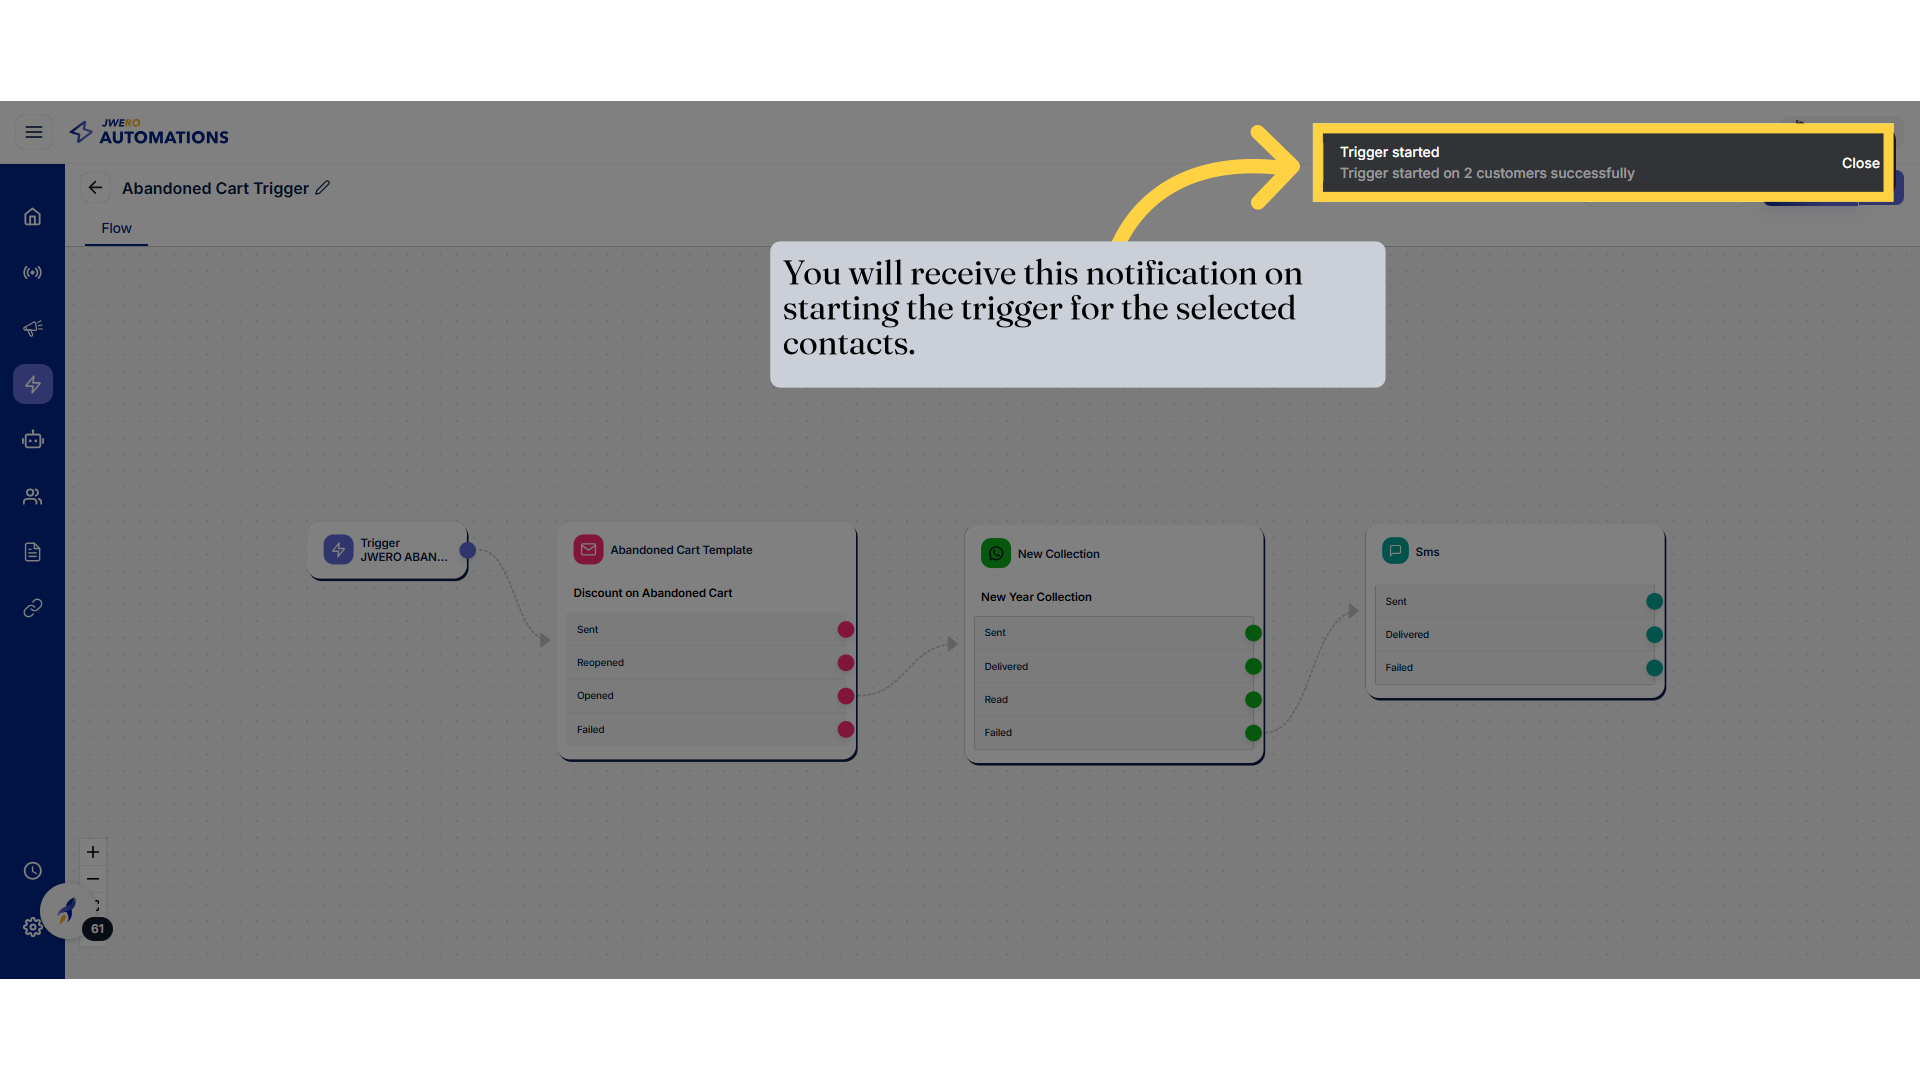
31. You will receive this notification on starting the trigger for the selected contacts.
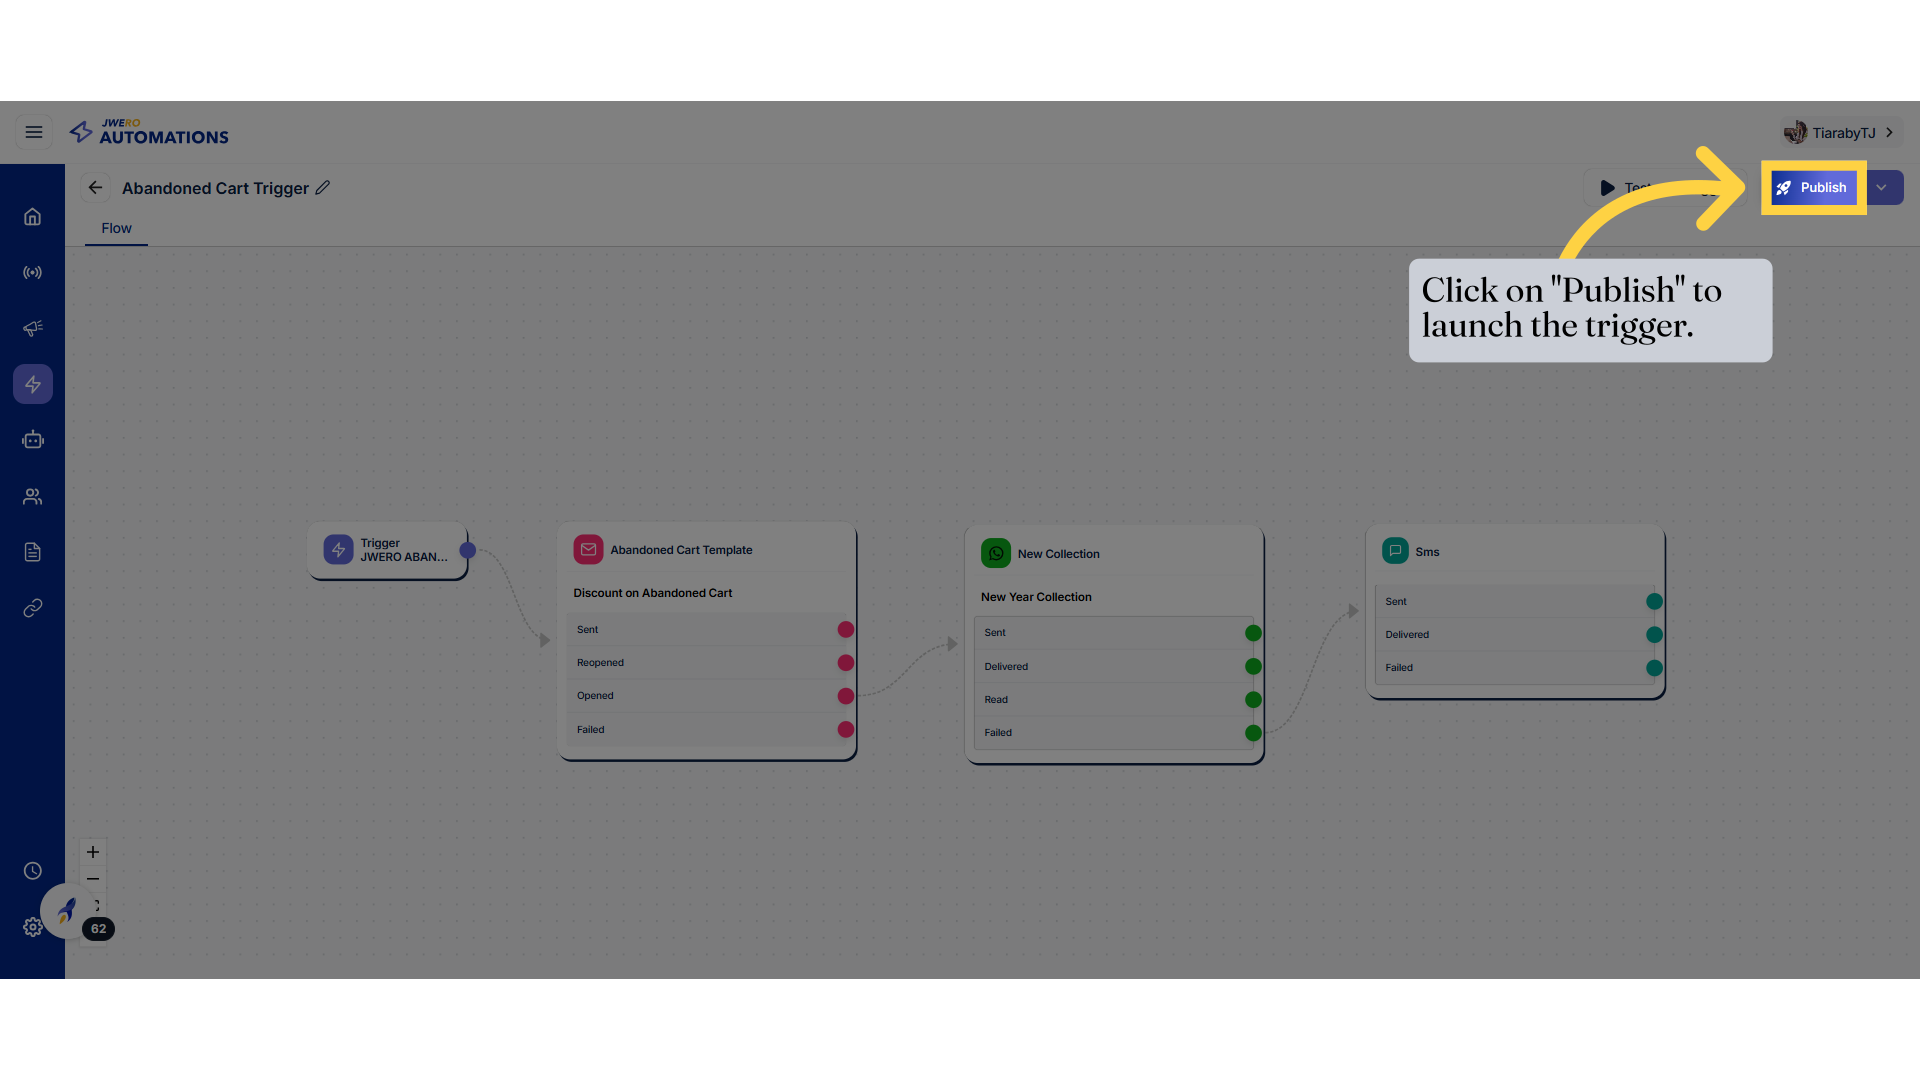
32. Click on "Publish" to launch the trigger.
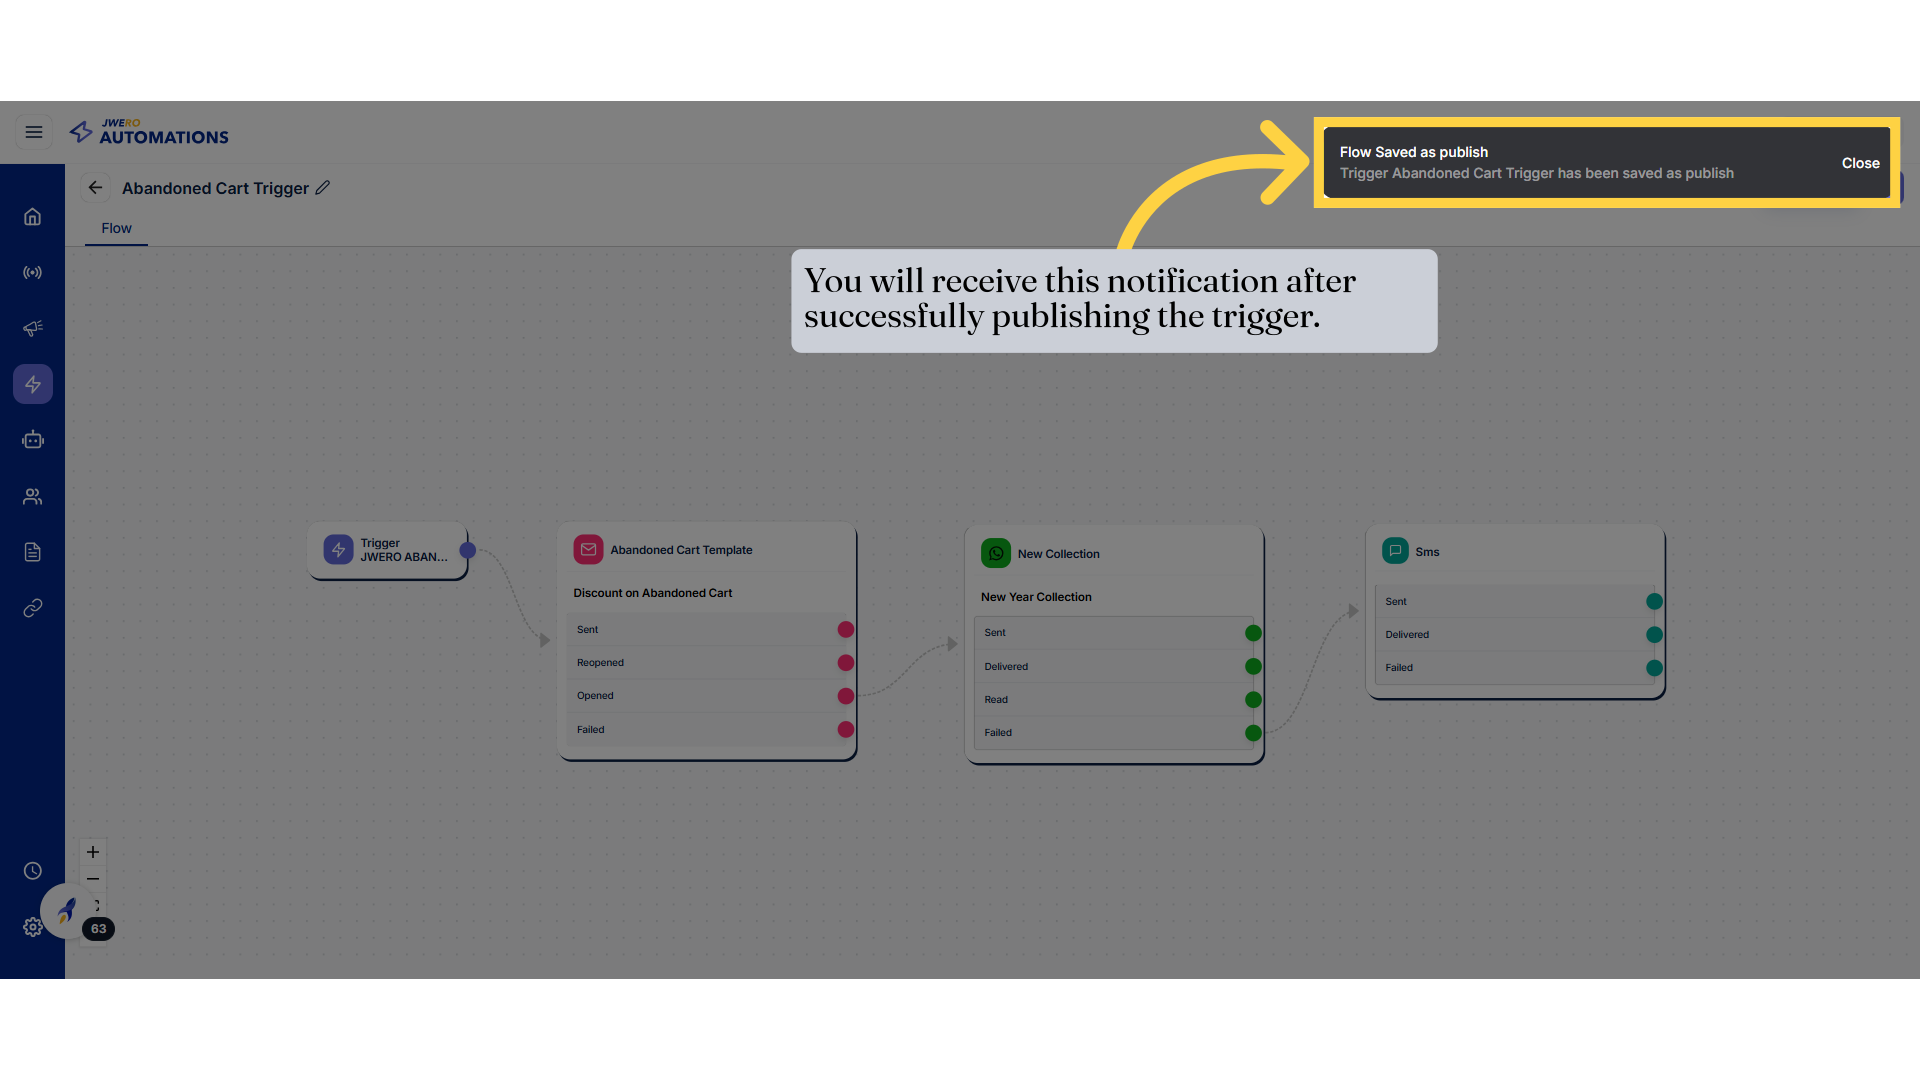
33. You will receive this notification after successfully publishing the trigger.