Text Block Element
This guide provides detailed instructions on Text Block elements from selecting fonts to adjusting layout, follow the precise steps to enhance the design and functionality of your website.
Go to app.jwero.ai
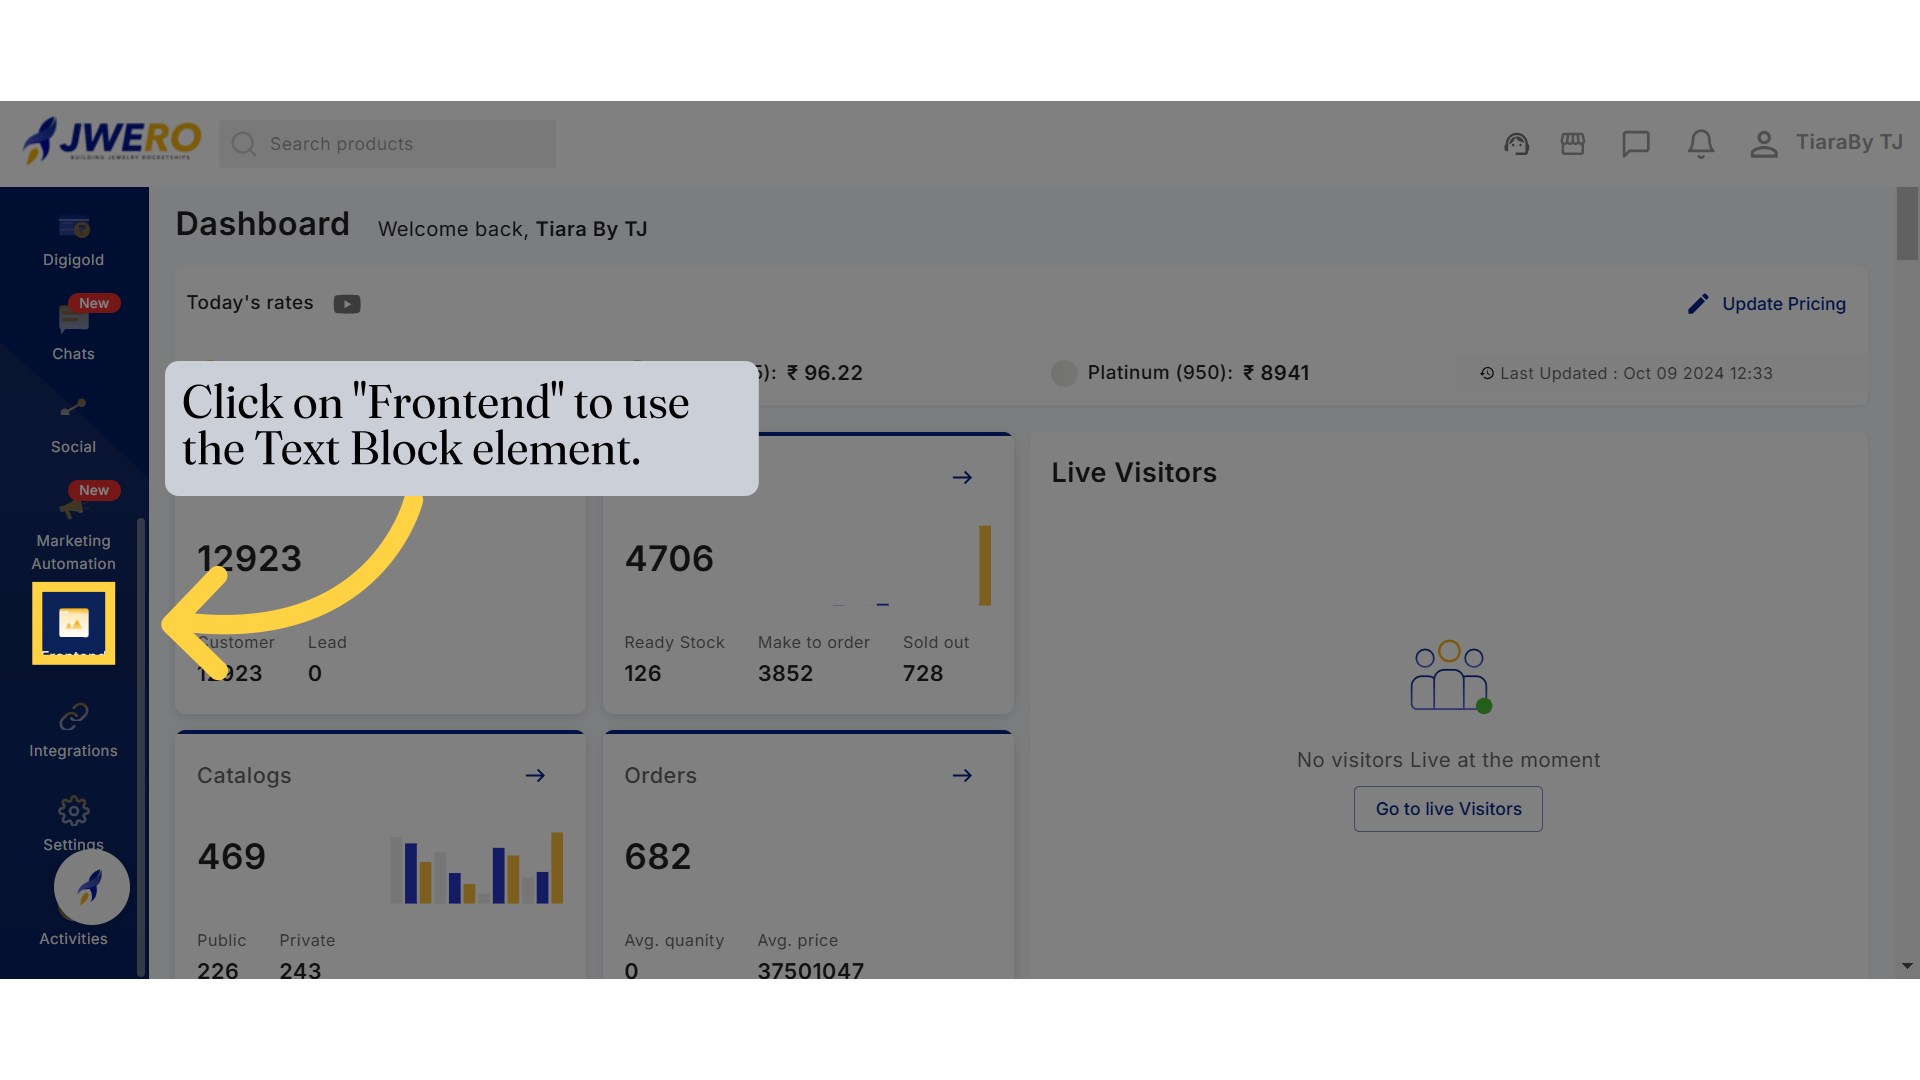
1. Click on "Frontend" to use the Text Block element.
Click on the specified button.
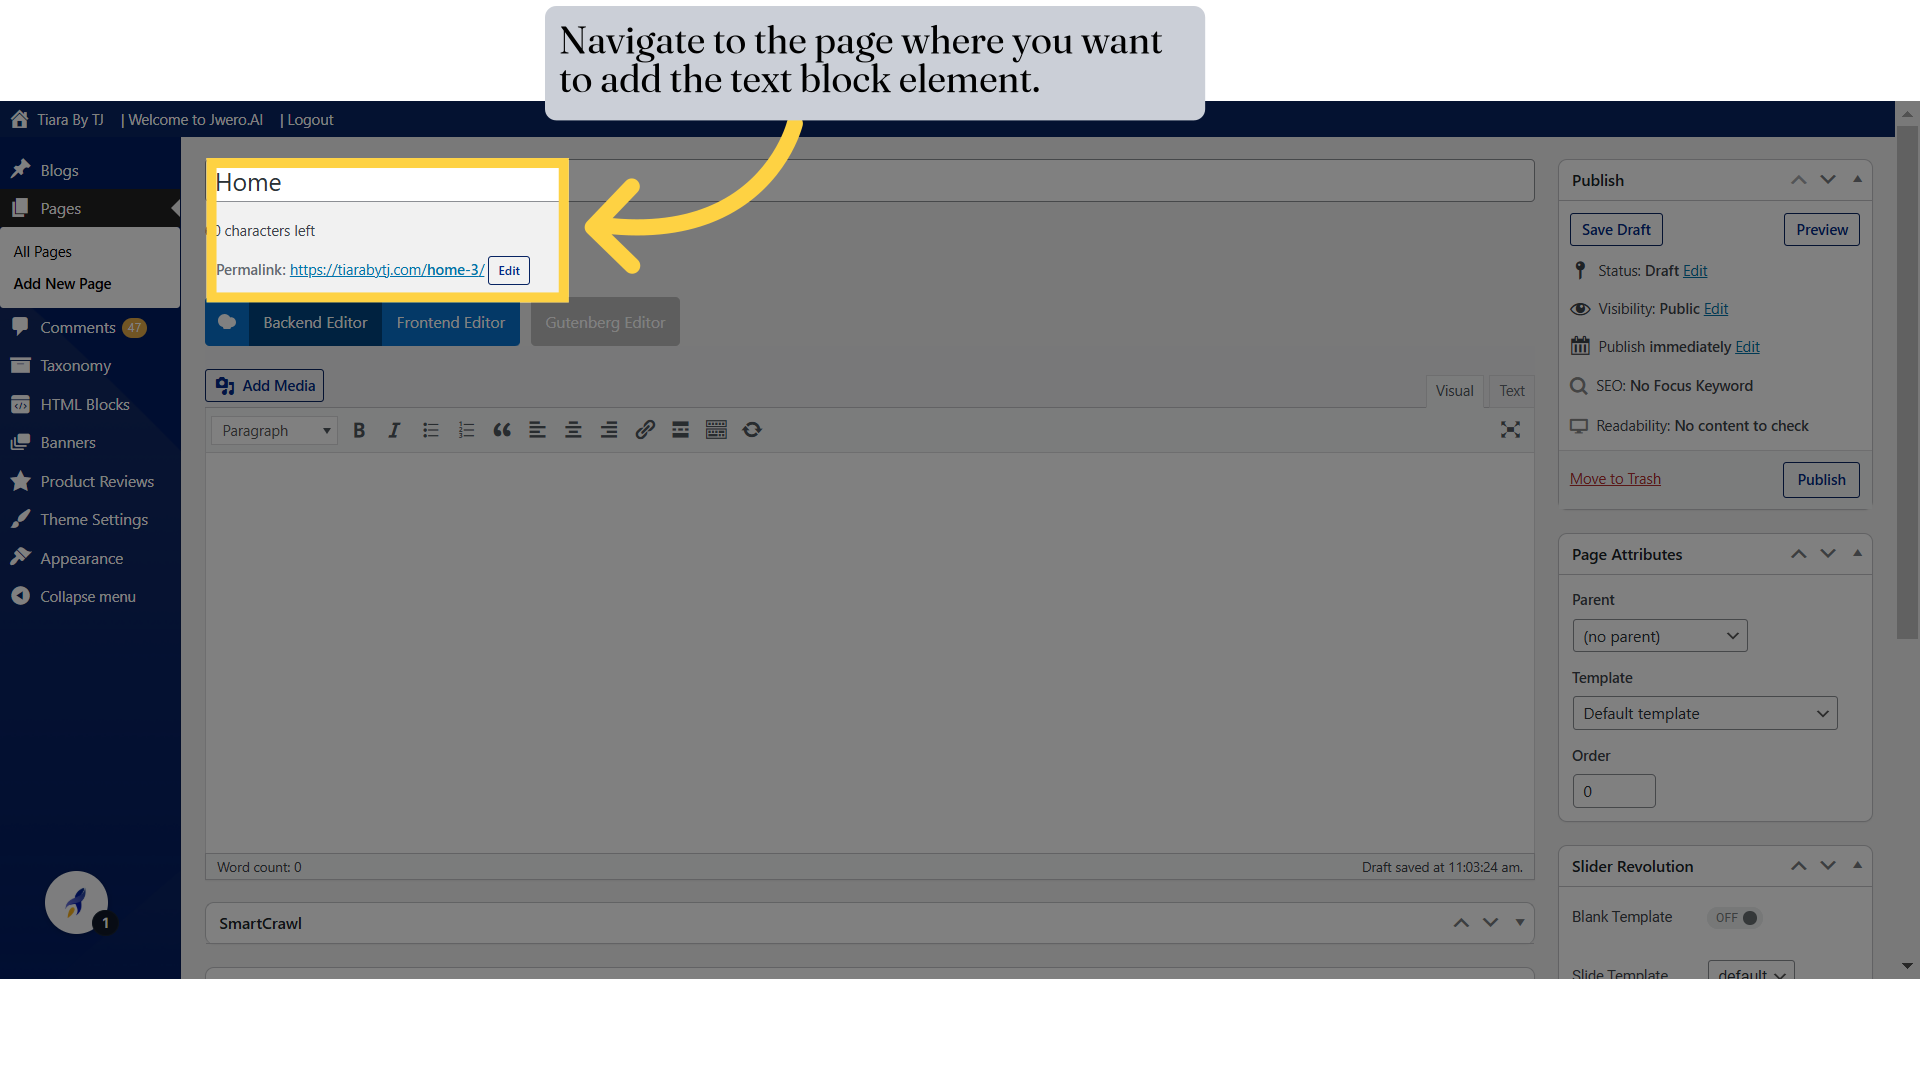
2. Navigate to the page where you want to add the text block element.
Navigate to Pages -> All Pages, locate the page where you want to add the Text Block, and click Edit.
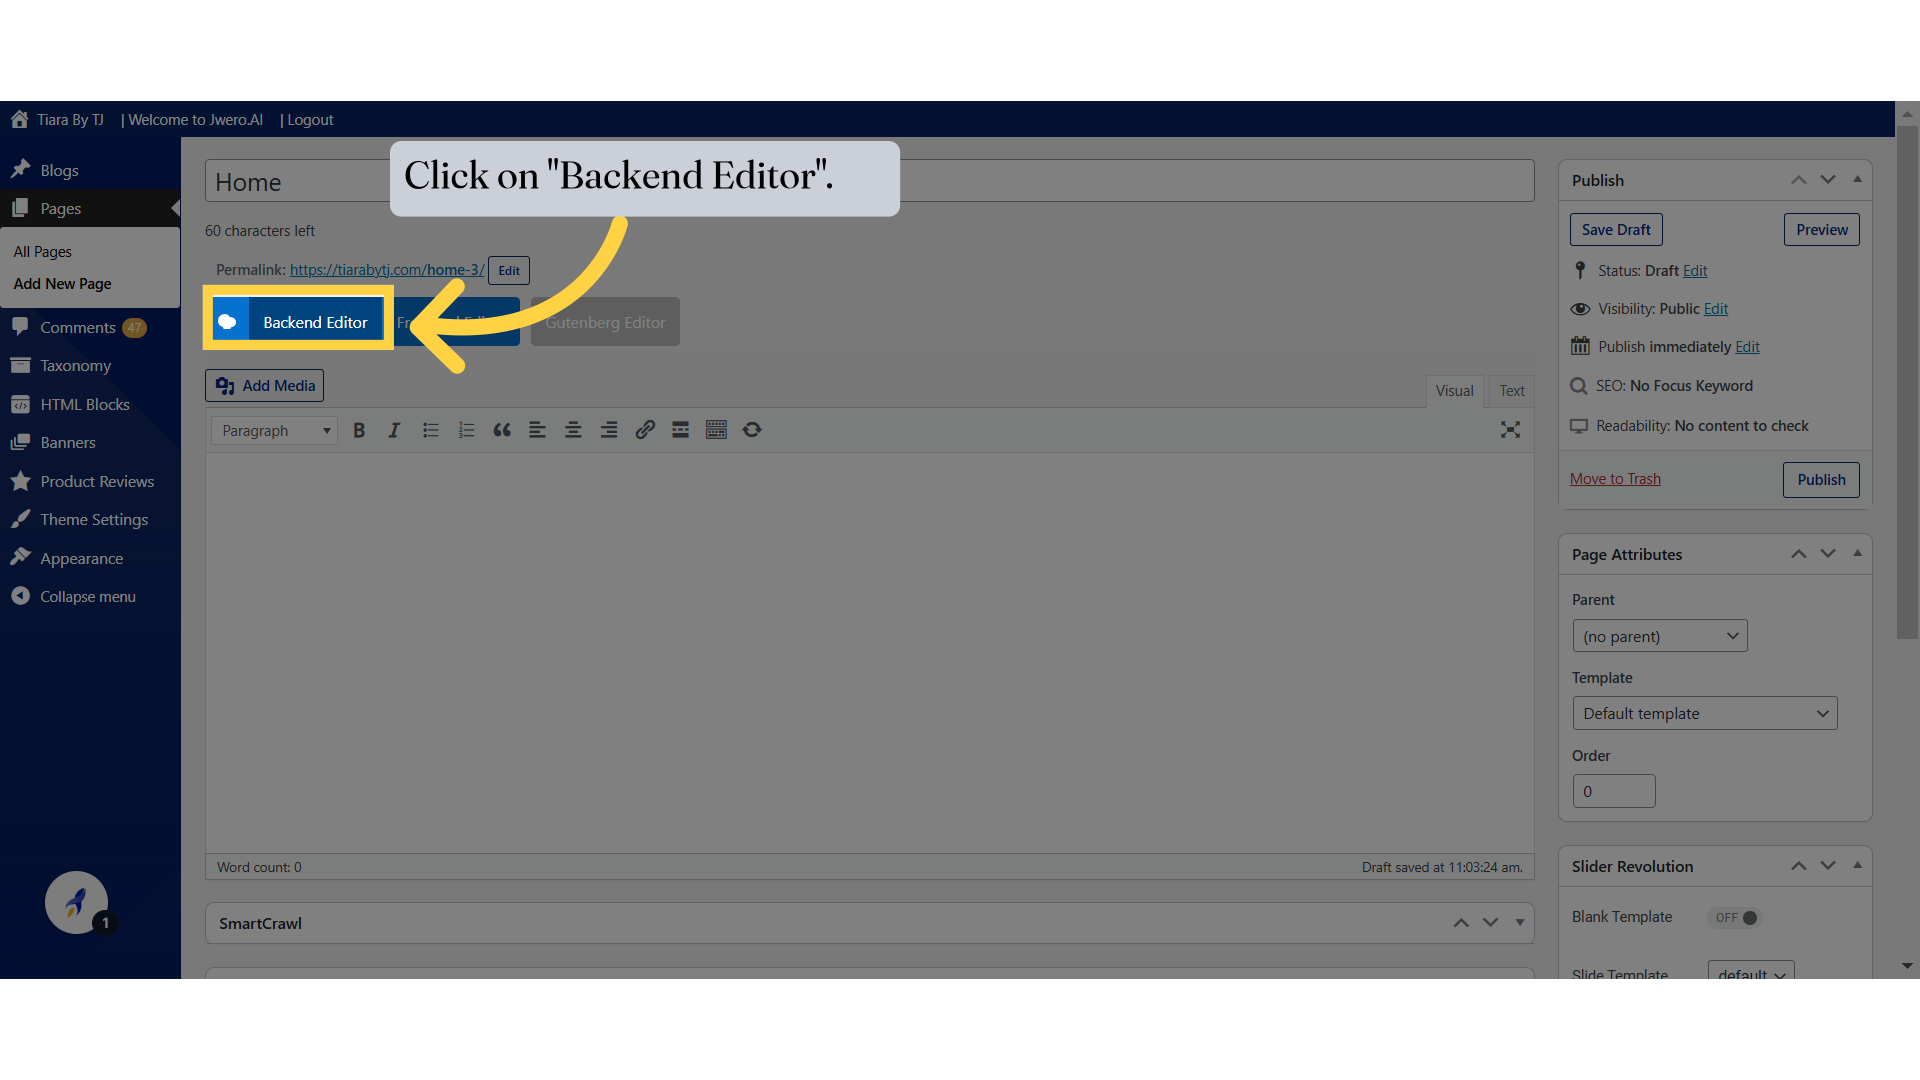
3. Click on "Backend Editor".
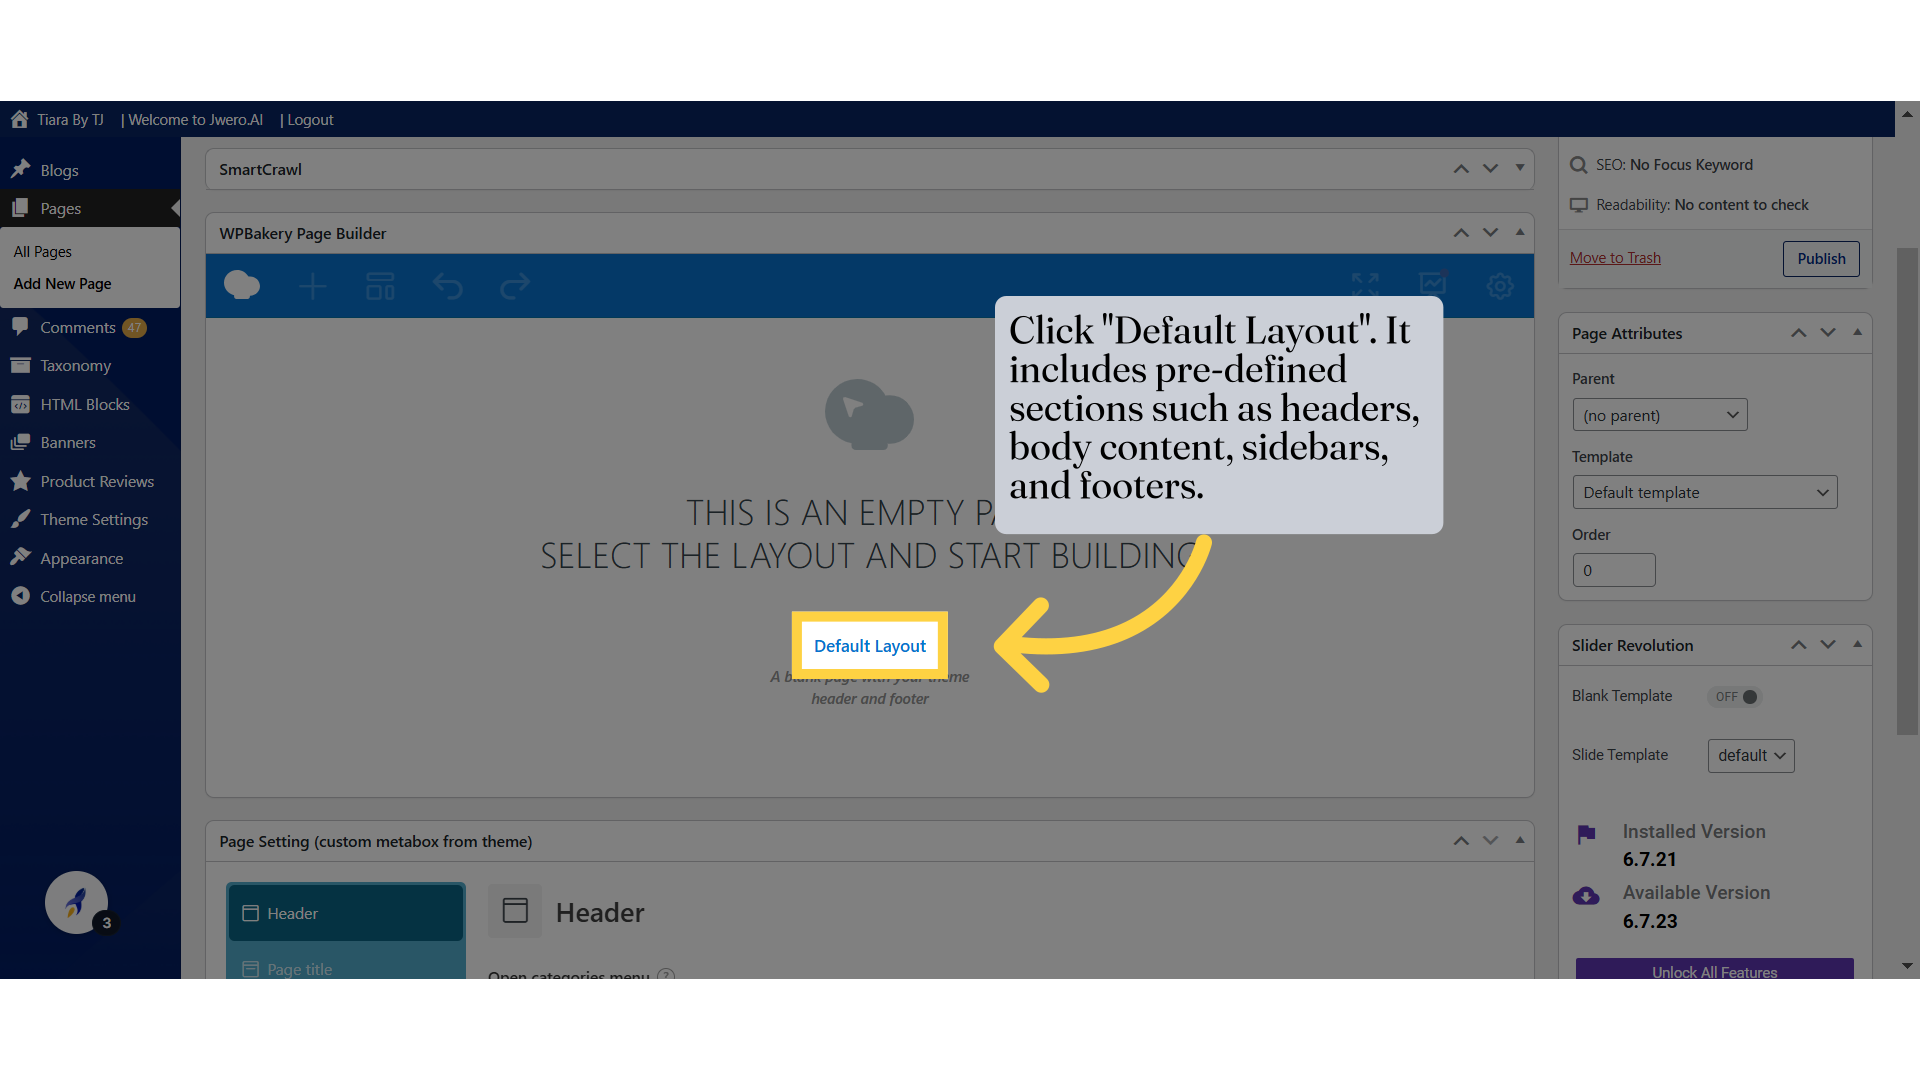
4. Click "Default Layout". It includes pre-defined sections such as headers, body content, sidebars, and footers.
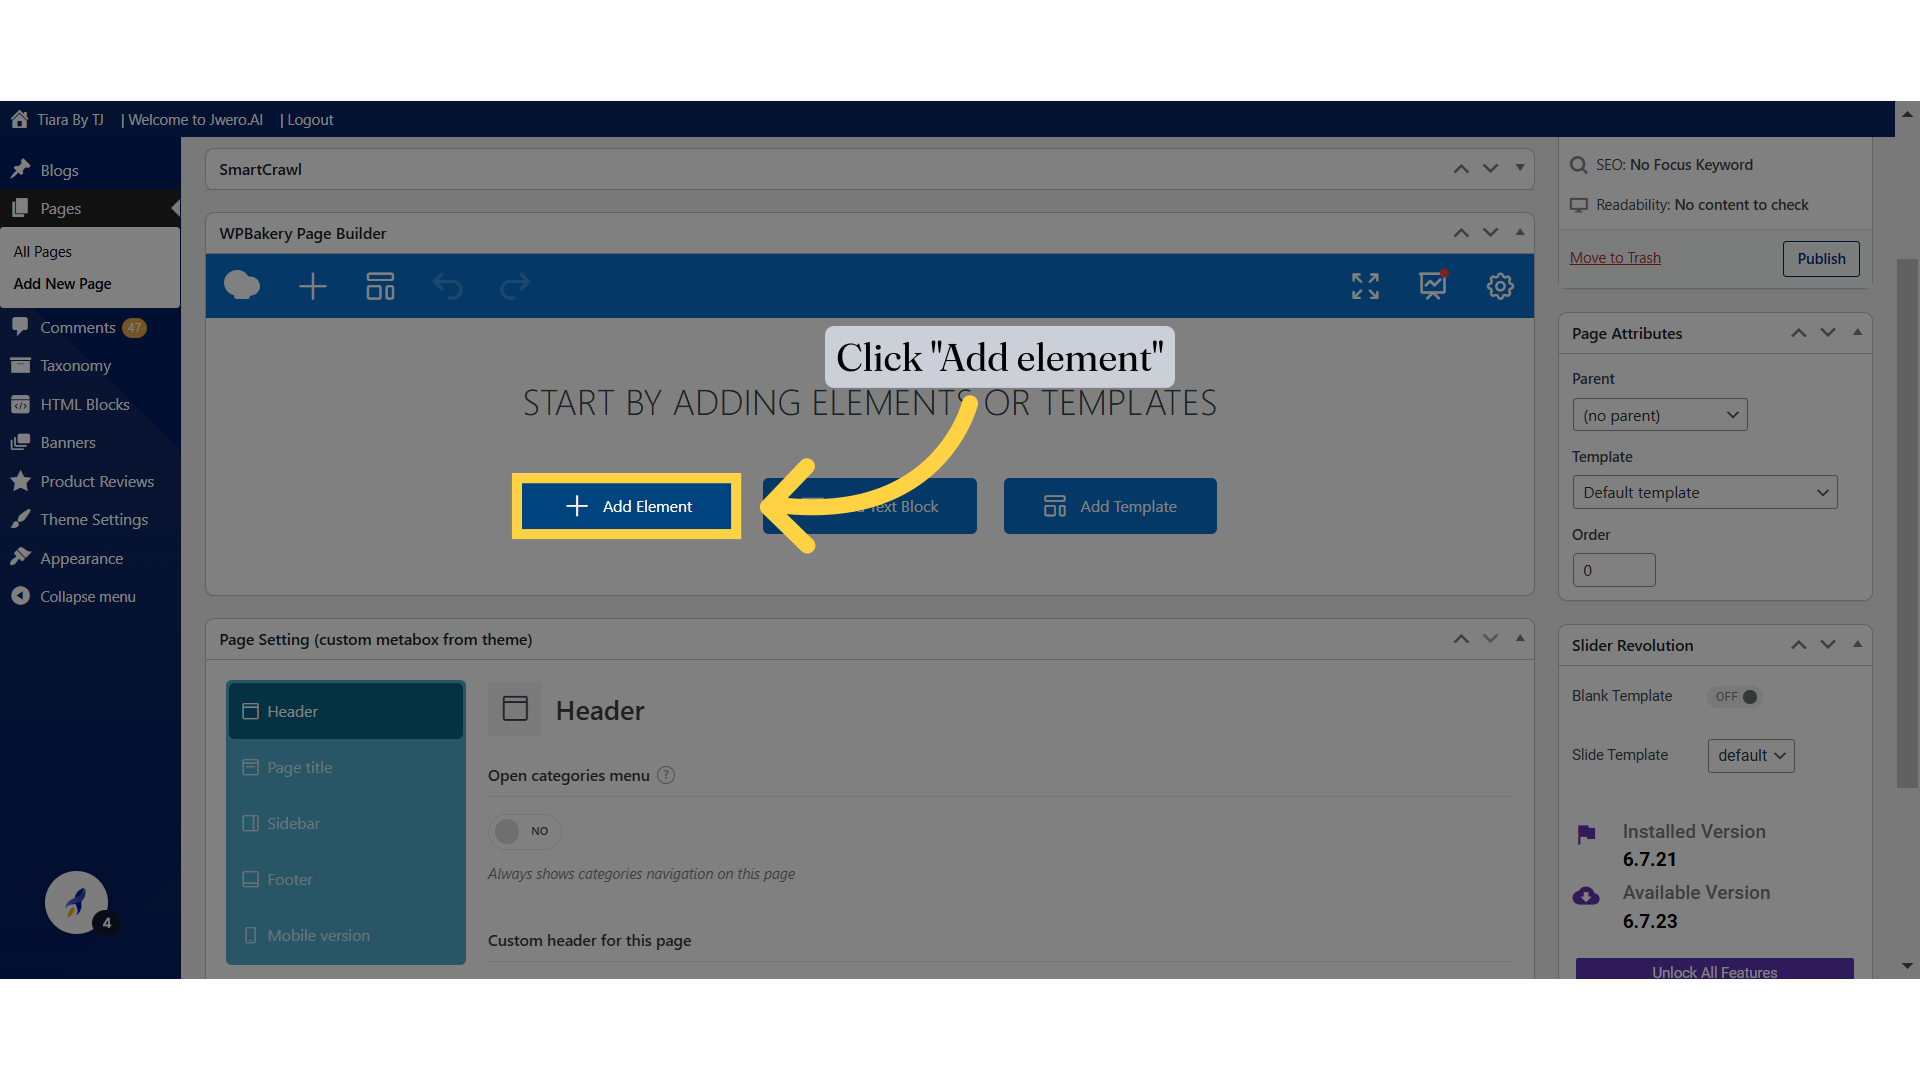
5. Click "Add element"
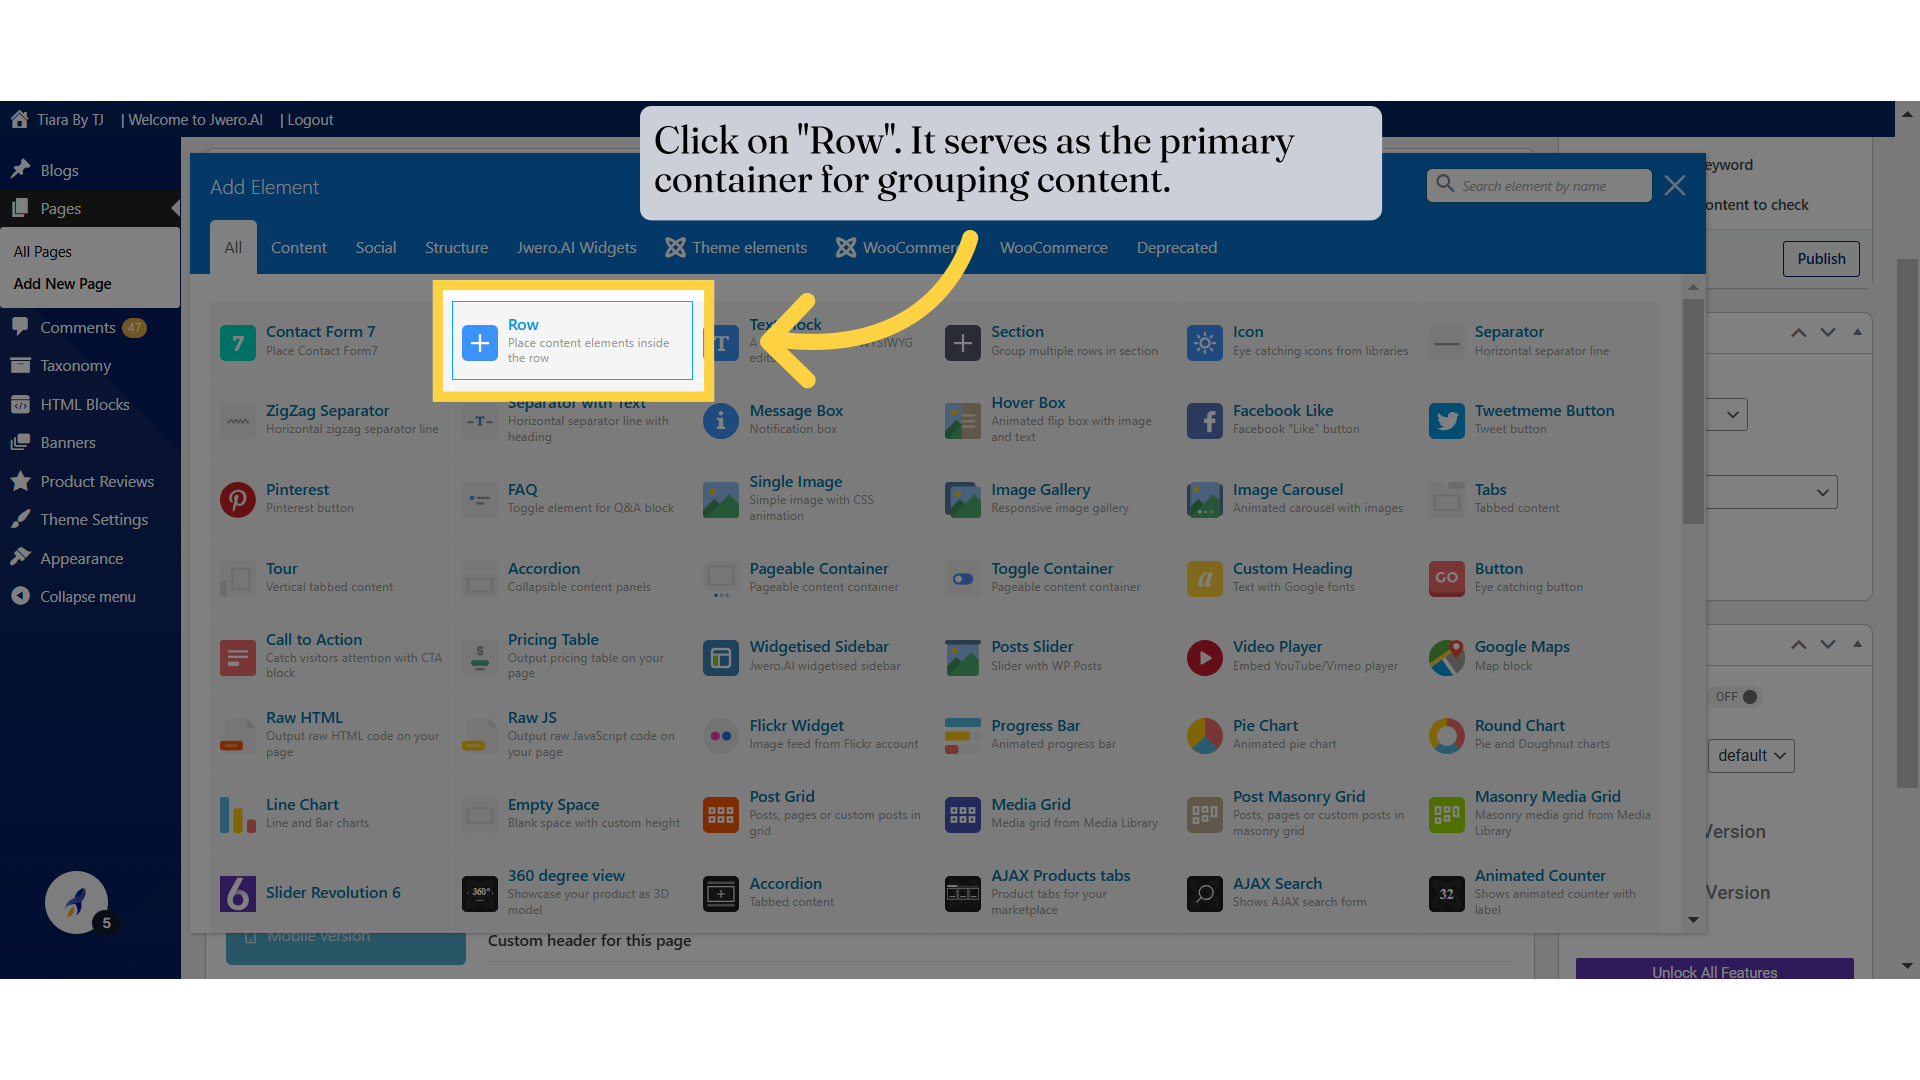
6. Click on "Row". It serves as the primary container for grouping content.
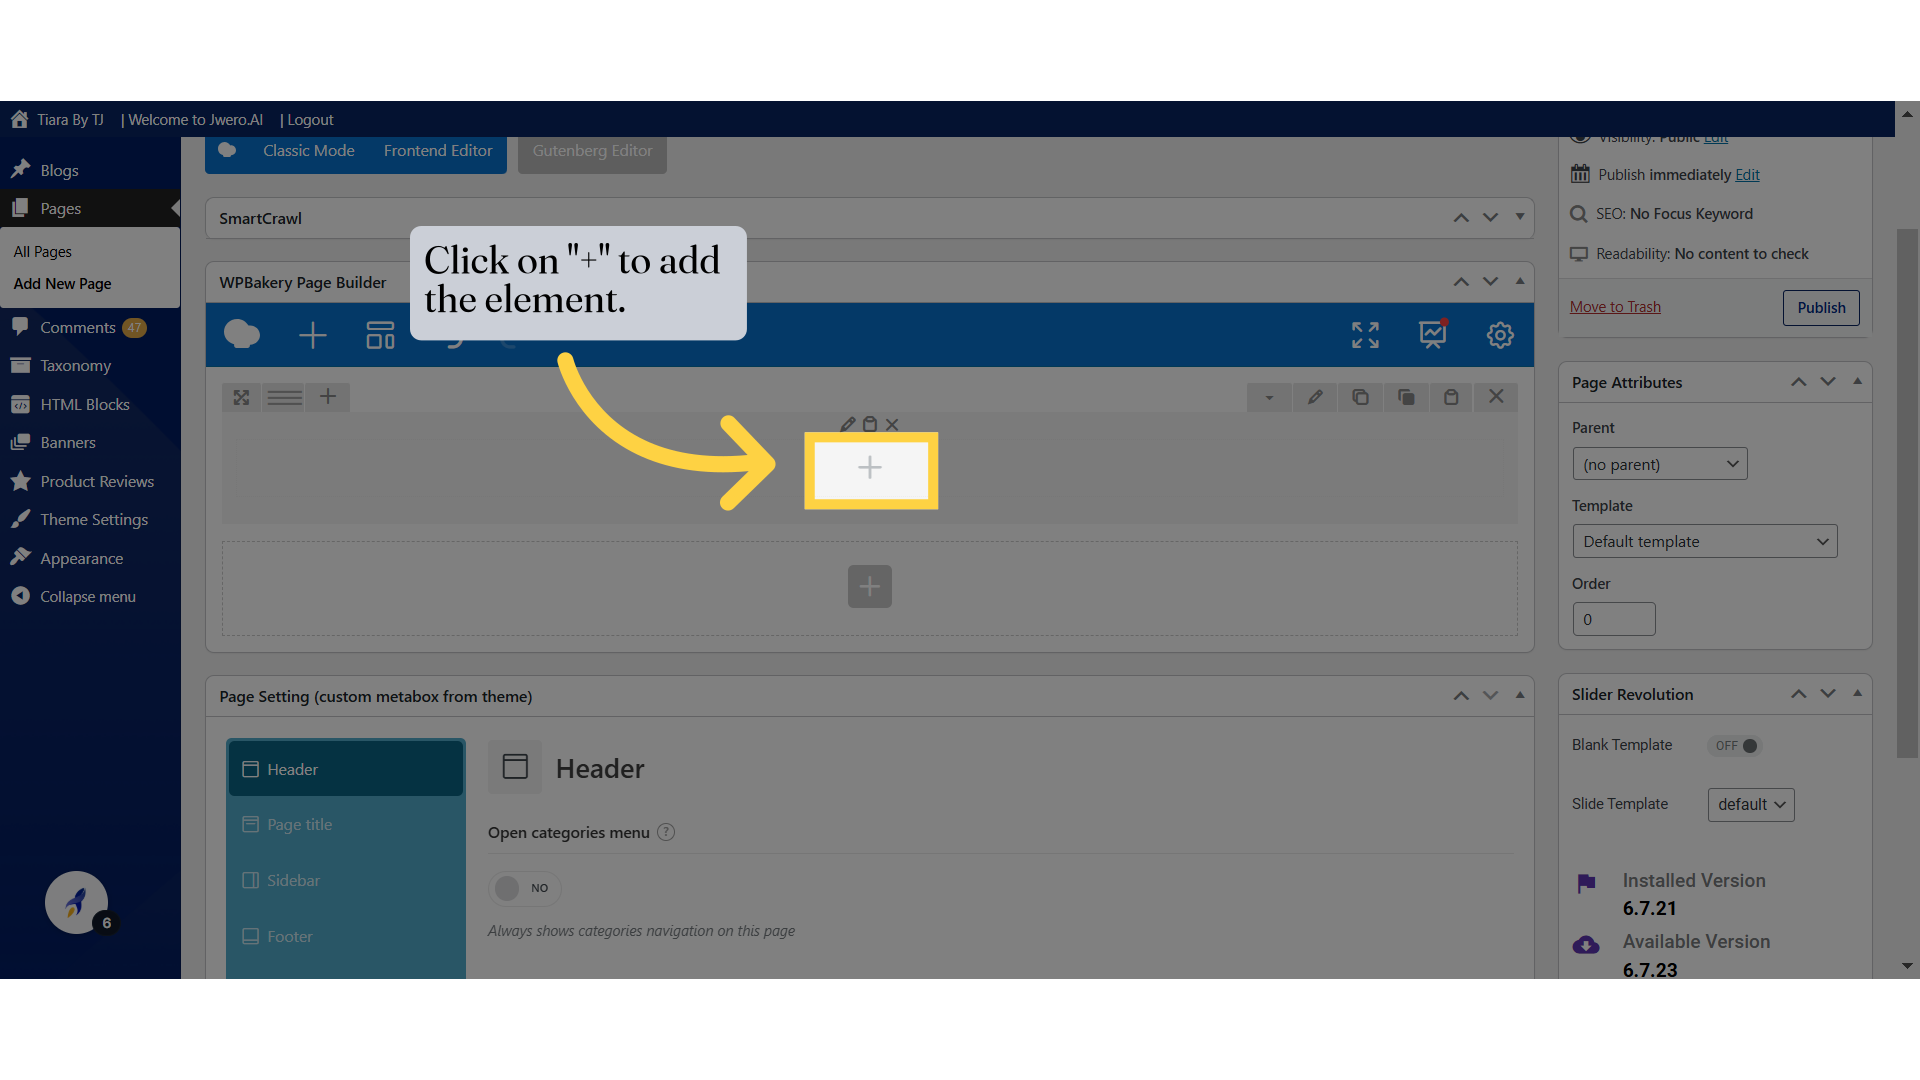
7. Click on "+" to add the element.
Click on the specified location.
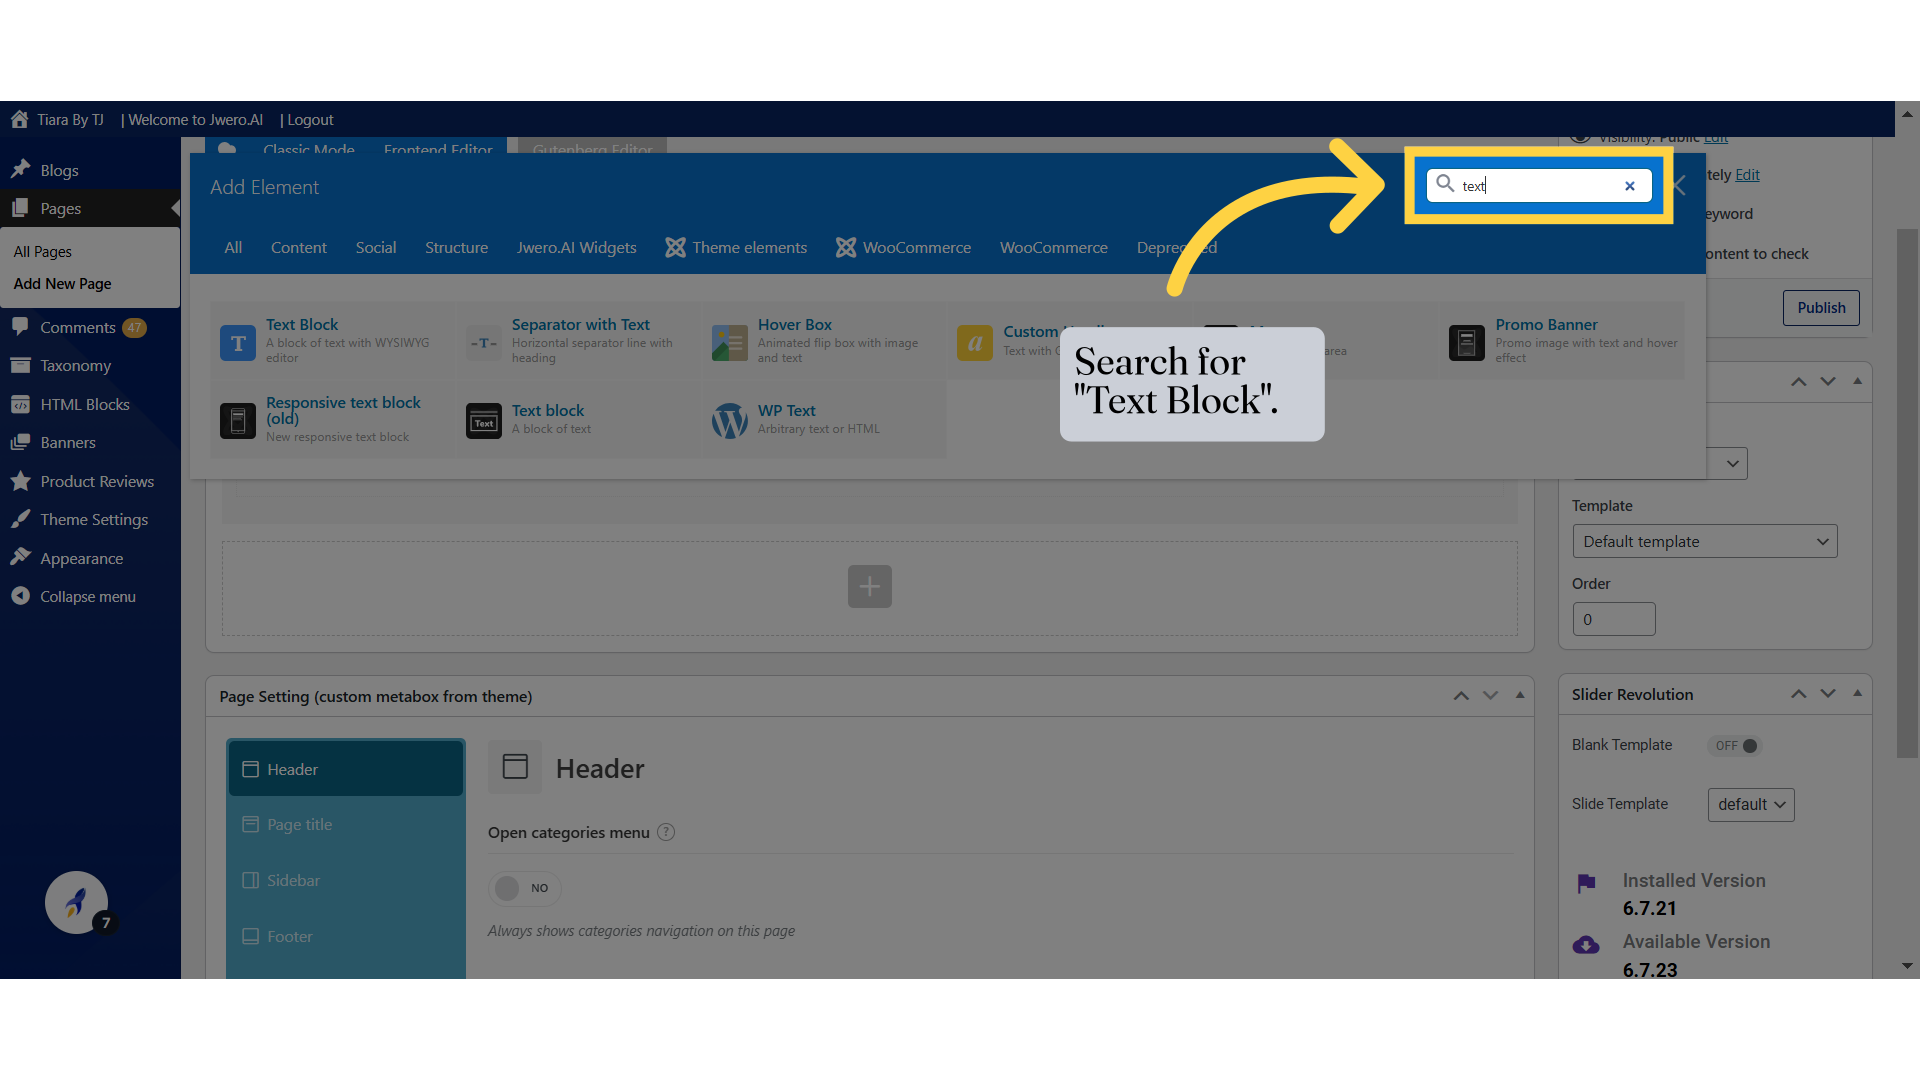
8. Search for "Text Block".
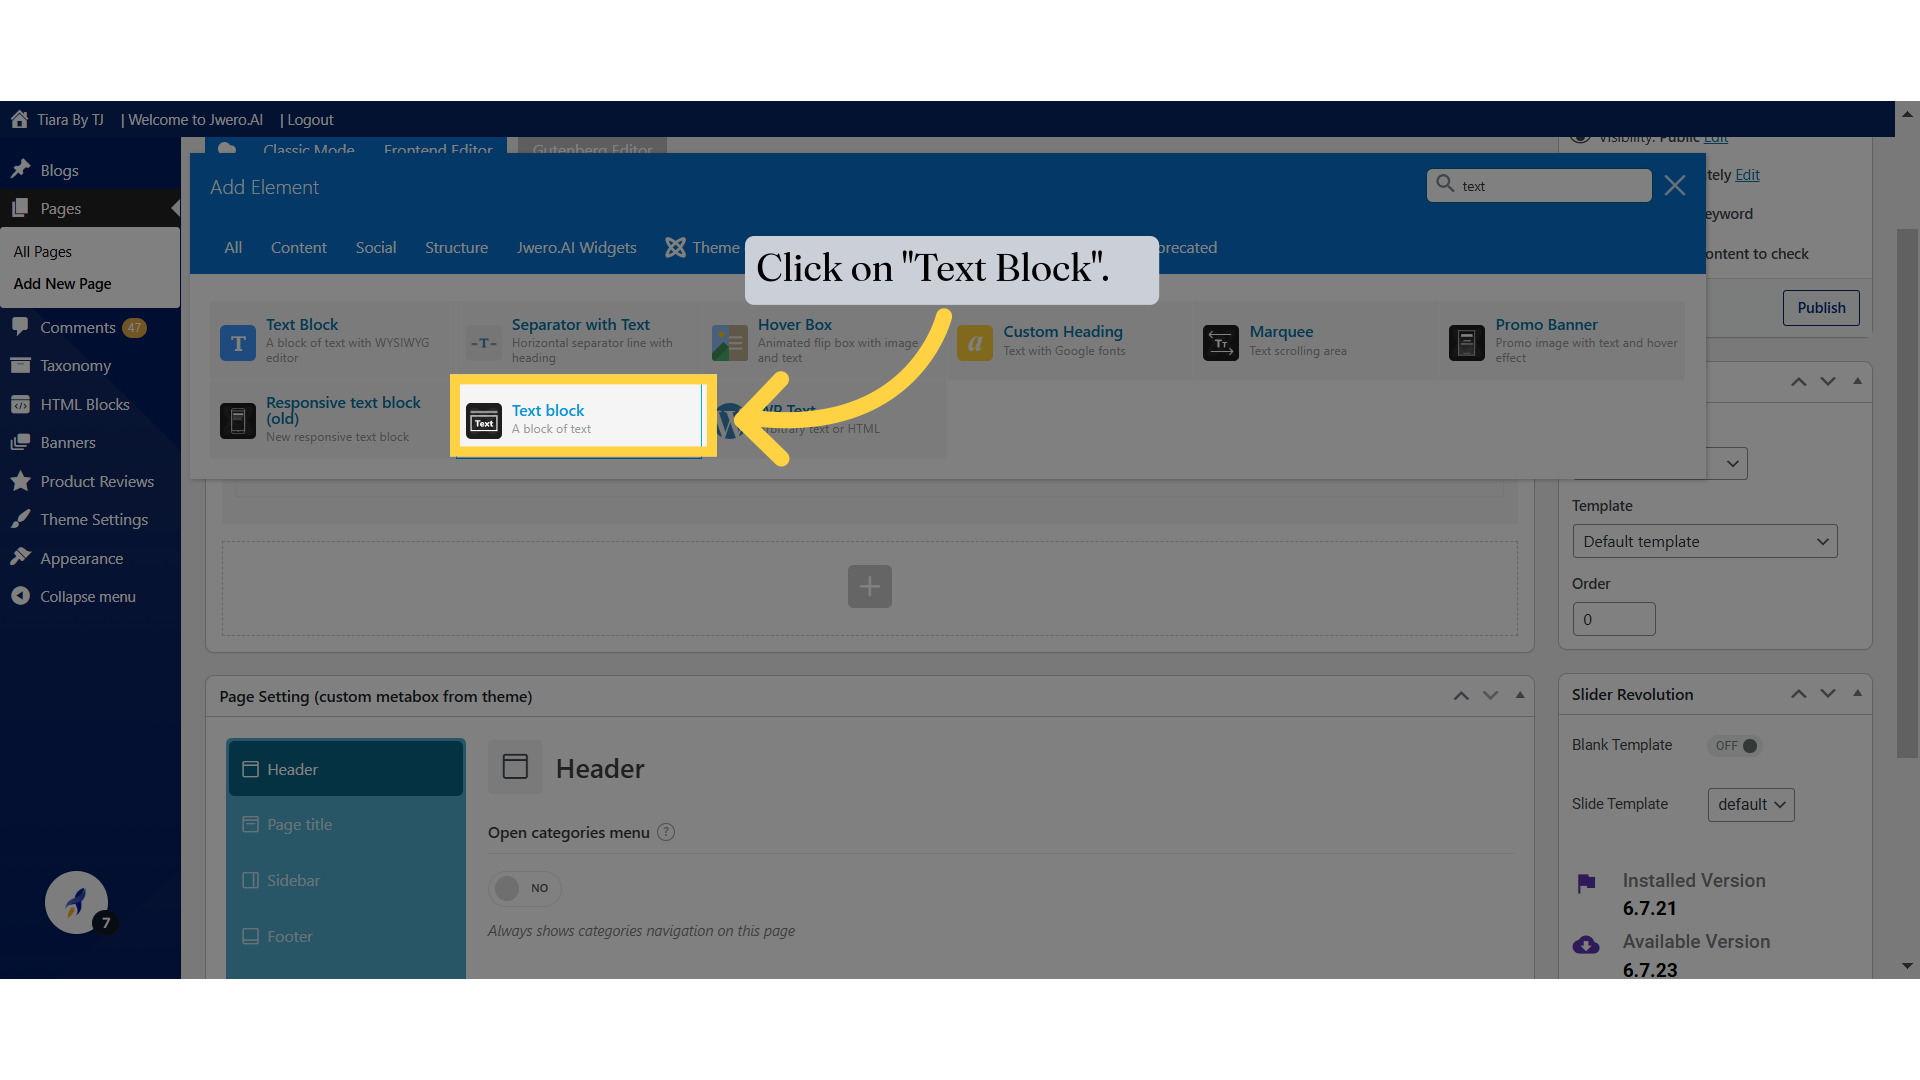
9. Click on "Text Block".
10. "Text Block Setting" window will be opened.
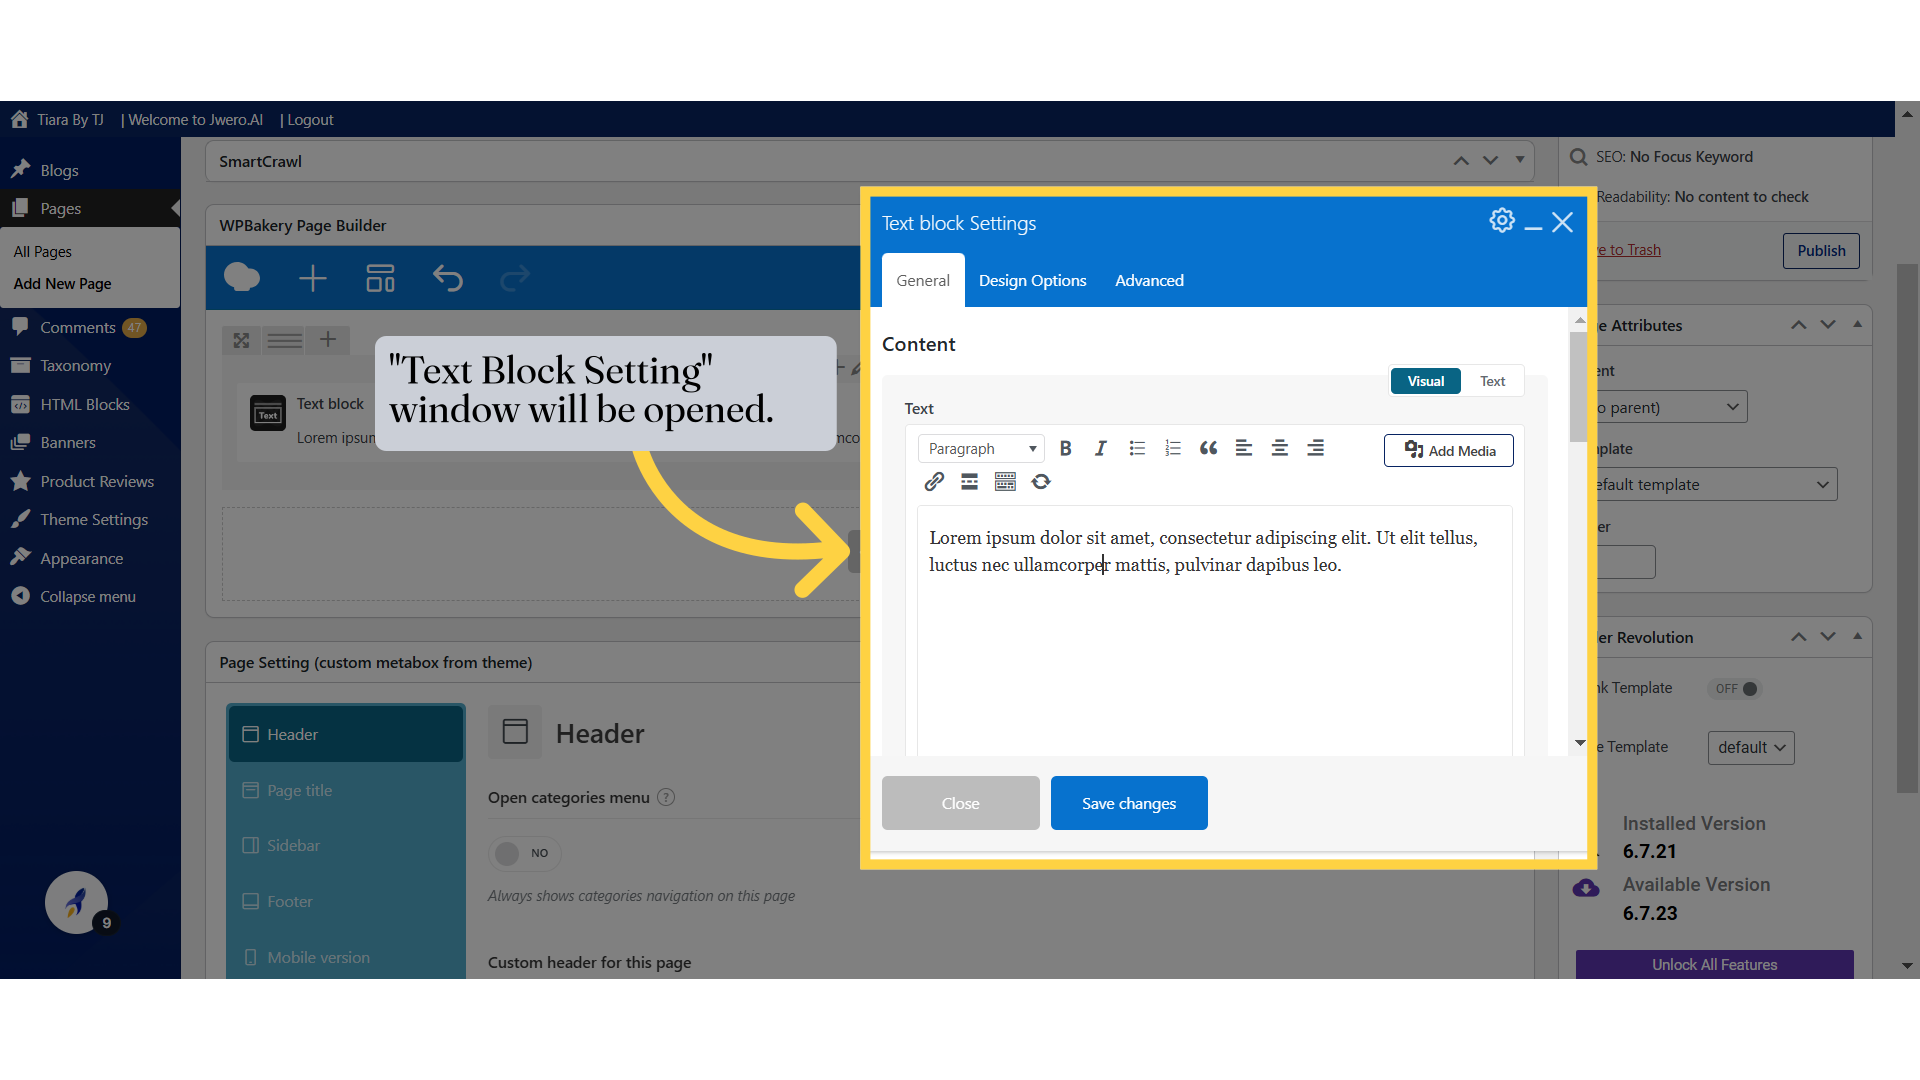
11. Use a editor to format text, style it, and add media.

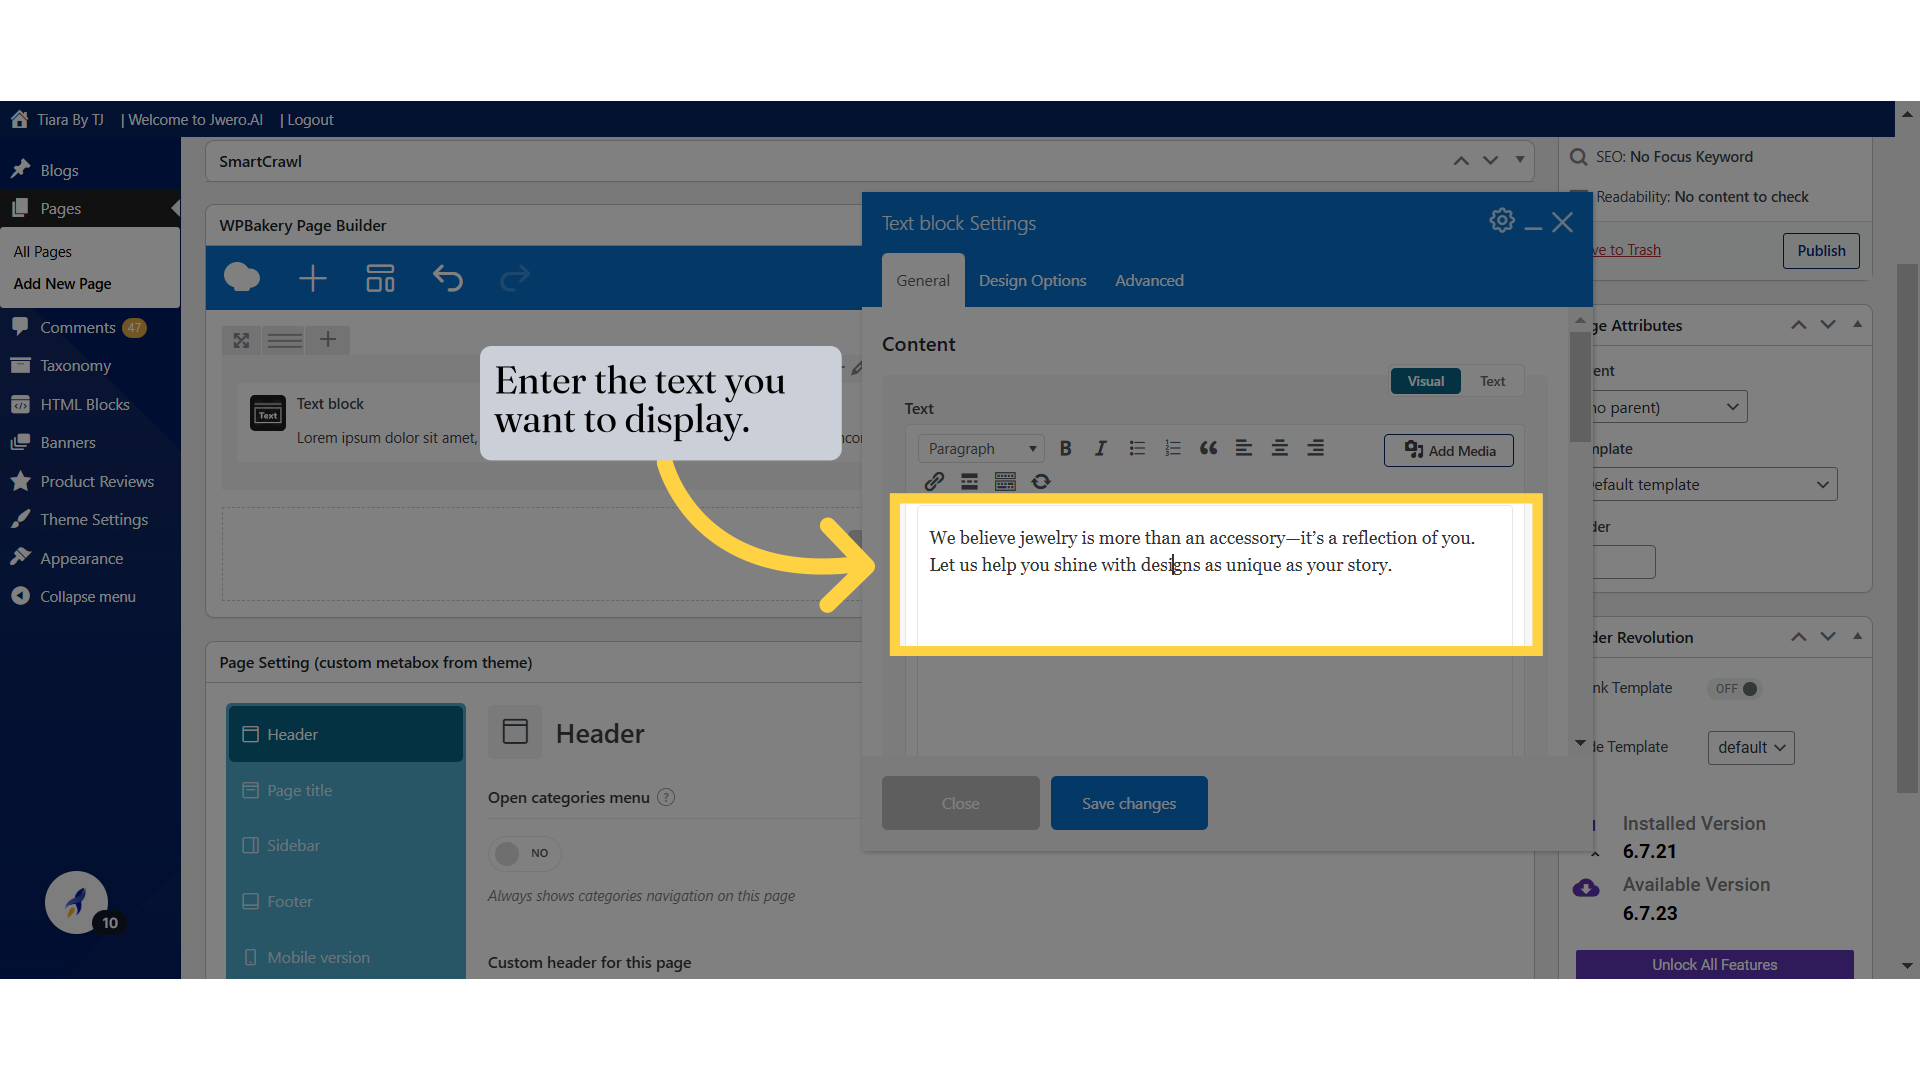
12. Enter the text you want to display.
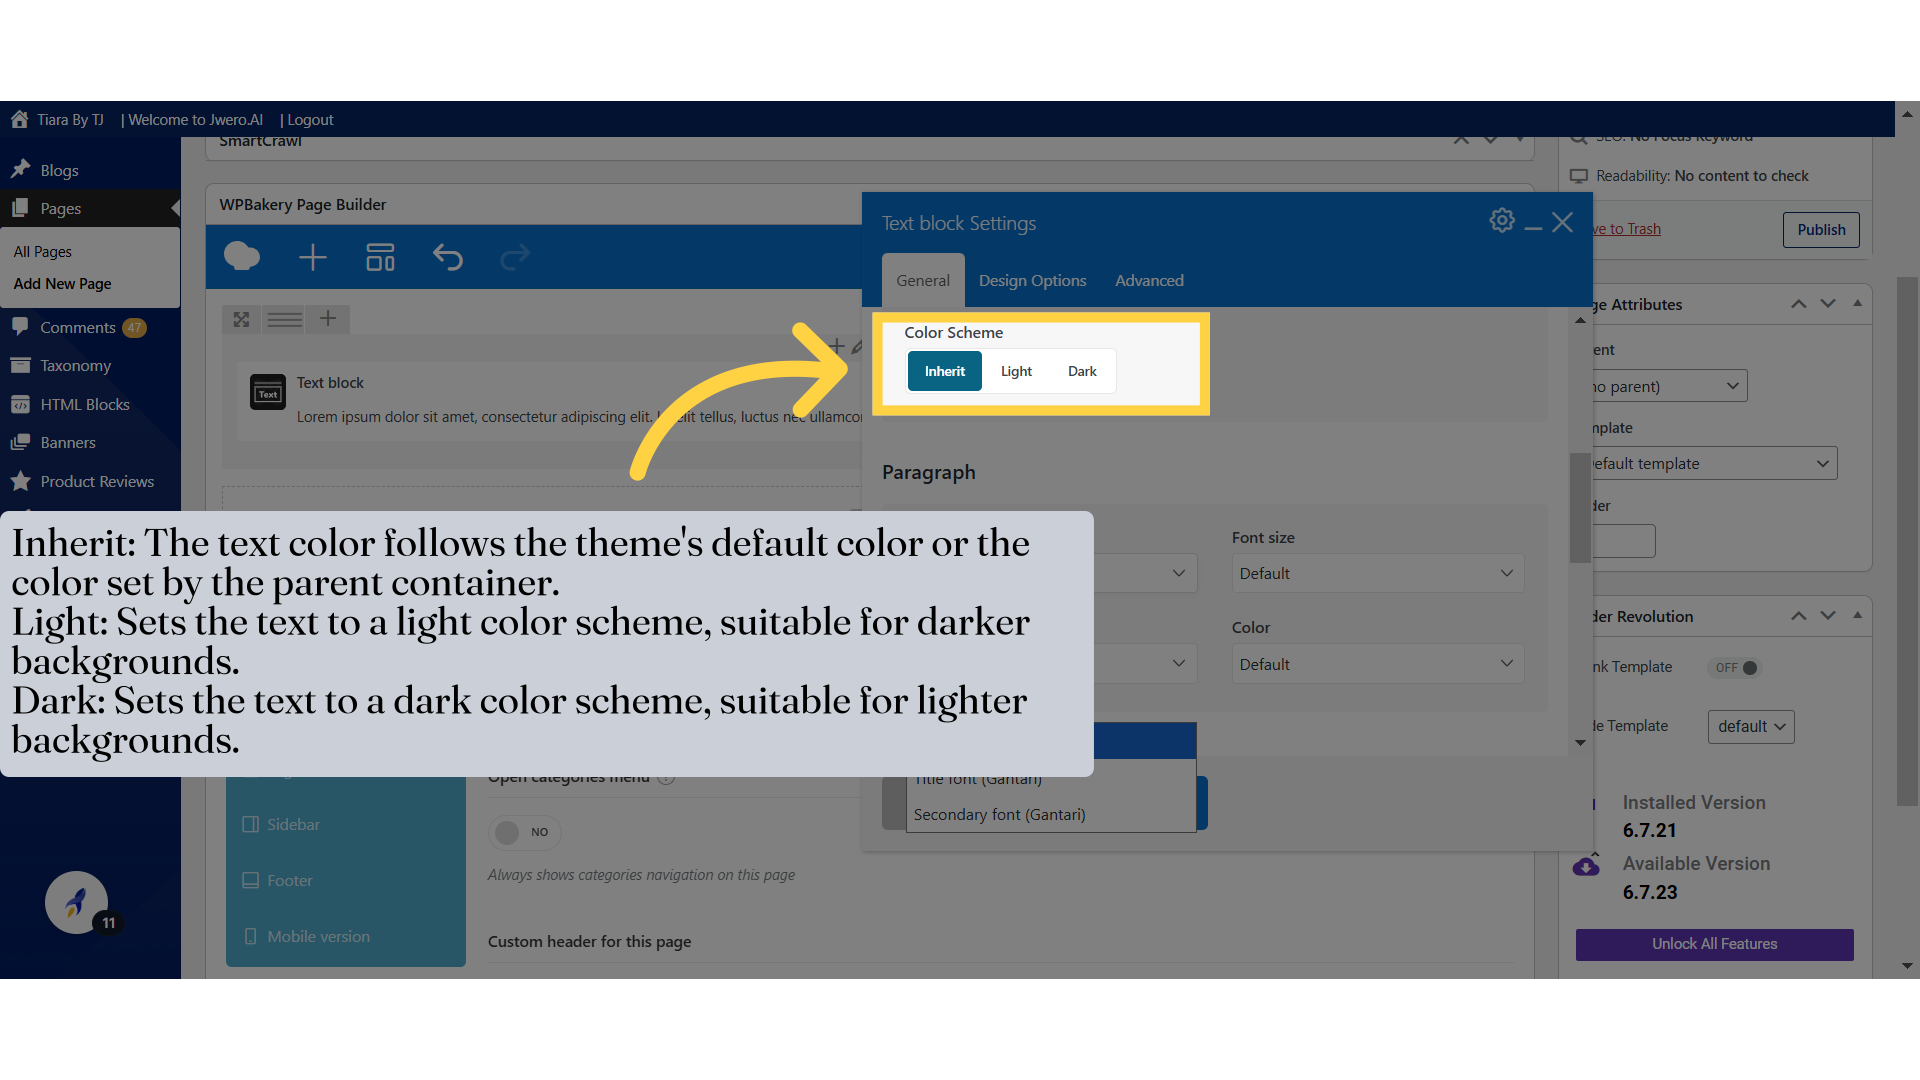
13. Inherit: The text color follows the theme's default color or the color set by the parent container. Light: Sets the text to a light color scheme, suitable for darker backgrounds. Dark: Sets the text to a dark color scheme, suitable for lighter backgrounds.
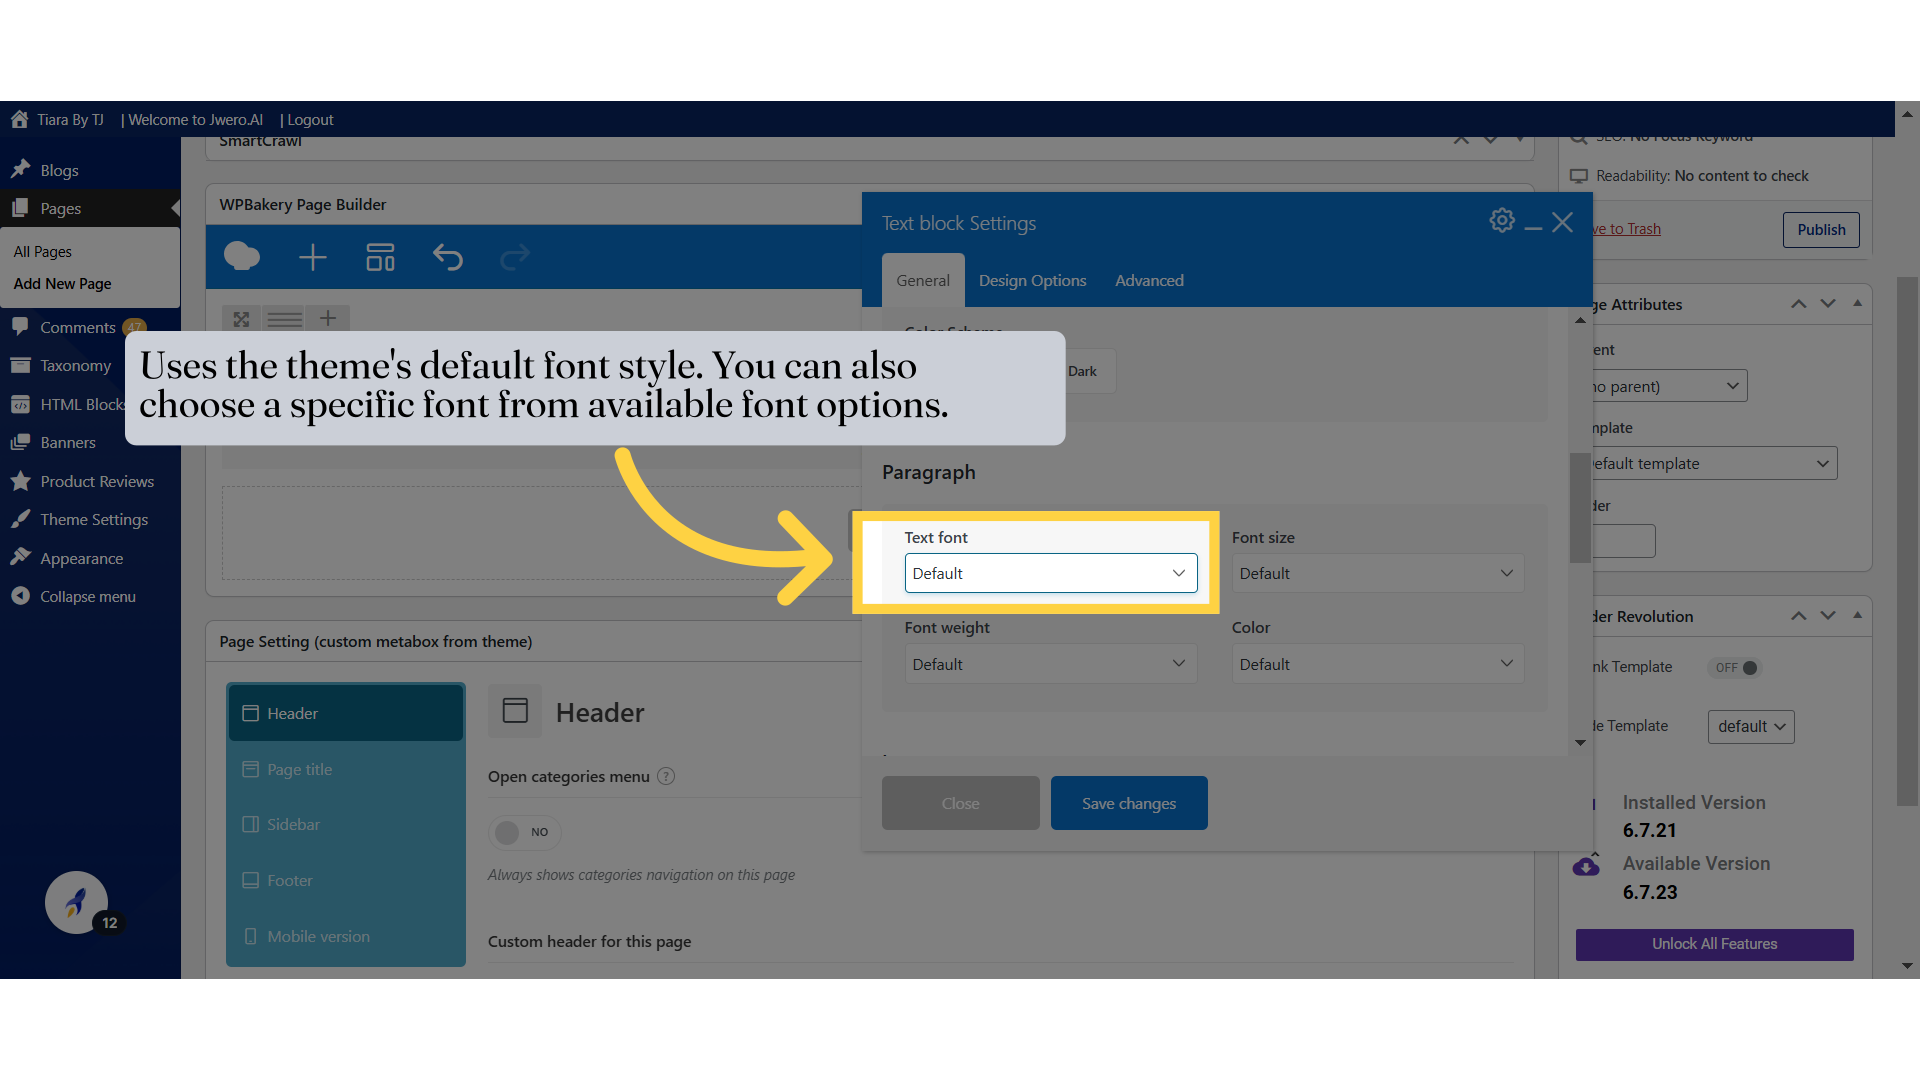
14. Uses the theme's default font style. You can also choose a specific font from available font options.
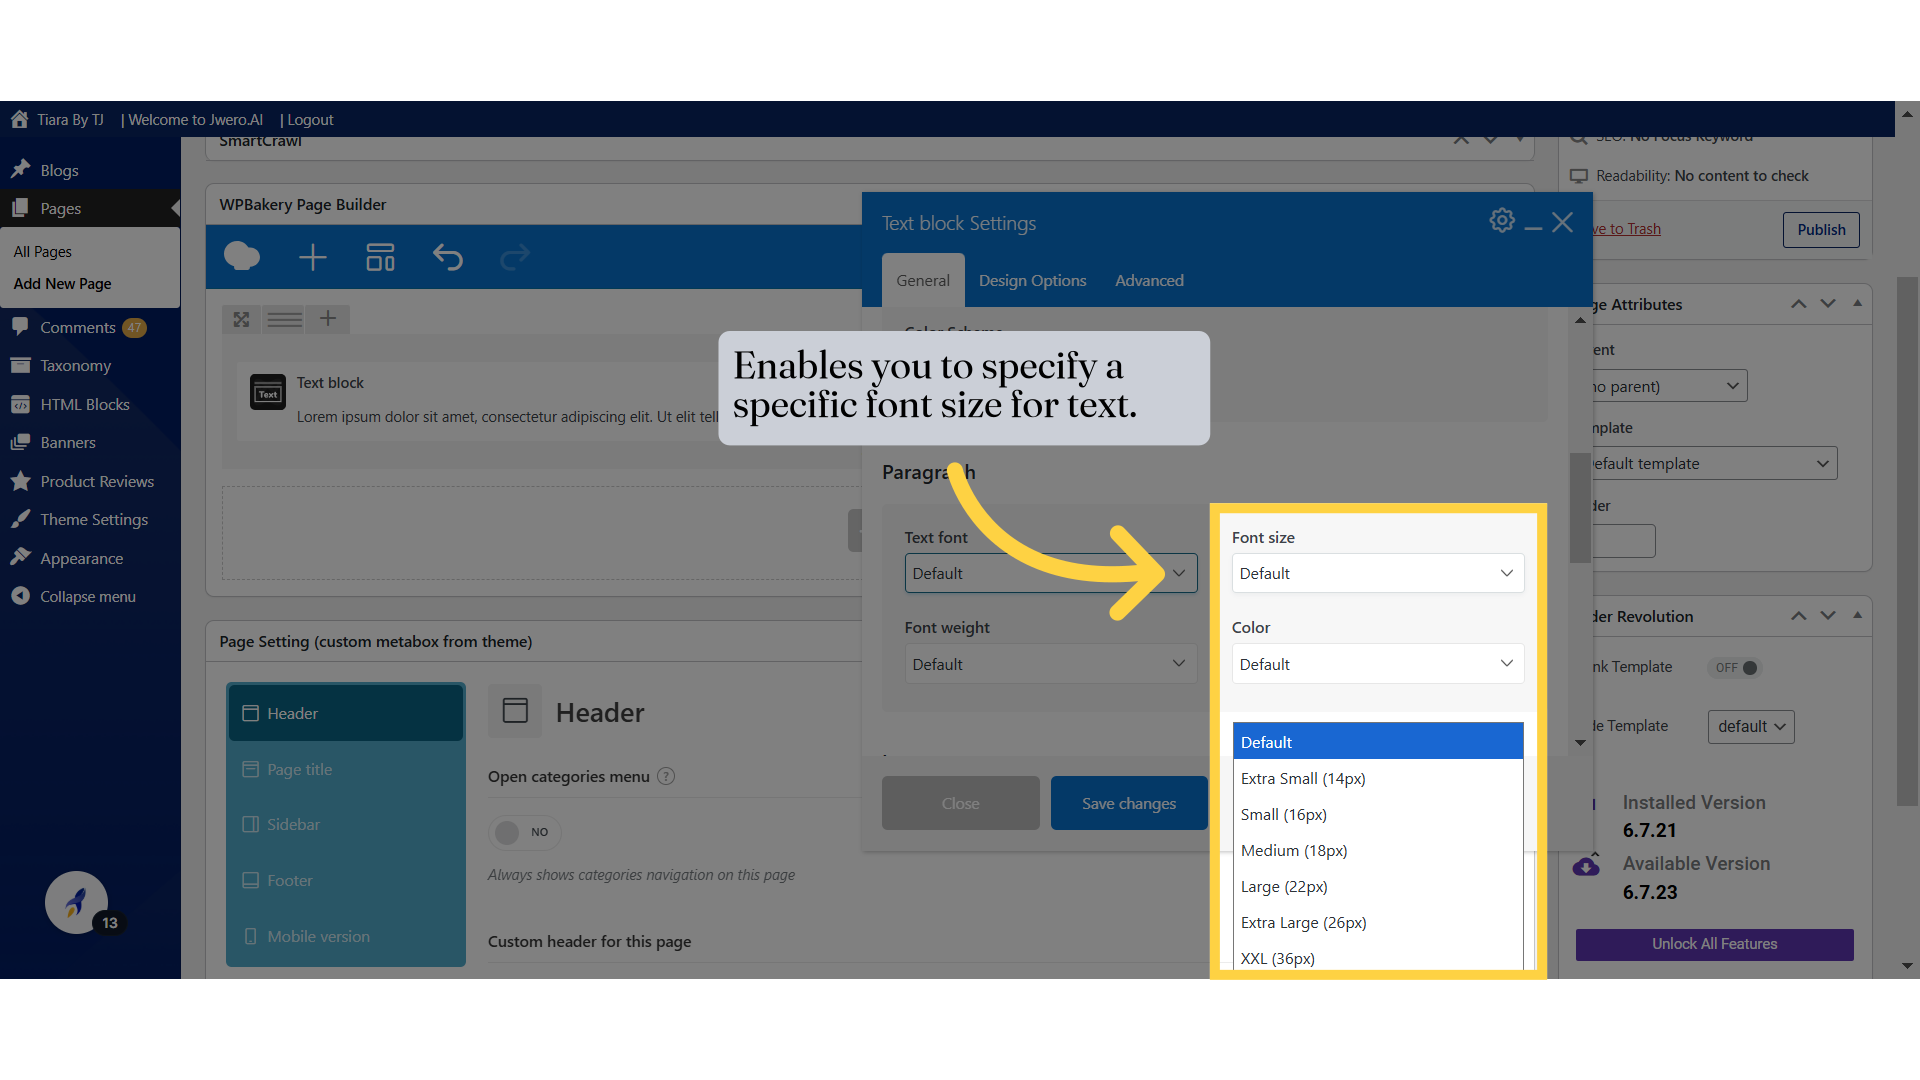
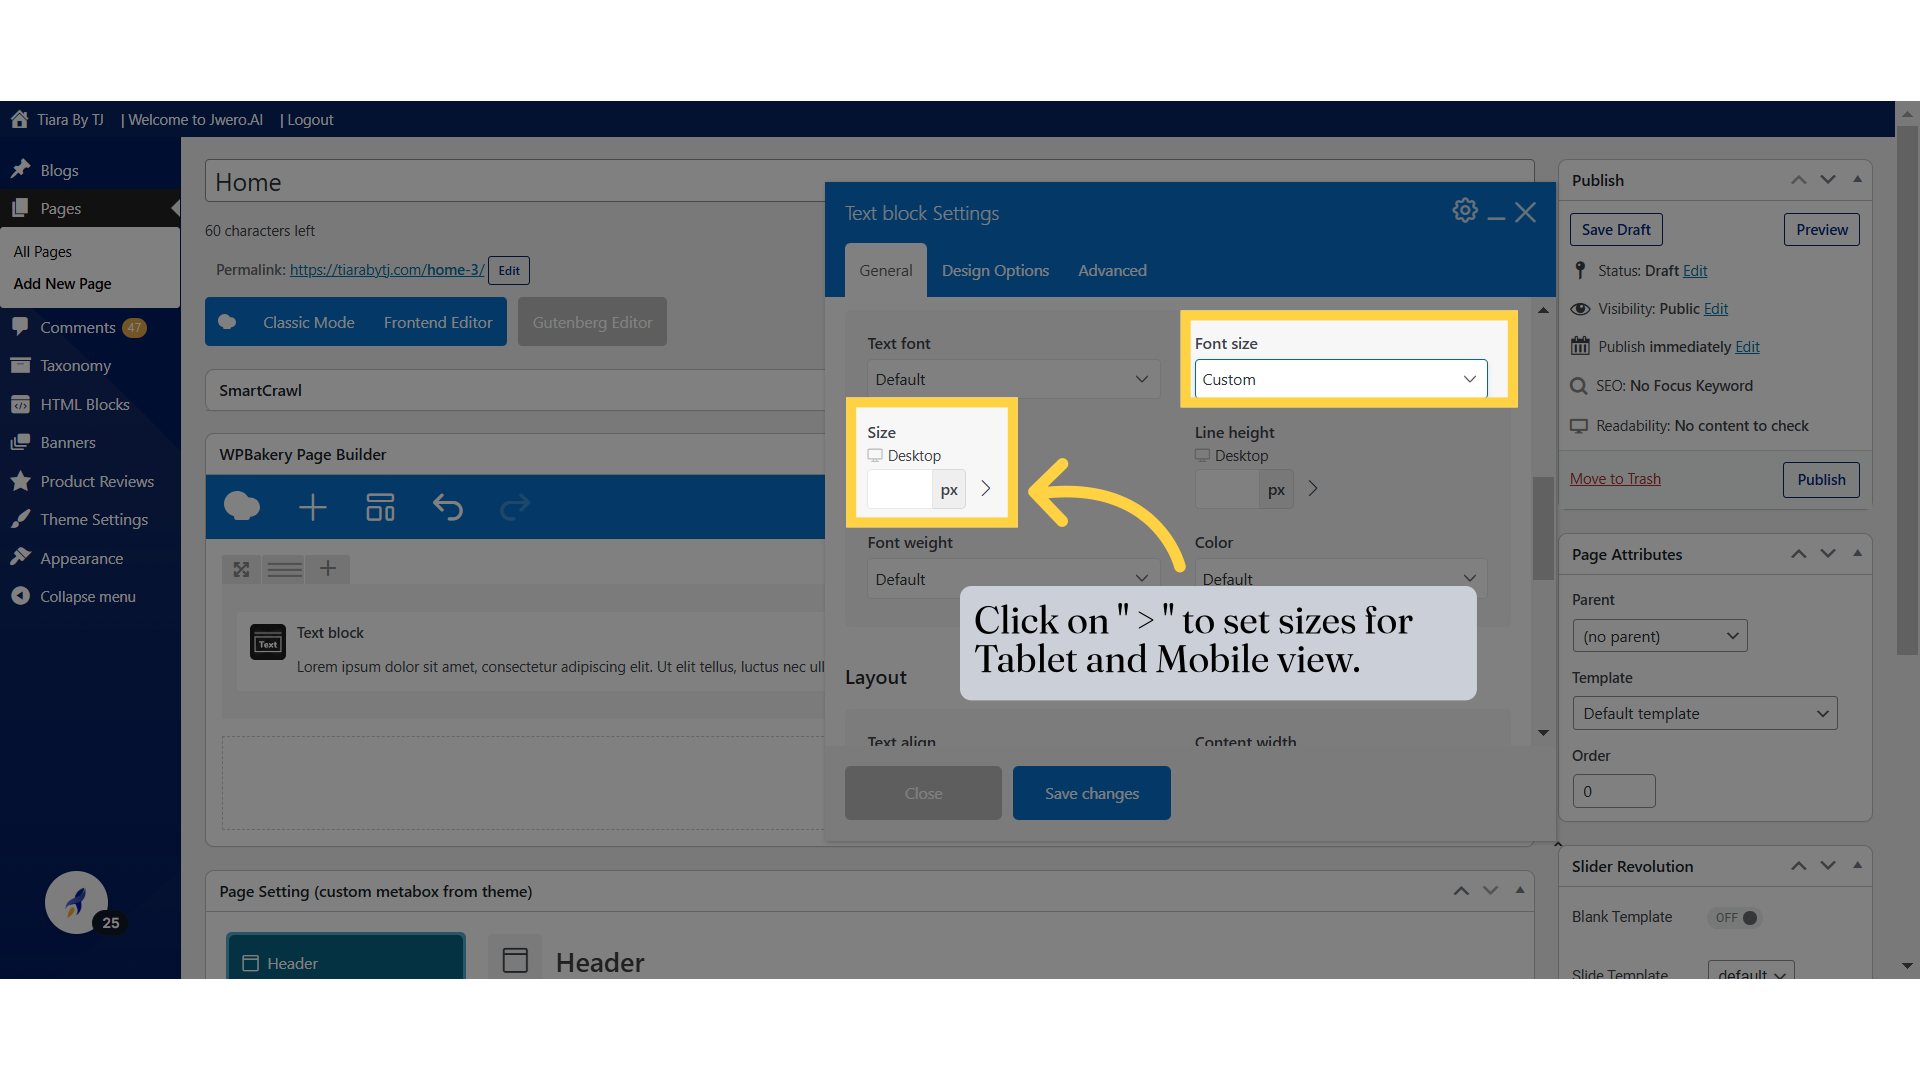
15. Enables you to specify a specific font size for text.
16. You can also set the different sizes for different device views by using "Custom".
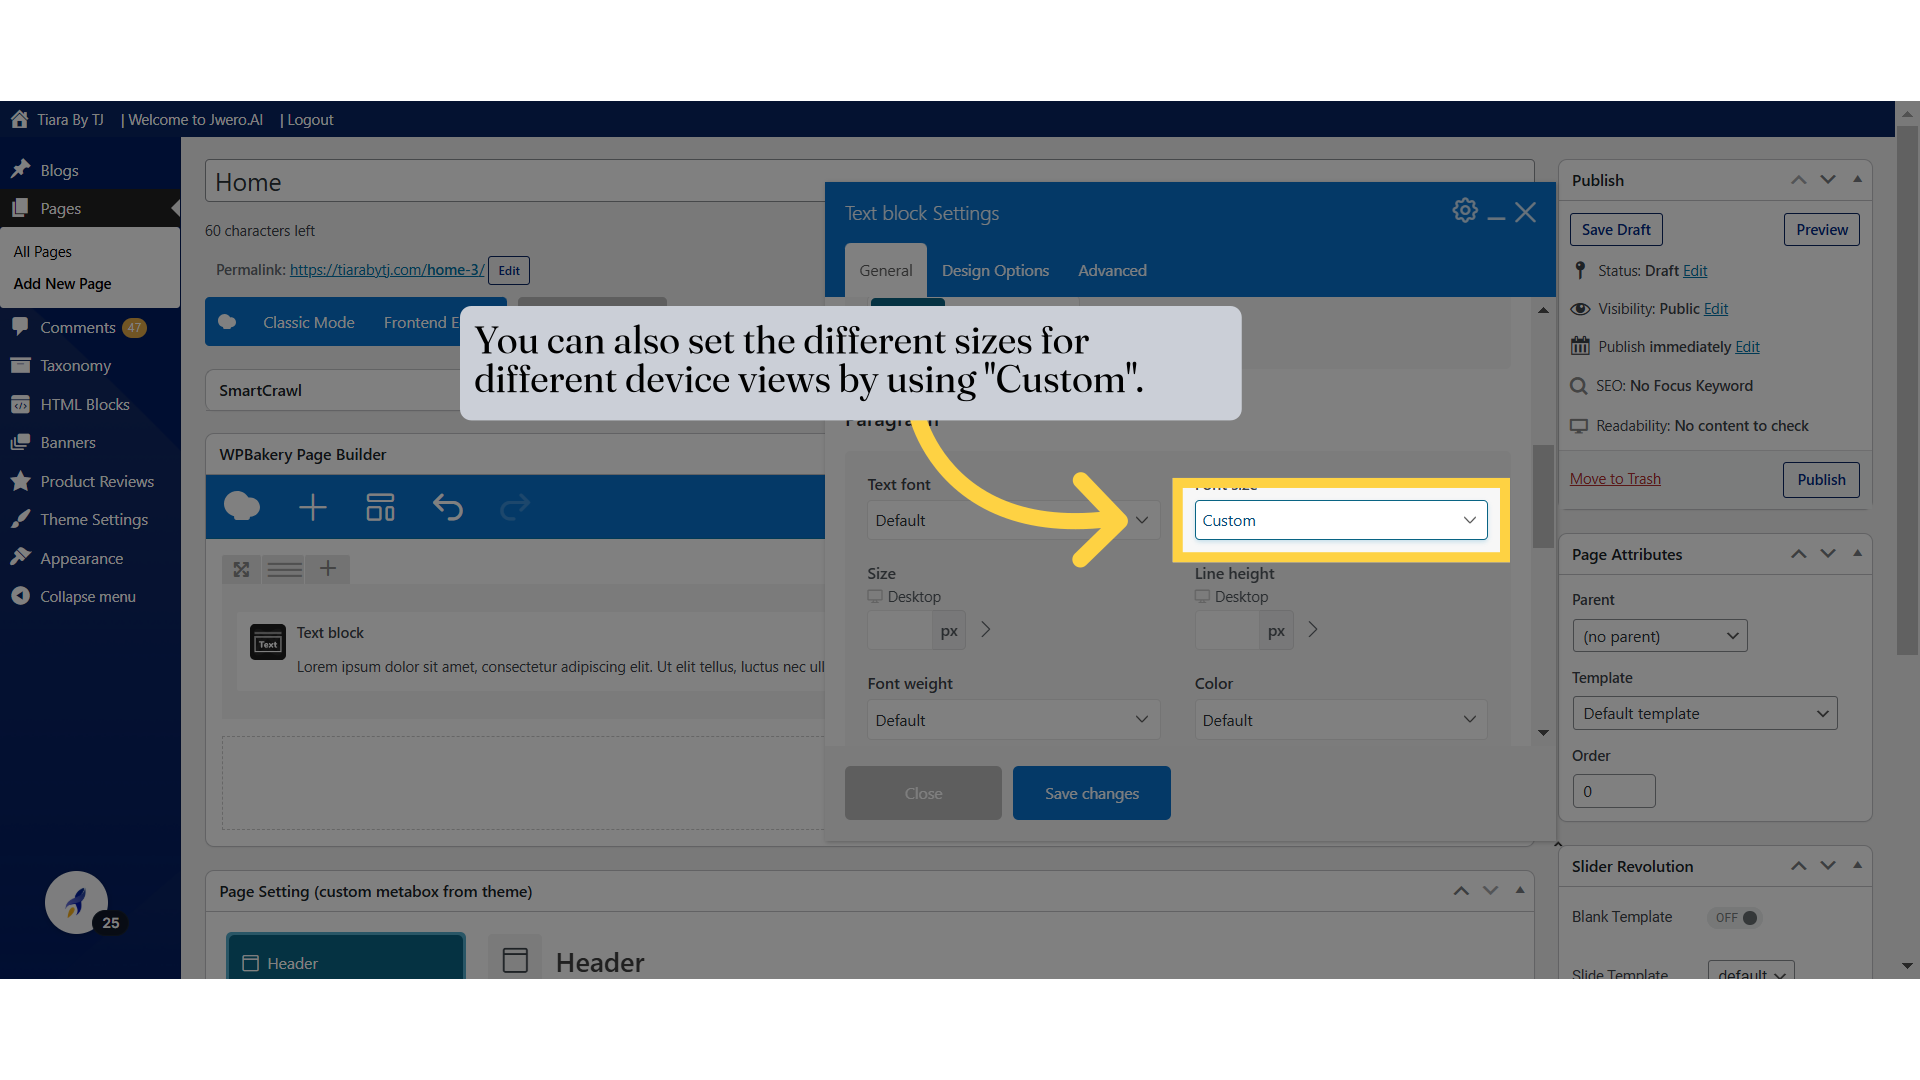
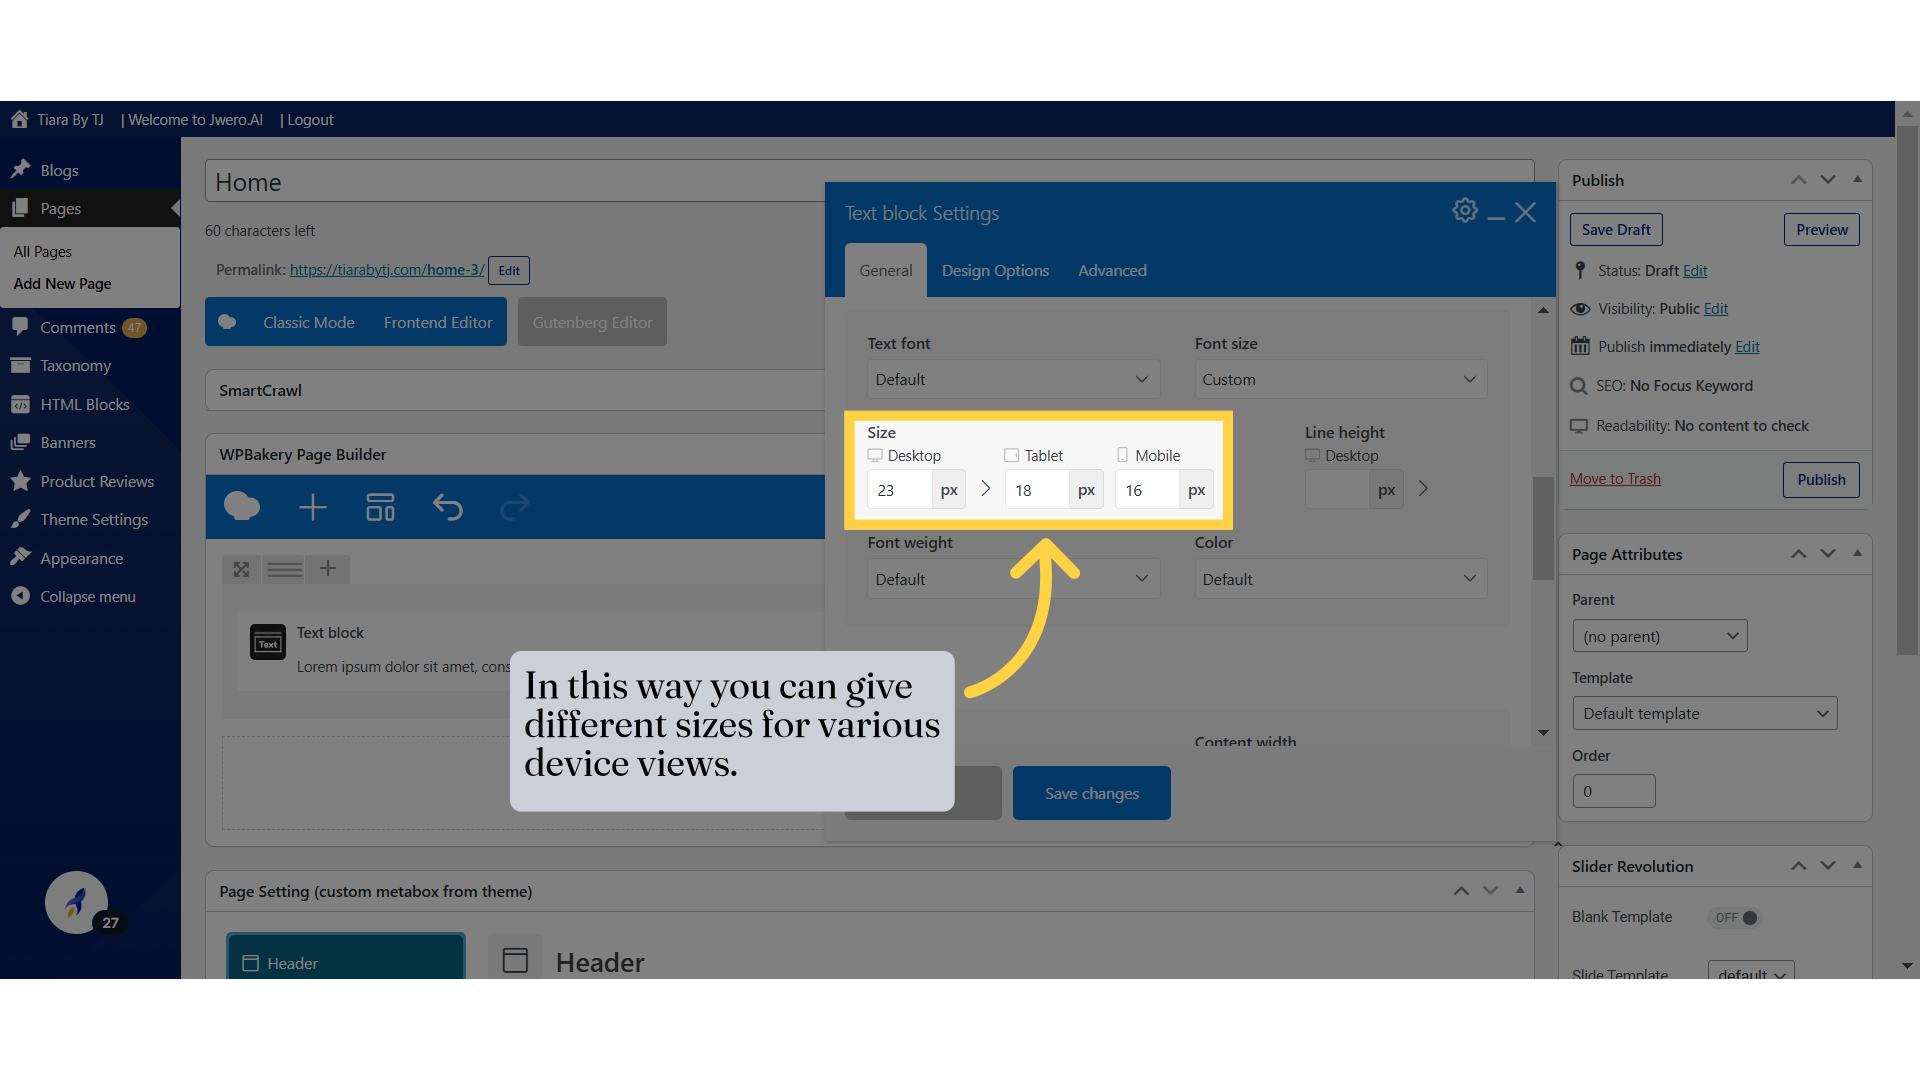
17. Click on " > " to set sizes for Tablet and Mobile view.
18. In this way you can give different sizes for various device views.
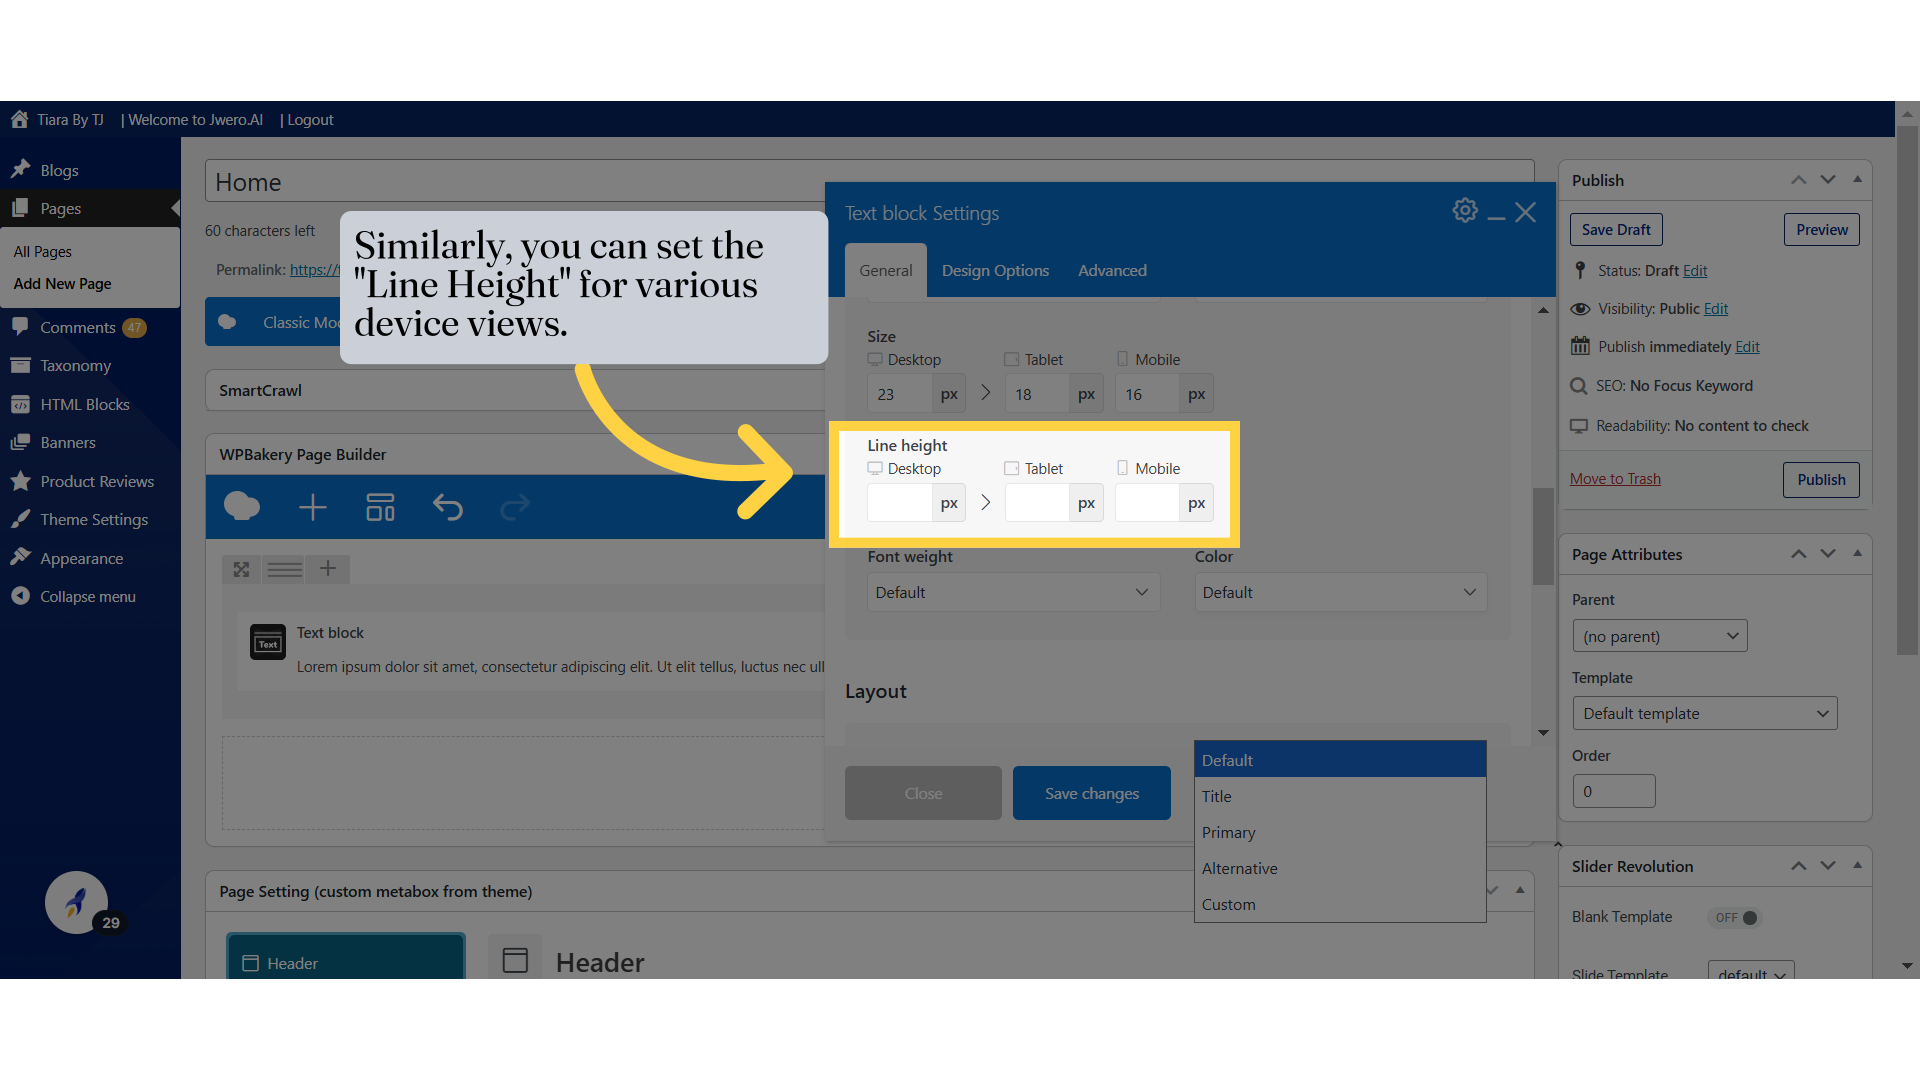
19. Similarly, you can set the "Line Height" for various device views.
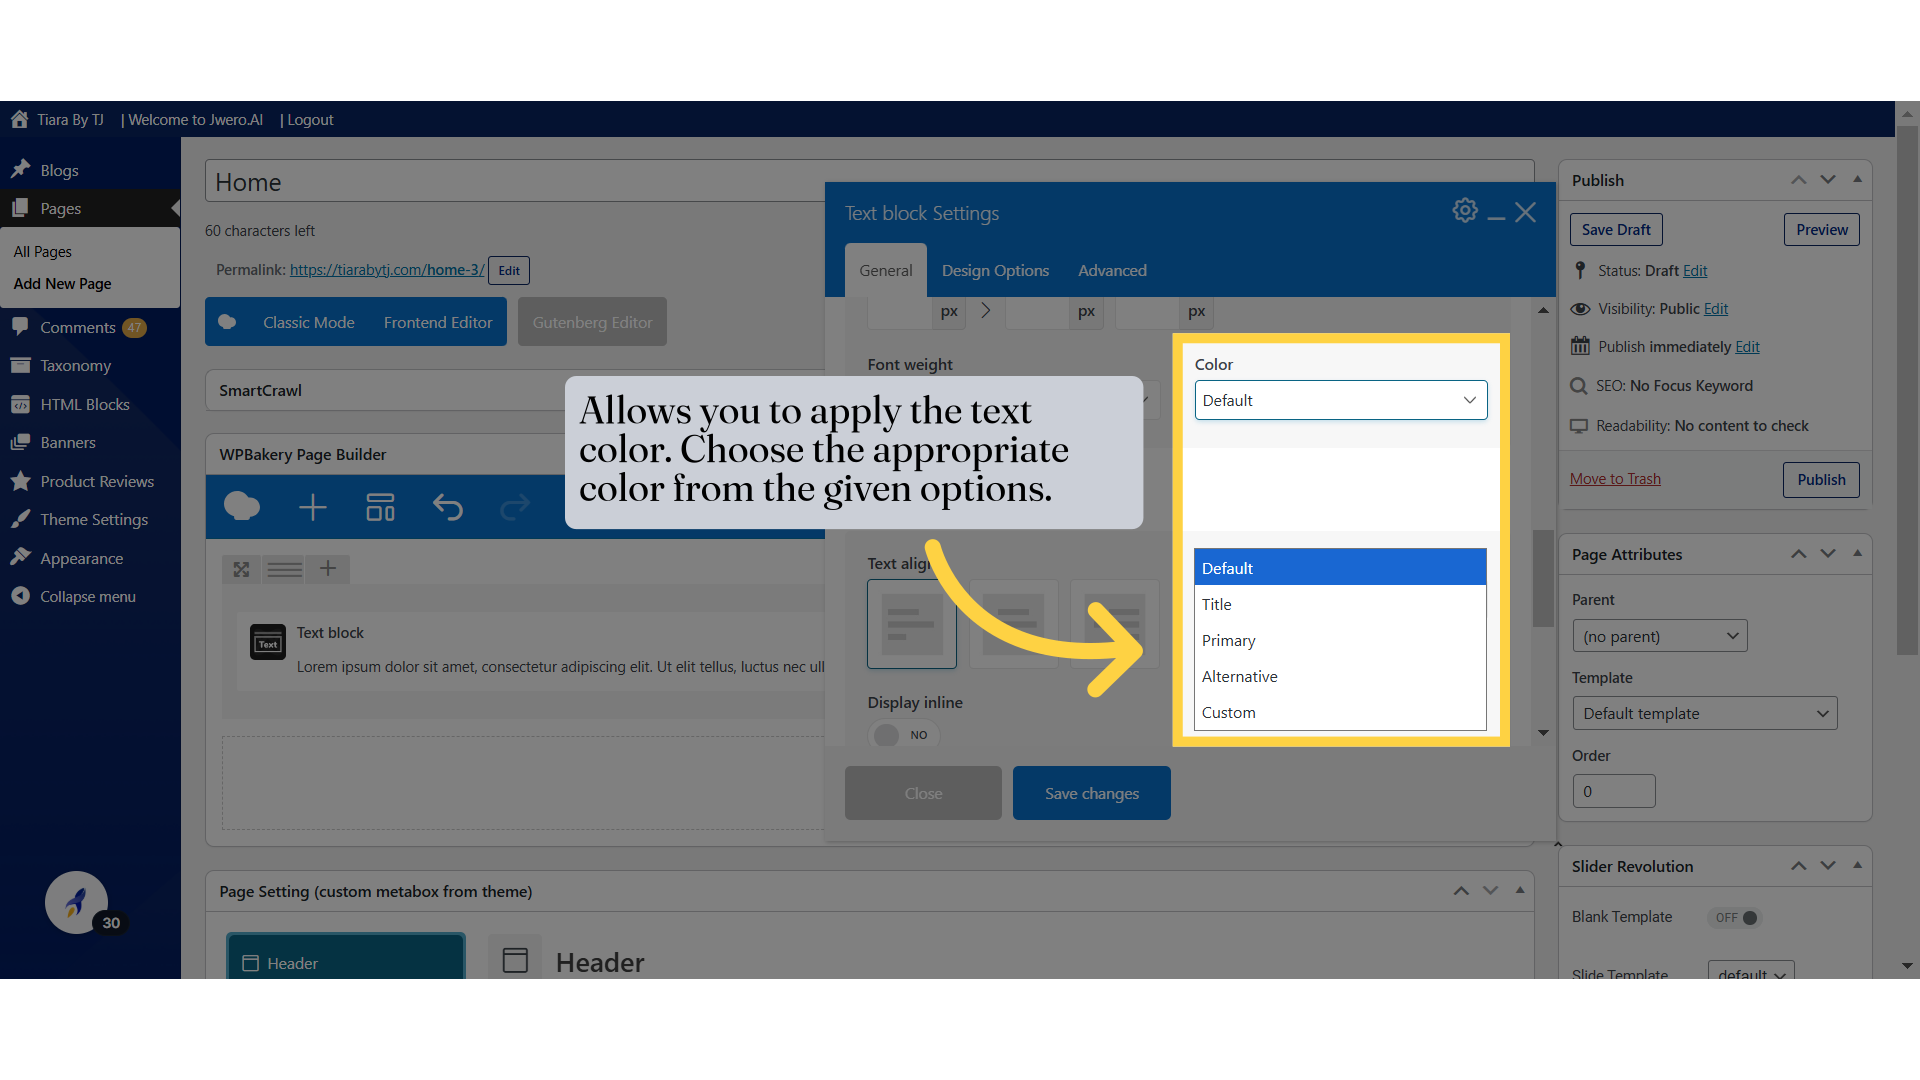
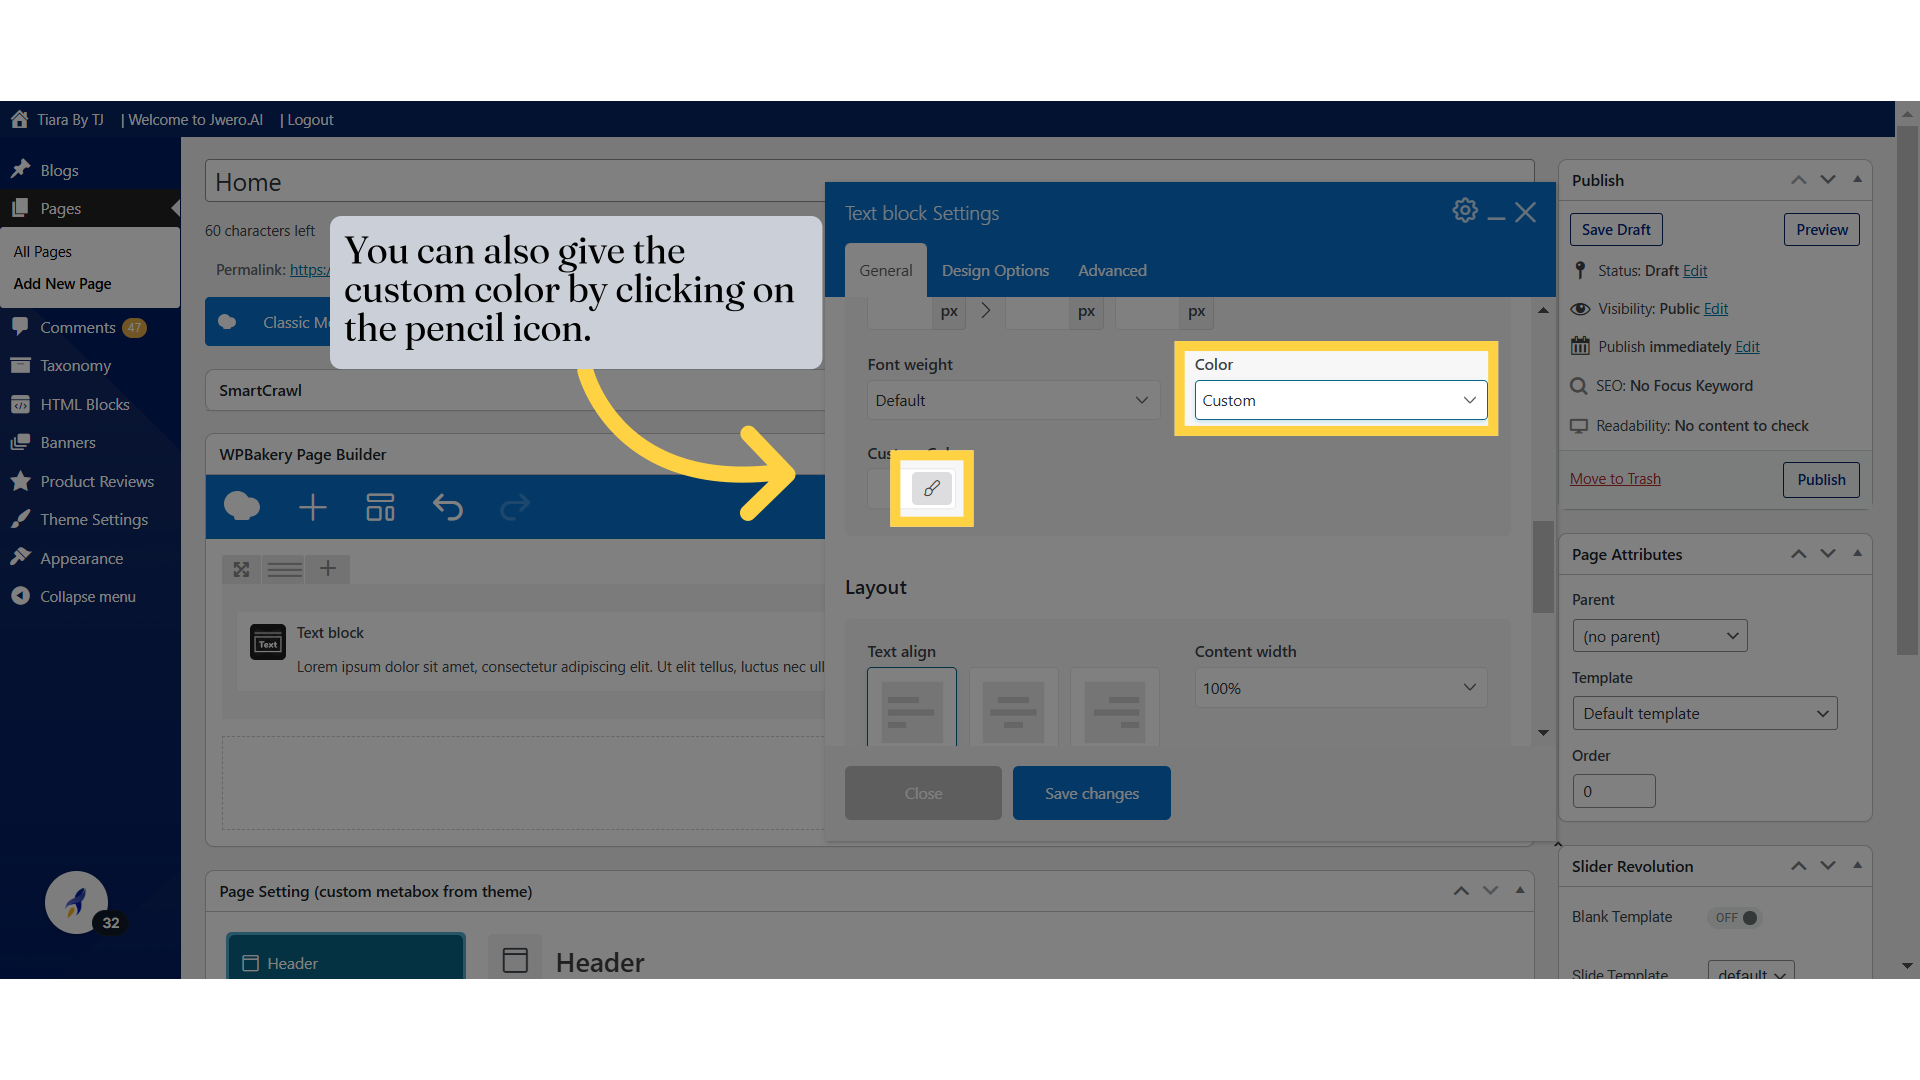
20. Allows you to apply the text color. Choose the appropriate color from the given options.
21. You can also give the custom color by clicking on the pencil icon.
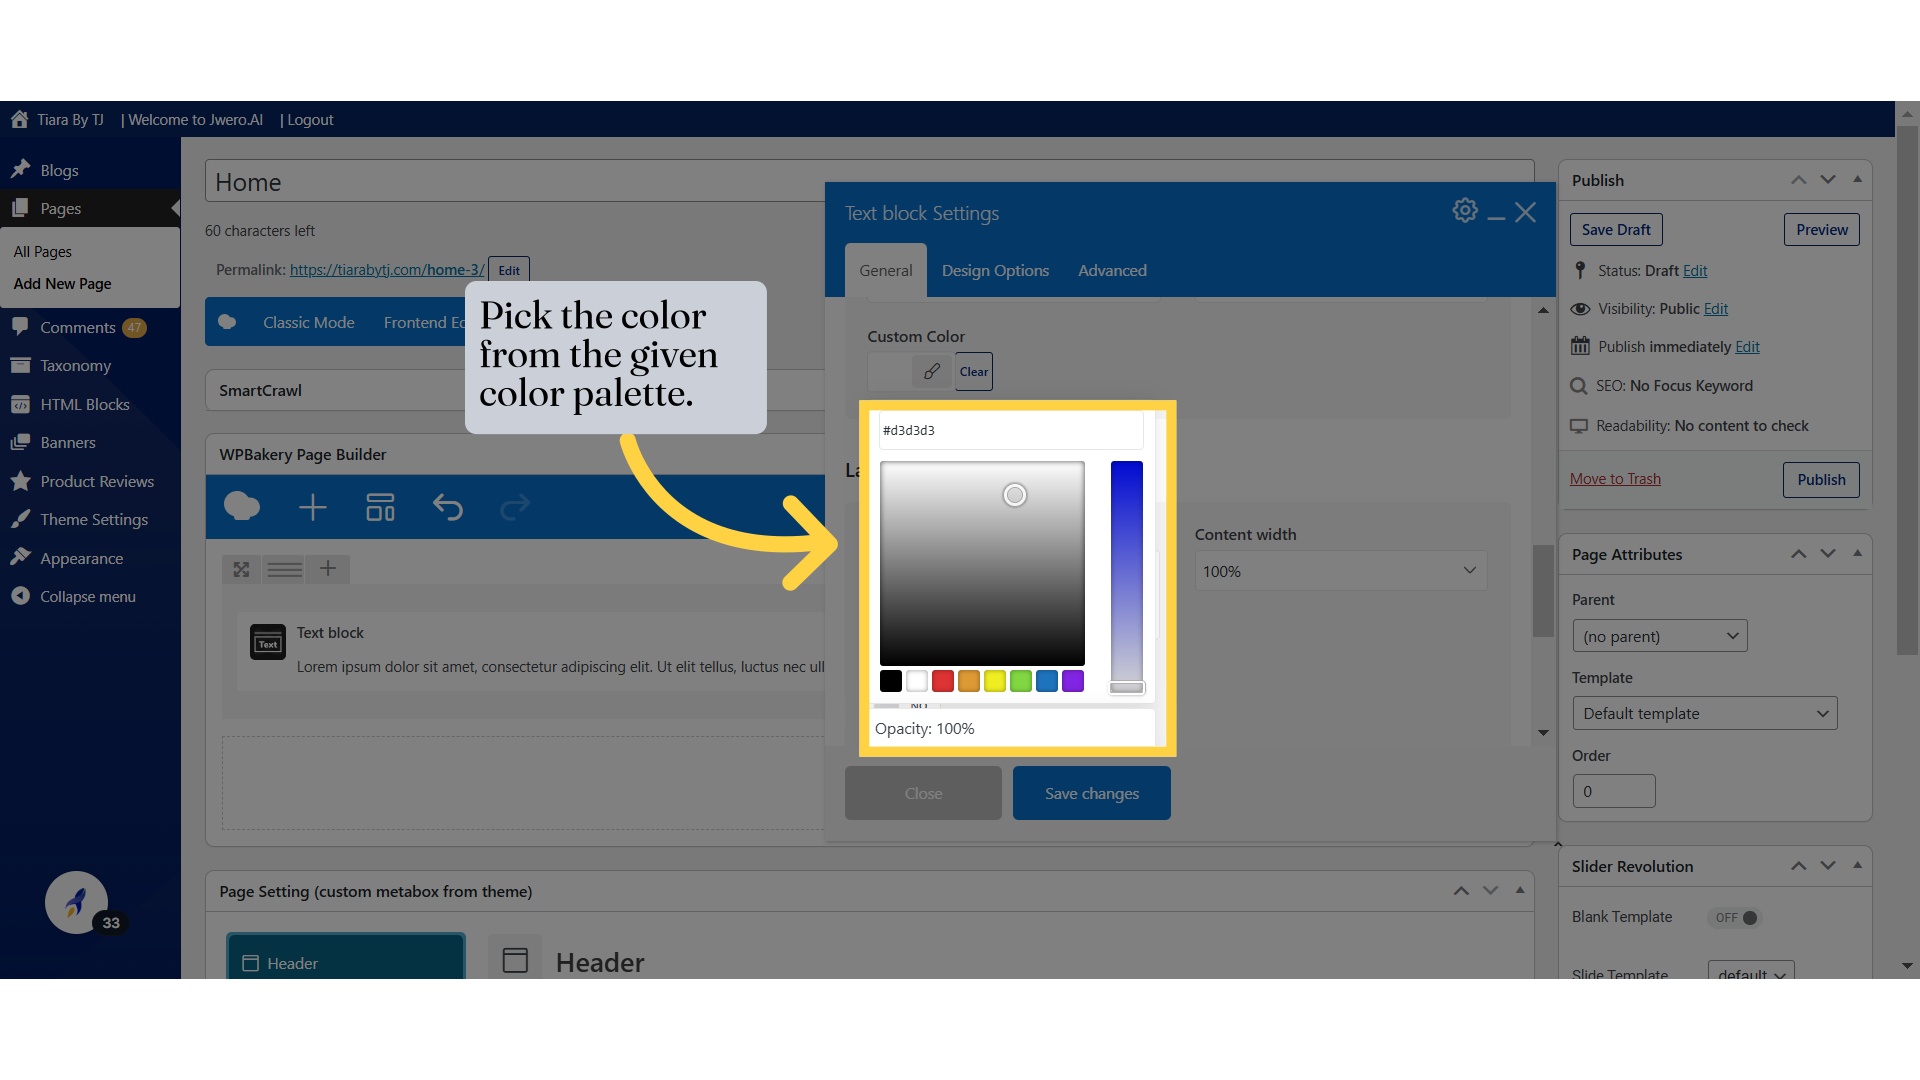
22. Pick the color from the given color palette.
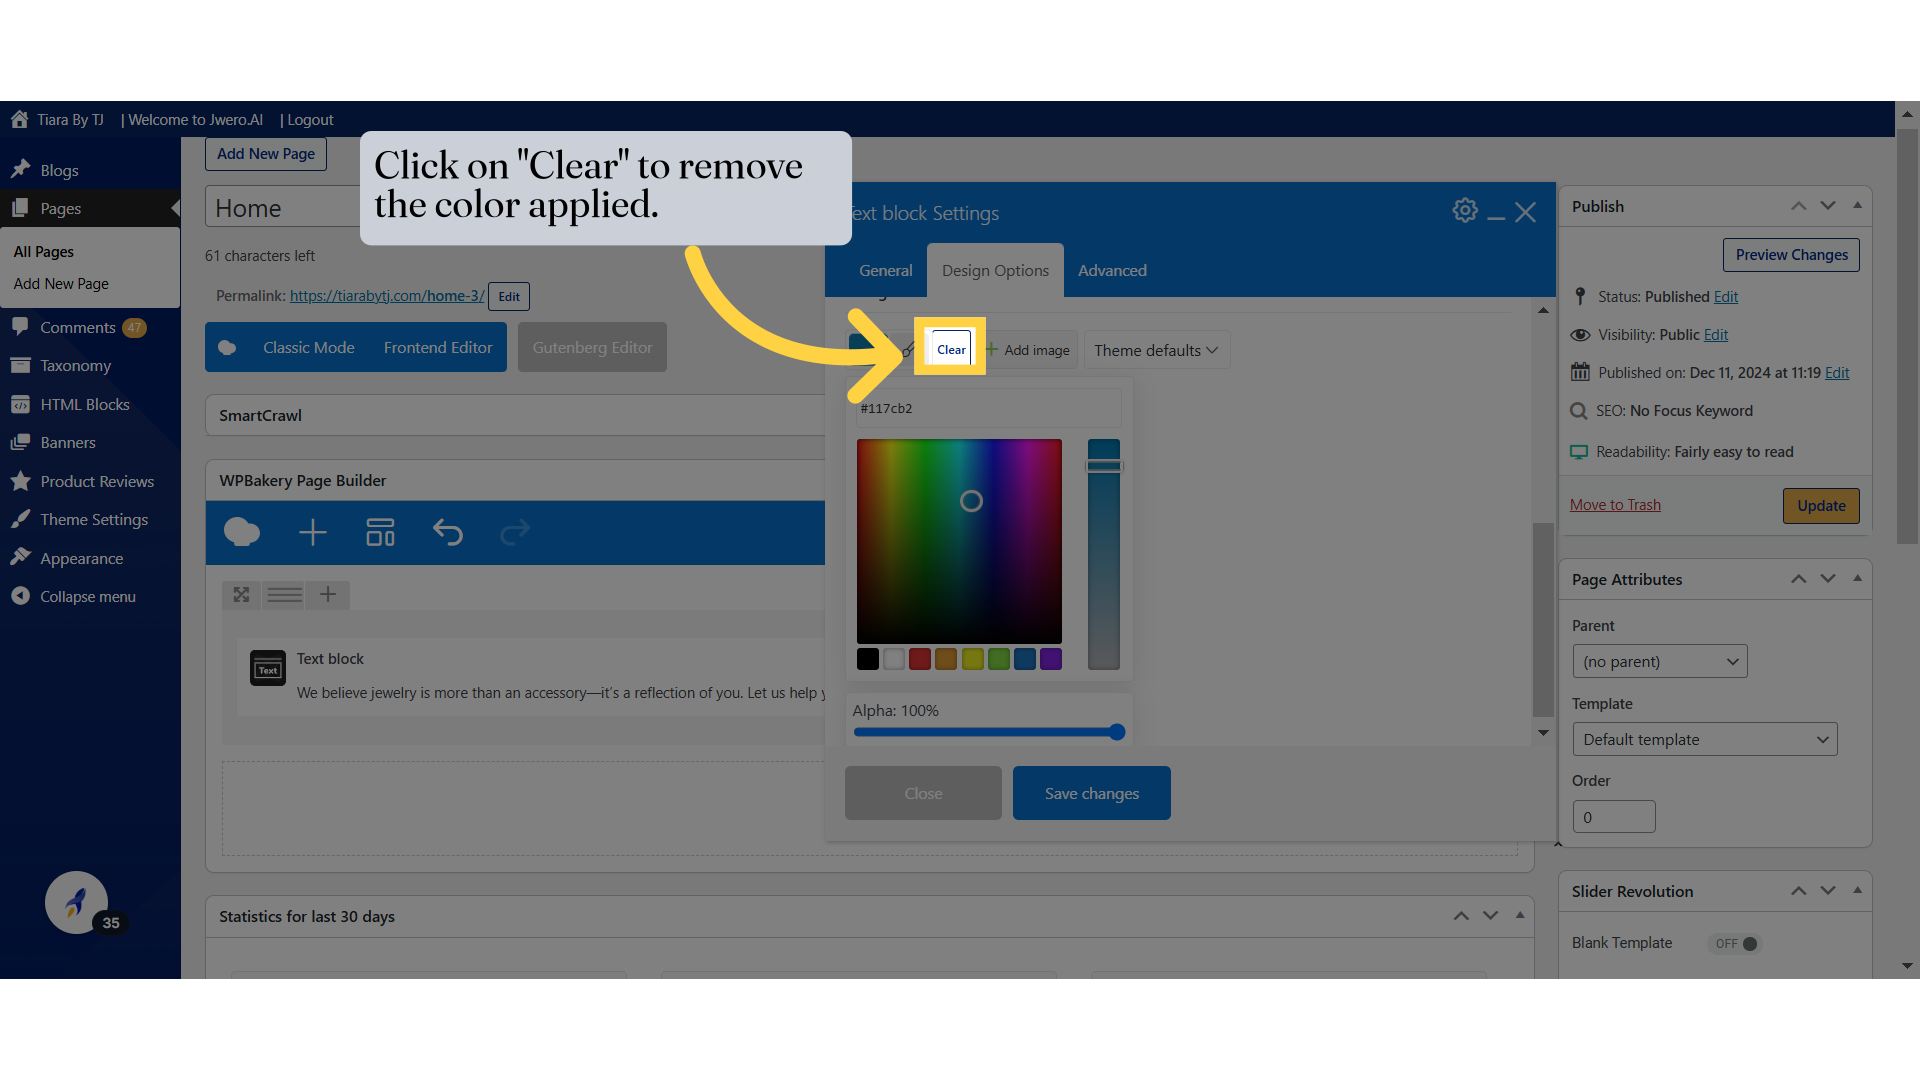
23. Click on "Clear" to remove the color applied.
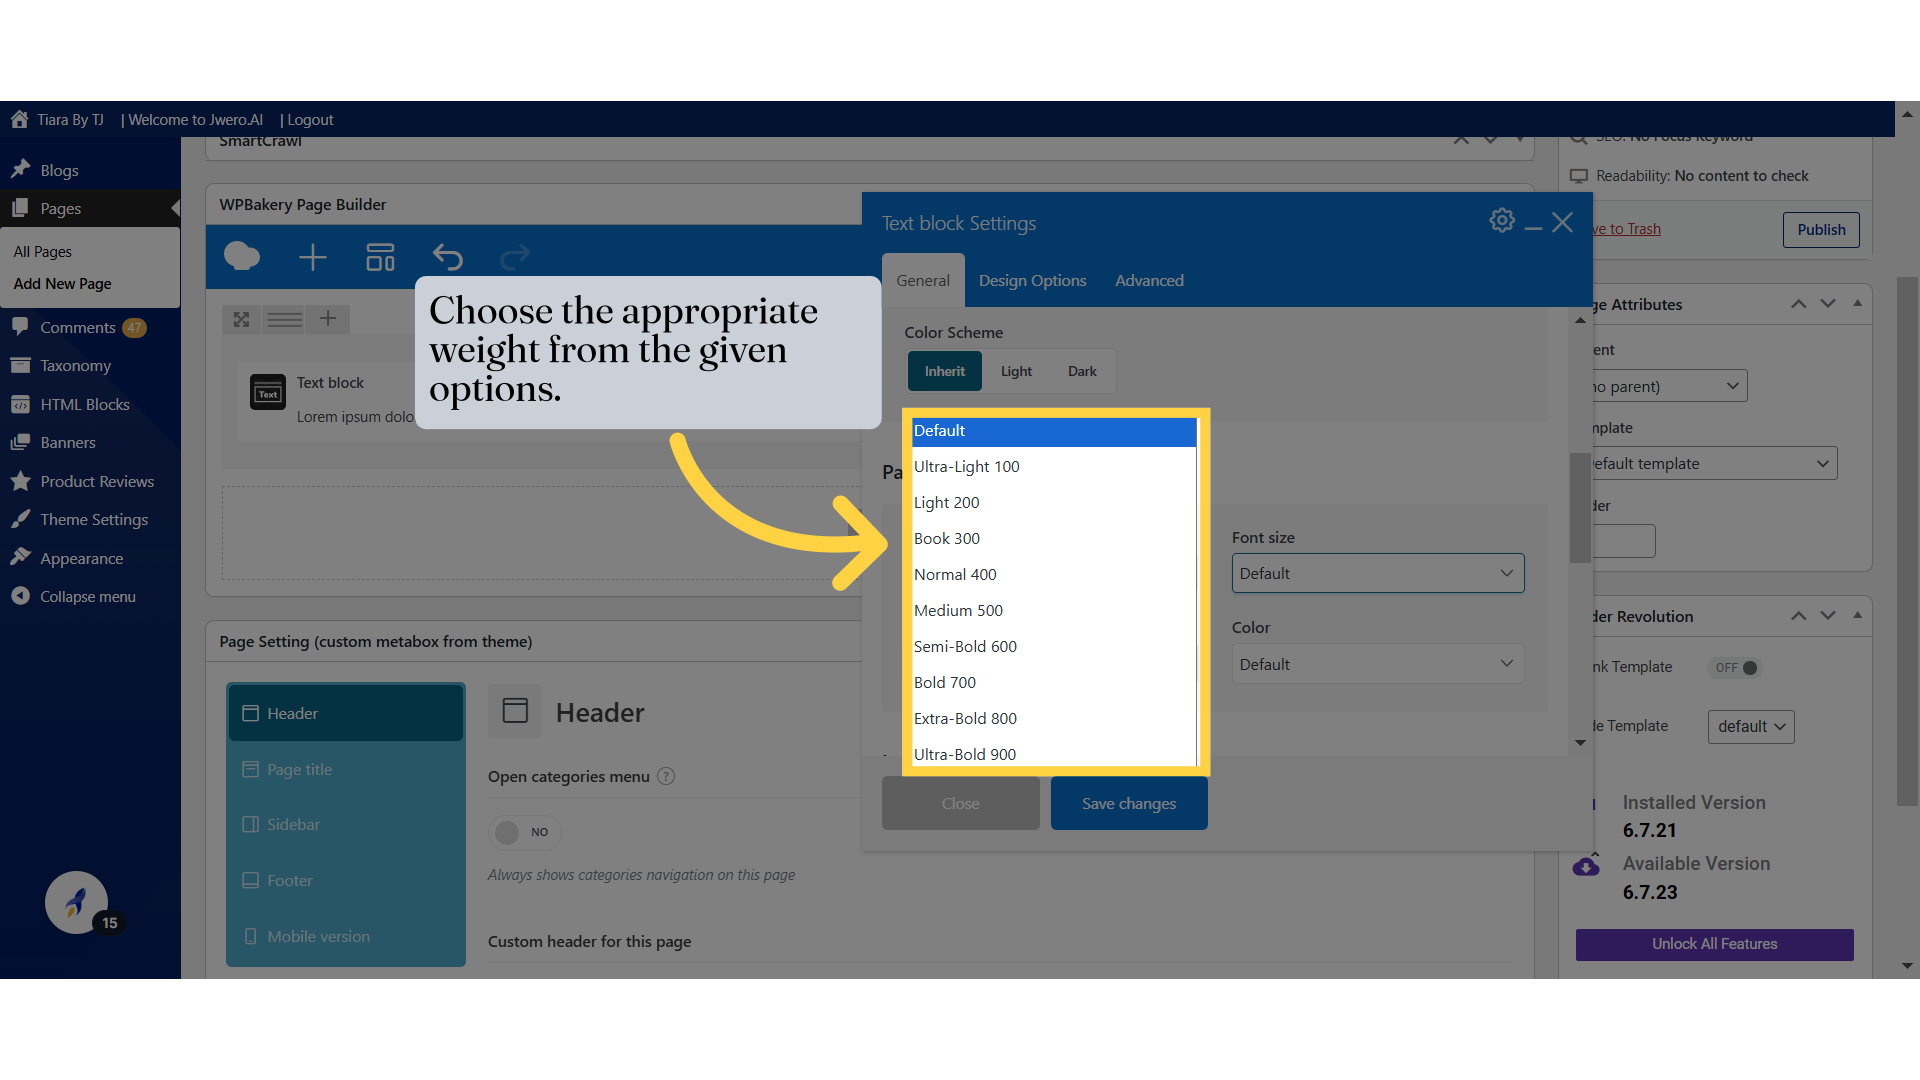
24. Allows you to give boldness to the text.
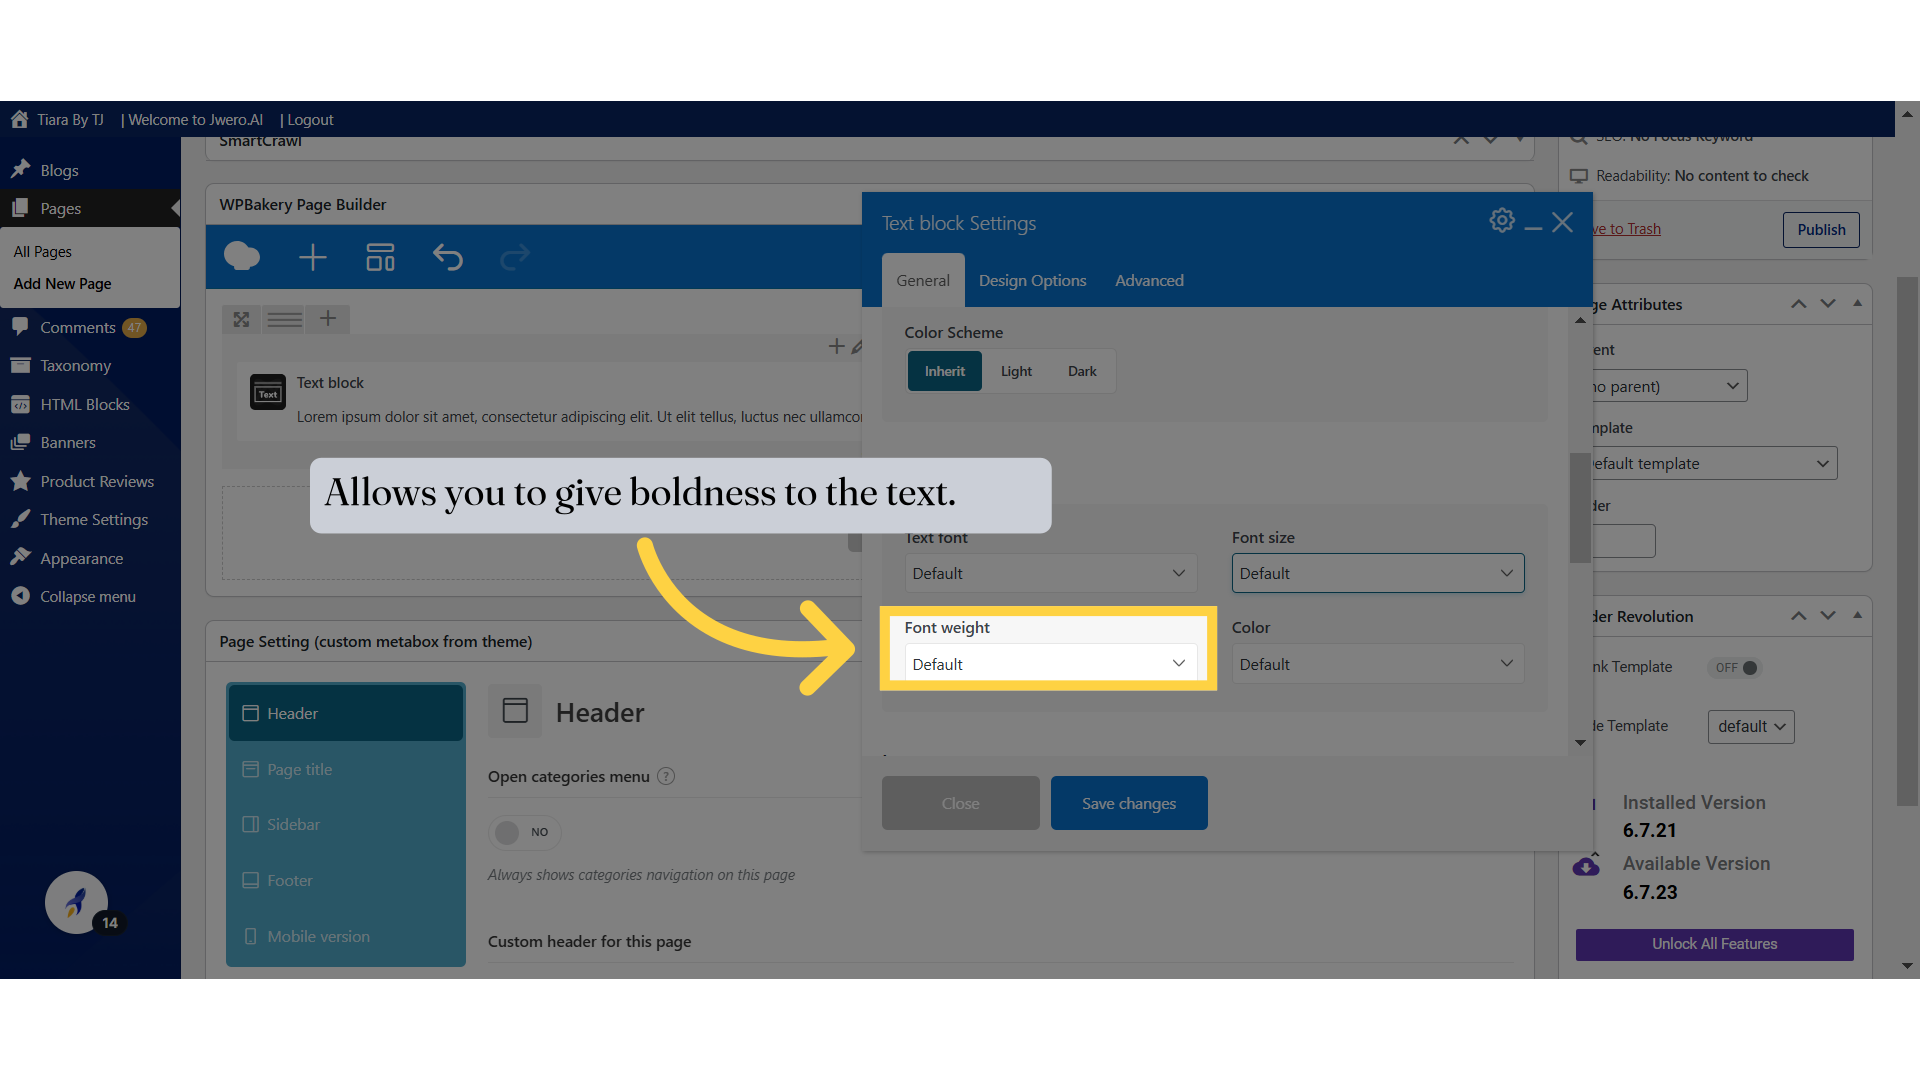
25. Choose the appropriate weight from the given options.
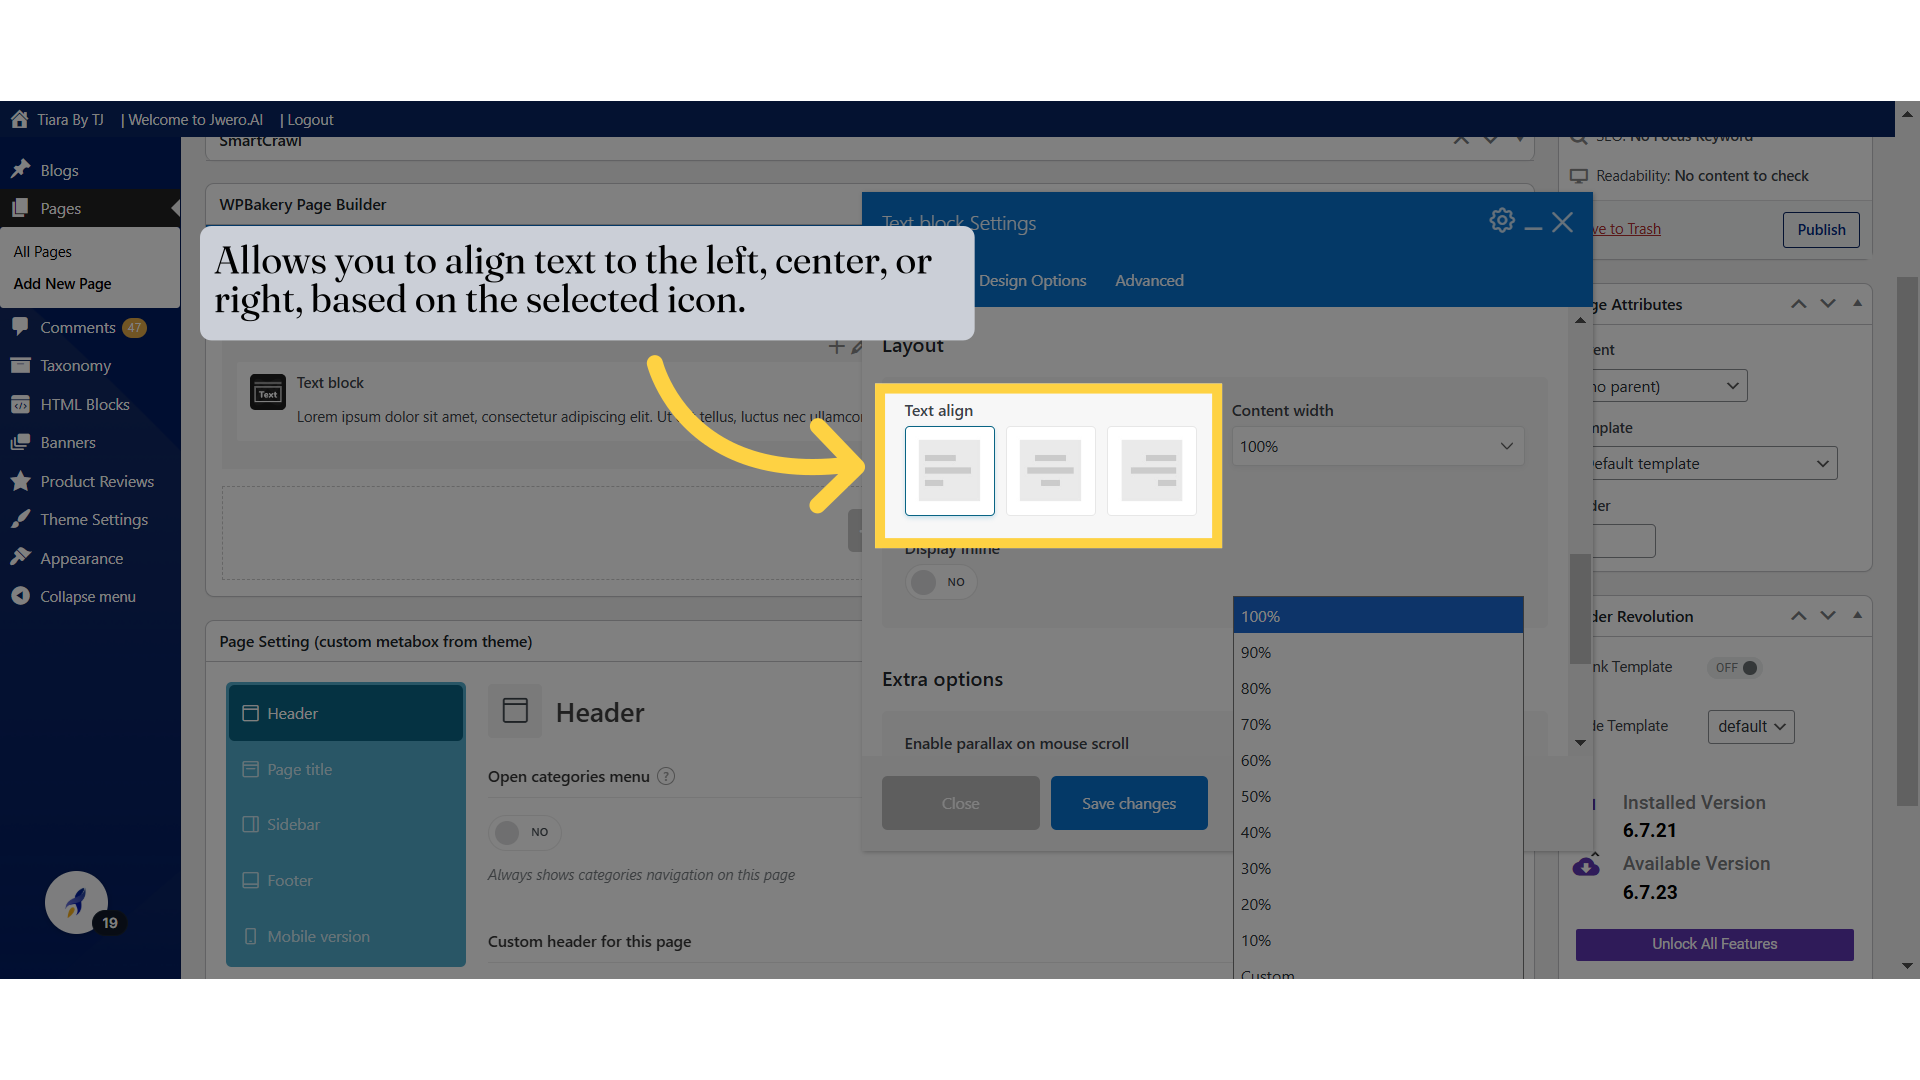
26. Allows you to align text to the left, center, or right, based on the selected icon.
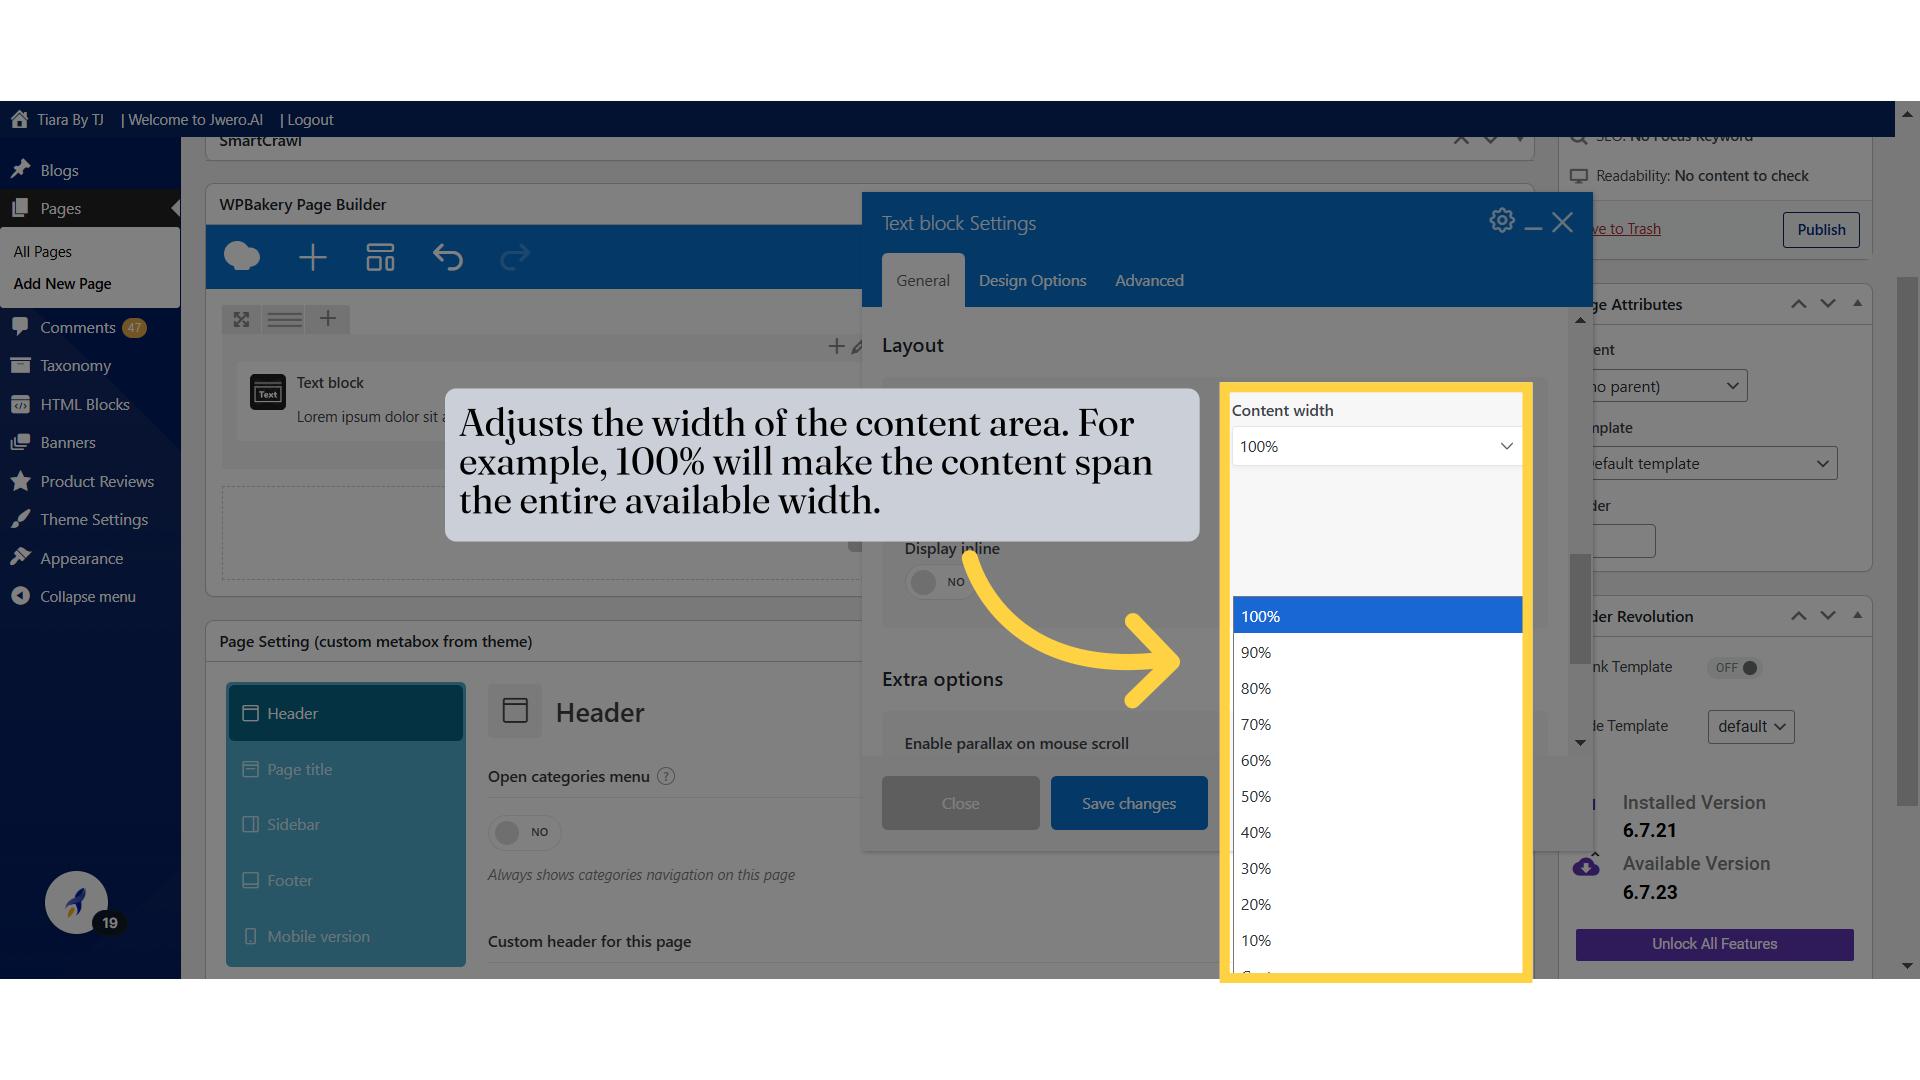
27. Adjusts the width of the content area. For example, 100% will make the content span the entire available width.
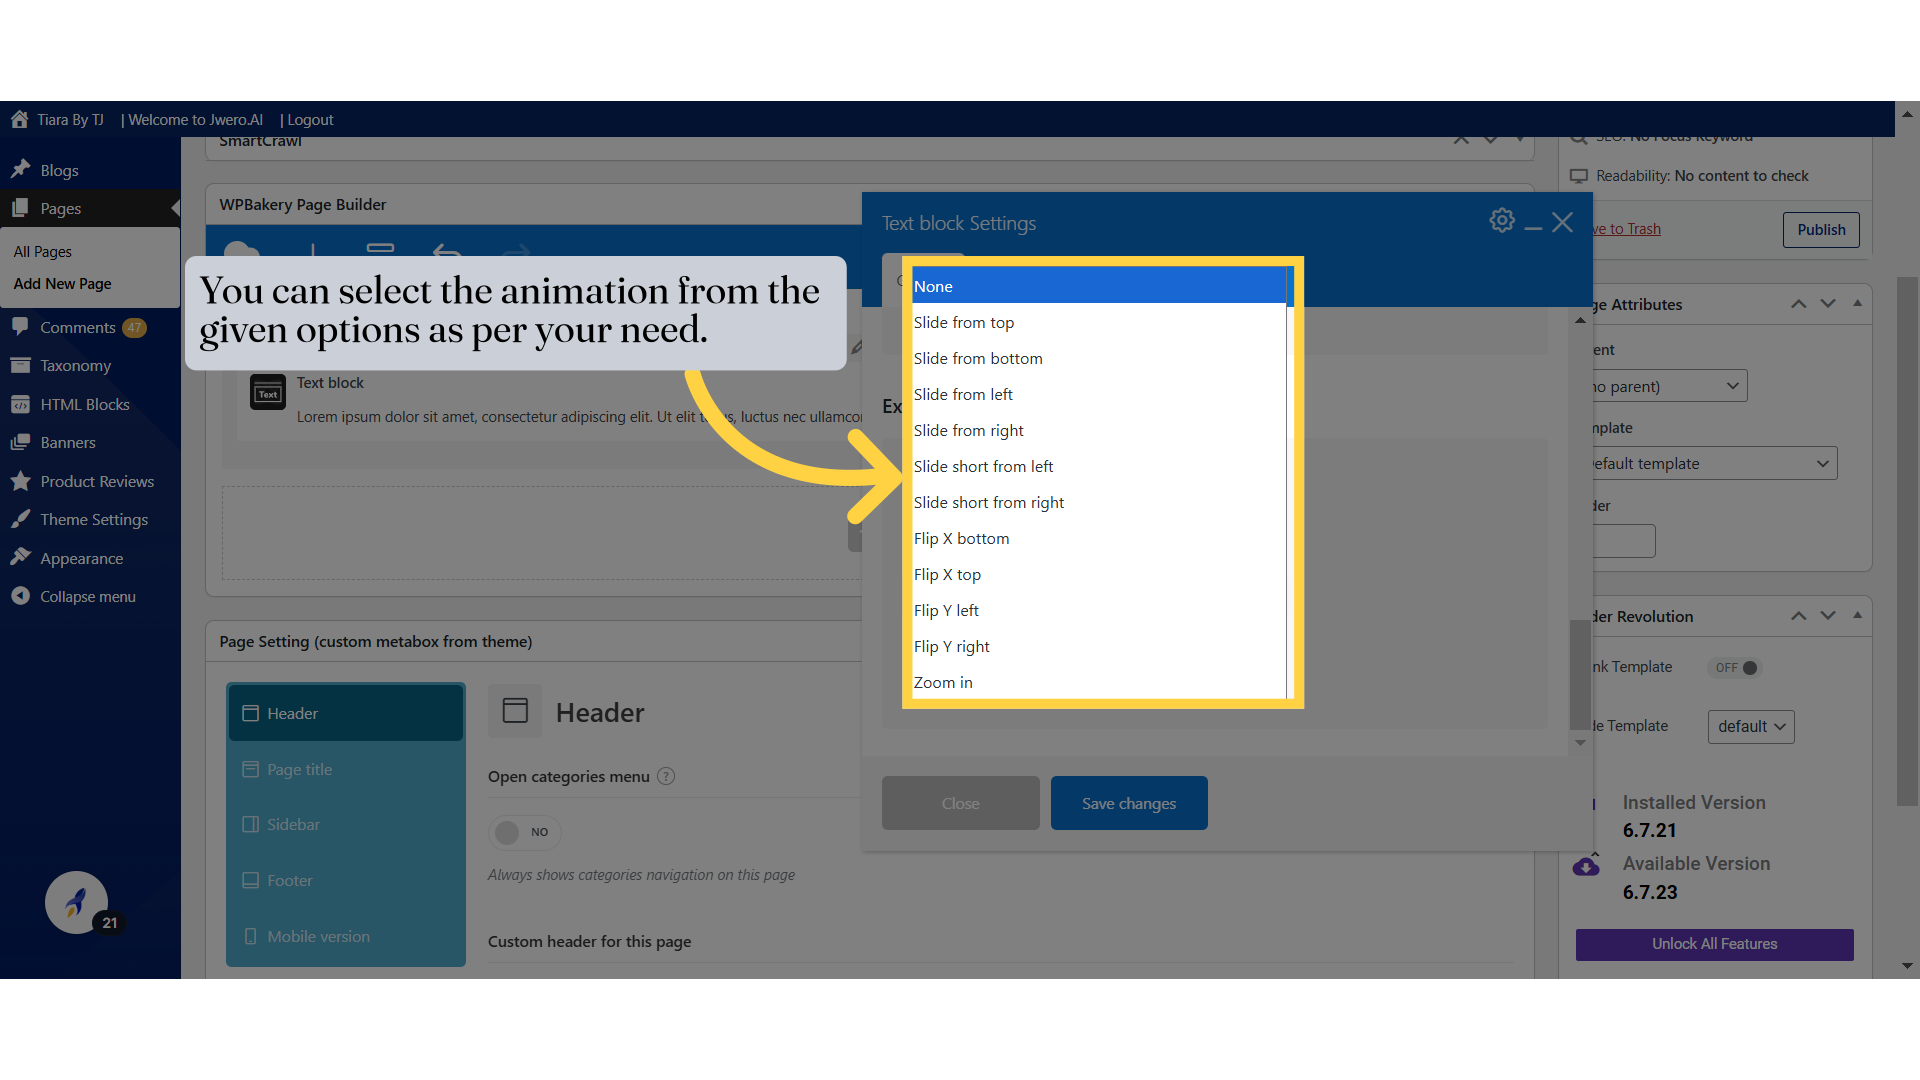
28. Allows you to select animations for the element. For example, you can add fade-in, slide, or other visual effects when the element appears on the page. Selecting "None" disables animations.
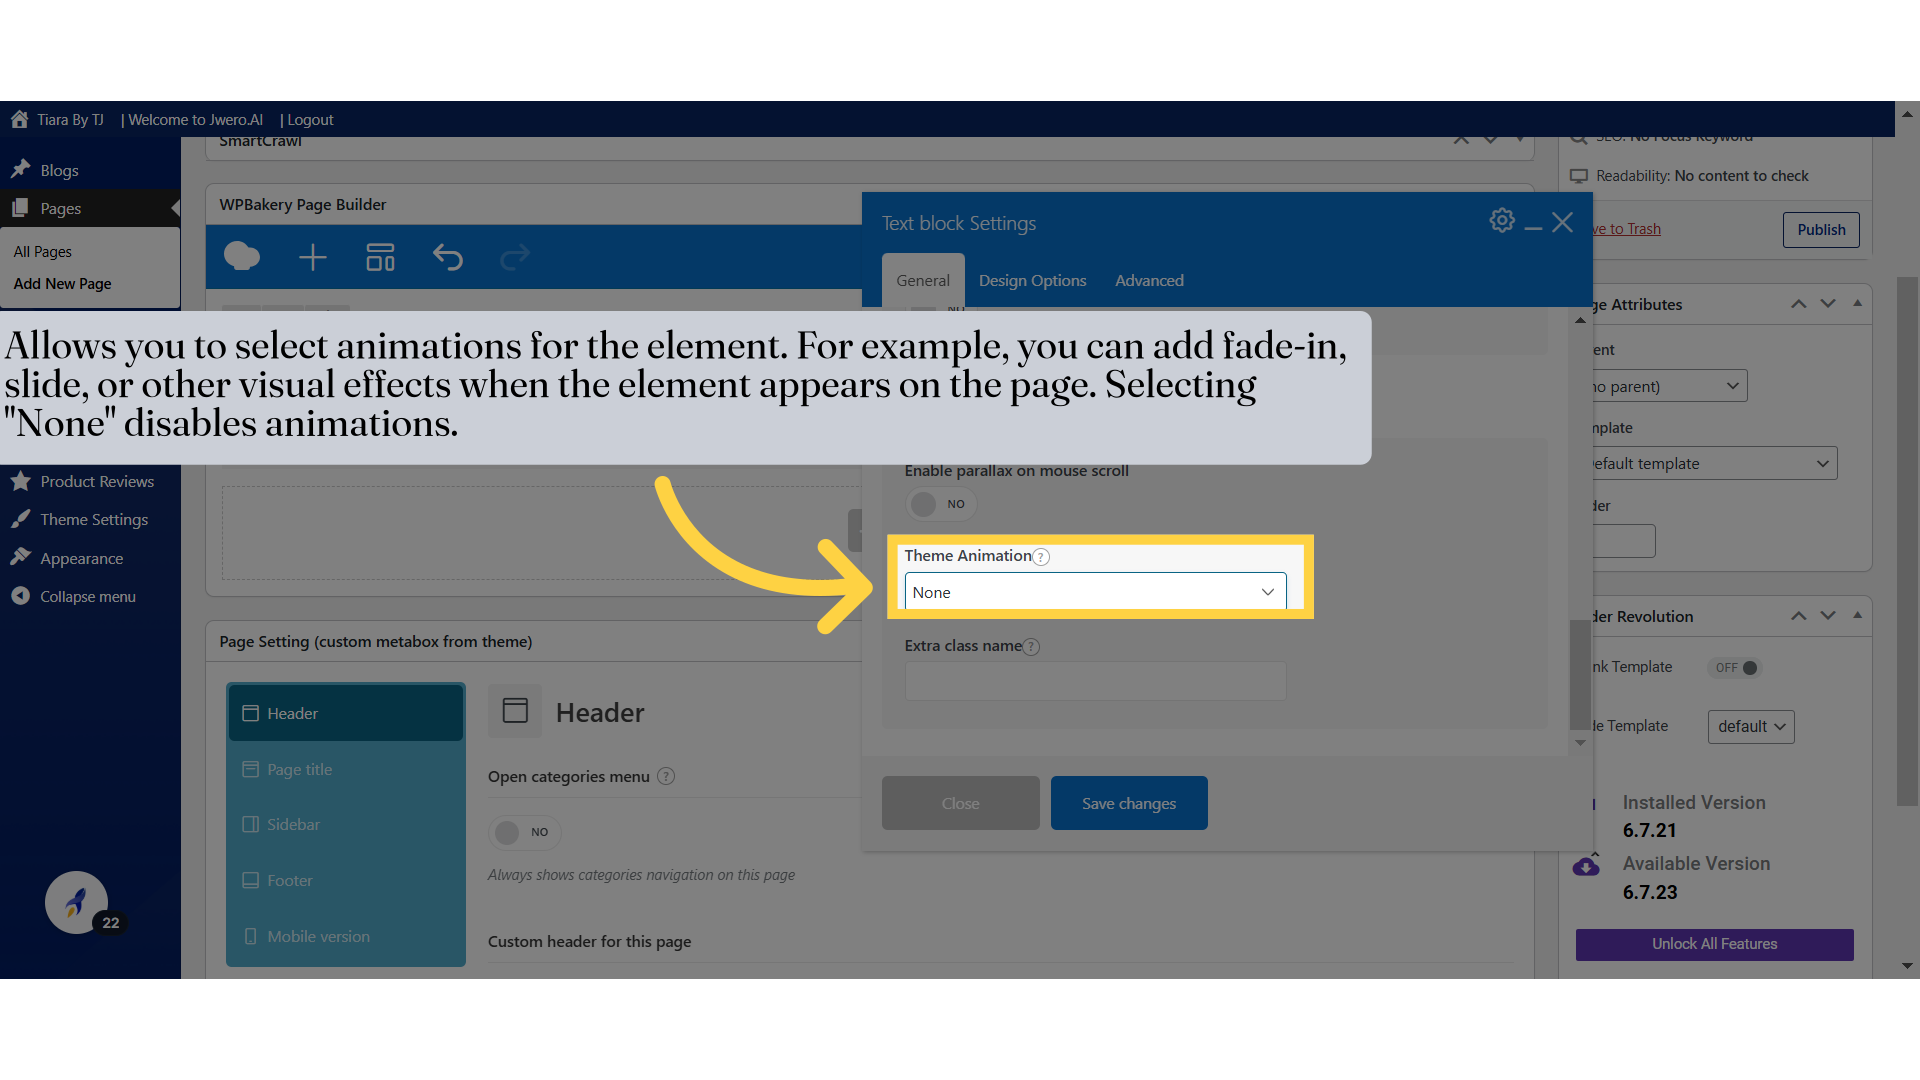
29. You can select the animation from the given options as per your need.
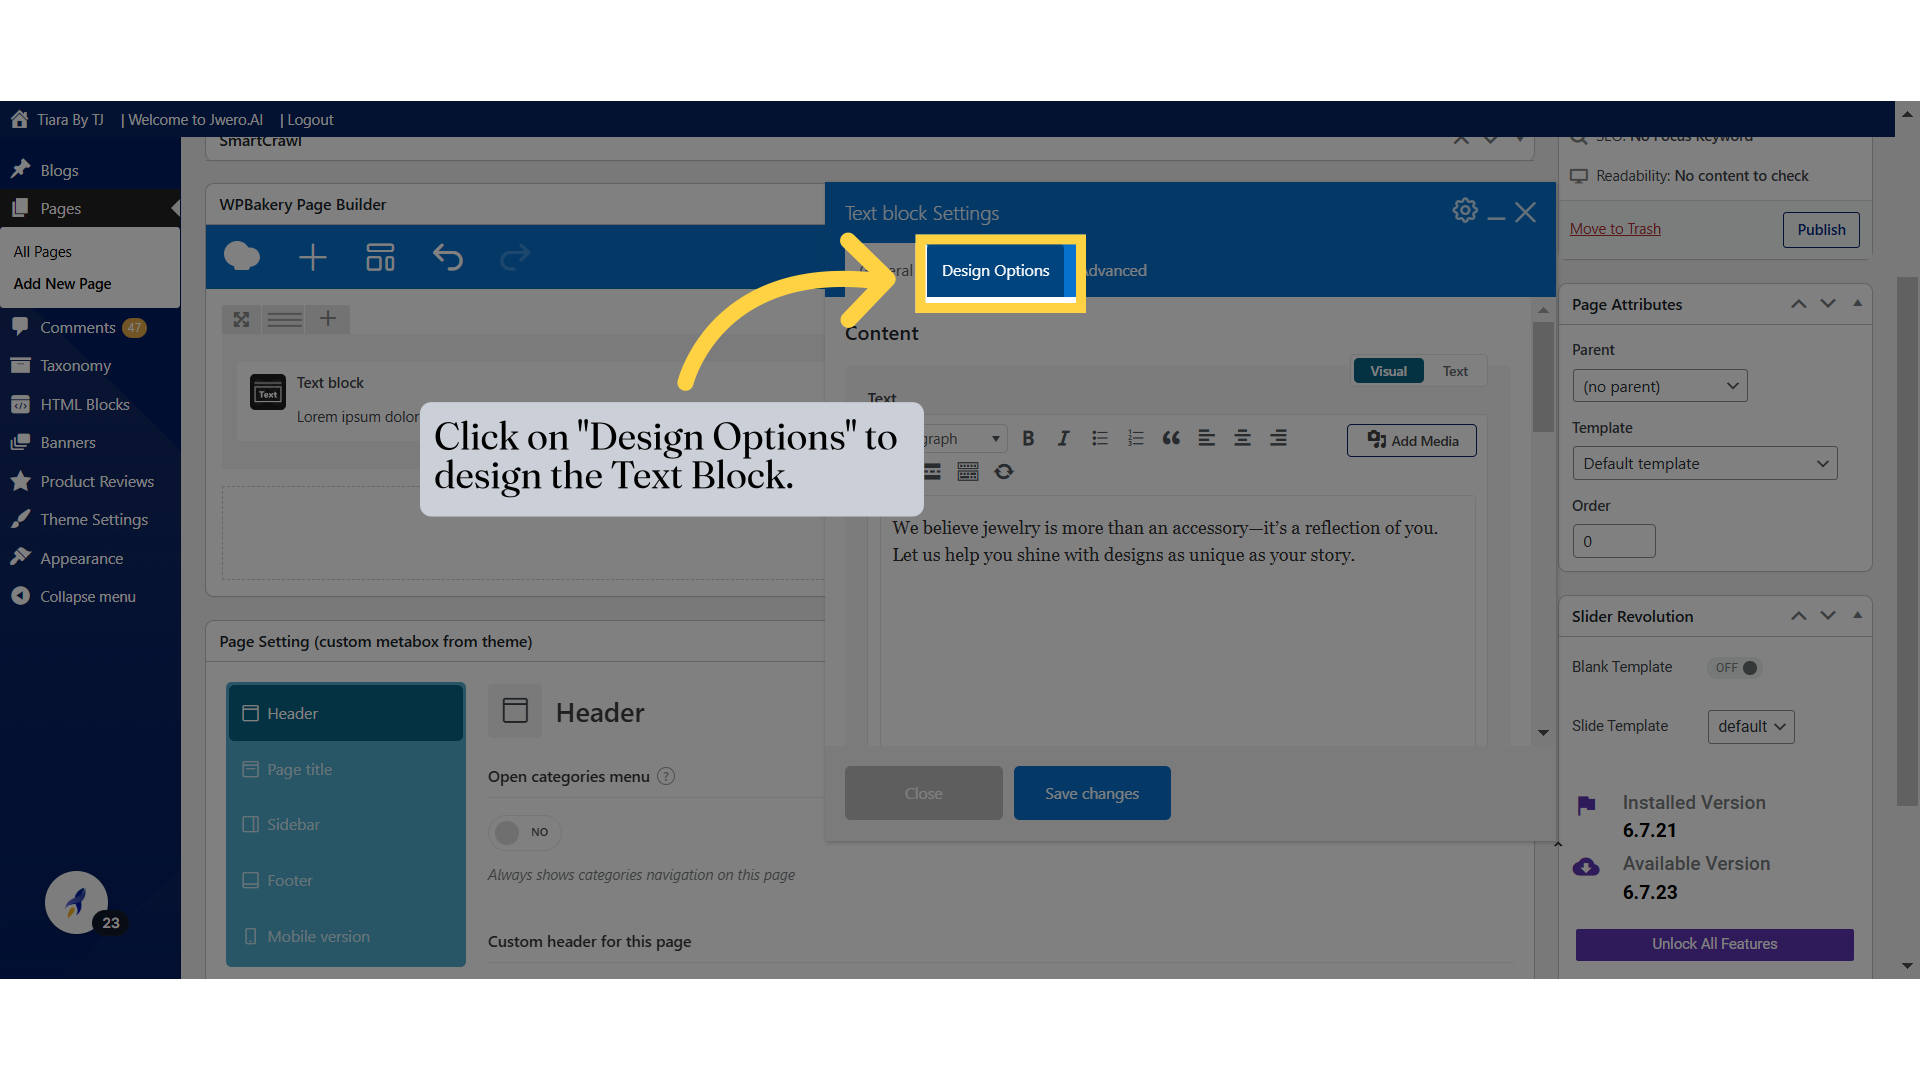
30. Click on "Design Options" to design the Text Block.
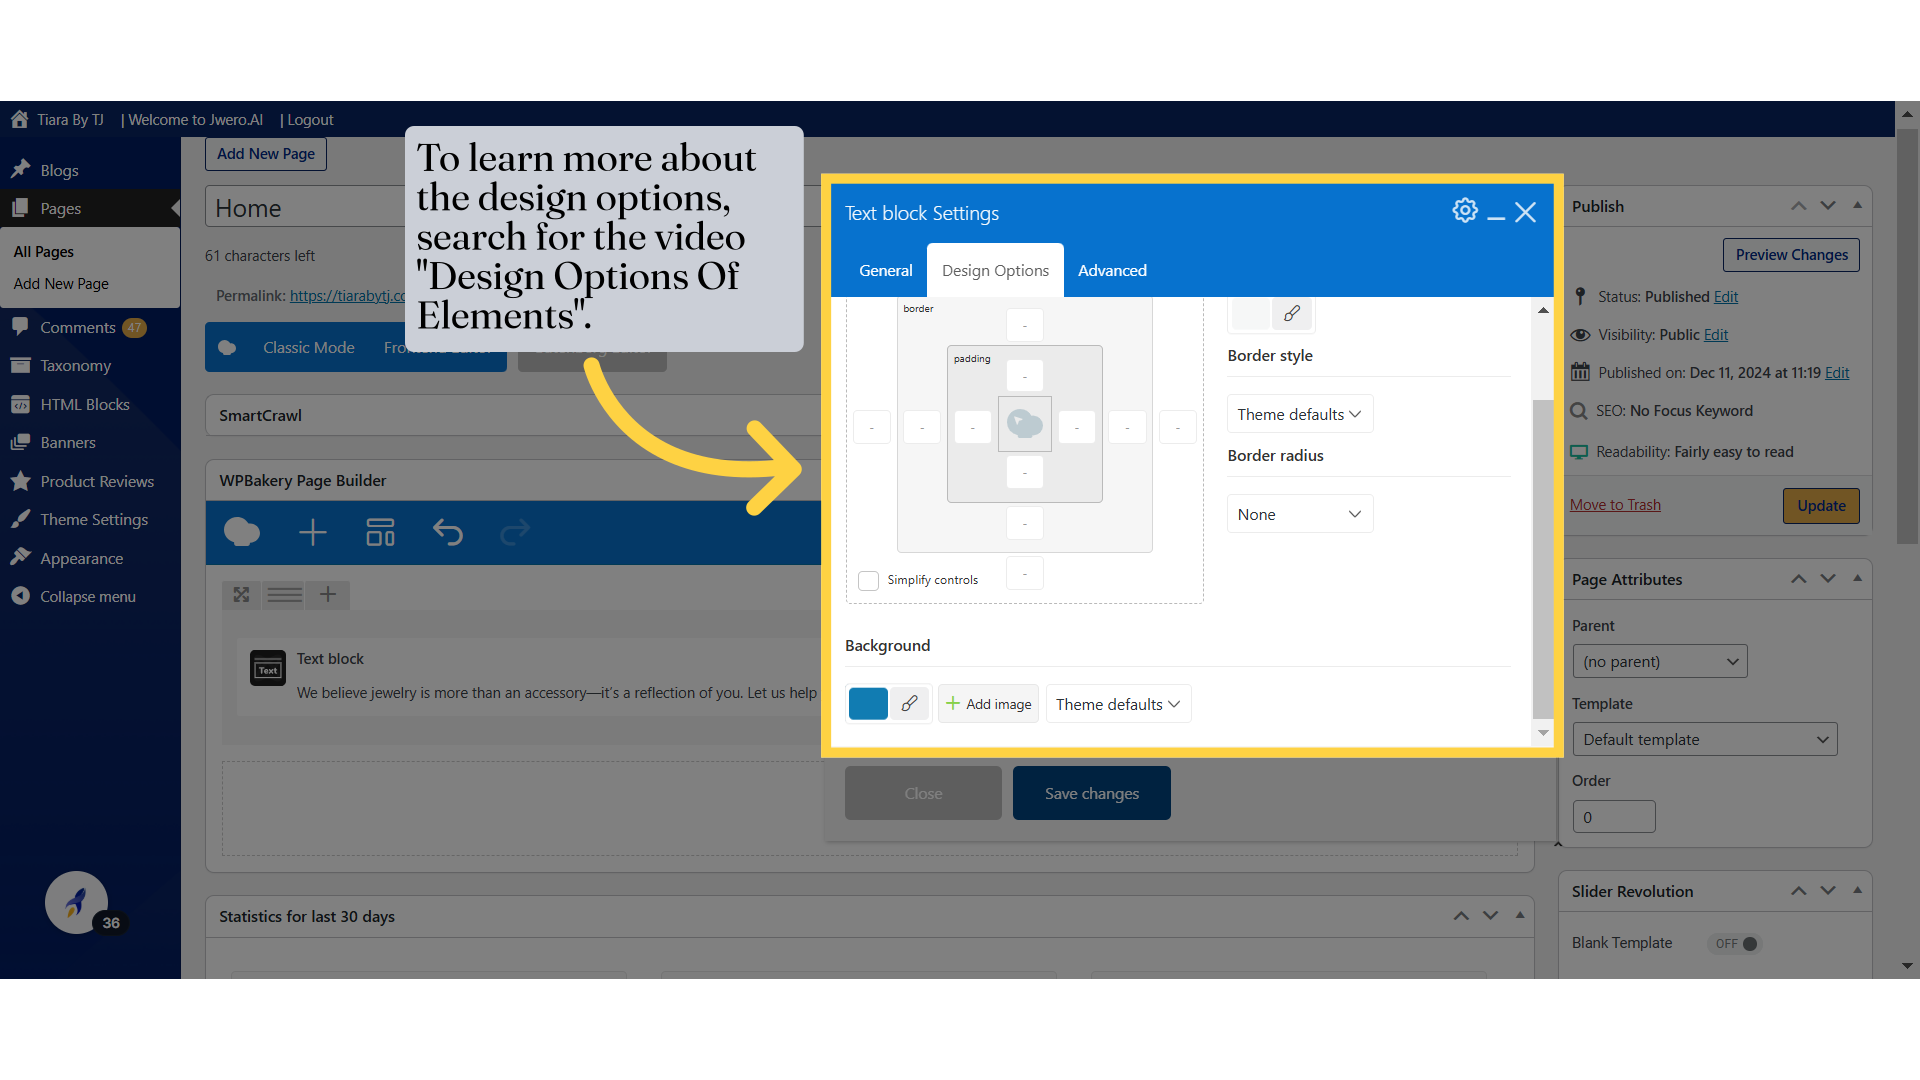
31. To learn more about the design options, search for the video "Design Options Of Elements".
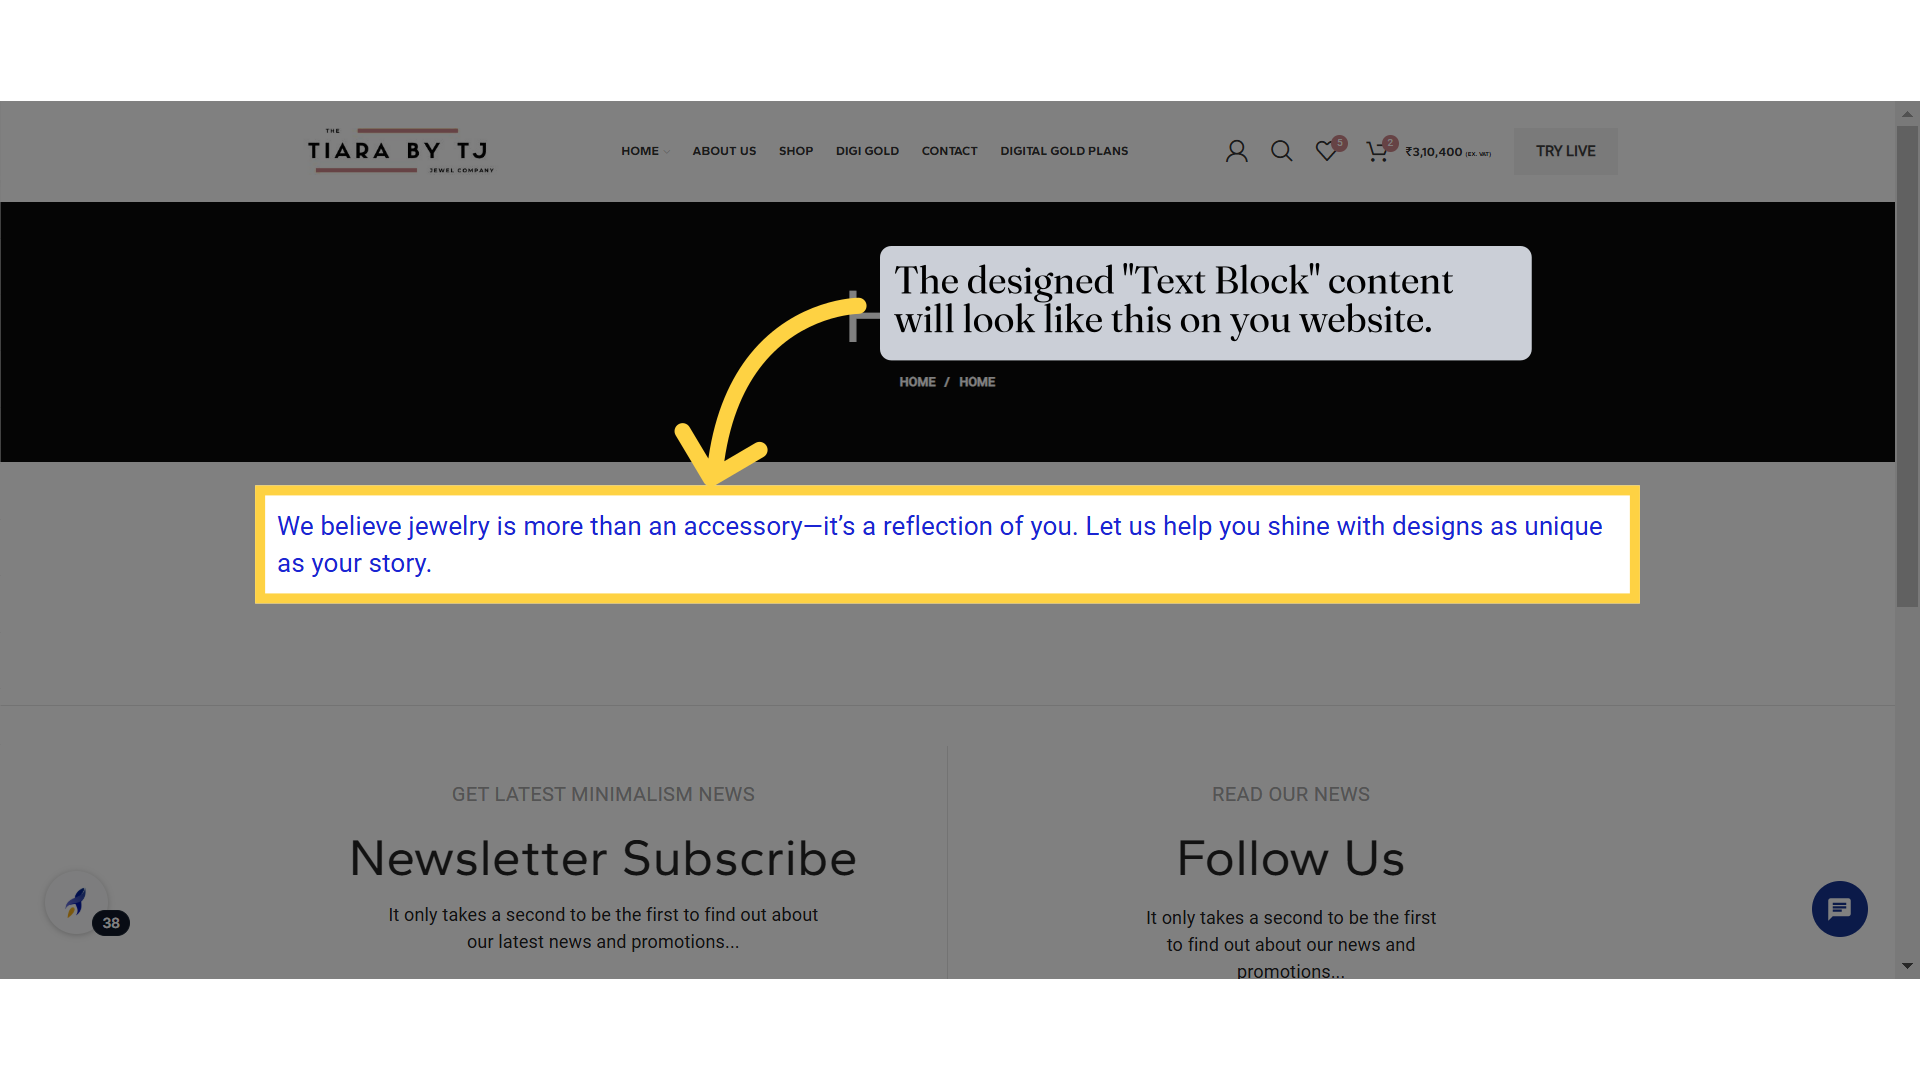
32. The designed "Text Block" content will look like this on you website.