Testimonial Element
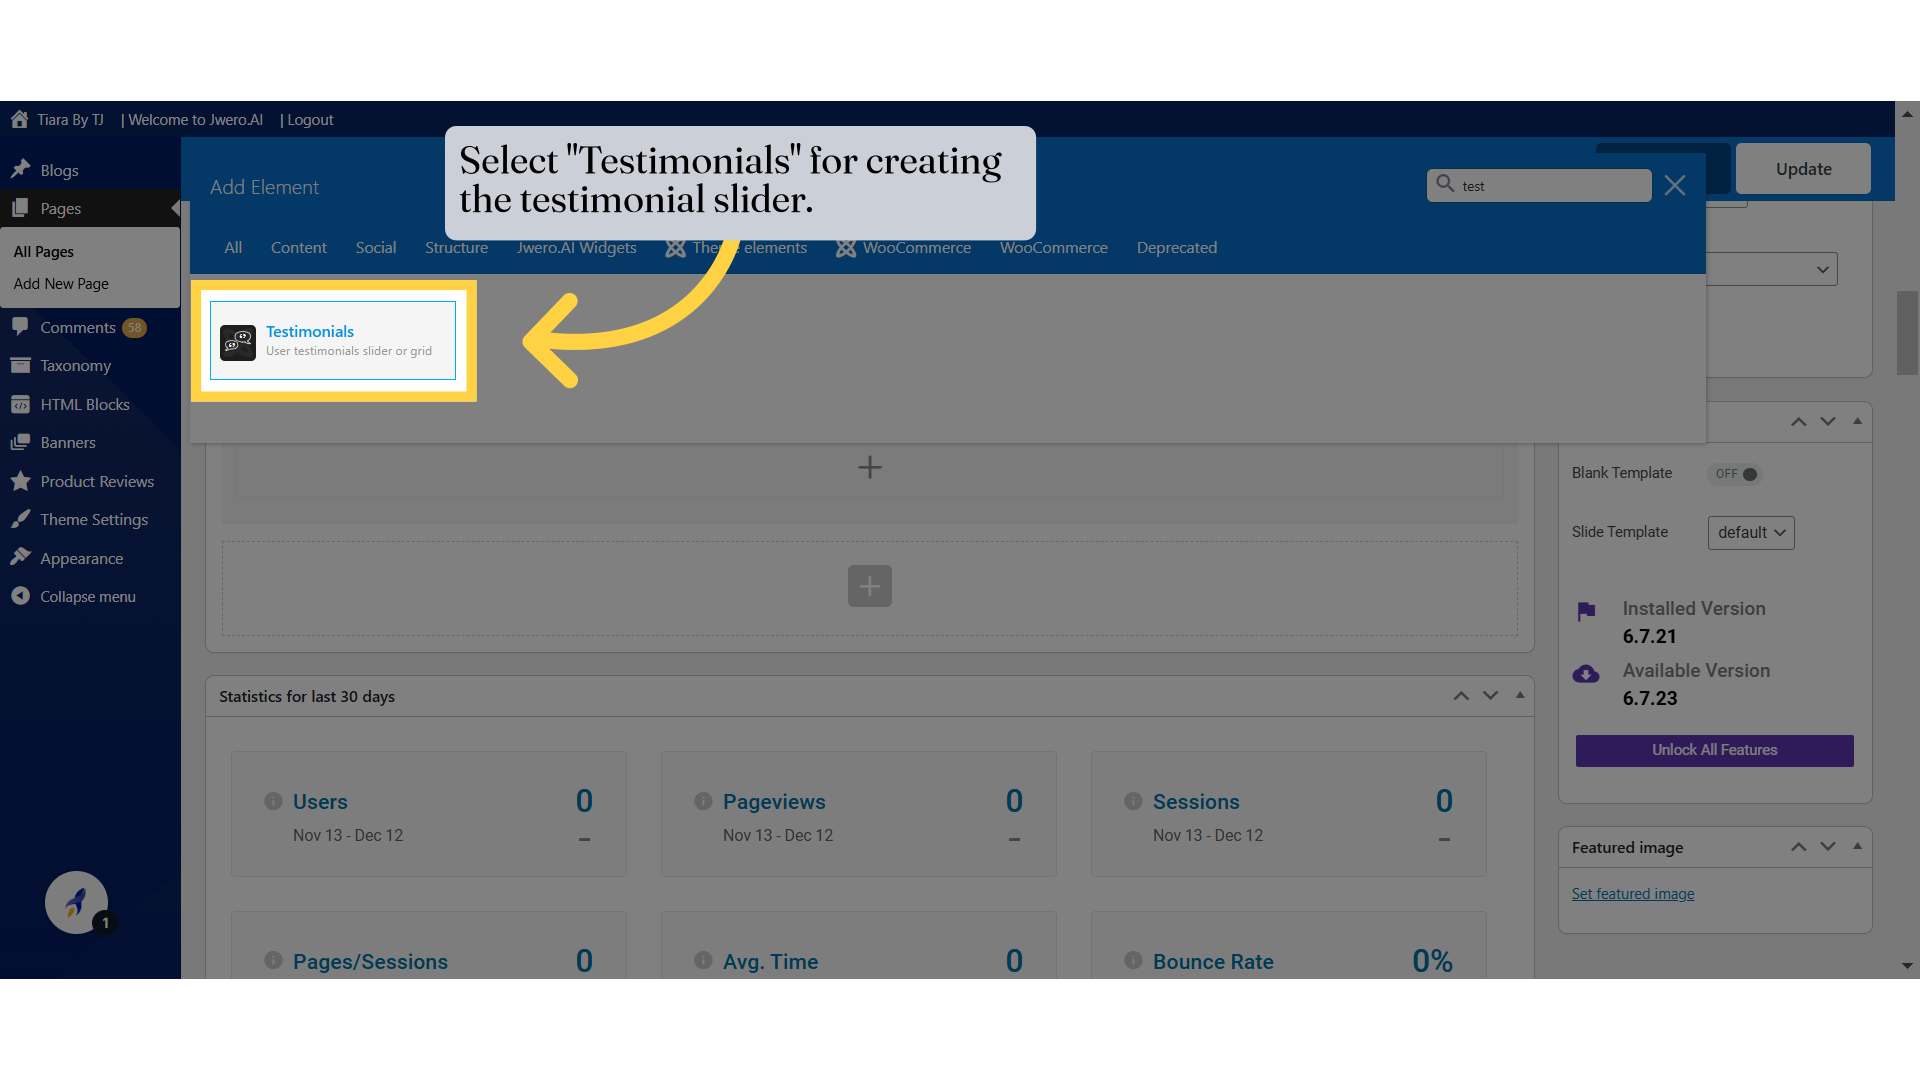
1. Select "Testimonials" for creating the testimonial slider.
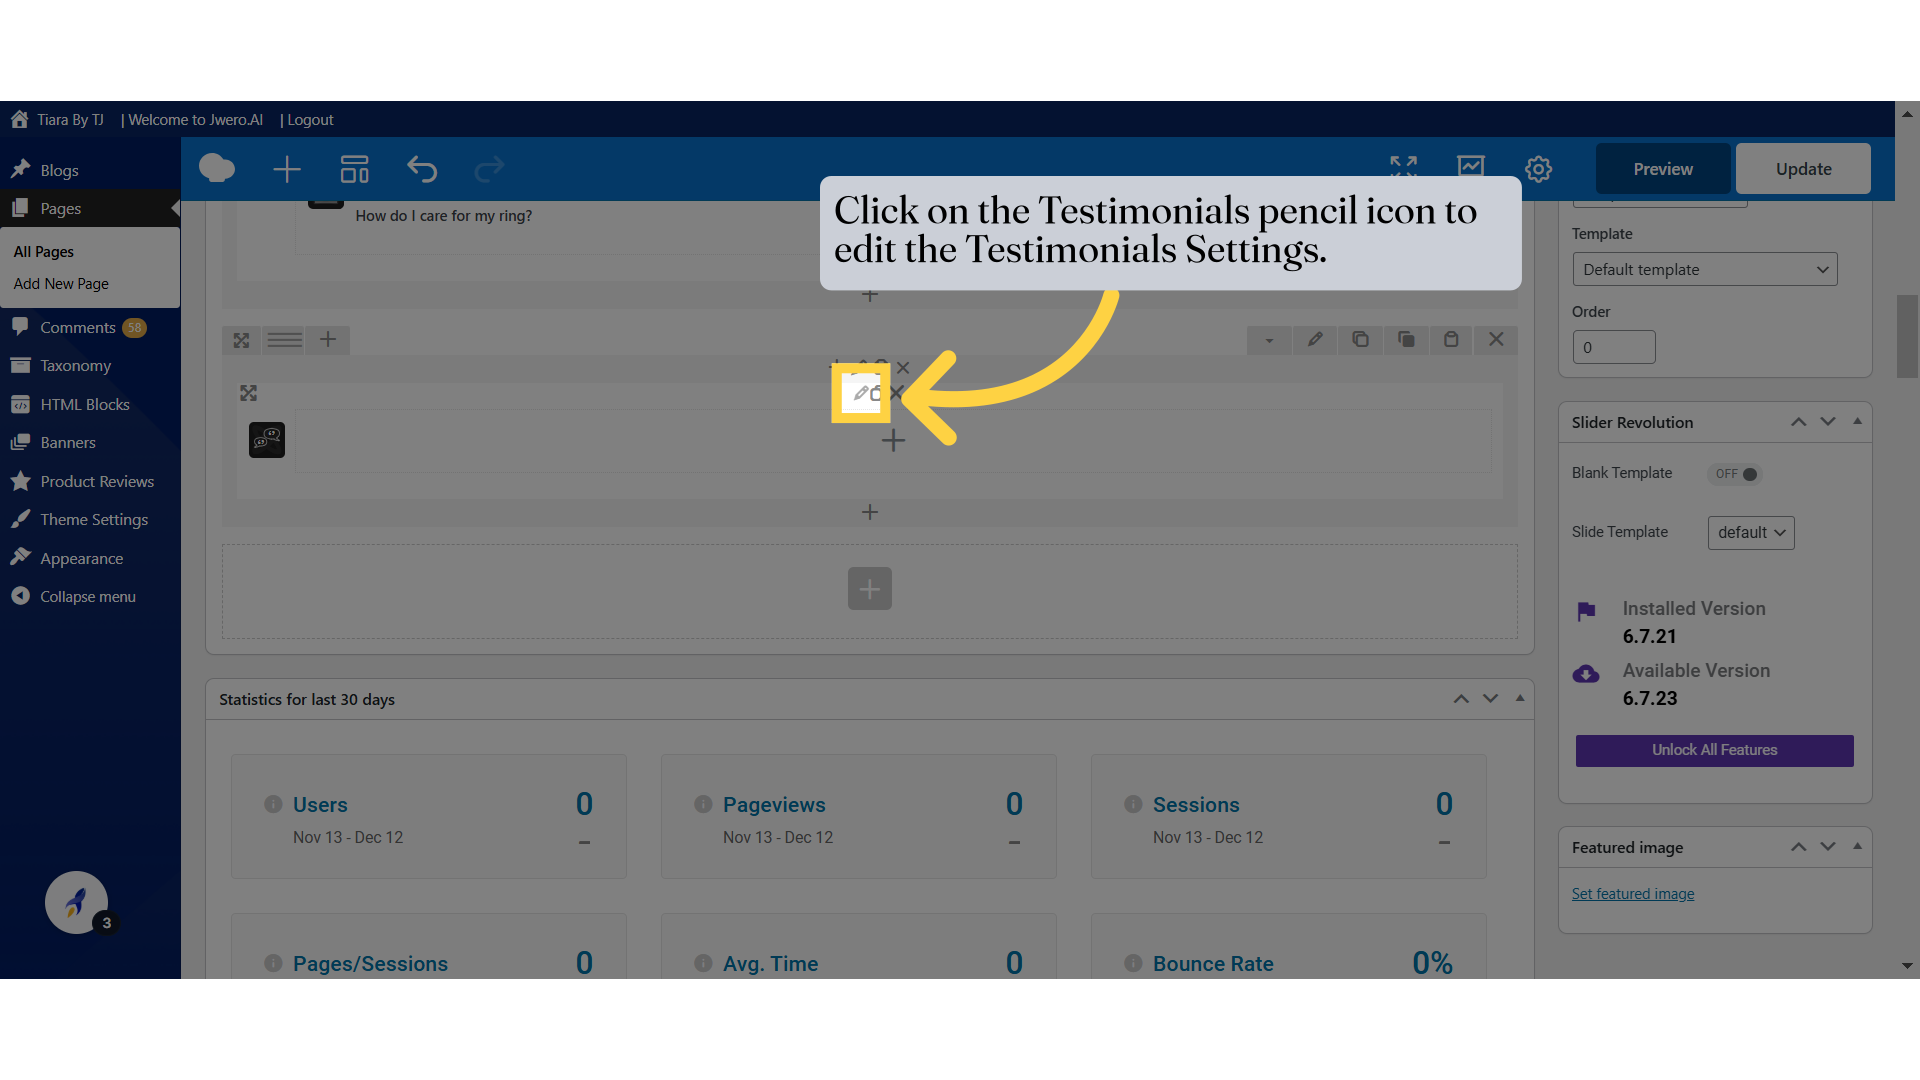
2. Click on the Testimonials pencil icon to edit the Testimonials Settings.
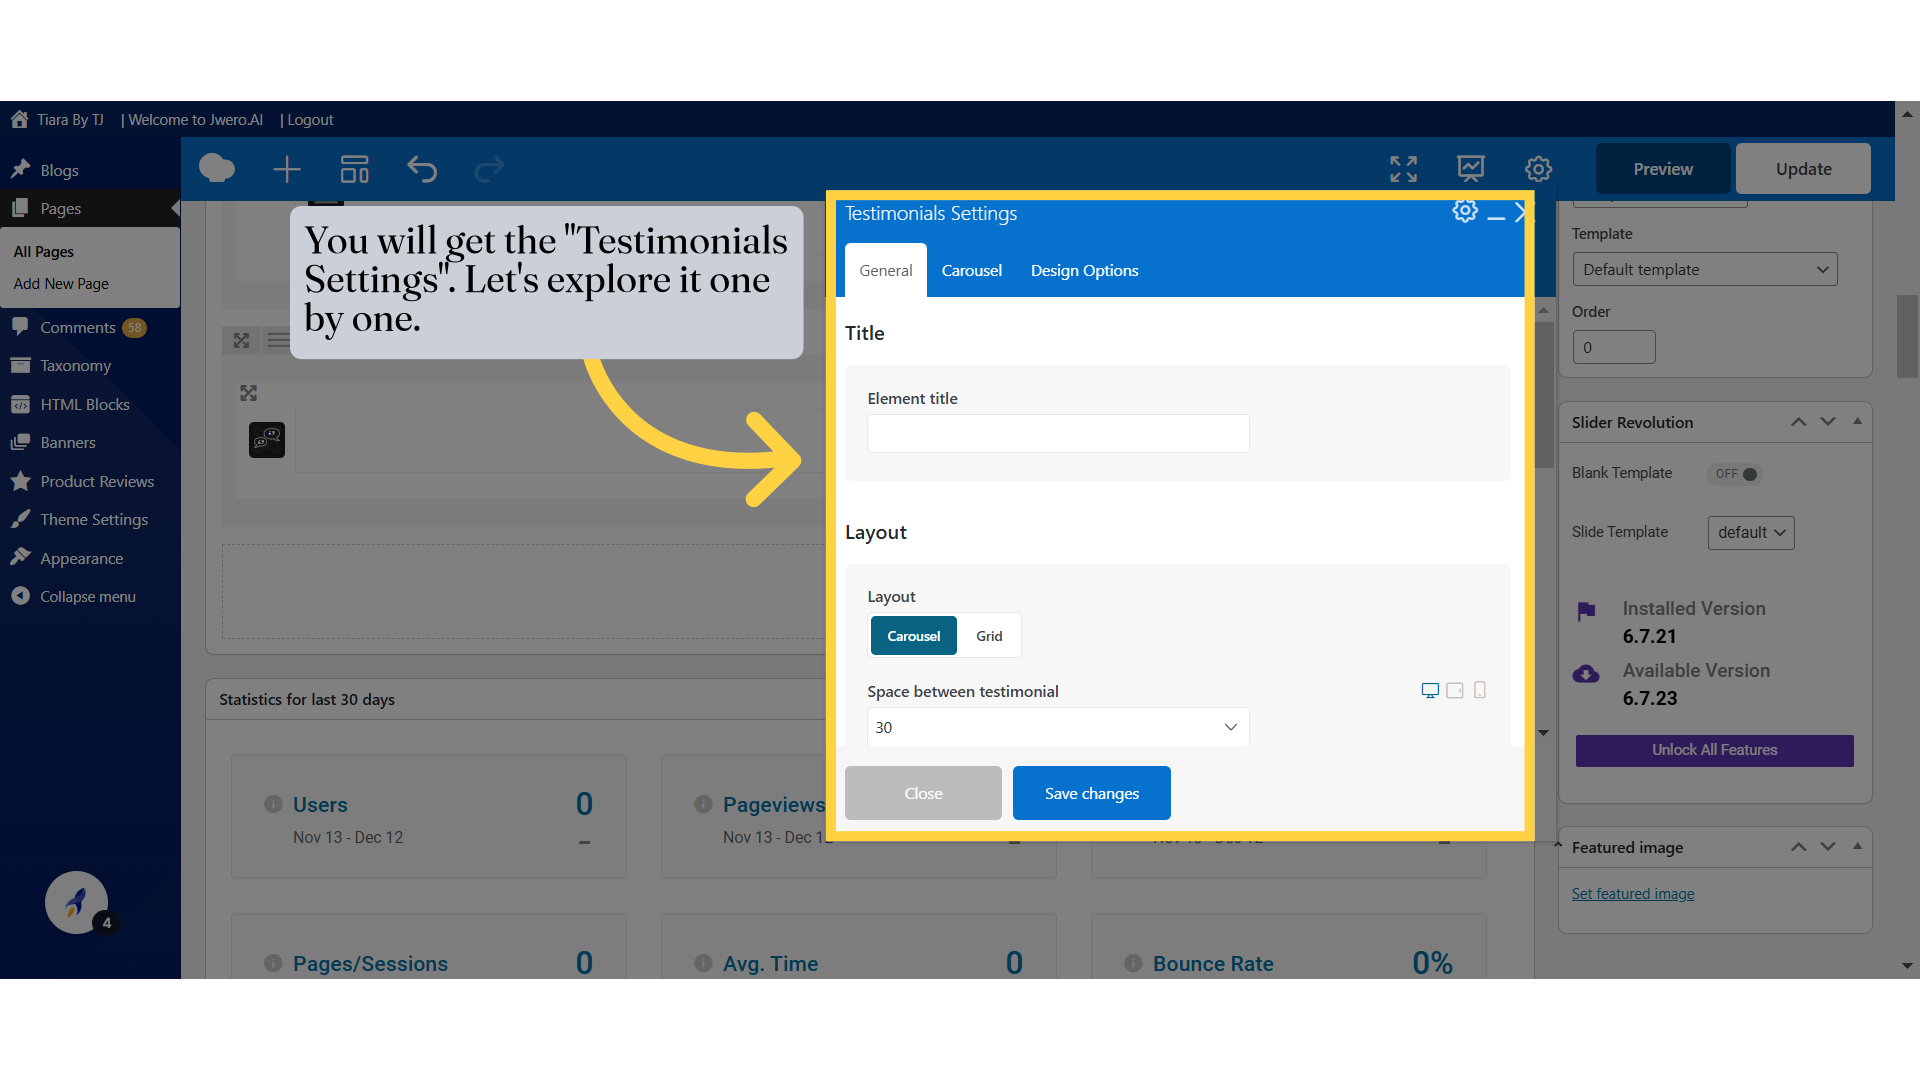
3. You will get the "Testimonials Settings". Let's explore it one by one.
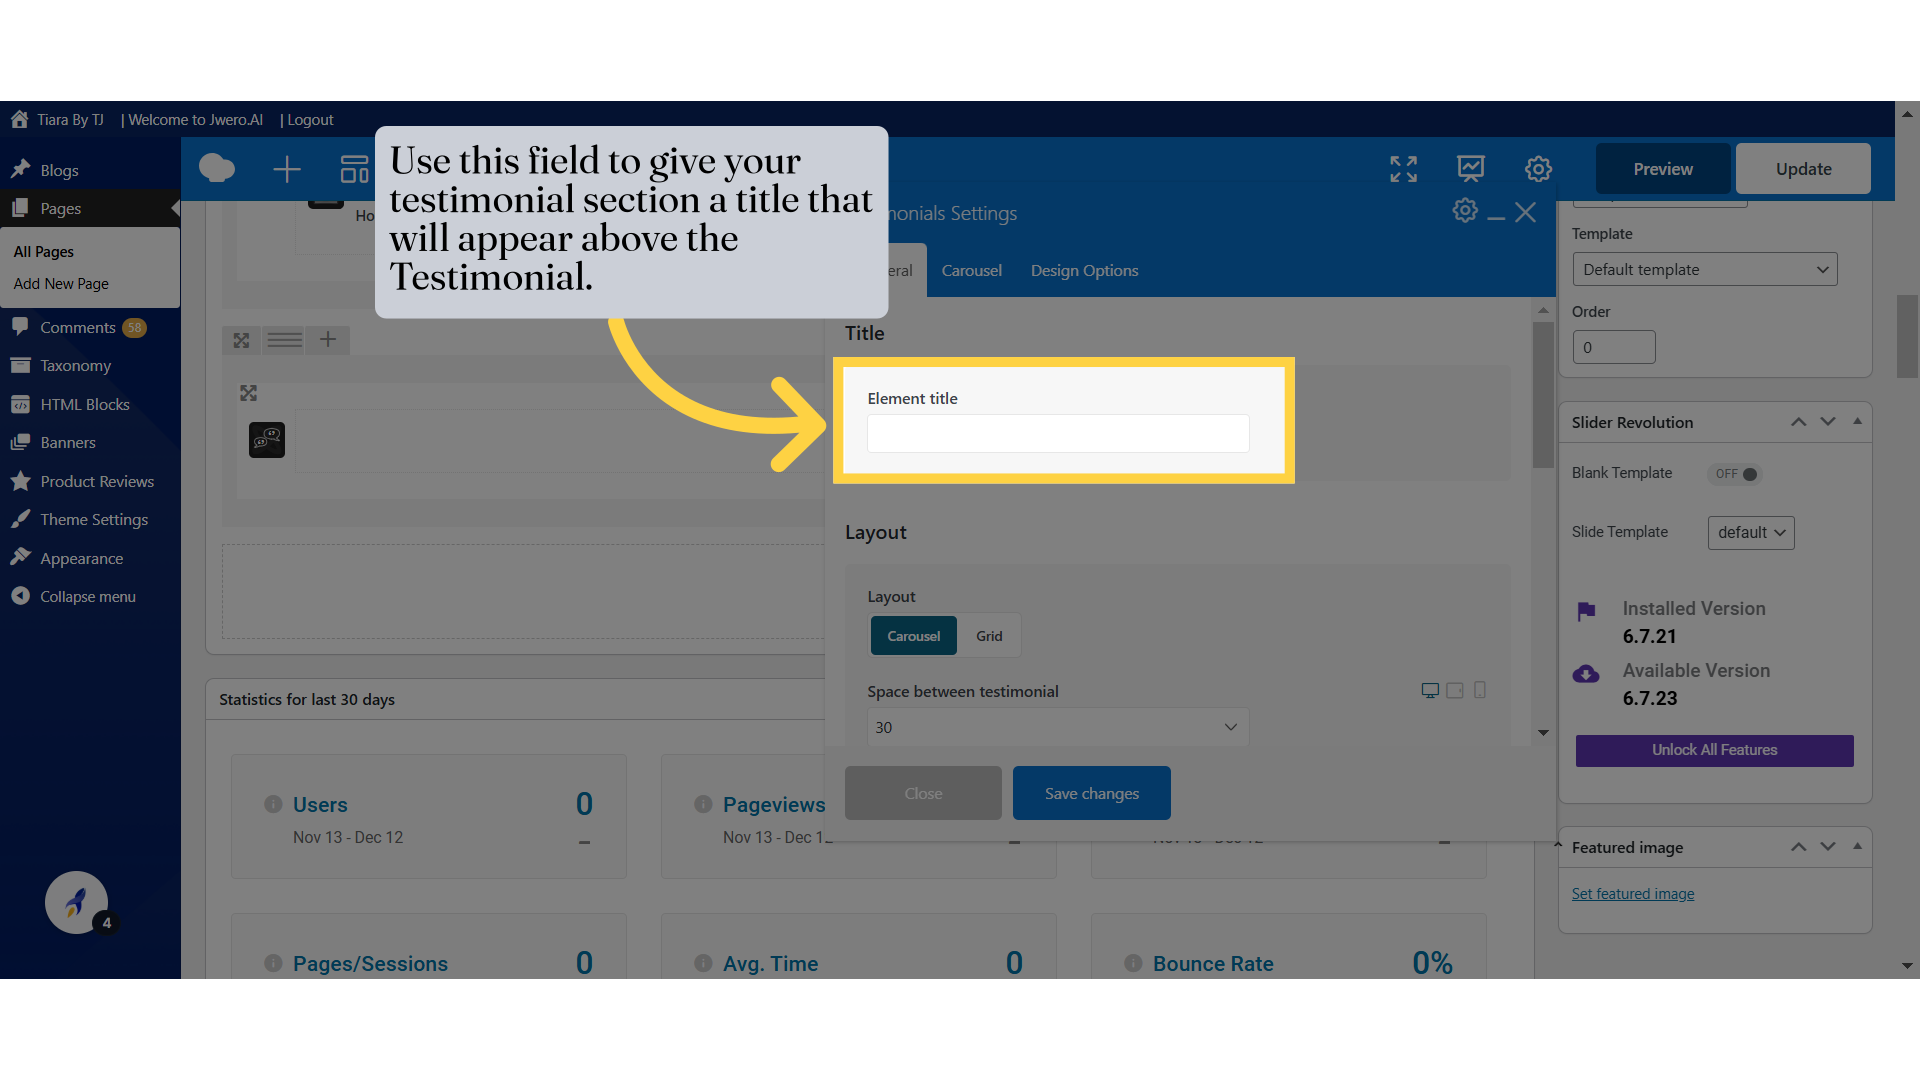
4. Use this field to give your testimonial section a title that will appear above the Testimonial.
5. Carousel: Displays testimonials in a sliding carousel format, allowing users to scroll through testimonials one by one. Grid: Displays testimonials in a grid layout, showing multiple testimonials at once without scrolling.

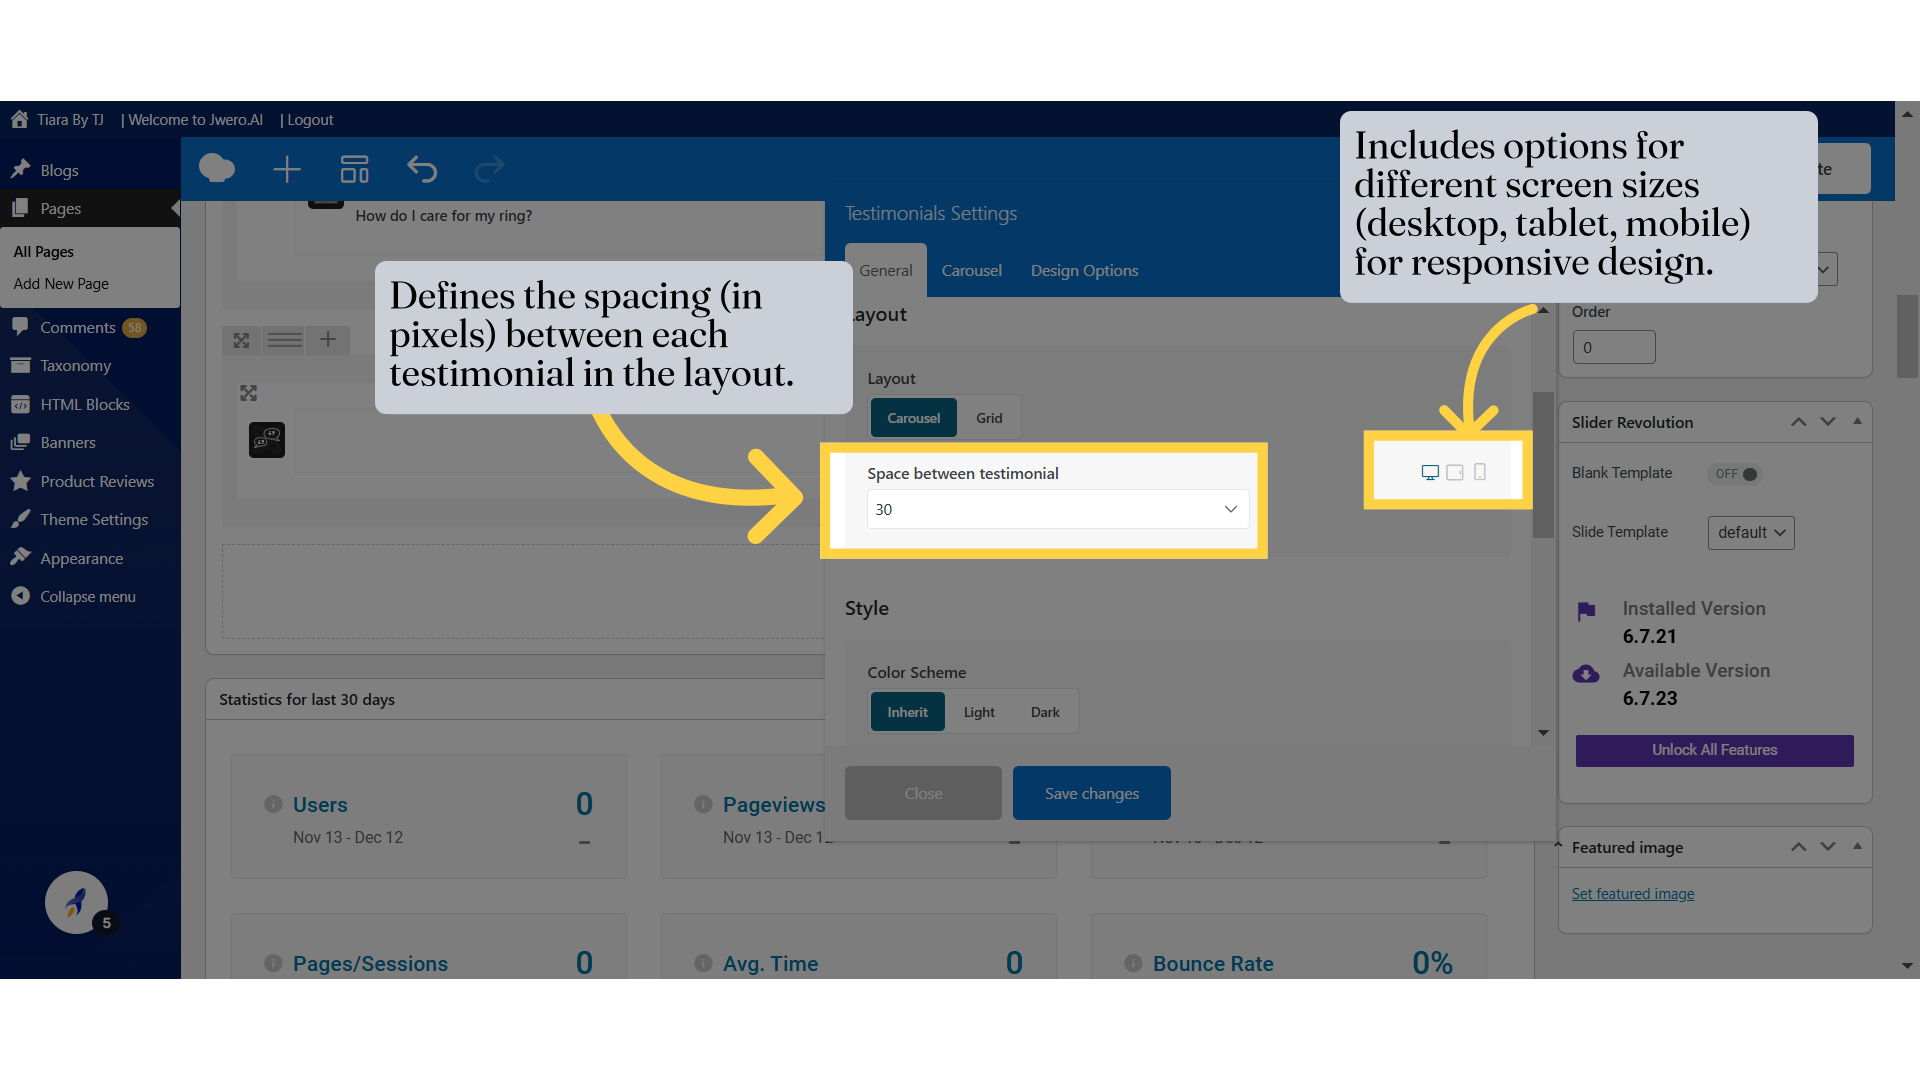
6. Defines the spacing (in pixels) between each testimonial in the layout.
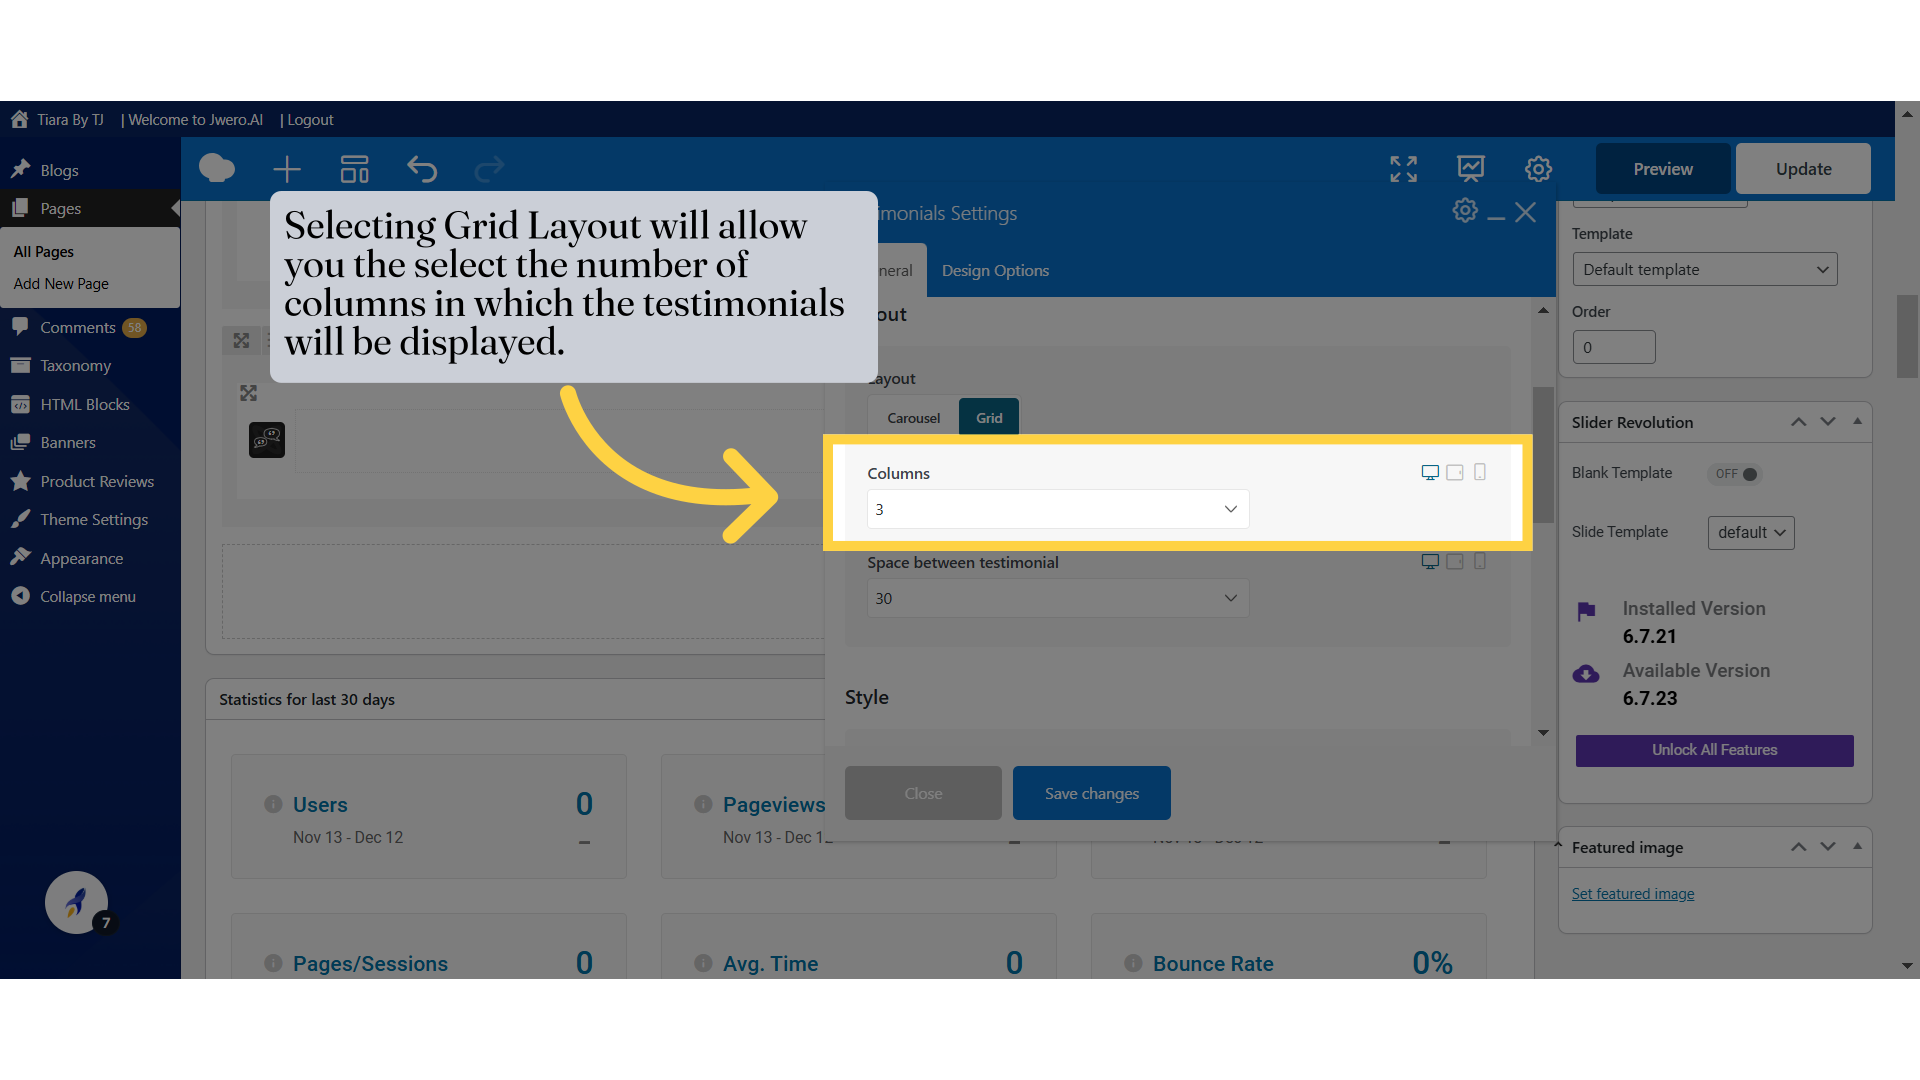
7. Selecting Grid Layout will allow you the select the number of columns in which the testimonials will be displayed.
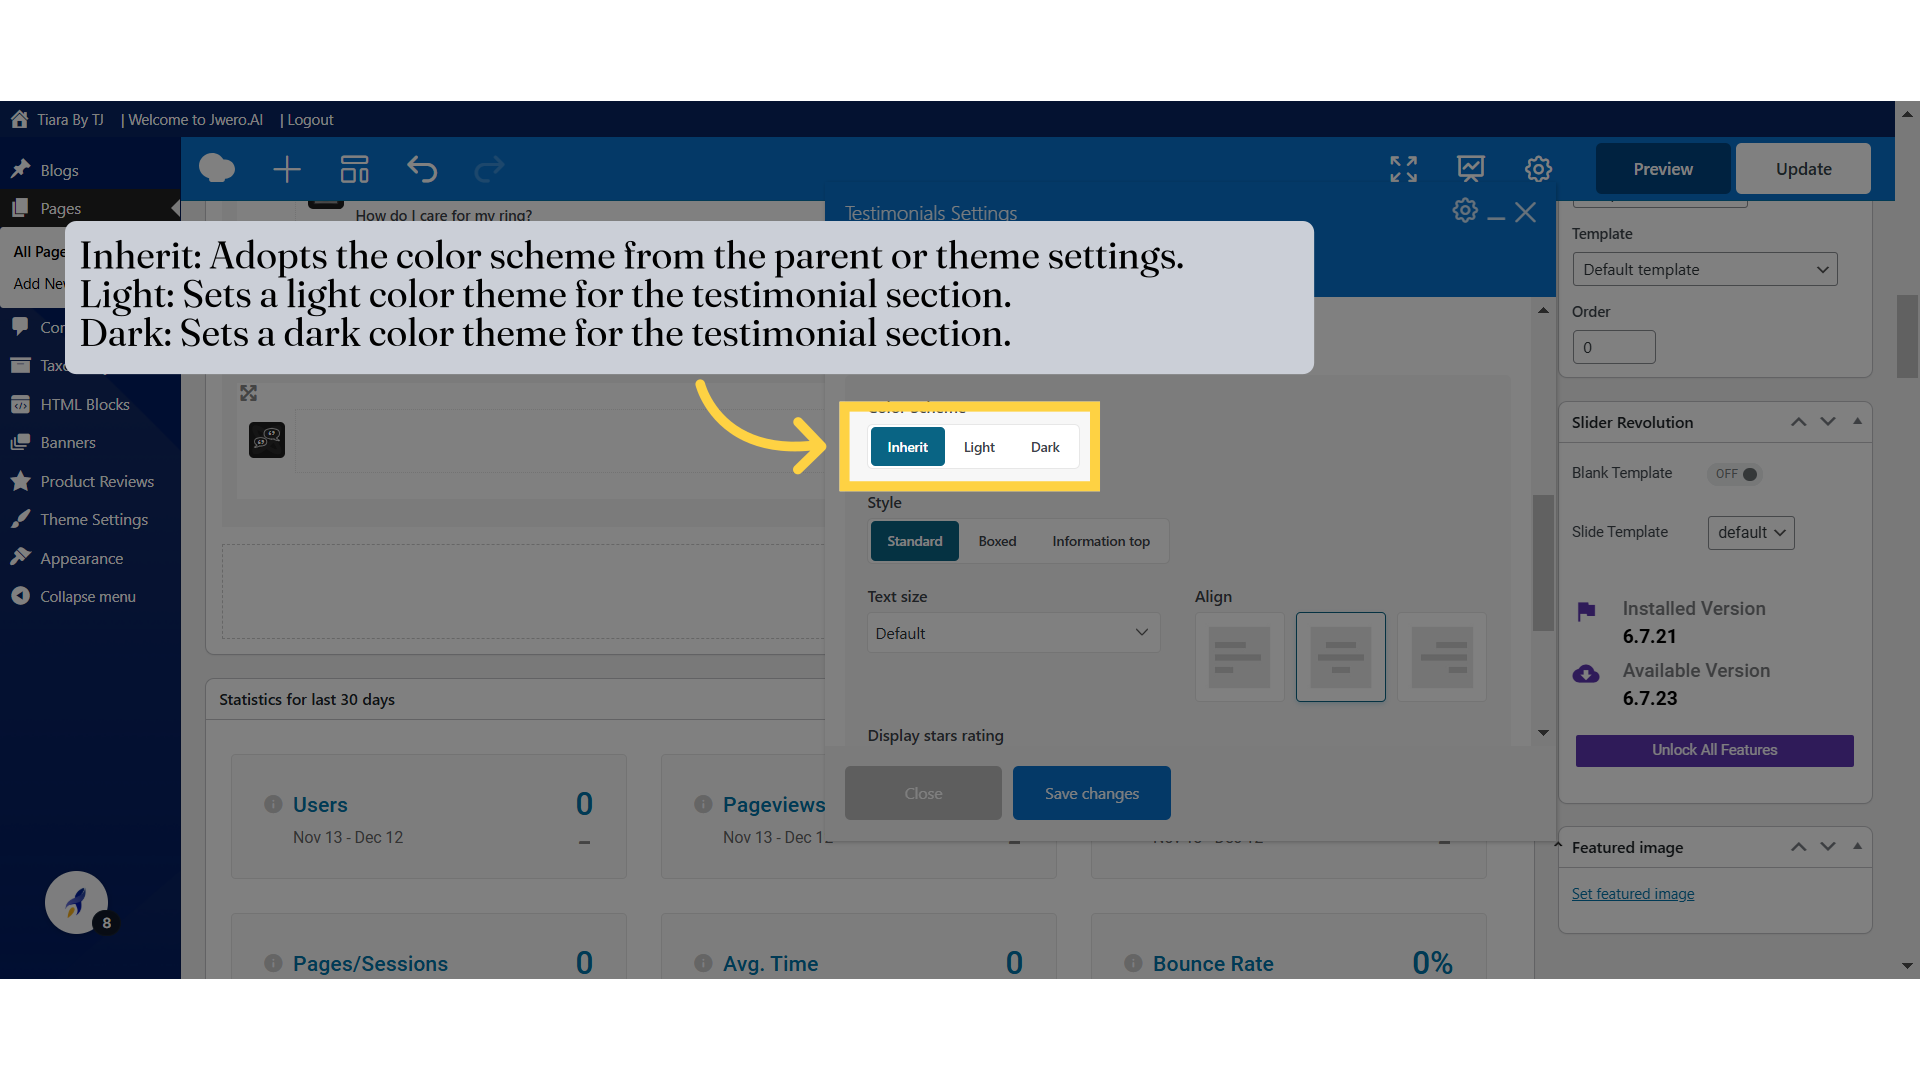
8. Inherit: Adopts the color scheme from the parent or theme settings. Light: Sets a light color theme for the testimonial section. Dark: Sets a dark color theme for the testimonial section.
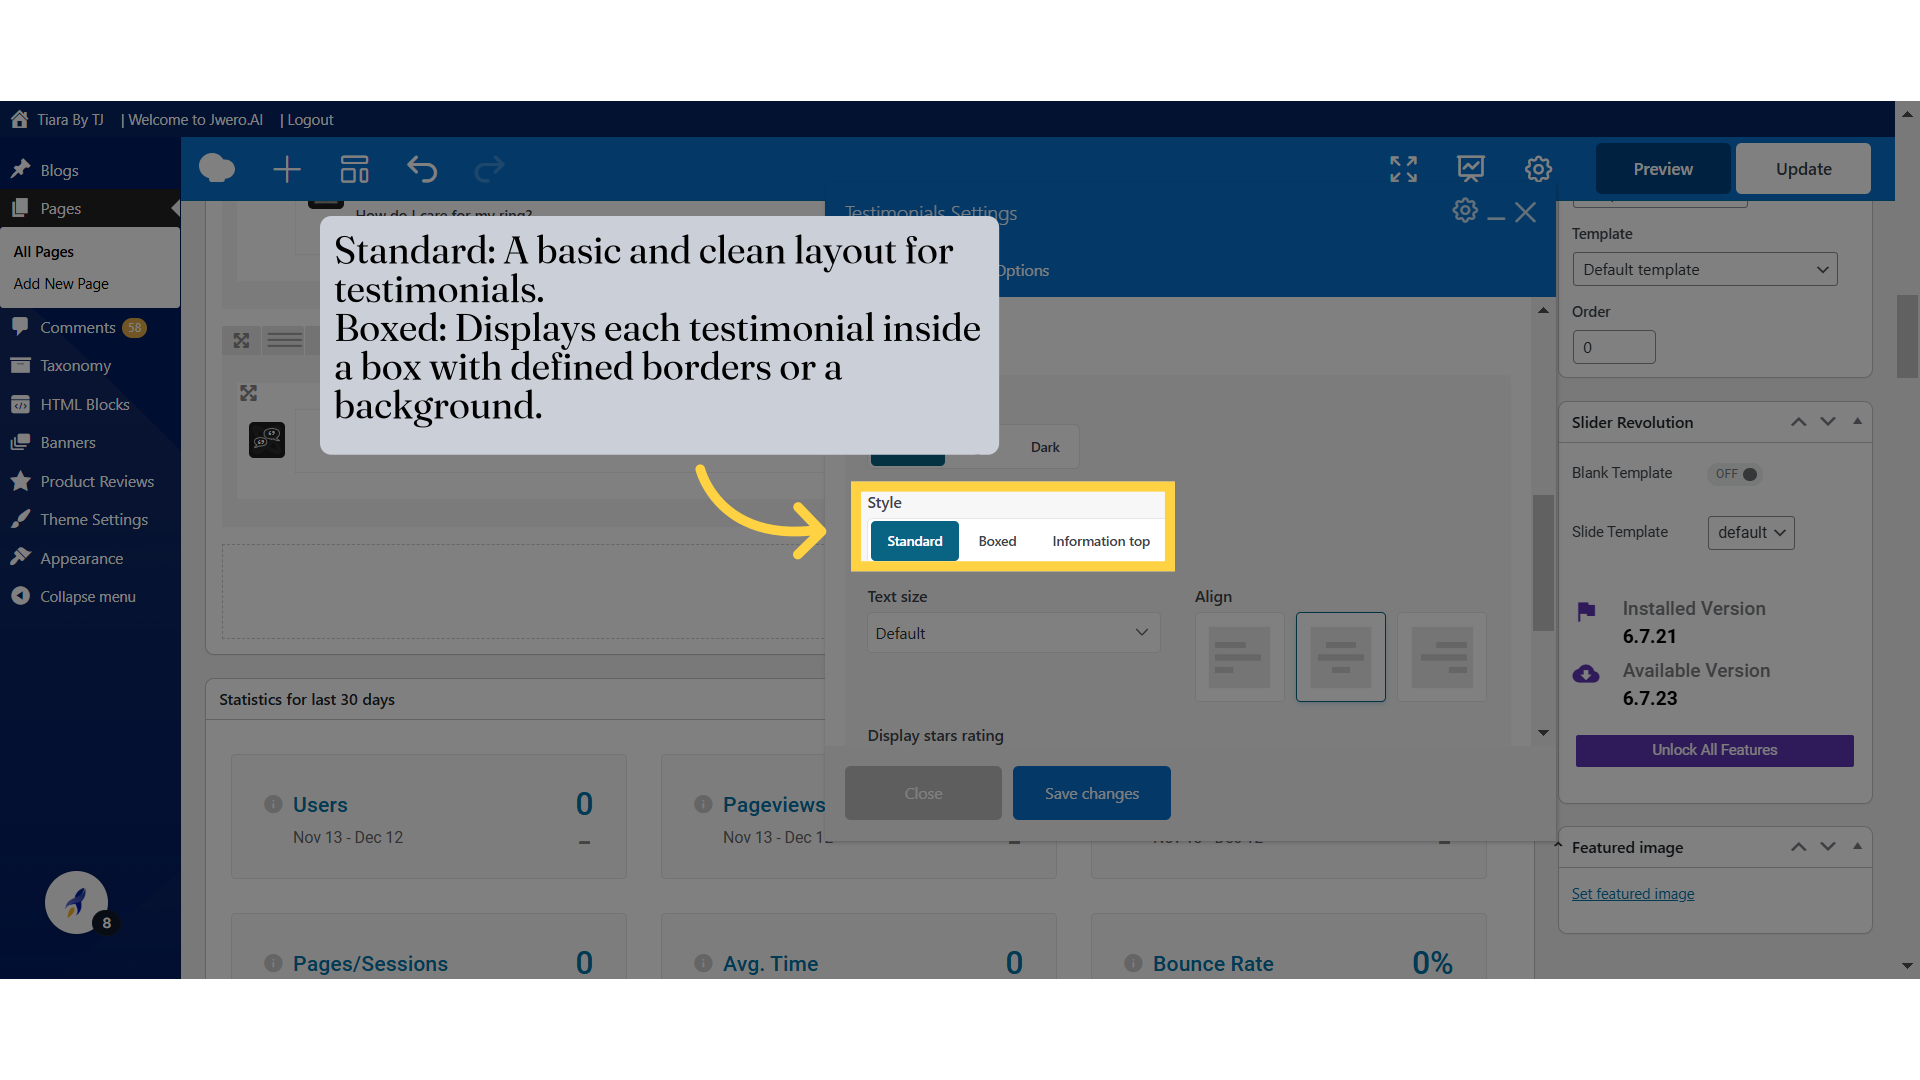
9. Standard: A basic and clean layout for testimonials. Boxed: Displays each testimonial inside a box with defined borders or a background. Information Top: Positions key information (such as the author or rating) at the top of the testimonial.
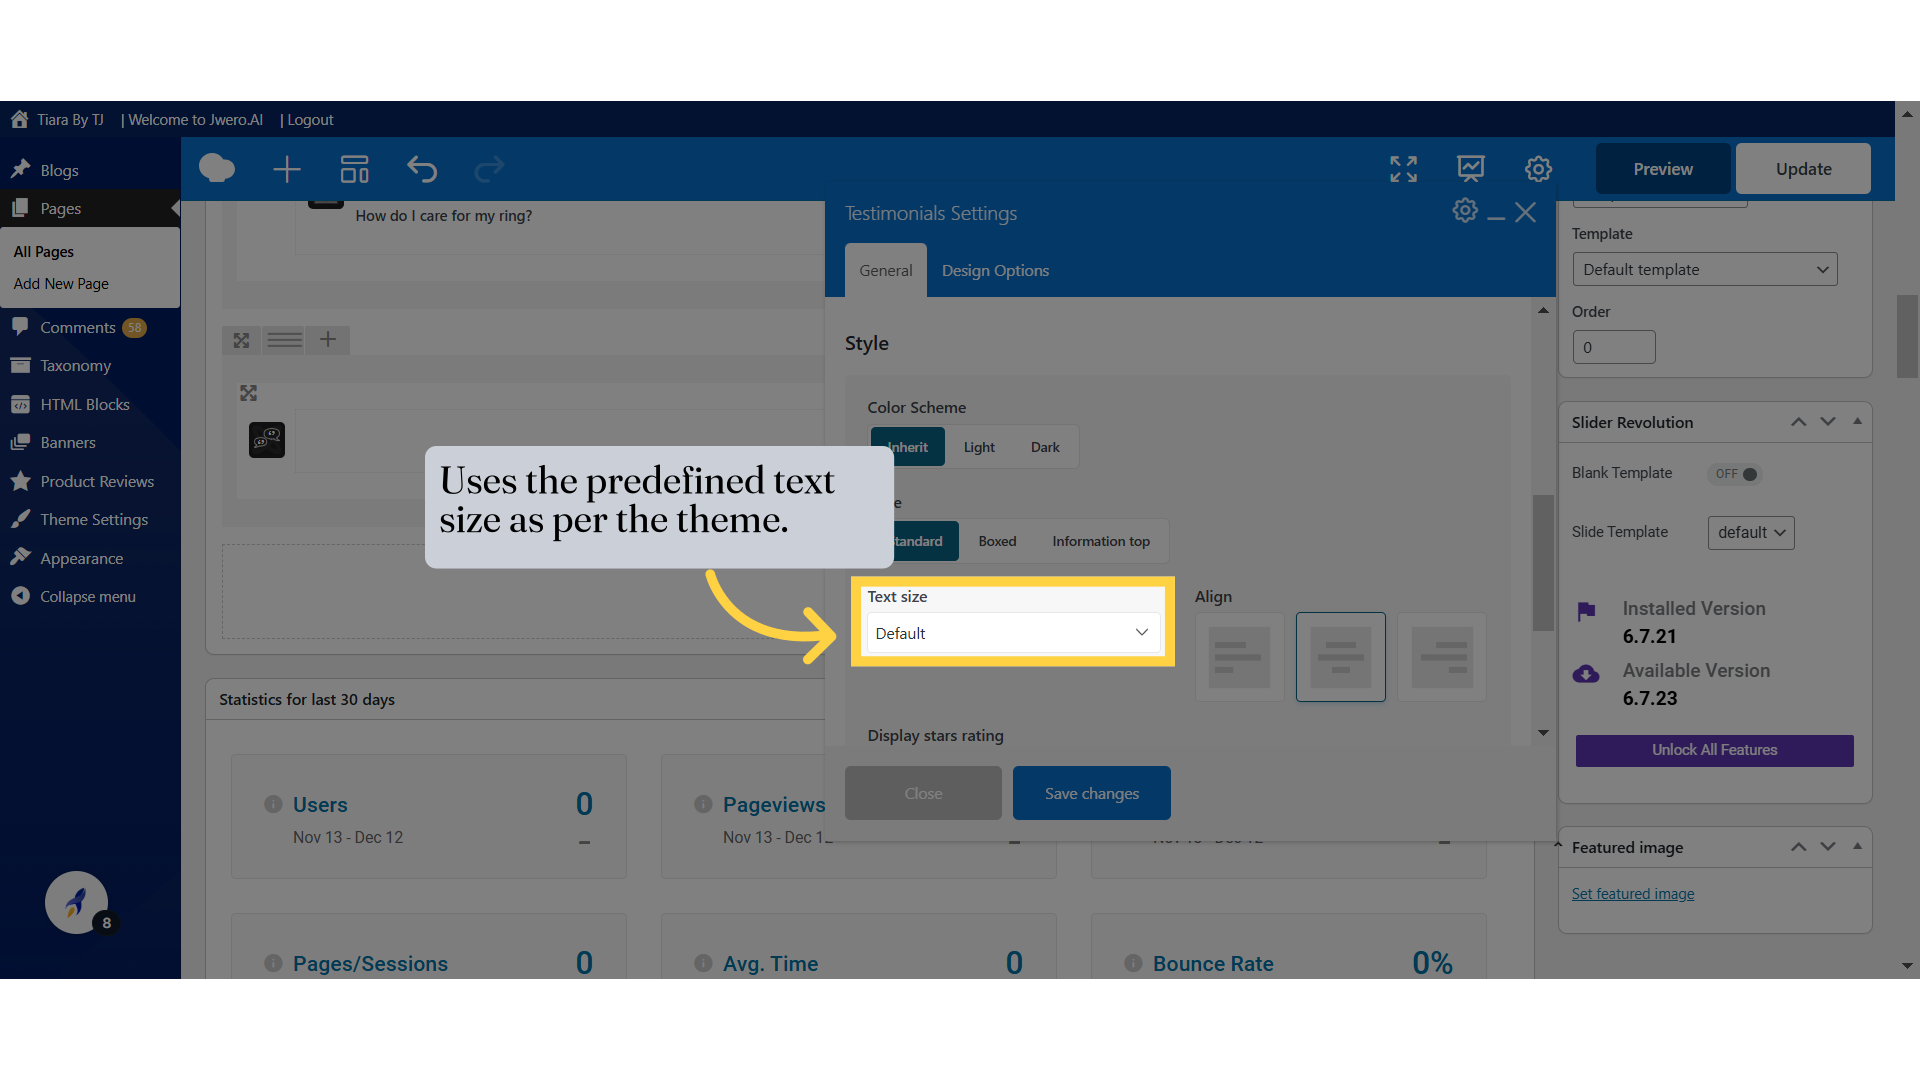
10. Uses the predefined text size as per the theme.
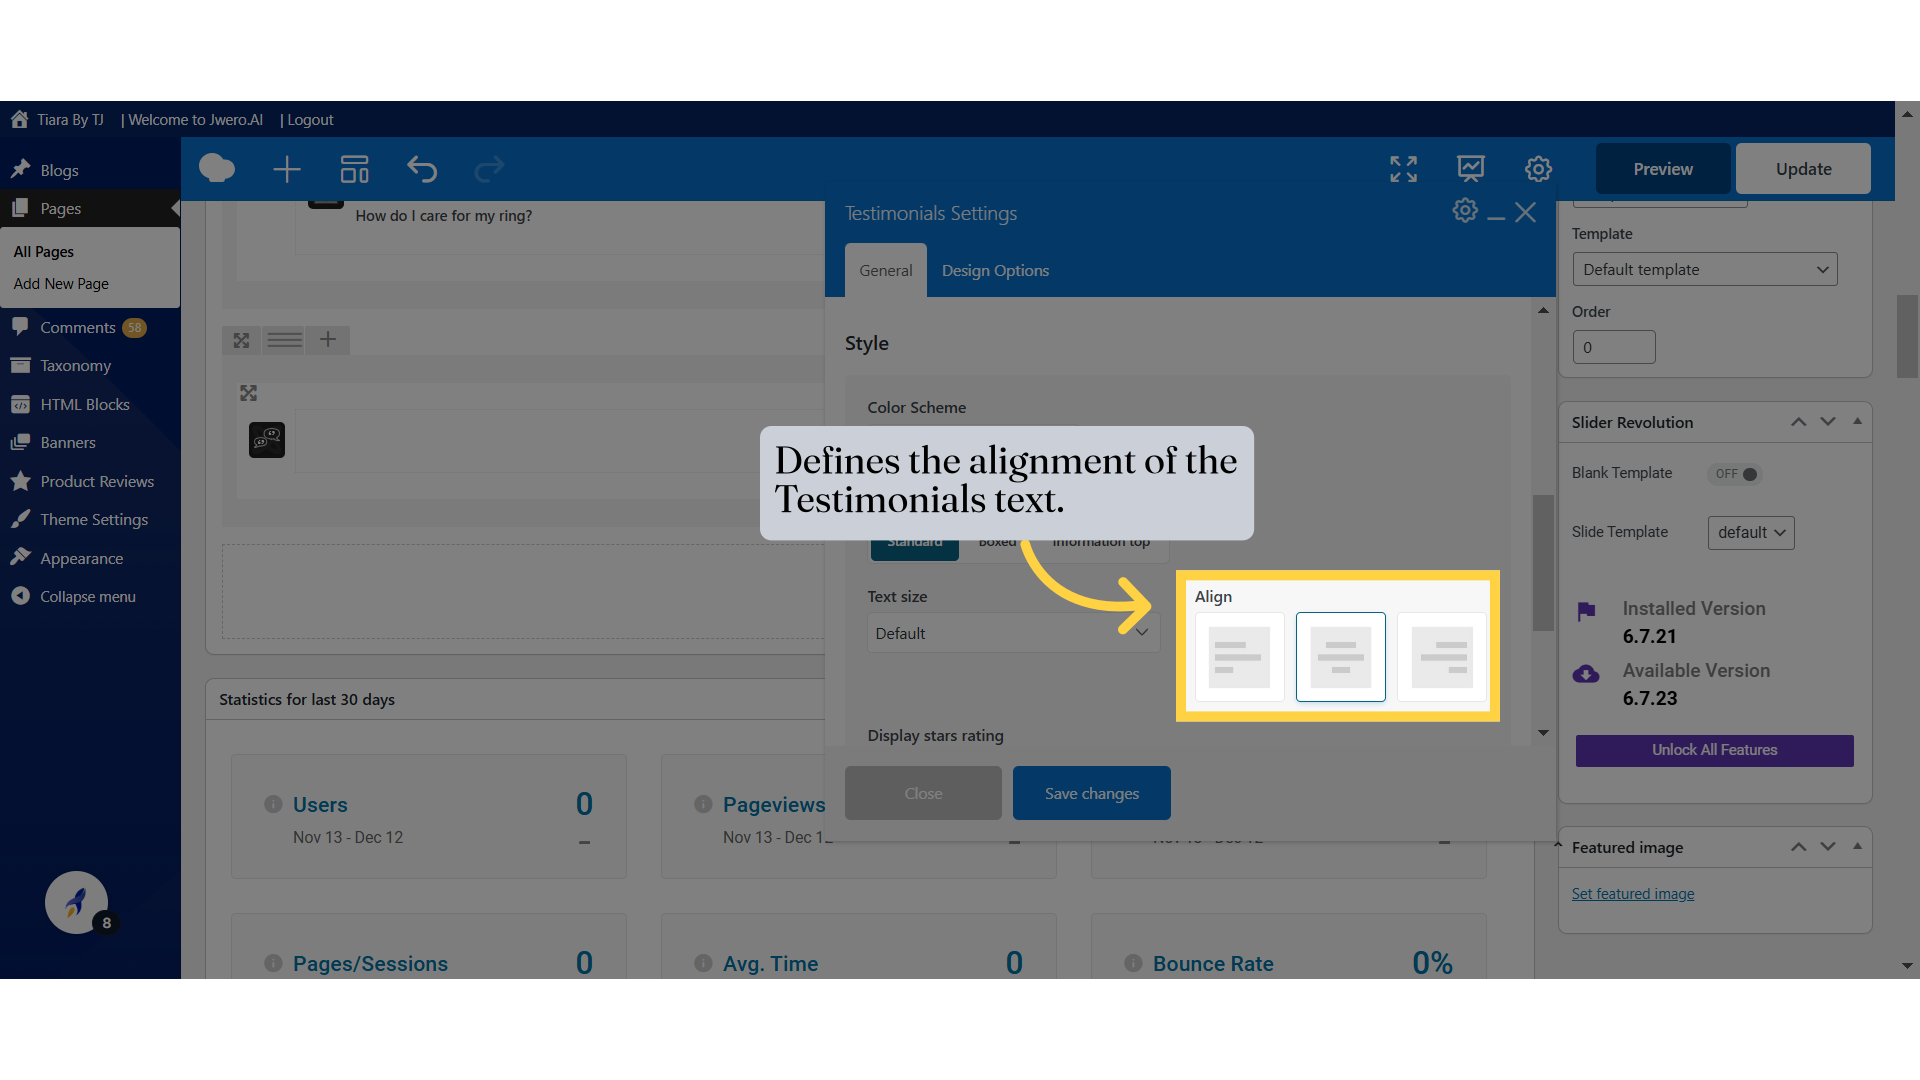
11. Defines the alignment of the Testimonials text.
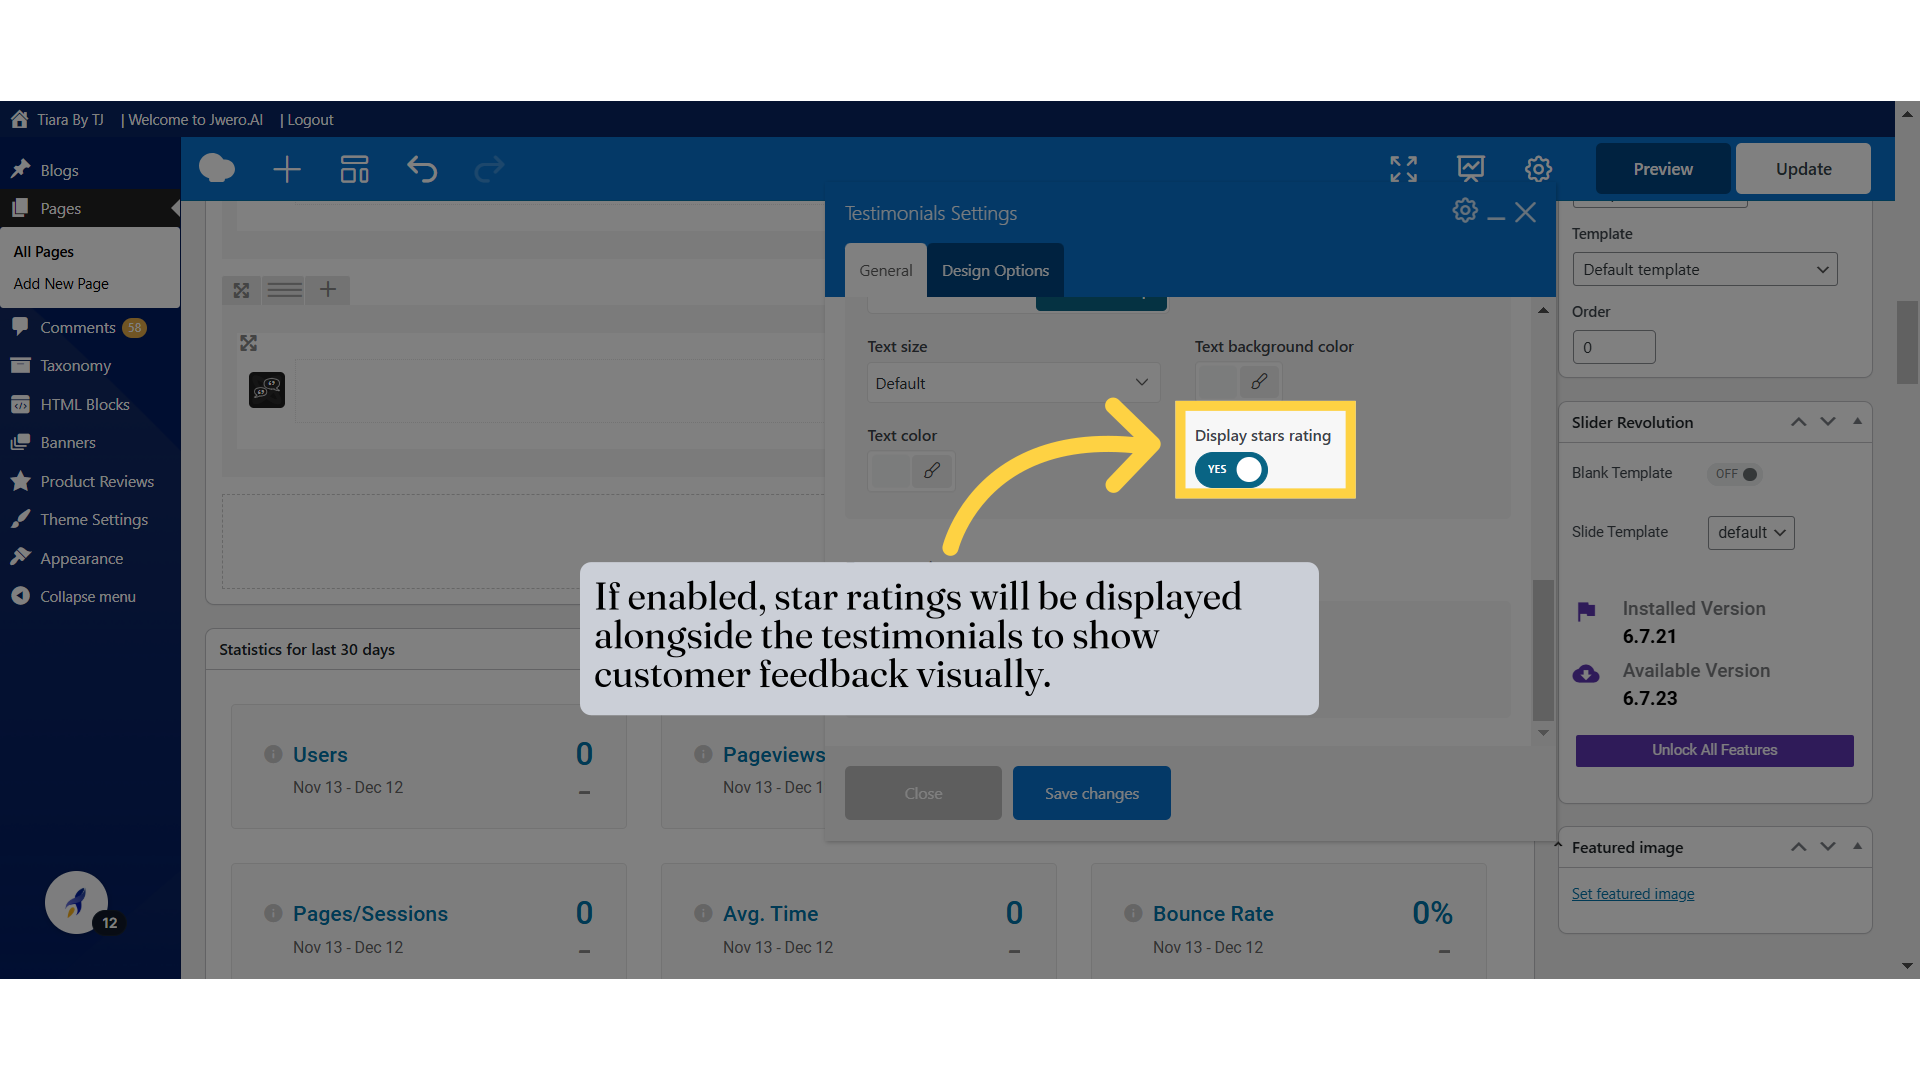
12. If enabled, star ratings will be displayed alongside the testimonials to show customer feedback visually.
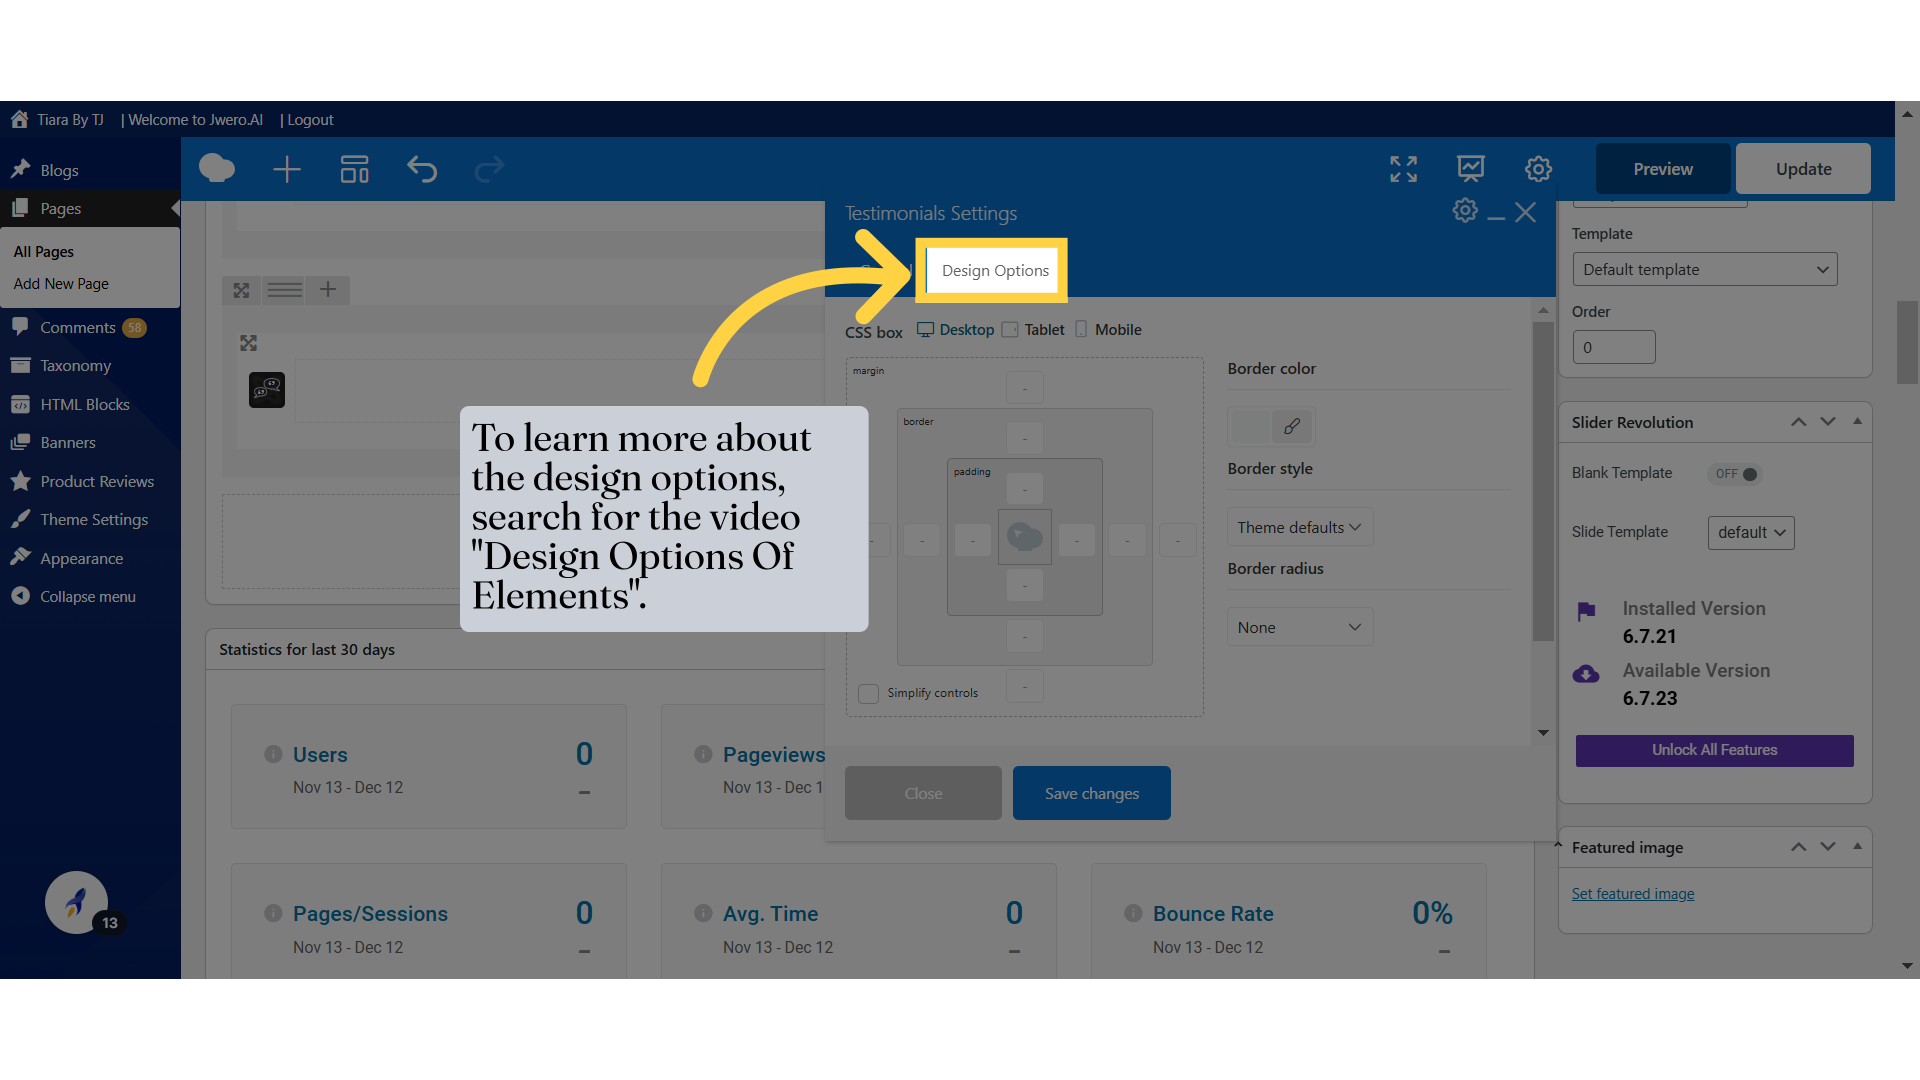
13. To learn more about the design options, search for the video "Design Options Of Elements".
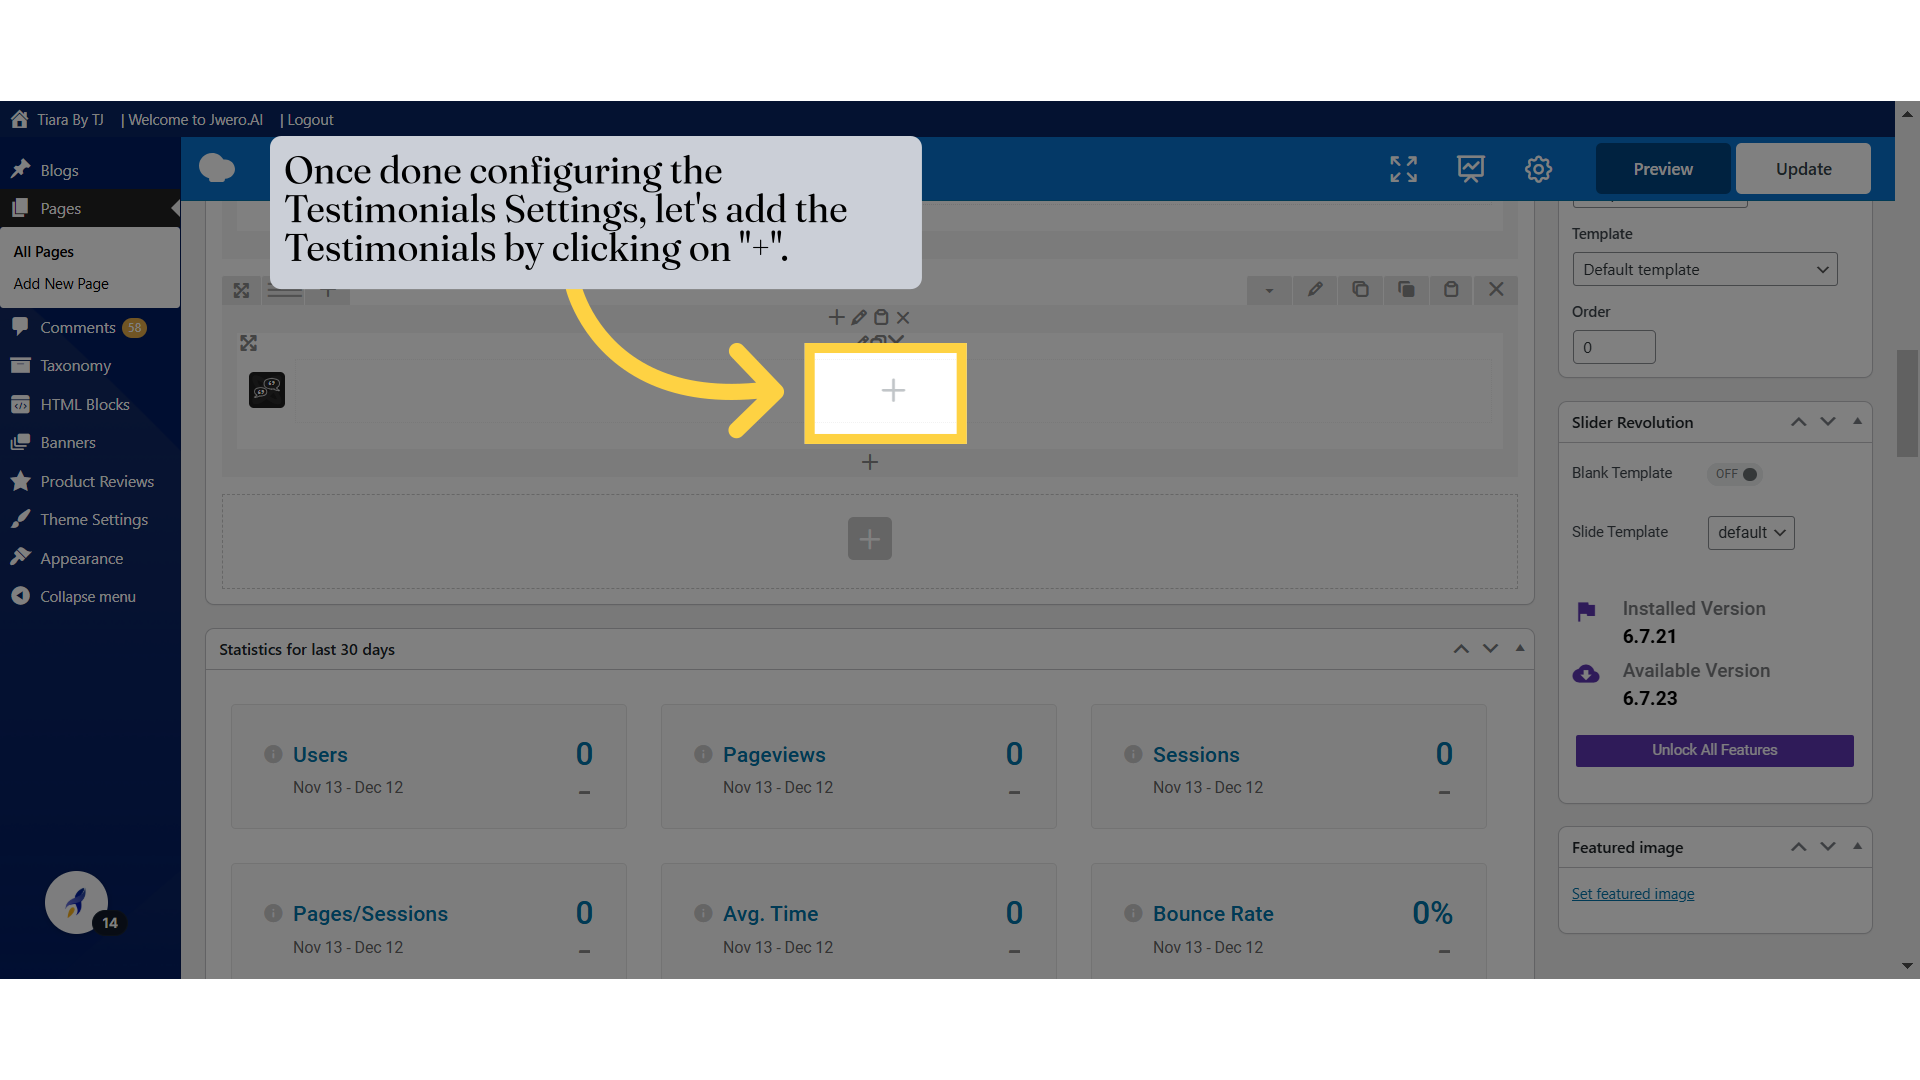
14. Once done configuring the Testimonials Settings, let's add the Testimonials by clicking on "+".
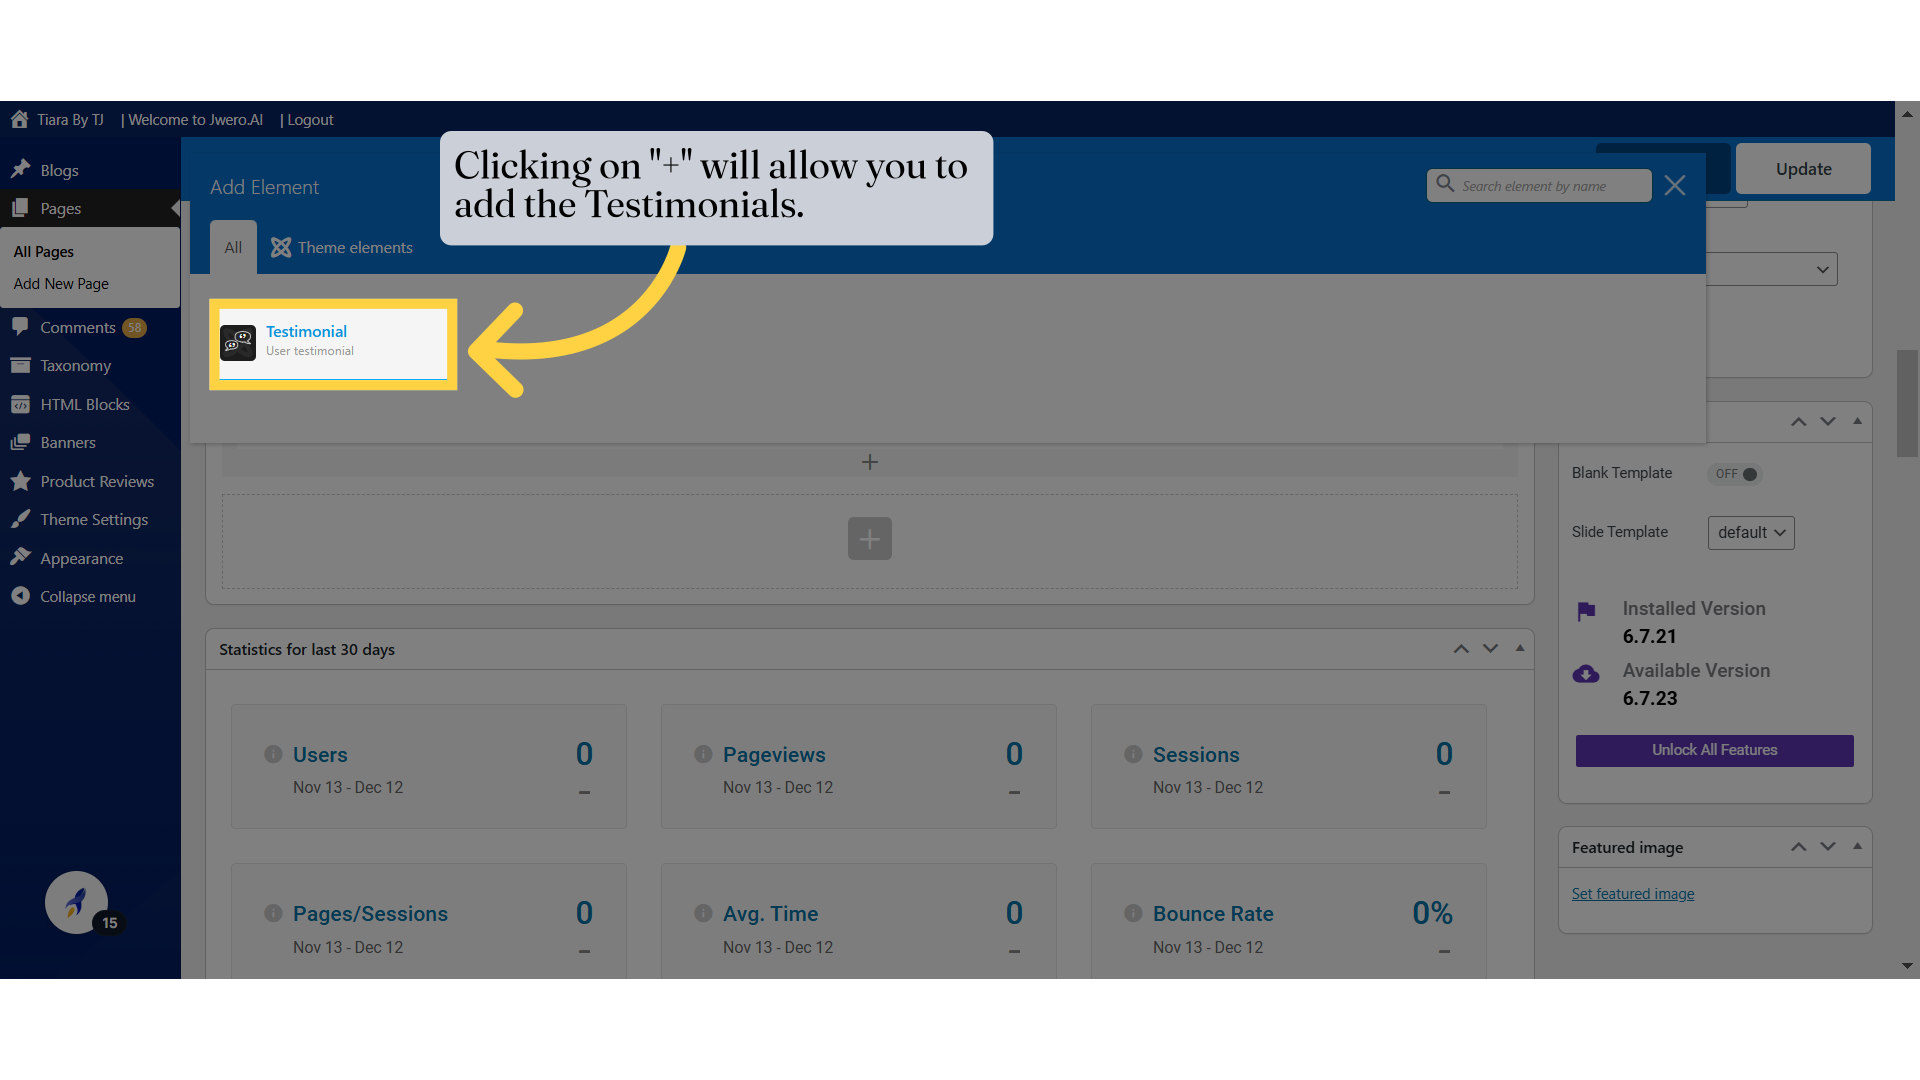
15. Clicking on "+" will allow you to add the Testimonials.
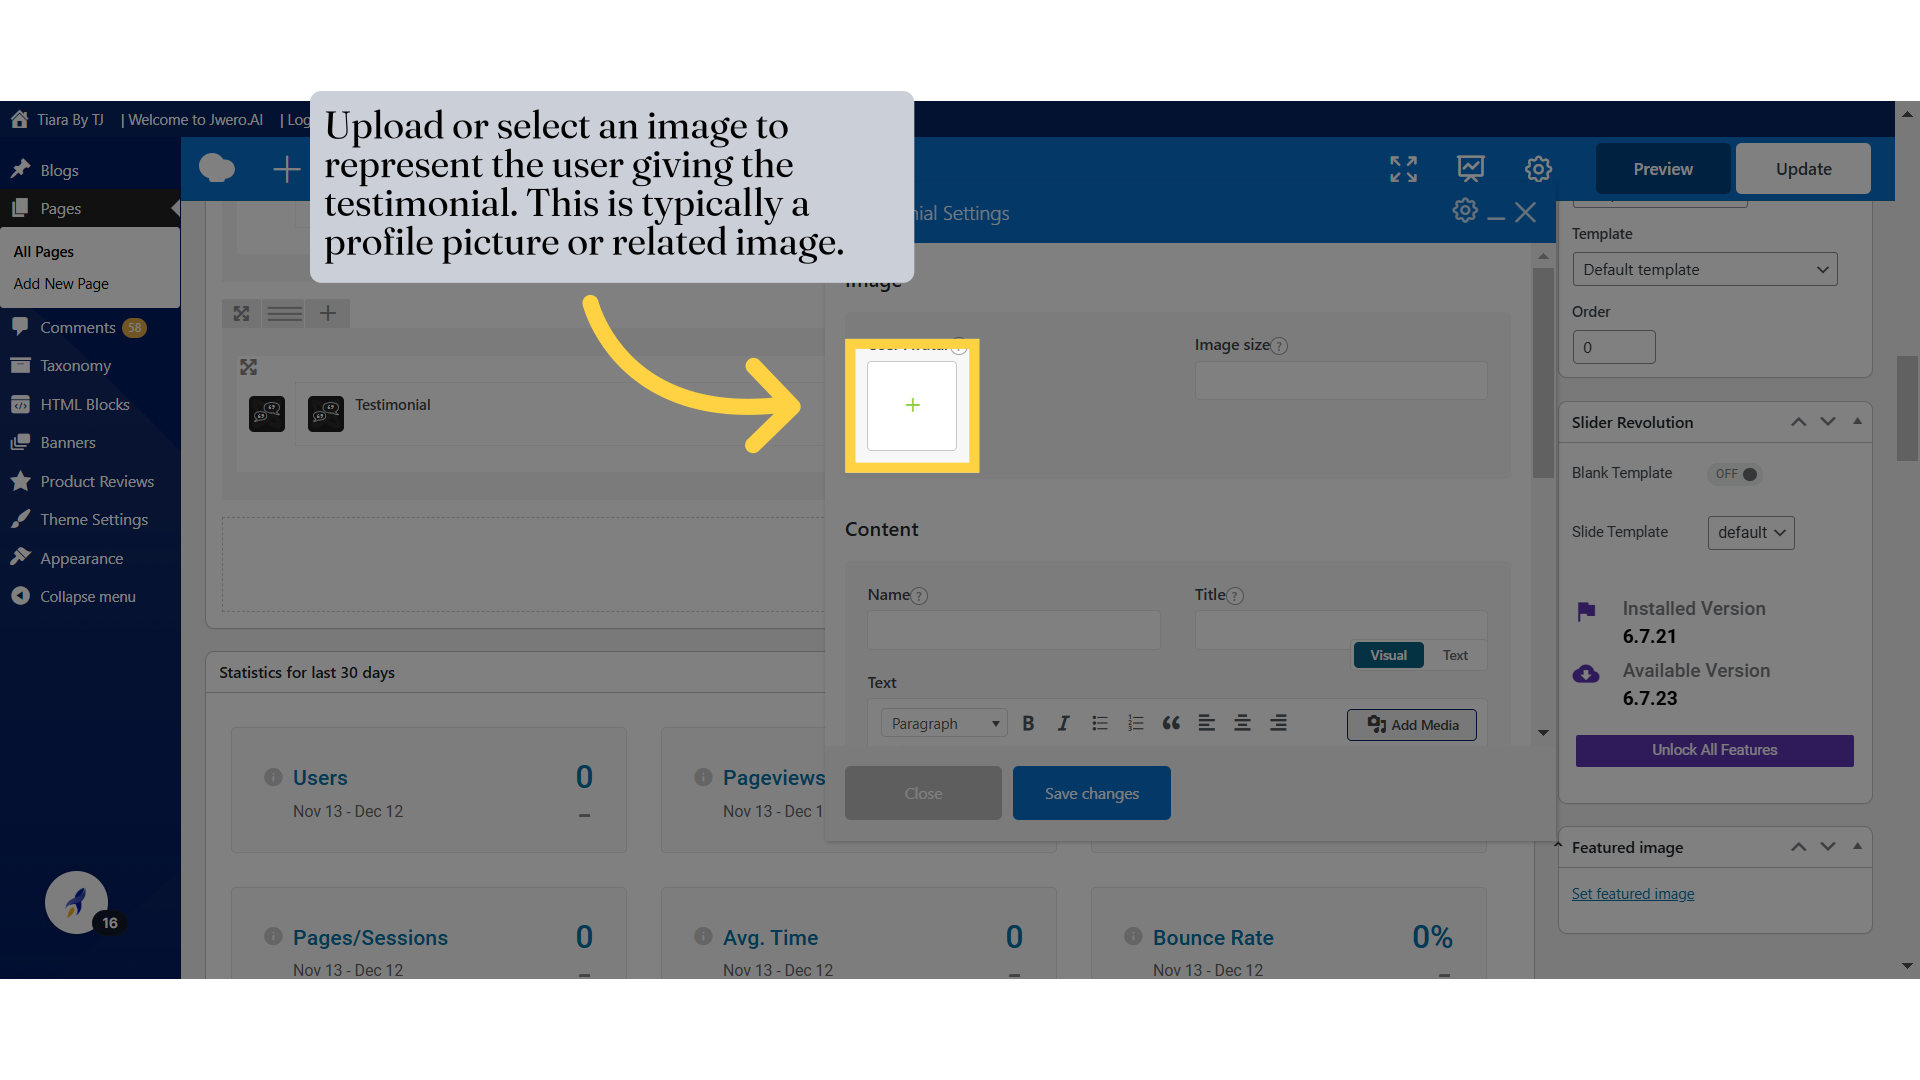
16. Upload or select an image to represent the user giving the testimonial. This is typically a profile picture or related image.
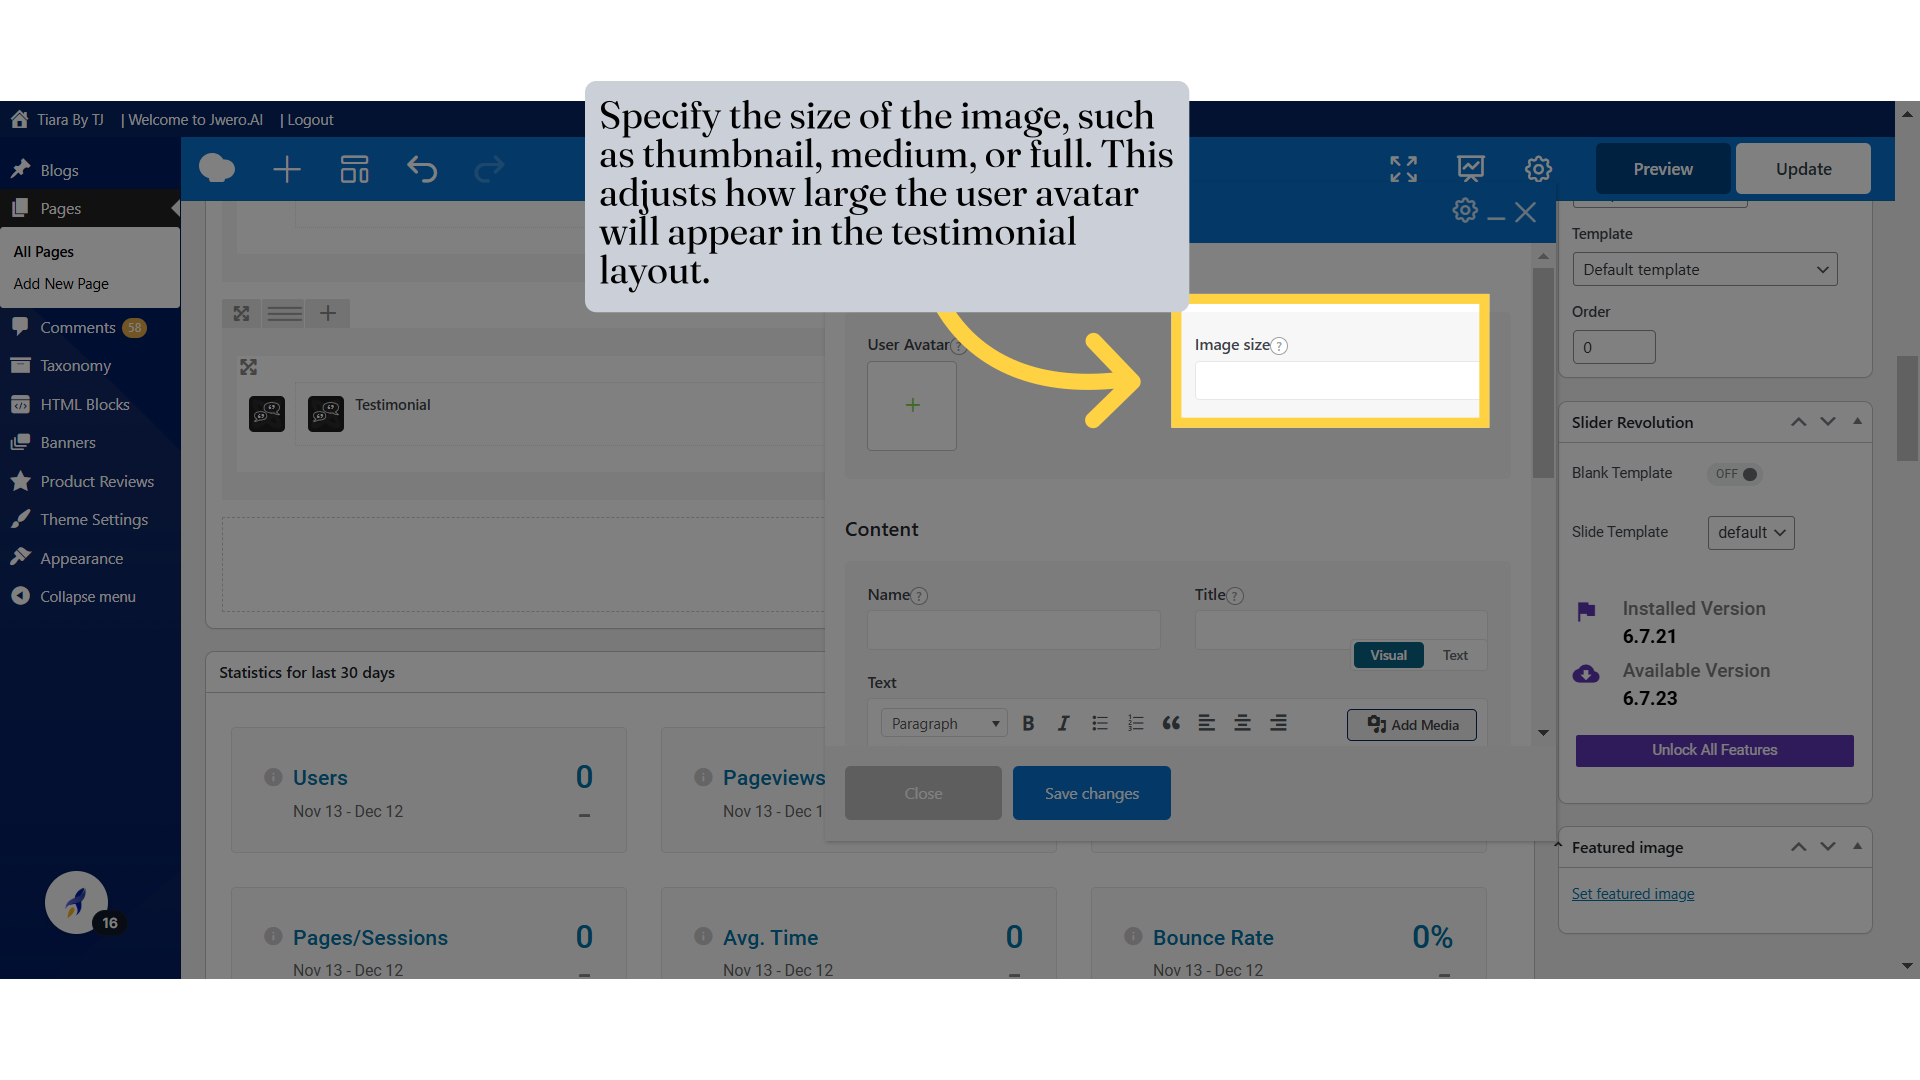
17. Specify the size of the image, such as thumbnail, medium, or full. This adjusts how large the user avatar will appear in the testimonial layout.
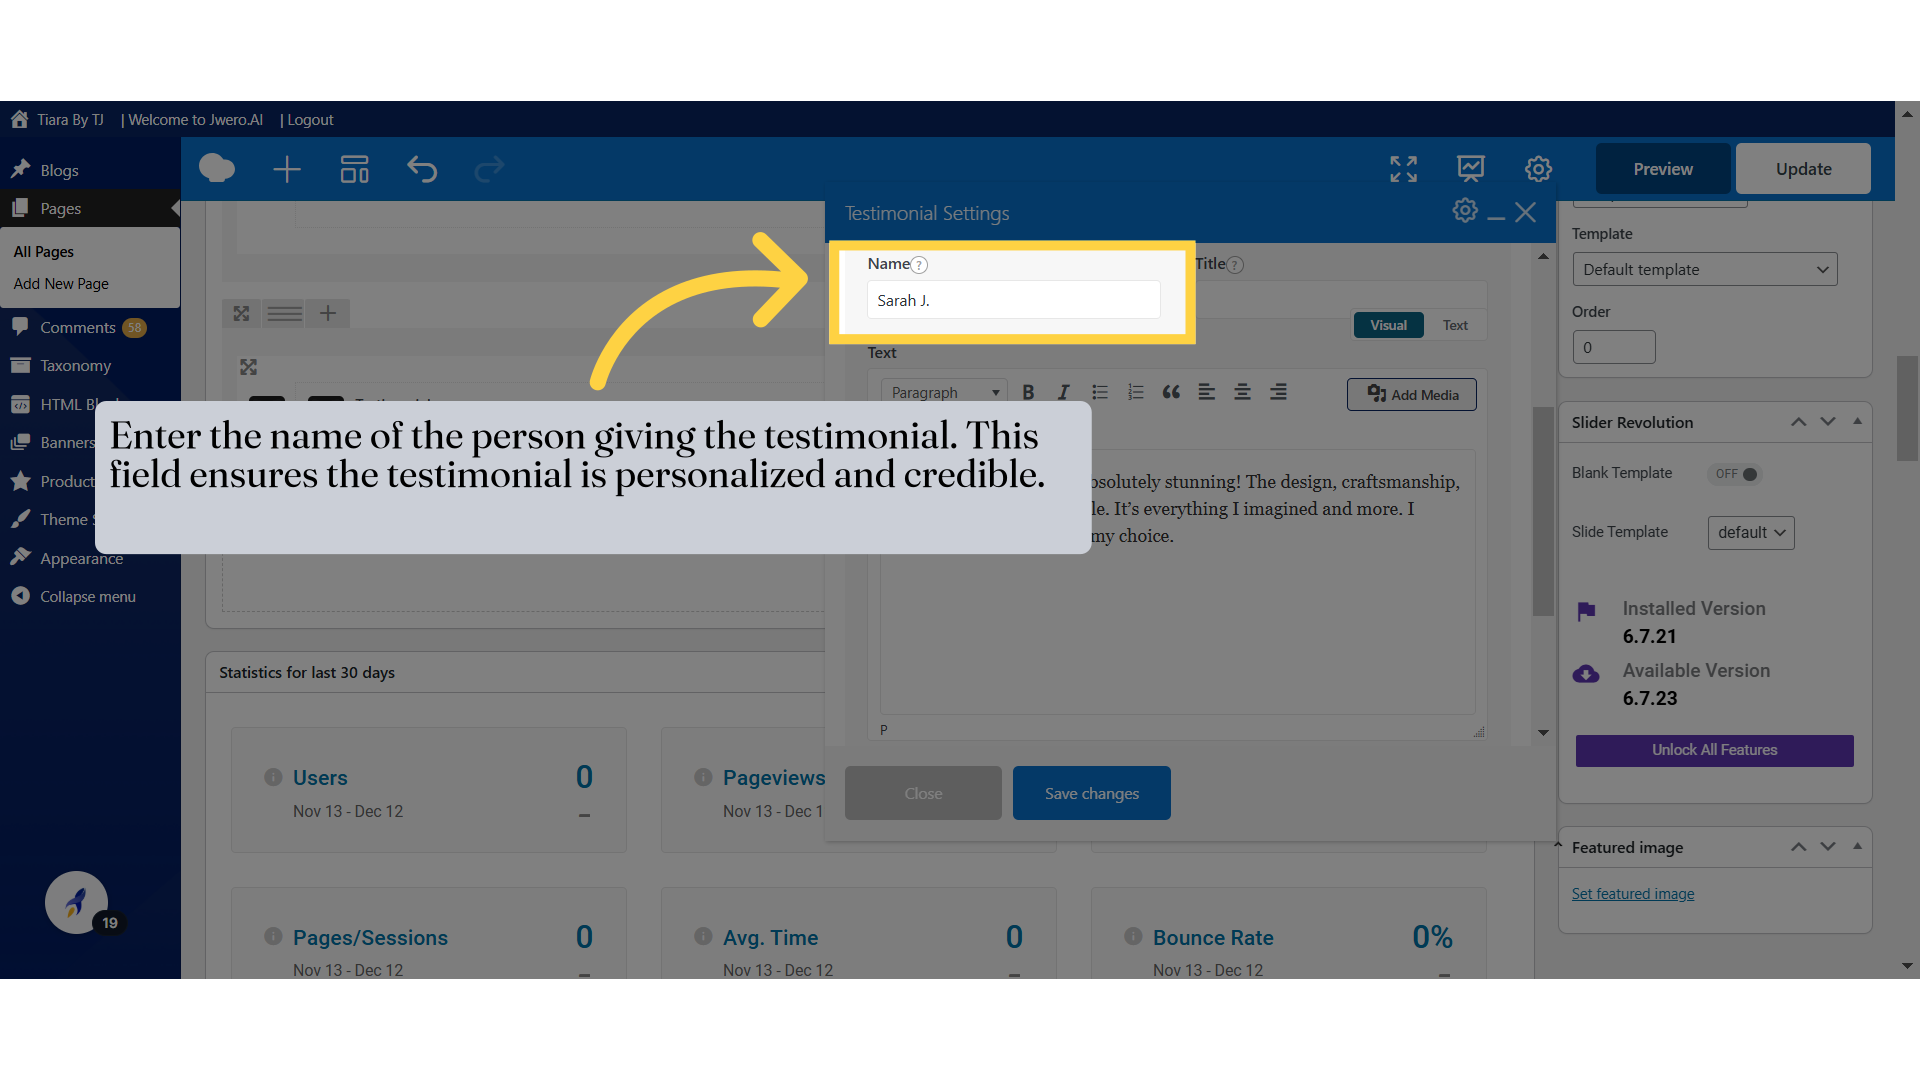
18. Enter the name of the person giving the testimonial. This field ensures the testimonial is personalized and credible.
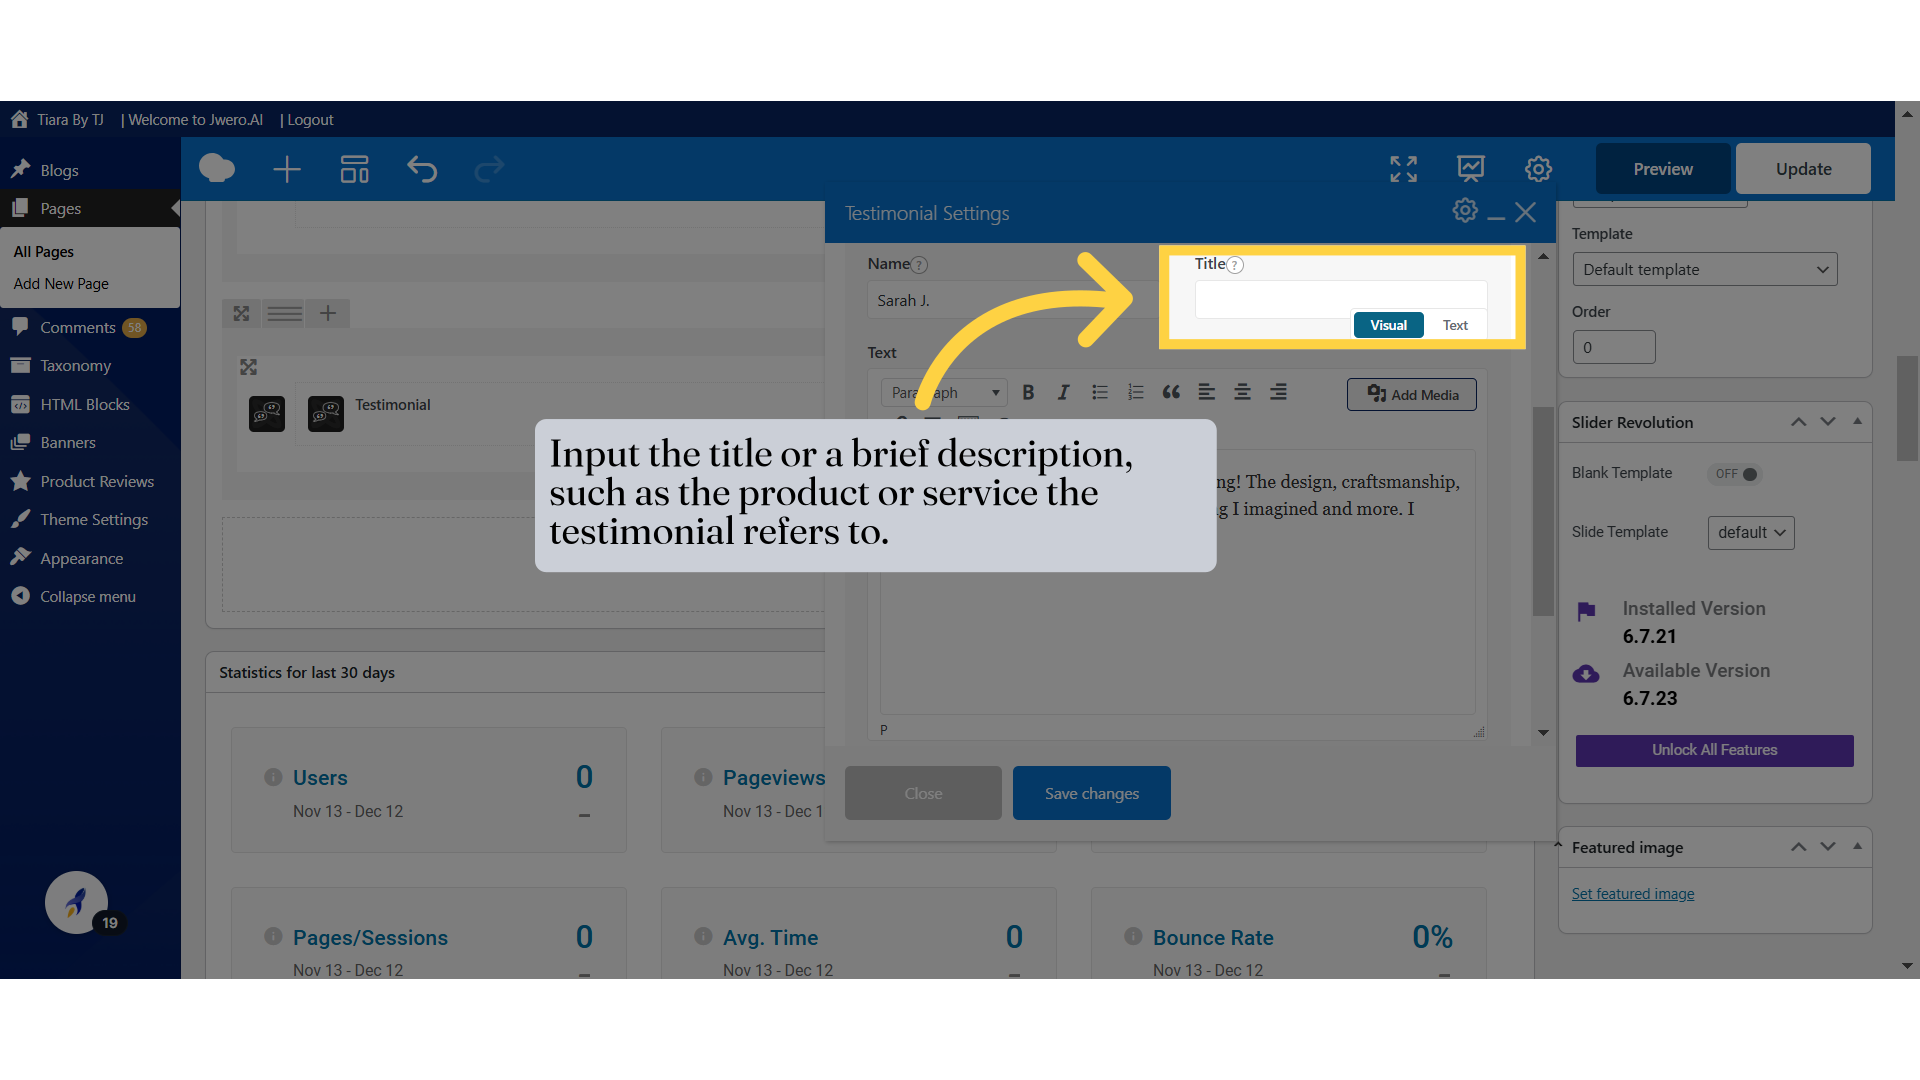
19. Input the title or a brief description, such as the product or service the testimonial refers to.
Let's add "Rings" as the Title name.
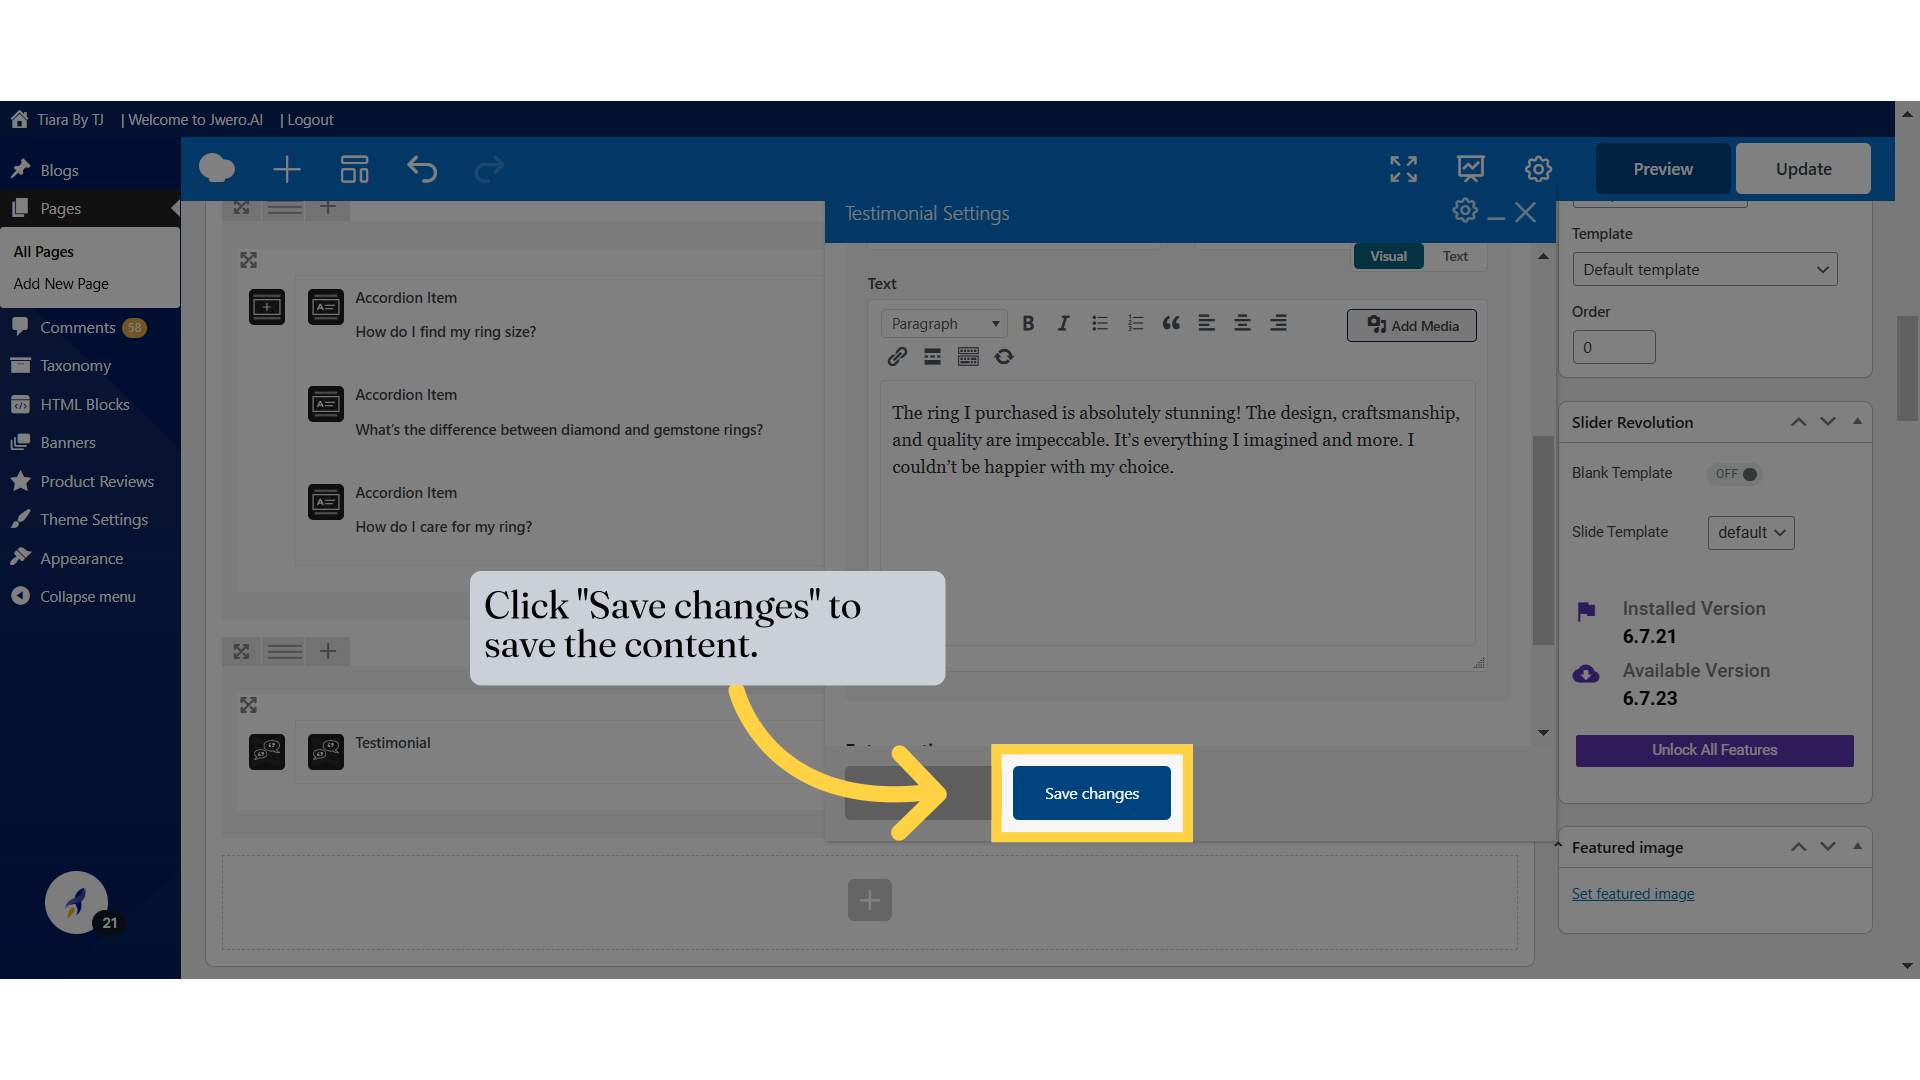
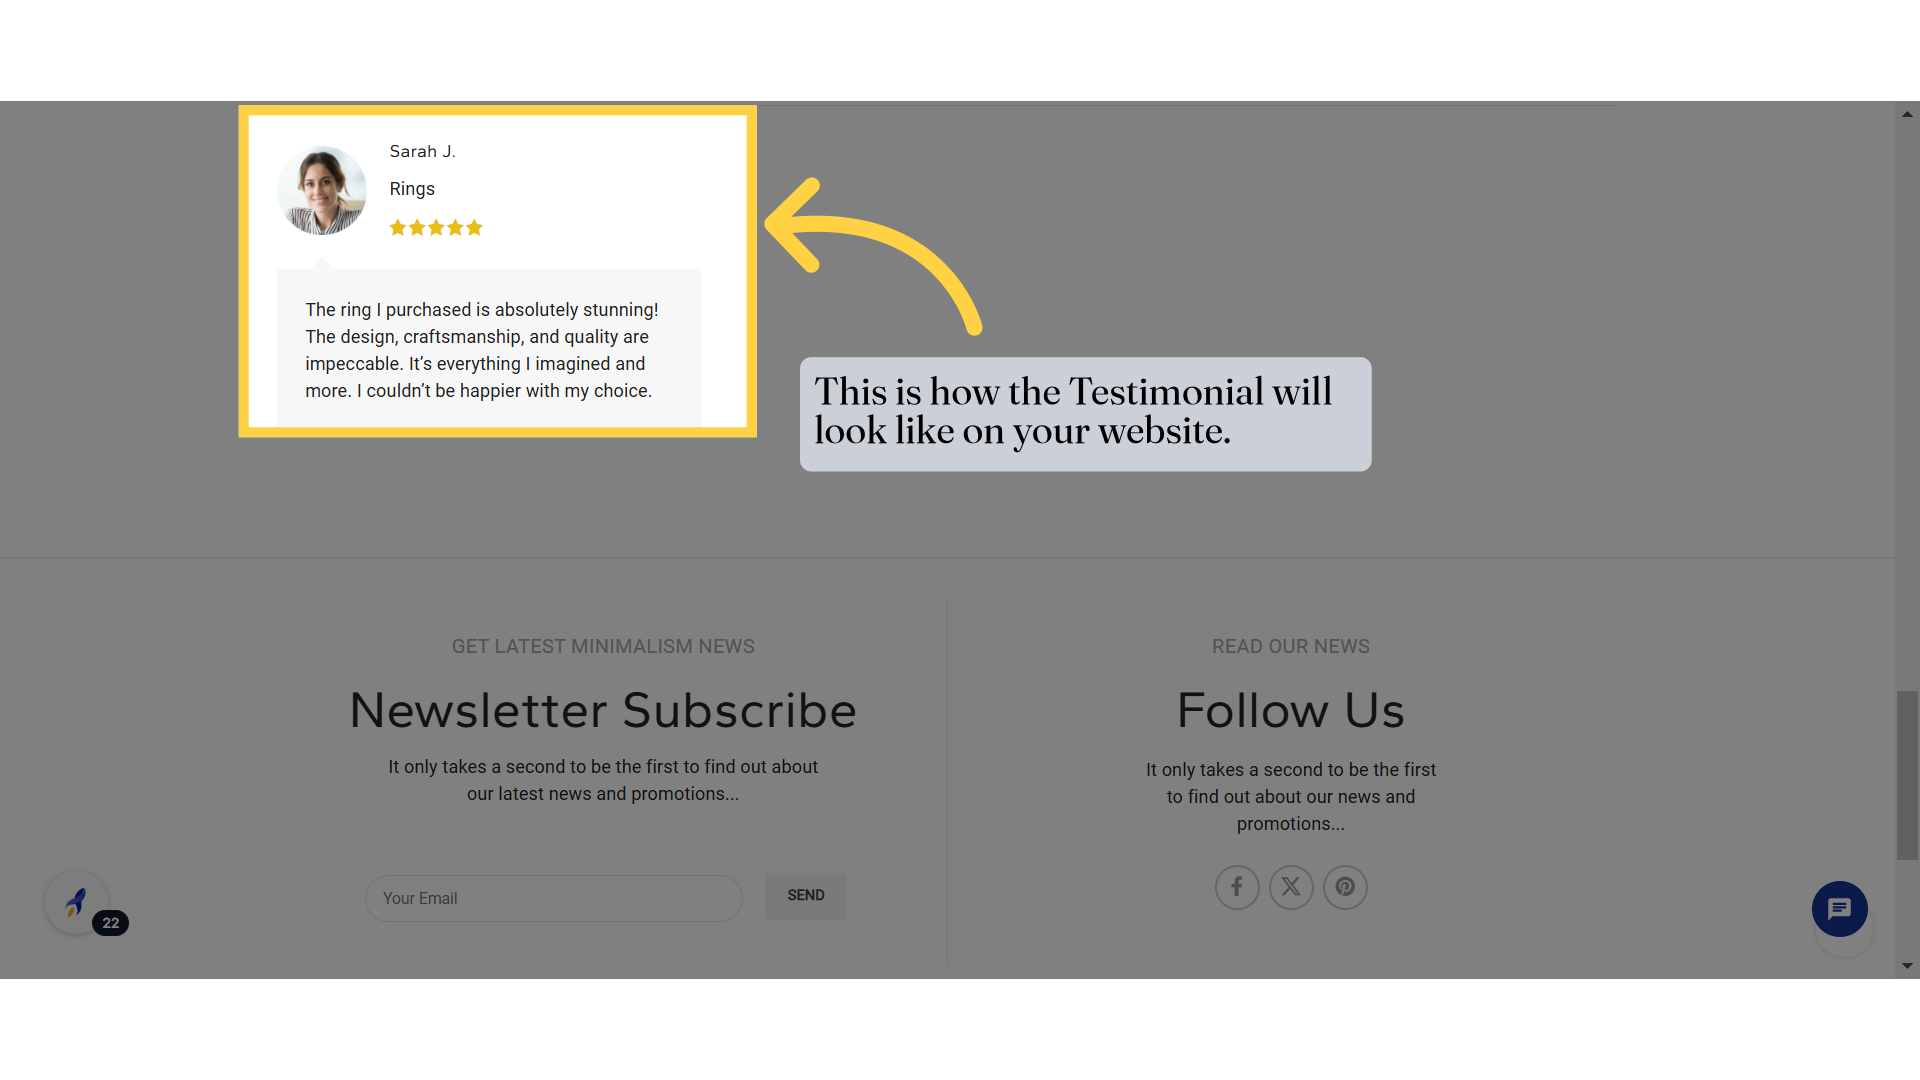
20. Click "Save changes" to save the content.
21. This is how the Testimonial will look like on your website.
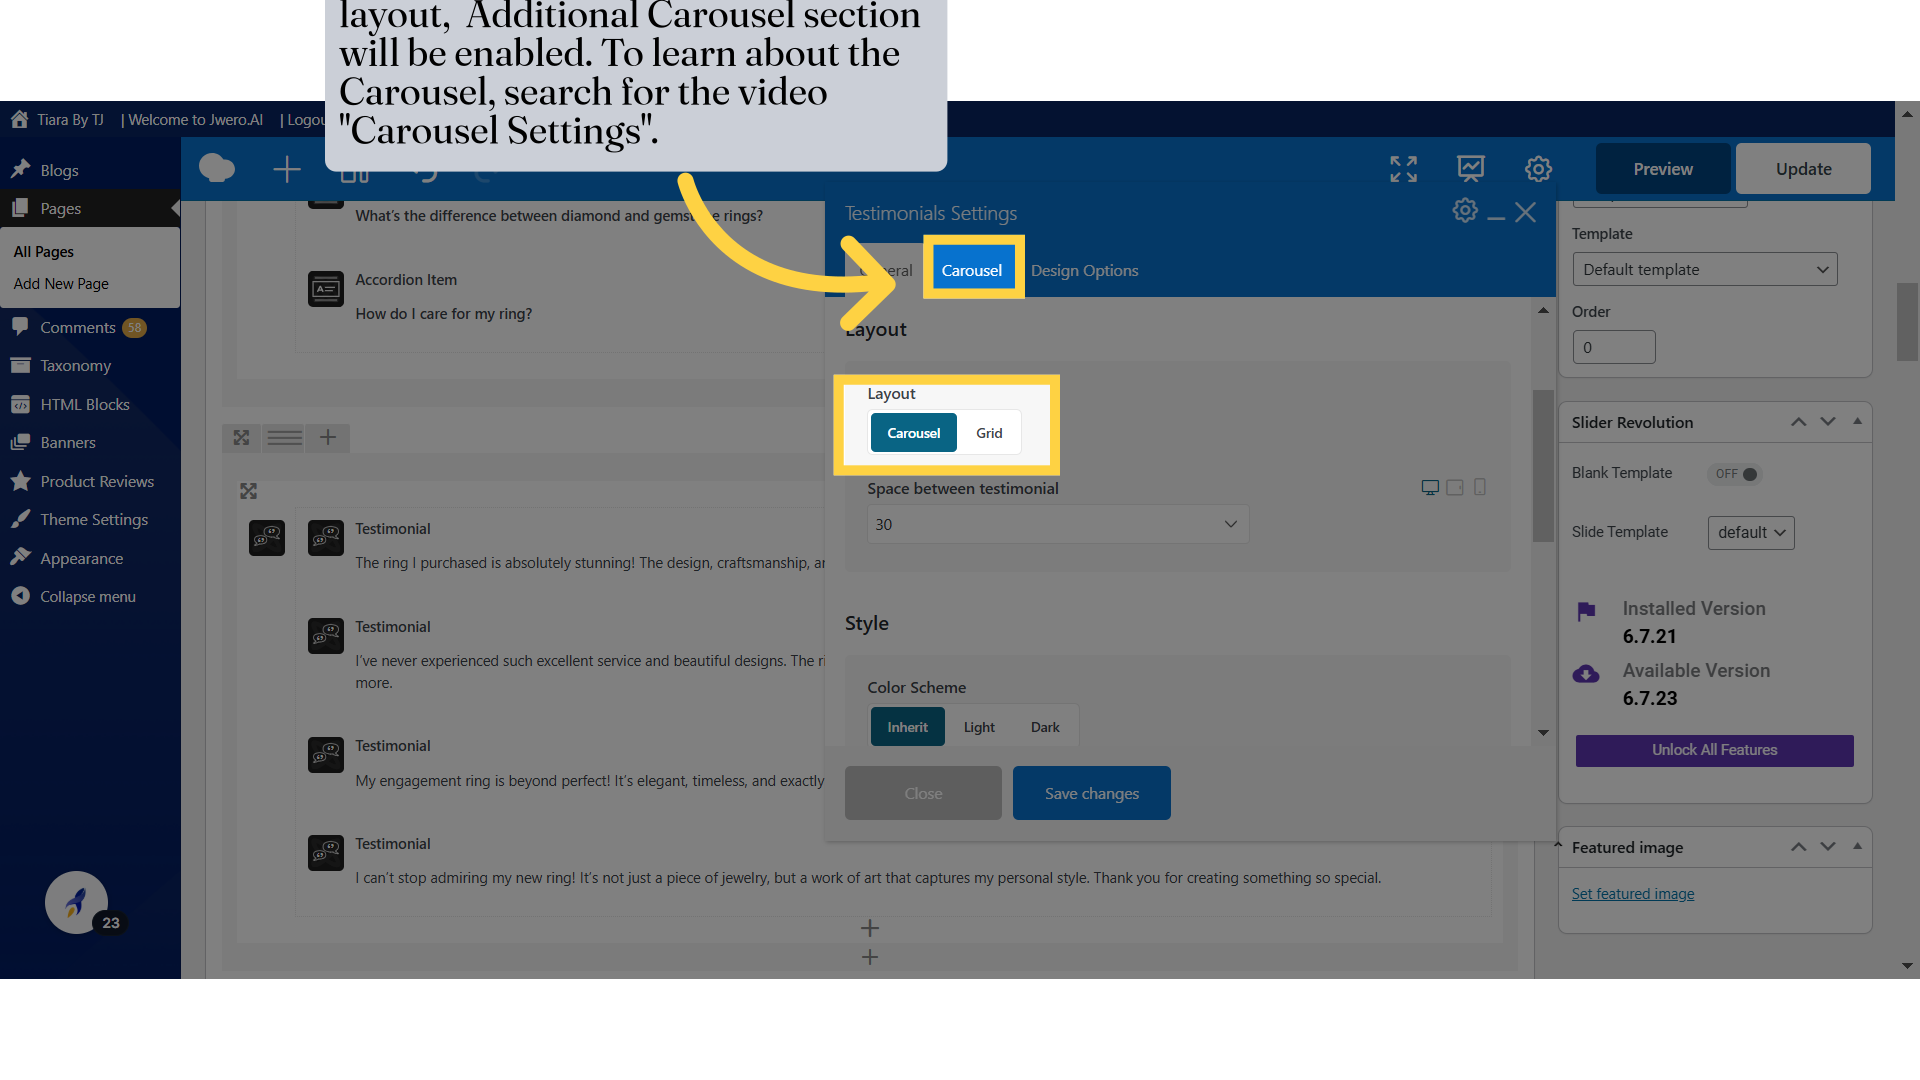
22. After selecting Carousel as the layout, Additional Carousel section will be enabled. To learn about the Carousel, search for the video "Carousel Settings".
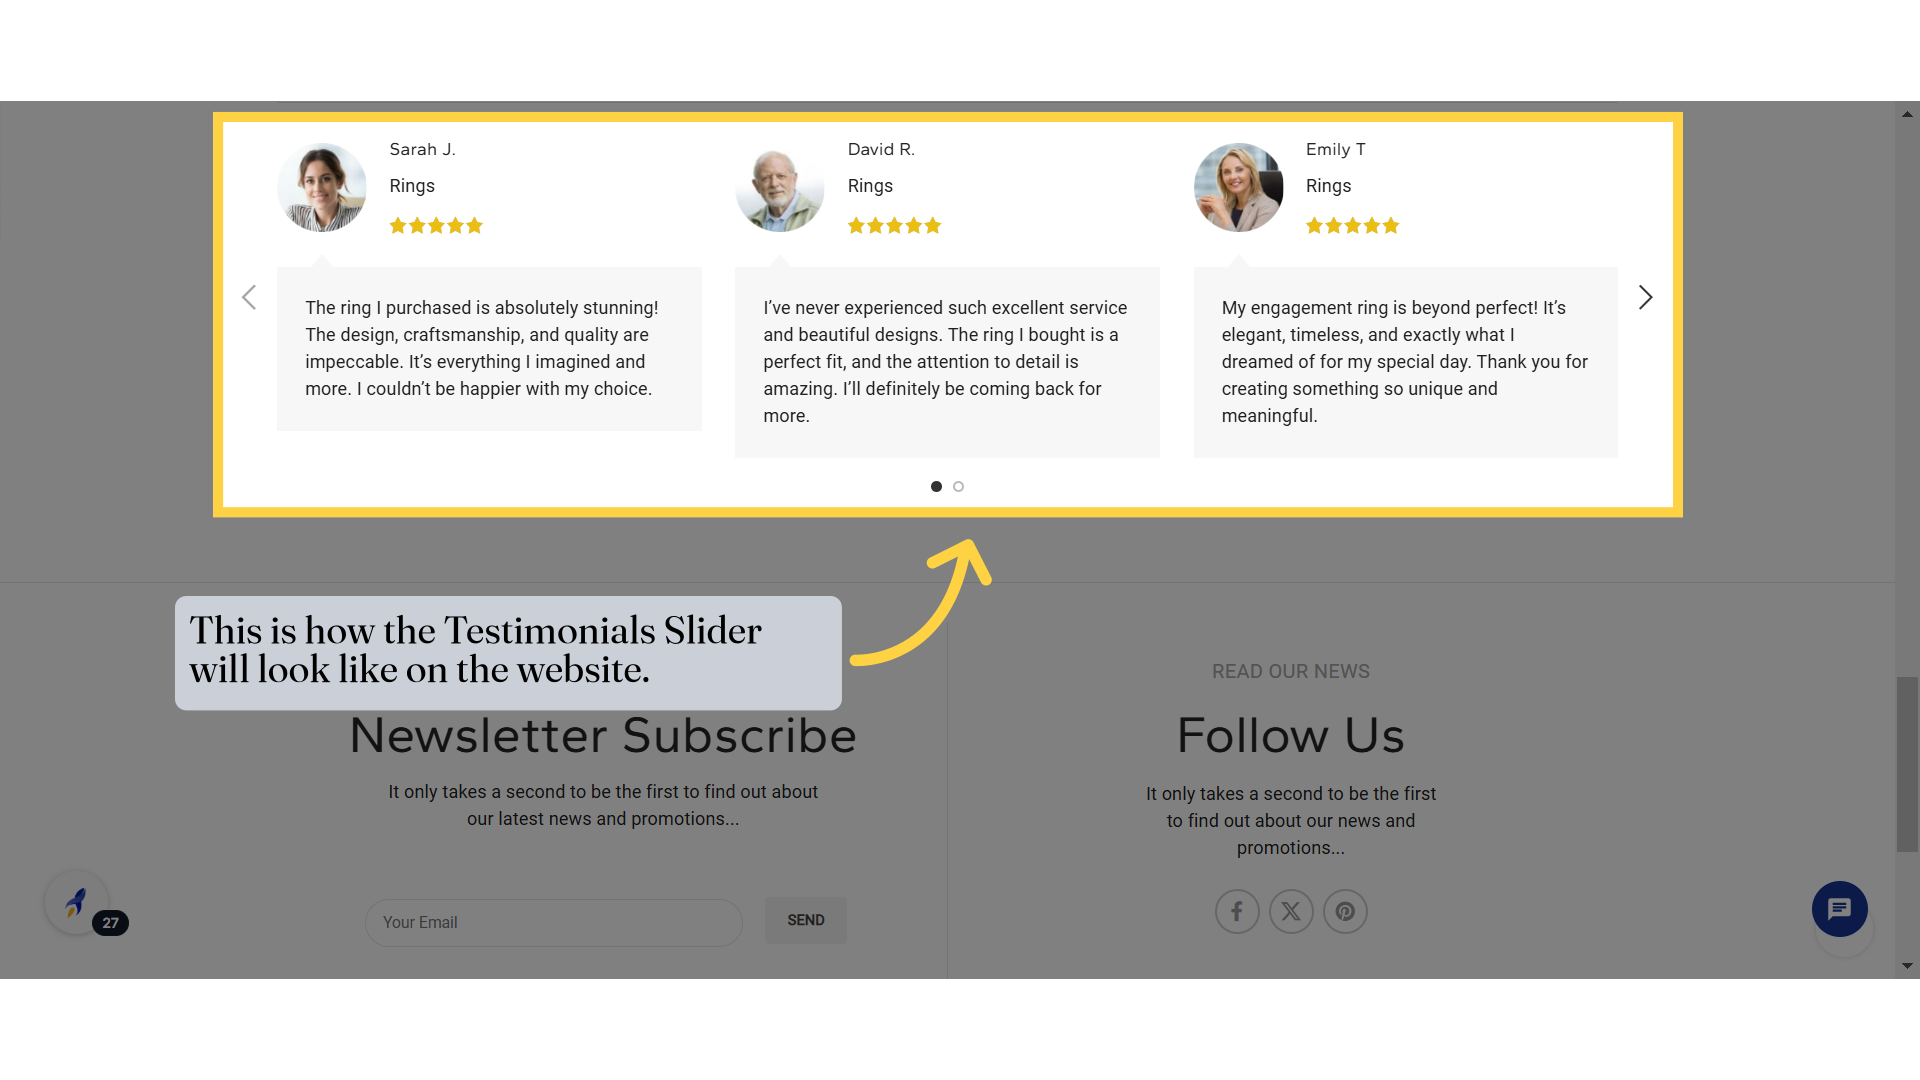
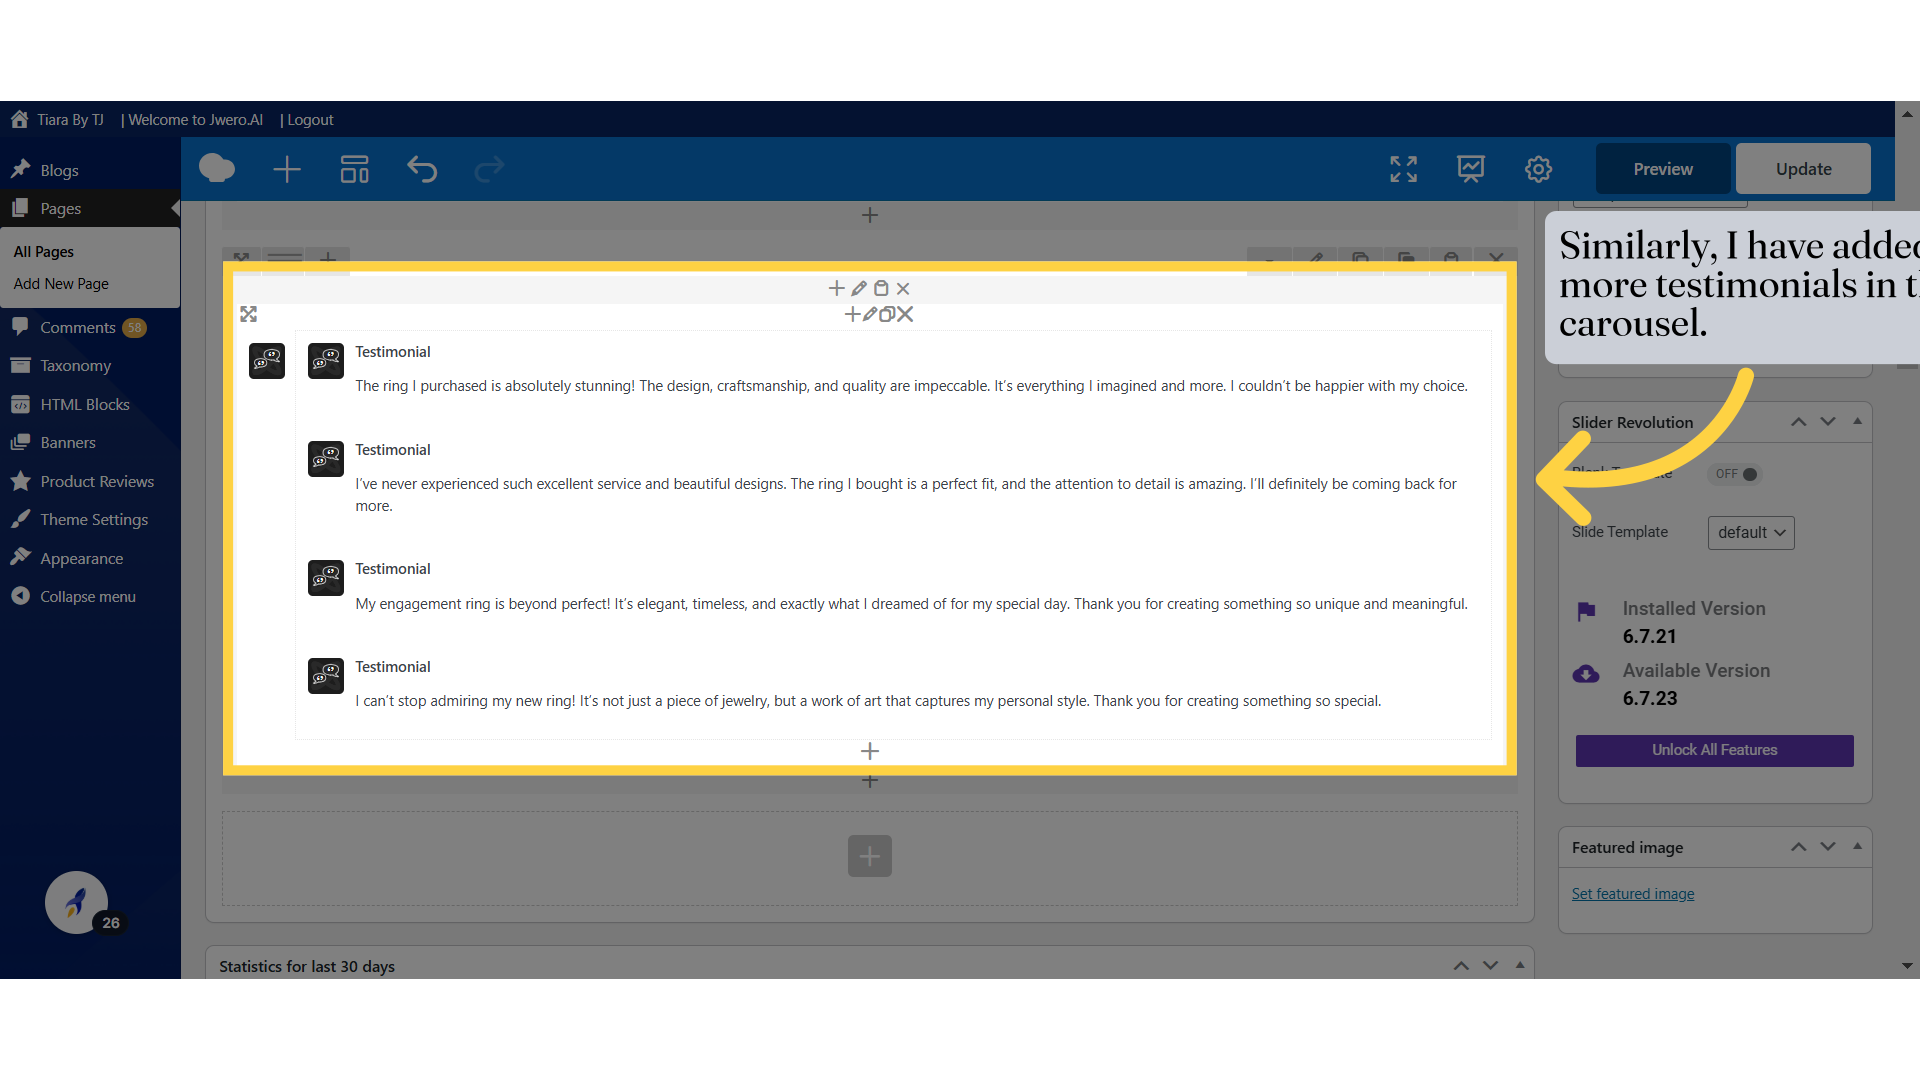
23. Similarly, I have added 3 more testimonials in the carousel.
24. This is how the Testimonials Slider will look like on the website.