Section Title Element
Enhance your design skills with the Section Title Element guide
Go to tiarabytj.com
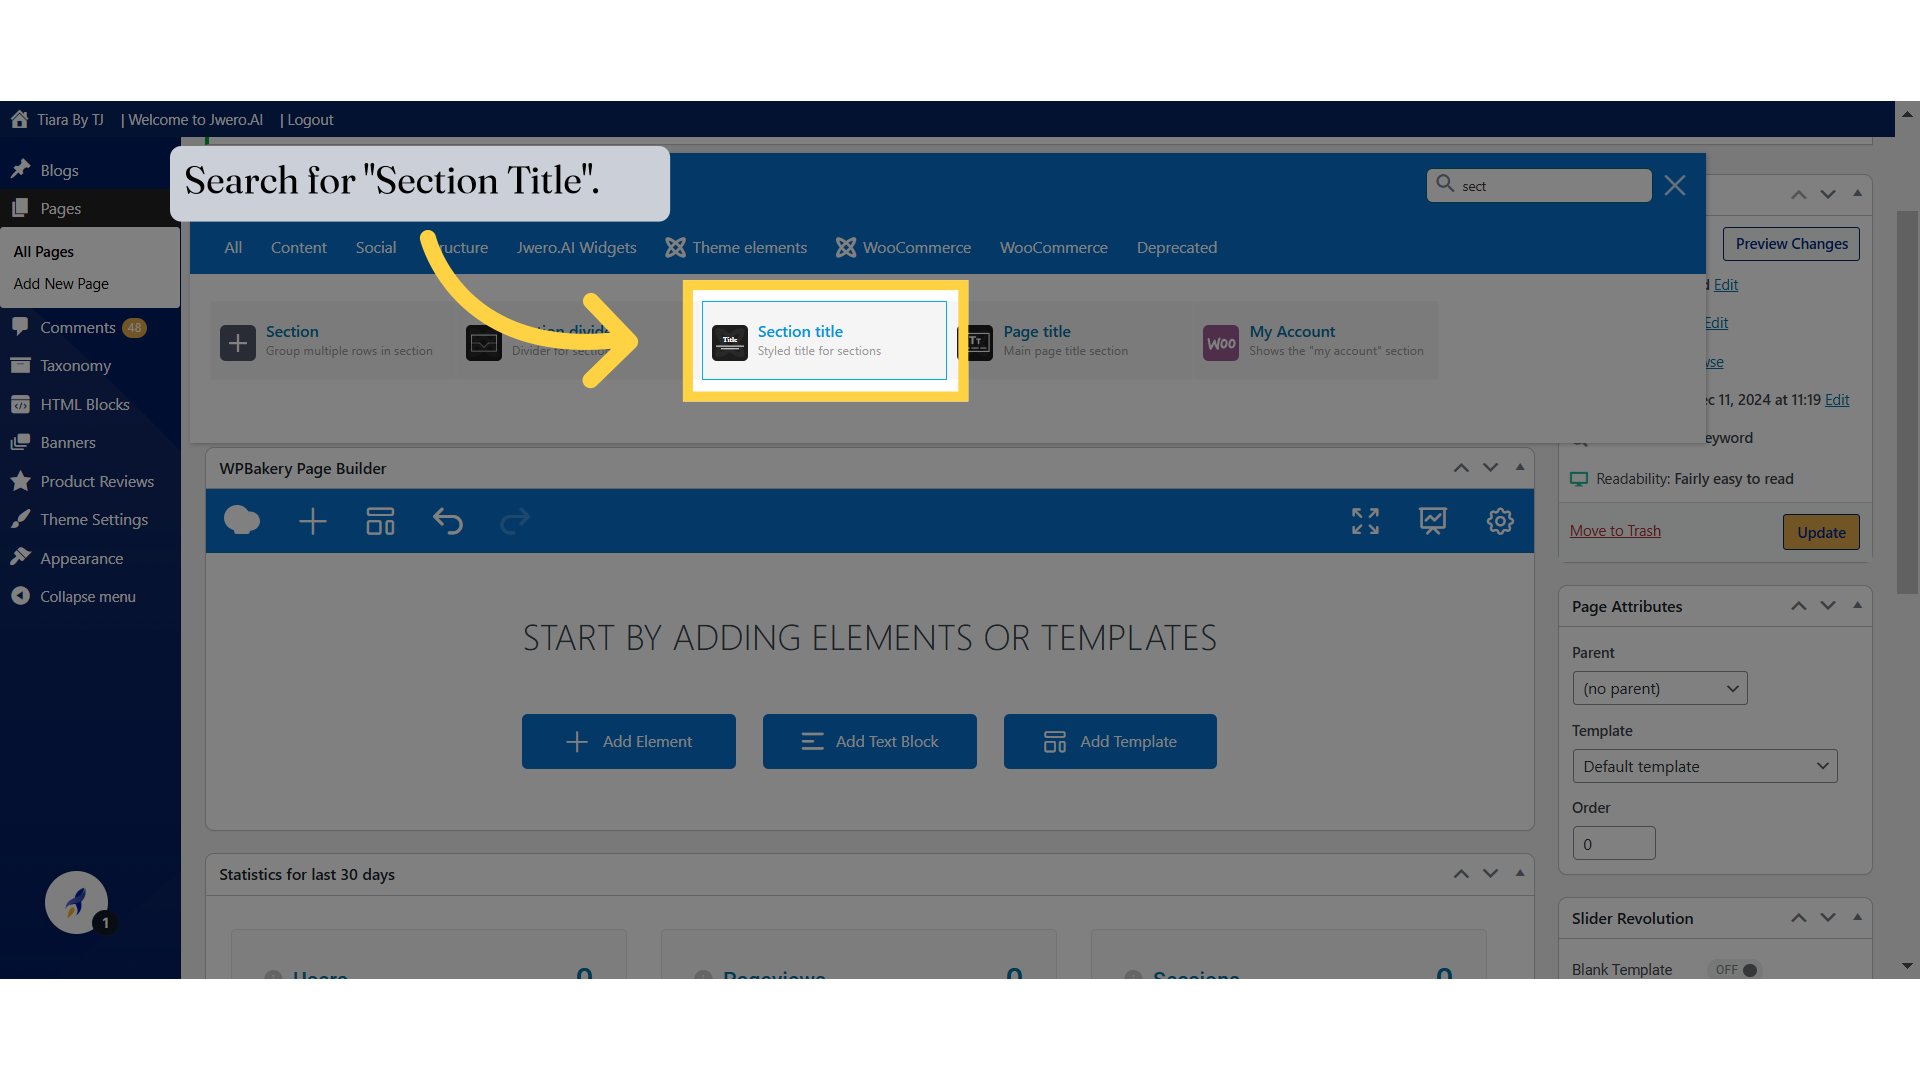
1. Search for "Section Title".
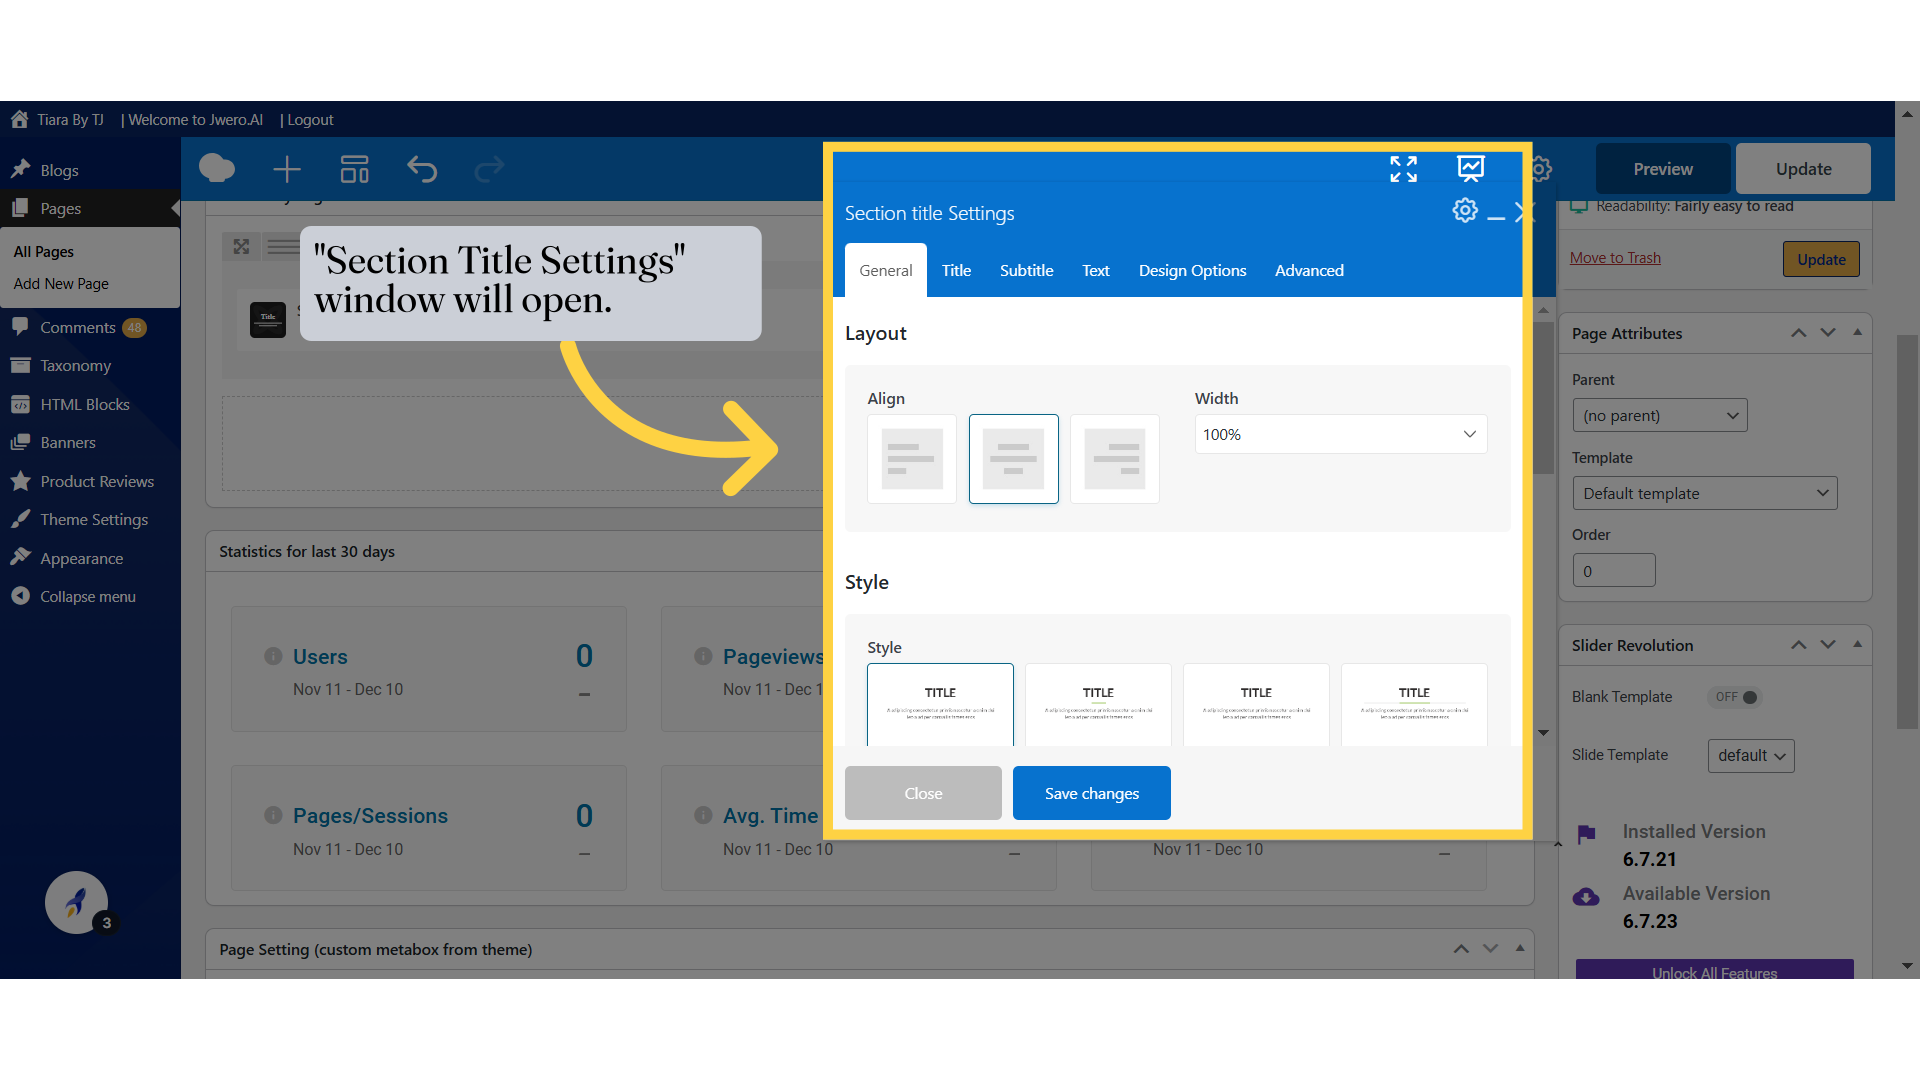
2. "Section Title Settings" window will open.
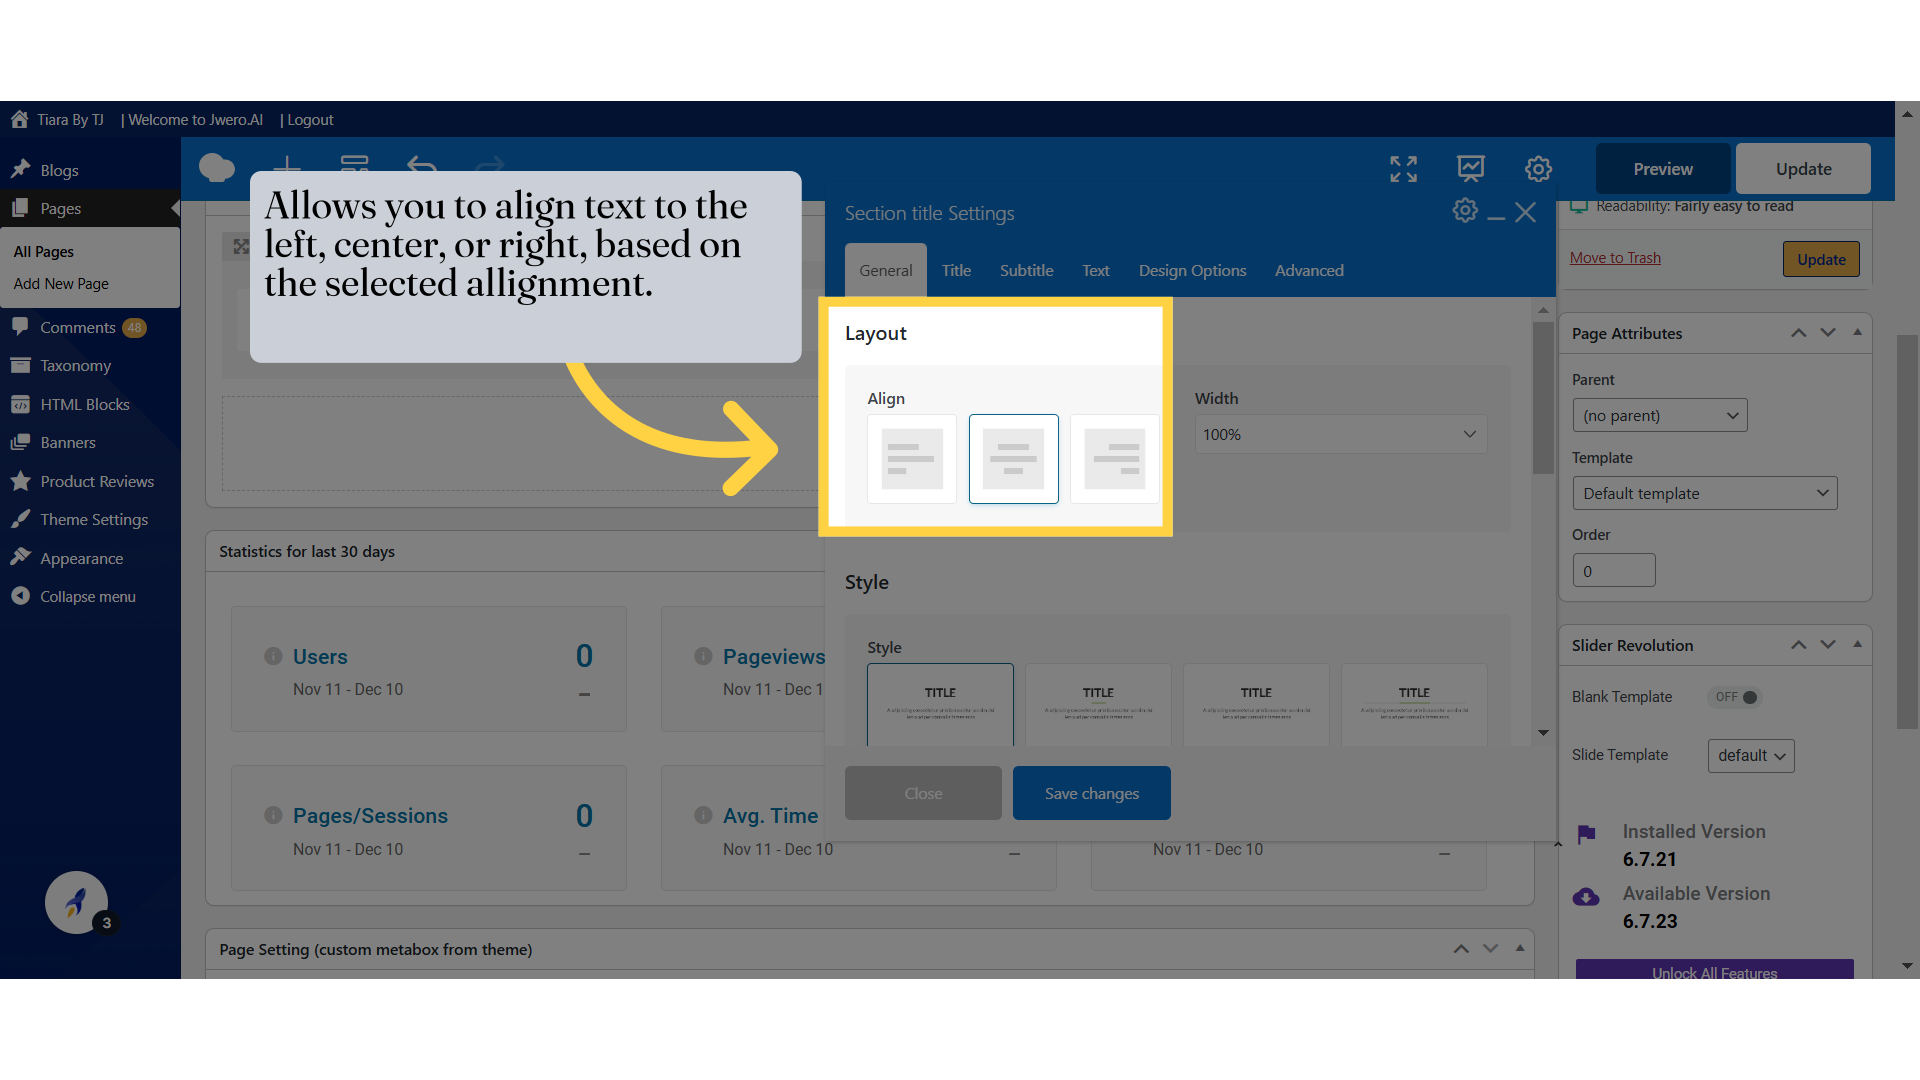
3. Allows you to align text to the left, center, or right, based on the selected allignment.
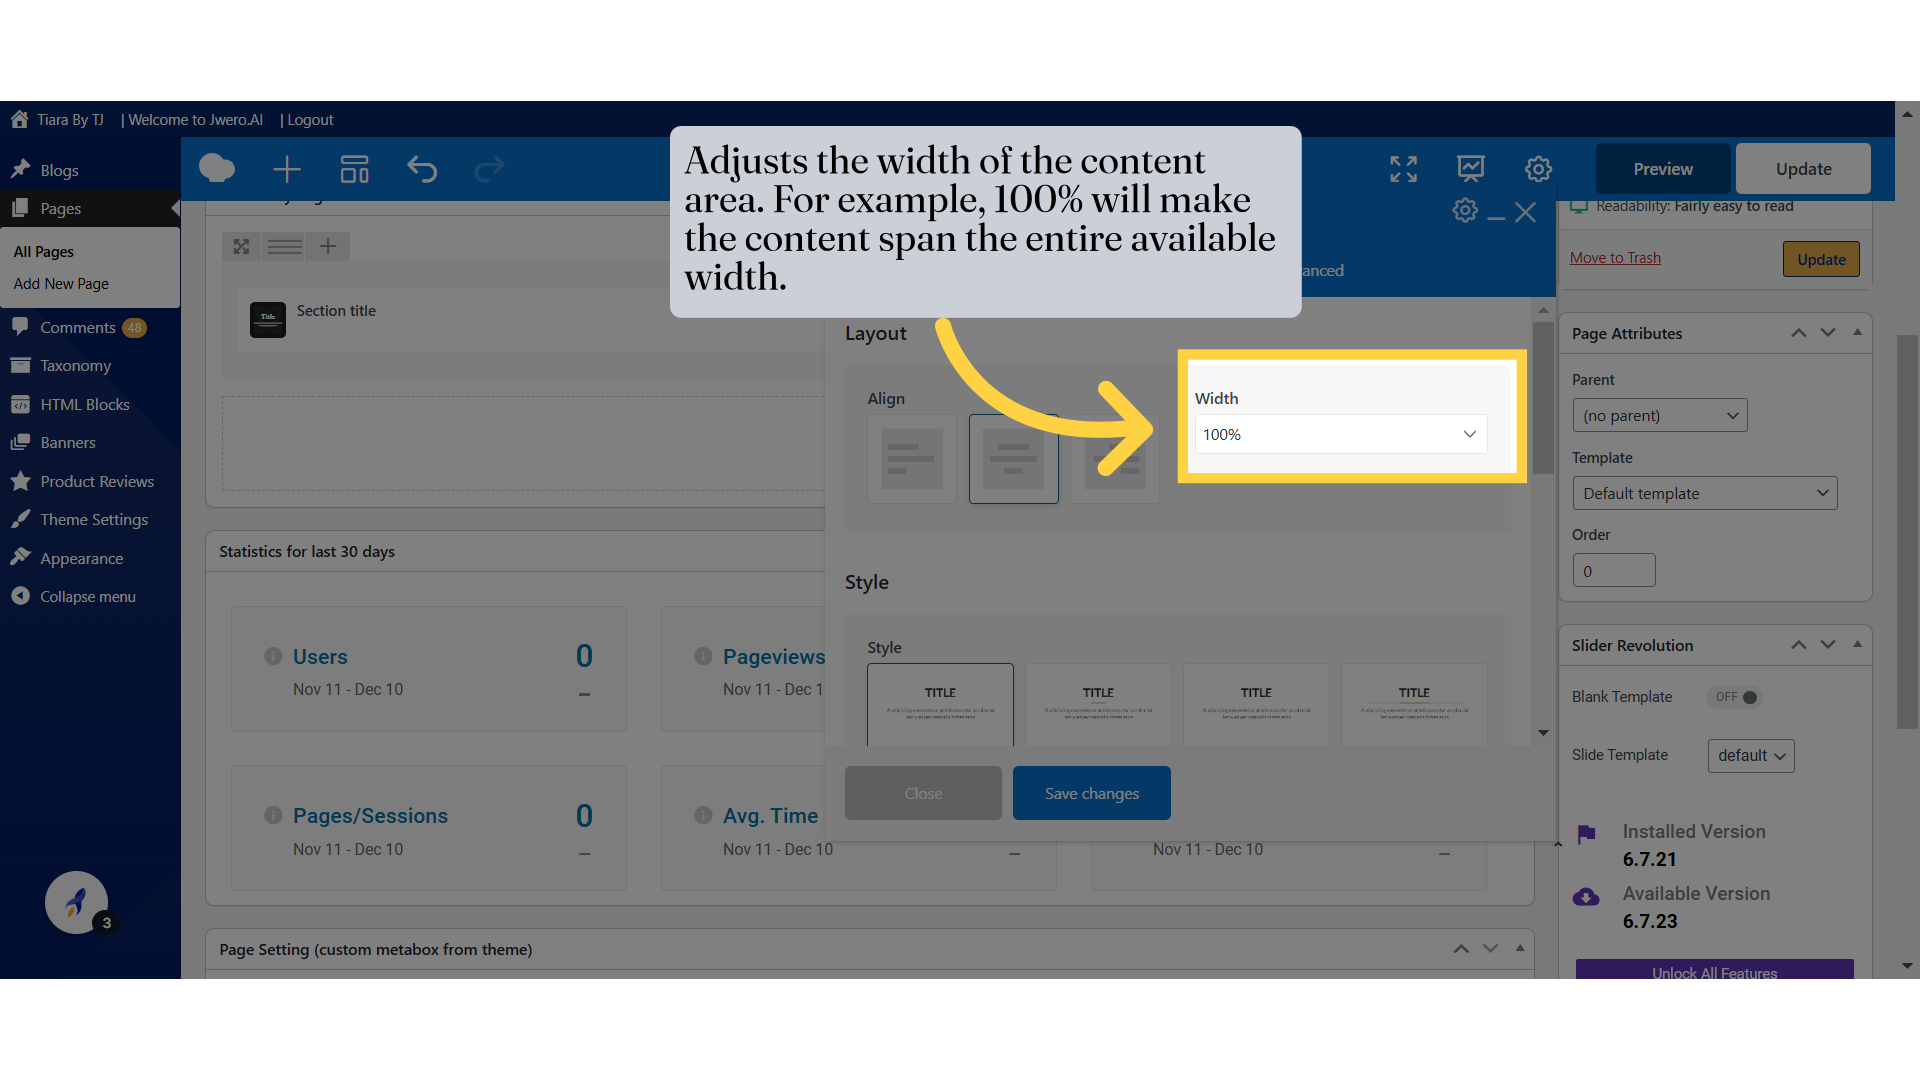
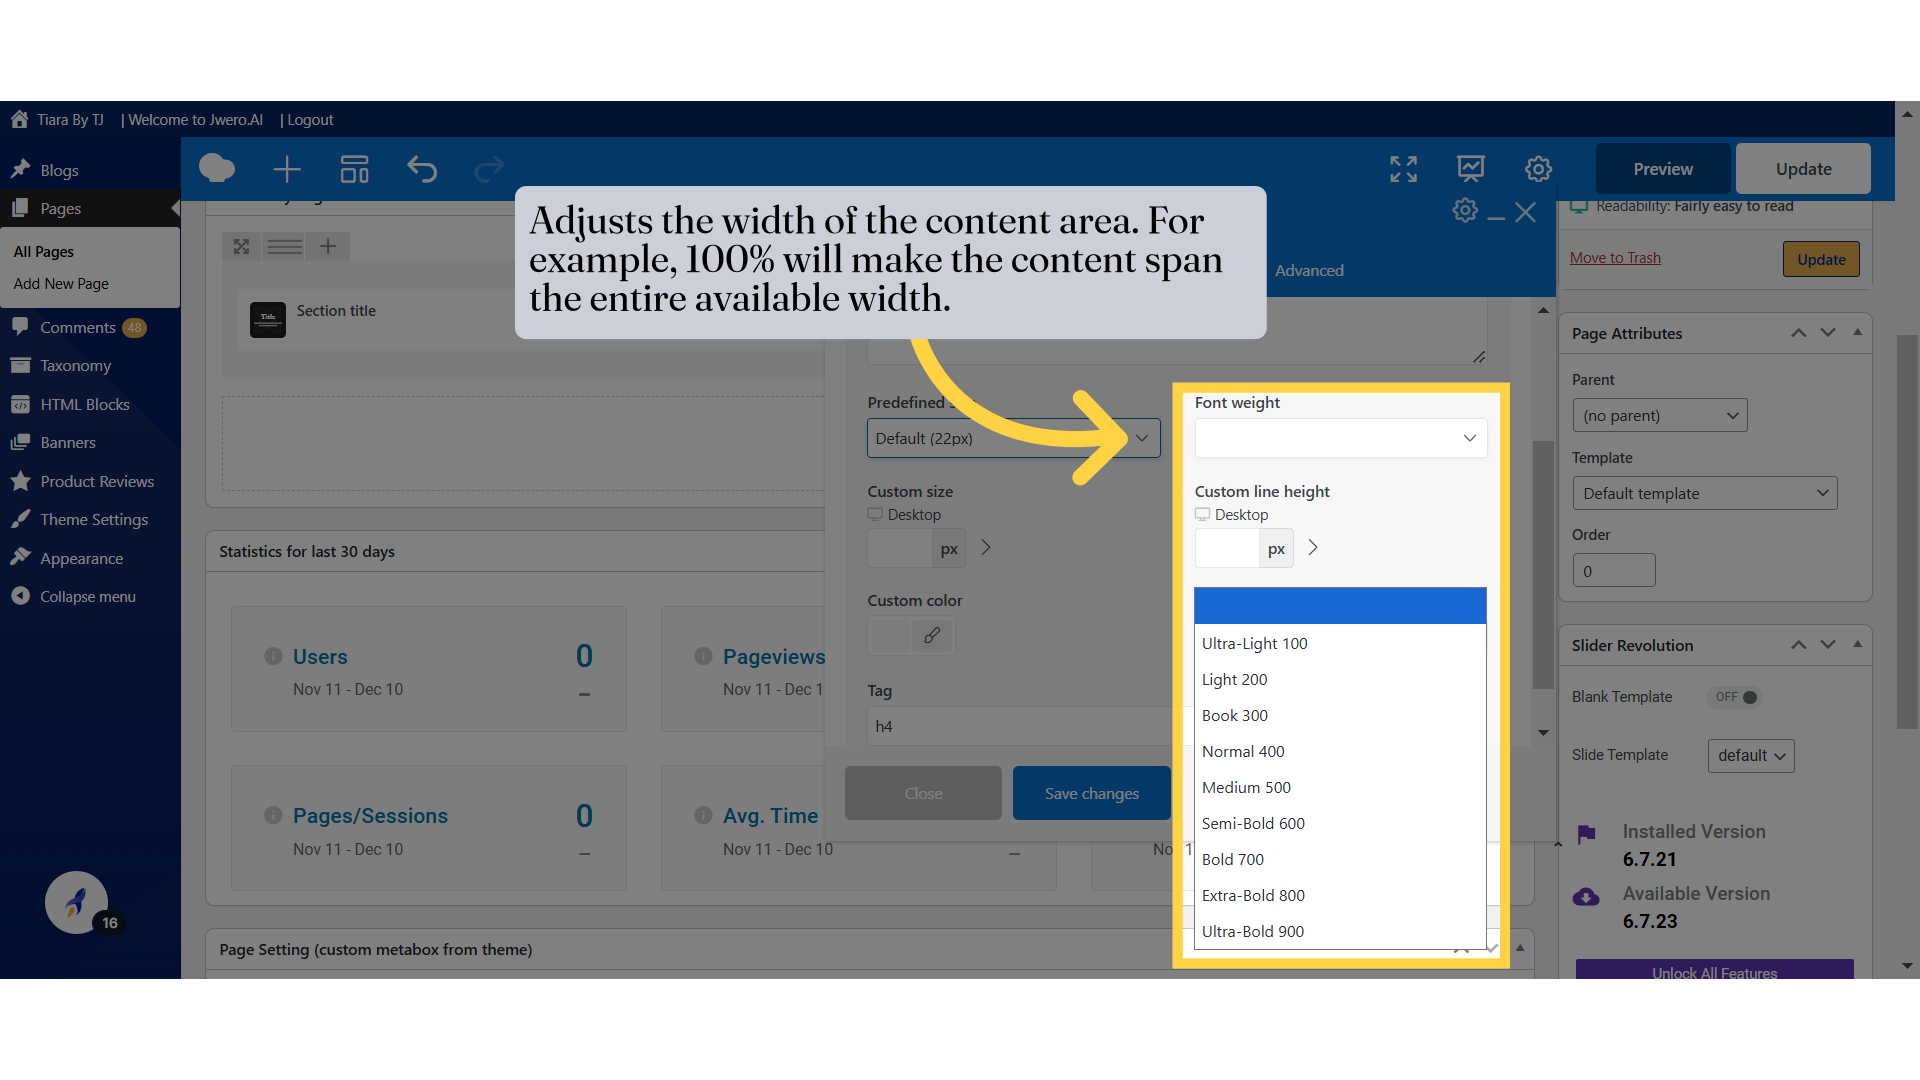
4. Adjusts the width of the content area. For example, 100% will make the content span the entire available width.
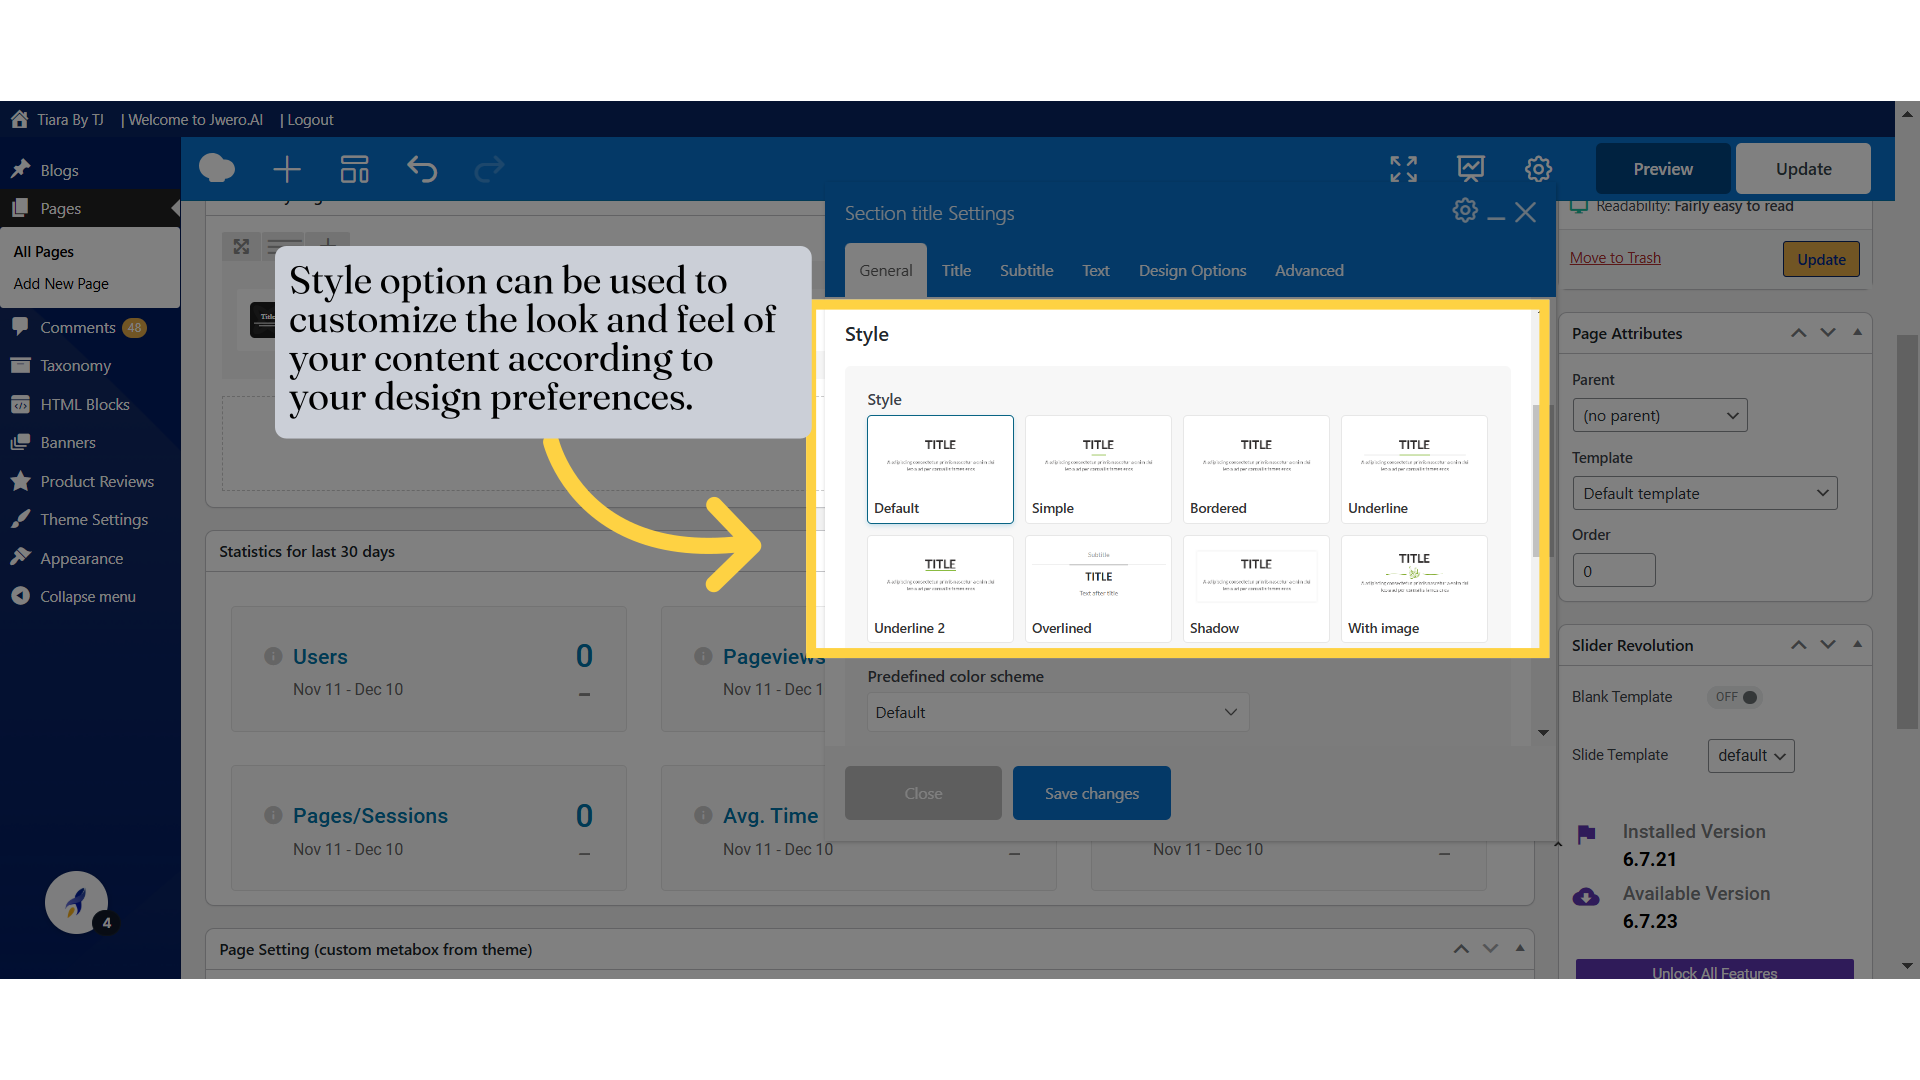
5. Style option can be used to customize the look and feel of your content according to your design preferences.
6. Applies a set of pre-configured colors to your title.

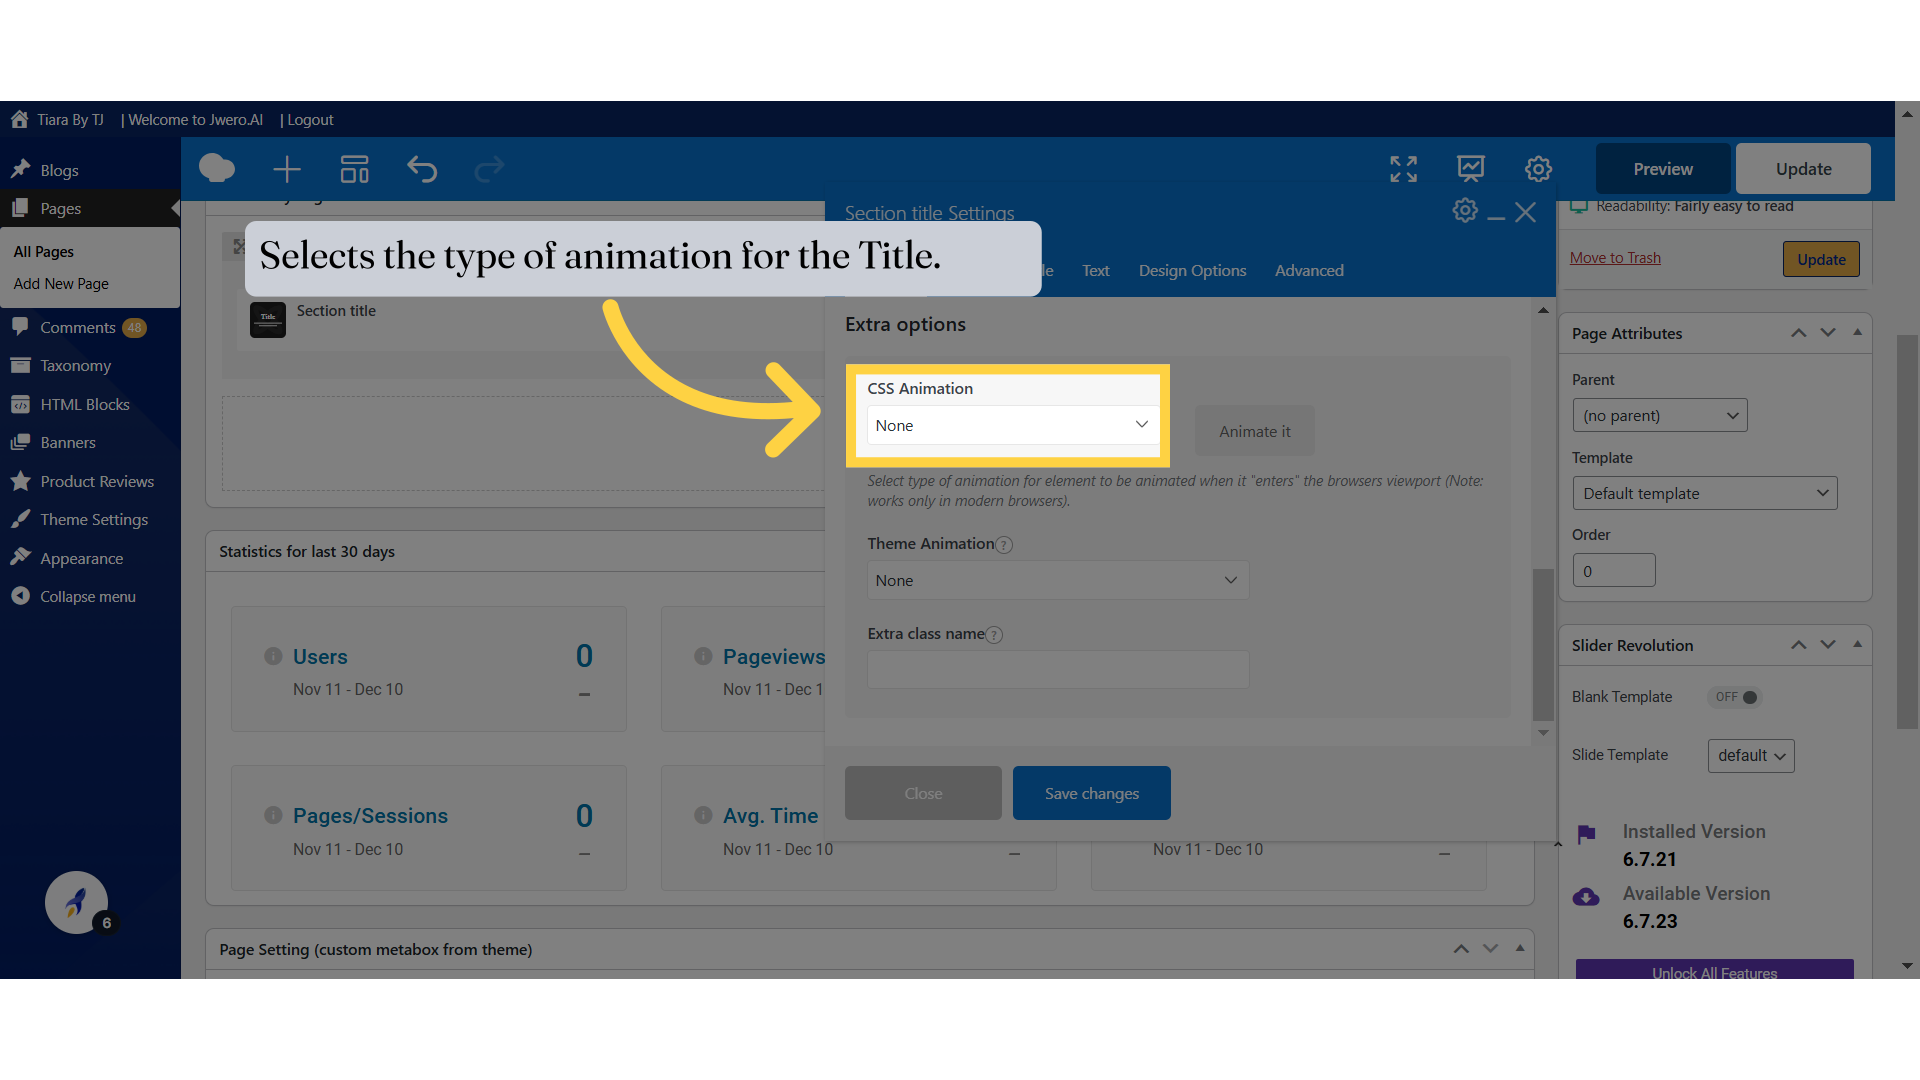
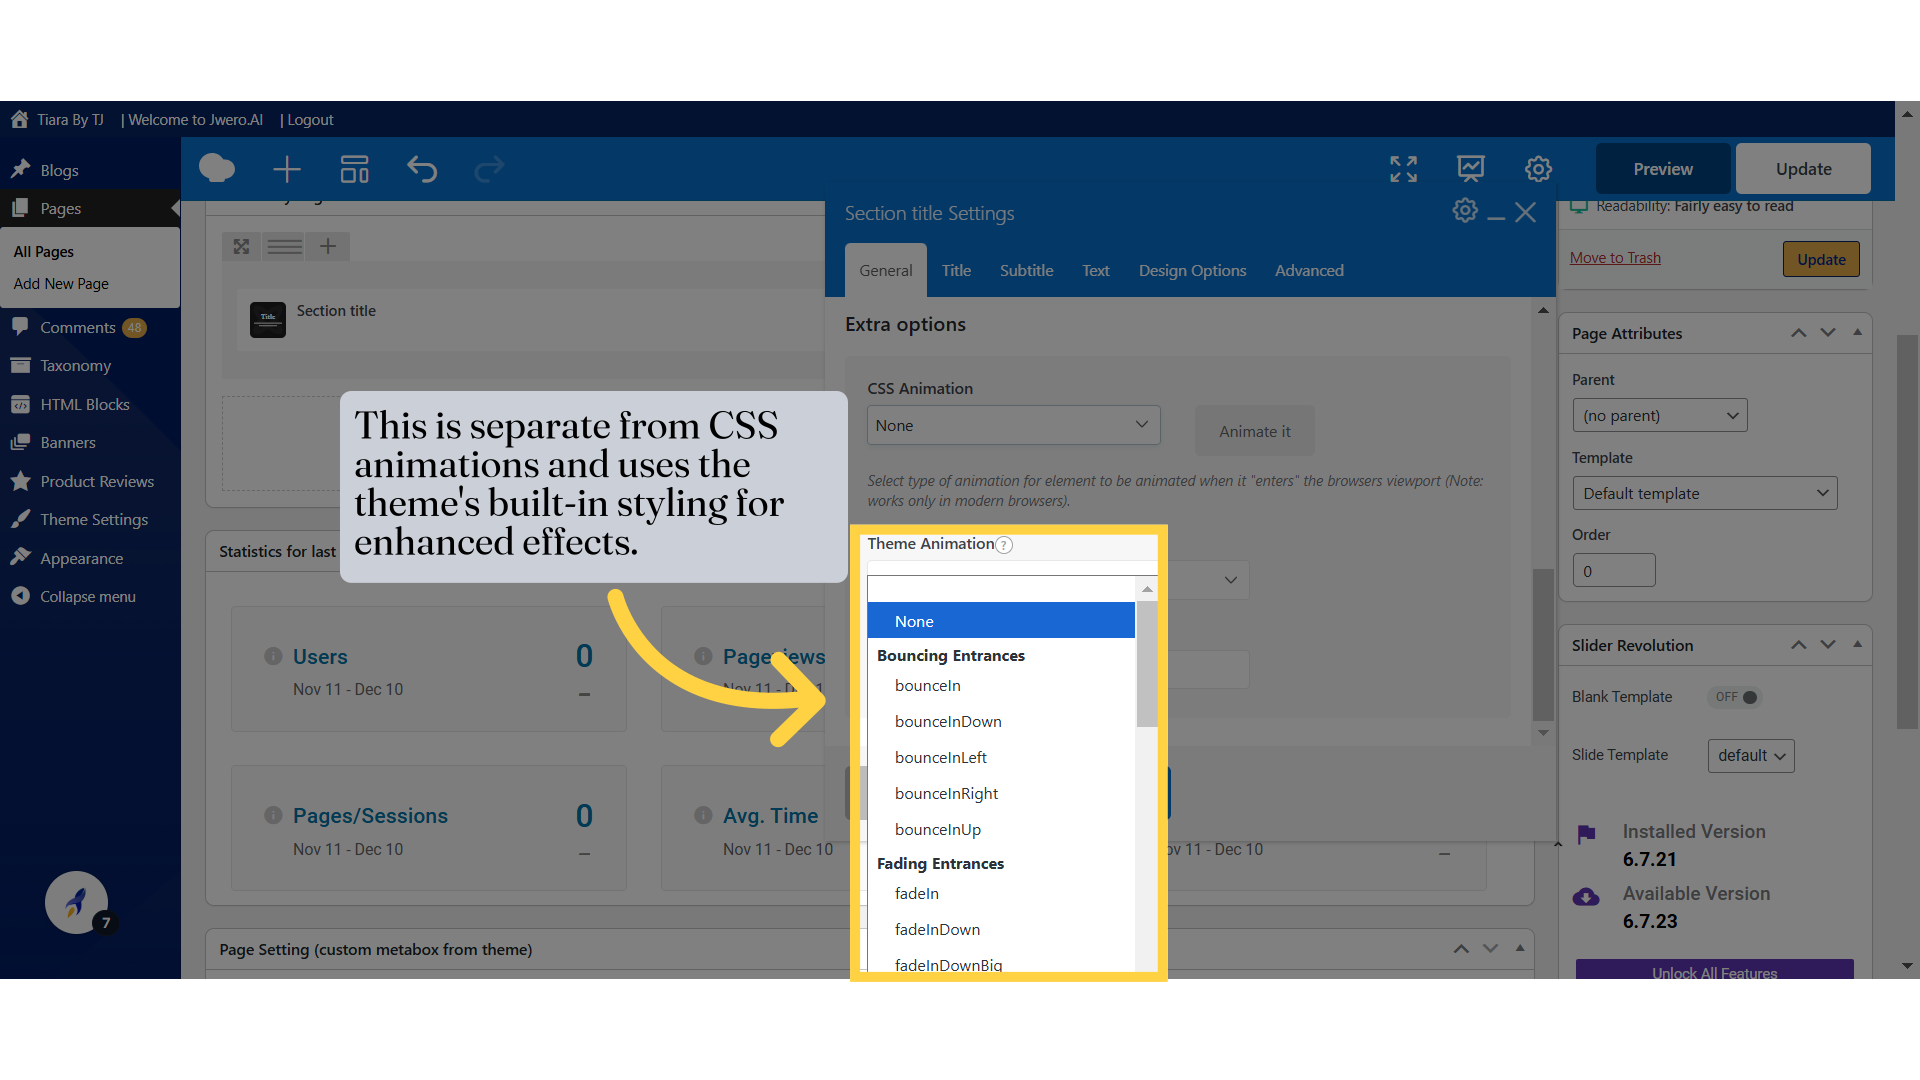
7. Selects the type of animation for the Title.
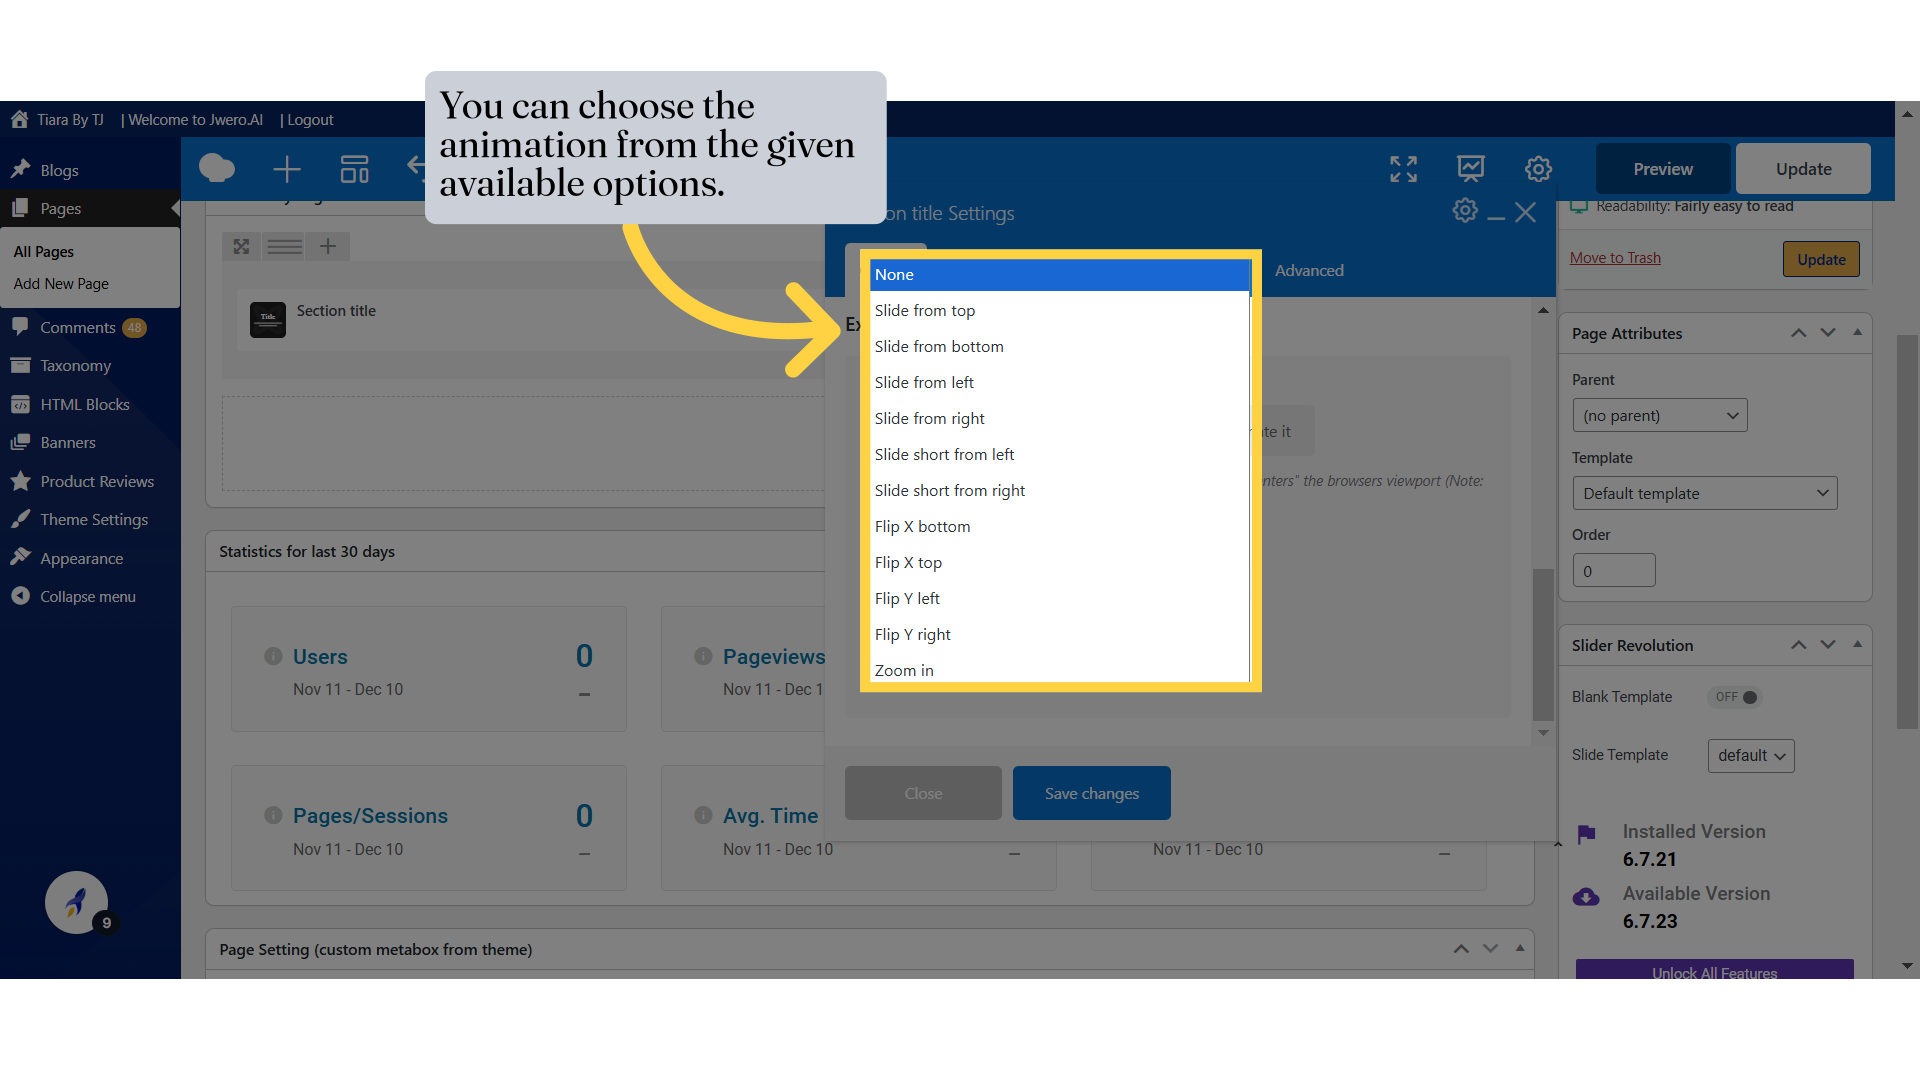
8. You can choose the animation from the given available options.
9. This is separate from CSS animations and uses the theme's built-in styling for enhanced effects.
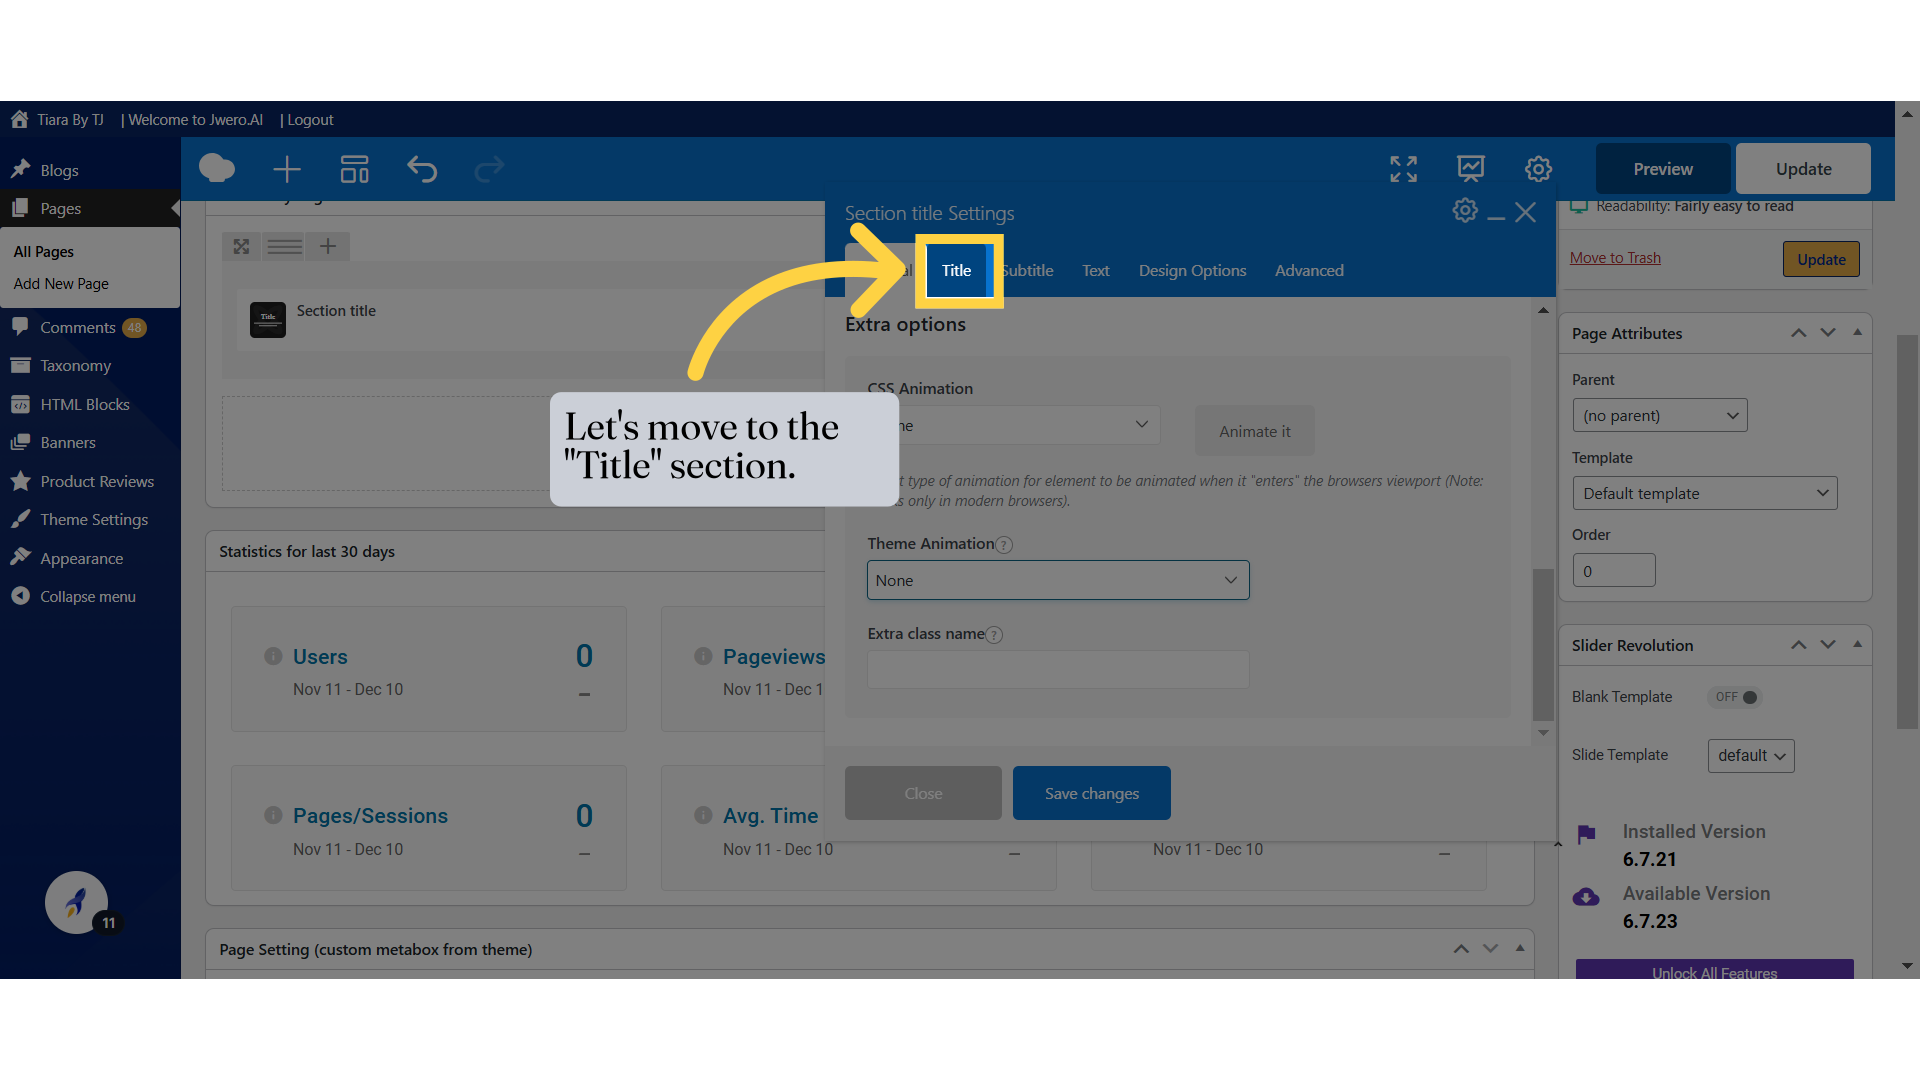
10. Let's move to the "Title" section.
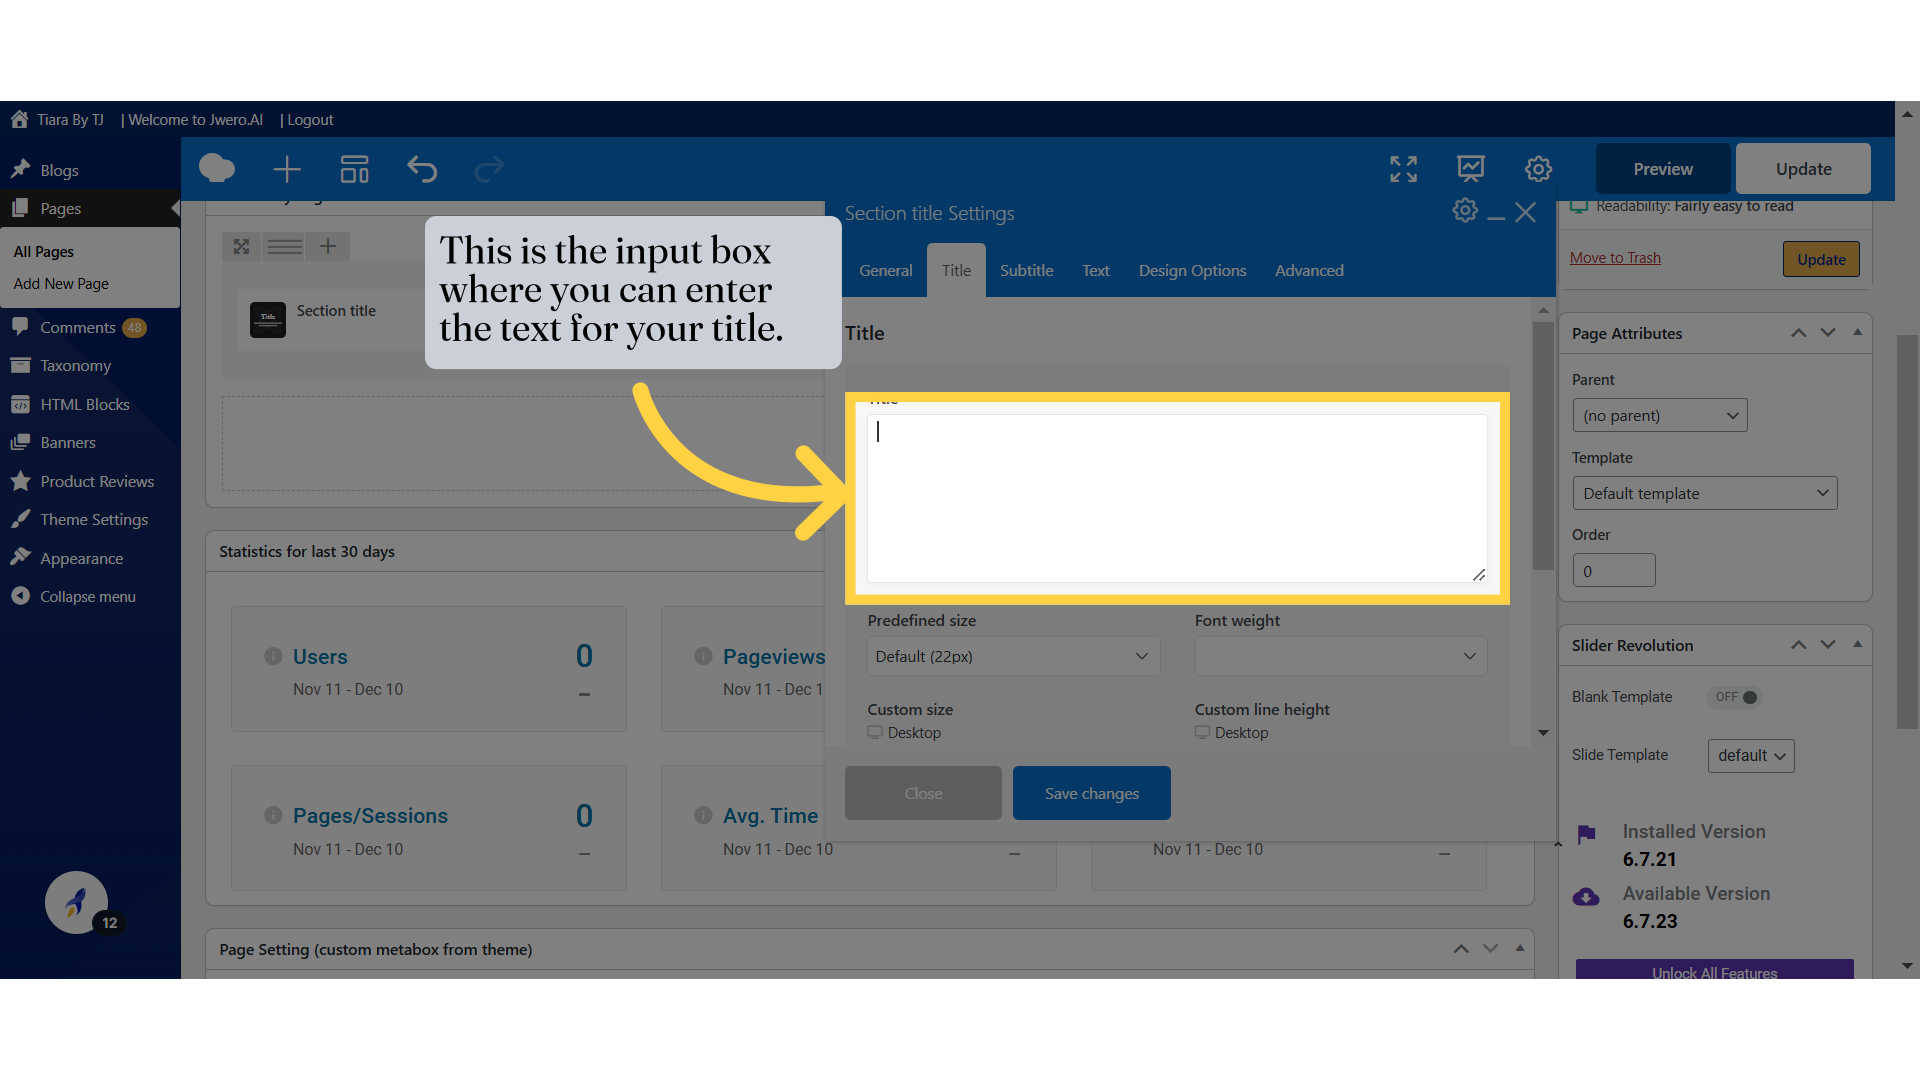
11. This is the input box where you can enter the text for your title.
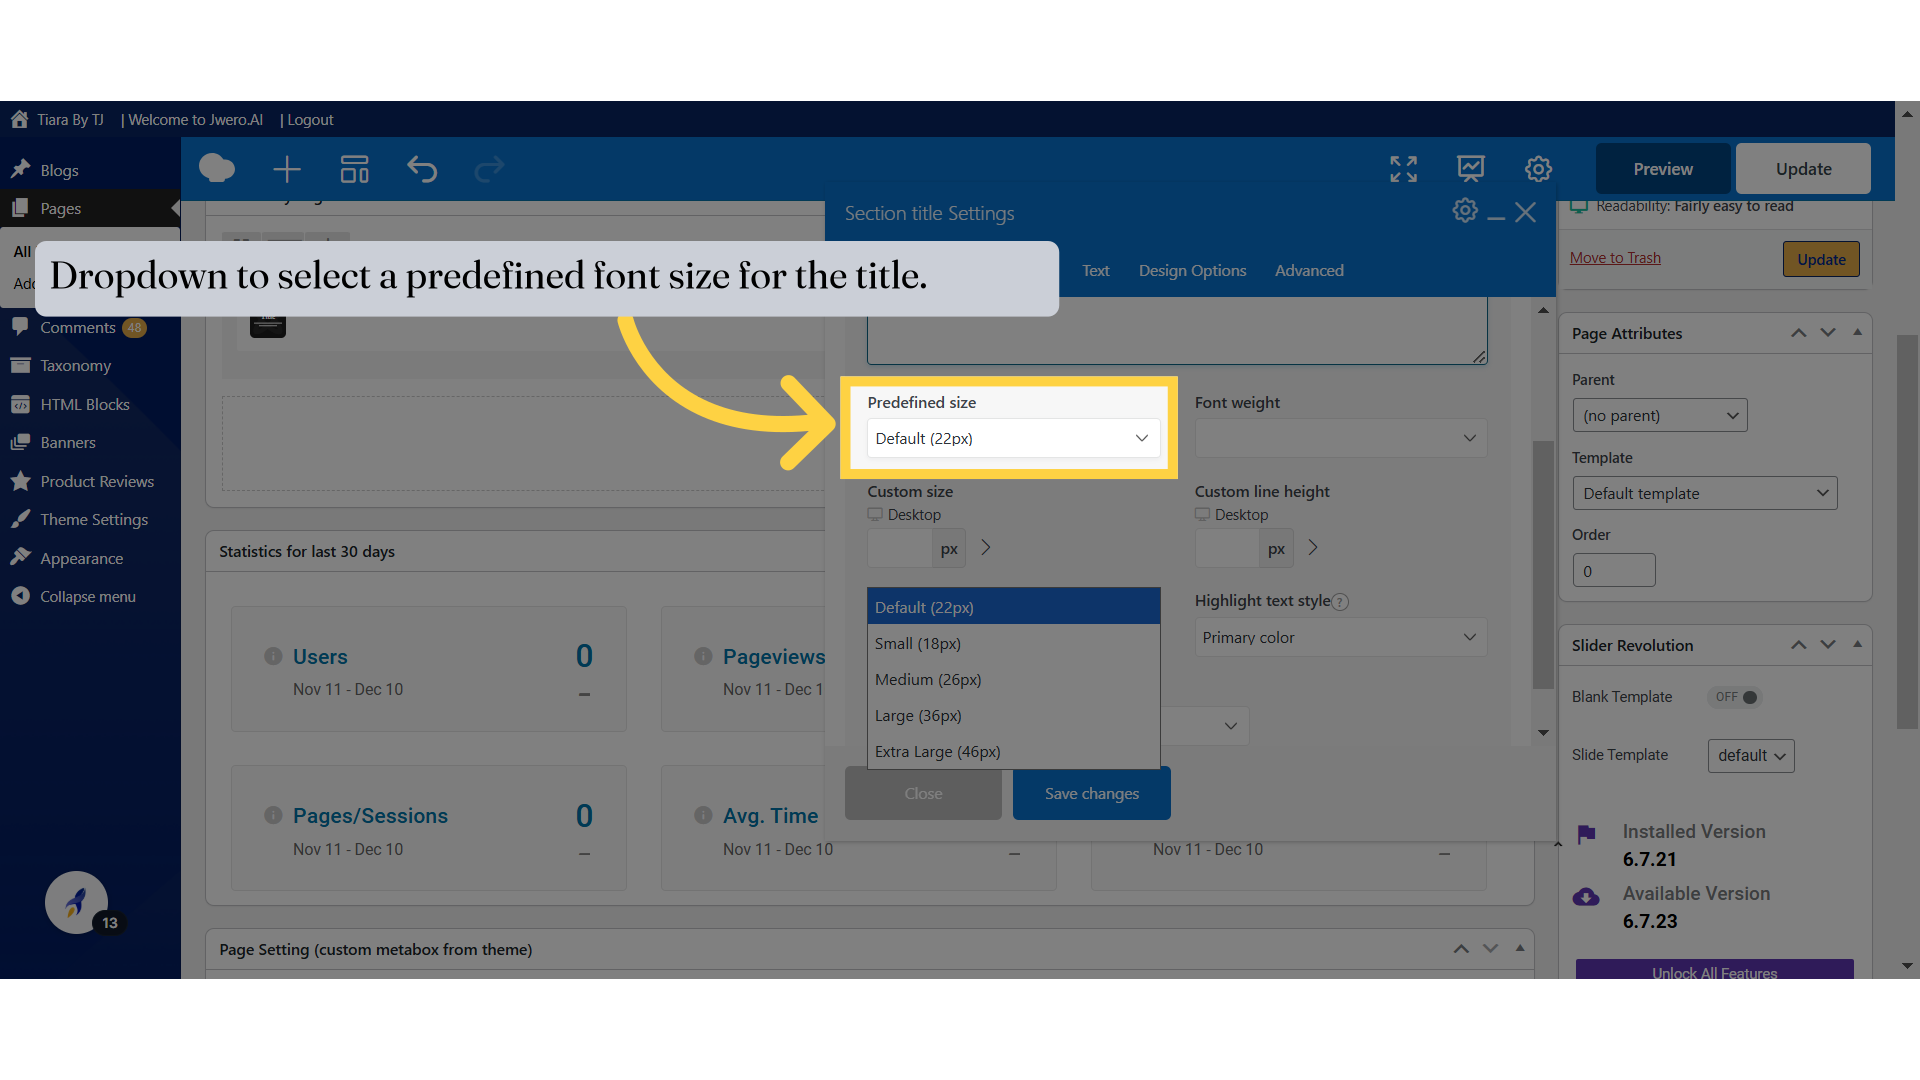
12. Dropdown to select a predefined font size for the title.
13. Adjusts the width of the content area. For example, 100% will make the content span the entire available width.
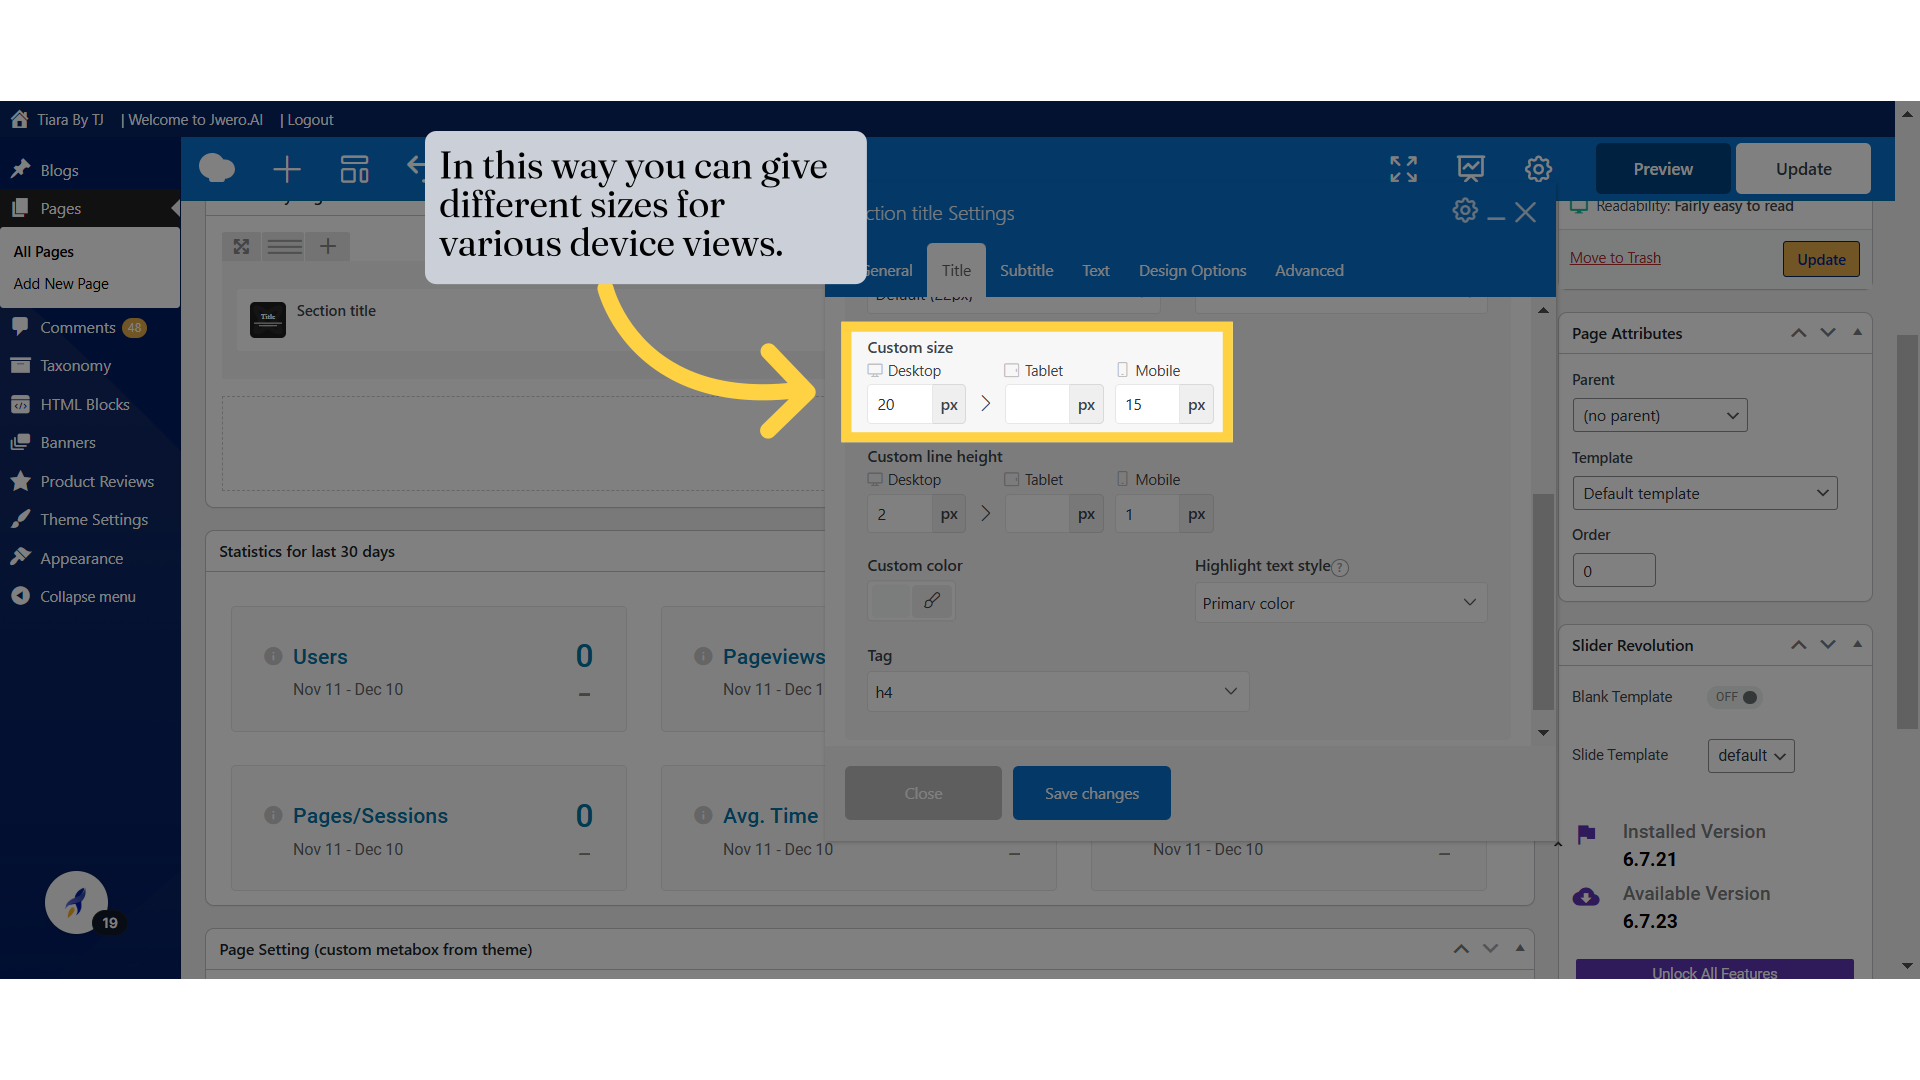
14. In this way you can give different sizes for various device views.
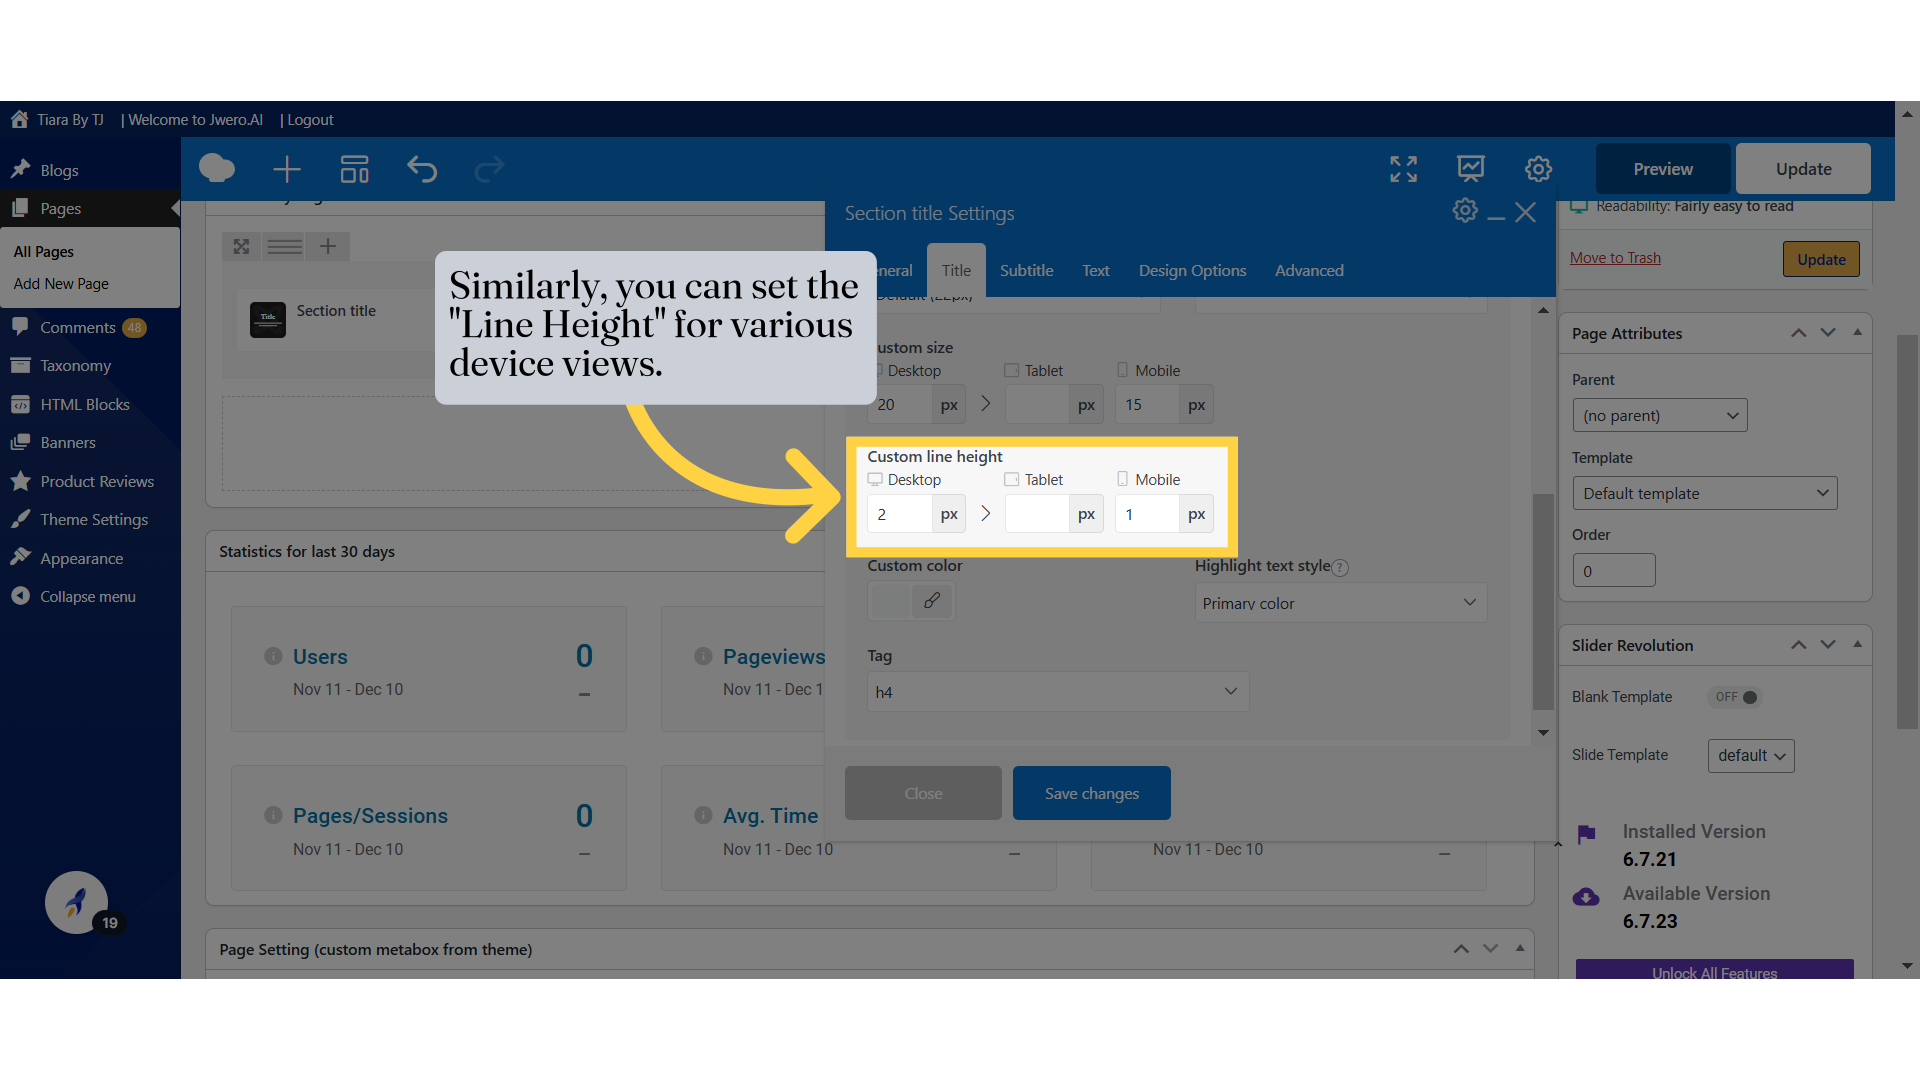
15. Similarly, you can set the "Line Height" for various device views.
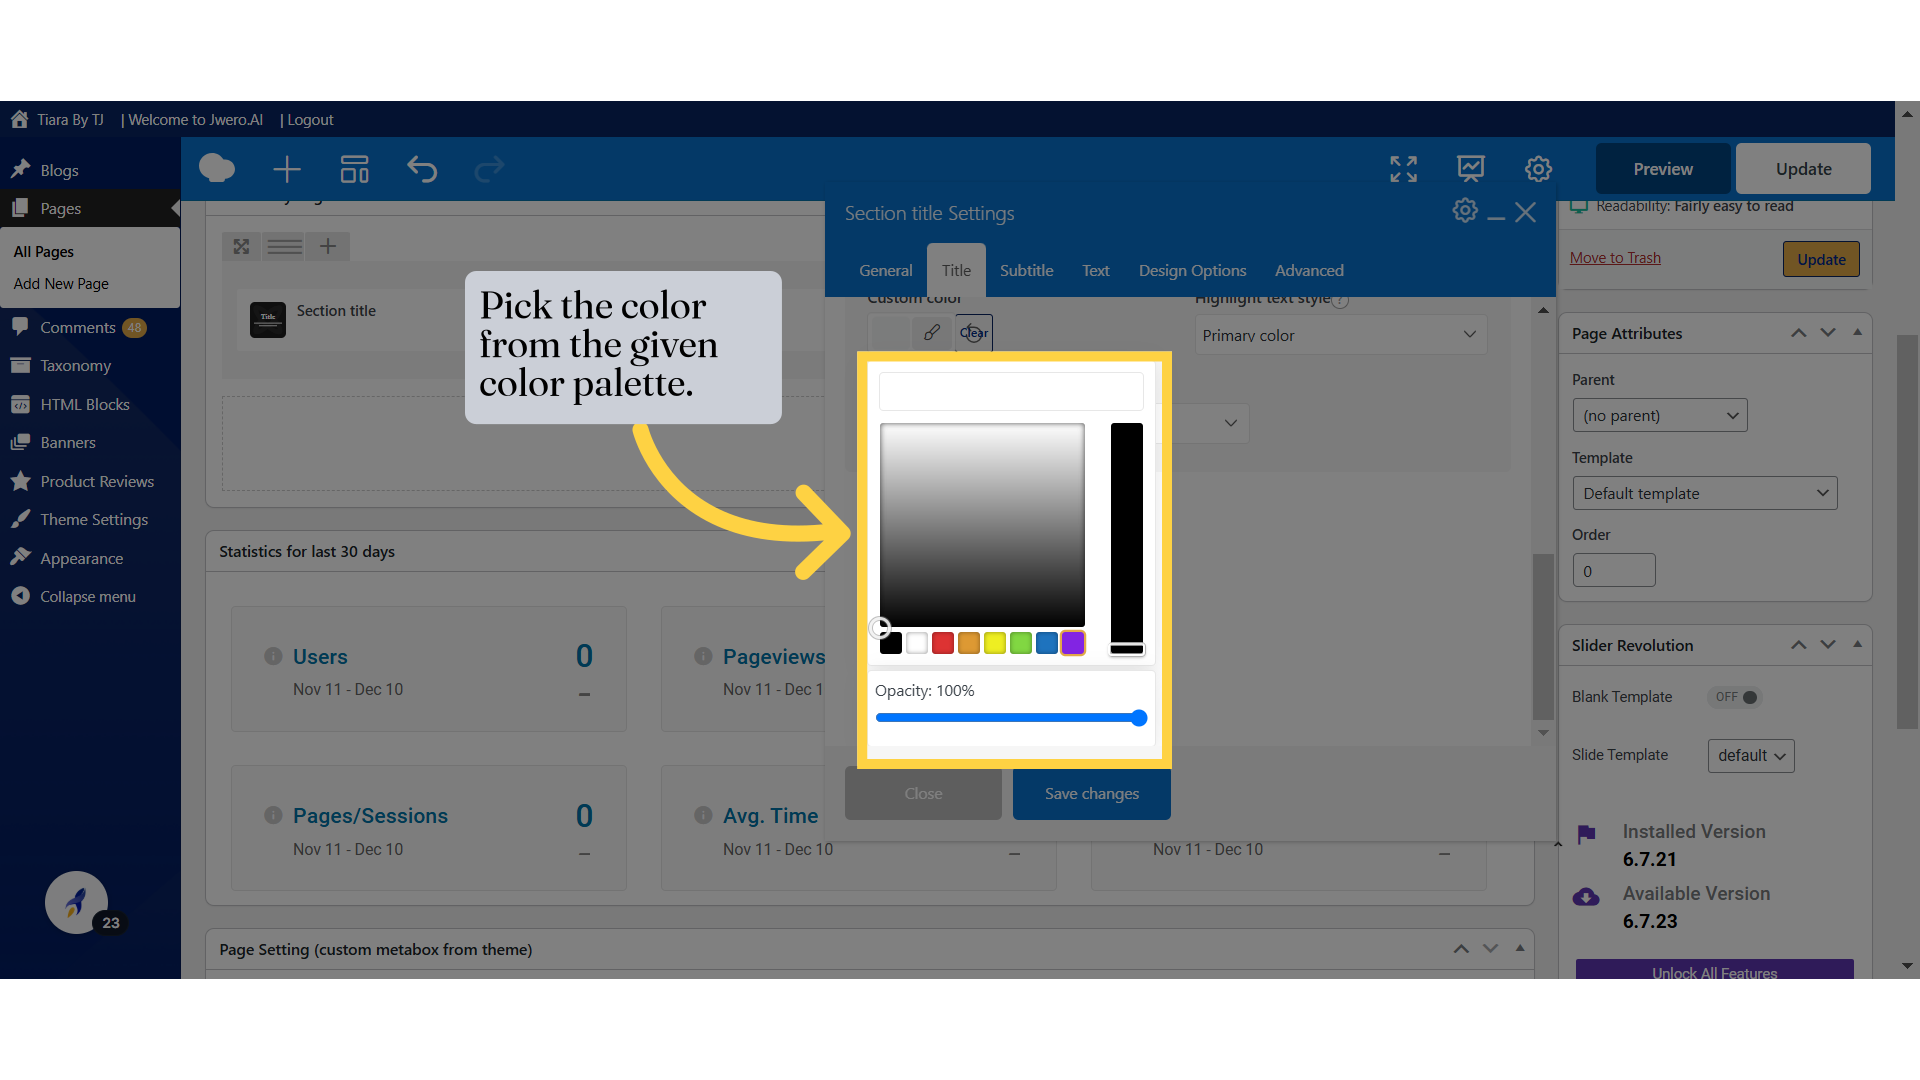
16. You can choose the predefined color to highlight the Title.

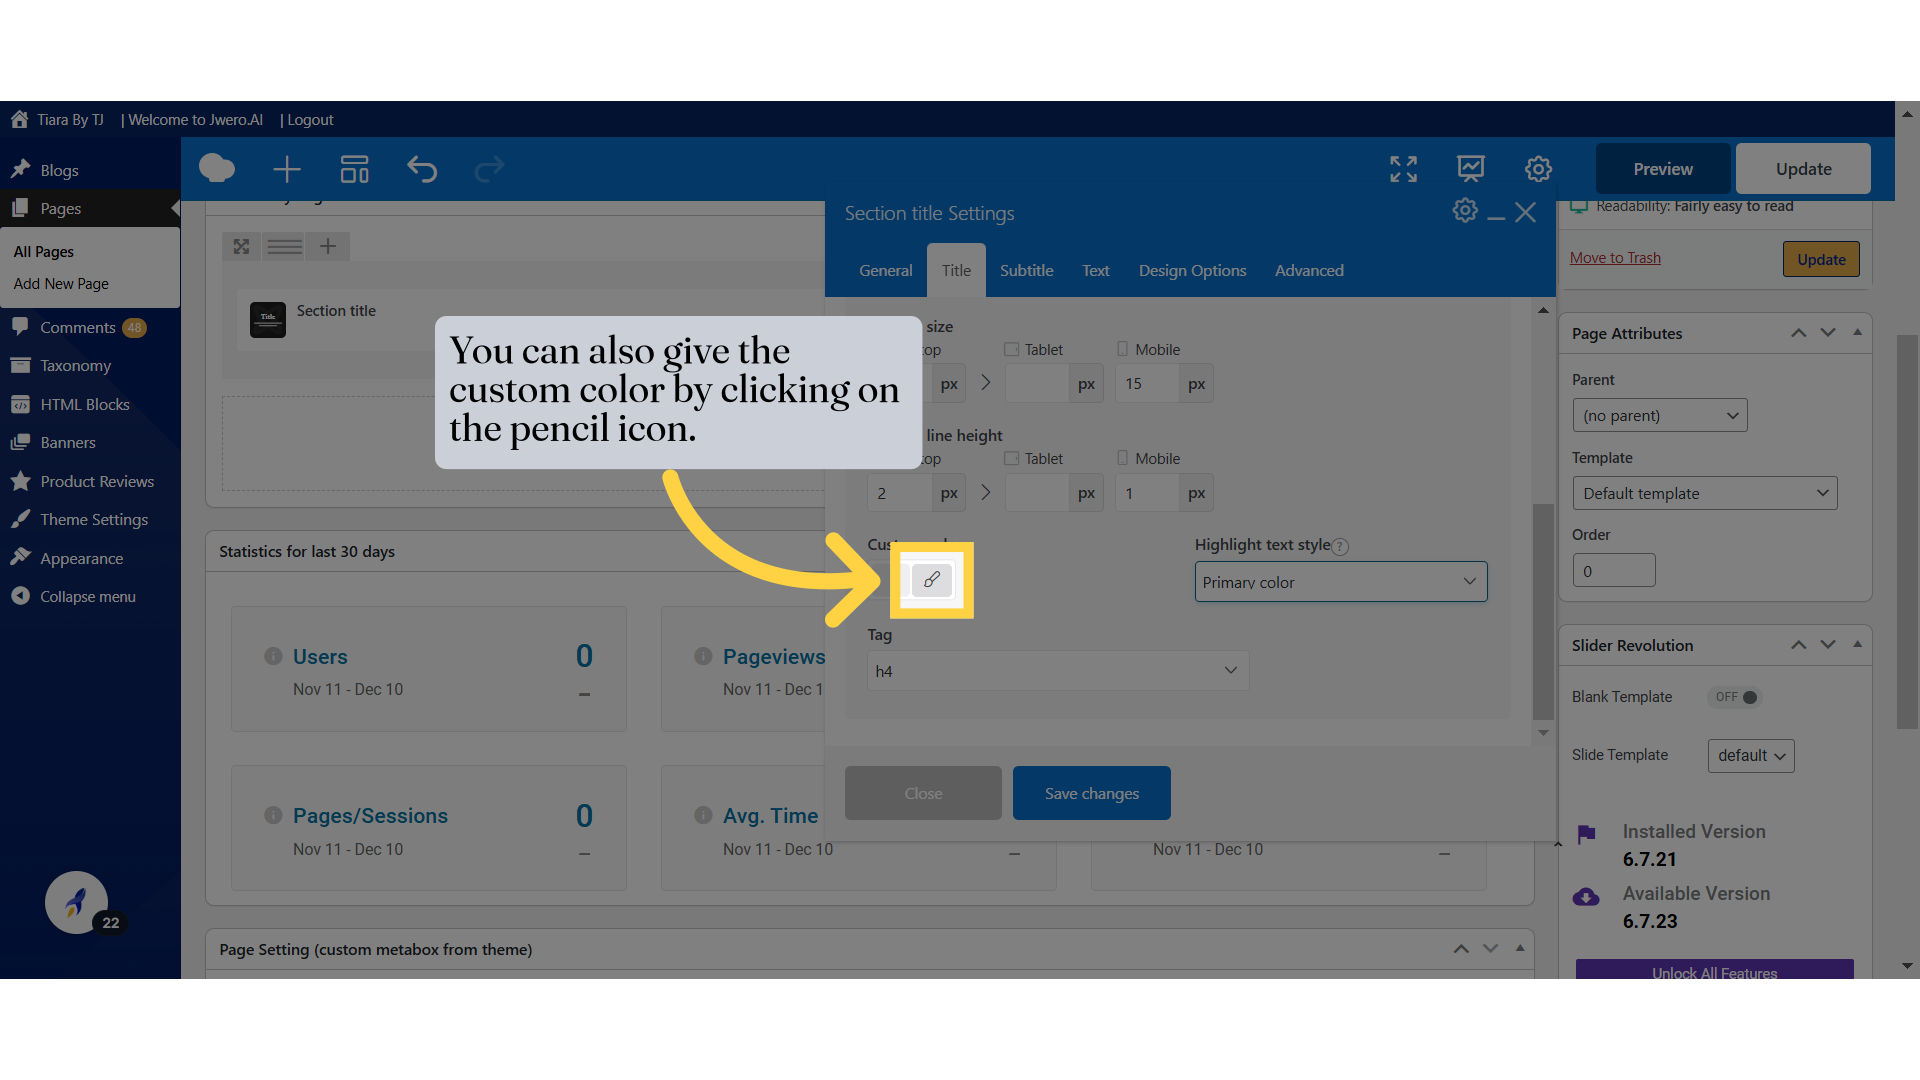
17. You can also give the custom color by clicking on the pencil icon.
18. Pick the color from the given color palette.
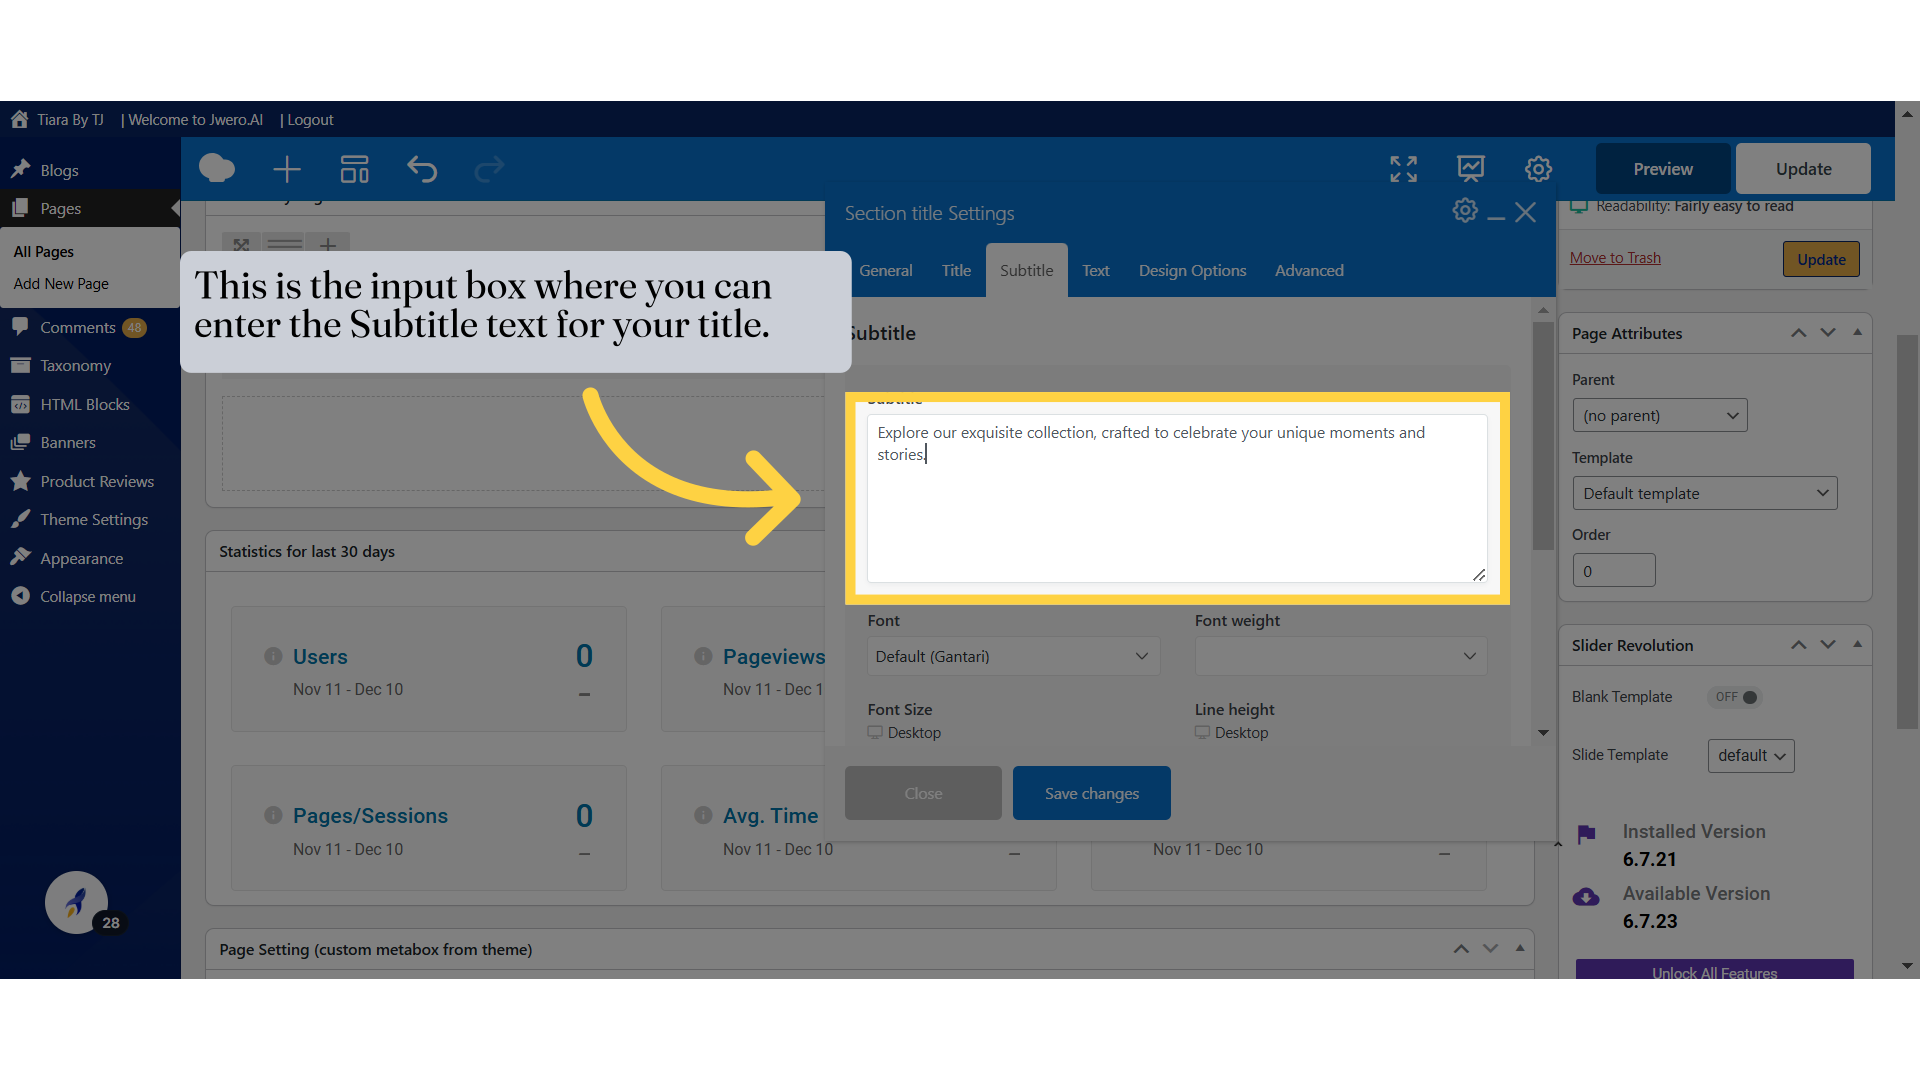
19. You can choose predefined heading tags.
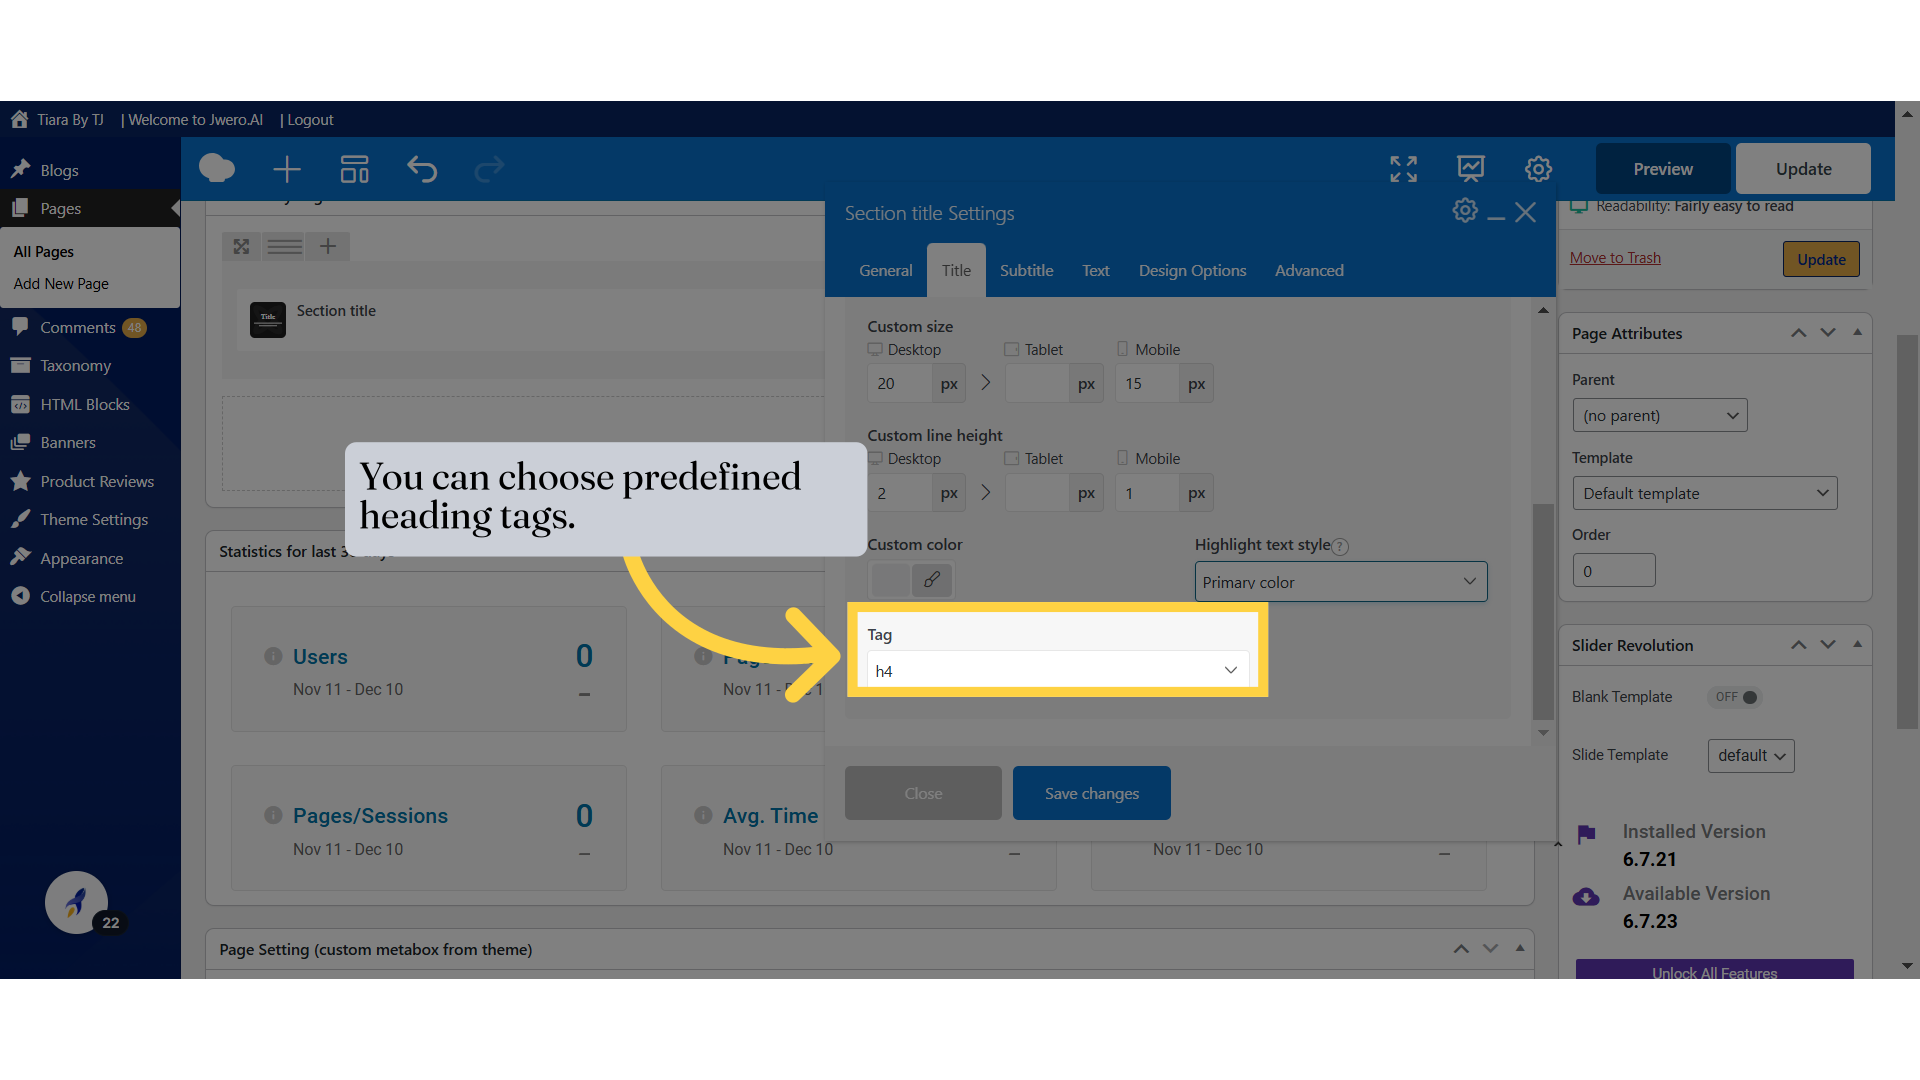
20. Choose the heading tag from the available options.
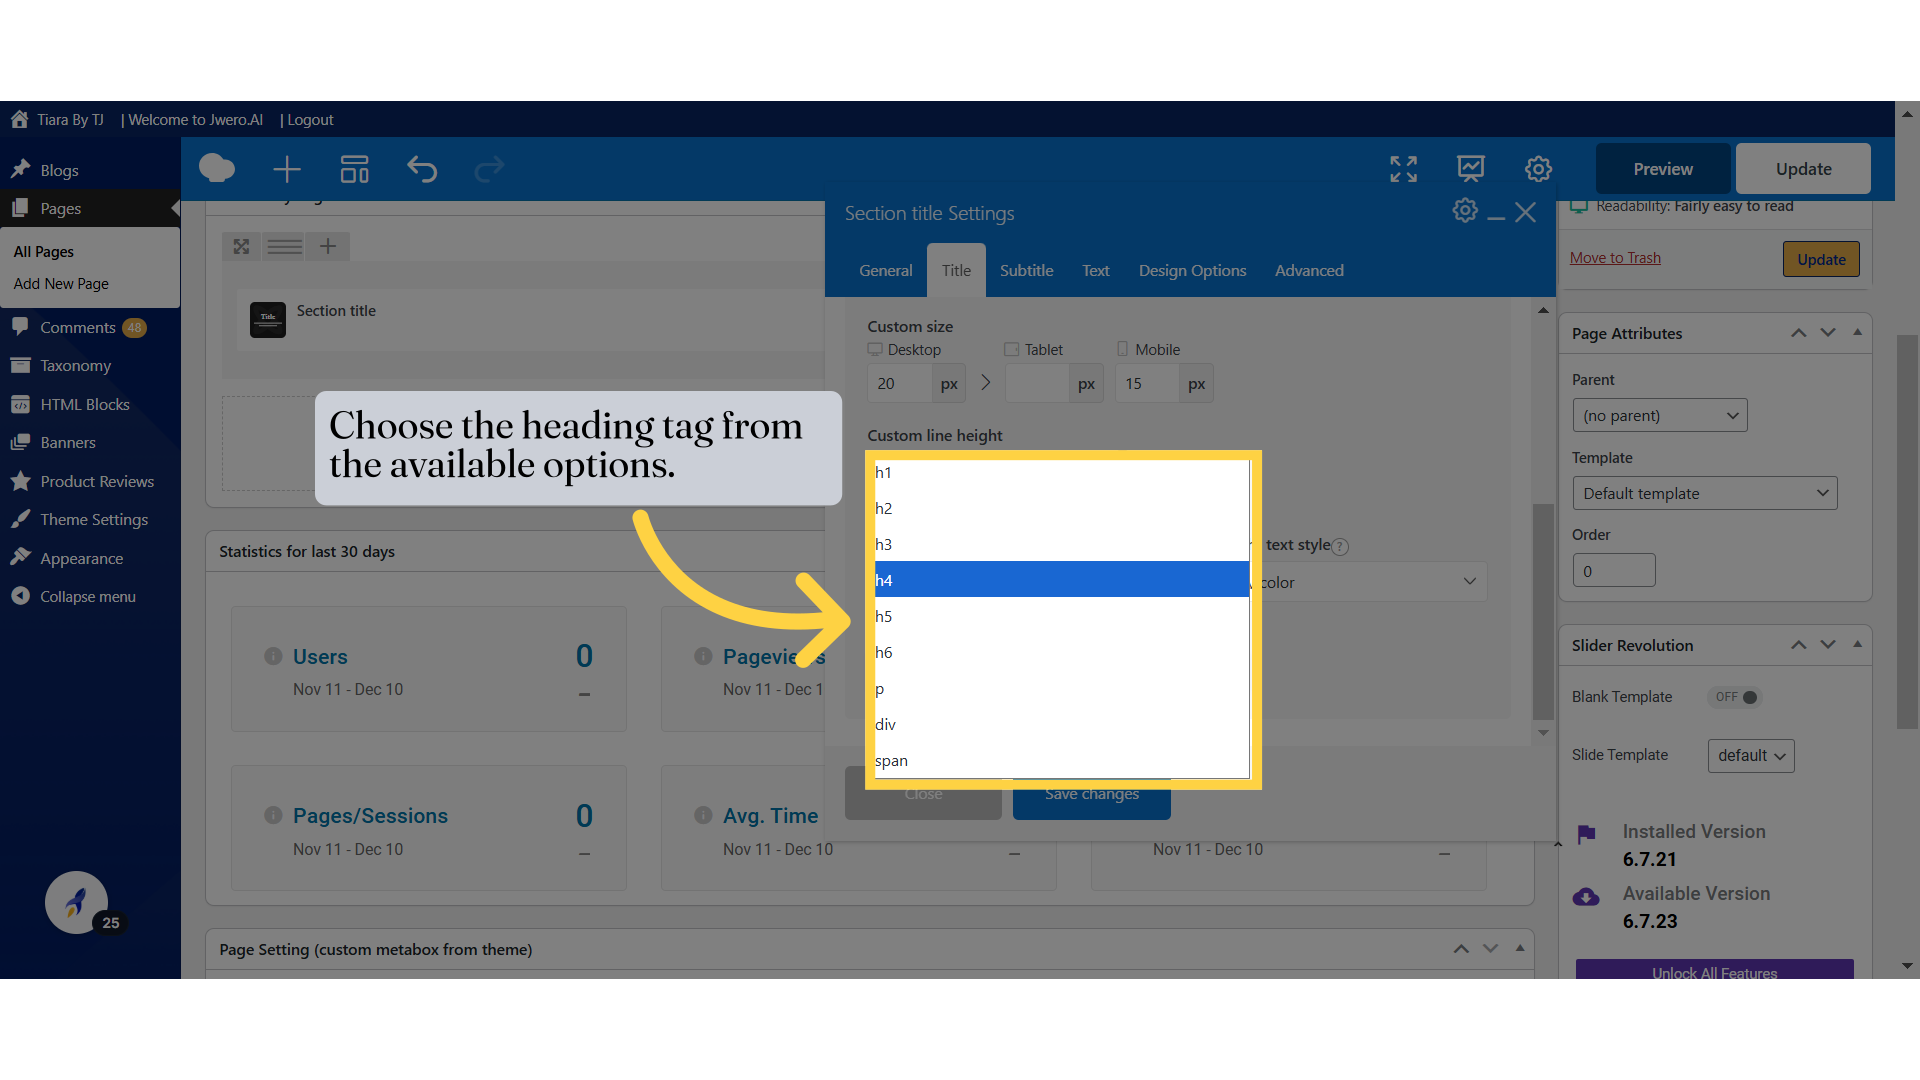
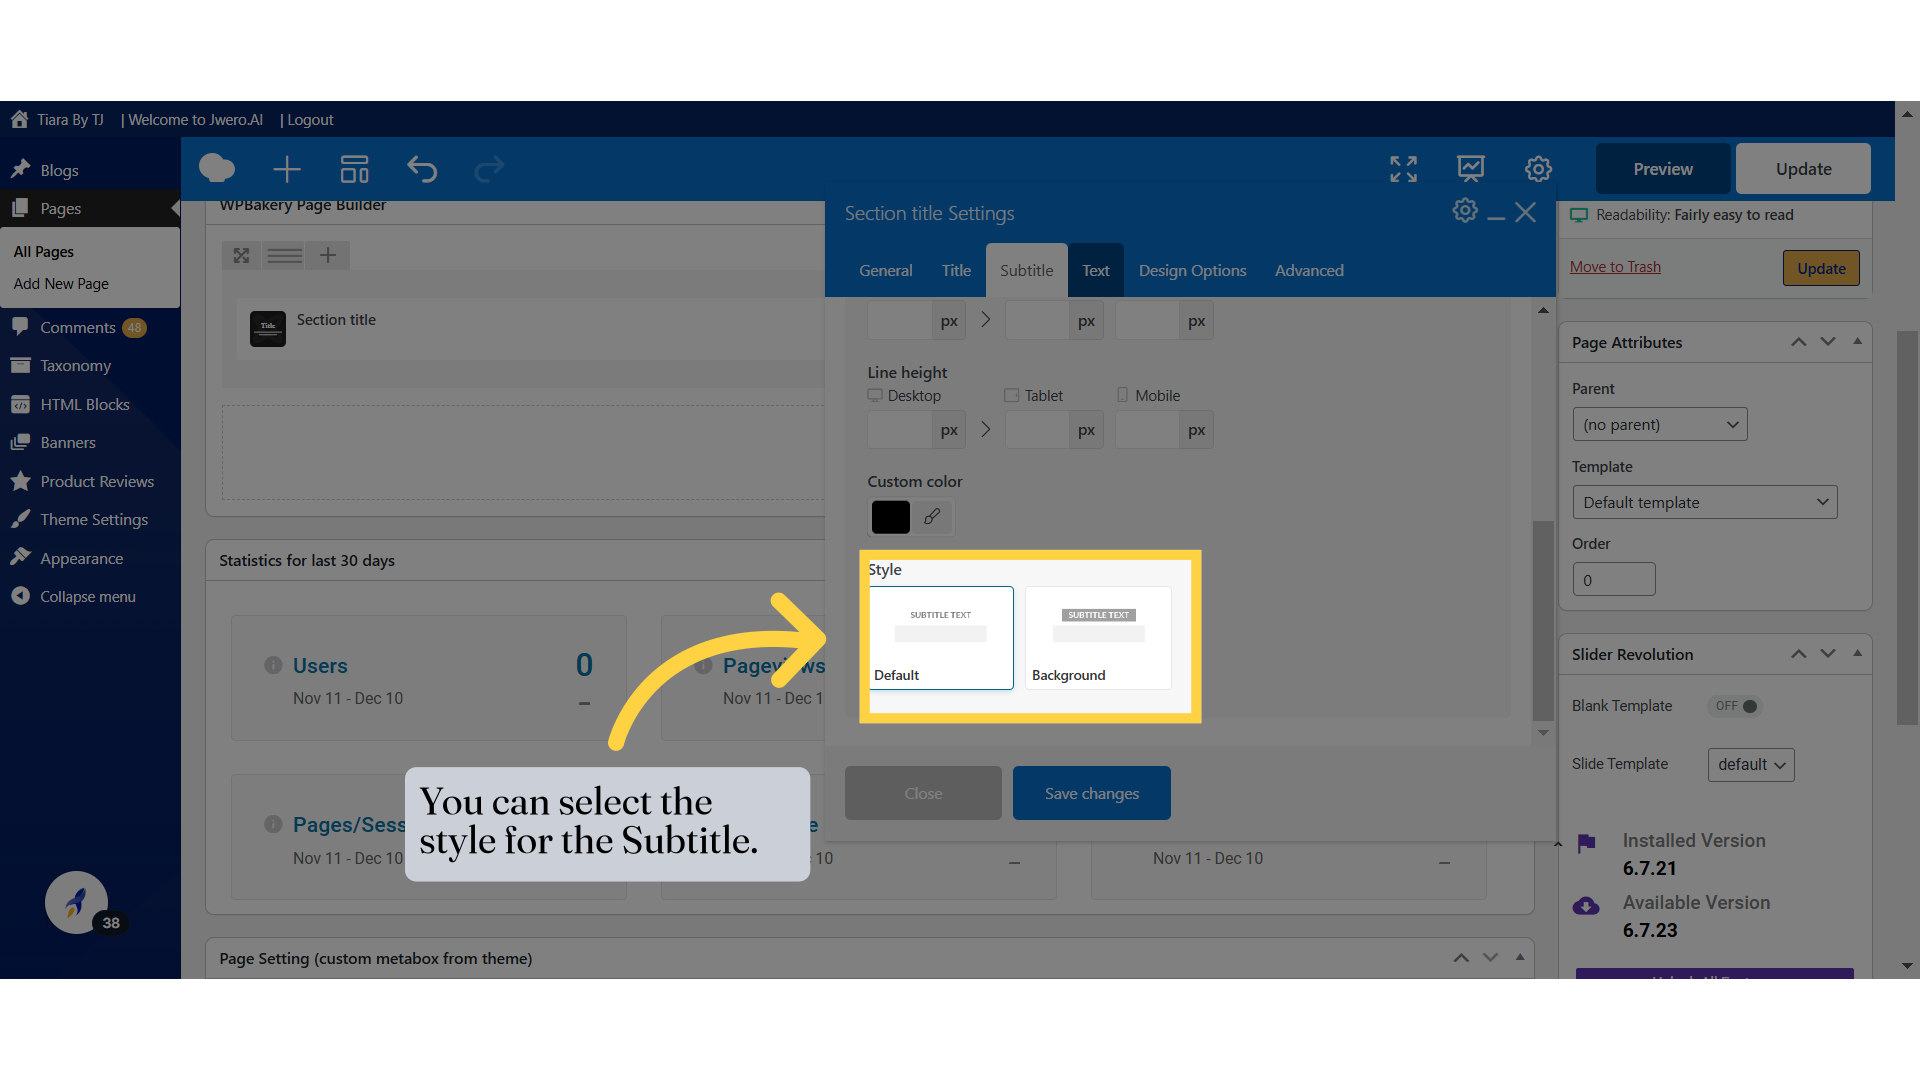
21. Let's move to the "Subtitle" section.
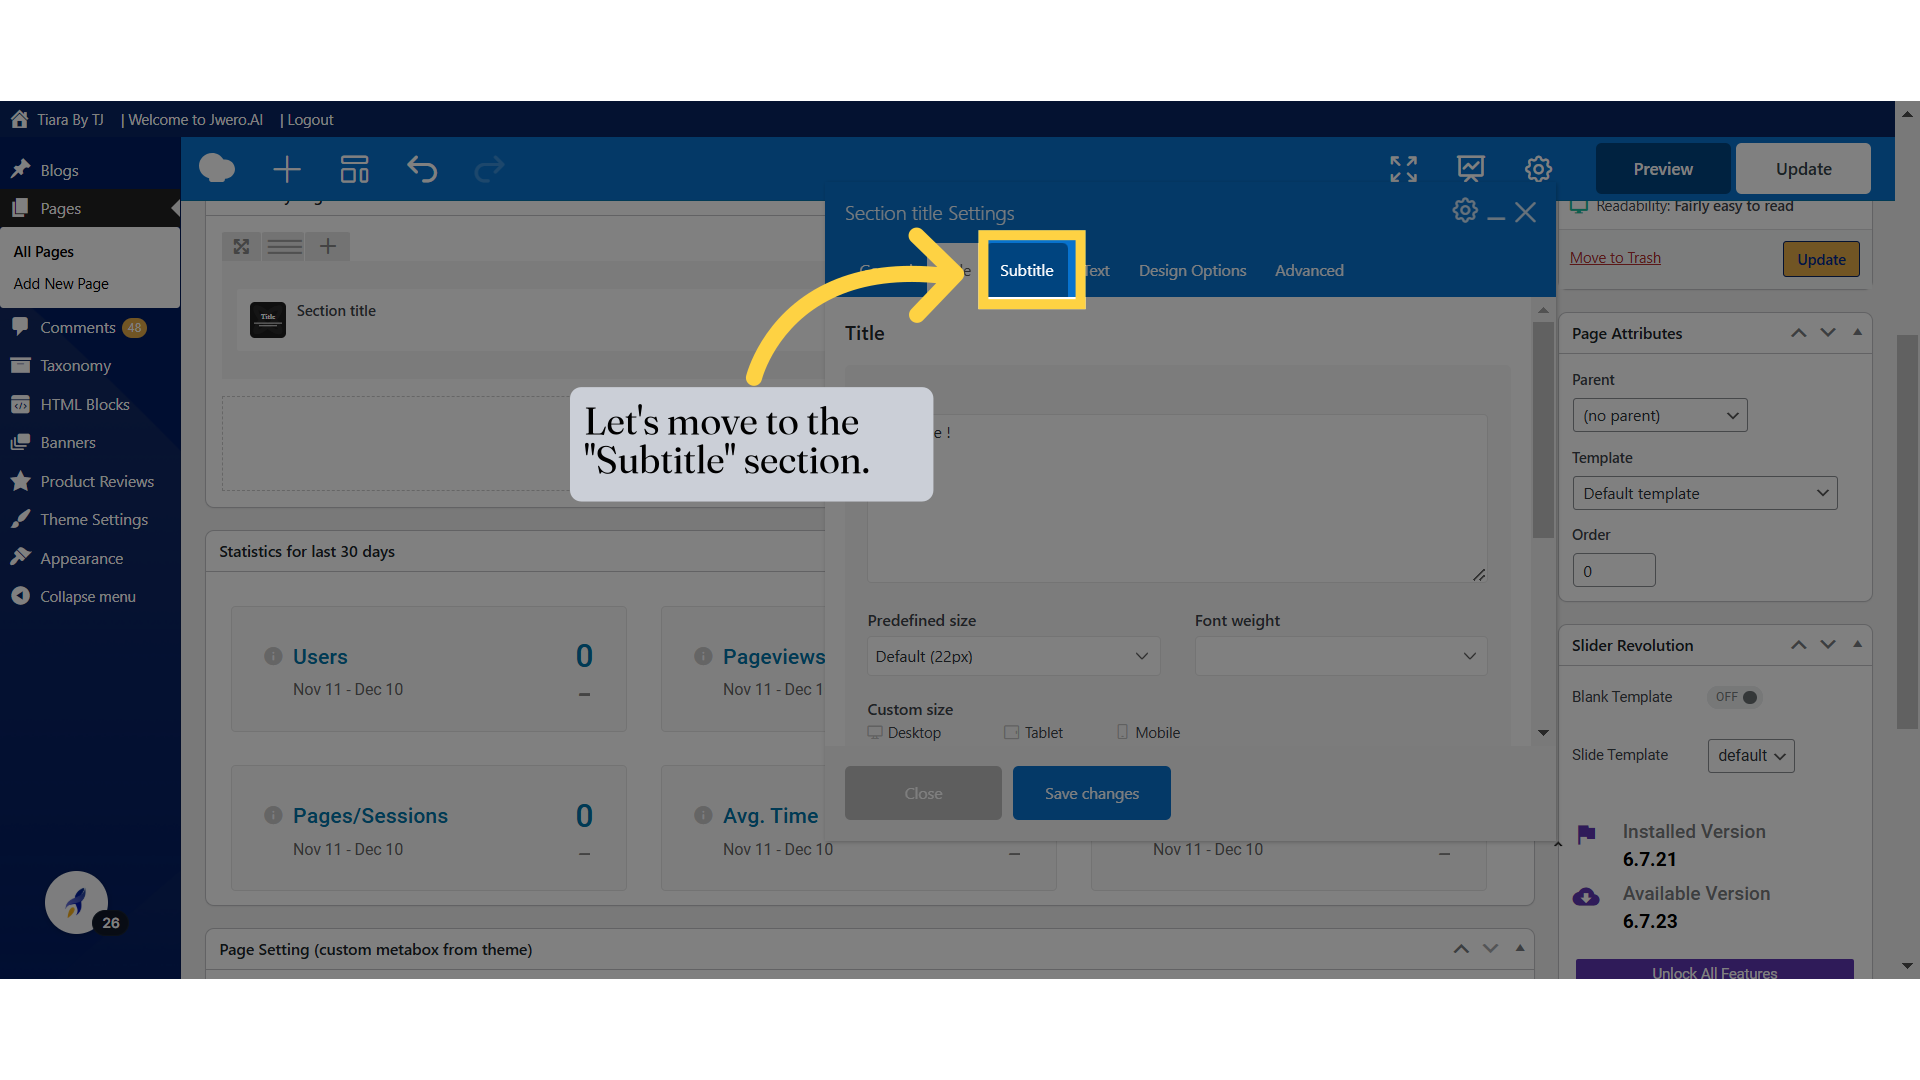
22. This is the input box where you can enter the Subtitle text for your title.
23. You can select the style for the Subtitle.
24. Let's move to the "Text" section.

25. This is the input box where you can enter the text which will appear after the title.

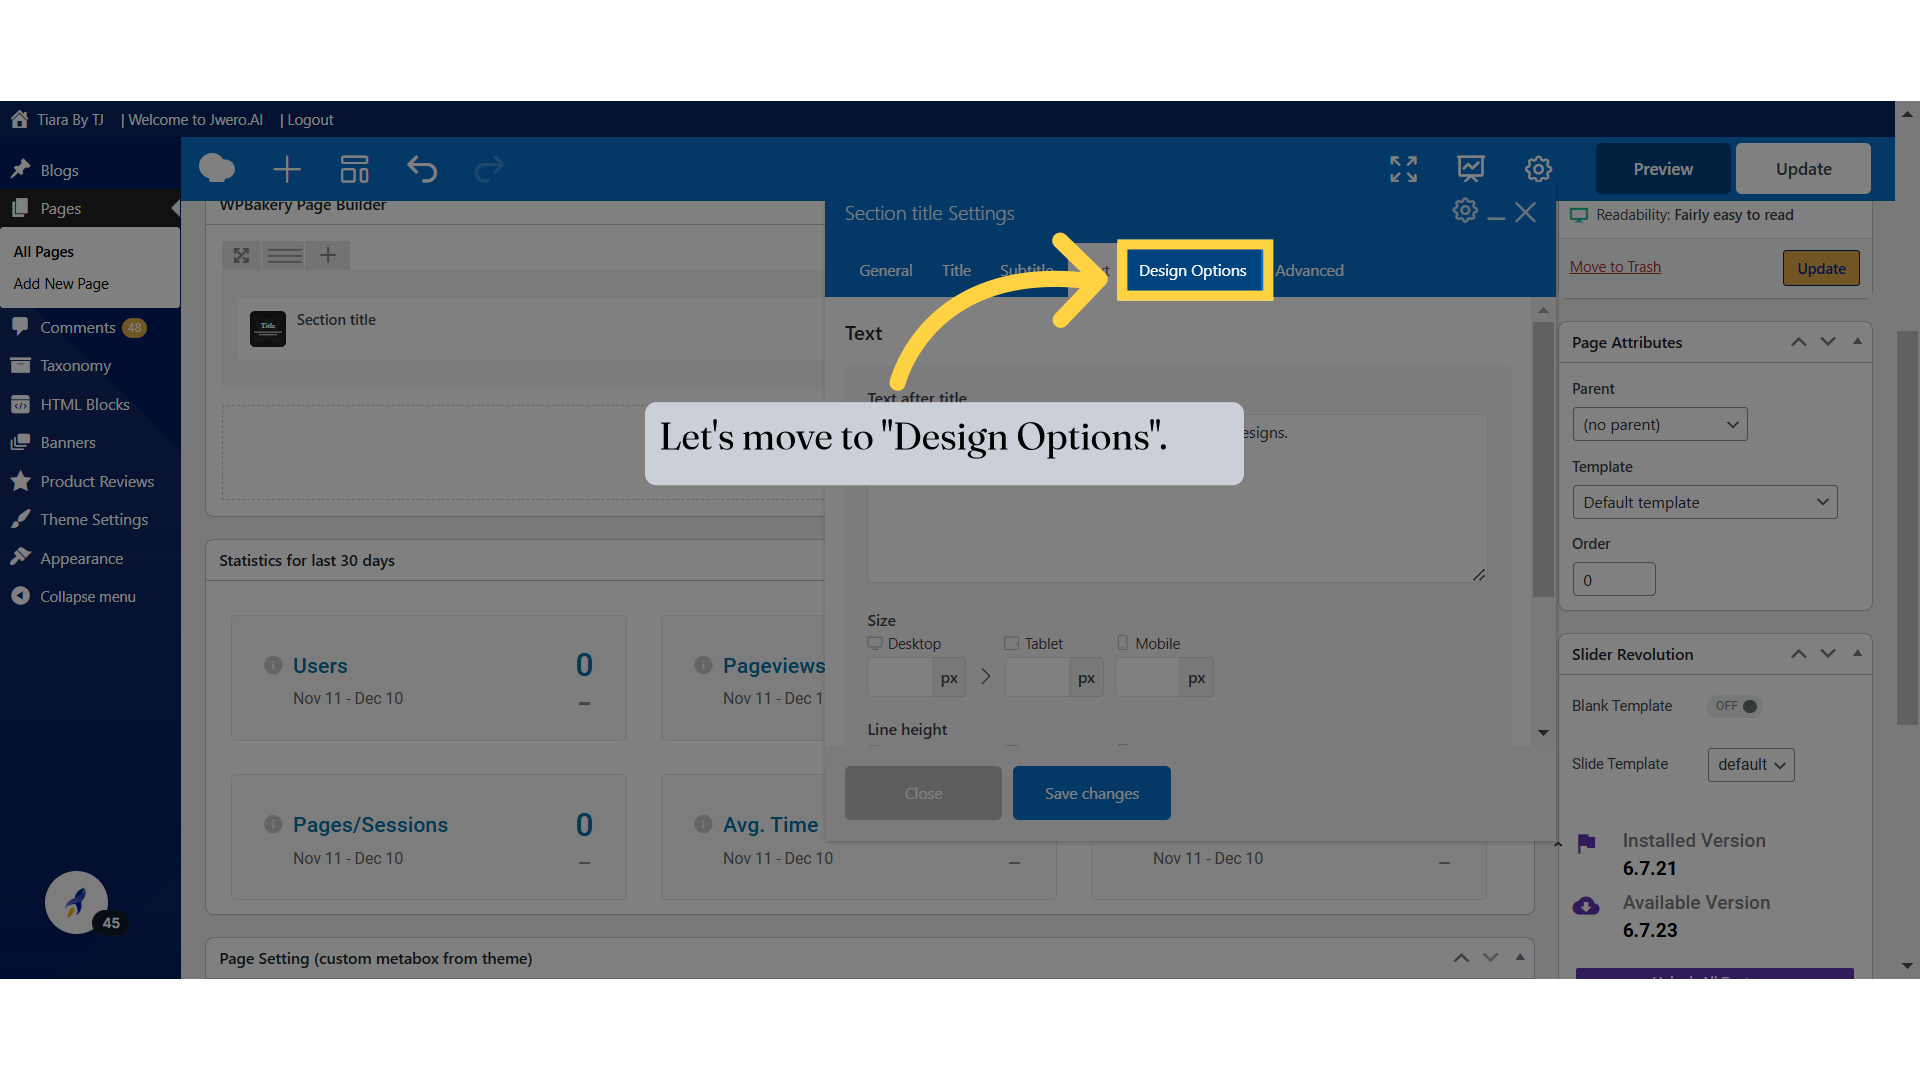
26. Let's move to "Design Options".
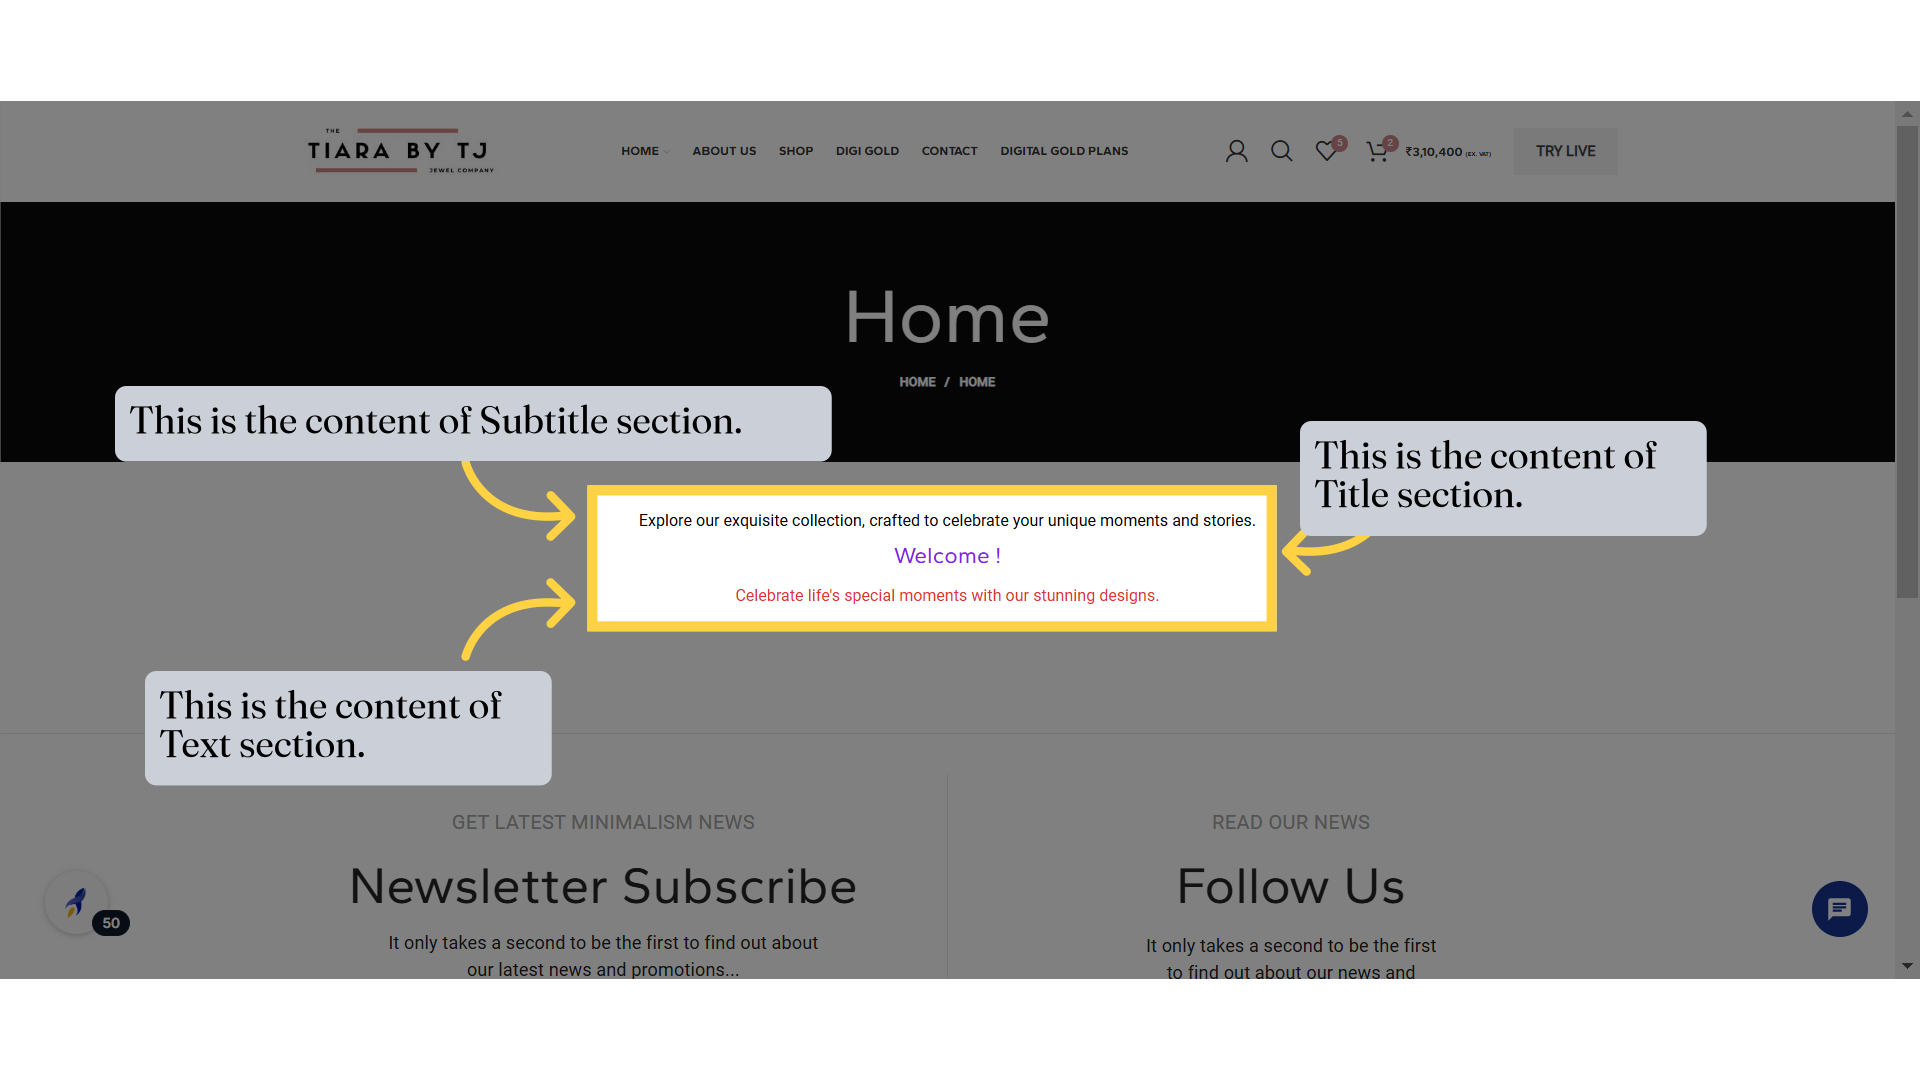
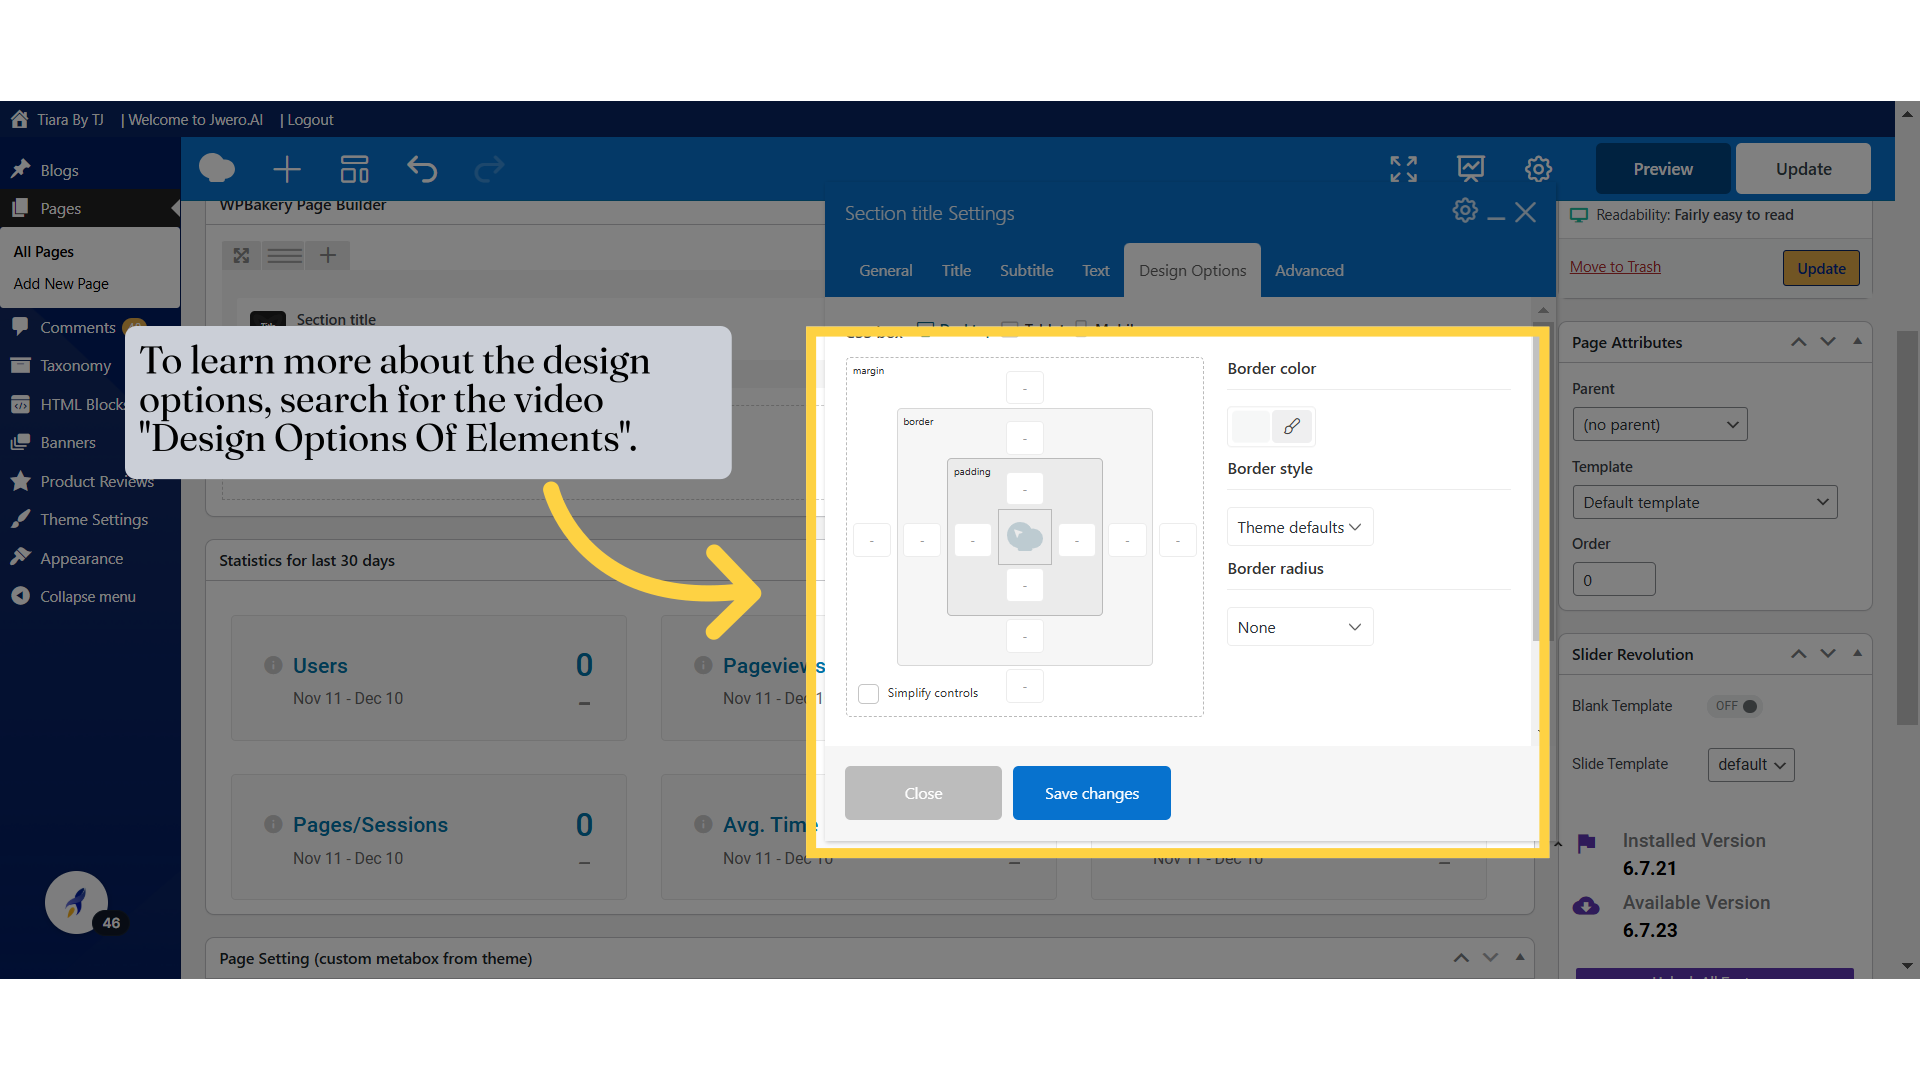
27. To learn more about the design options, search for the video "Design Options Of Elements".
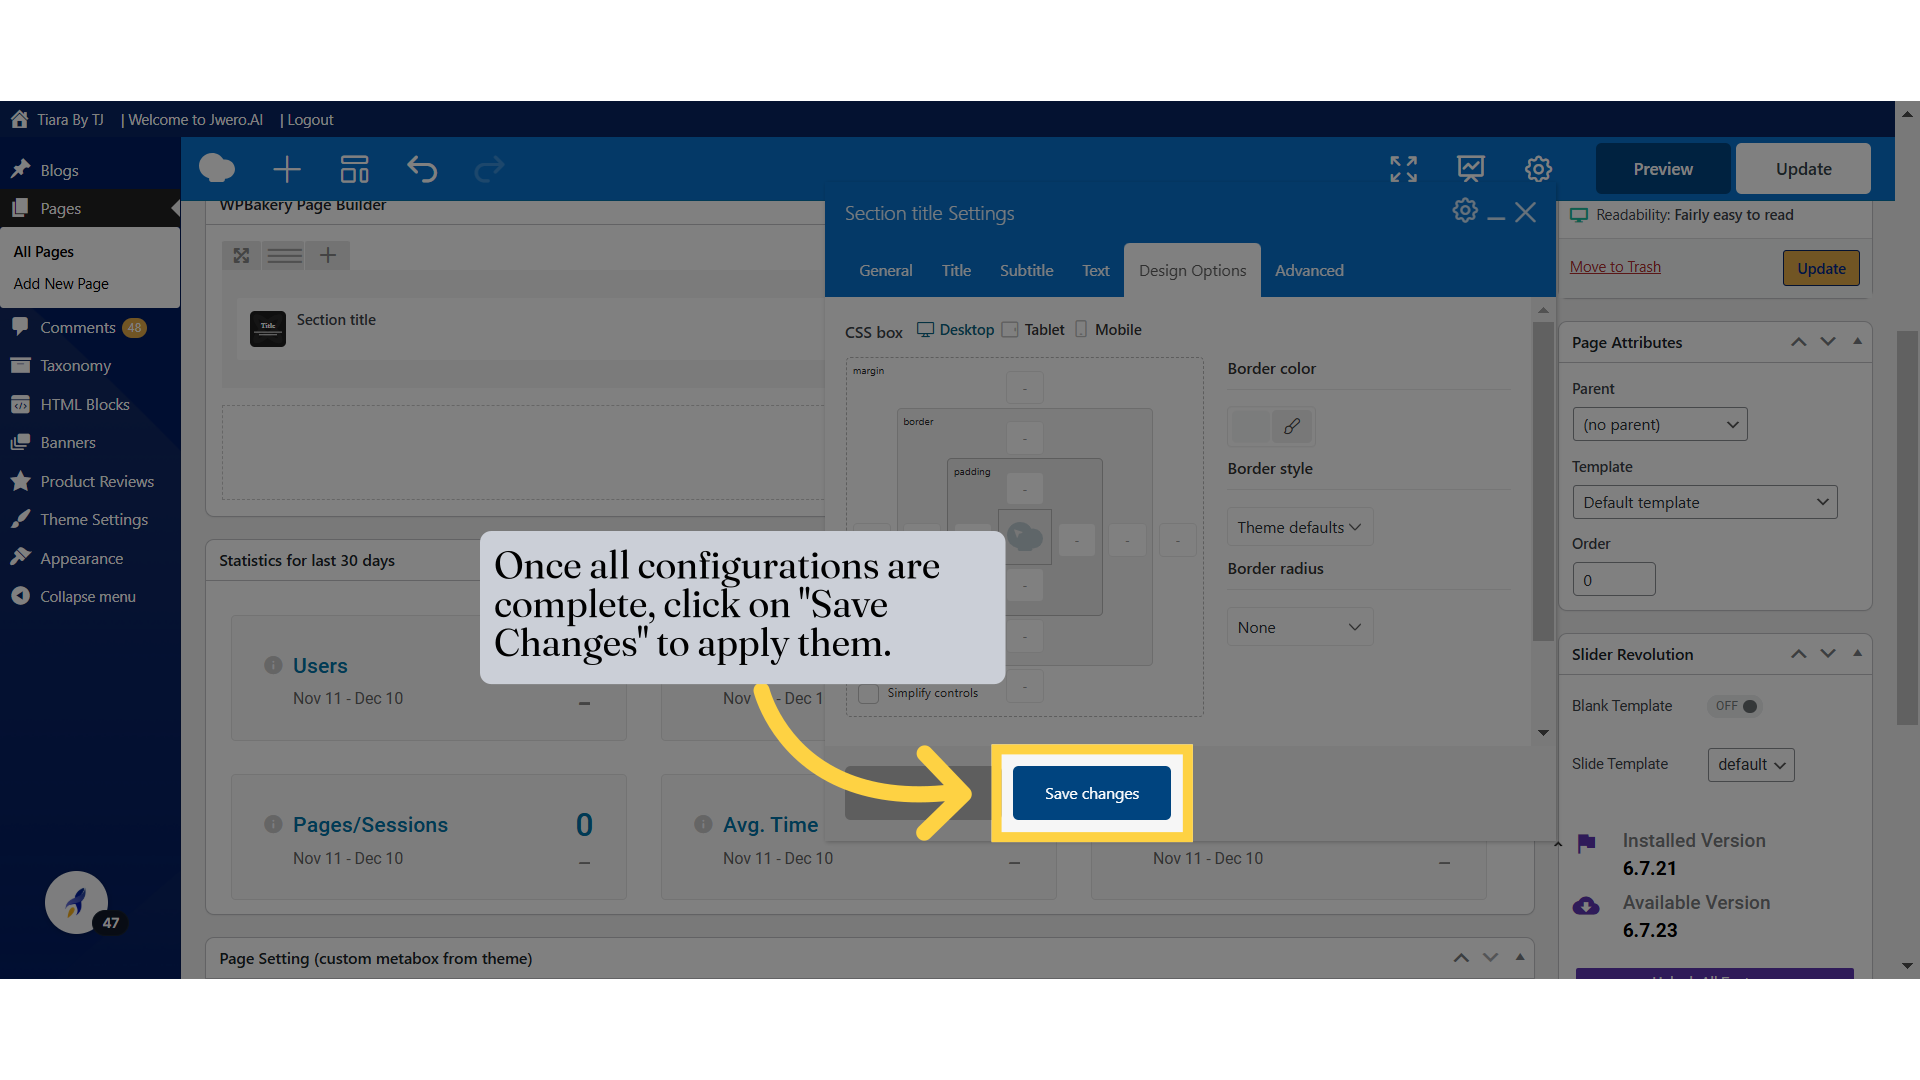
28. Once all configurations are complete, click on "Save Changes" to apply them.
29. This is how it will look on the website.