How To Create Marketing Carousel Template
1. The Carousel template
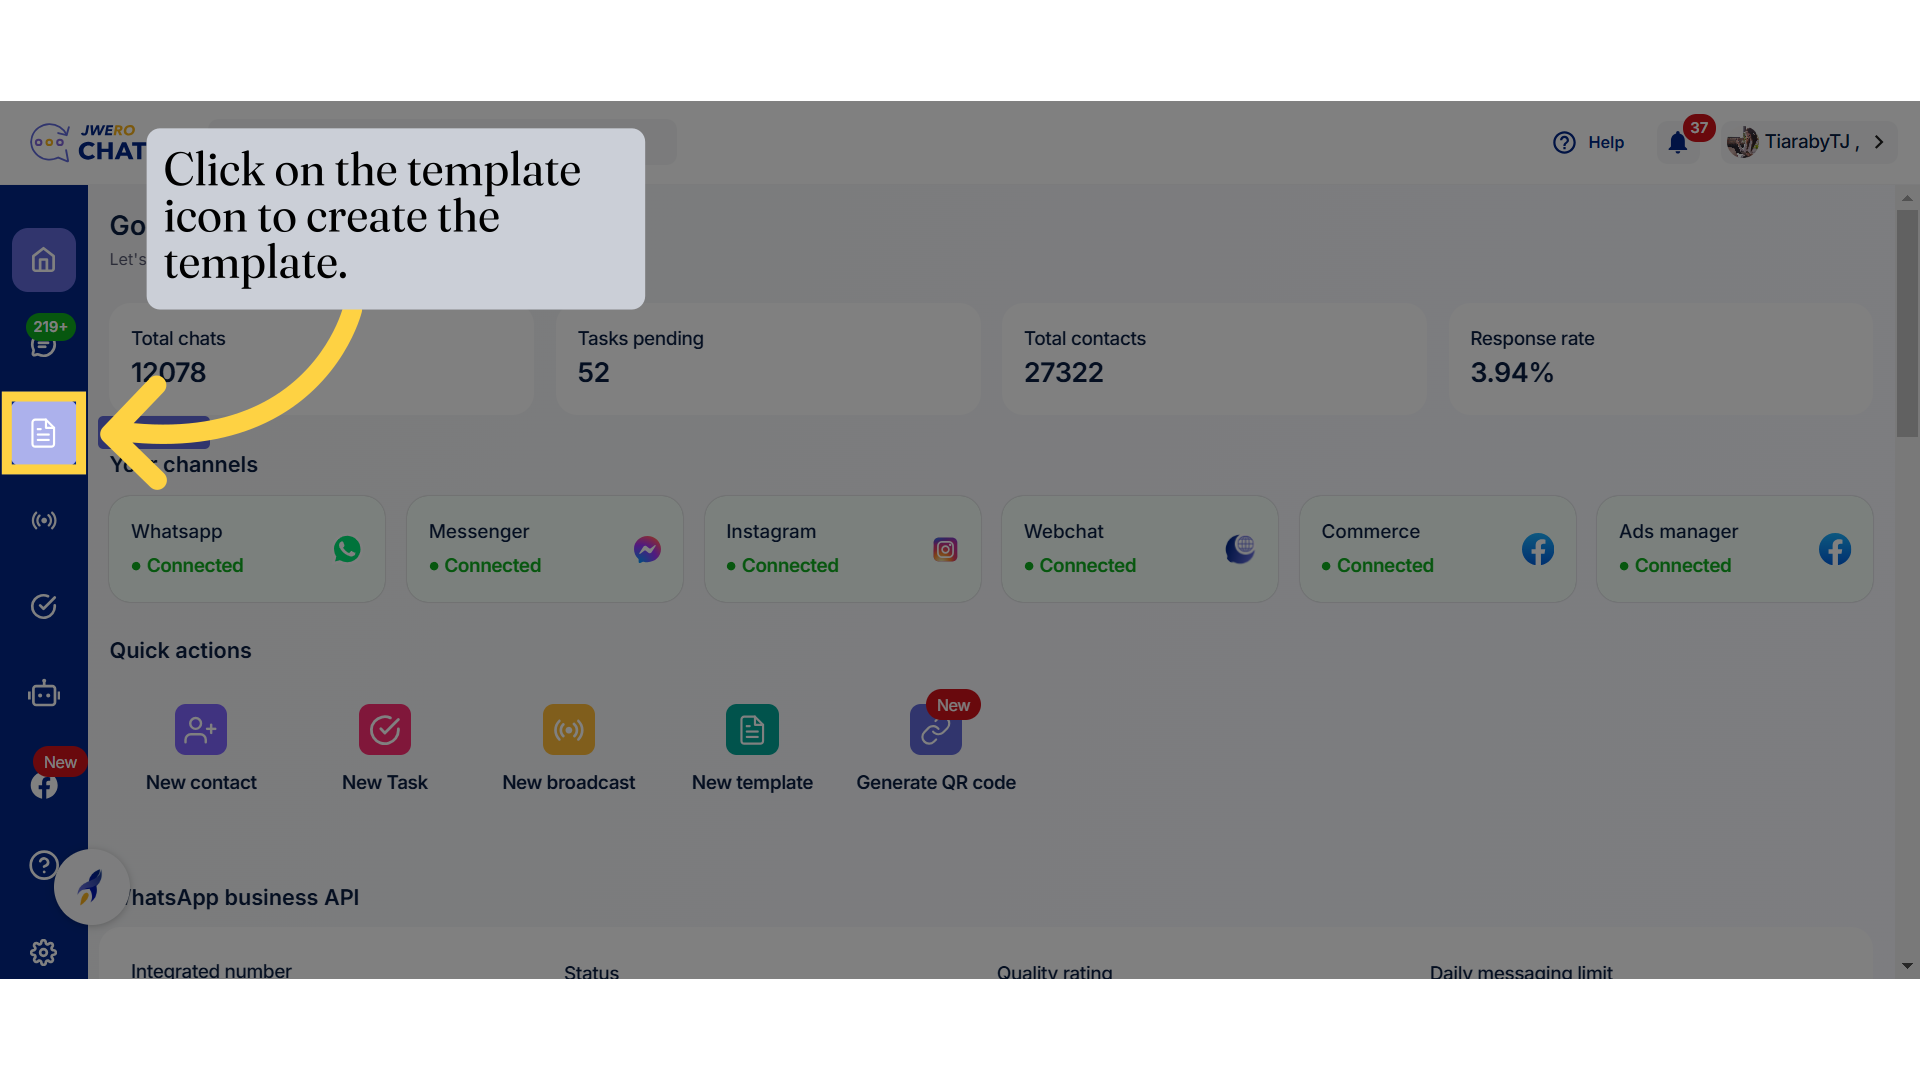
2. Click on the template icon to create the template.
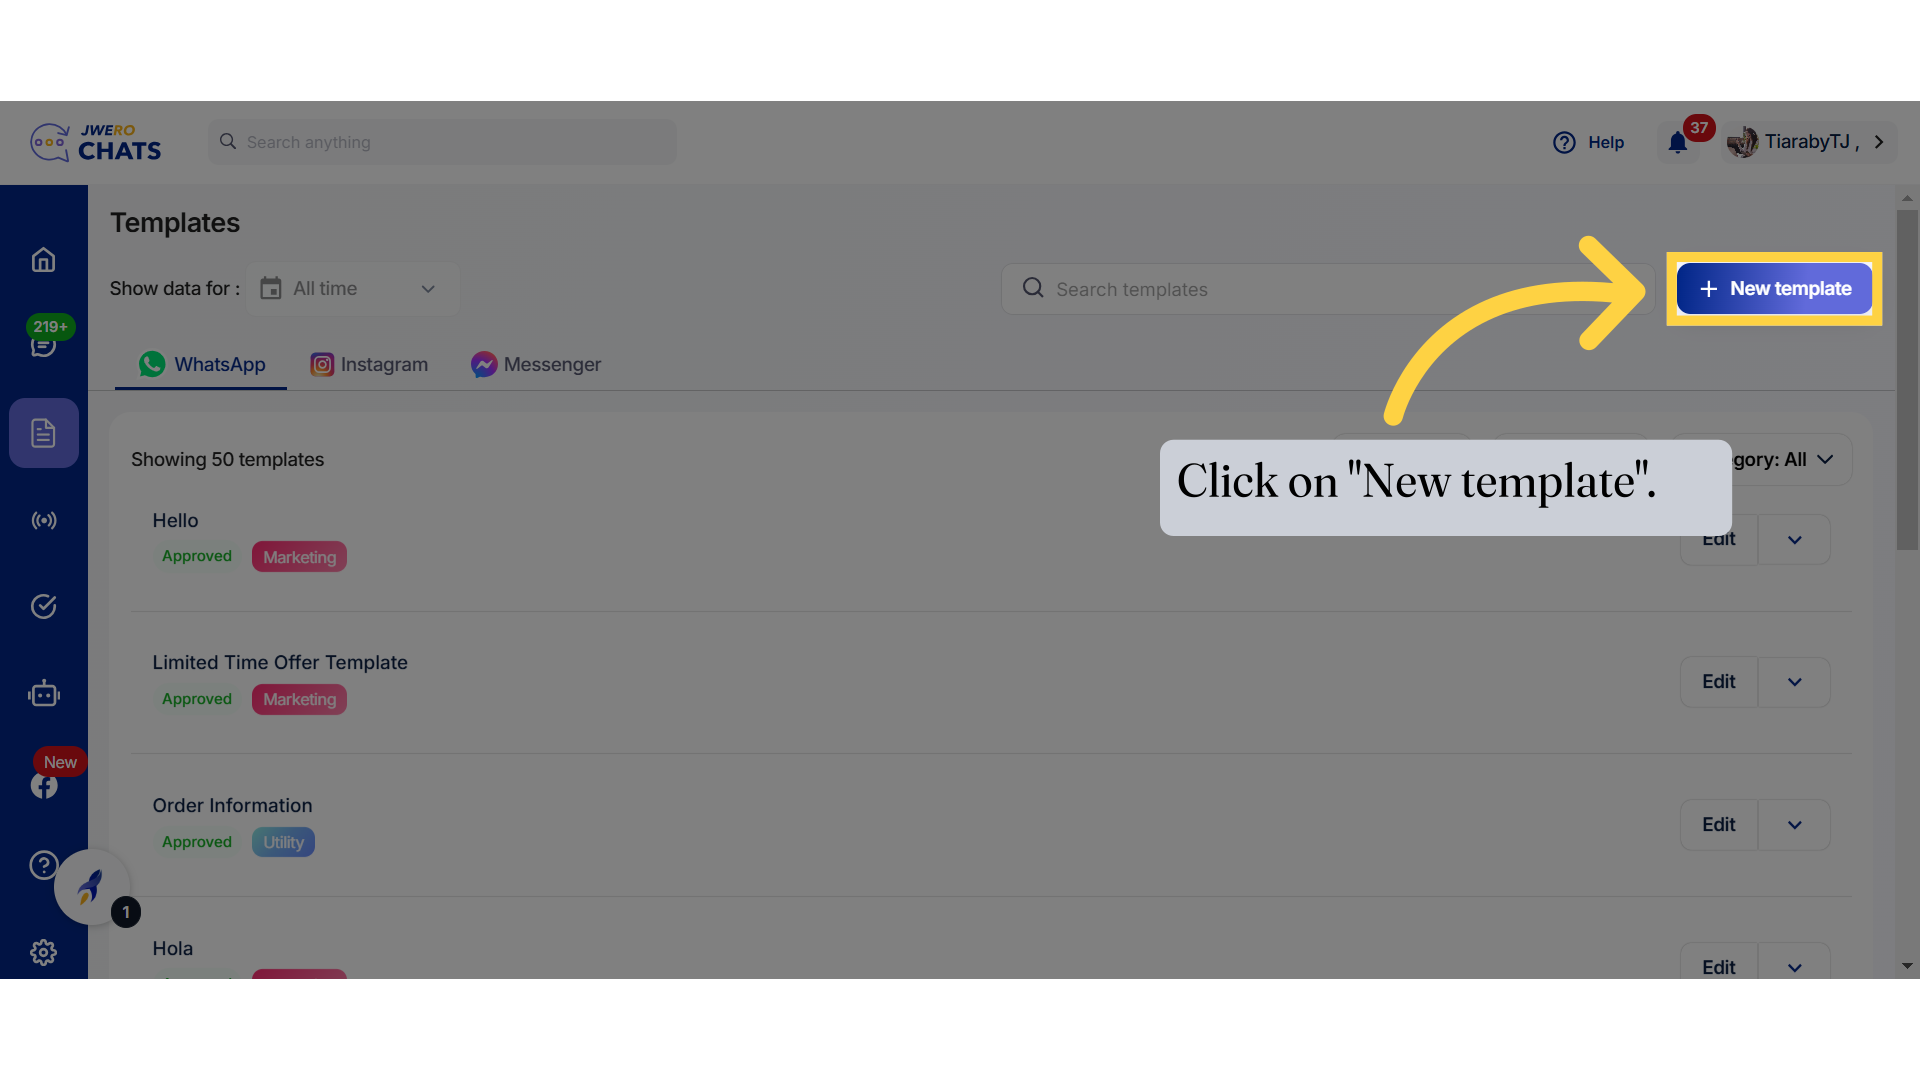
3. Click on "New template".
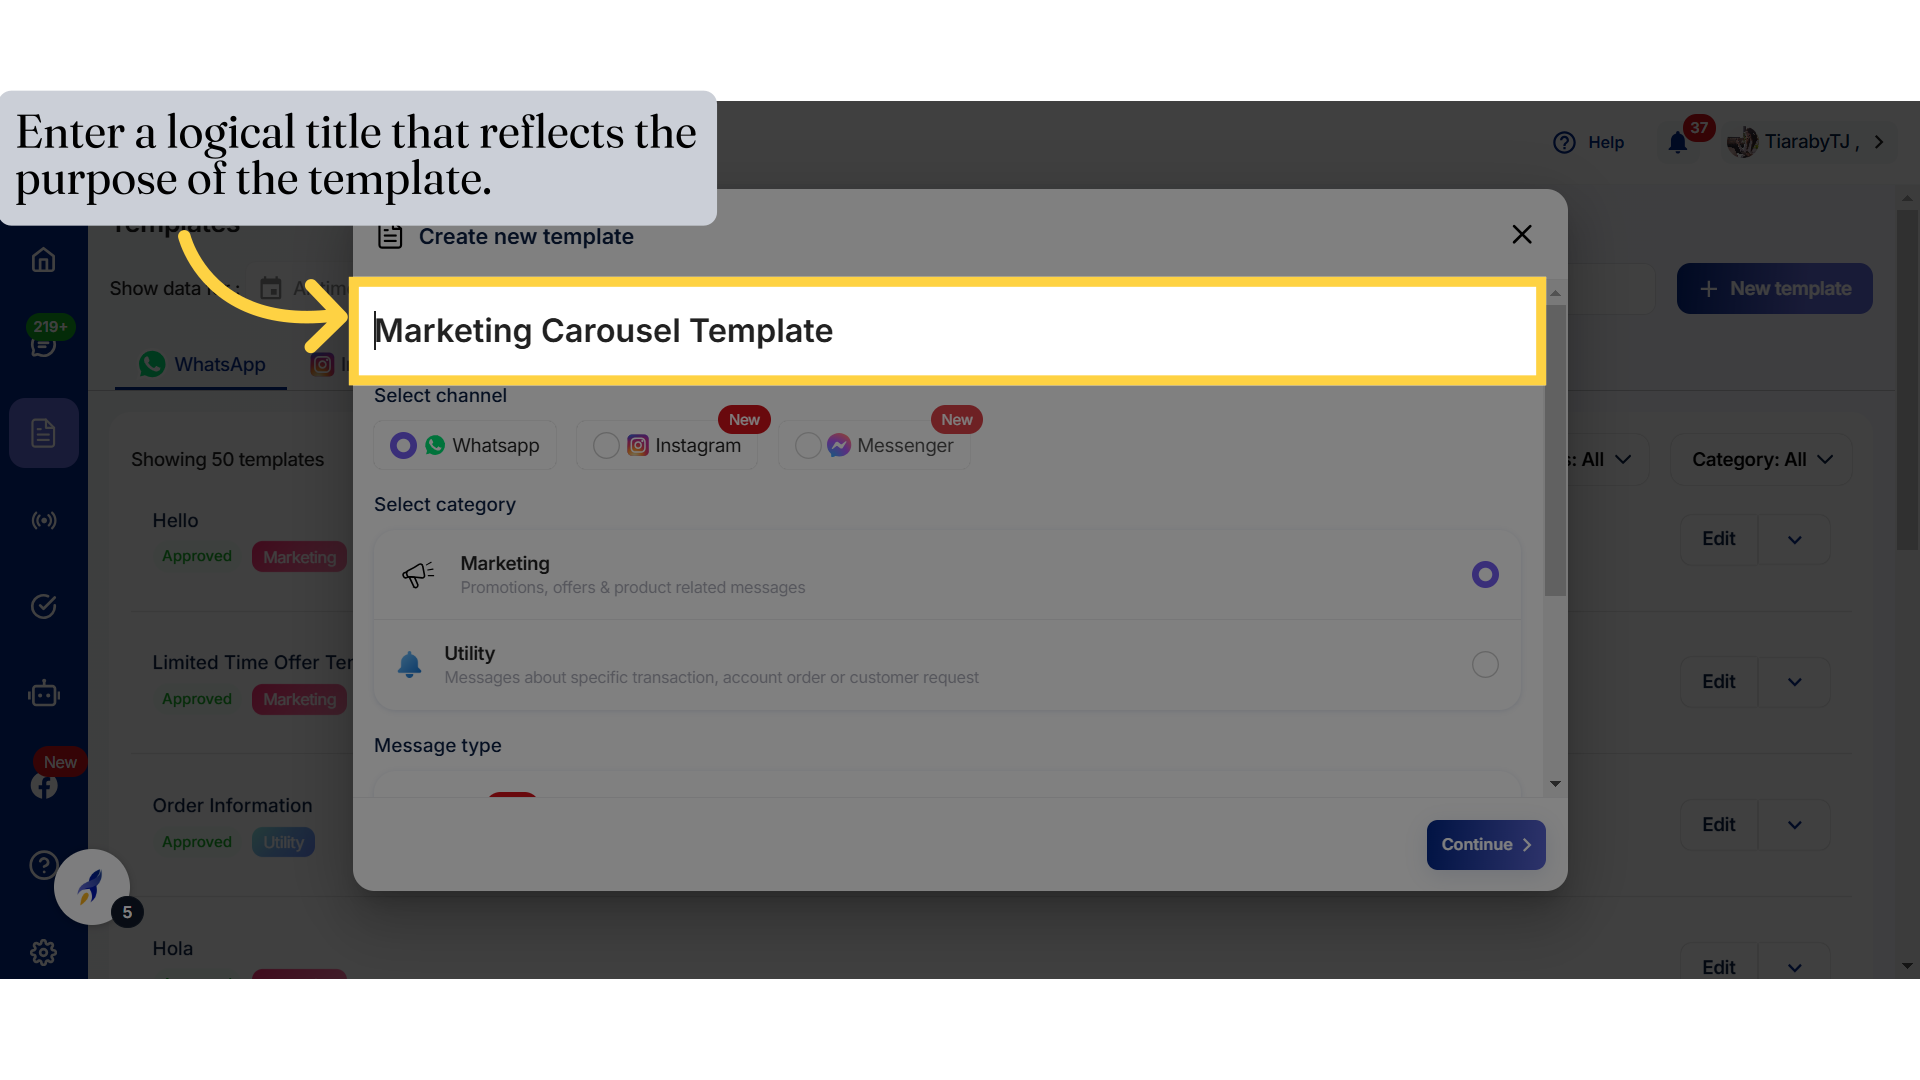
4. Enter the logical title name that reflects the purpose of the template.
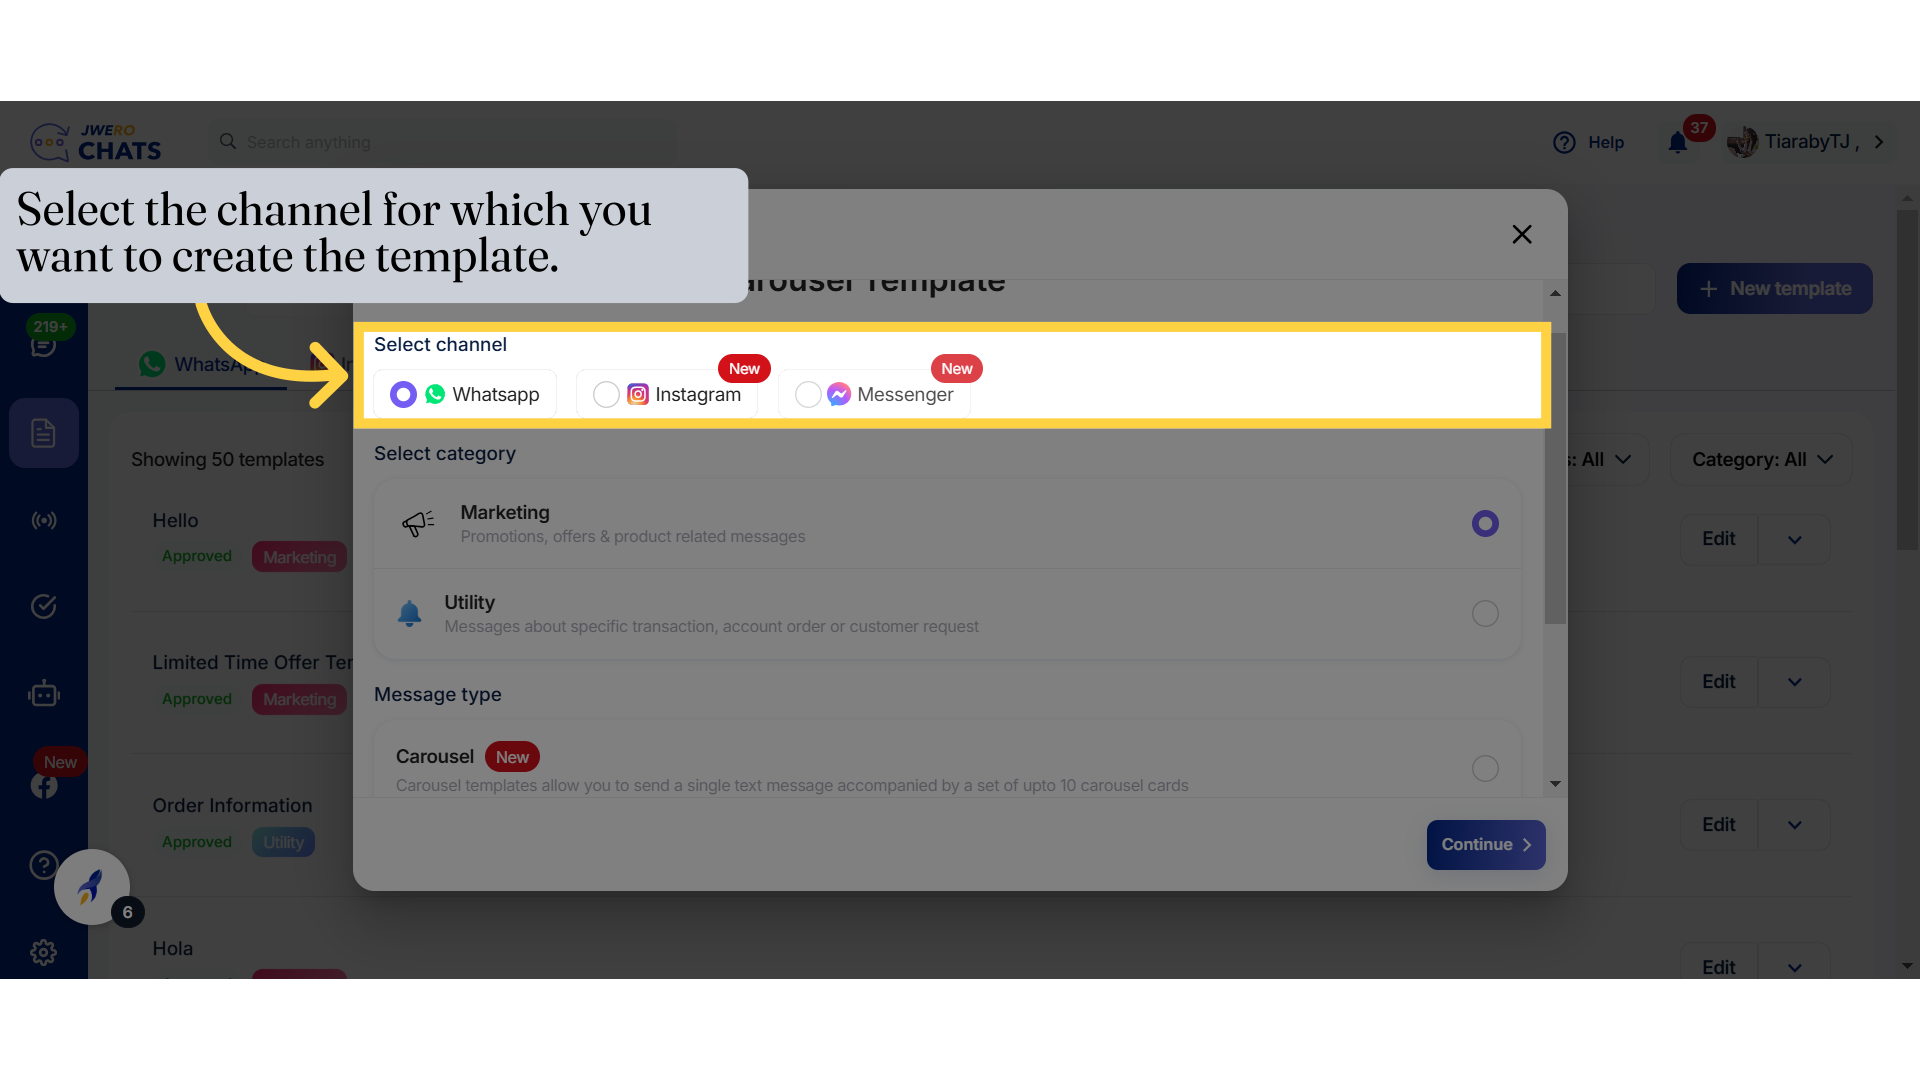
5. Select channel
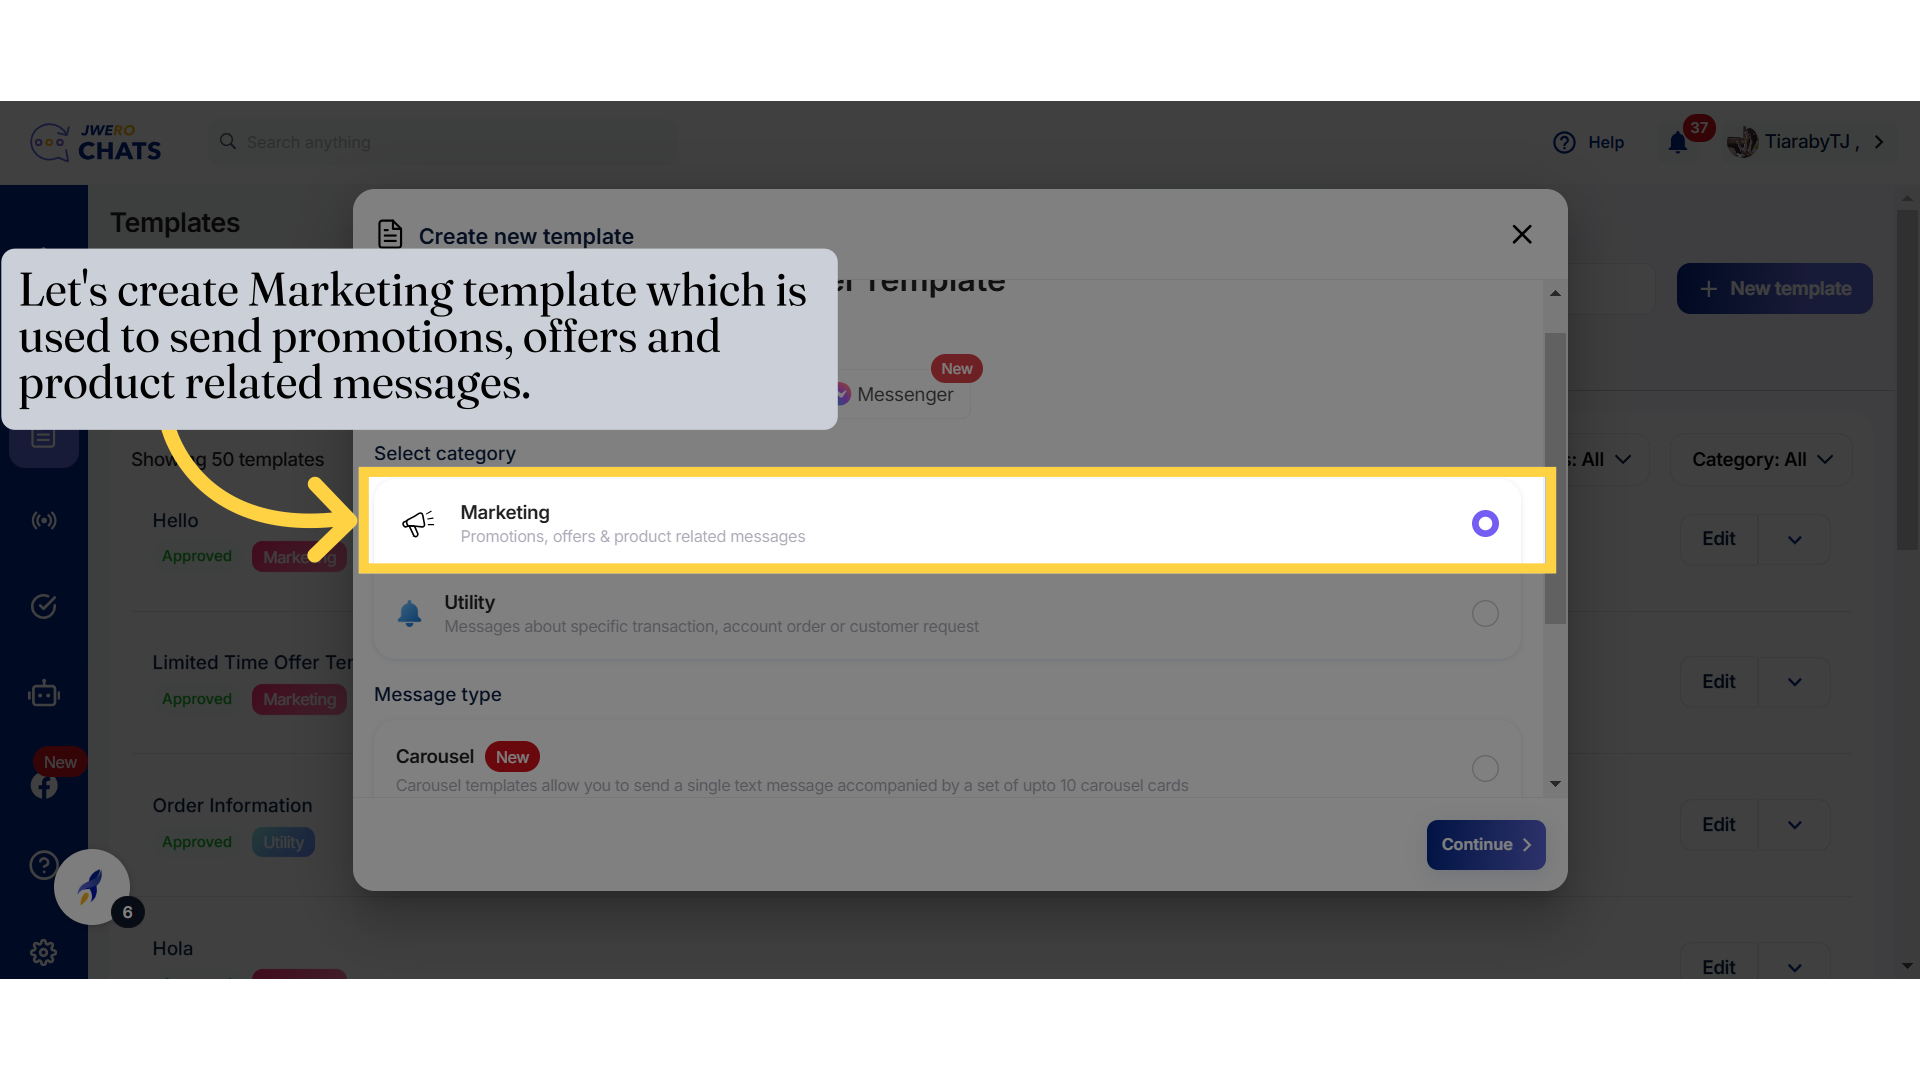
6. Select category
Marketing :
To promote products, services, offers, or deals.
To engage users with campaigns or announcements.
Example : Get 20% off on your next purchase!
Utility :
To provide users with important updates or information related to their transactions, accounts, or service requests.
Ensures users receive timely and relevant updates regarding their interactions with the business.
Example : Your support ticket has been resolved.
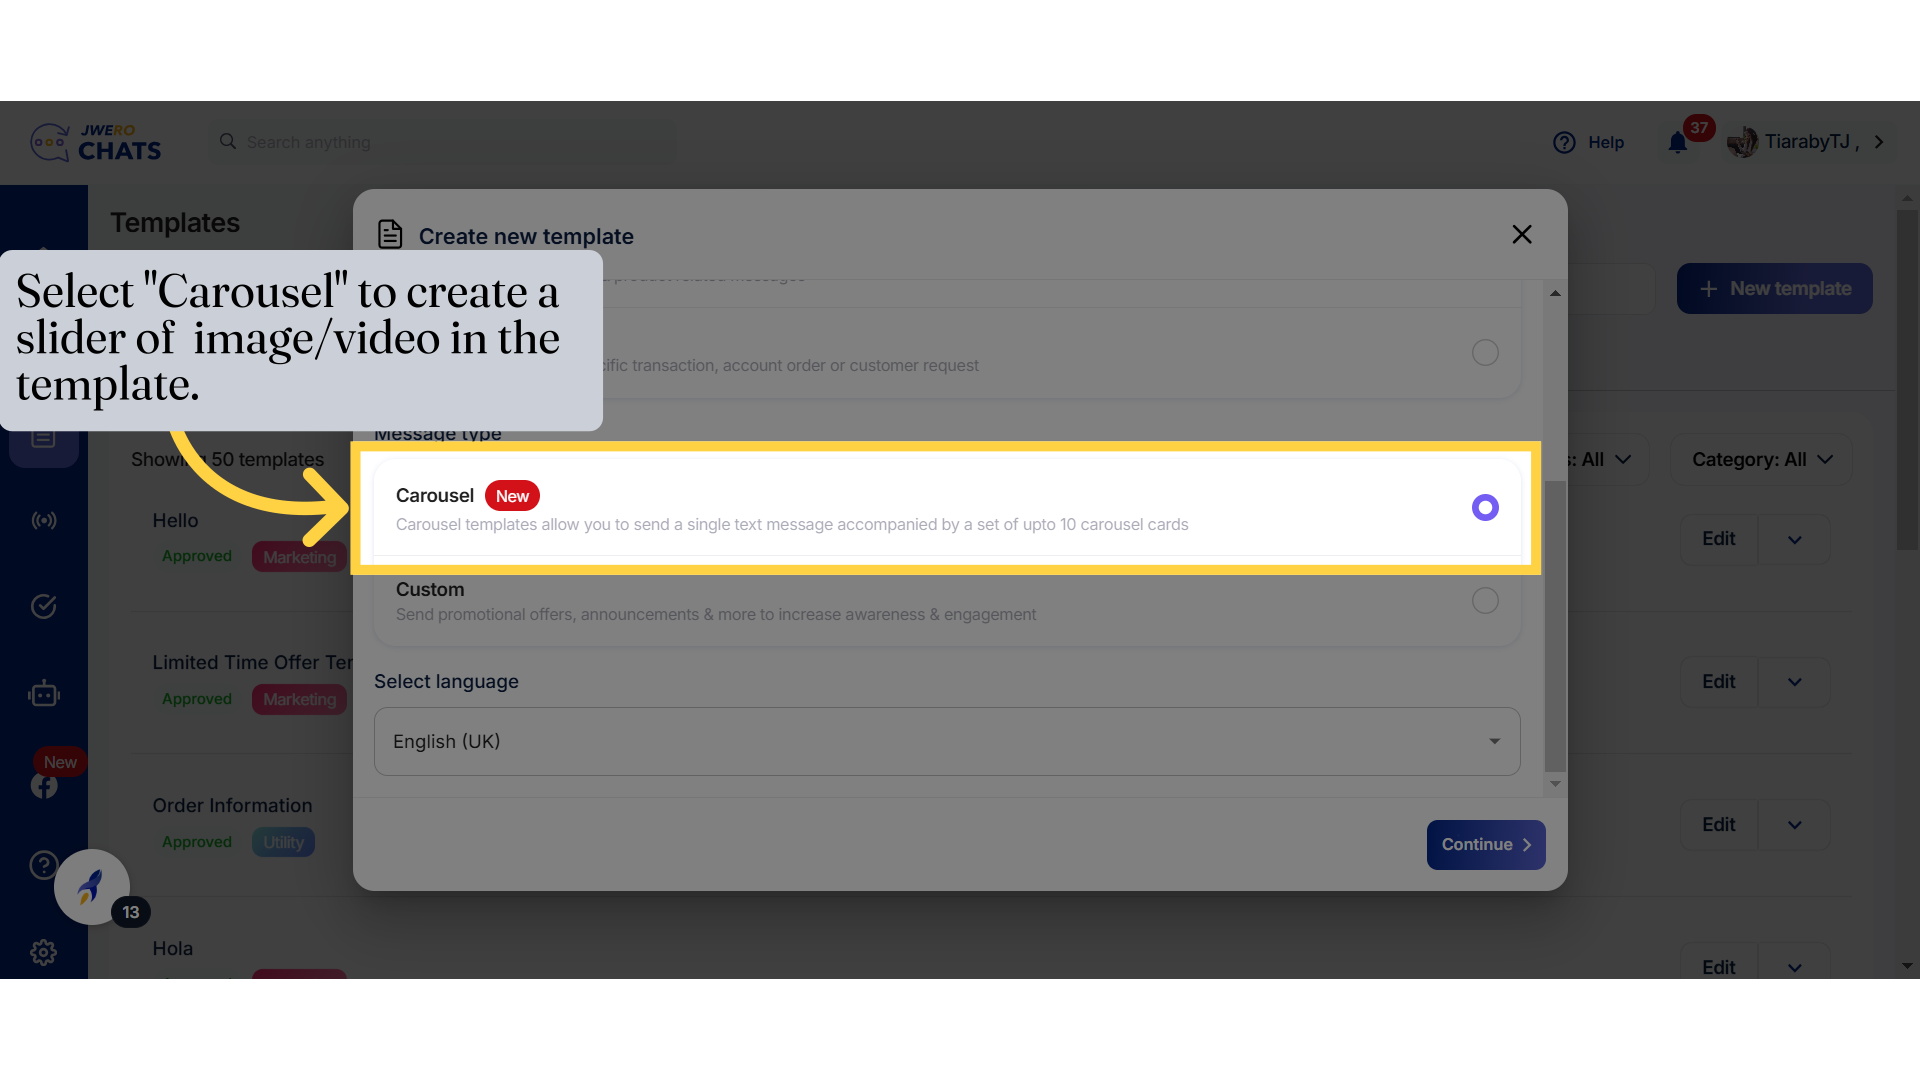
7. Select "Carousel" to create a slider of image/video in the template.
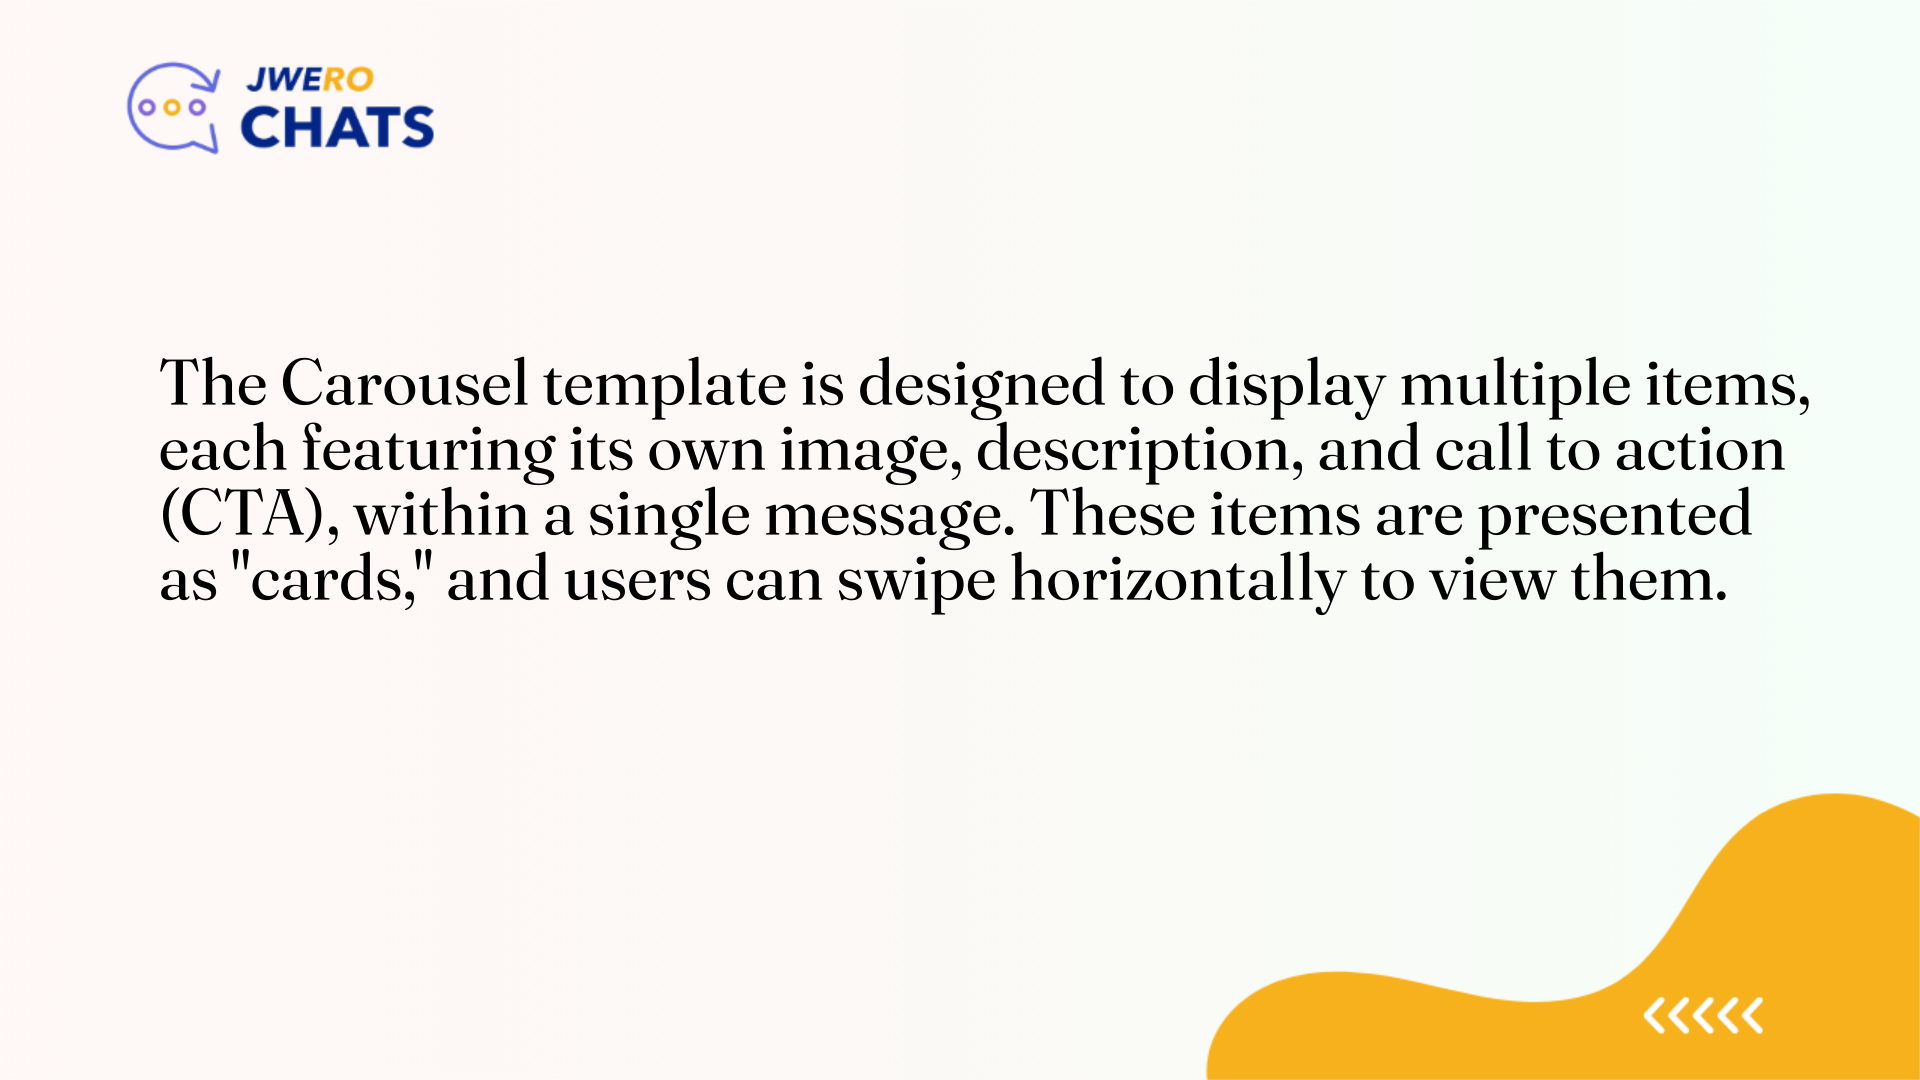
A Carousel Template is a structured message format that combines:
A single text message: Typically provides context or an introduction.
Carousel Cards: A series of scrollable "cards," each containing rich content like images, text, and buttons.
8. Language
Select the language you prefer.
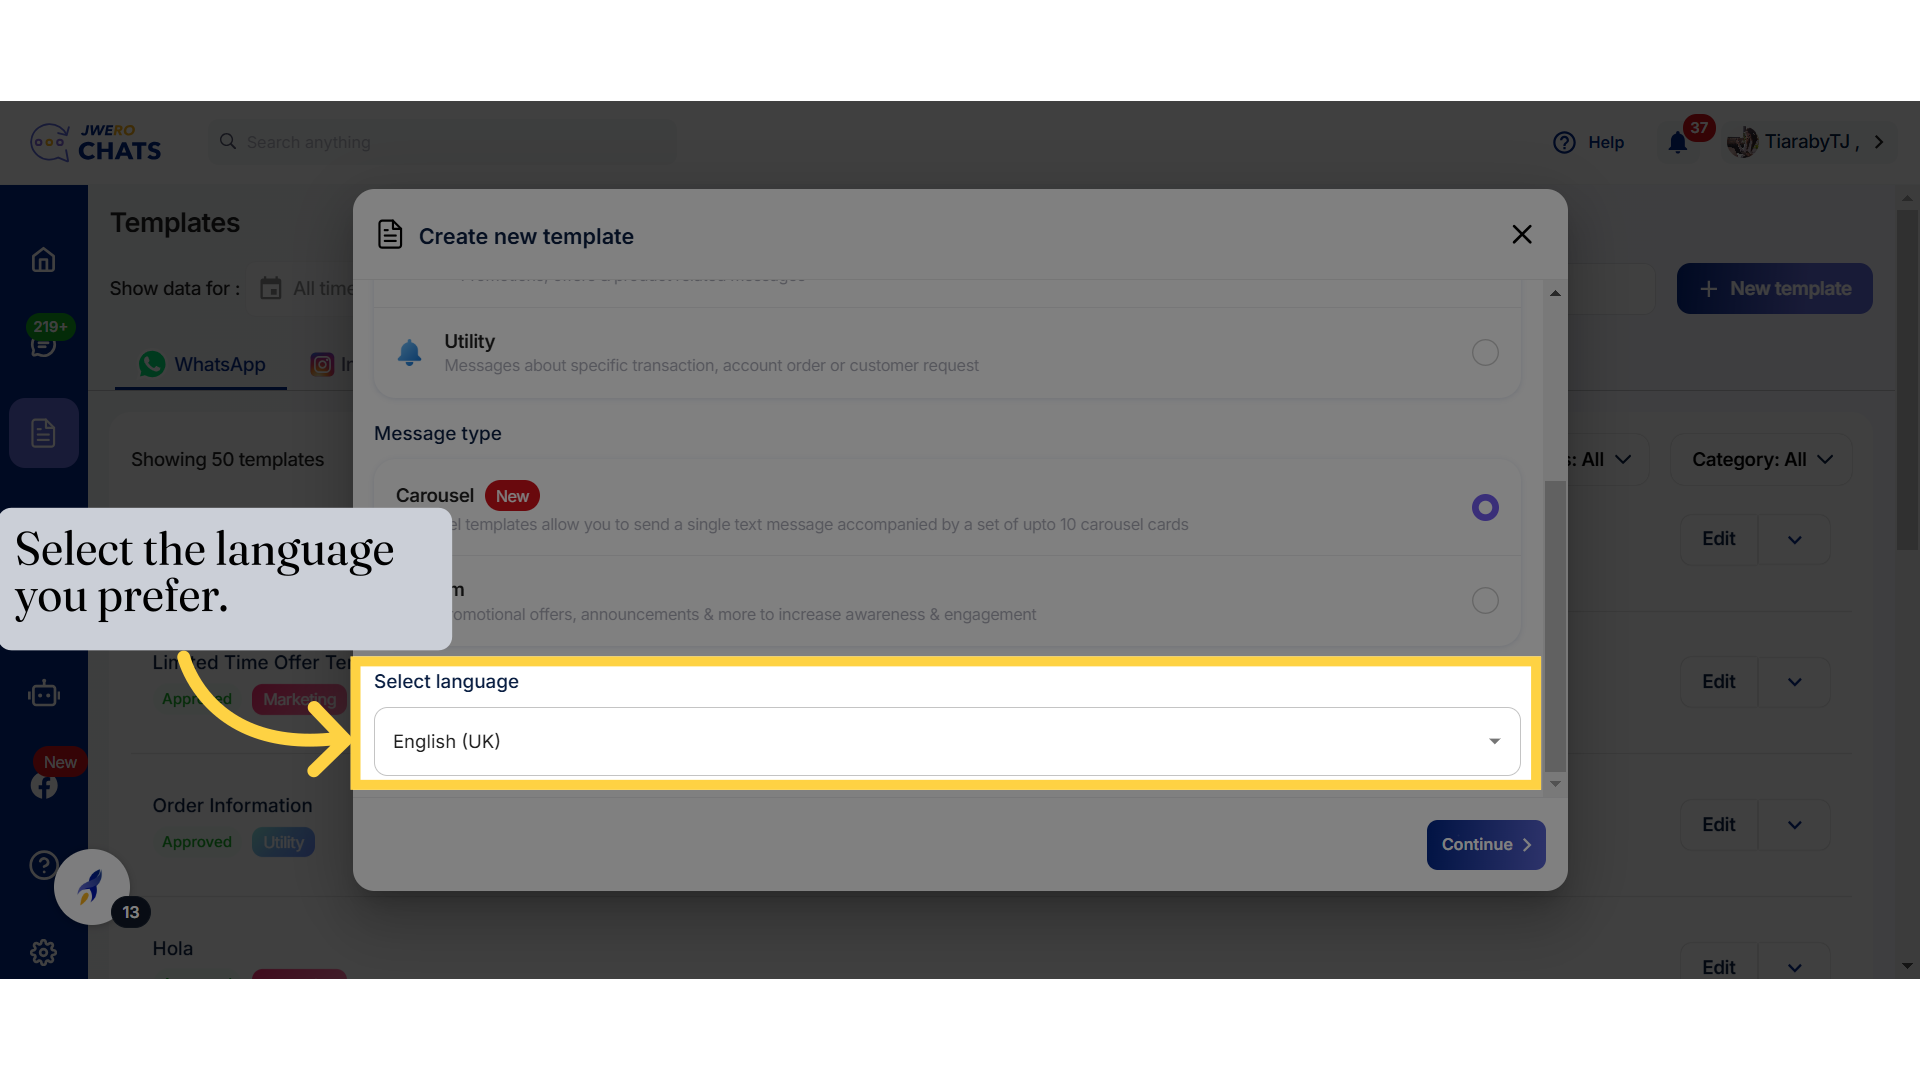
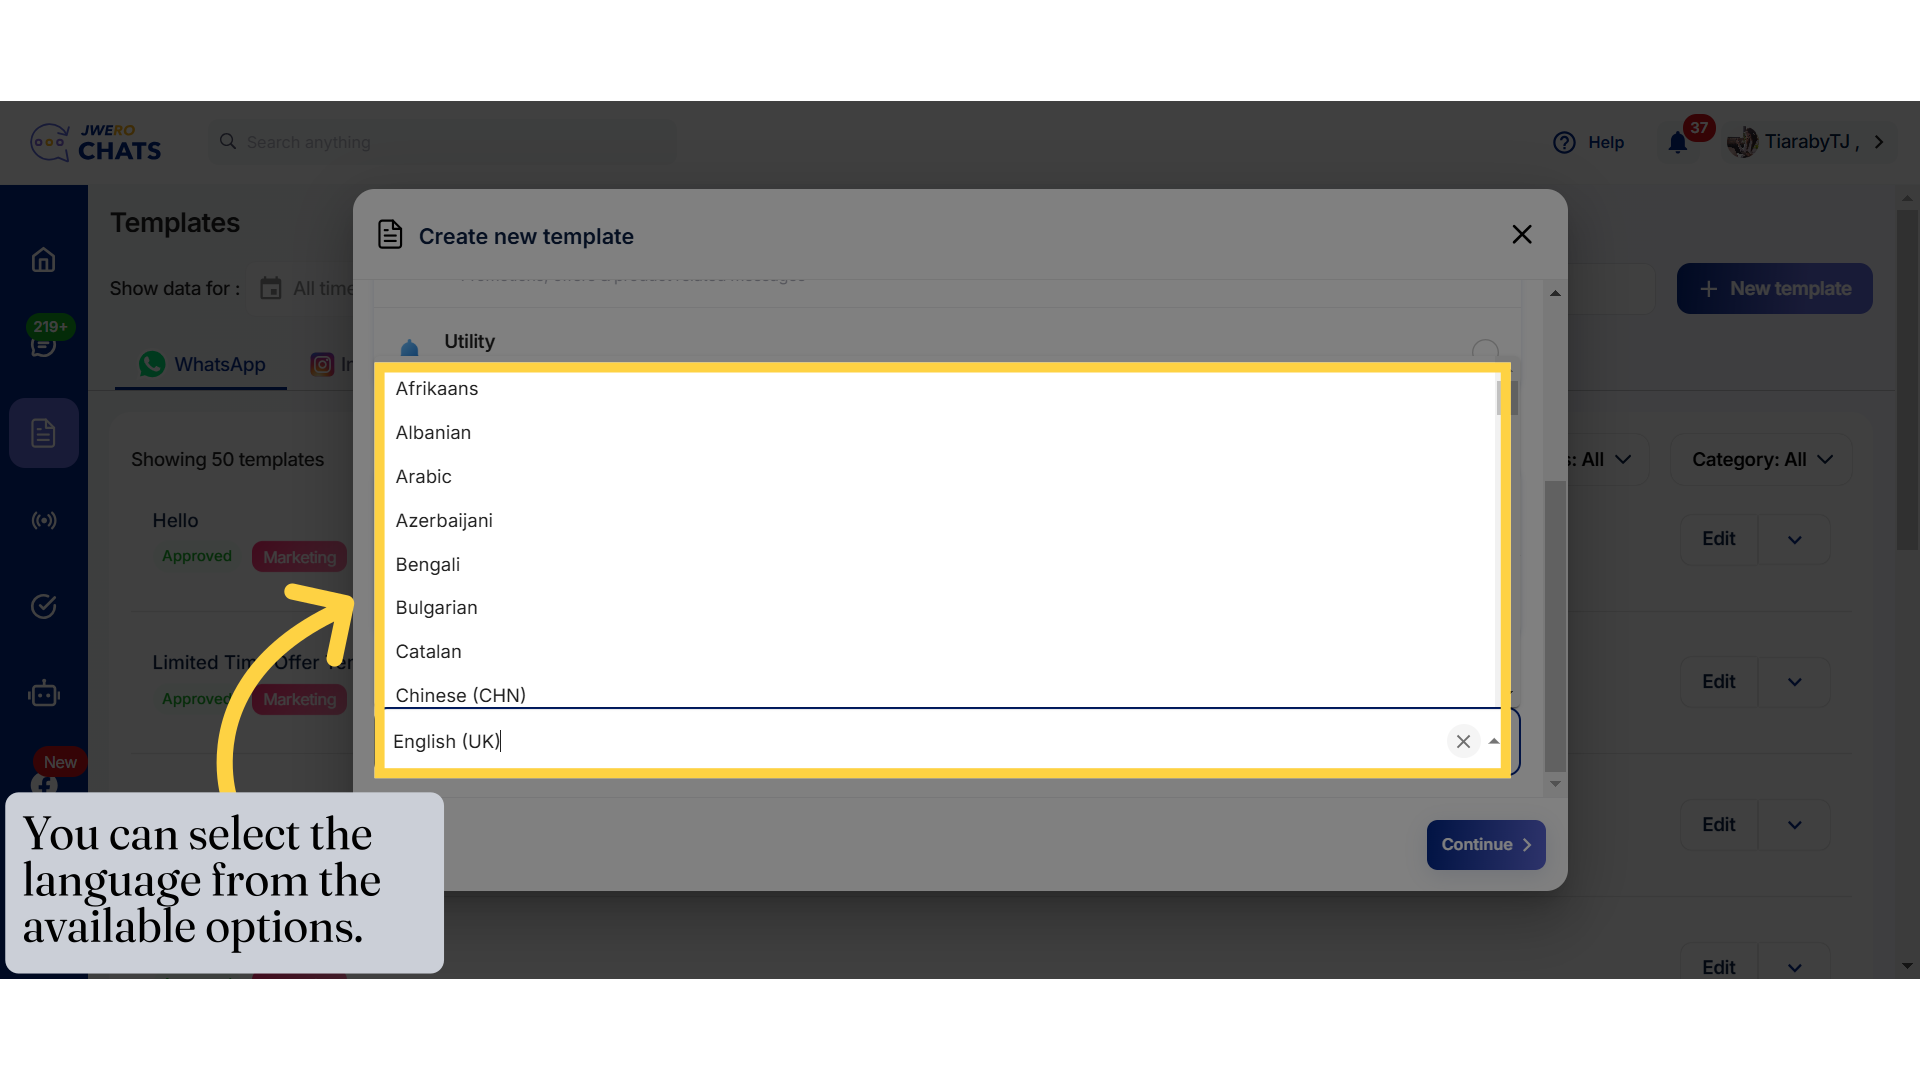
9. You can select the language from the available options.
10. Click on "Continue" to design the template.

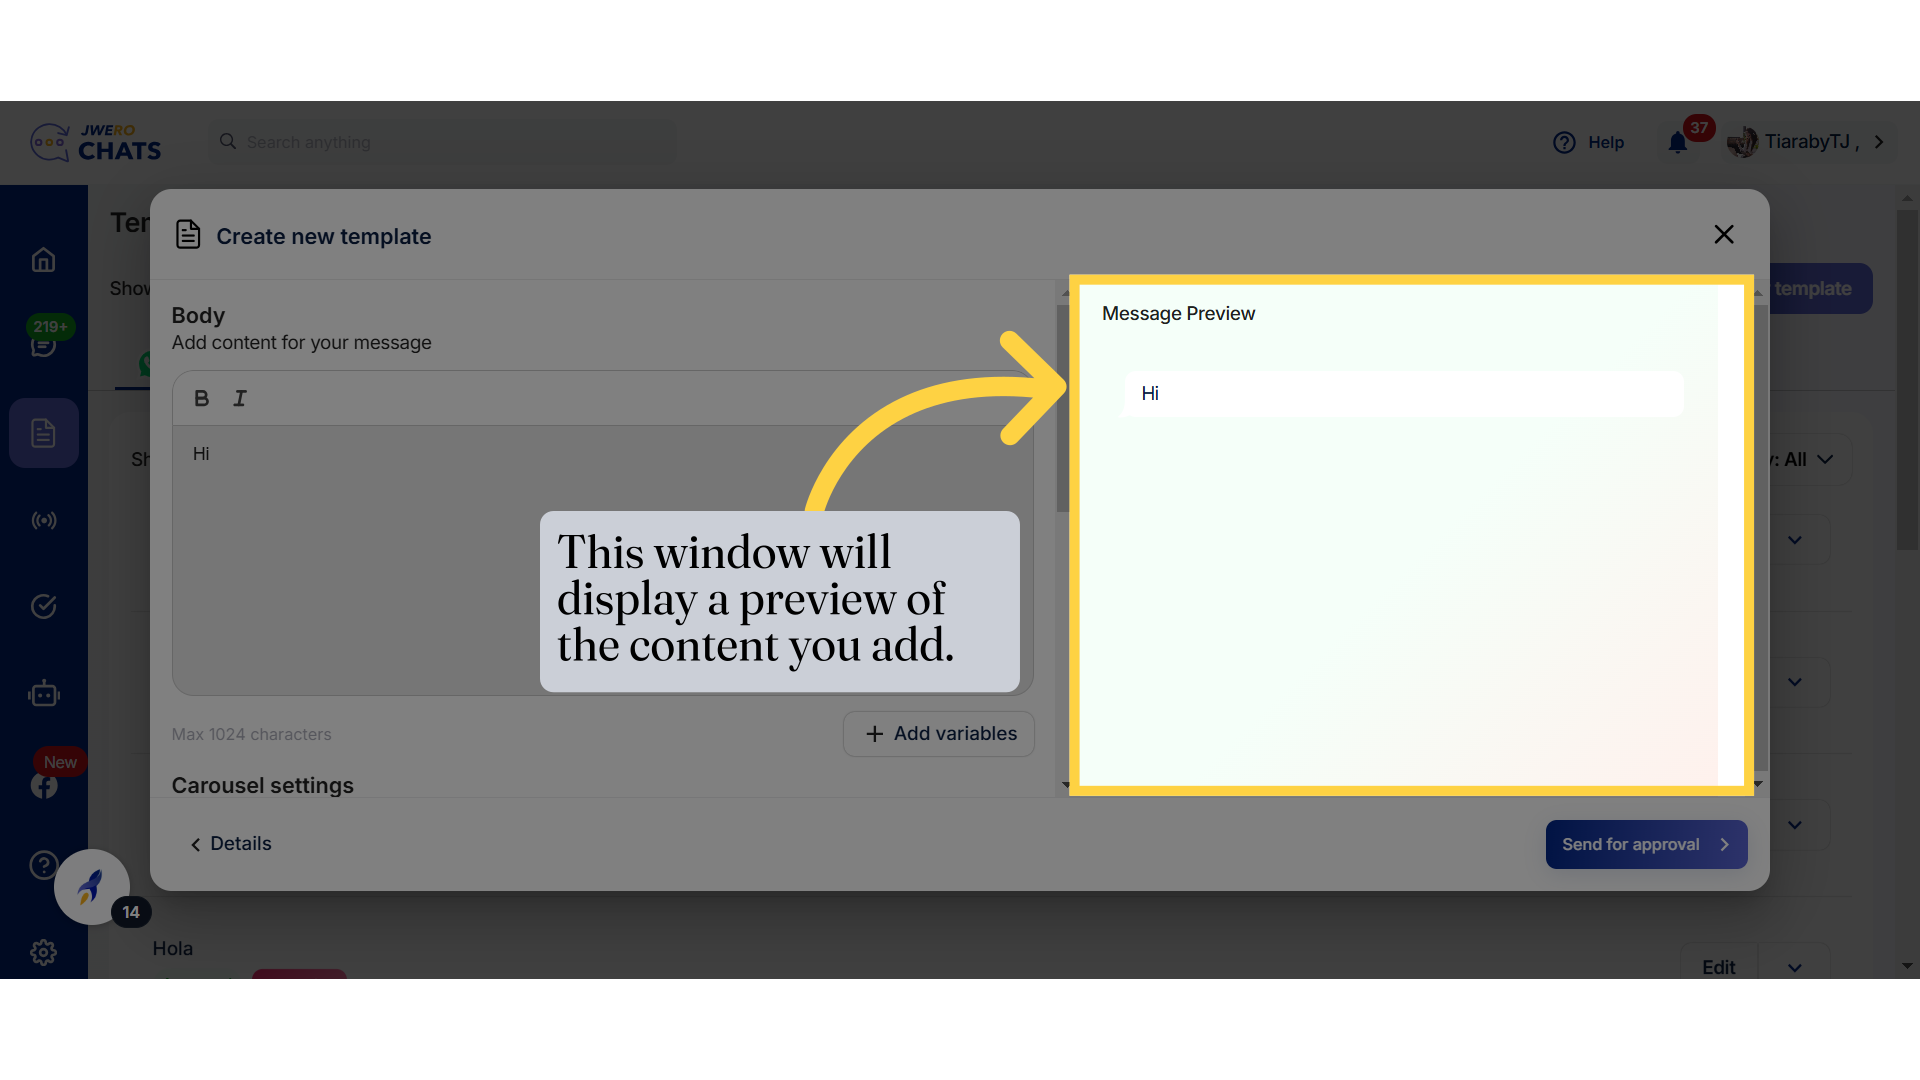
11. This window will display a preview of the content you add.
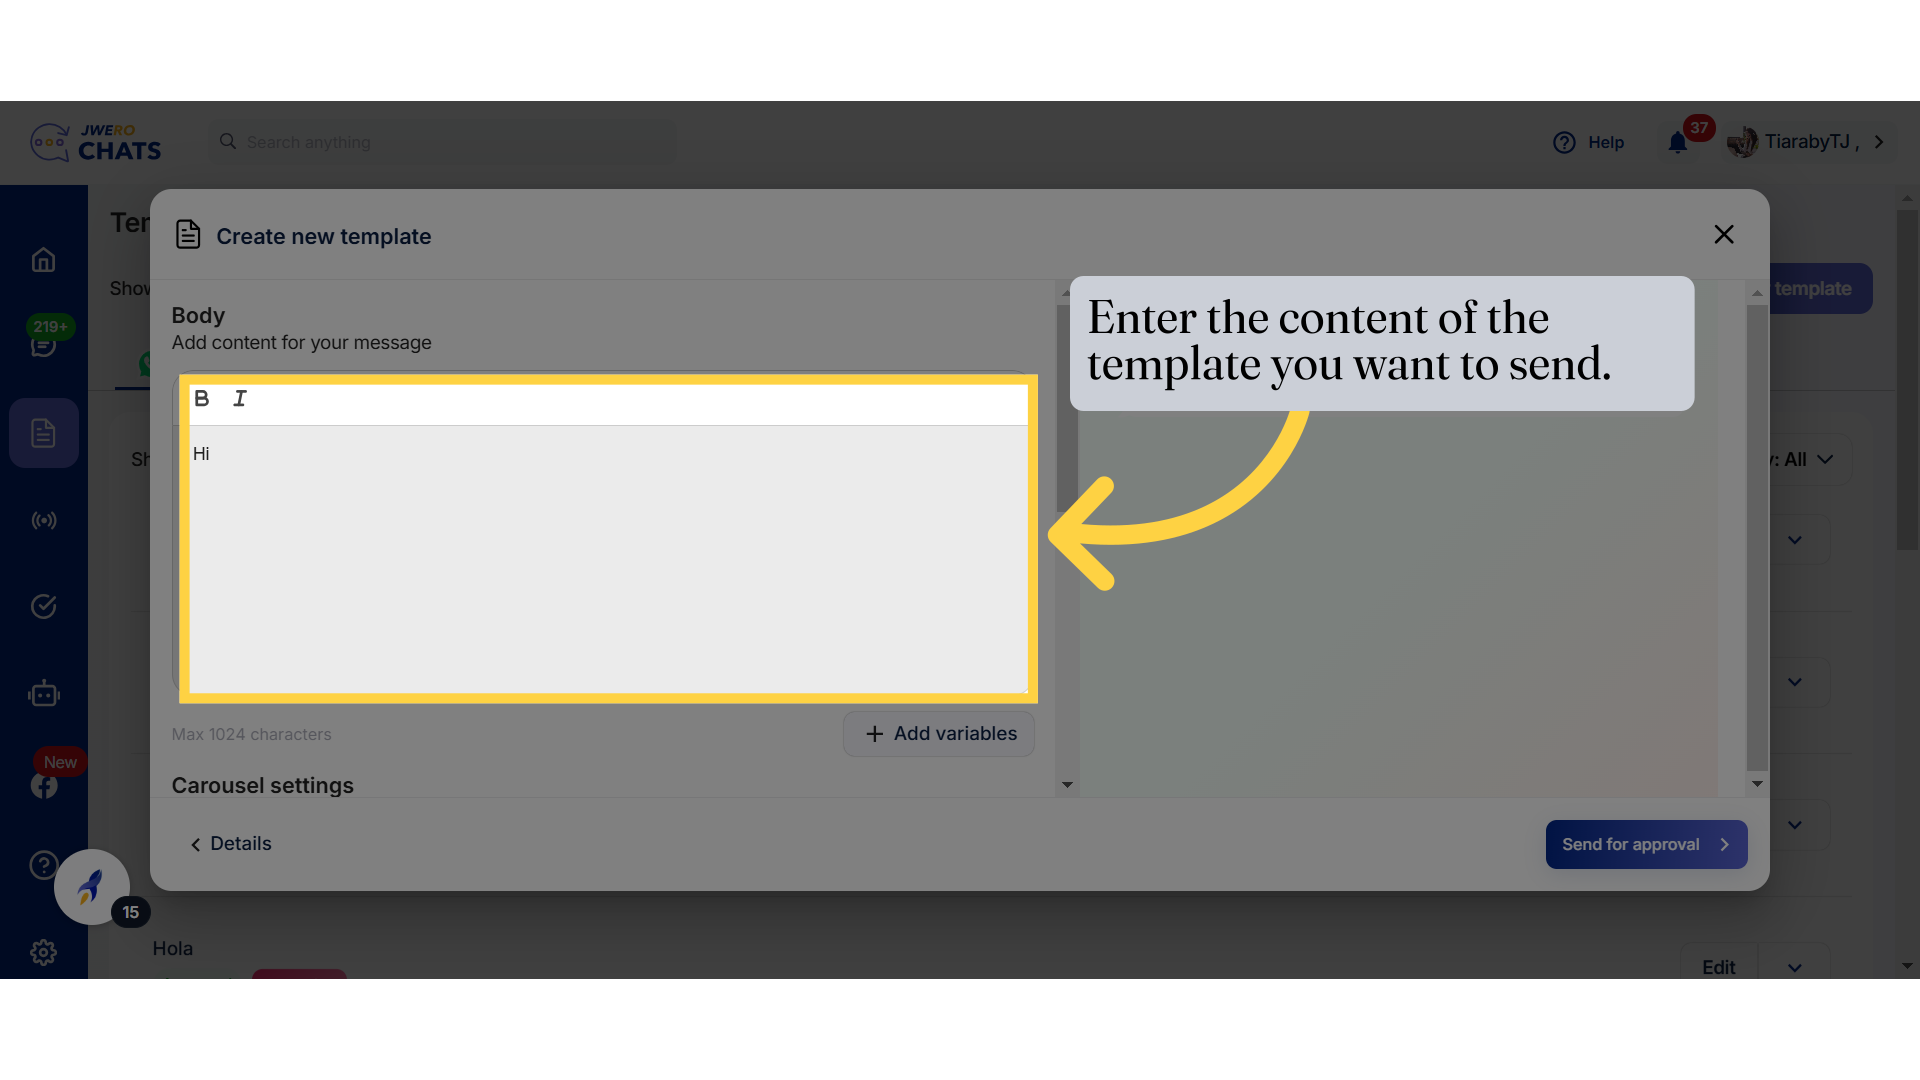
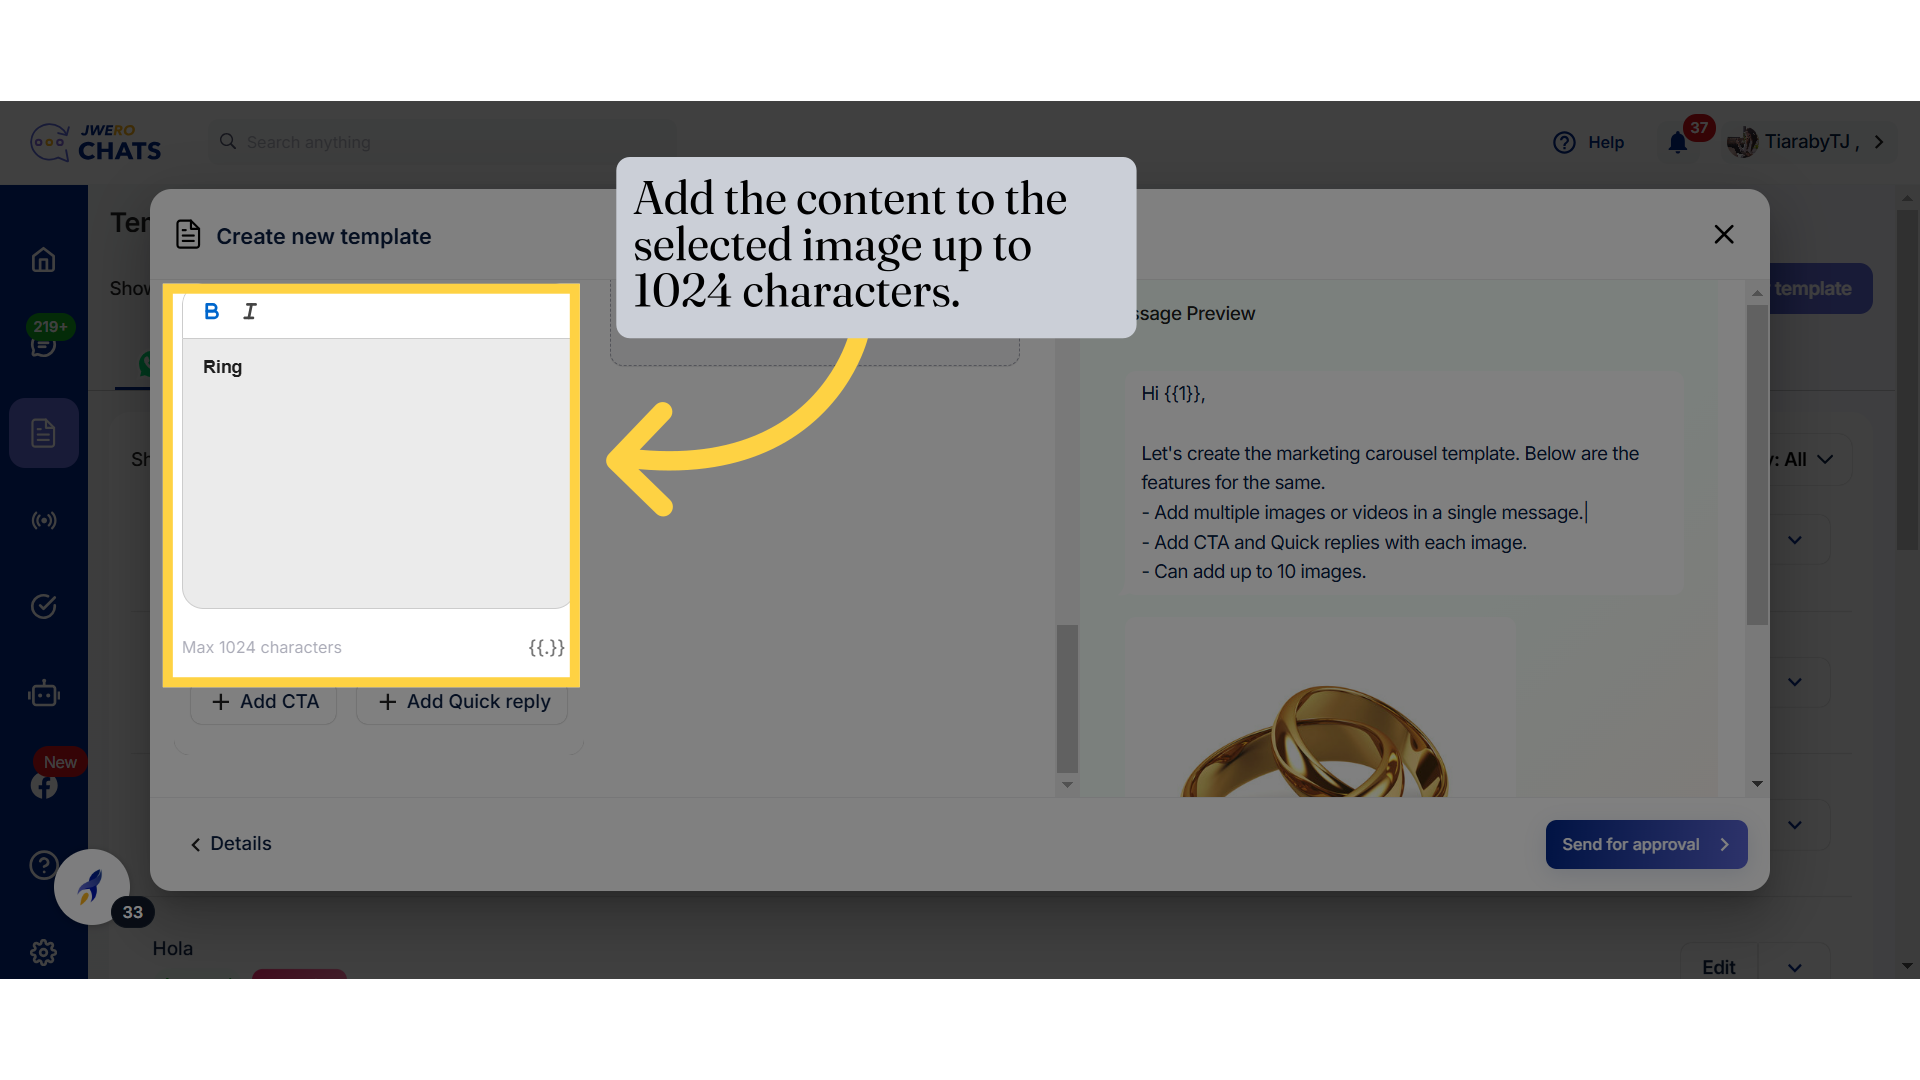
12. Enter the content of the template you want to send.
13. You can also include variables in your content, which will be automatically replaced with the customer's actual details when the message is sent.

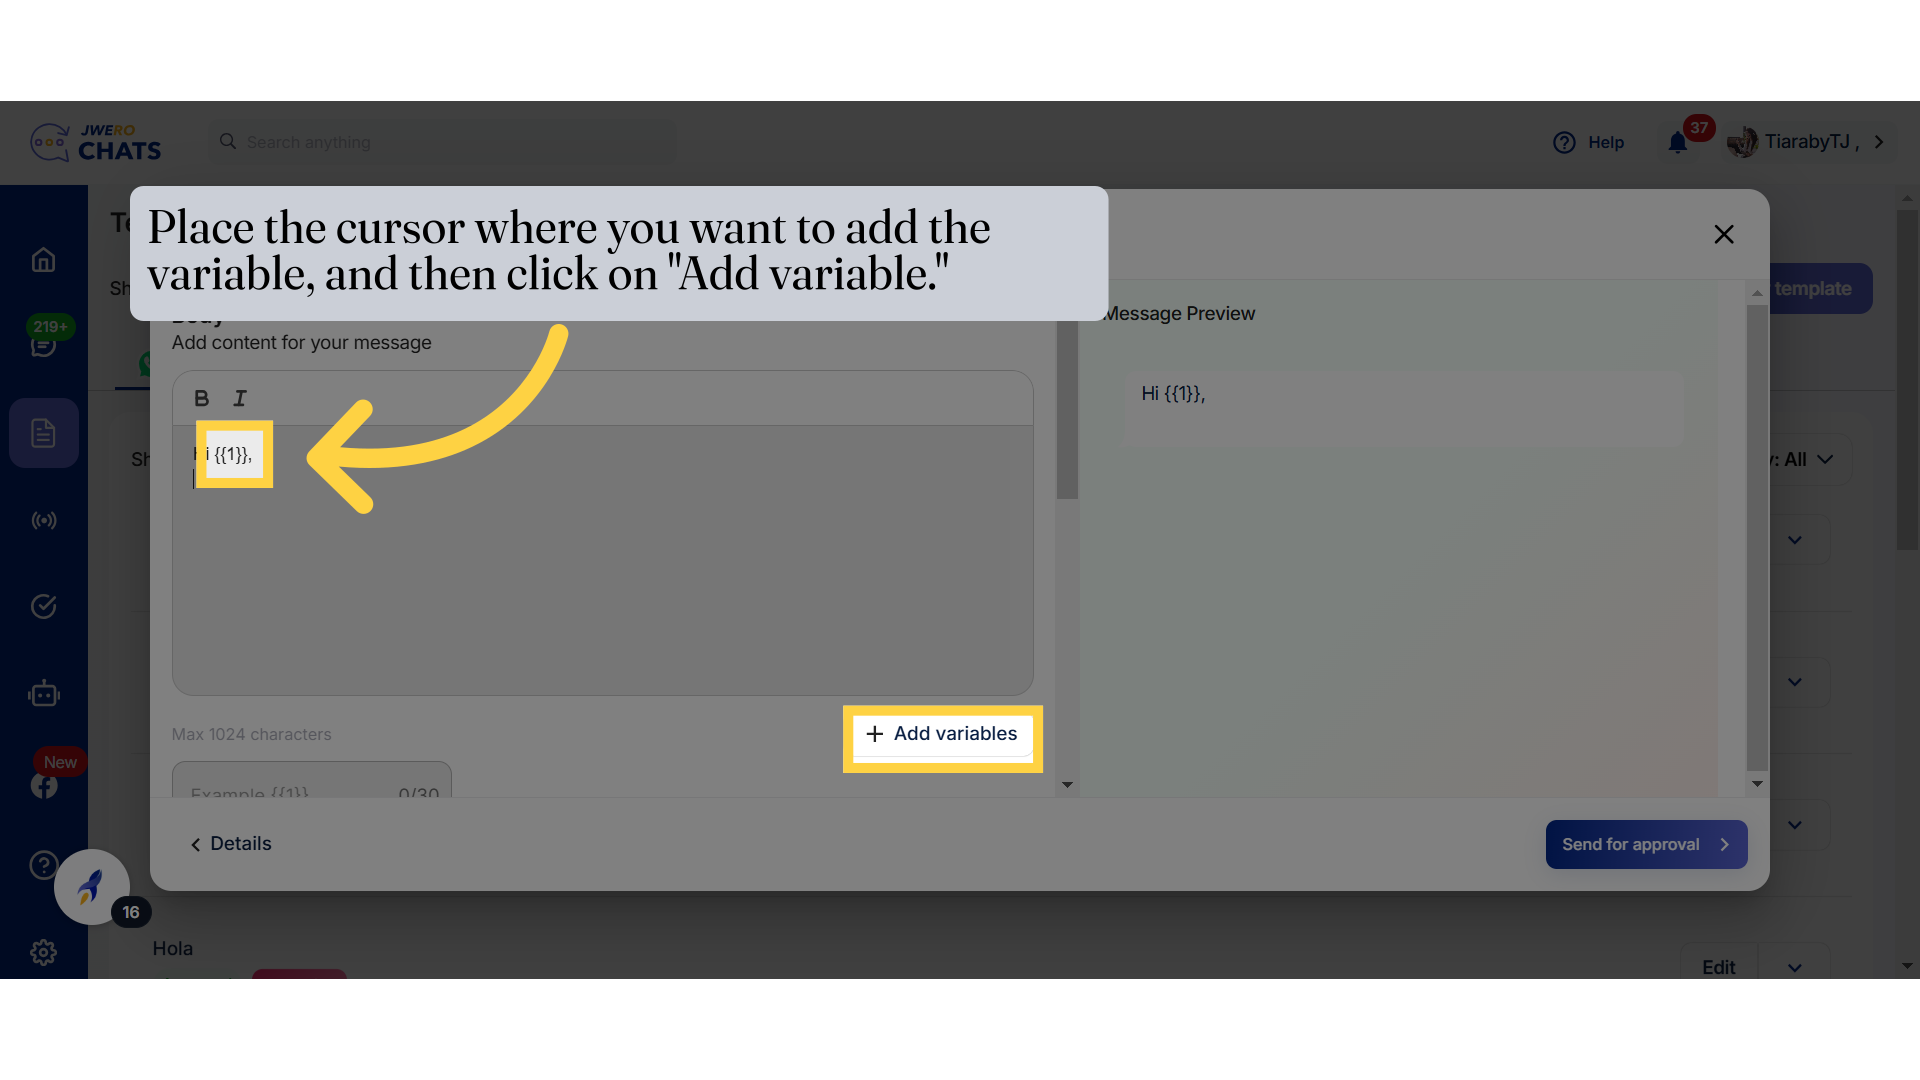
14. Place the cursor where you want to add the variable, and then click on "Add variable."
The variable is assigned a number based on the order in which it is added. For example, the first variable will be {{1}}, the second will be {{2}}, and so on.
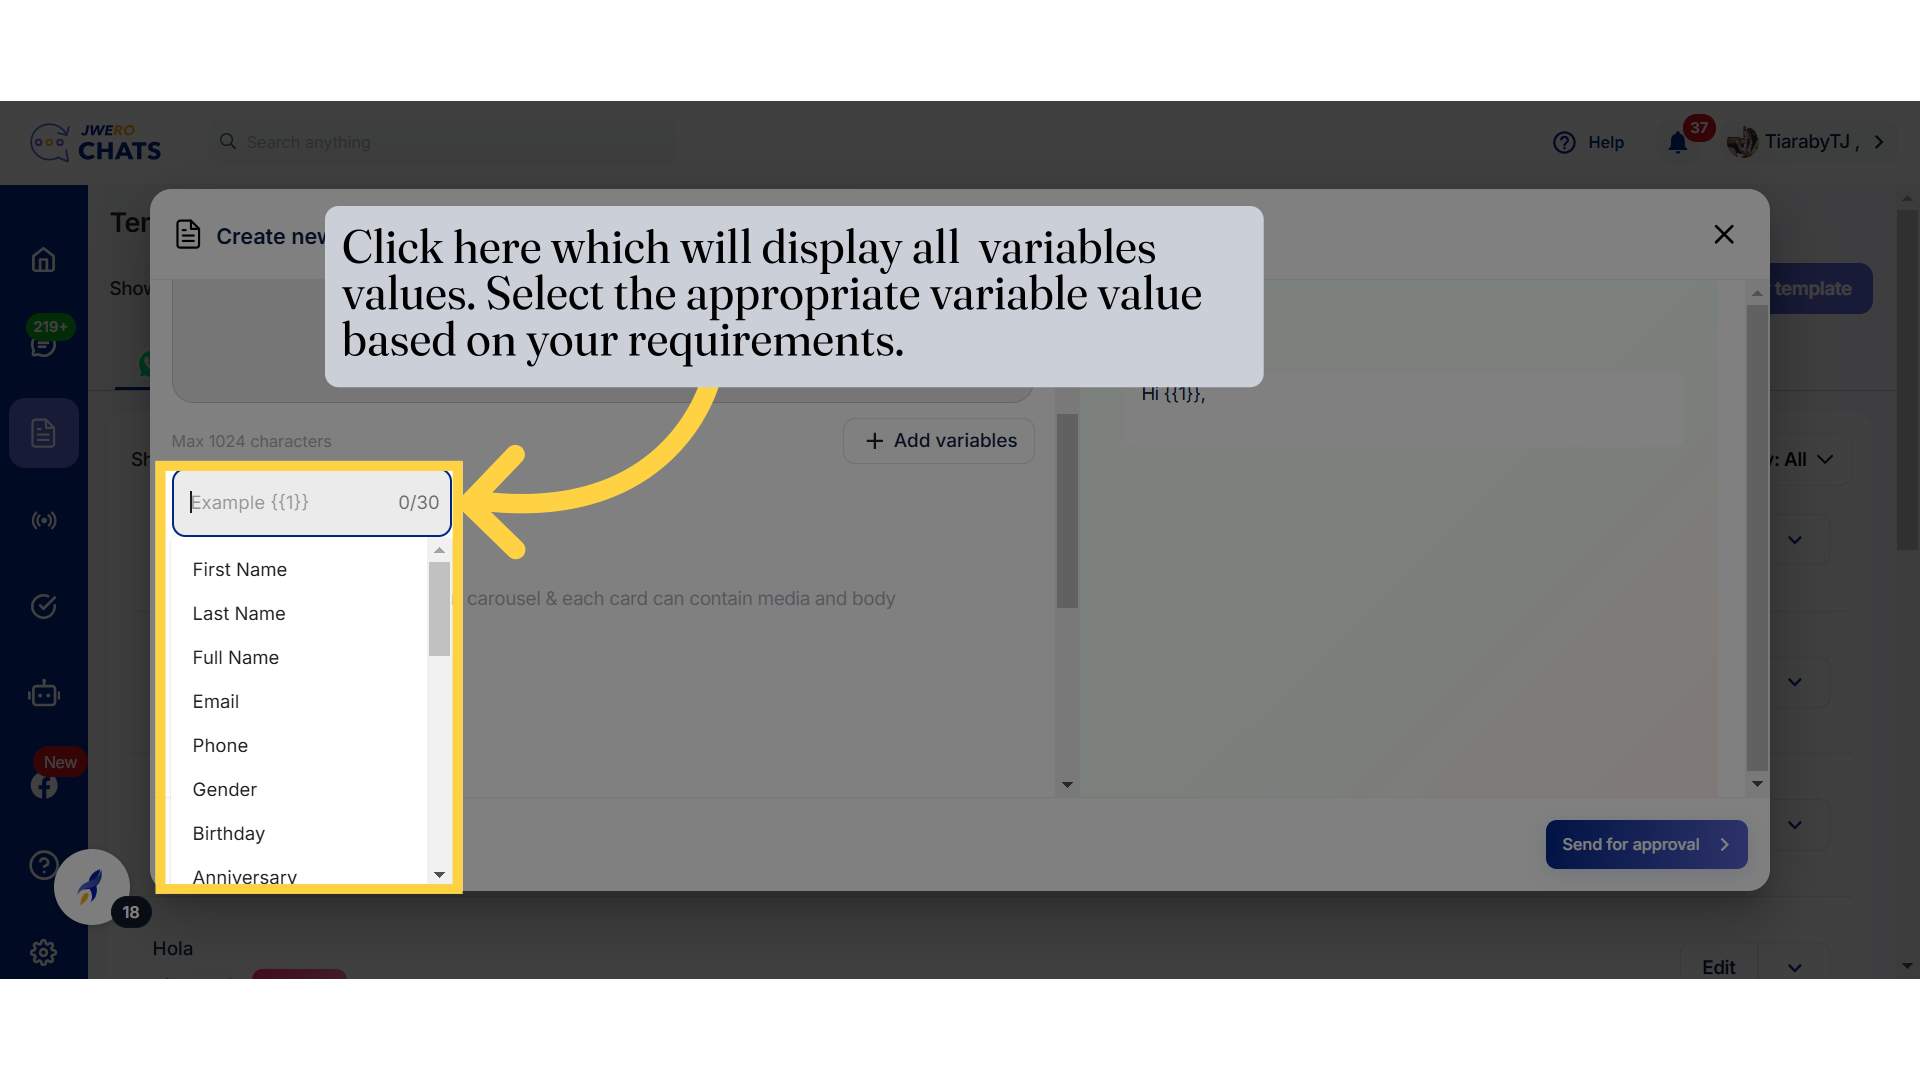
15. Click here which will display all variables values. Select the appropriate variable value based on your requirements.
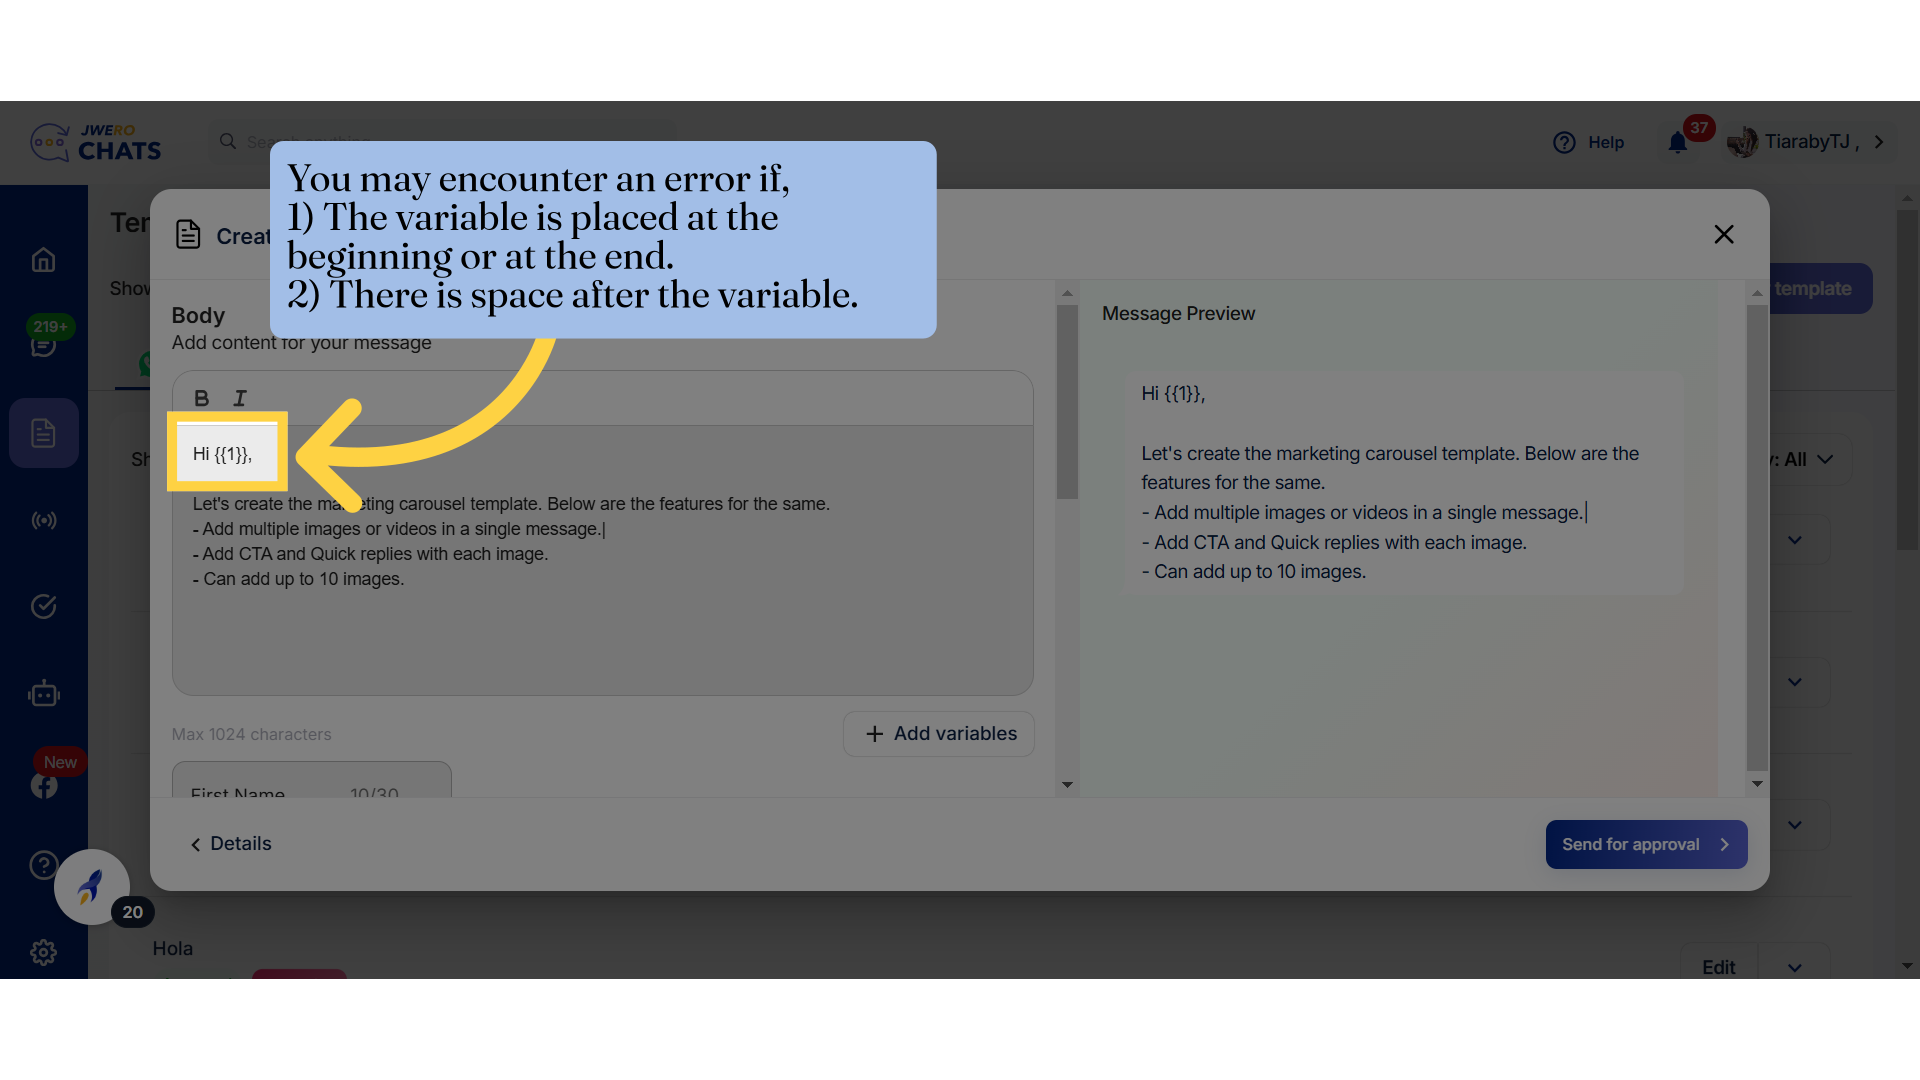
16. You may encounter an error if, 1) The variable is placed at the beginning or at the end. 2) There is space after the variable.
You will encounter an error if,
1) The variable is placed at the end without any characters following it.
2) There is space after the variable.
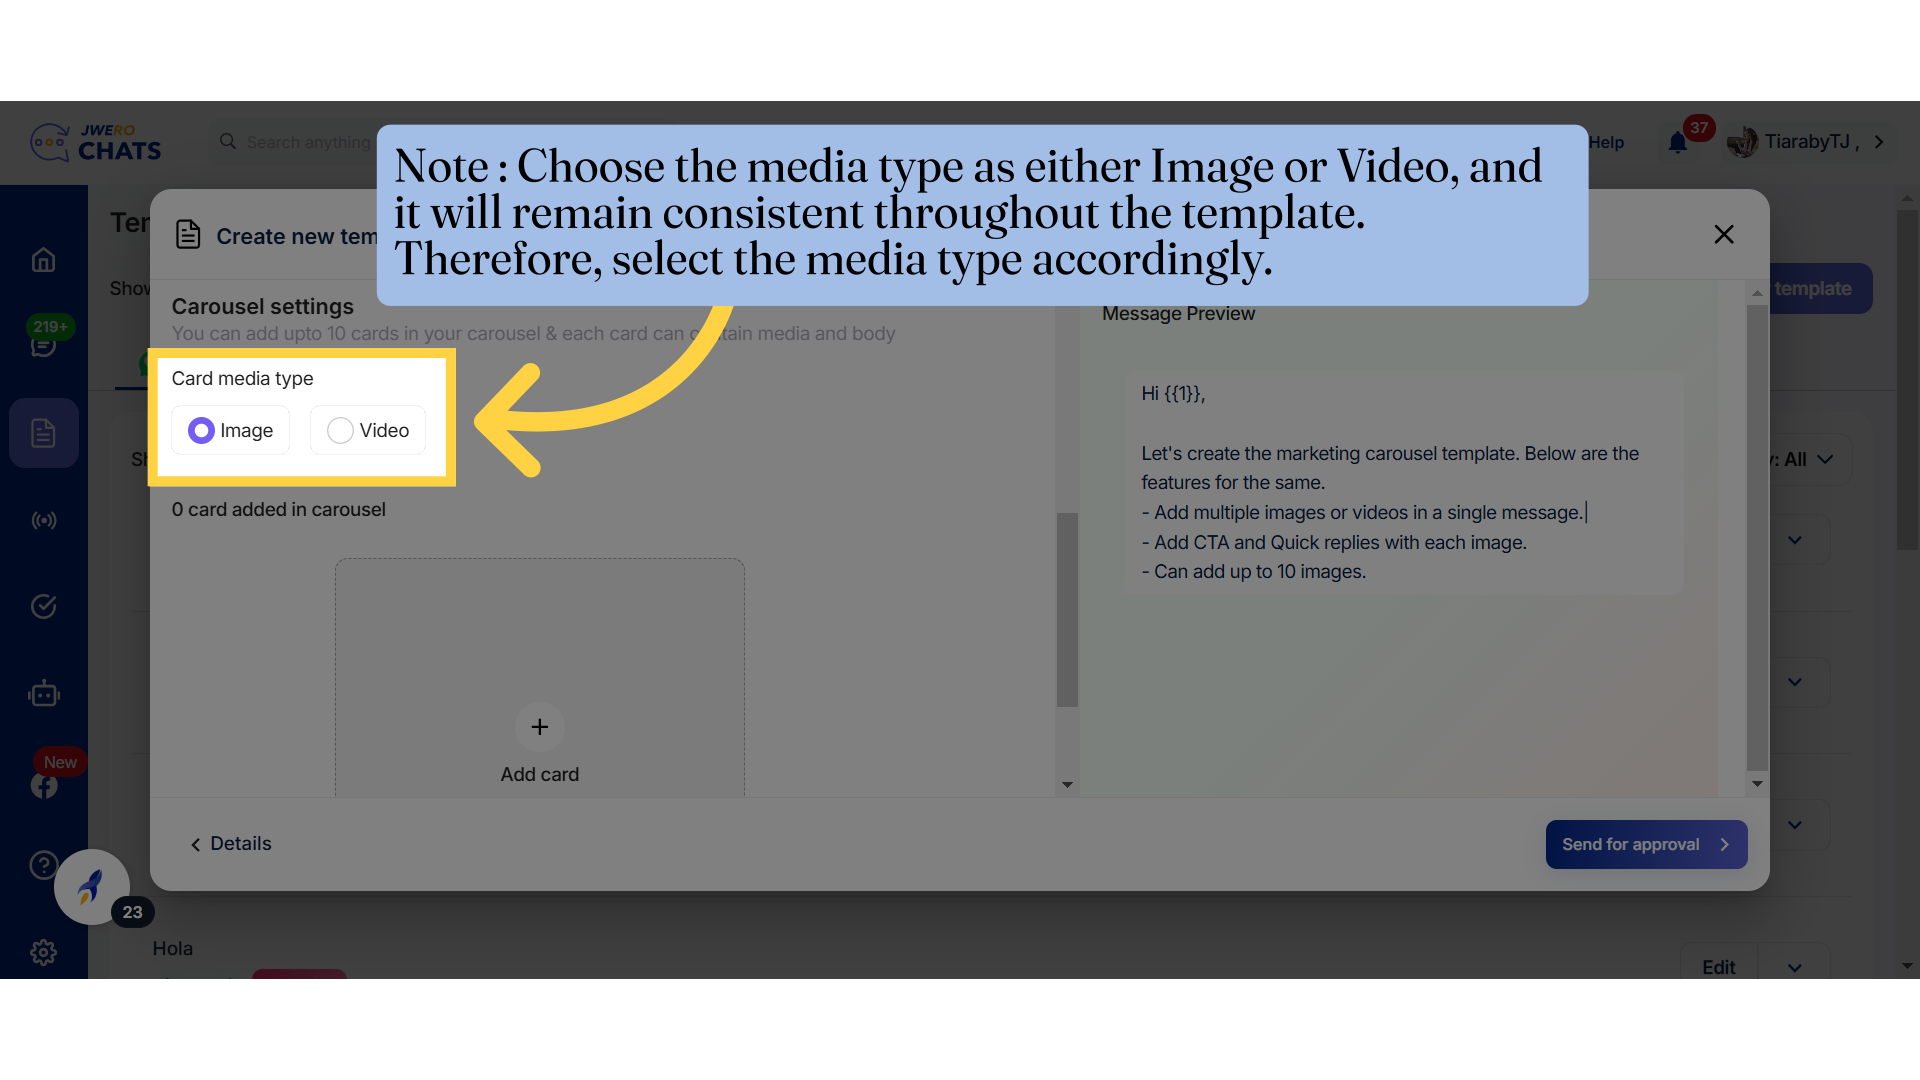
17. Note : Choose the media type as either Image or Video, and it will remain consistent throughout the template. Therefore, select the media type accordingly.
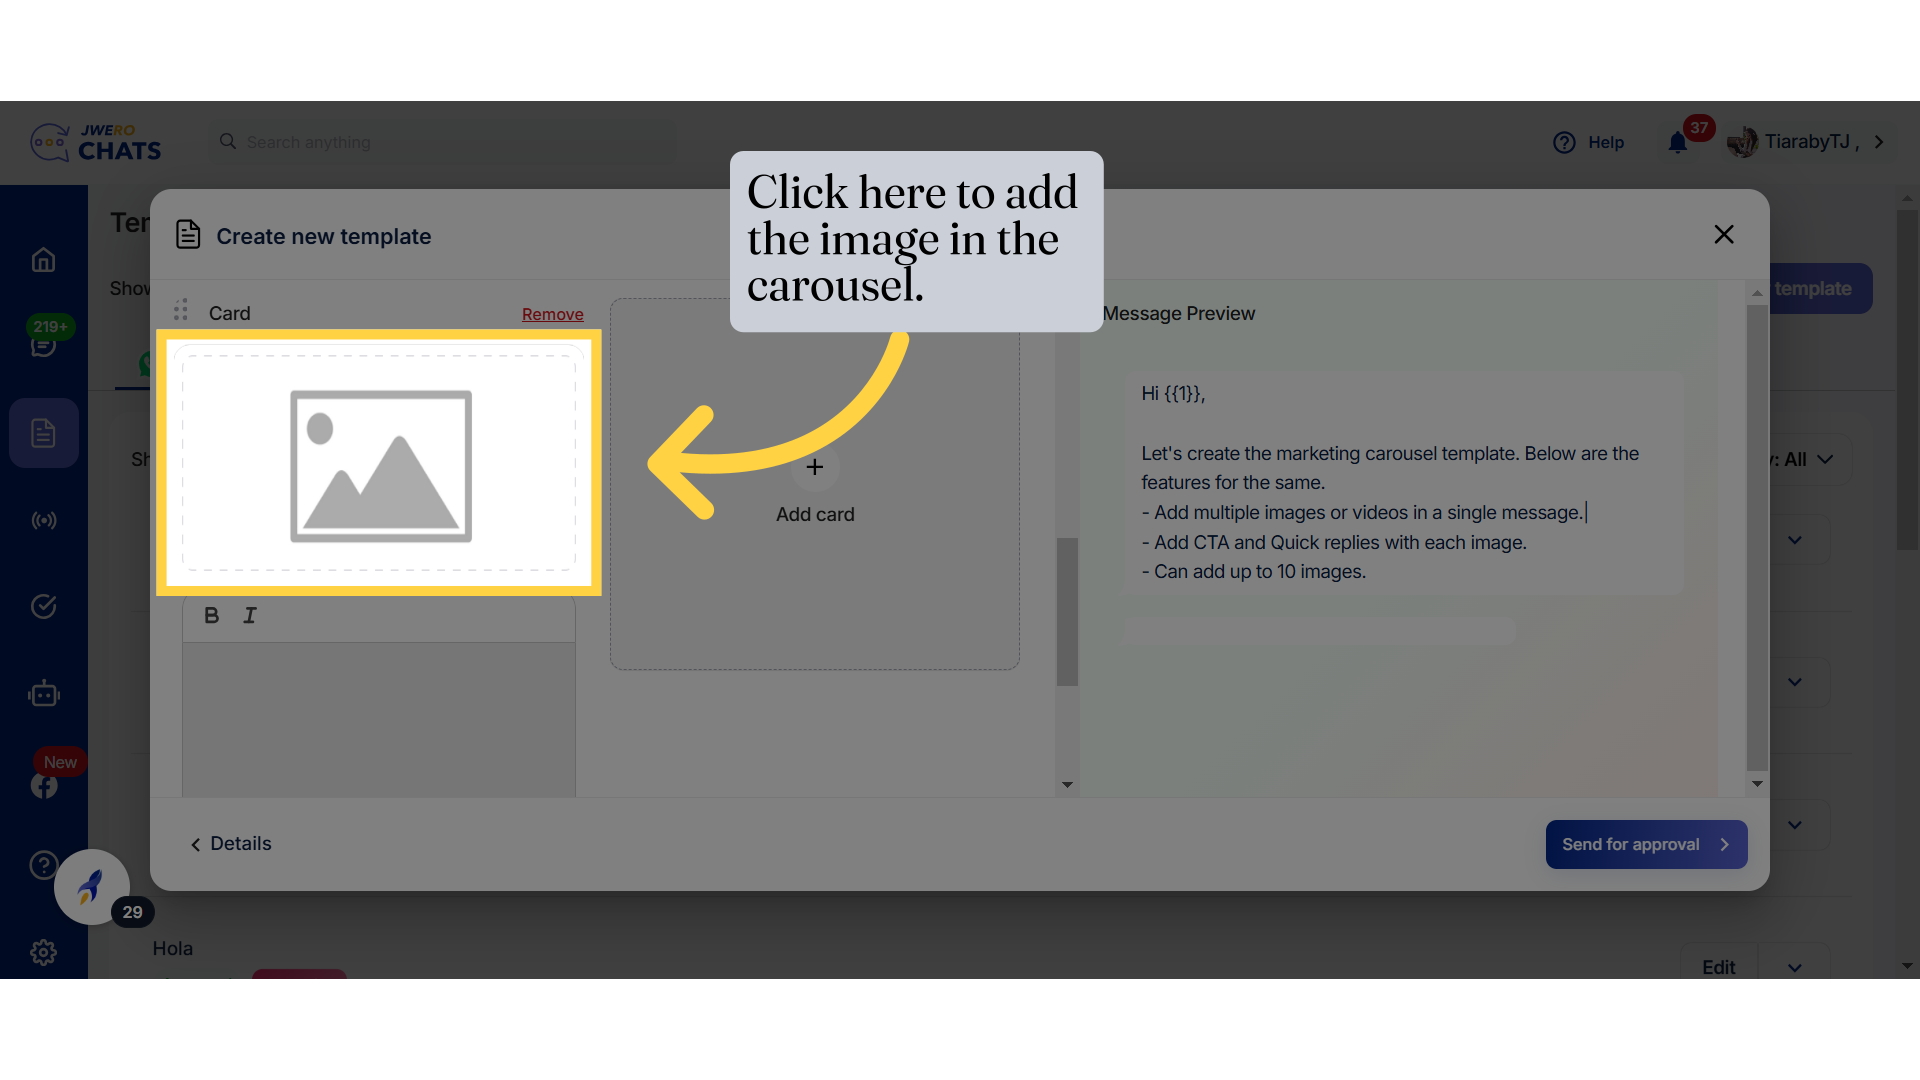
18. Click on "+" to add the card details.

19. Click here to add the image in the carousel.
A card consists of the following three sections:
Add Media: Include images or videos to make the card visually engaging.
Add Text Content: Provide the main information or message in the body of the card.
Add CTA and Quick Replies: Include Call-to-Action buttons or quick reply options to encourage user interaction.
Note: Adding text content in the body is mandatory, along with at least one CTA or quick reply.
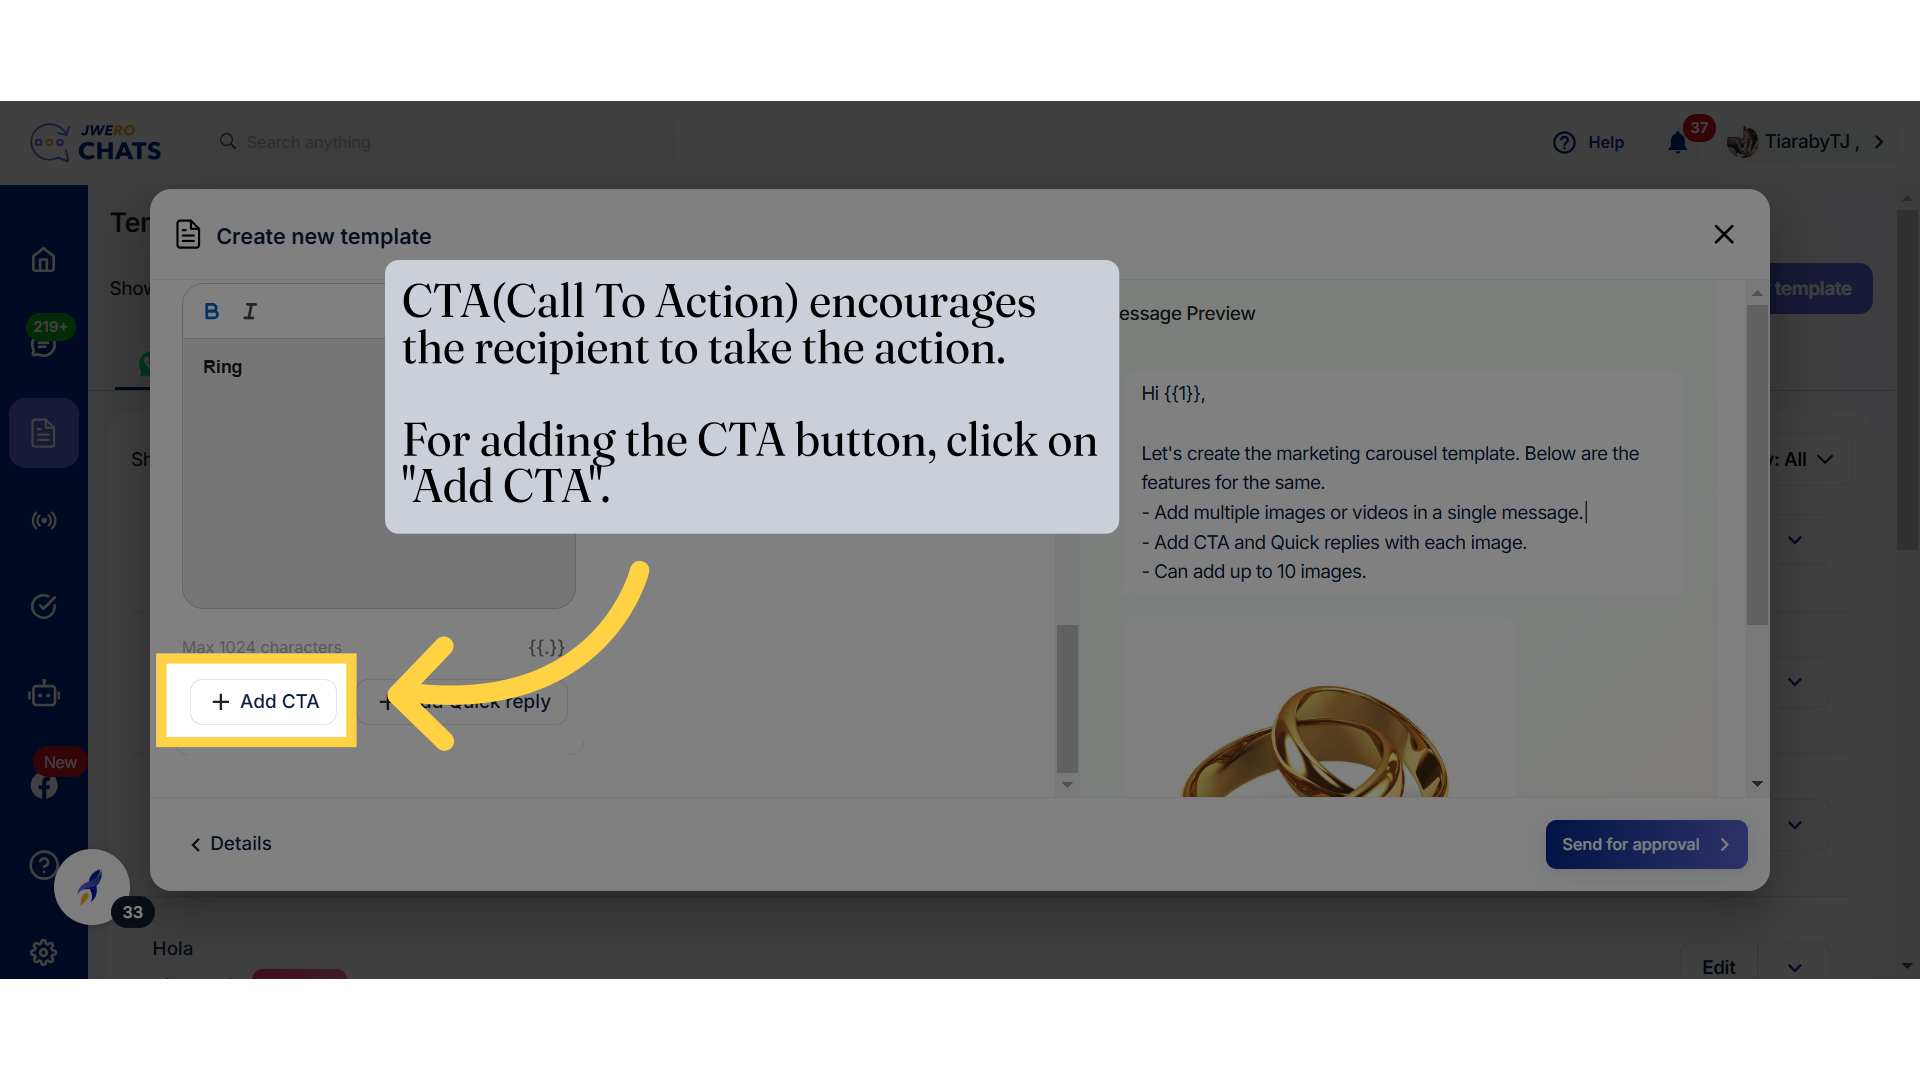
20. Add CTA
CTA(Call To Action) encourages the recipient to take the action.For adding the CTA button, click on "Add CTA".
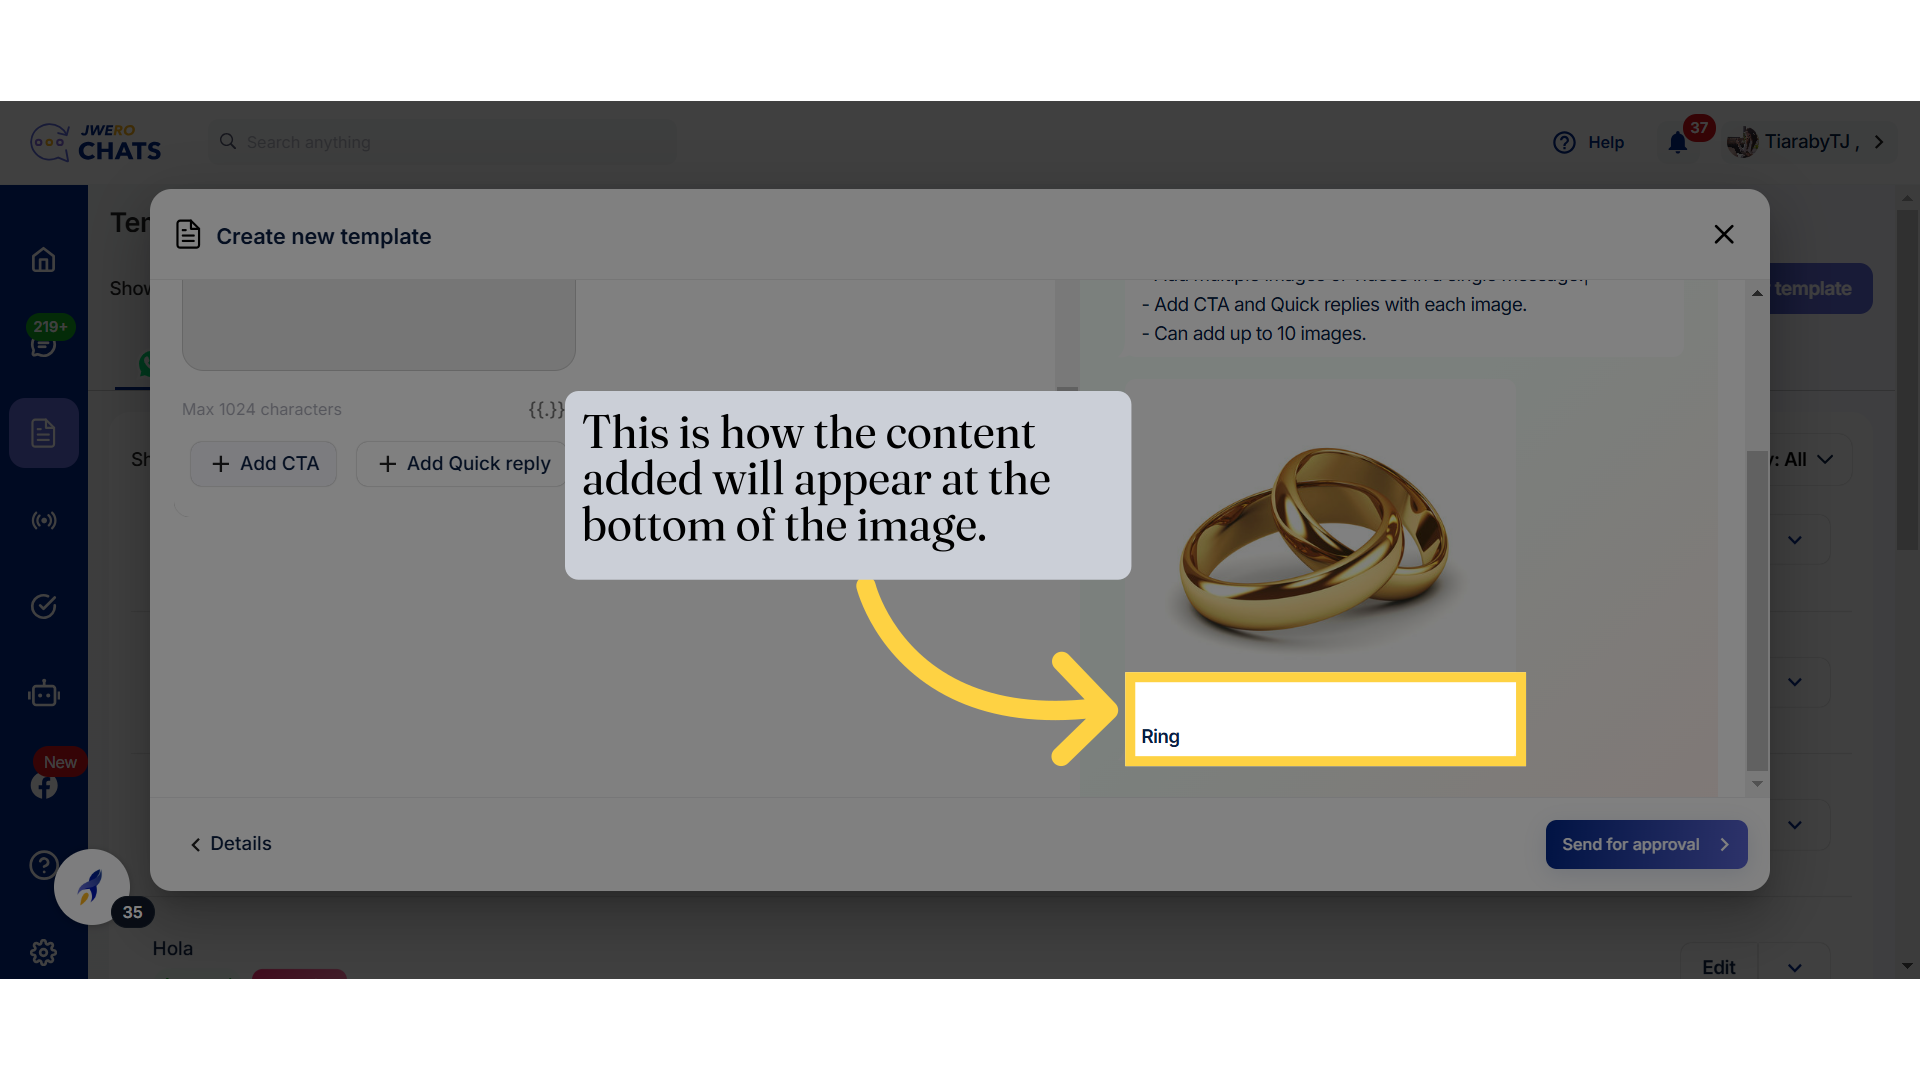
21. This is how the content added will appear at the bottom of the image.
22. Add CTA
CTA(Call To Action) encourages the recipient to take the action.For adding the CTA button, click on "Add CTA".
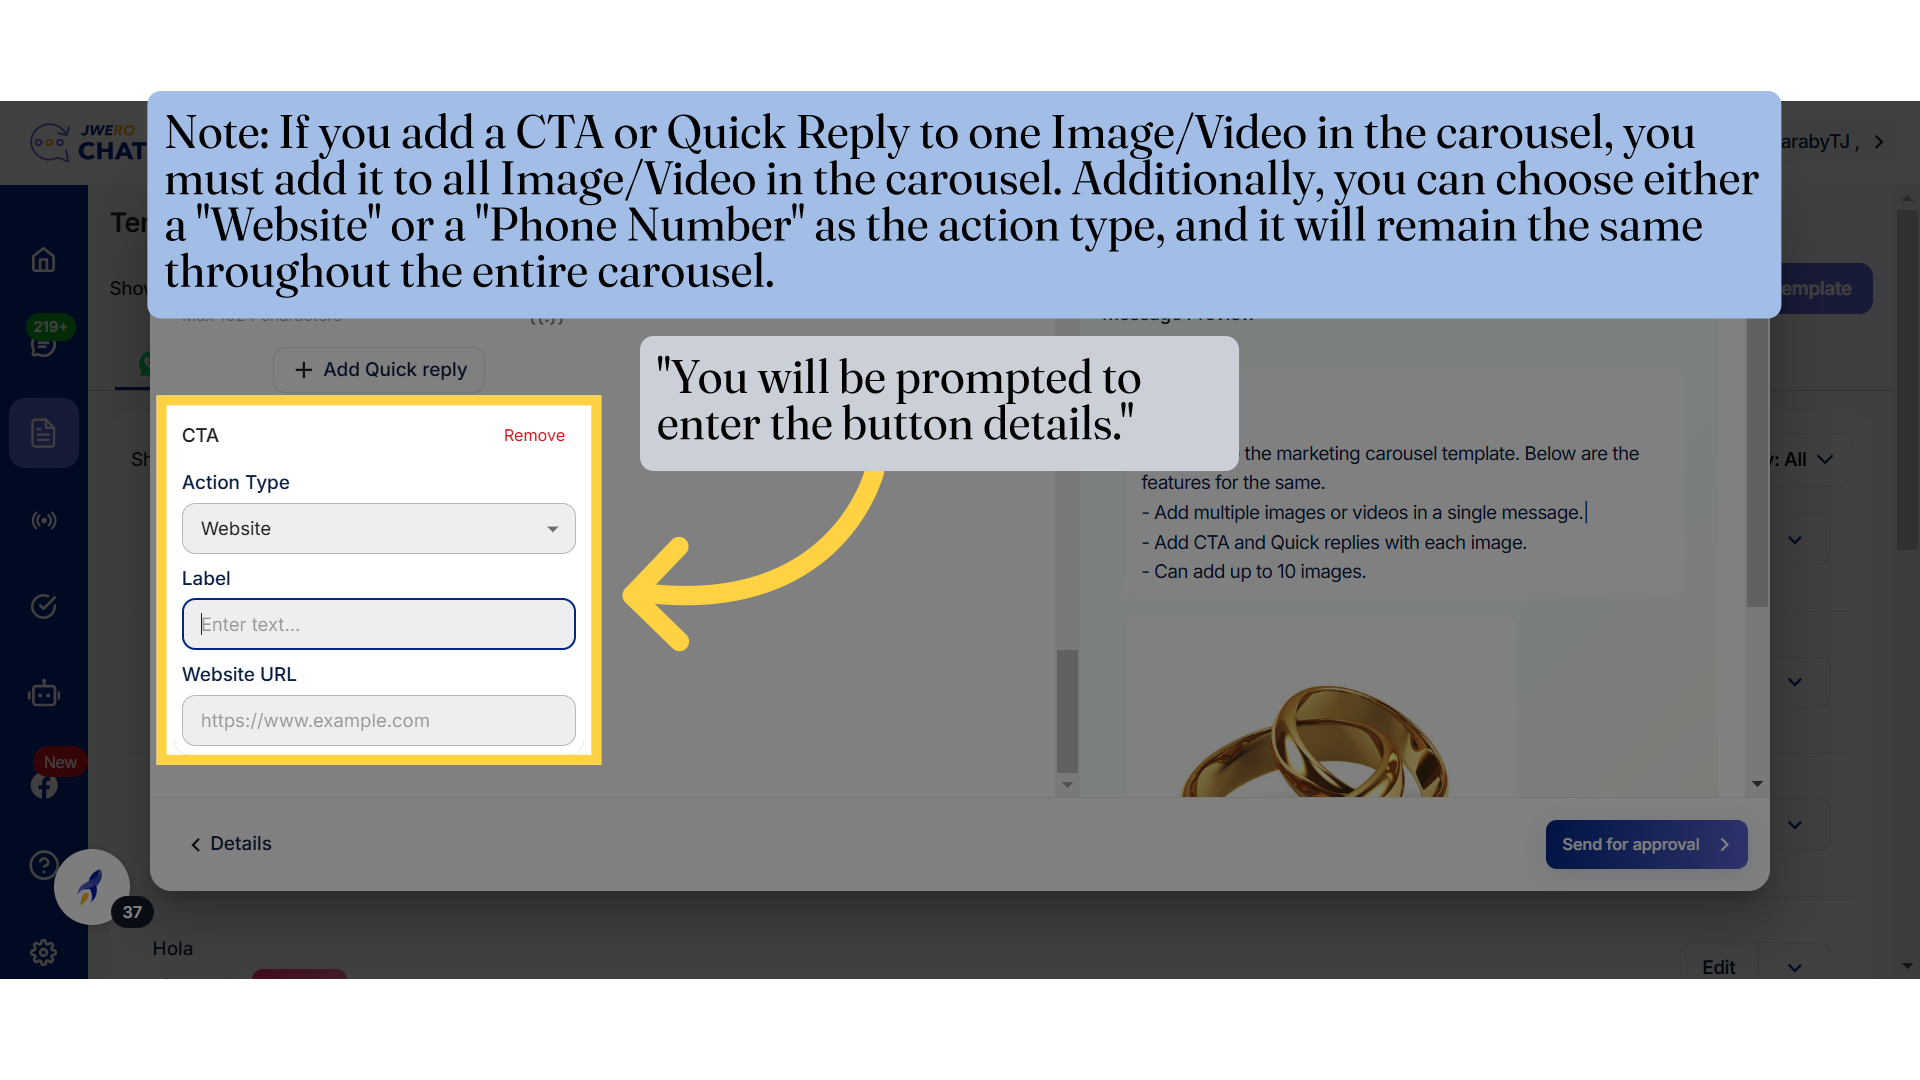
23. "You will be prompted to enter the button details."
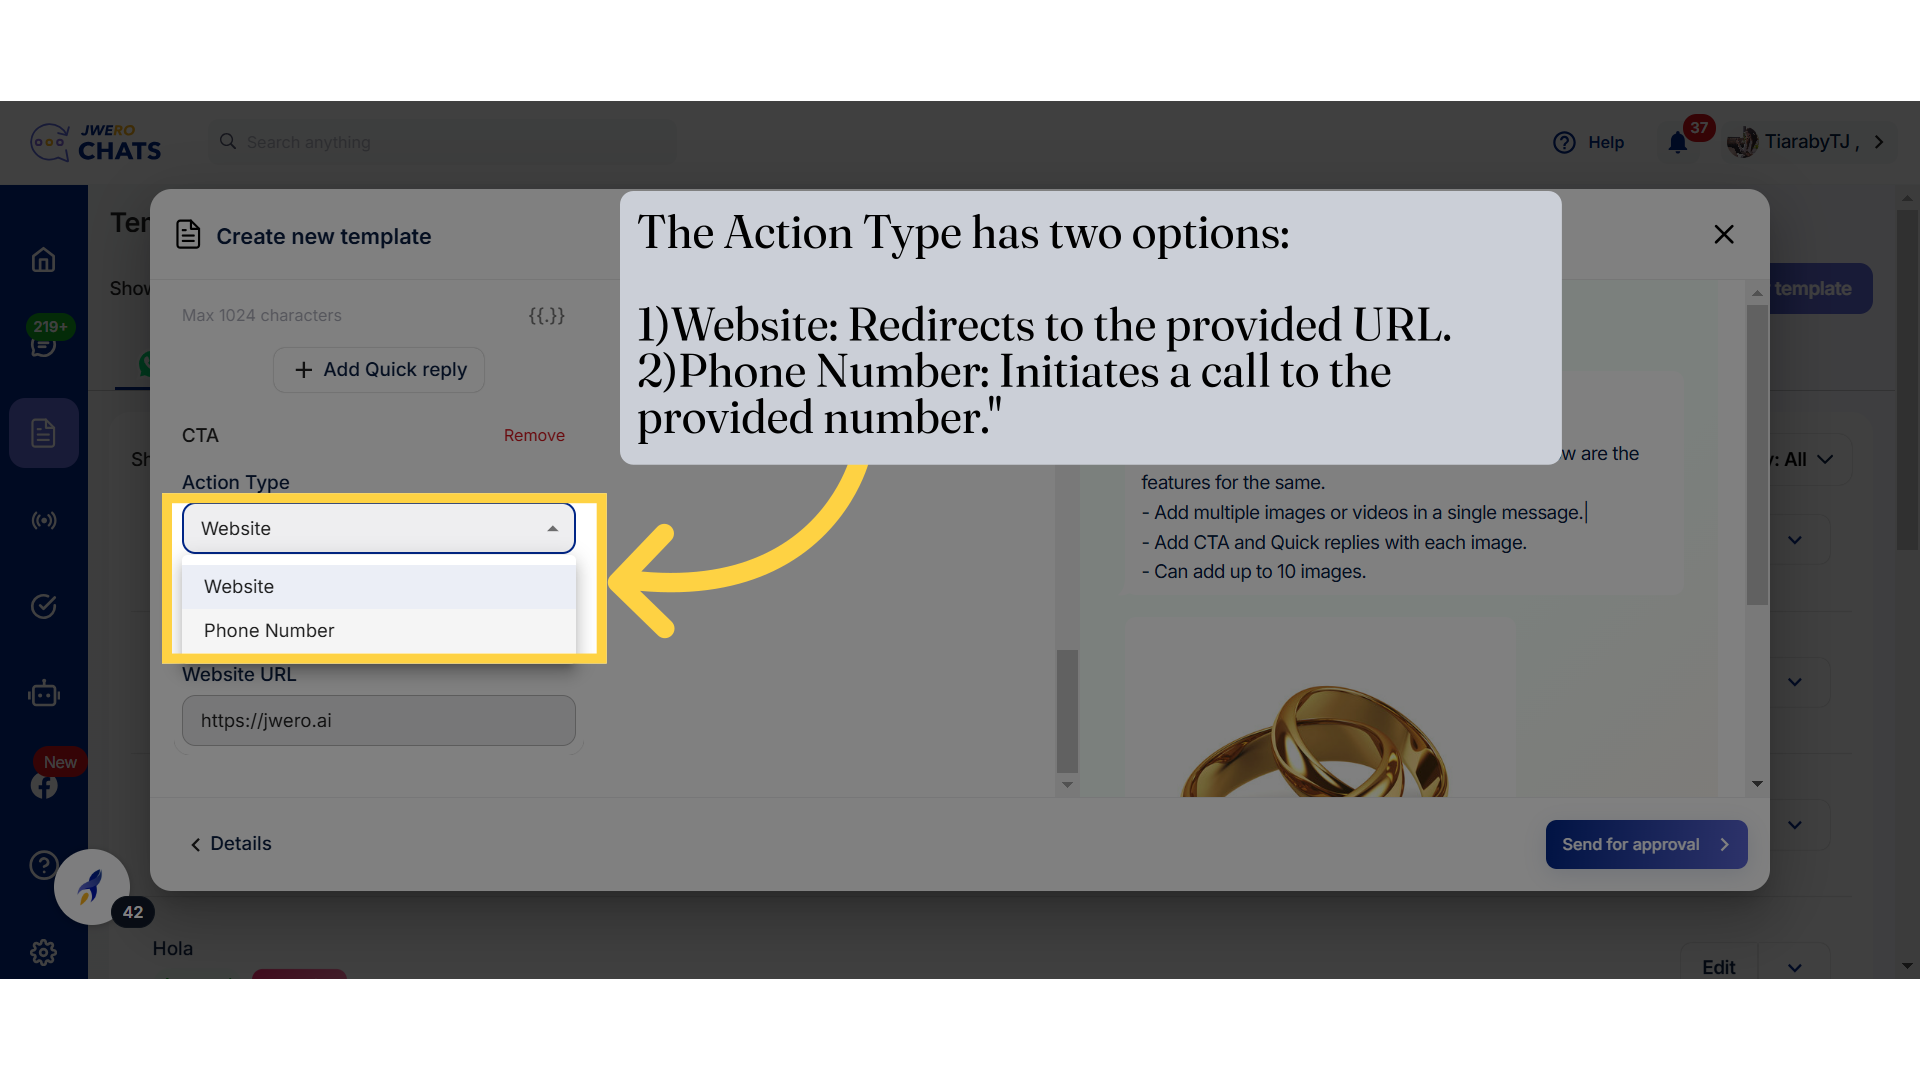
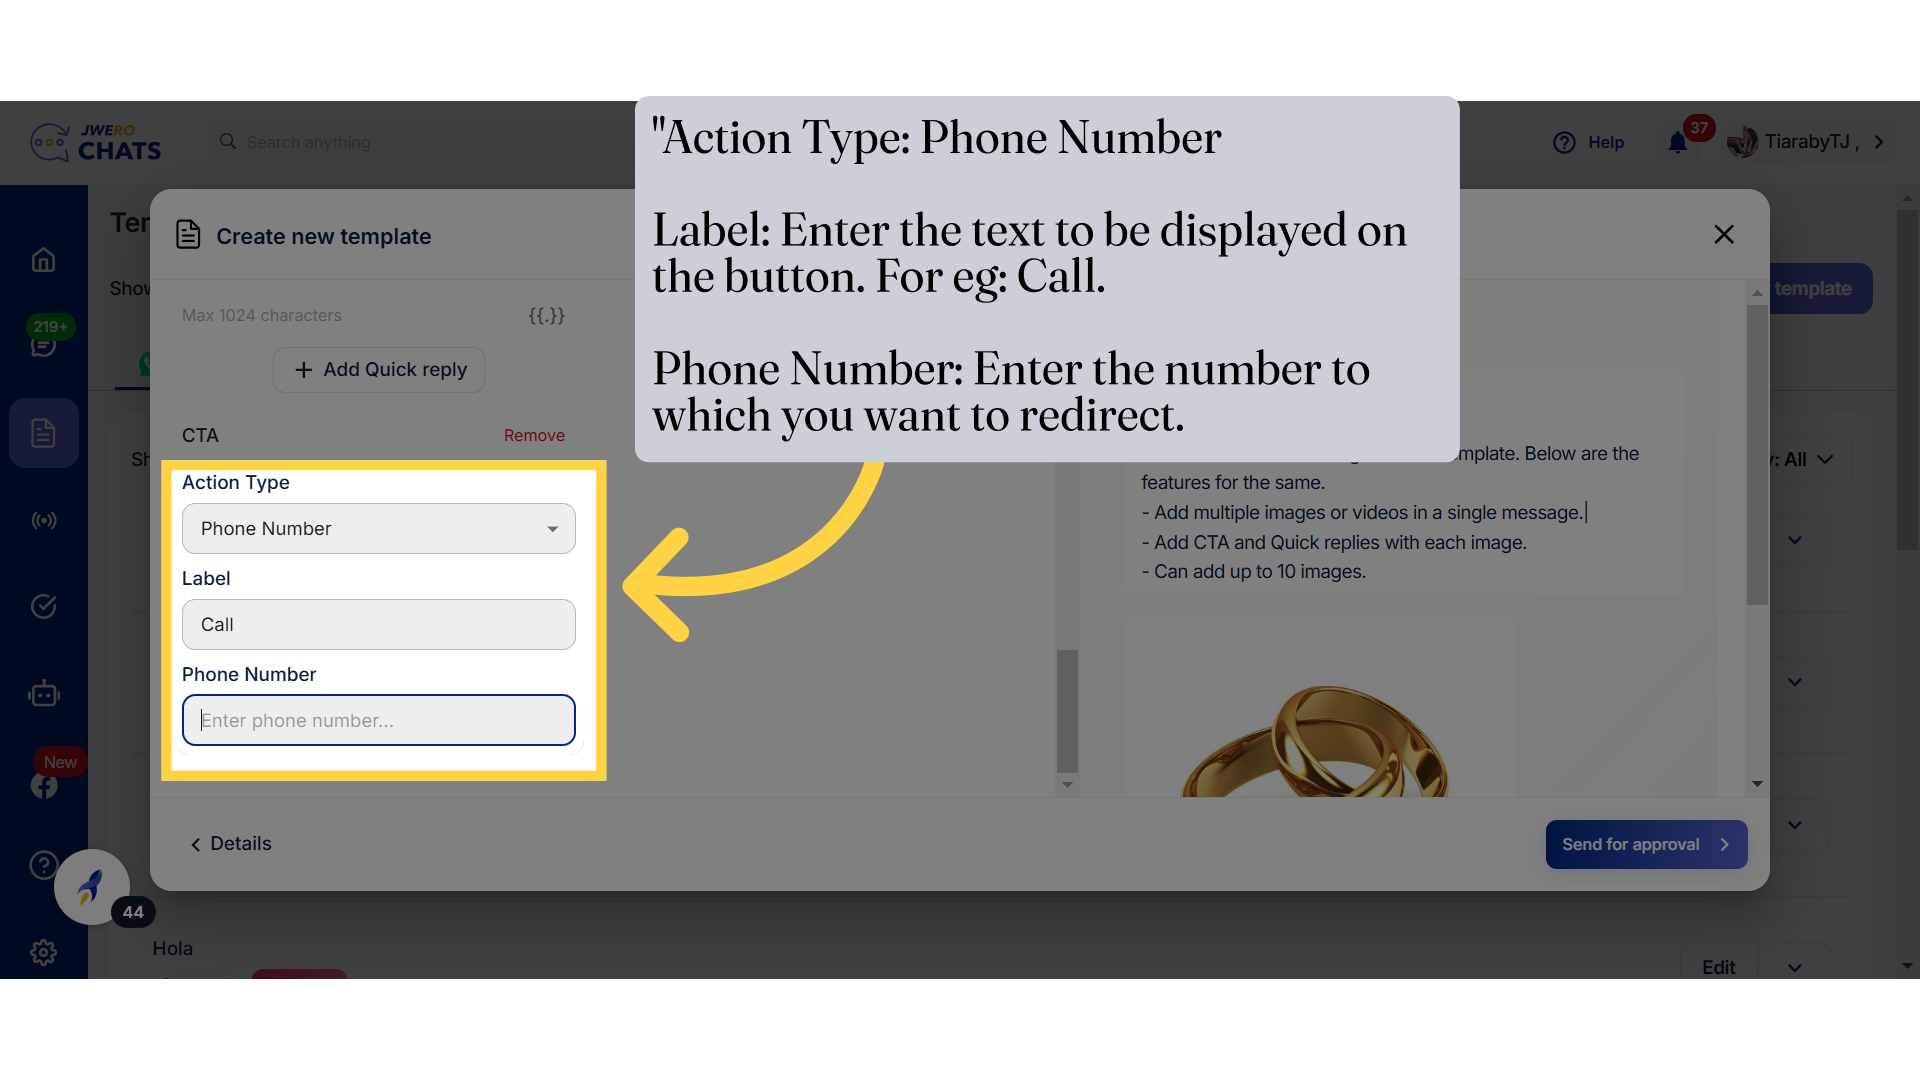
24. Action Type
The Action Type has two options:
1)Website: Redirects to the provided URL.
2)Phone Number: Initiates a call to the provided number."
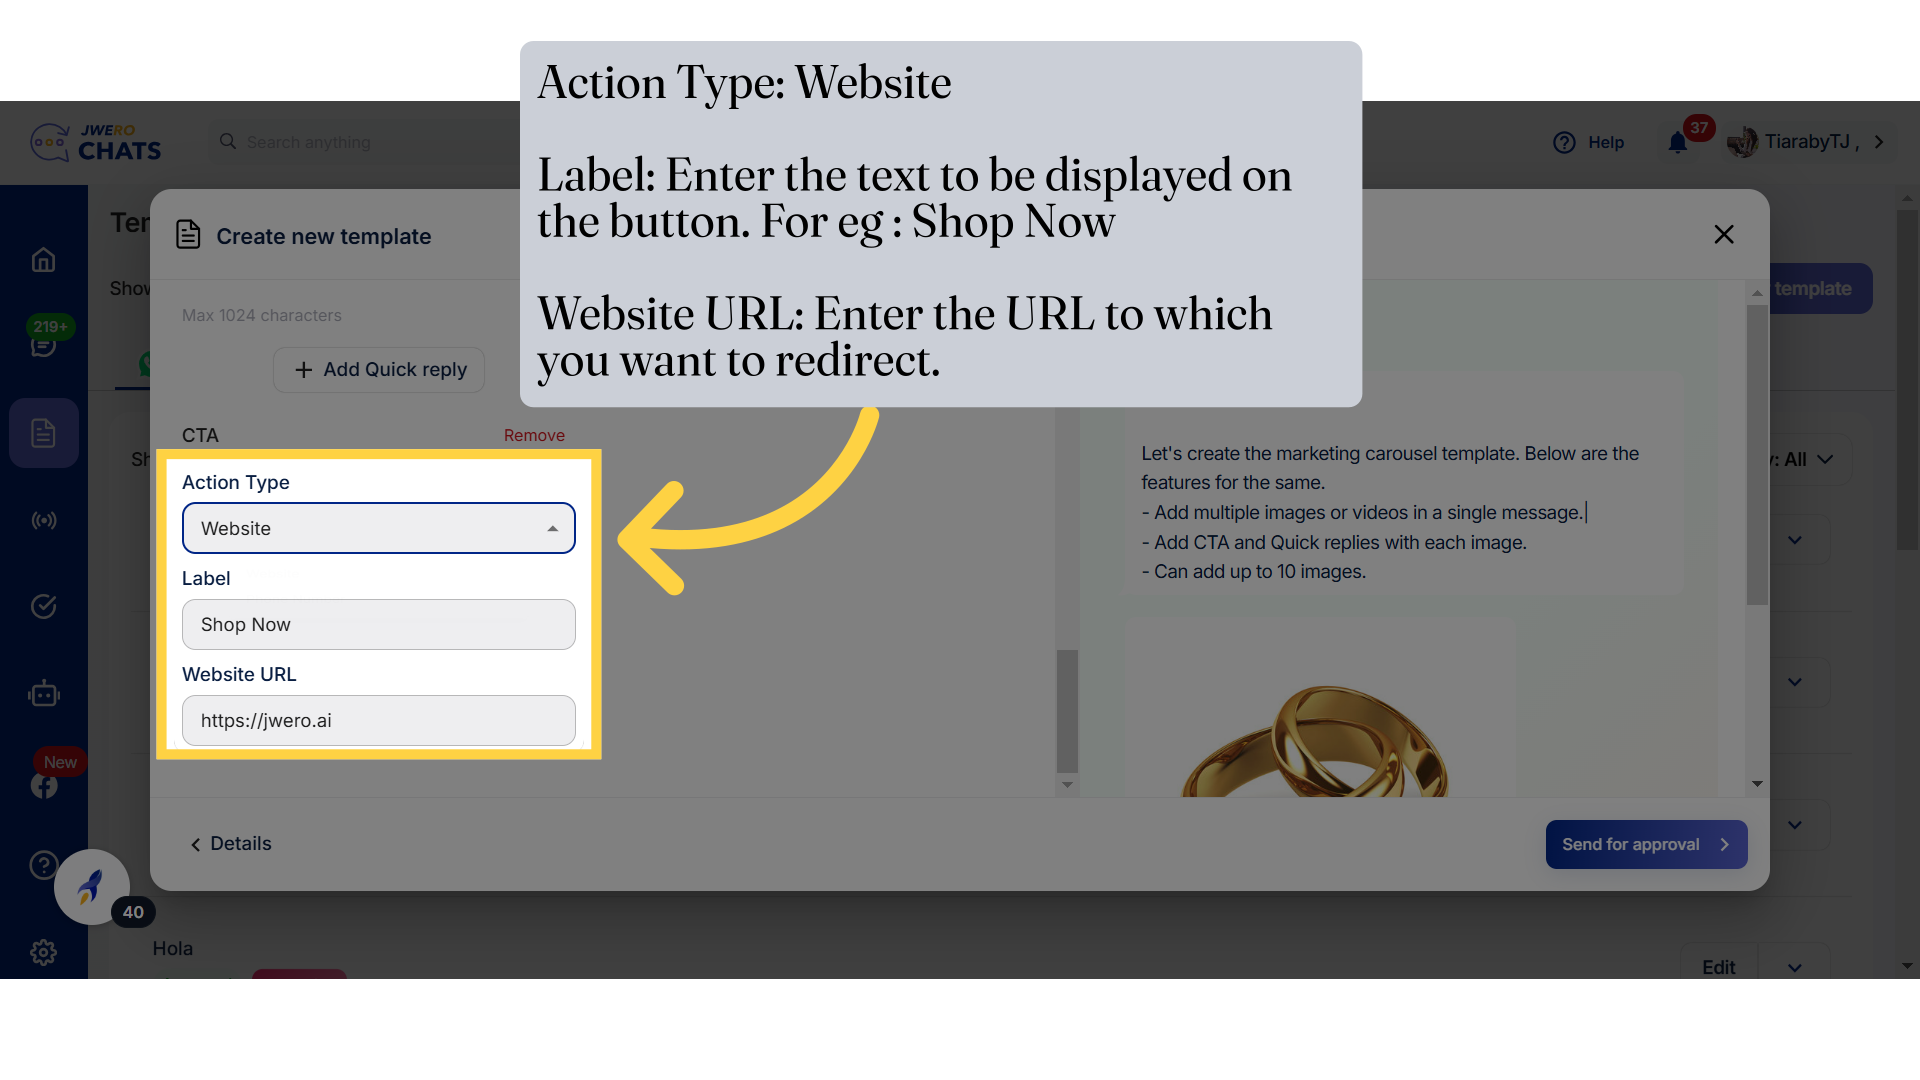
25. Action Type: Website Label: Enter the text to be displayed on the button. For eg : Shop Now Website URL: Enter the URL to which you want to redirect.
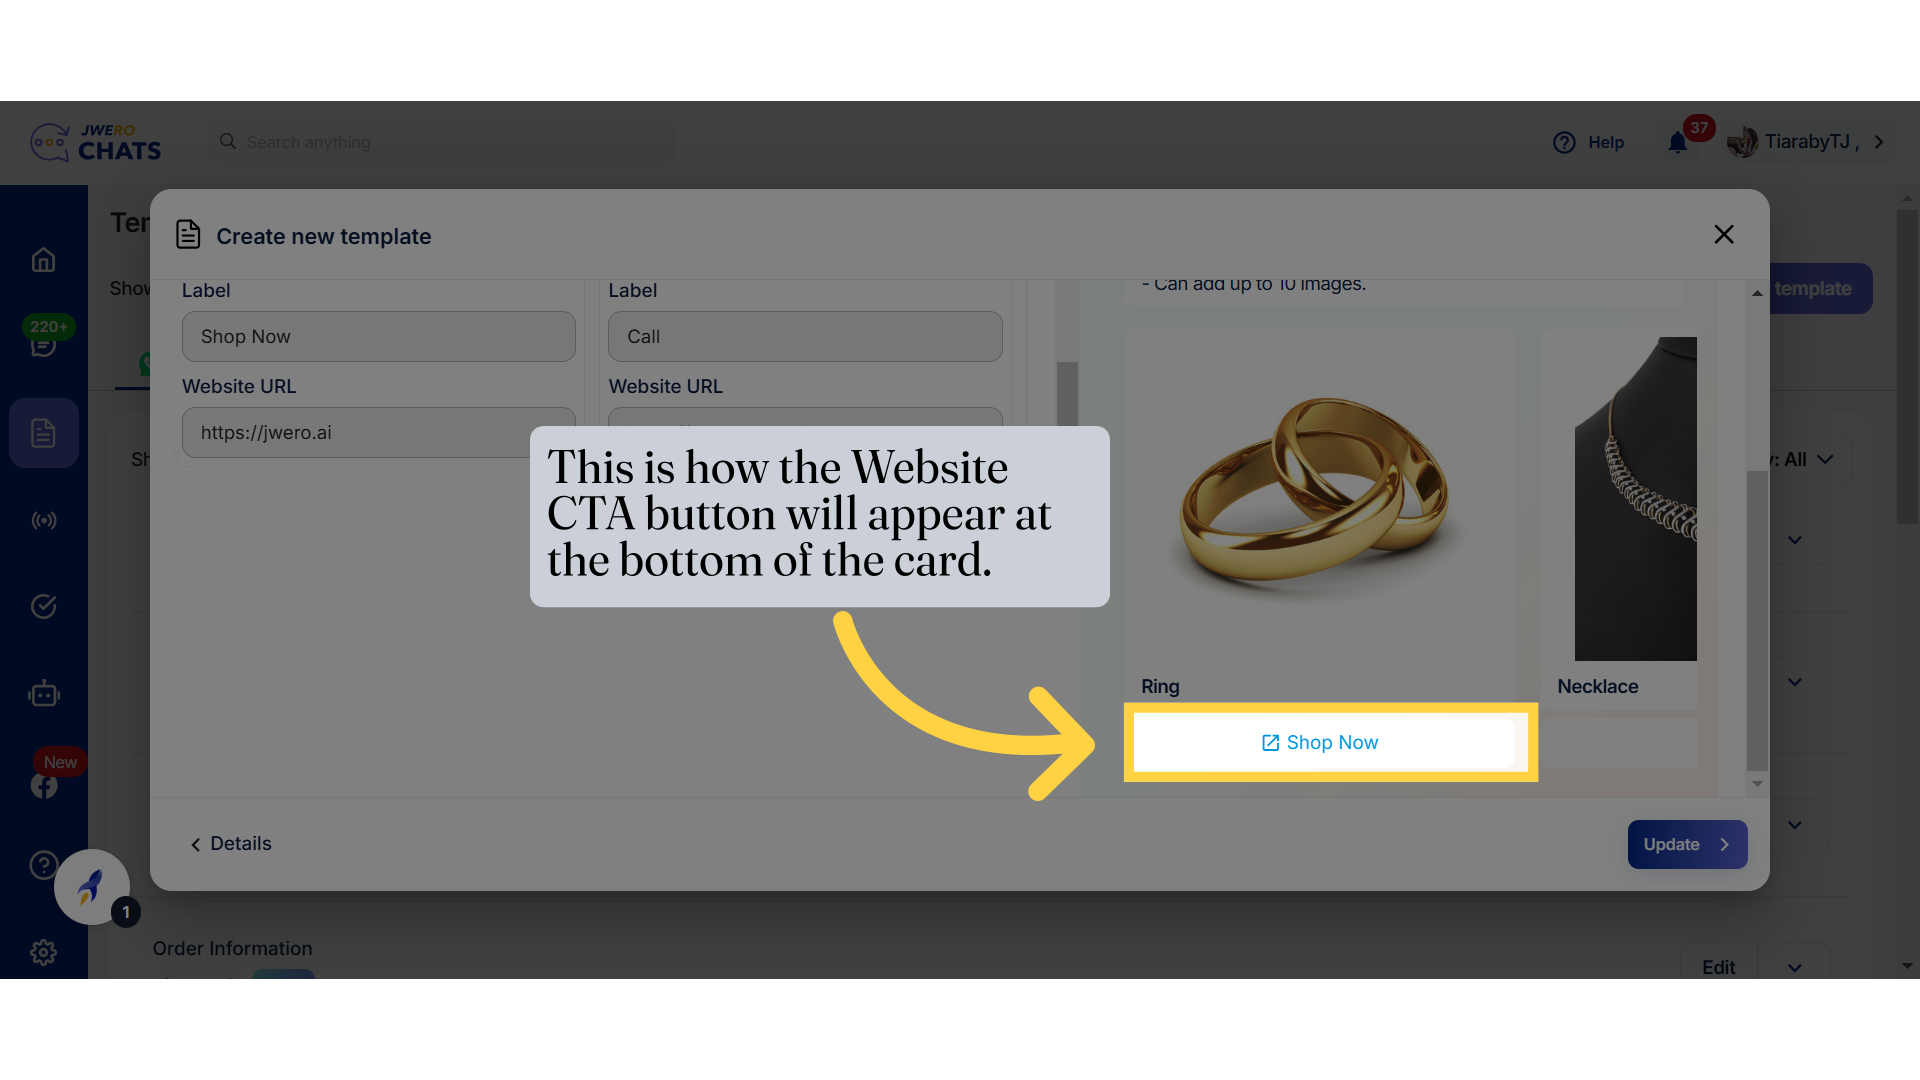
26. This is how the Website CTA button will appear at the bottom of the card.
27. "Action Type: Phone Number Label: Enter the text to be displayed on the button. For eg: Call. Phone Number: Enter the number to which you want to redirect.
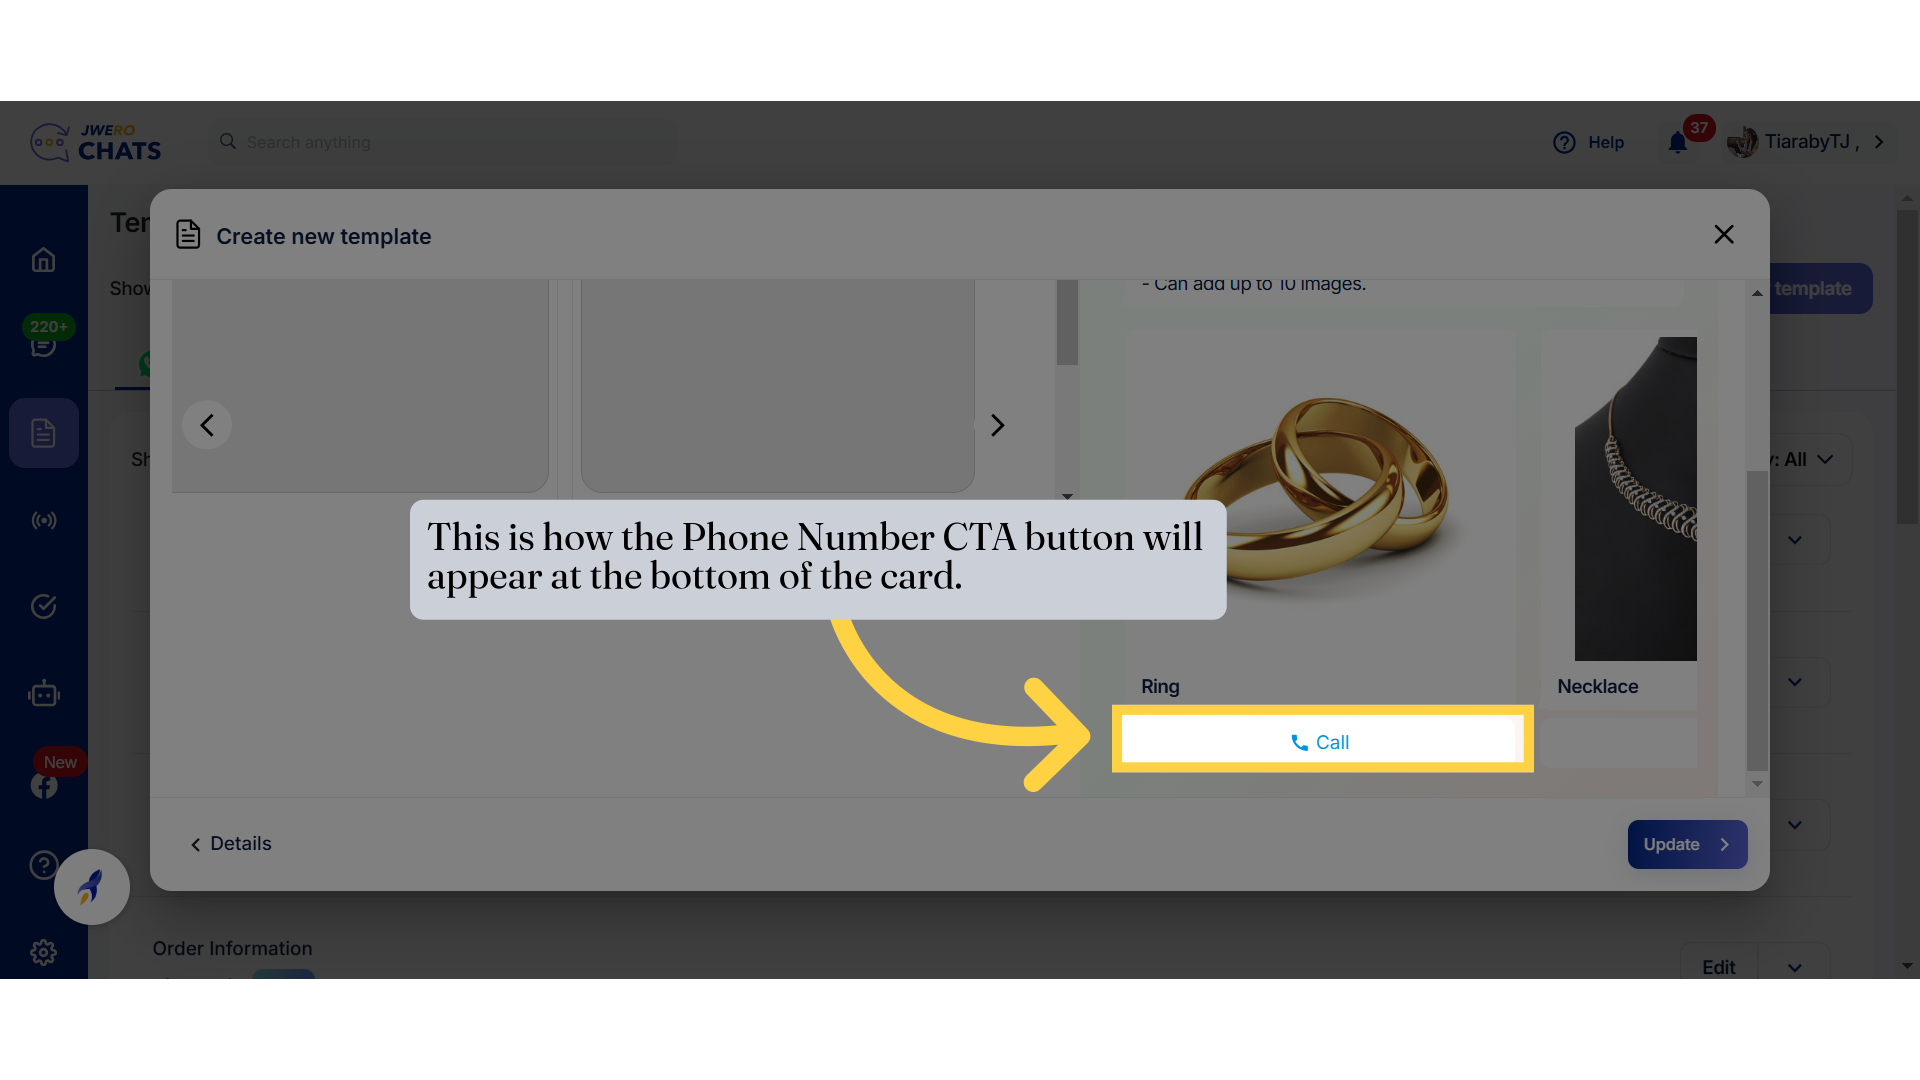
28. This is how the Phone Number CTA button will appear at the bottom of the card.
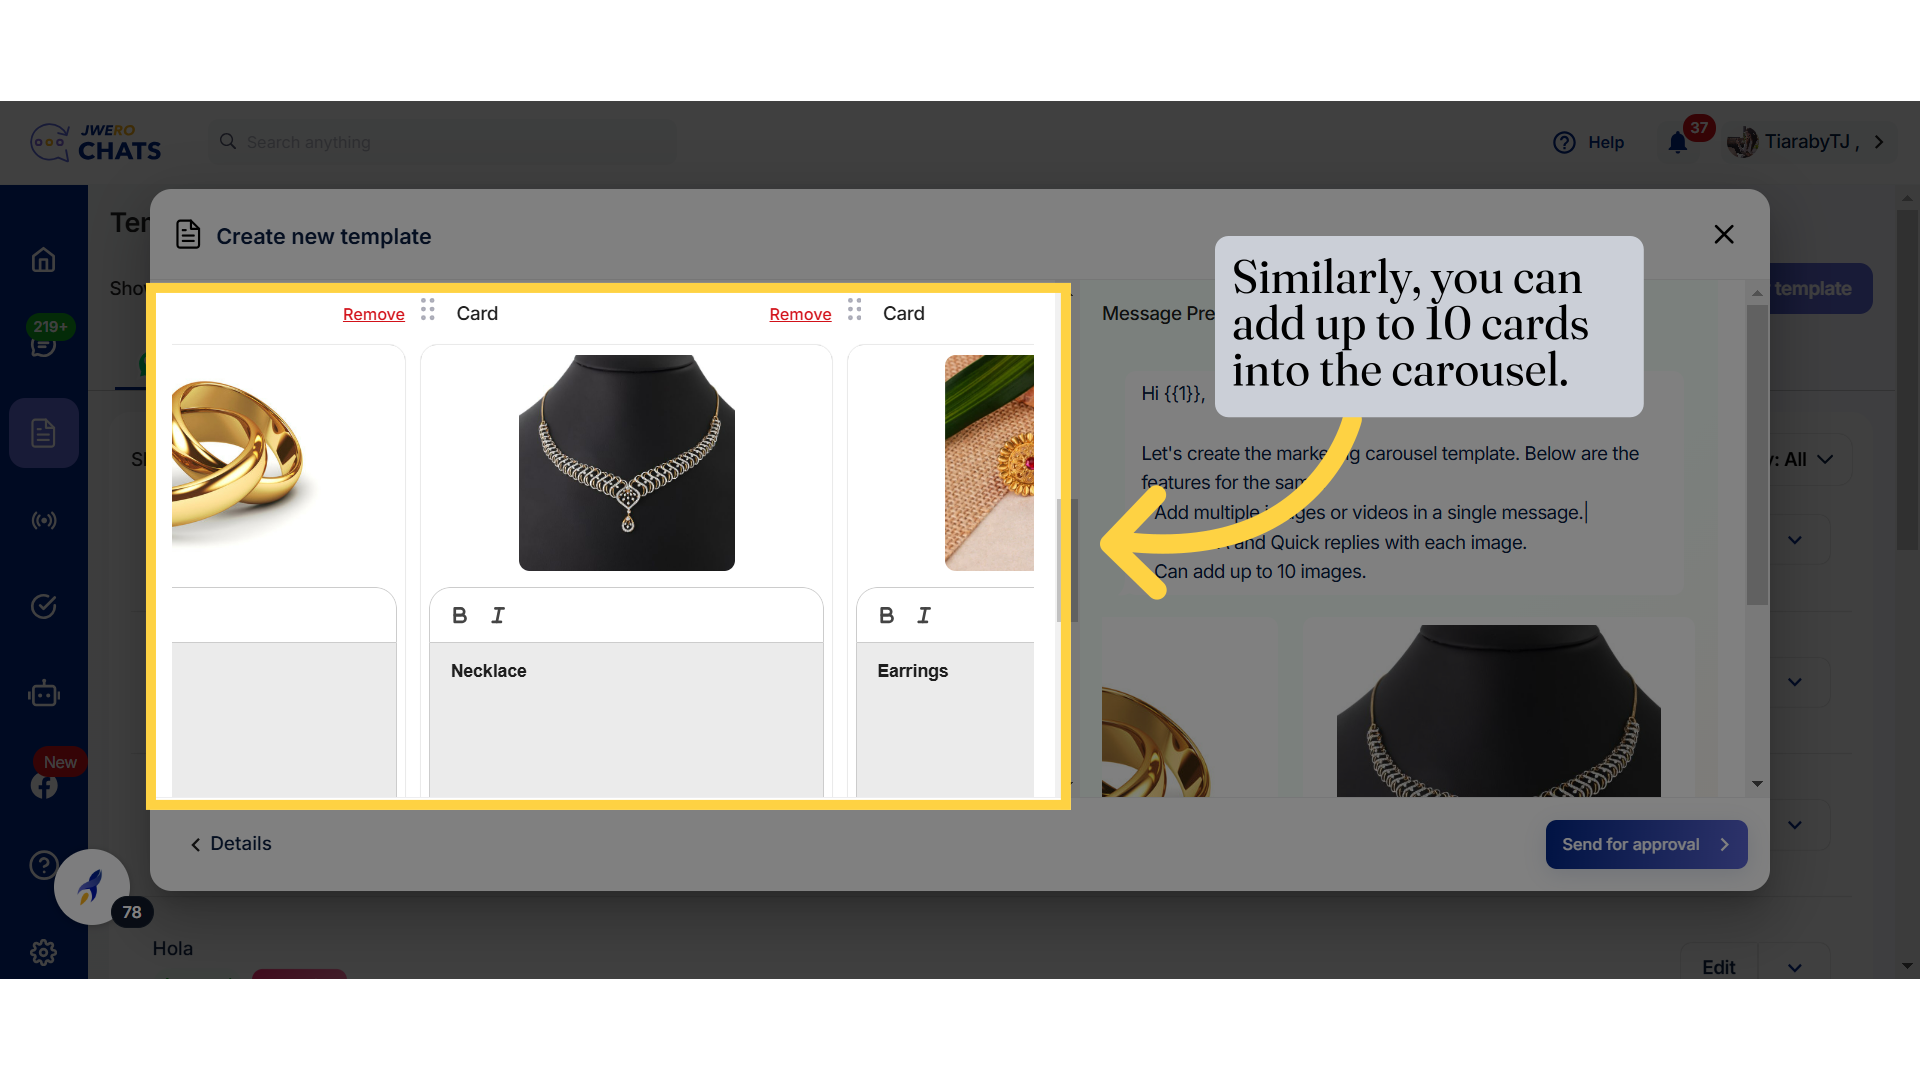
29. Similarly, you can add up to 10 cards into the carousel.
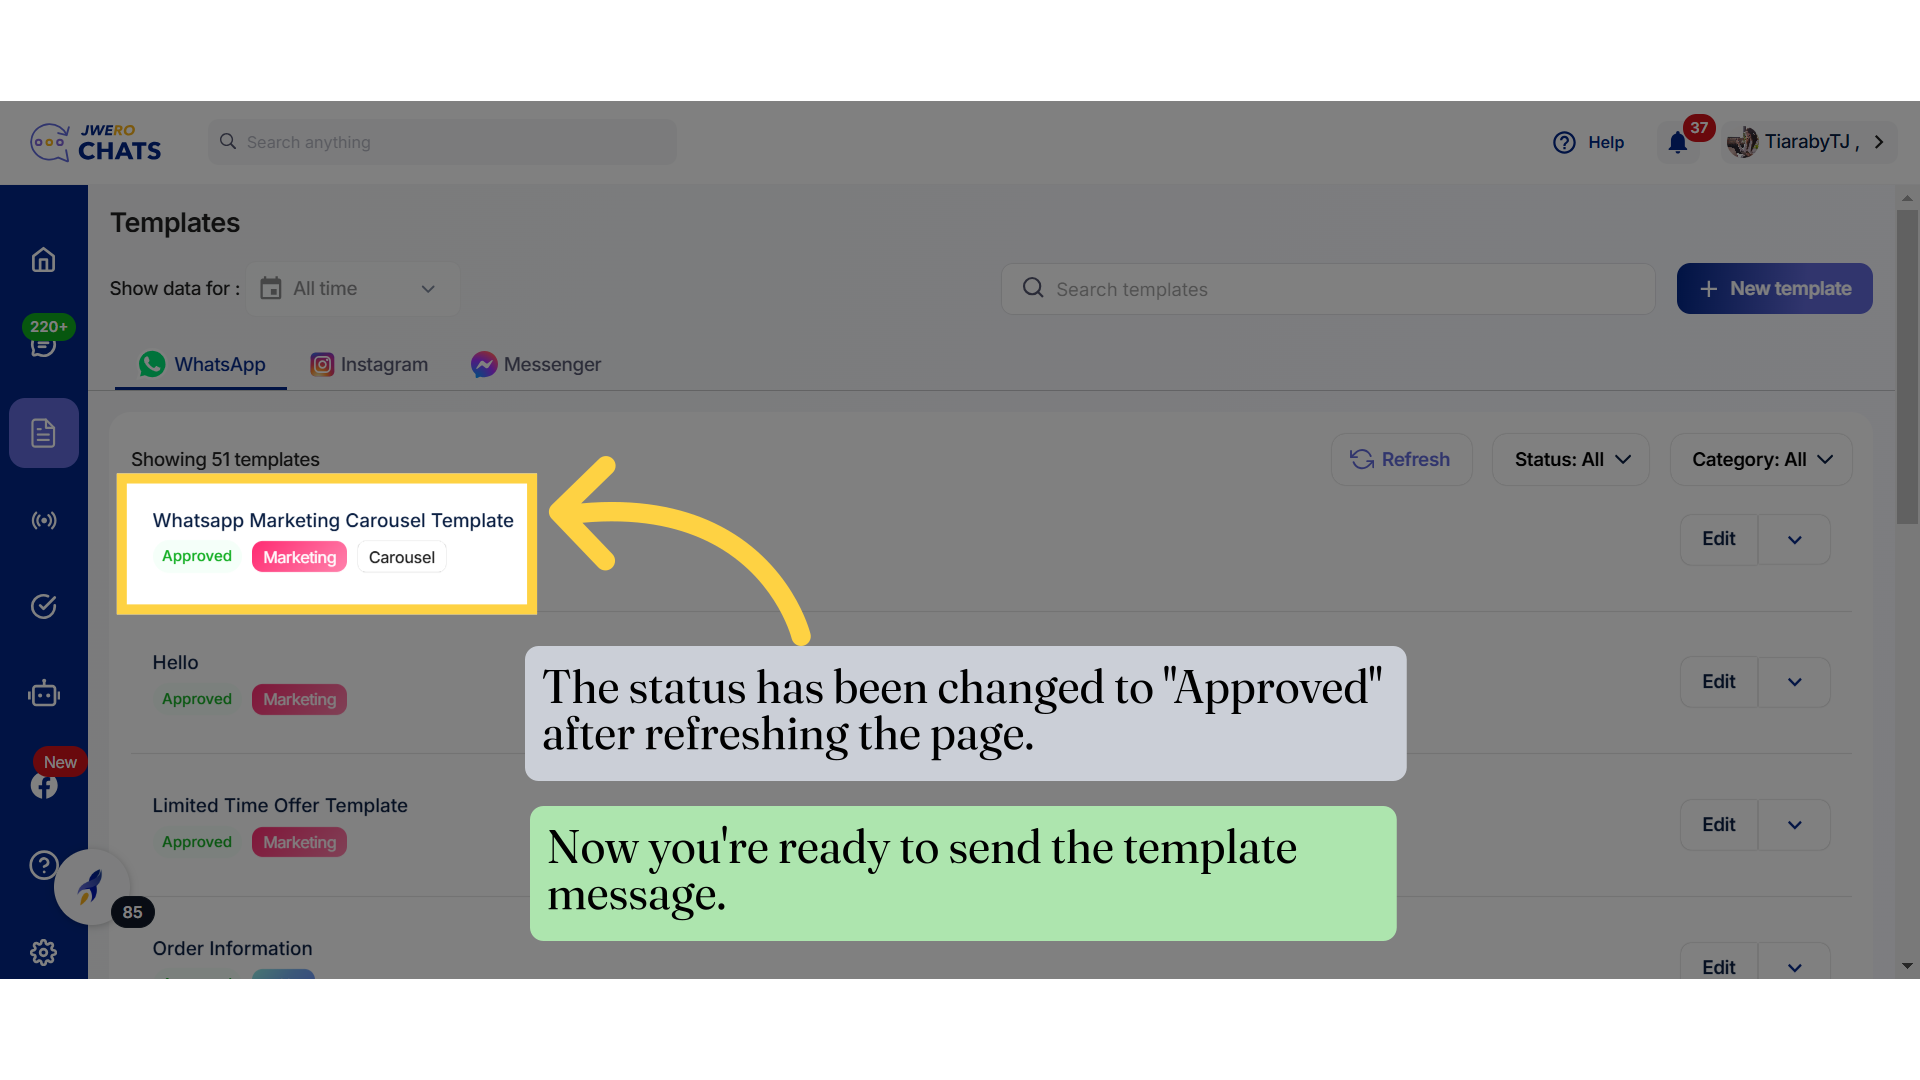
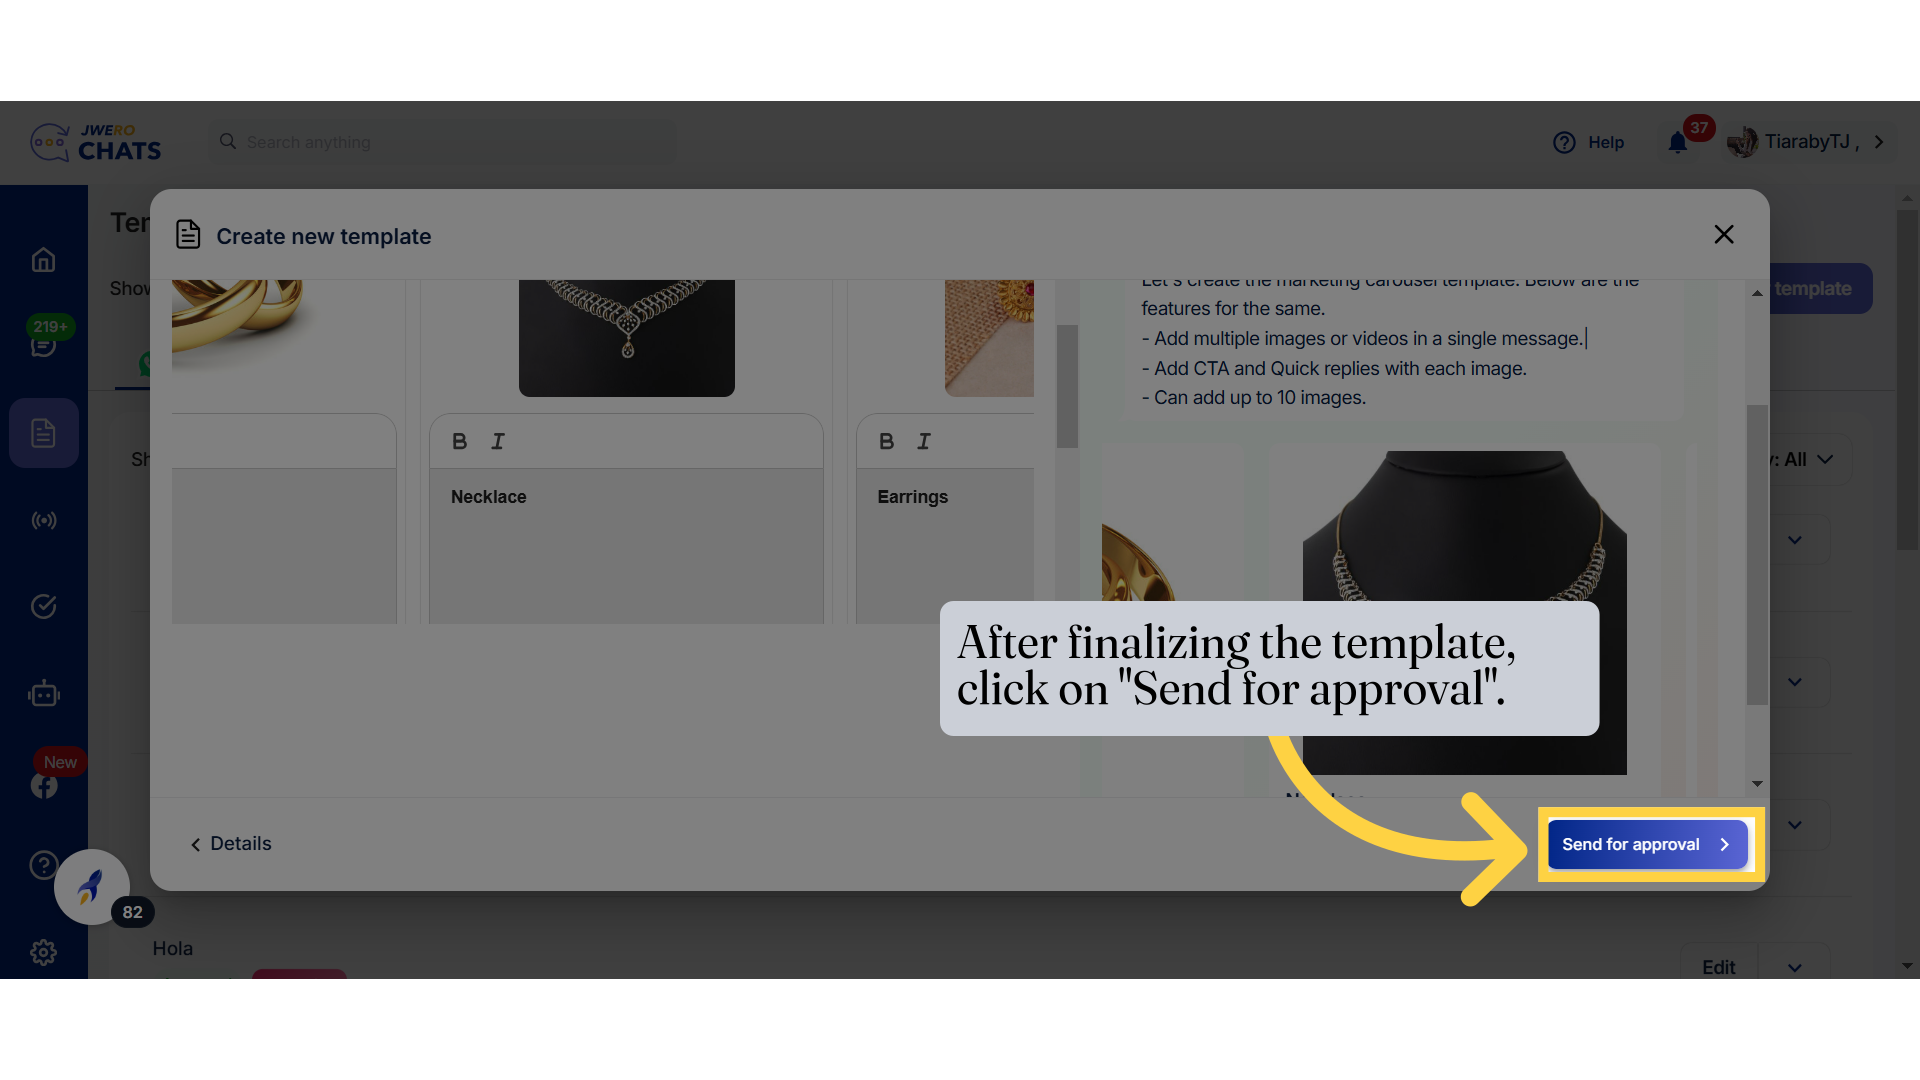
30. After finalizing the template, click on "Send for approval".
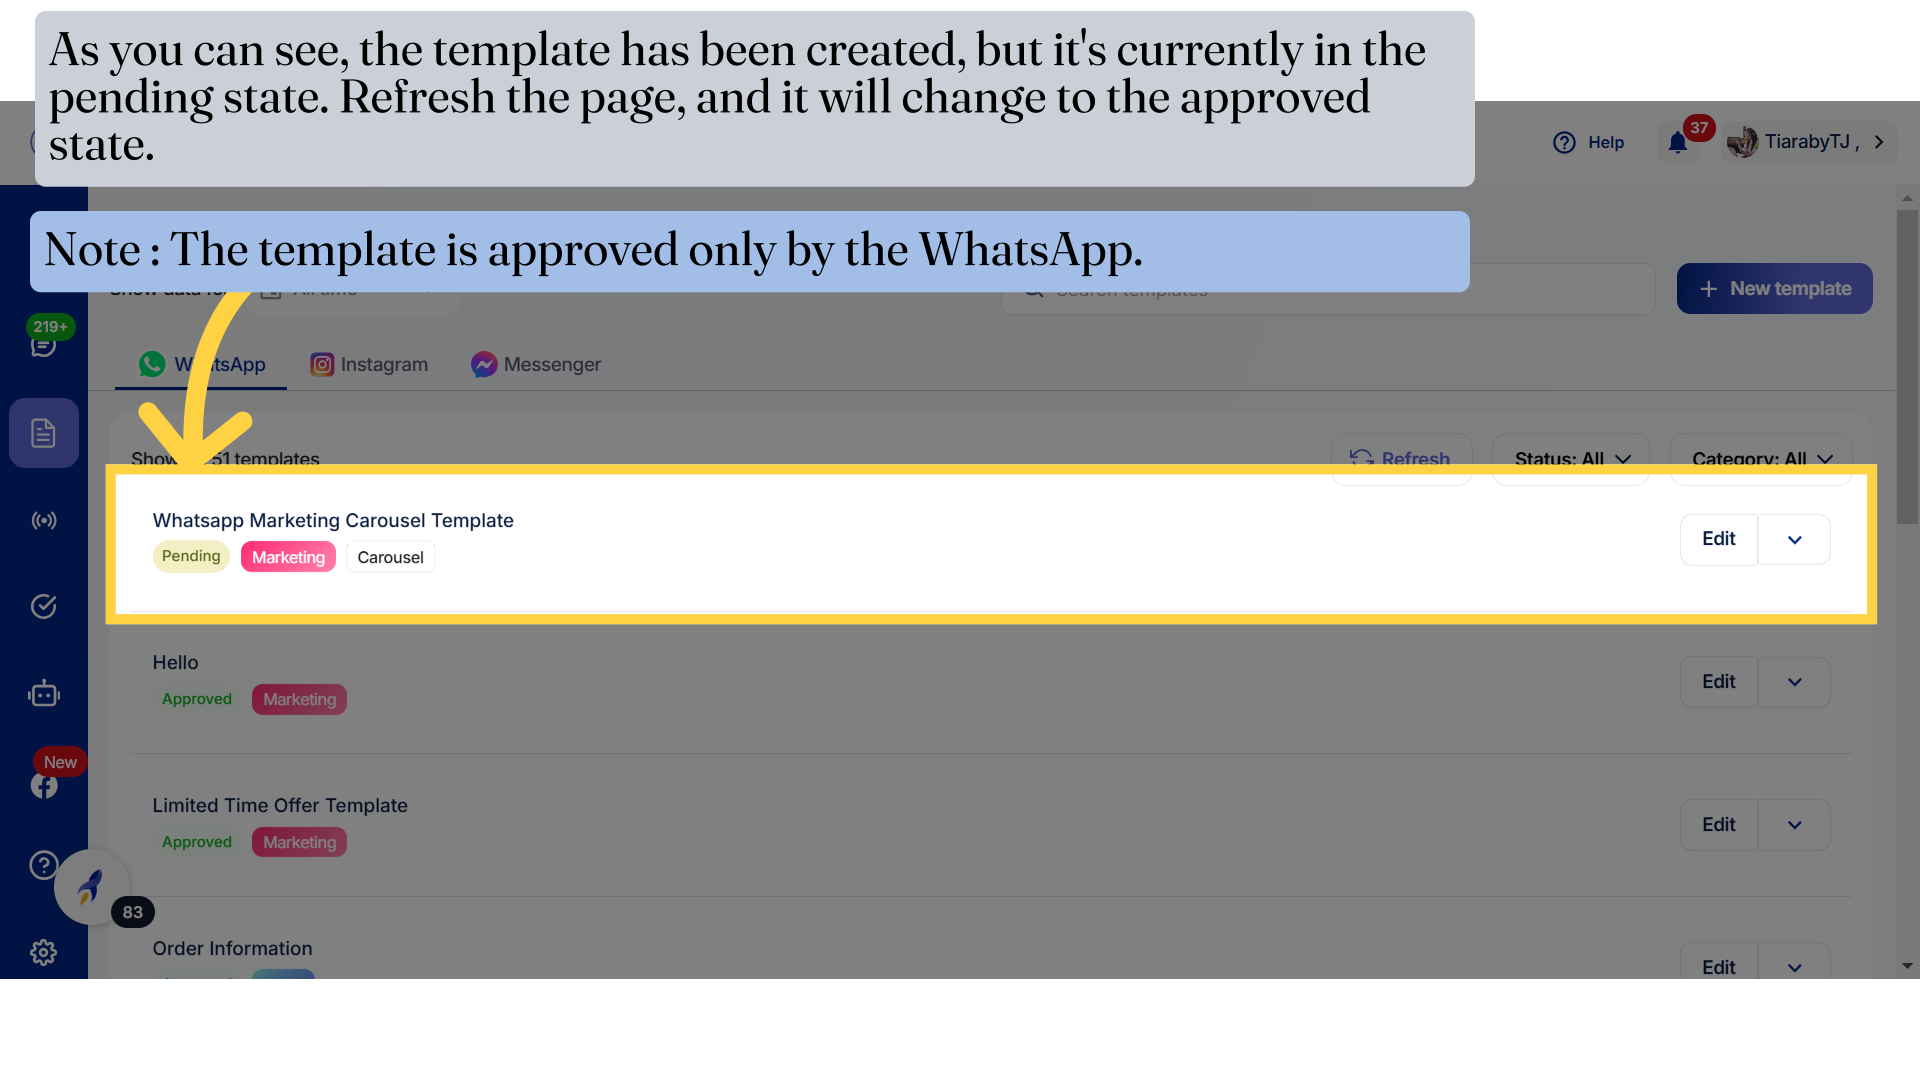
31. As you can see, the template has been created, but it's currently in the pending state. Refresh the page, and it will change to the approved state.
32. The status has been changed to "Approved" after refreshing the page.