How To Moderate Blog Comments
Go to app.jwero.ai
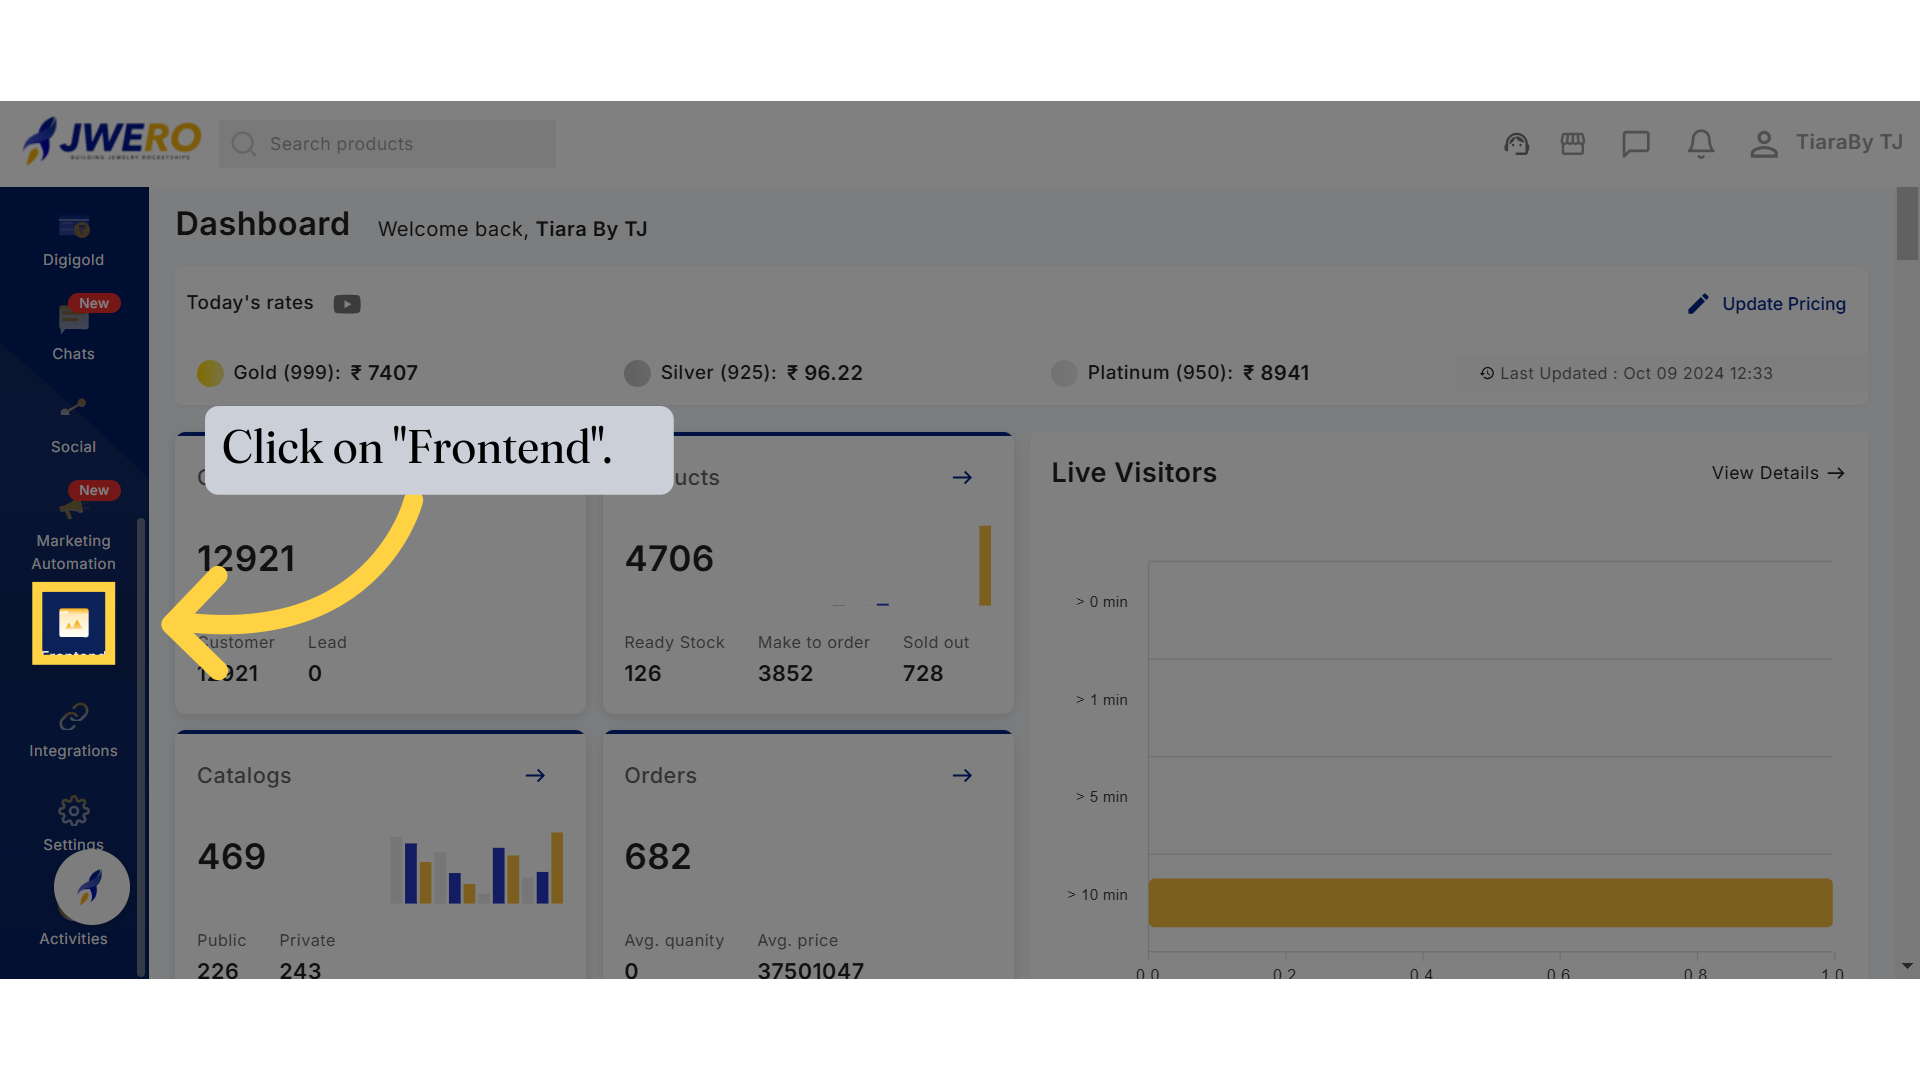
1. Click on "Frontend".
Access the "Frontend" for making the desired changes.
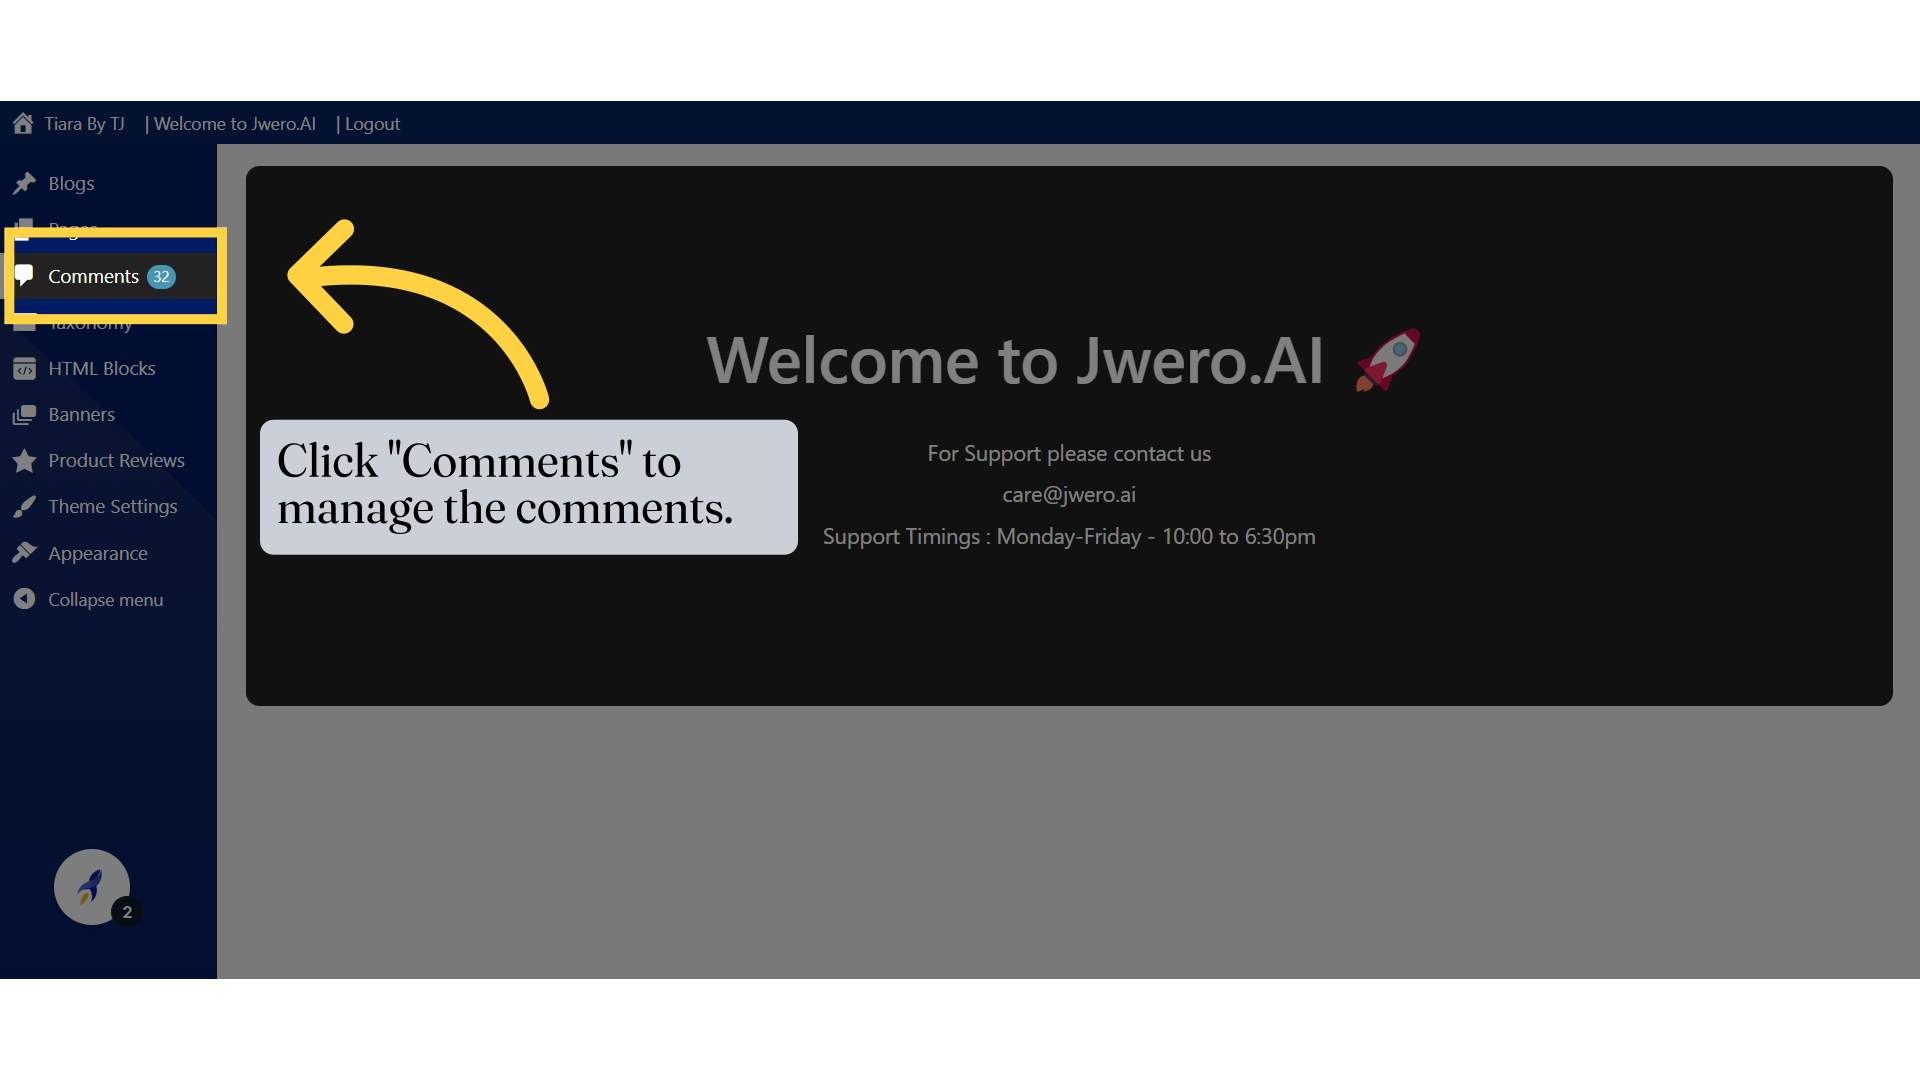
2. Click "Comments" to manage the comments.
3. You will see all the comments and likes received on the blogs.
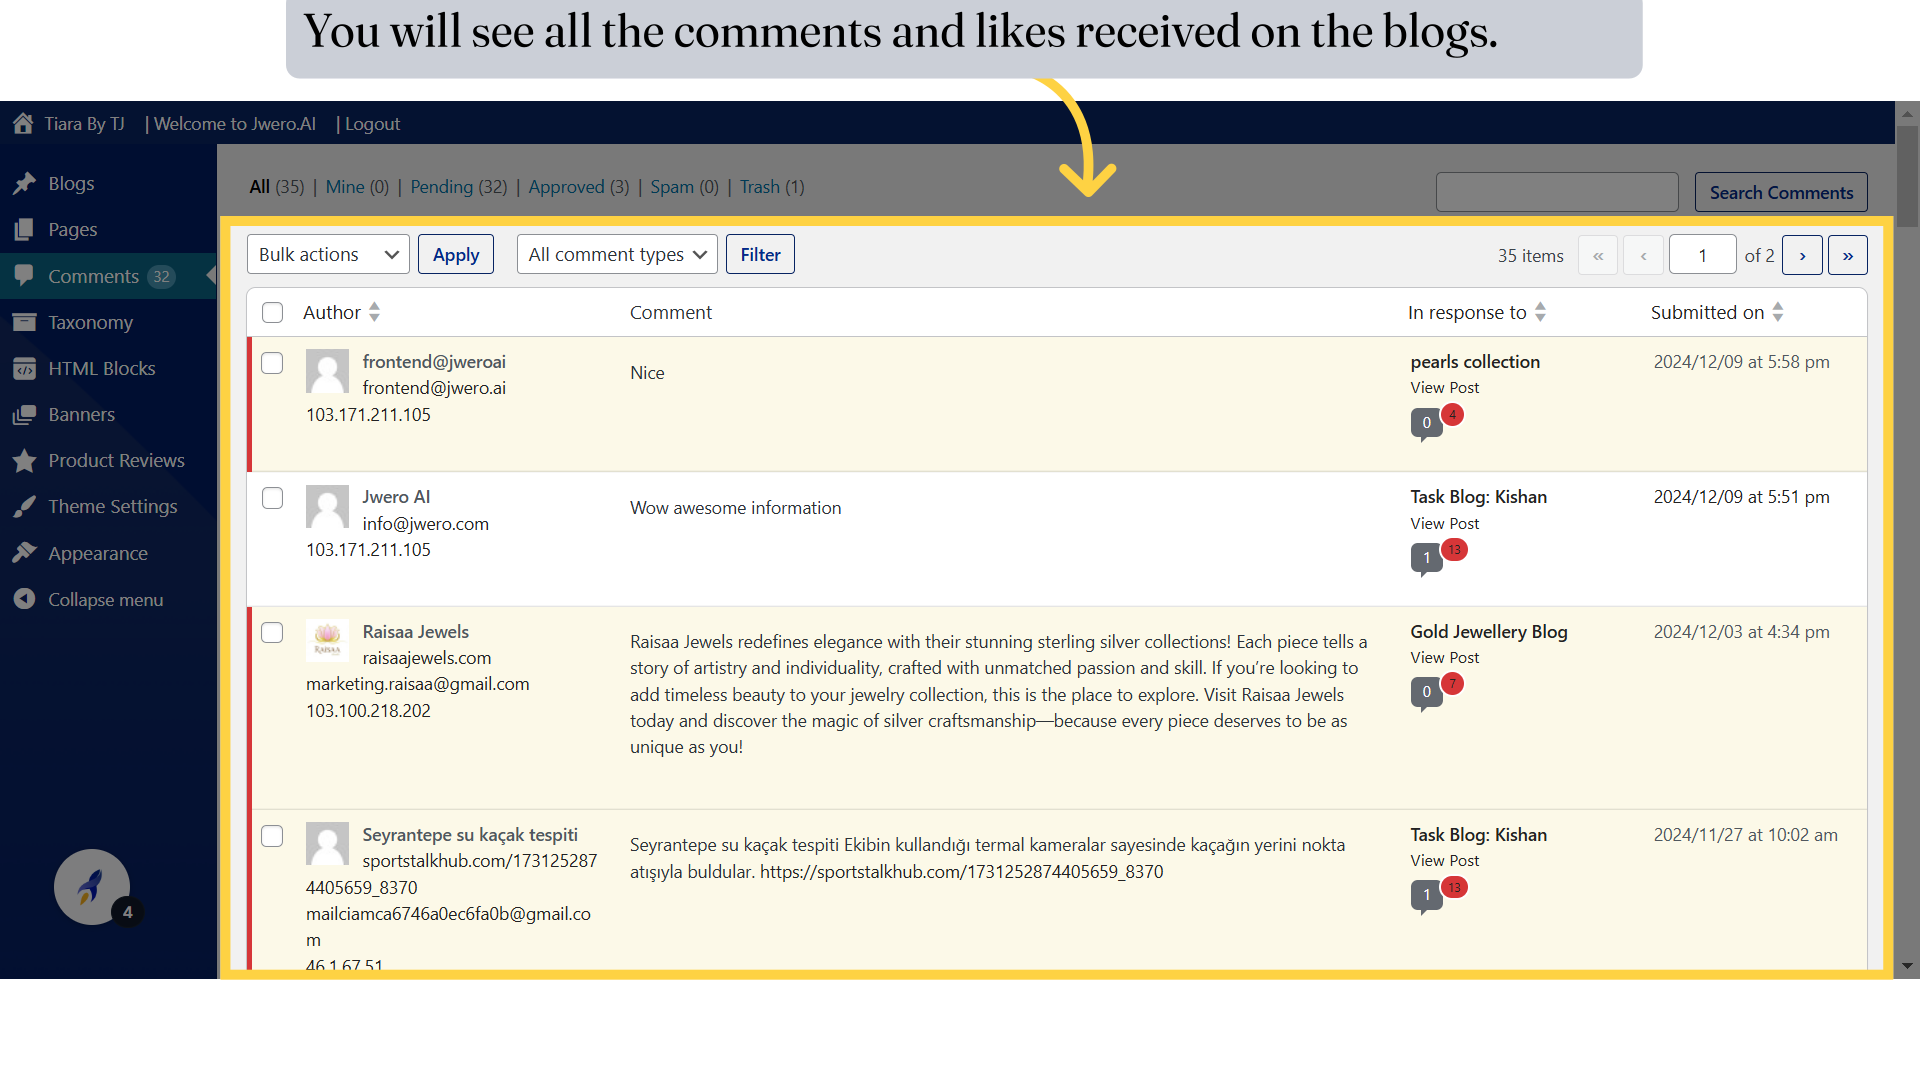
4. Since we've received a comment, let's explore how to manage it.

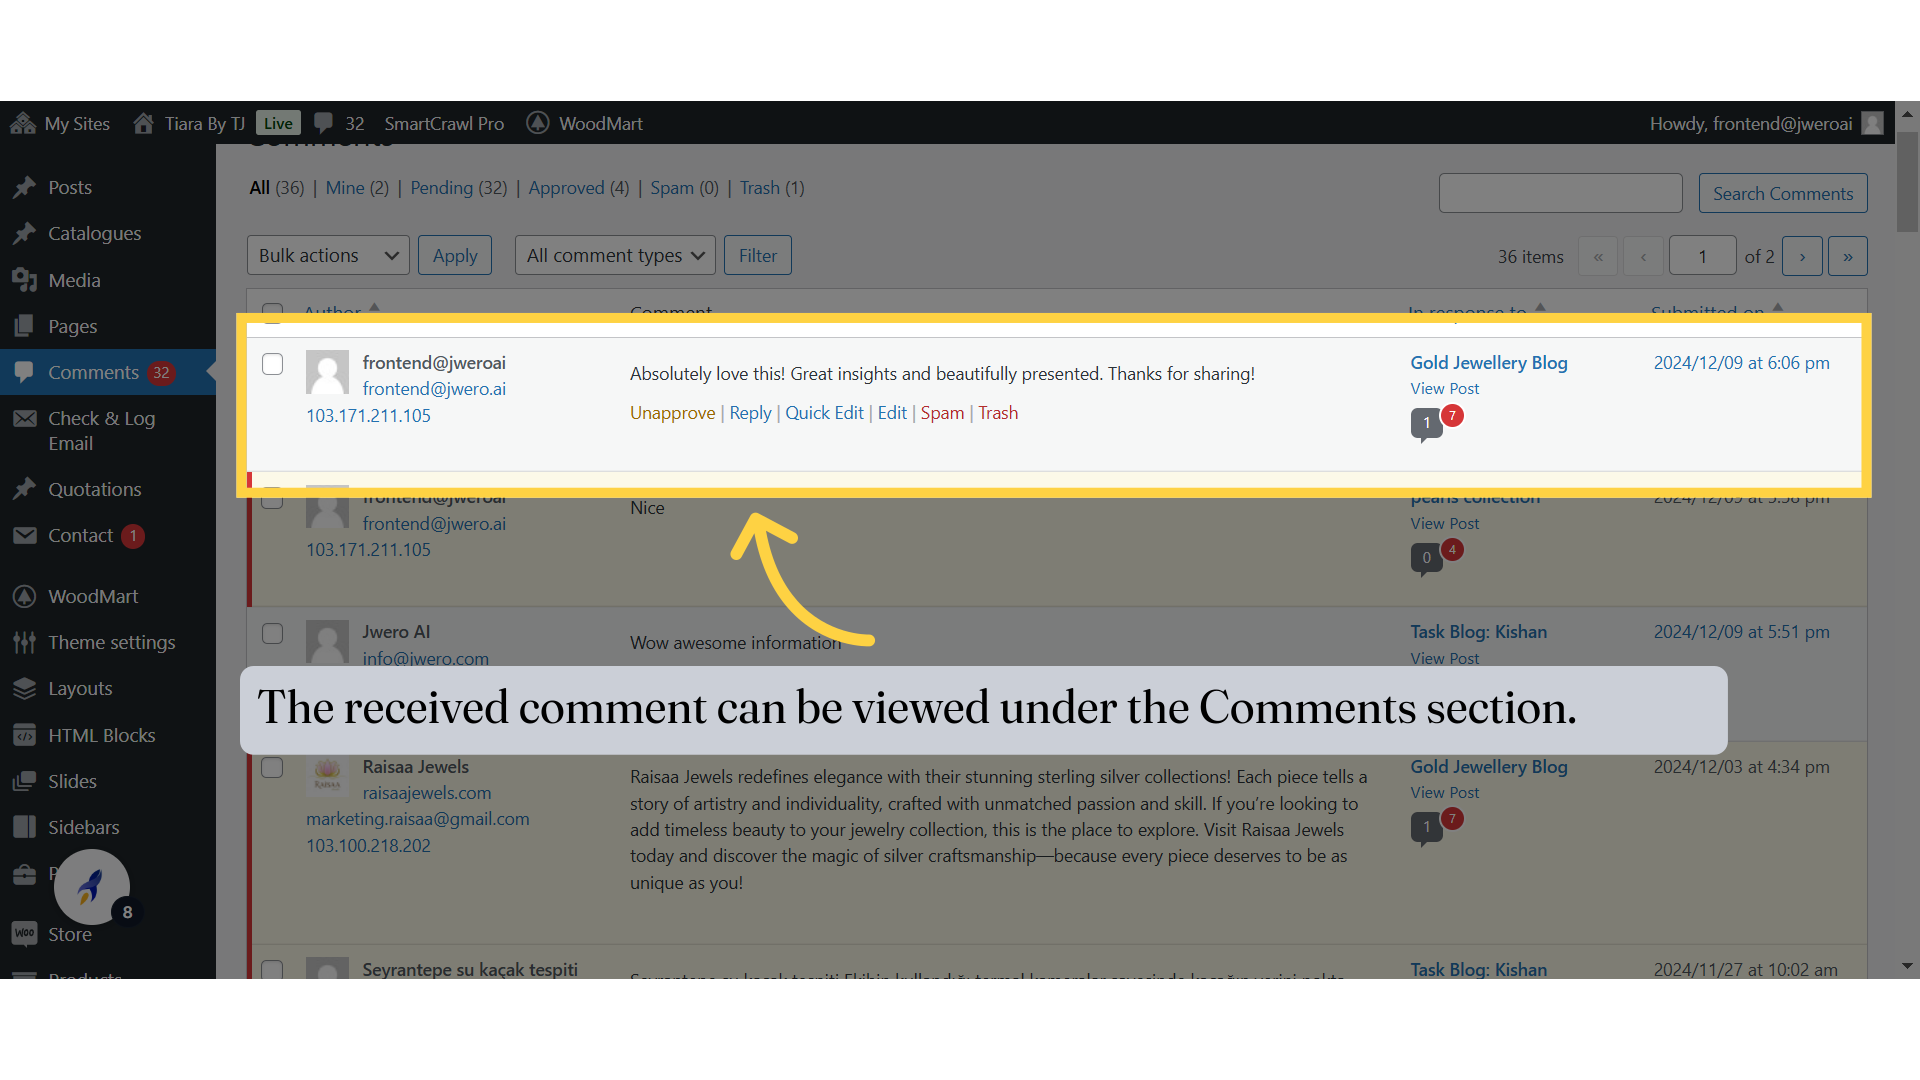
5. The received comment can be viewed under the Comments section.
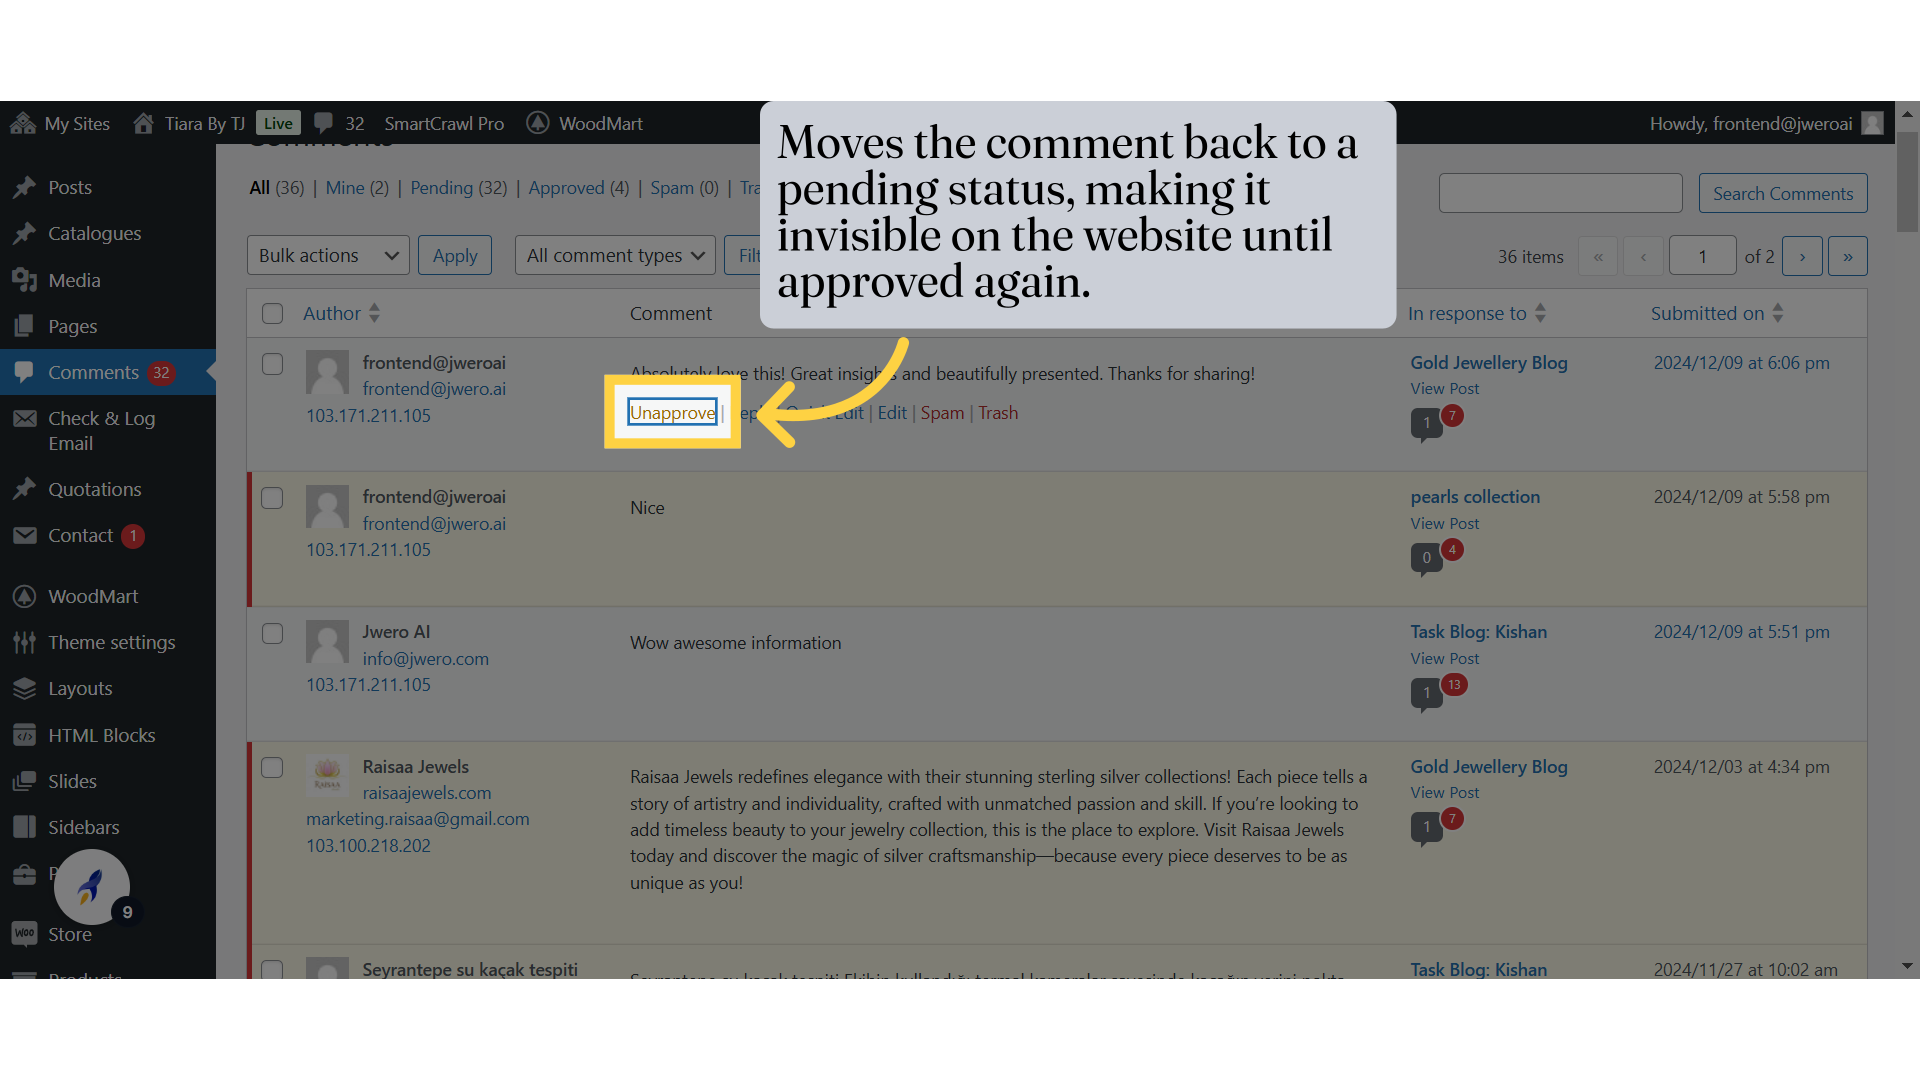
6. Moves the comment back to a pending status, making it invisible on the website until approved again.
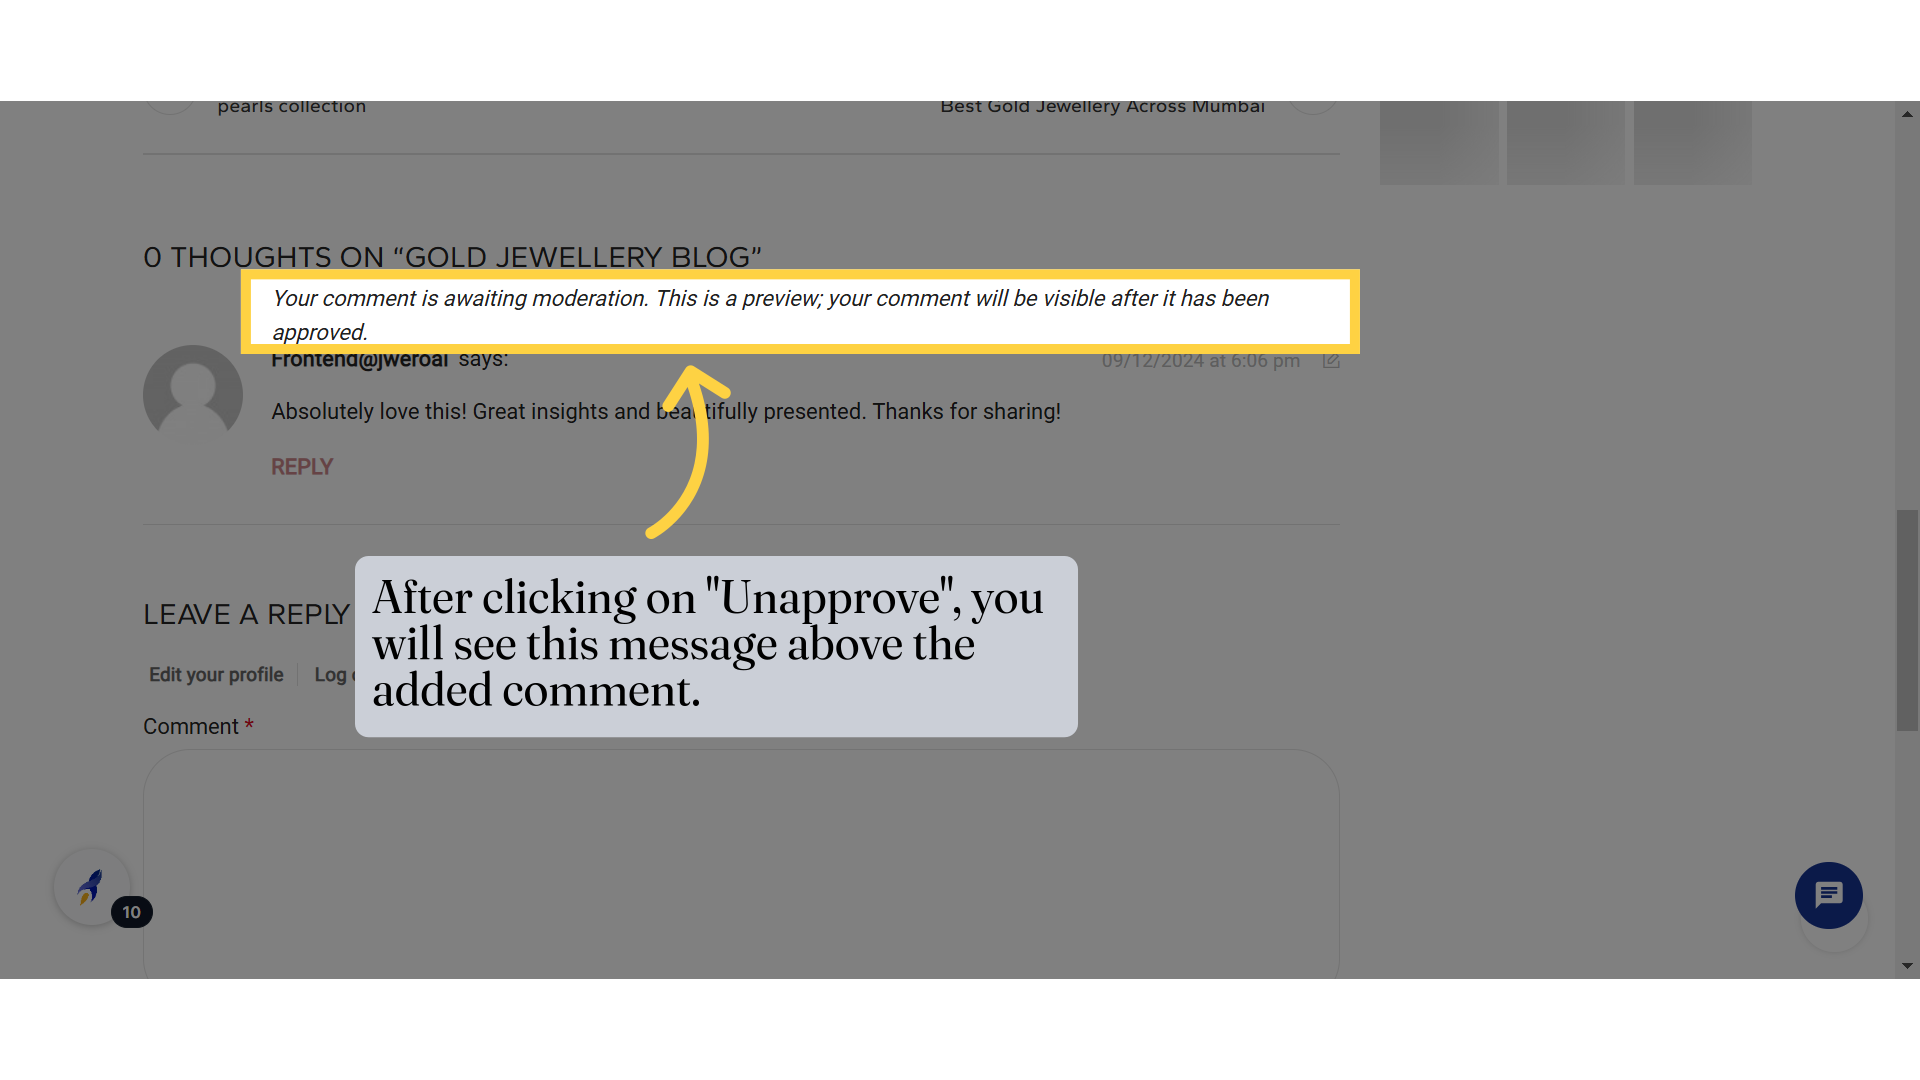
7. After clicking on "Unapprove", you will see this message above the added comment.
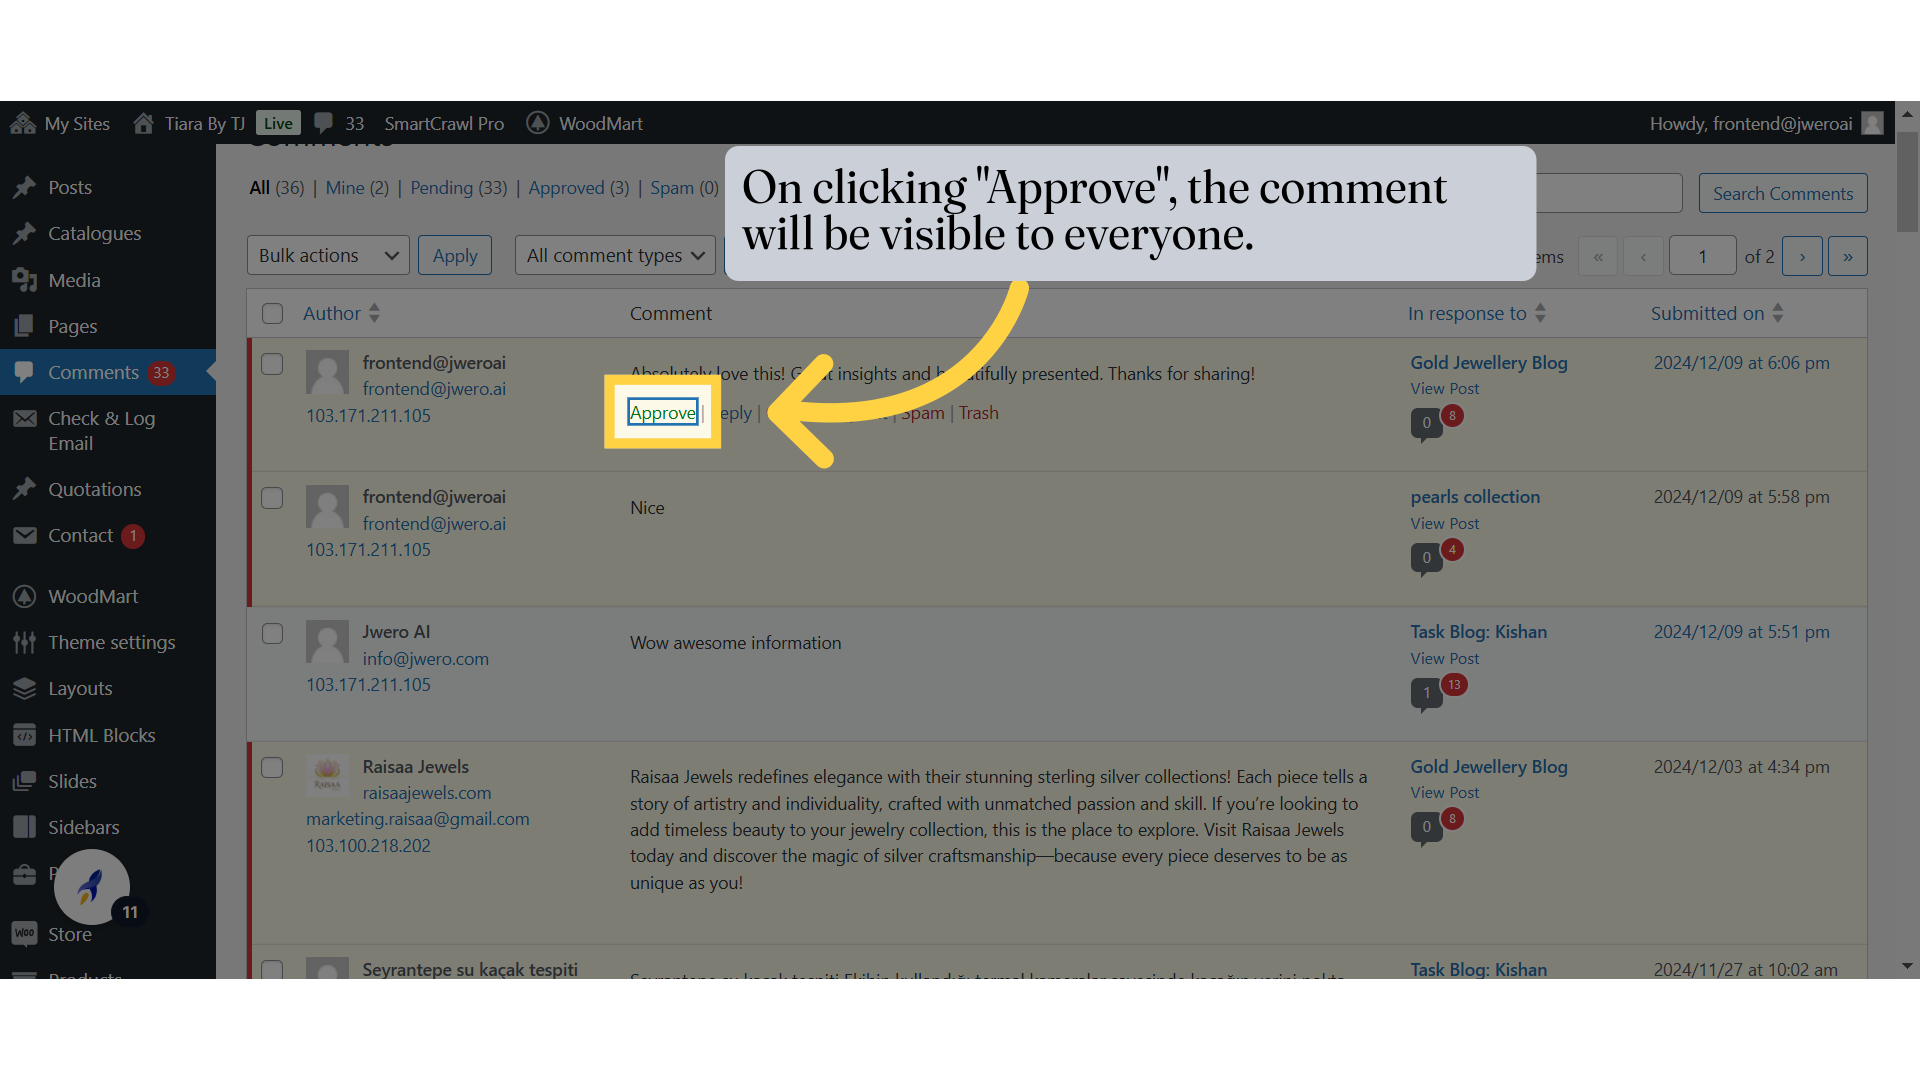
8. On clicking "Approve", the comment will be visible to everyone.
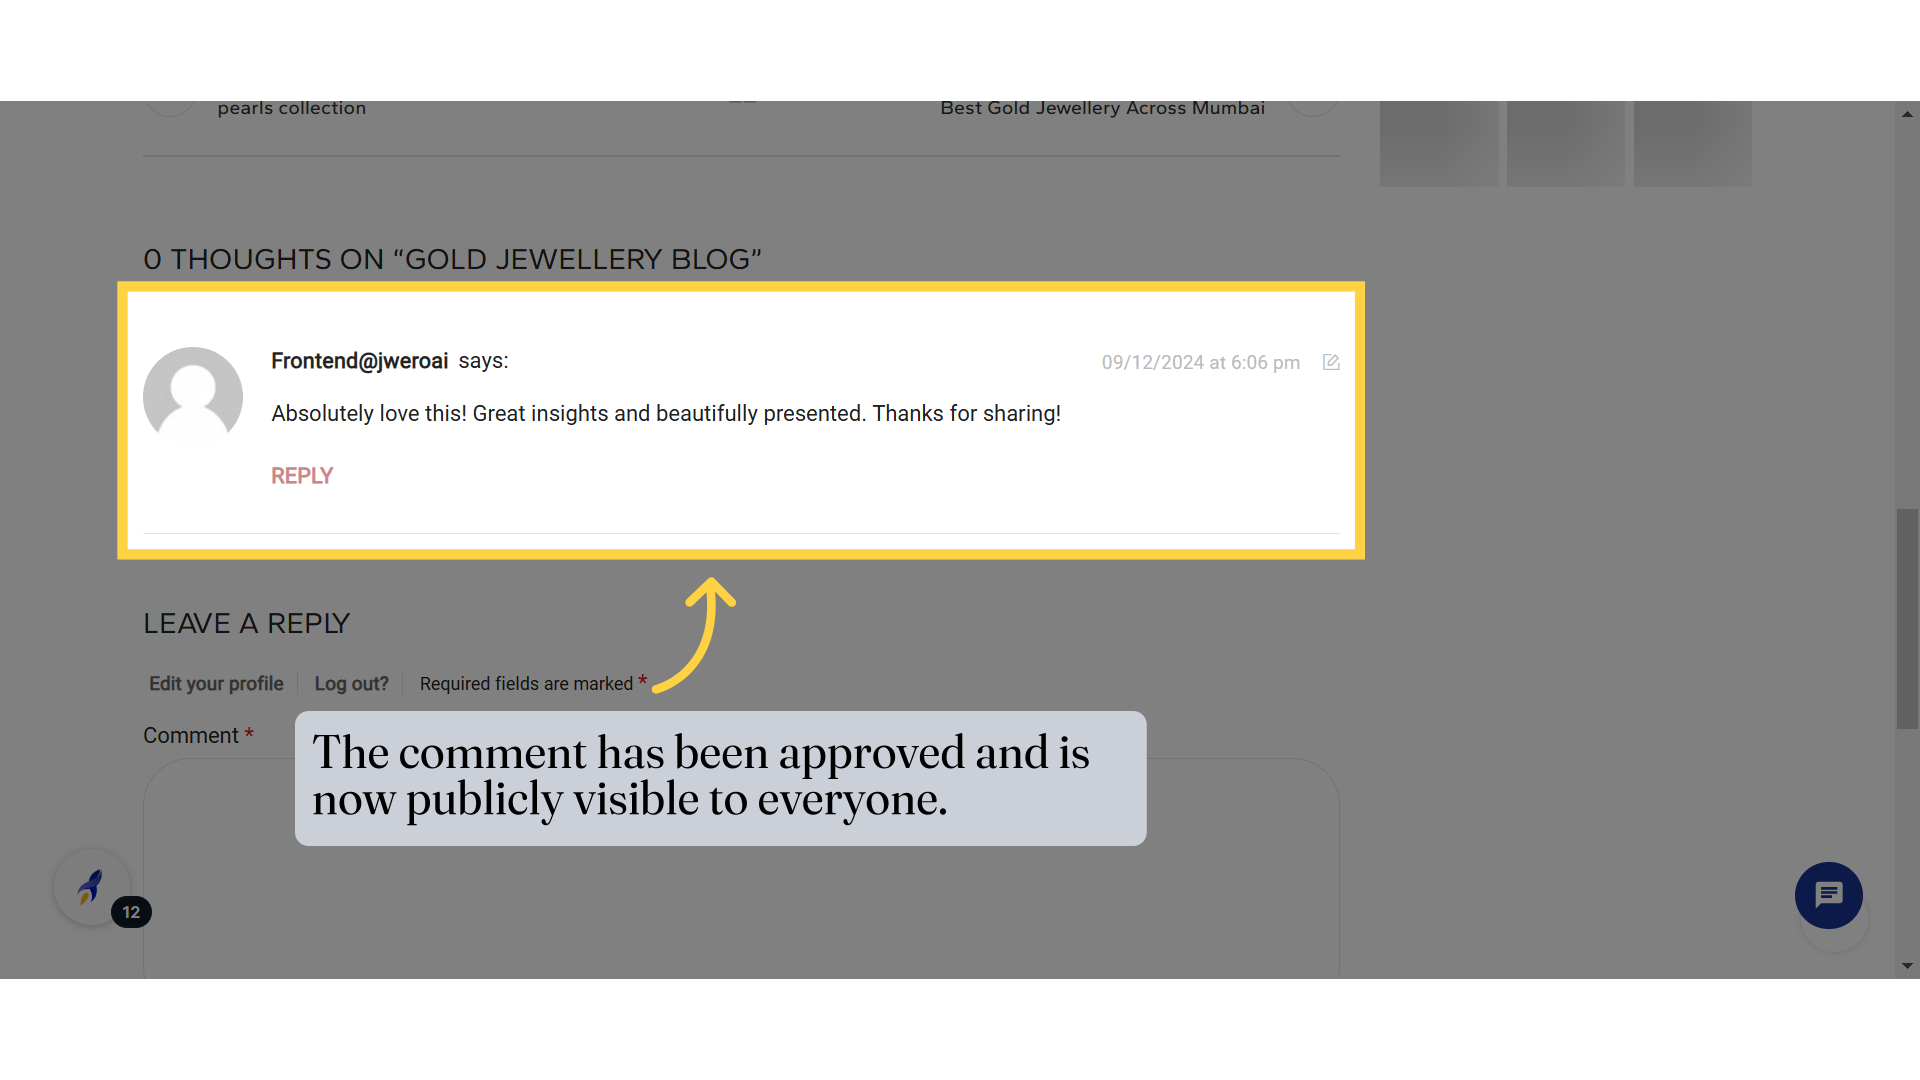
9. The comment has been approved and is now publicly visible to everyone.
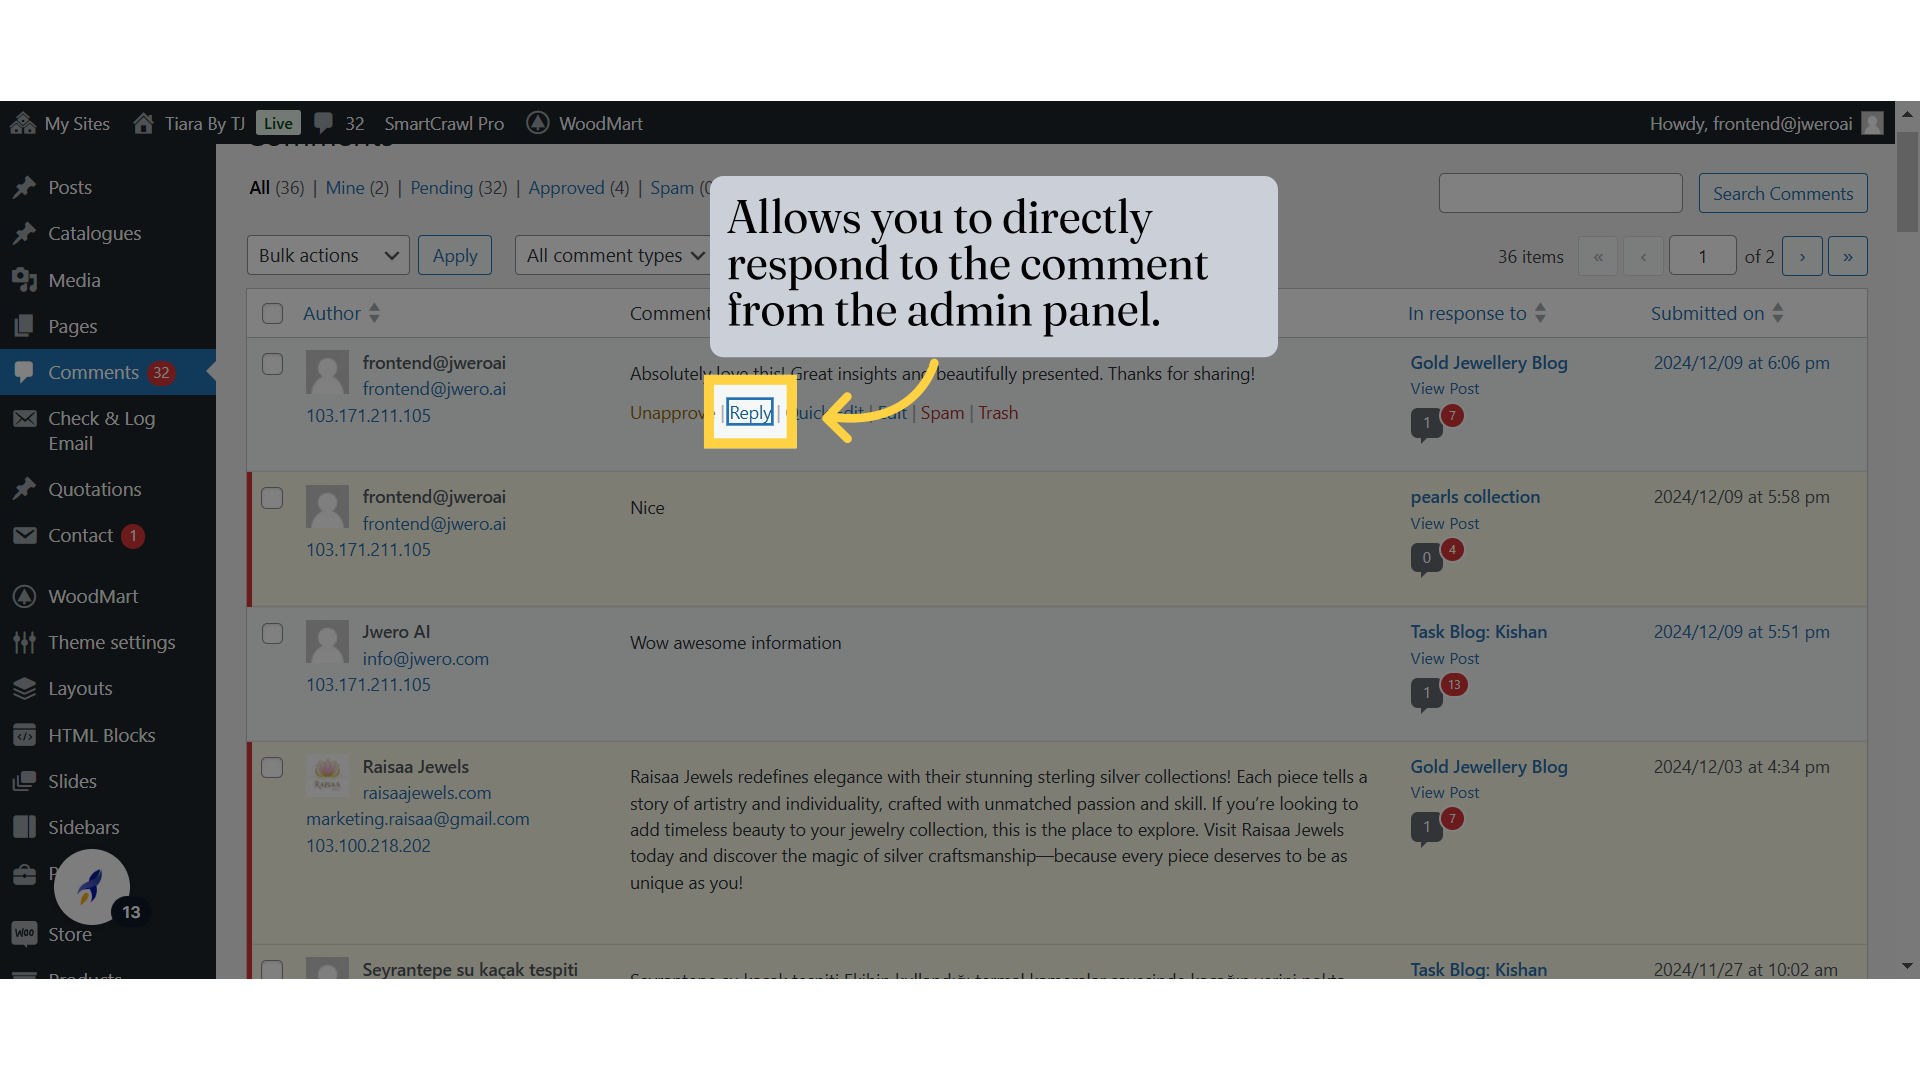
10. Allows you to directly respond to the comment from the admin panel.
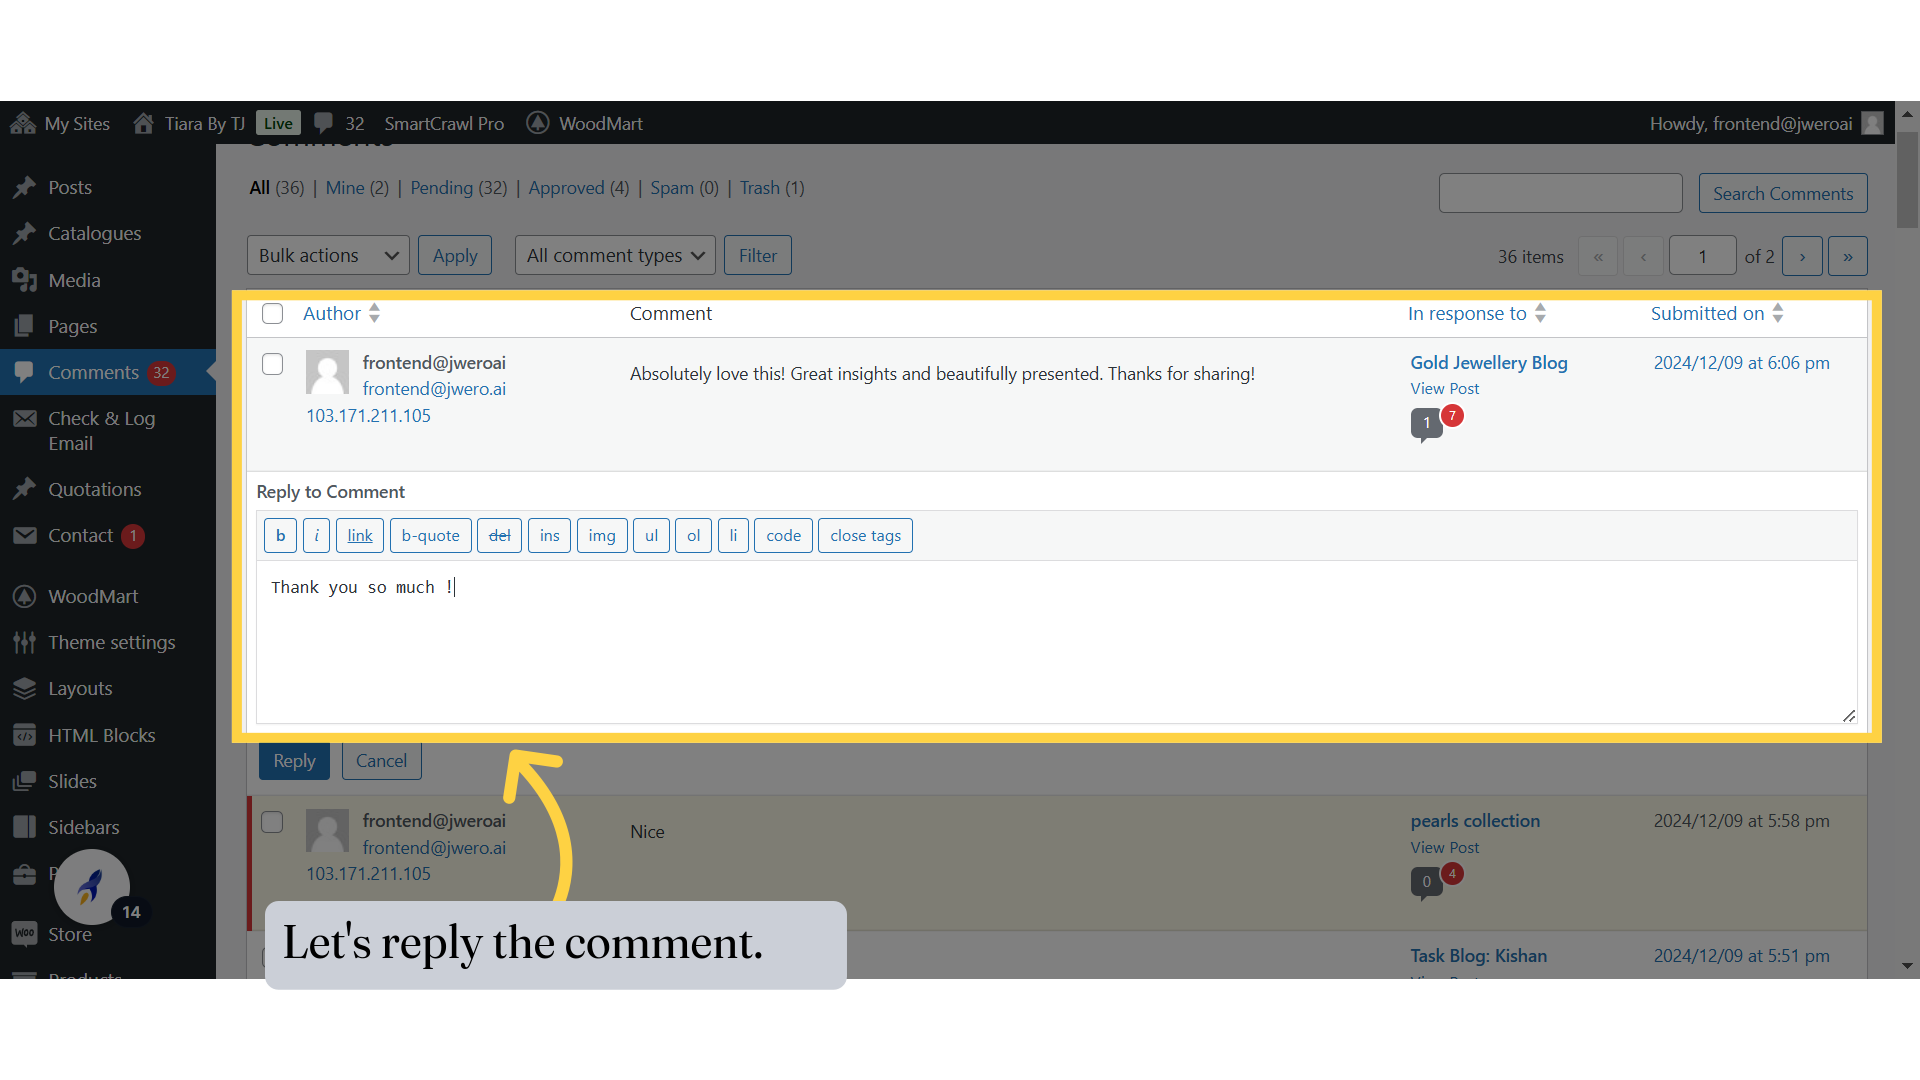
11. Let's reply the comment.
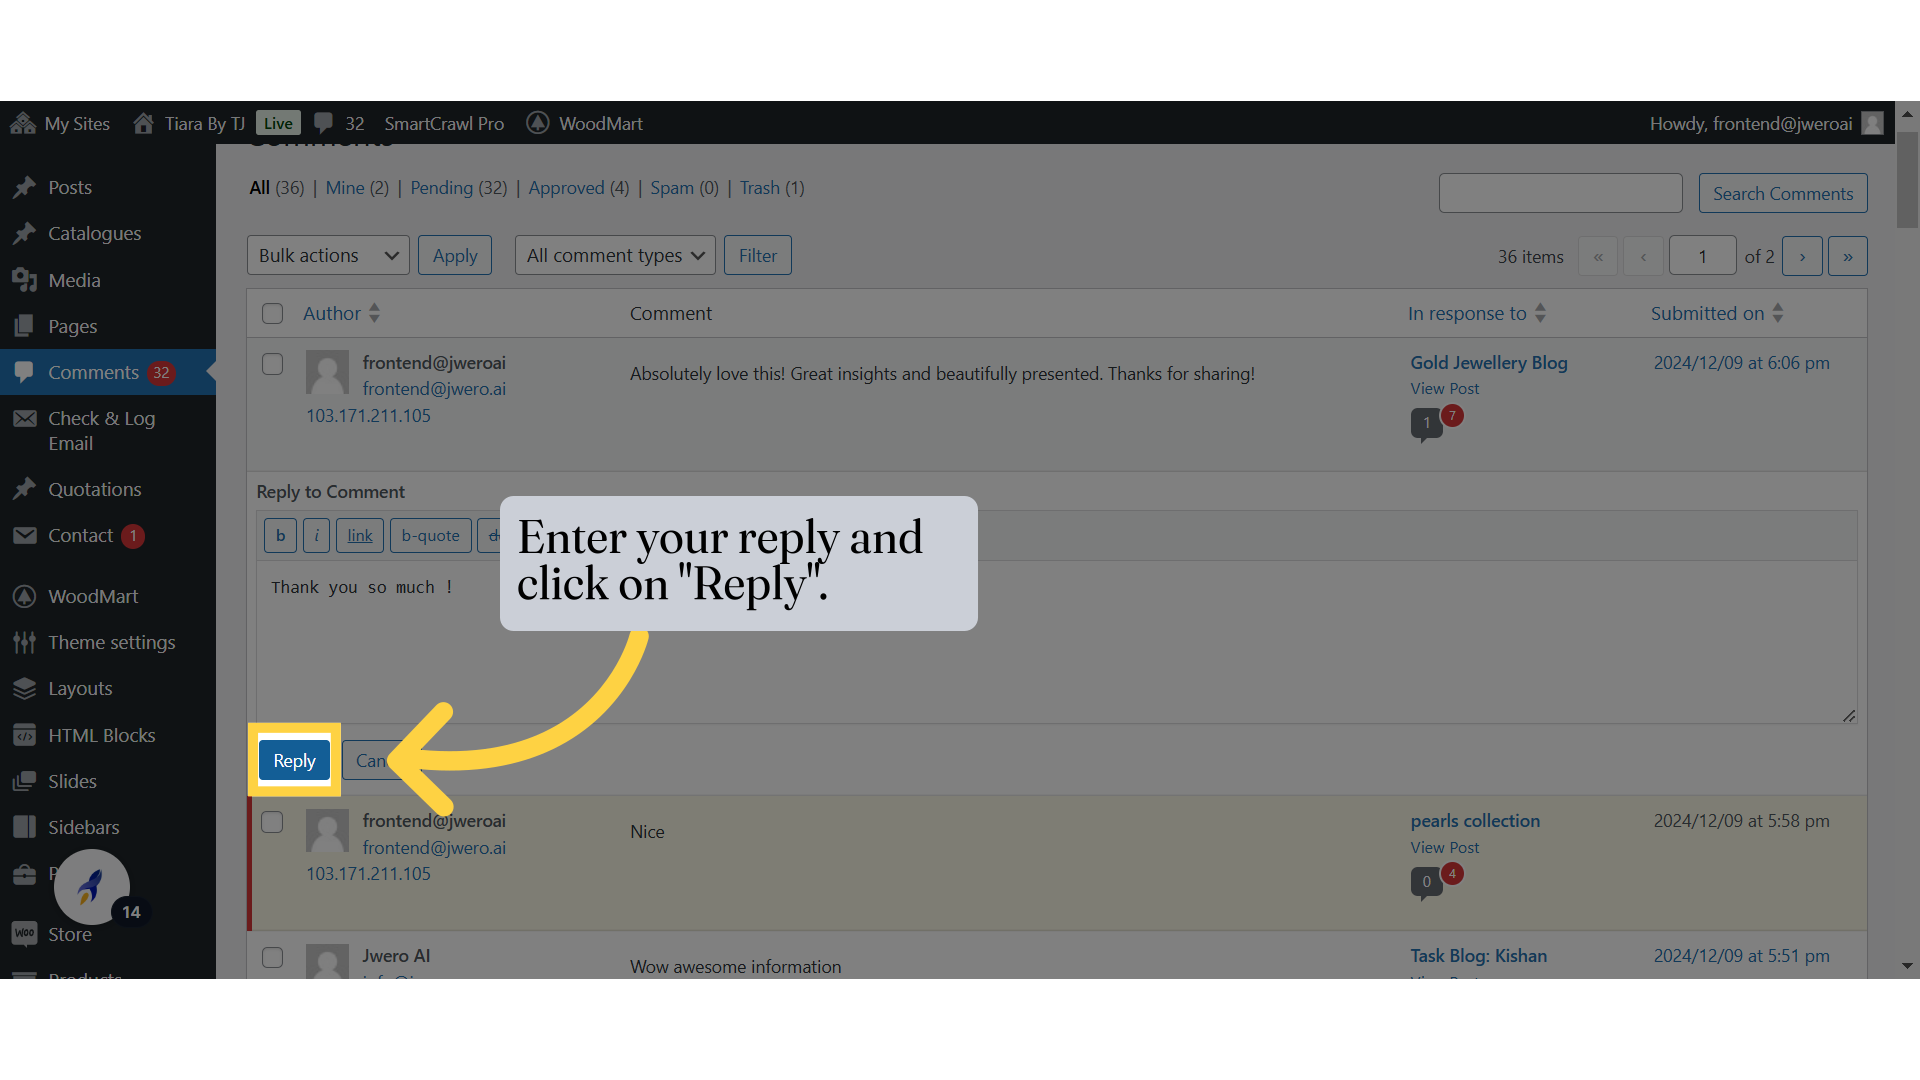
12. Enter your reply and click on "Reply".
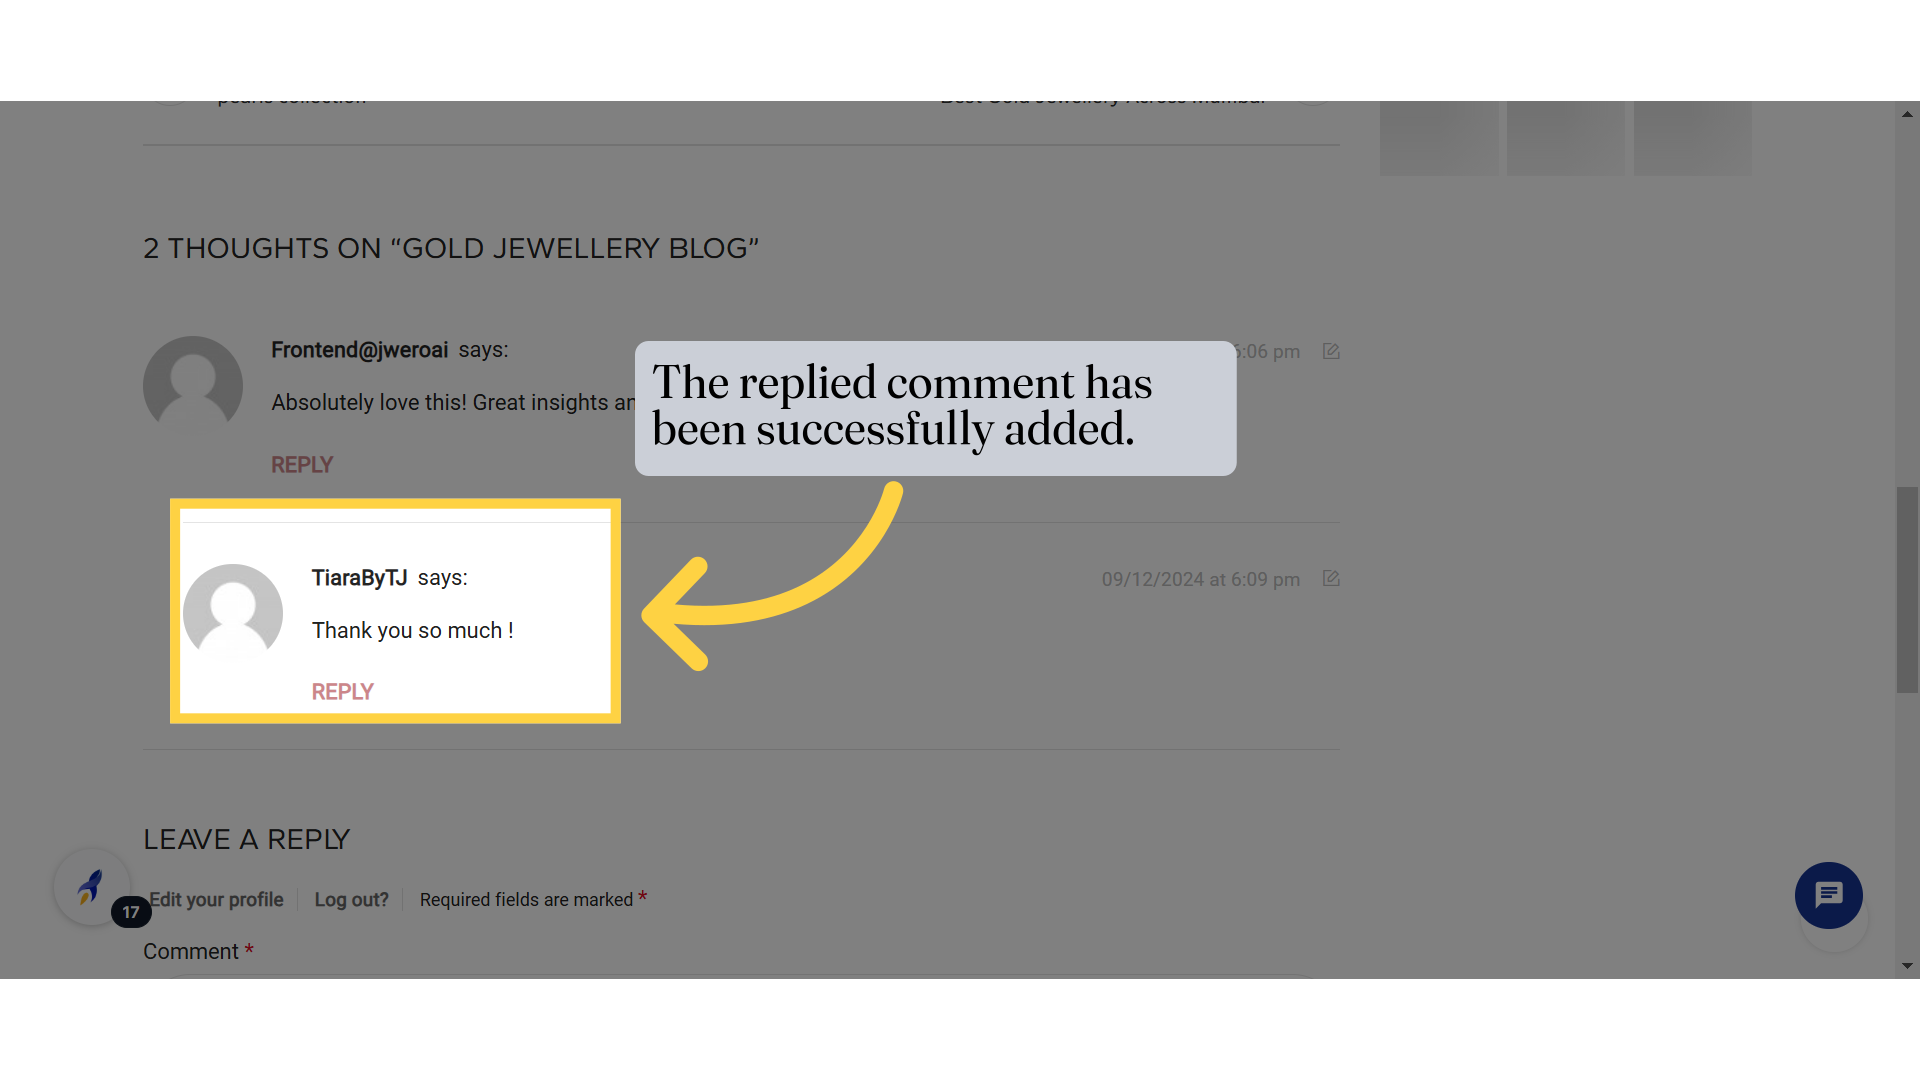
13. The replied comment has been successfully added.
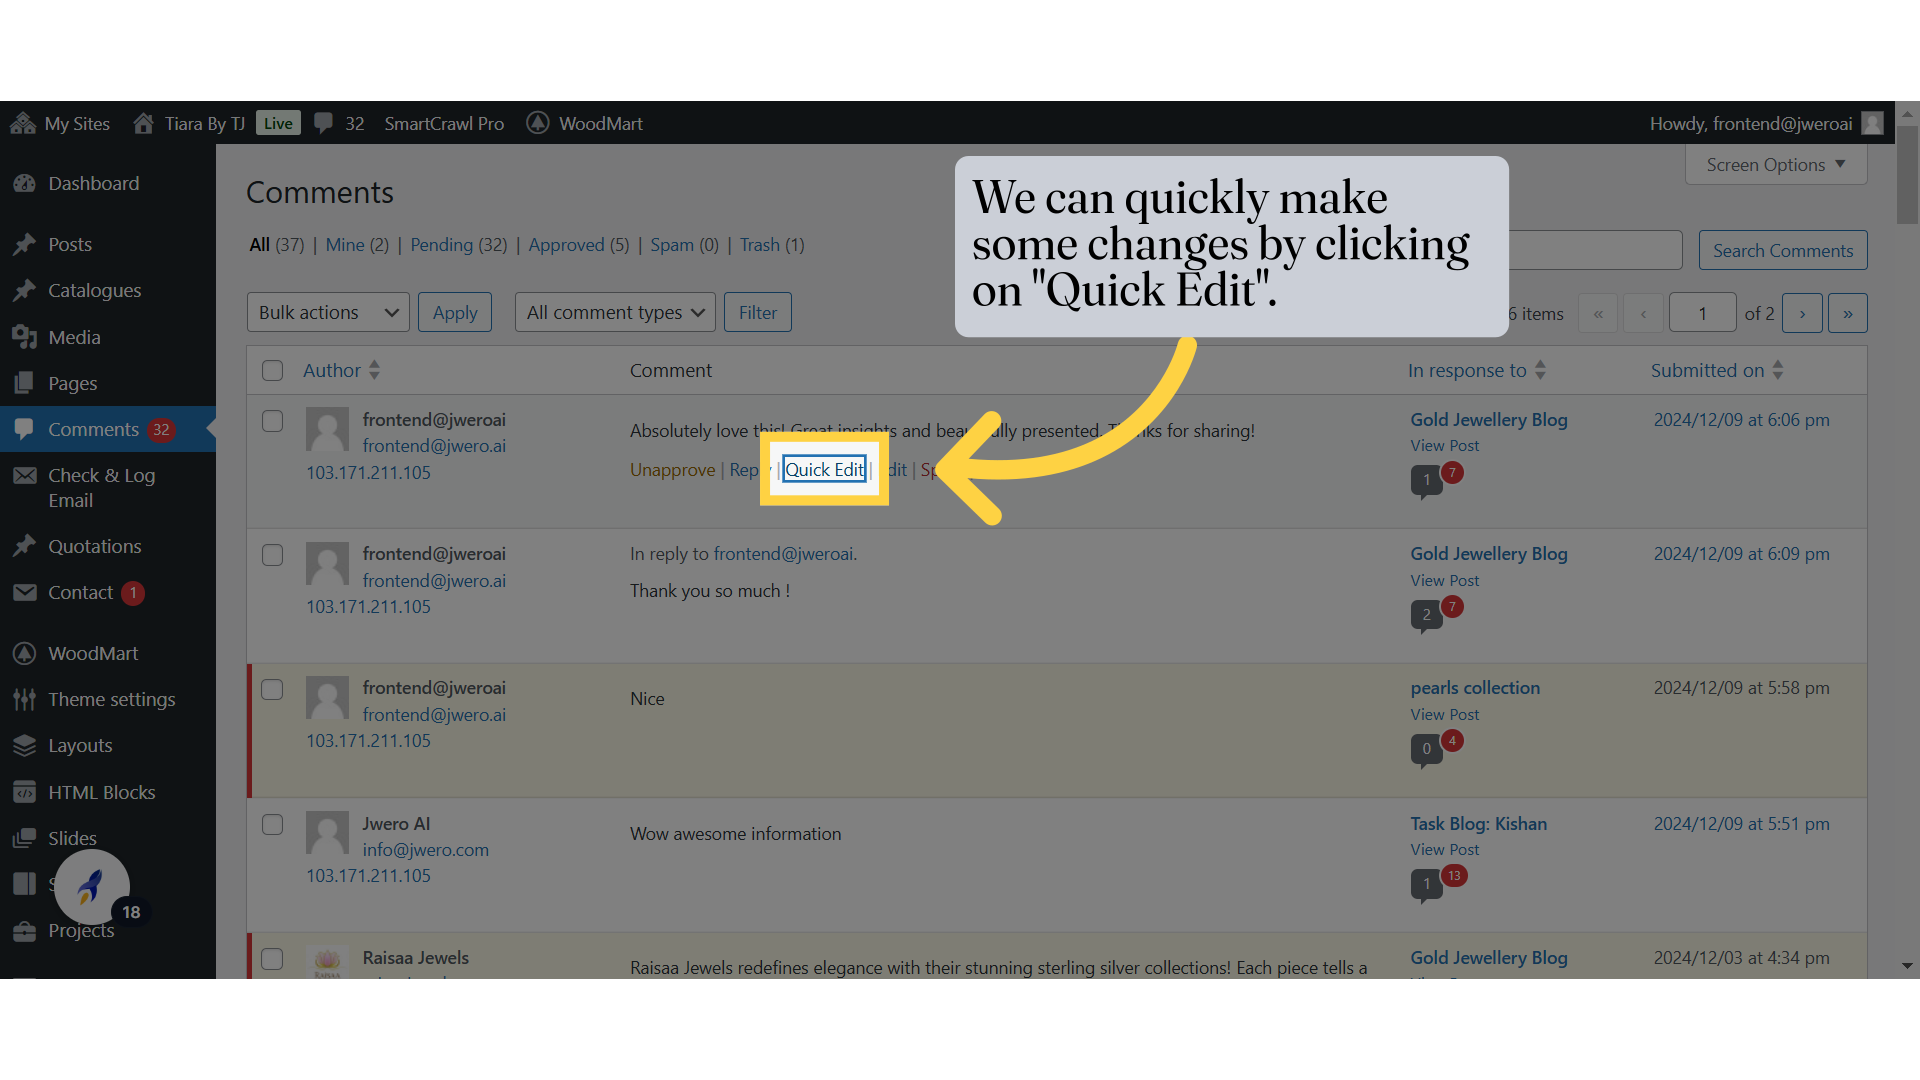
14. We can quickly make some changes by clicking on "Quick Edit".
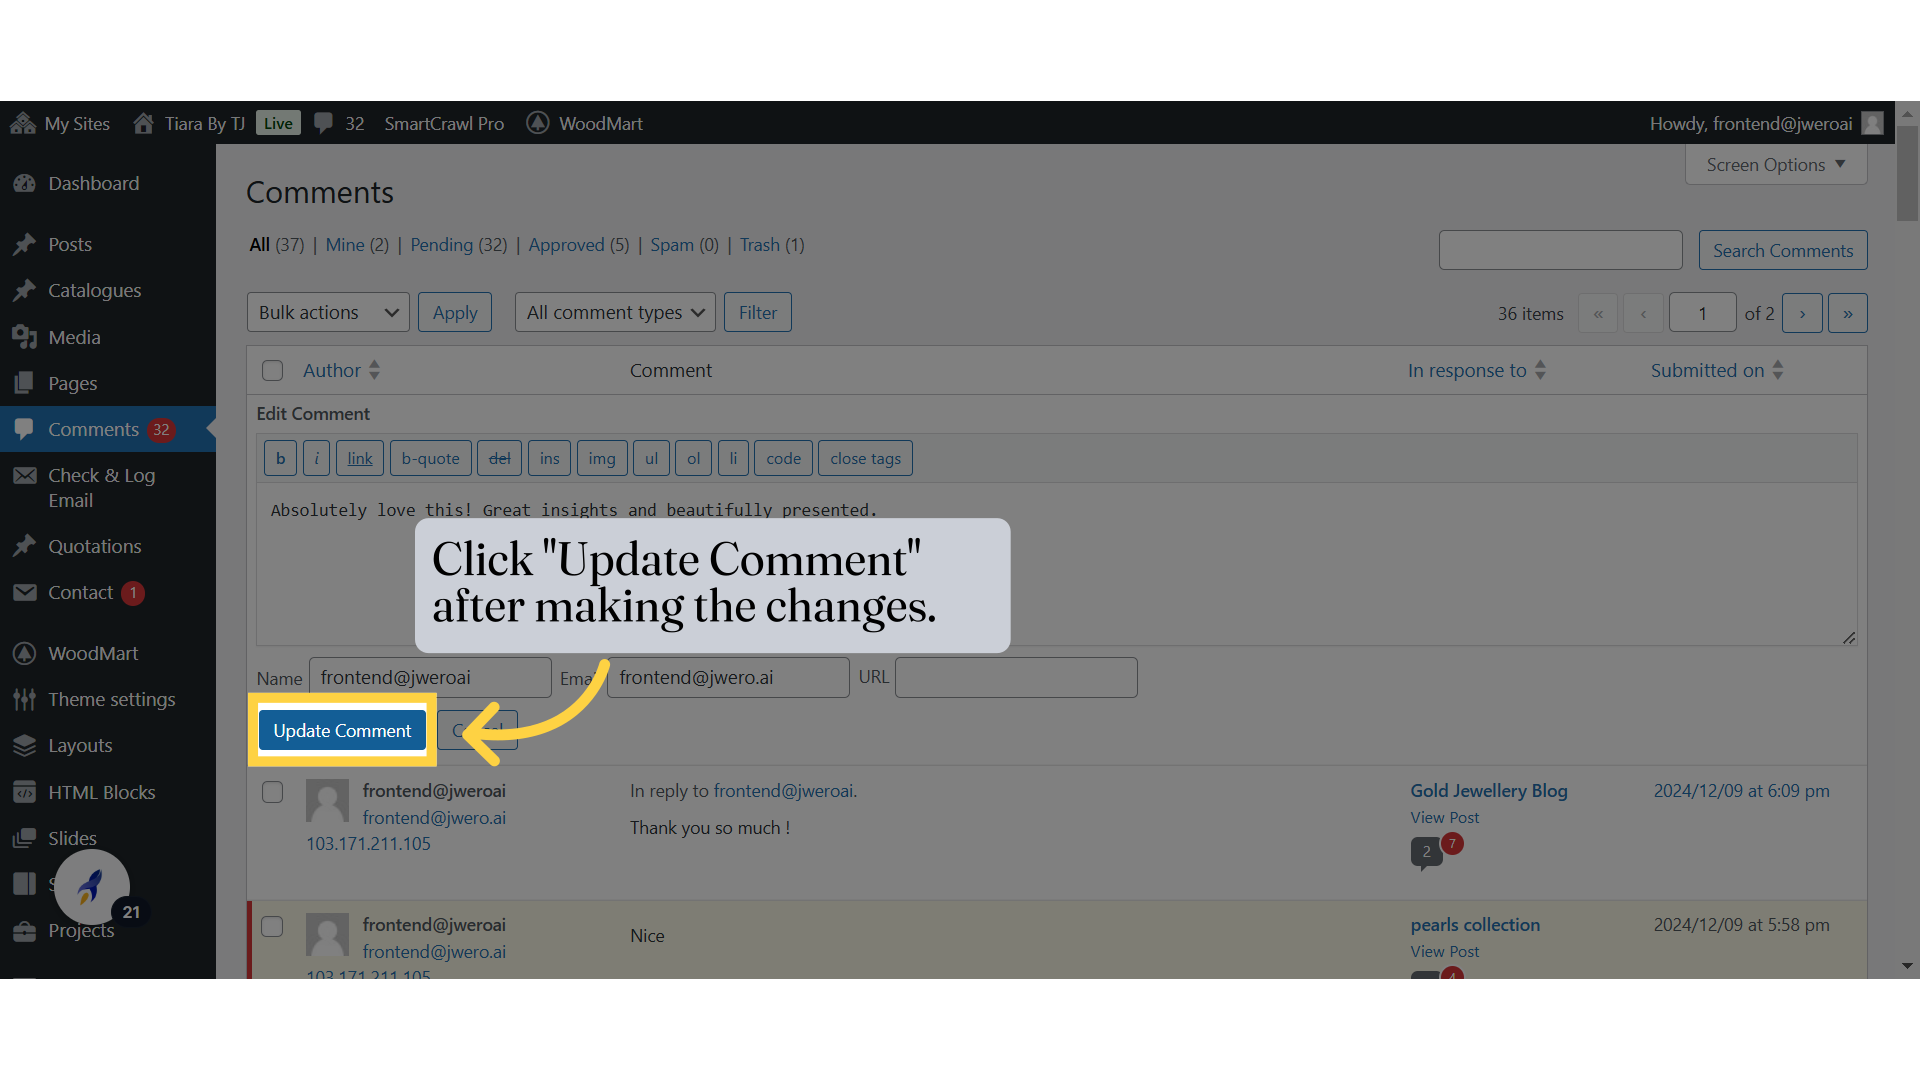
15. Let's modify the comment by removing the text "Thanks for sharing" by using Quick Edit.

16. Click "Update Comment" after making the changes.
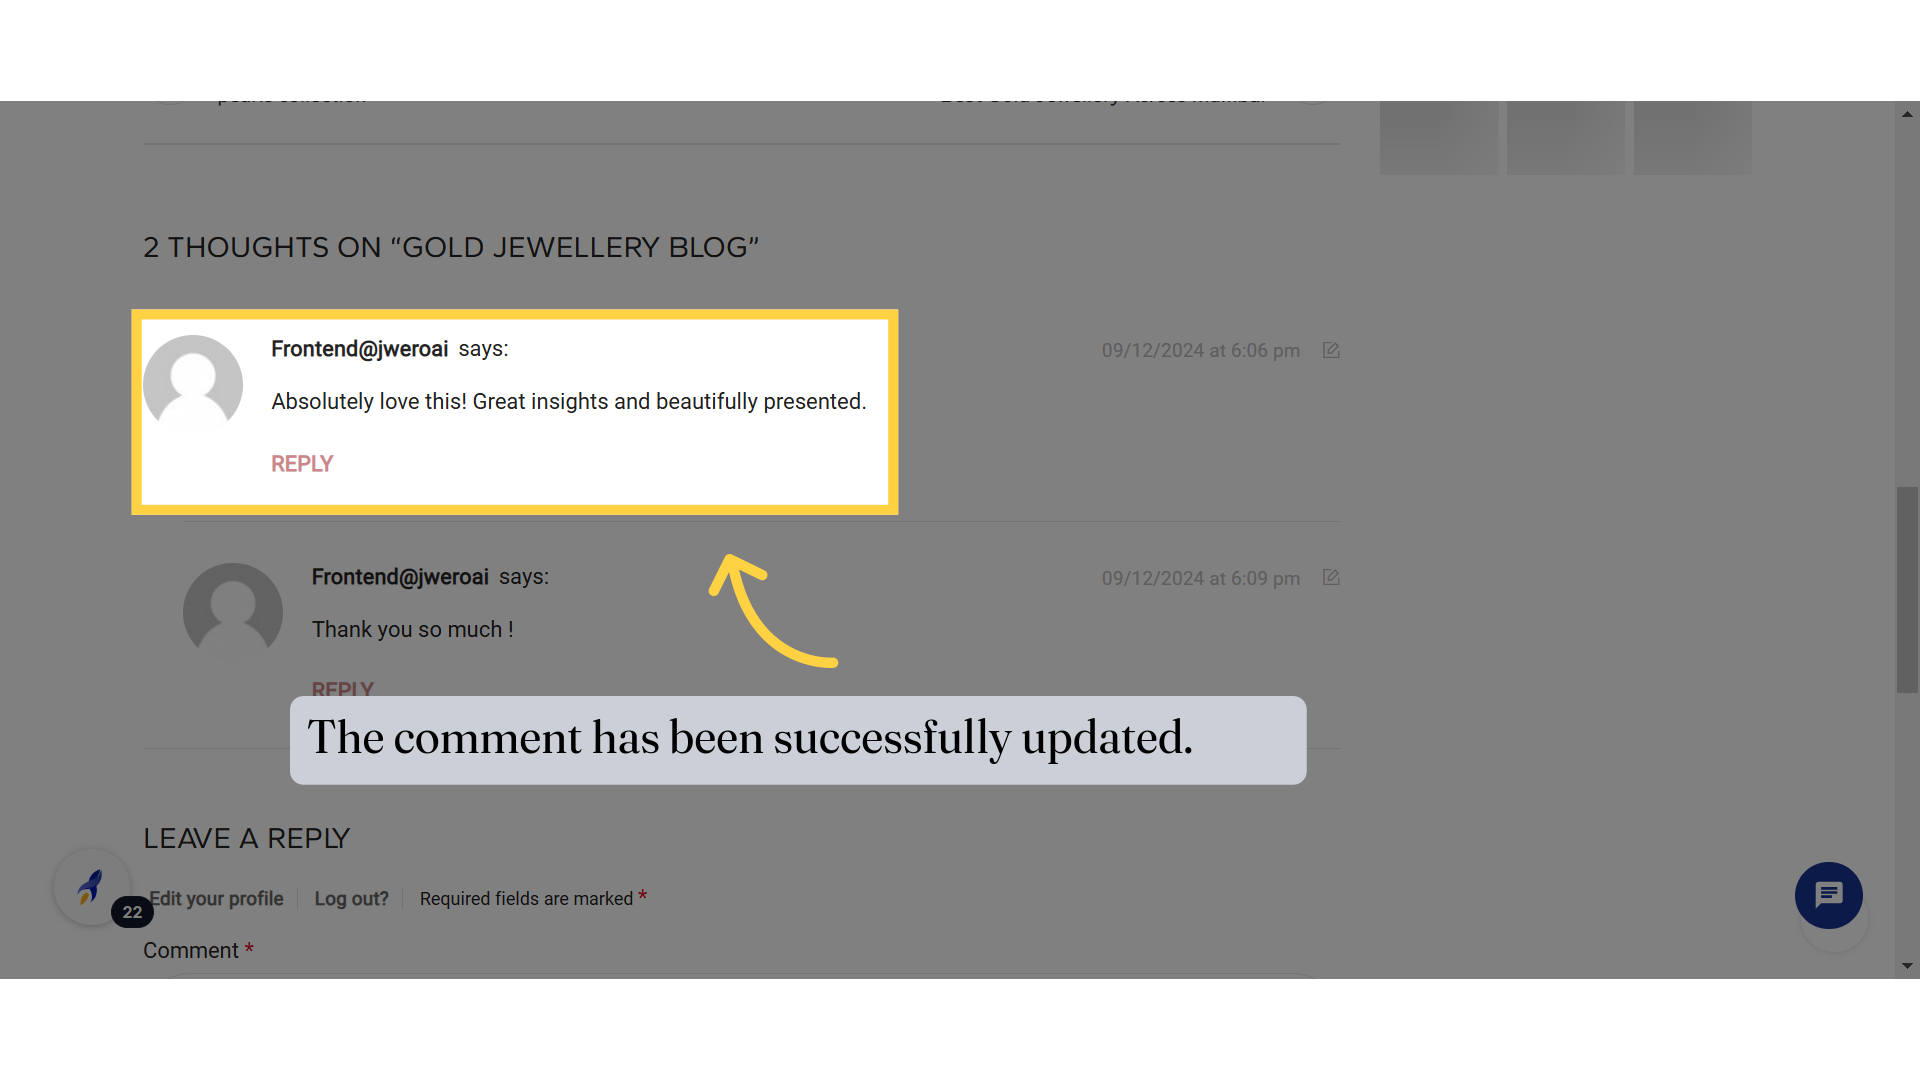
17. The comment has been successfully updated.
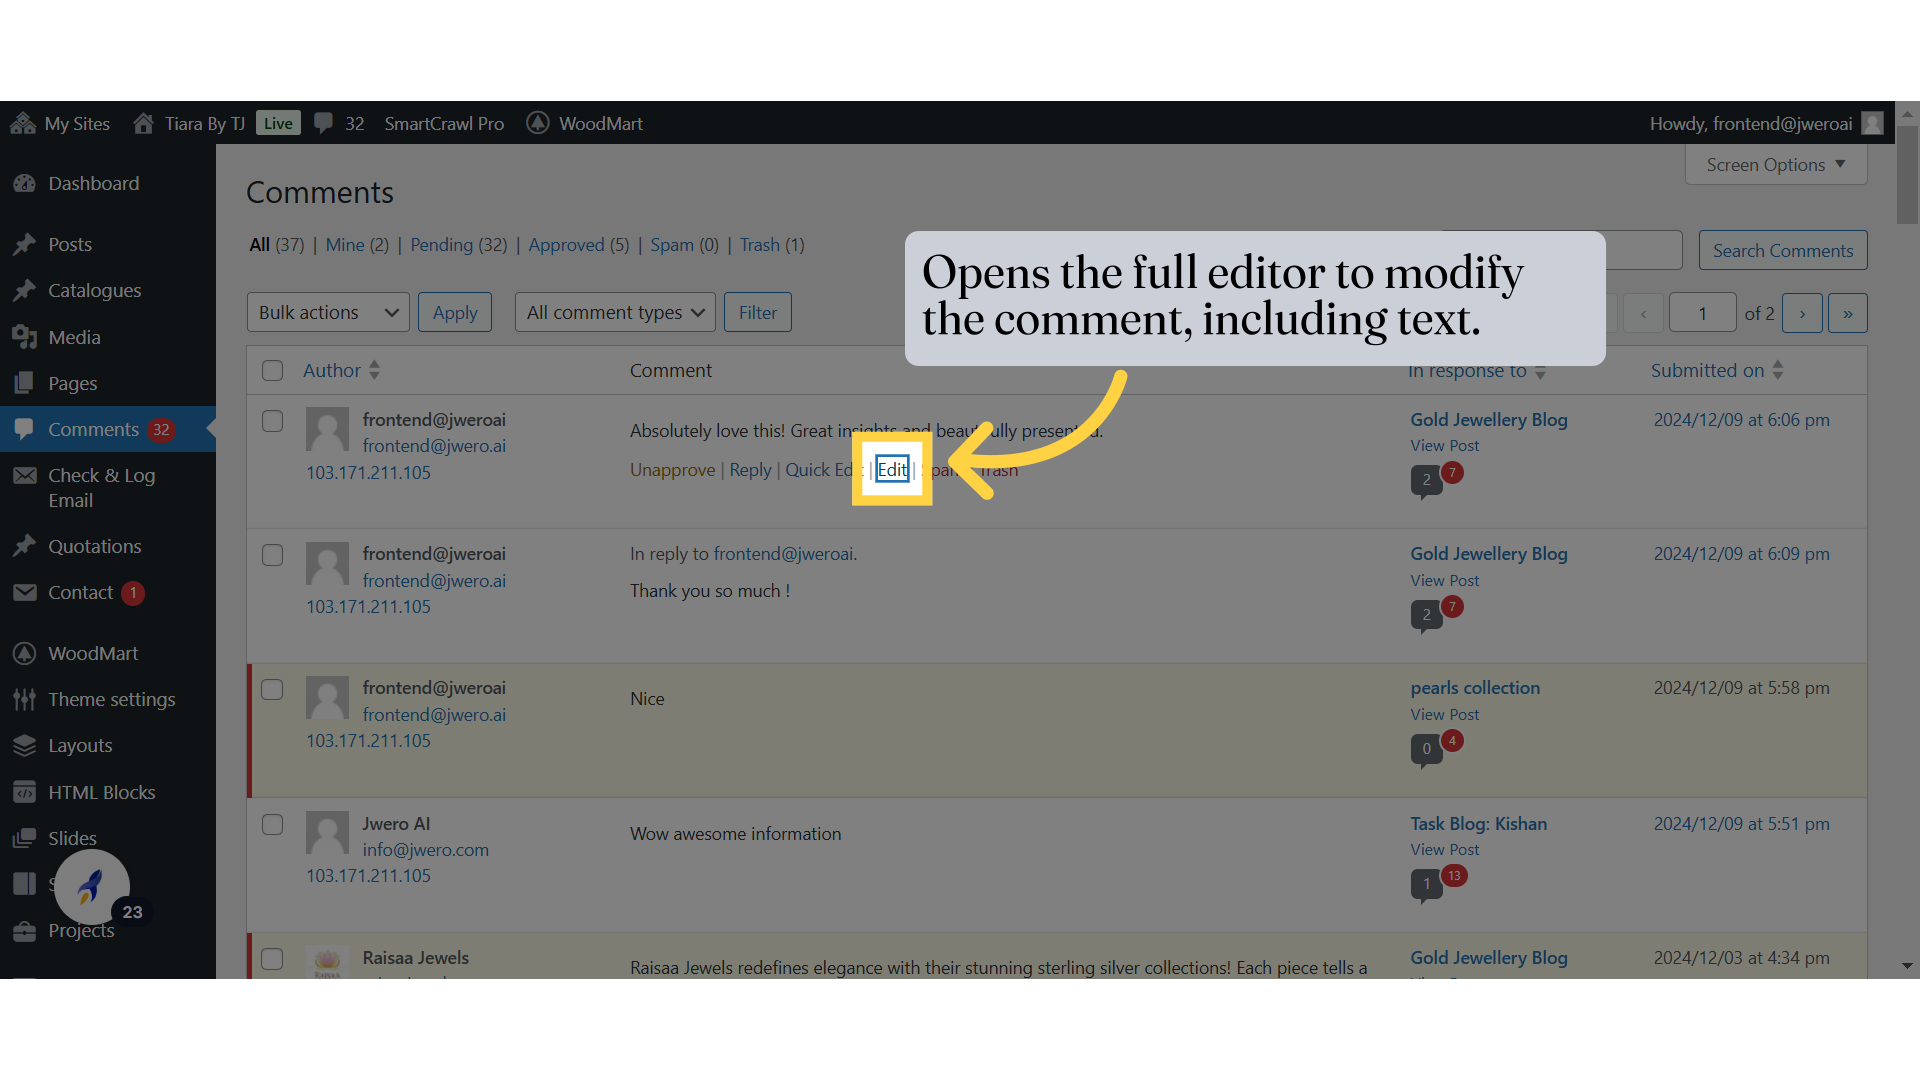
18. Opens the full editor to modify the comment, including text.
19. Update the commenter's name, email, or website link.
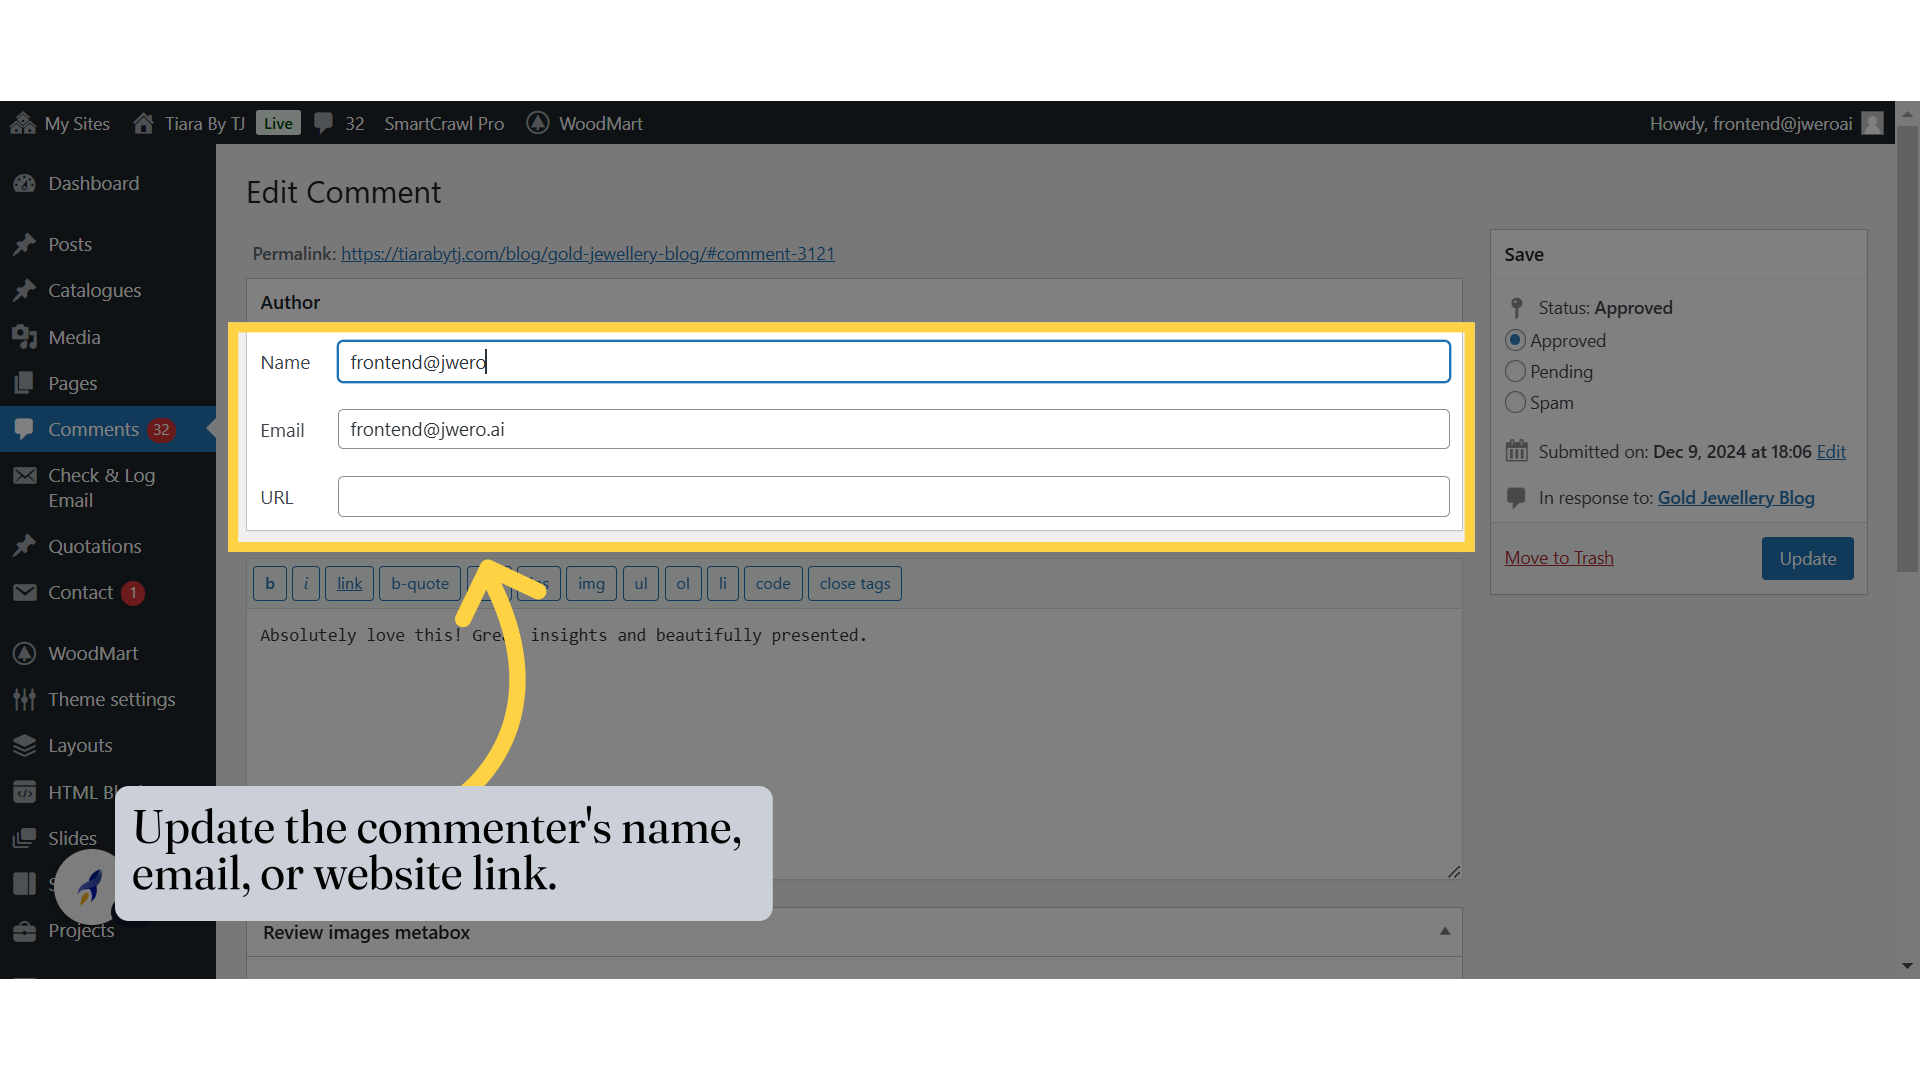
20. Upload images associated with the comment or review.

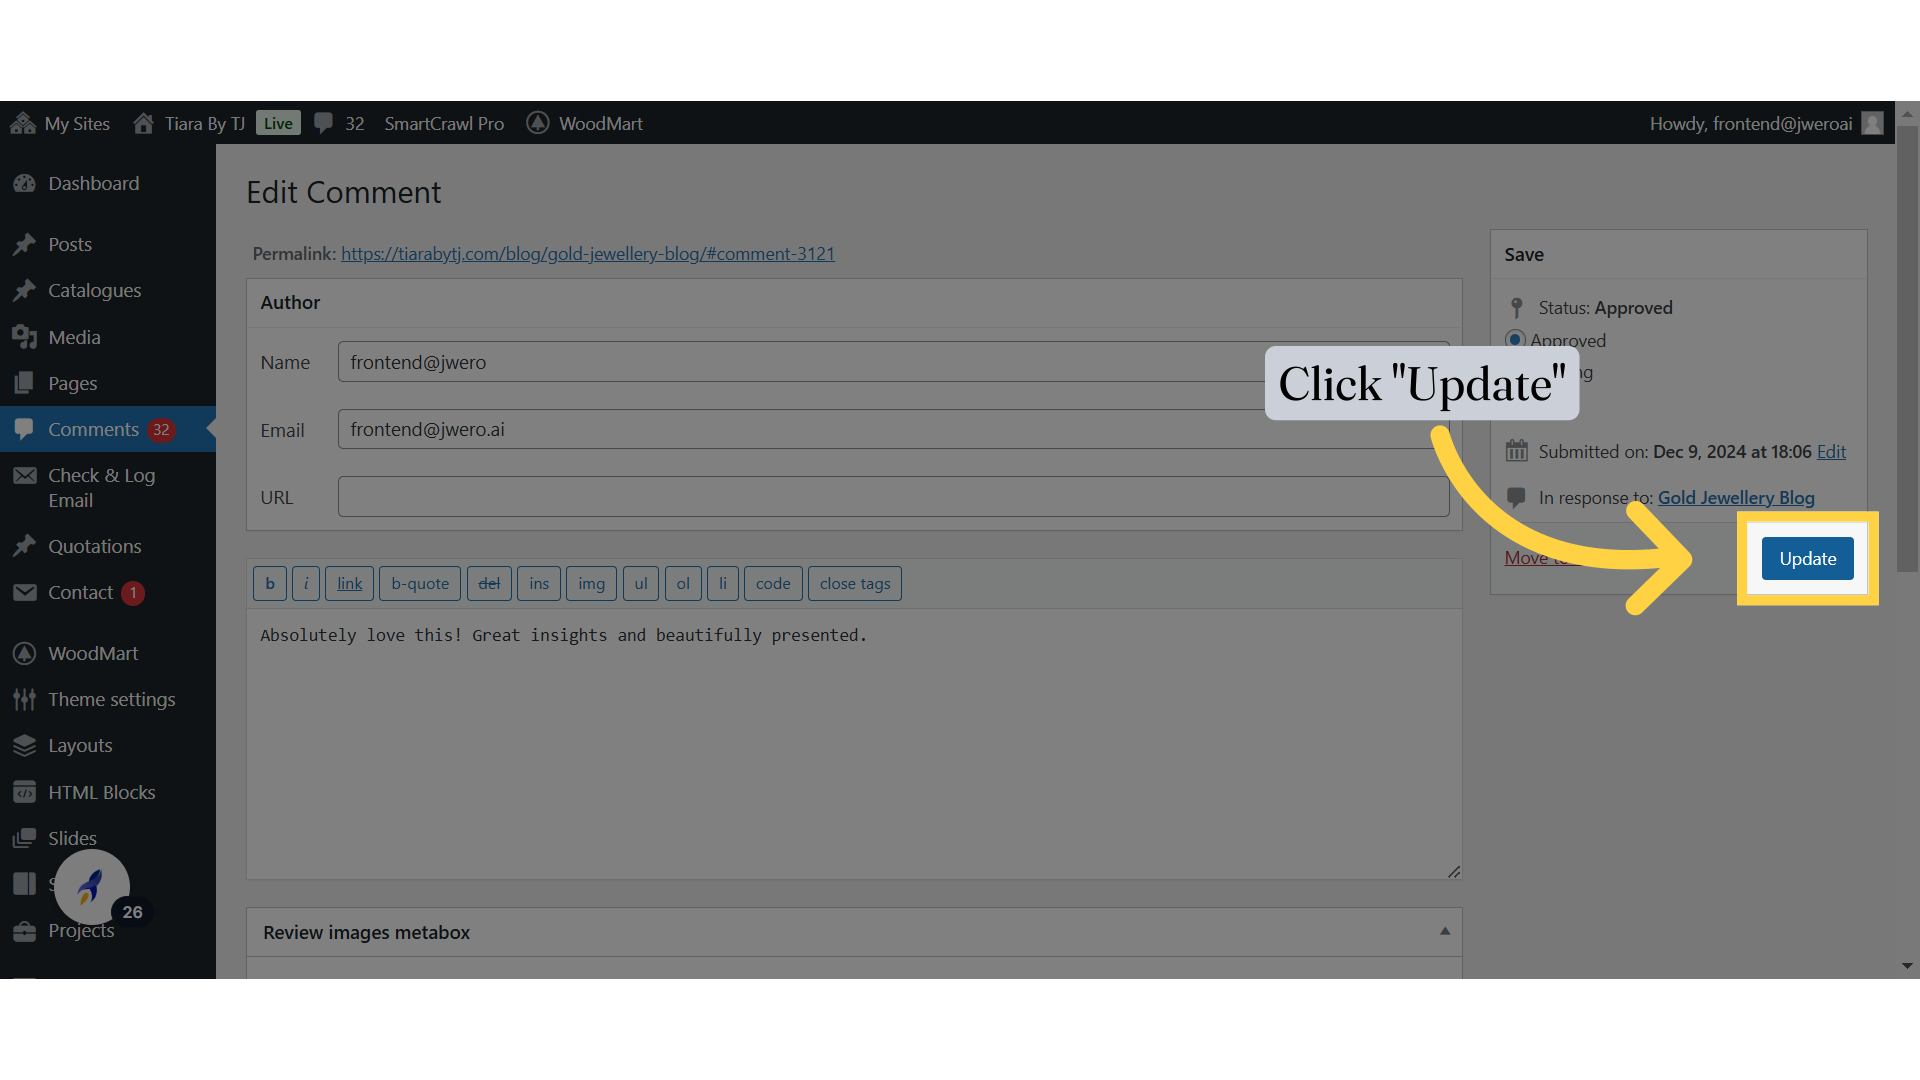
21. Click "Update"
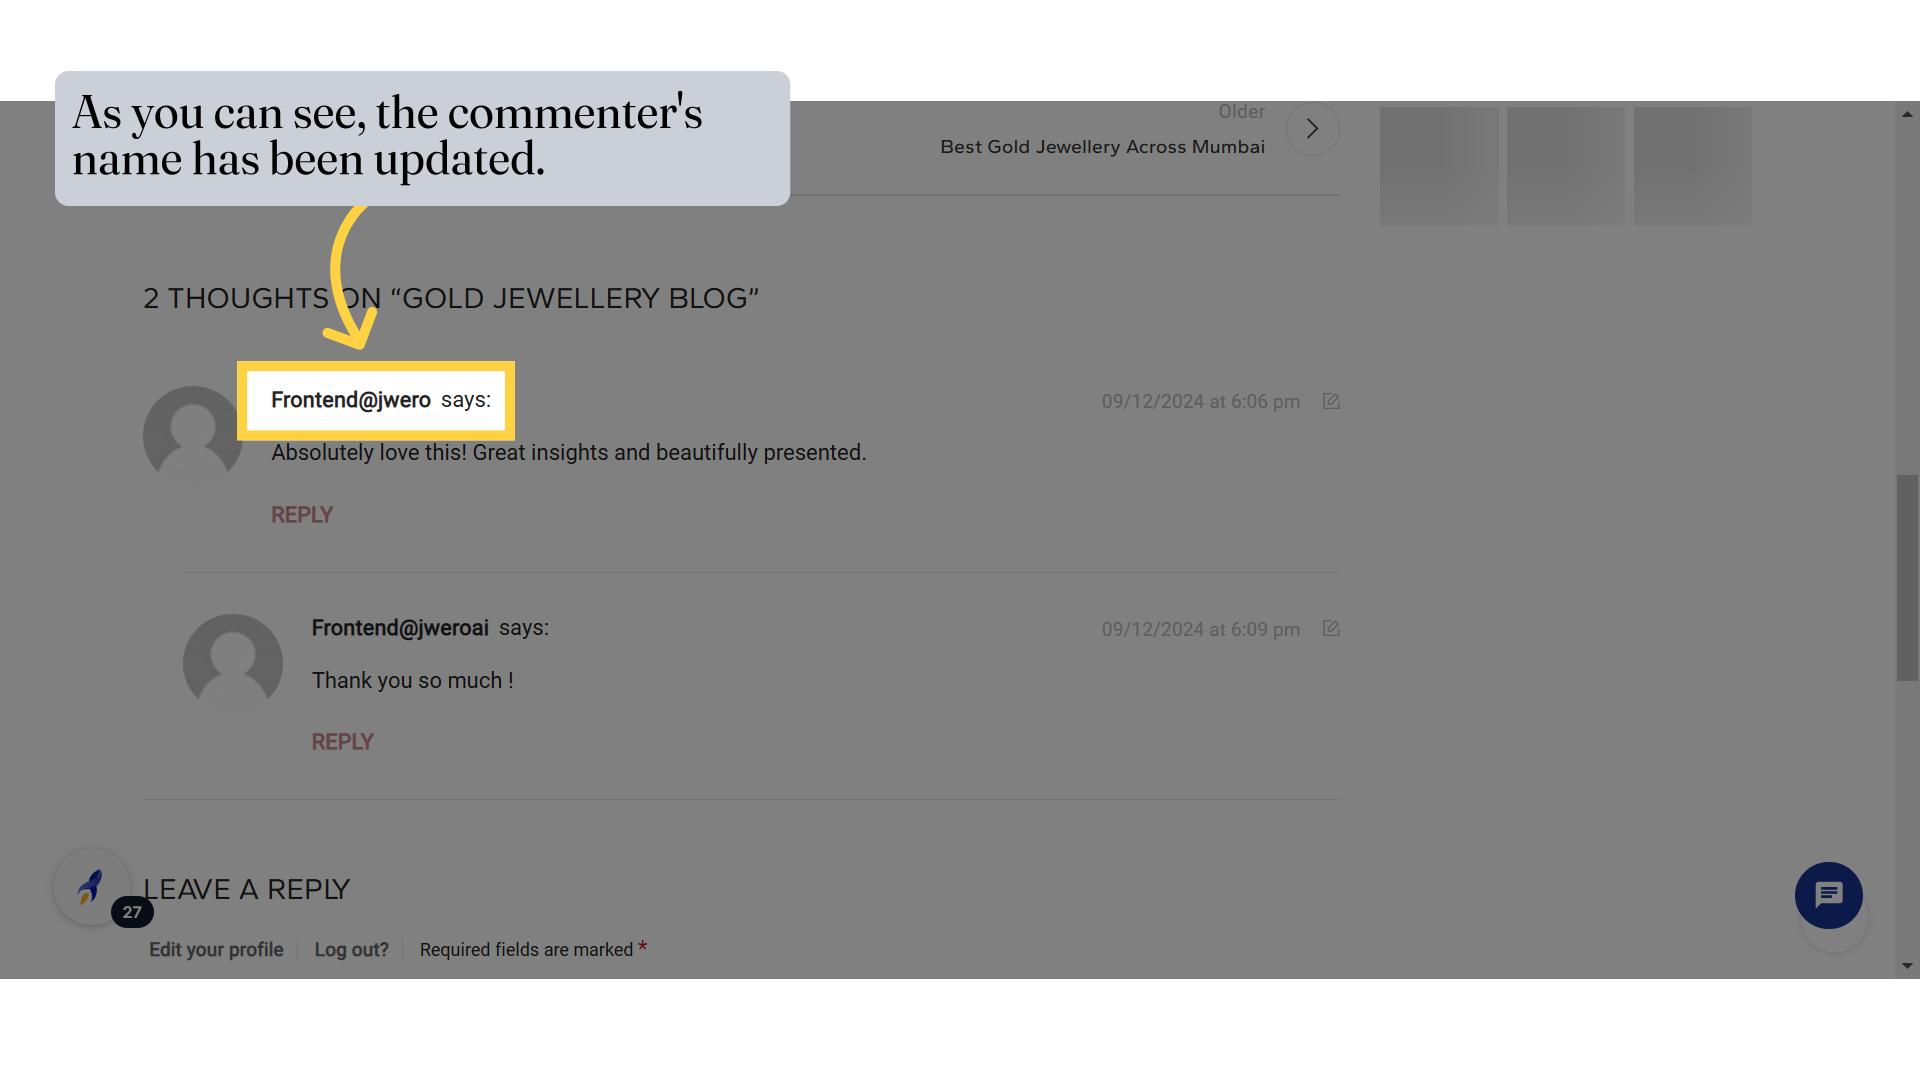
22. As you can see, the commenter's name has been updated.
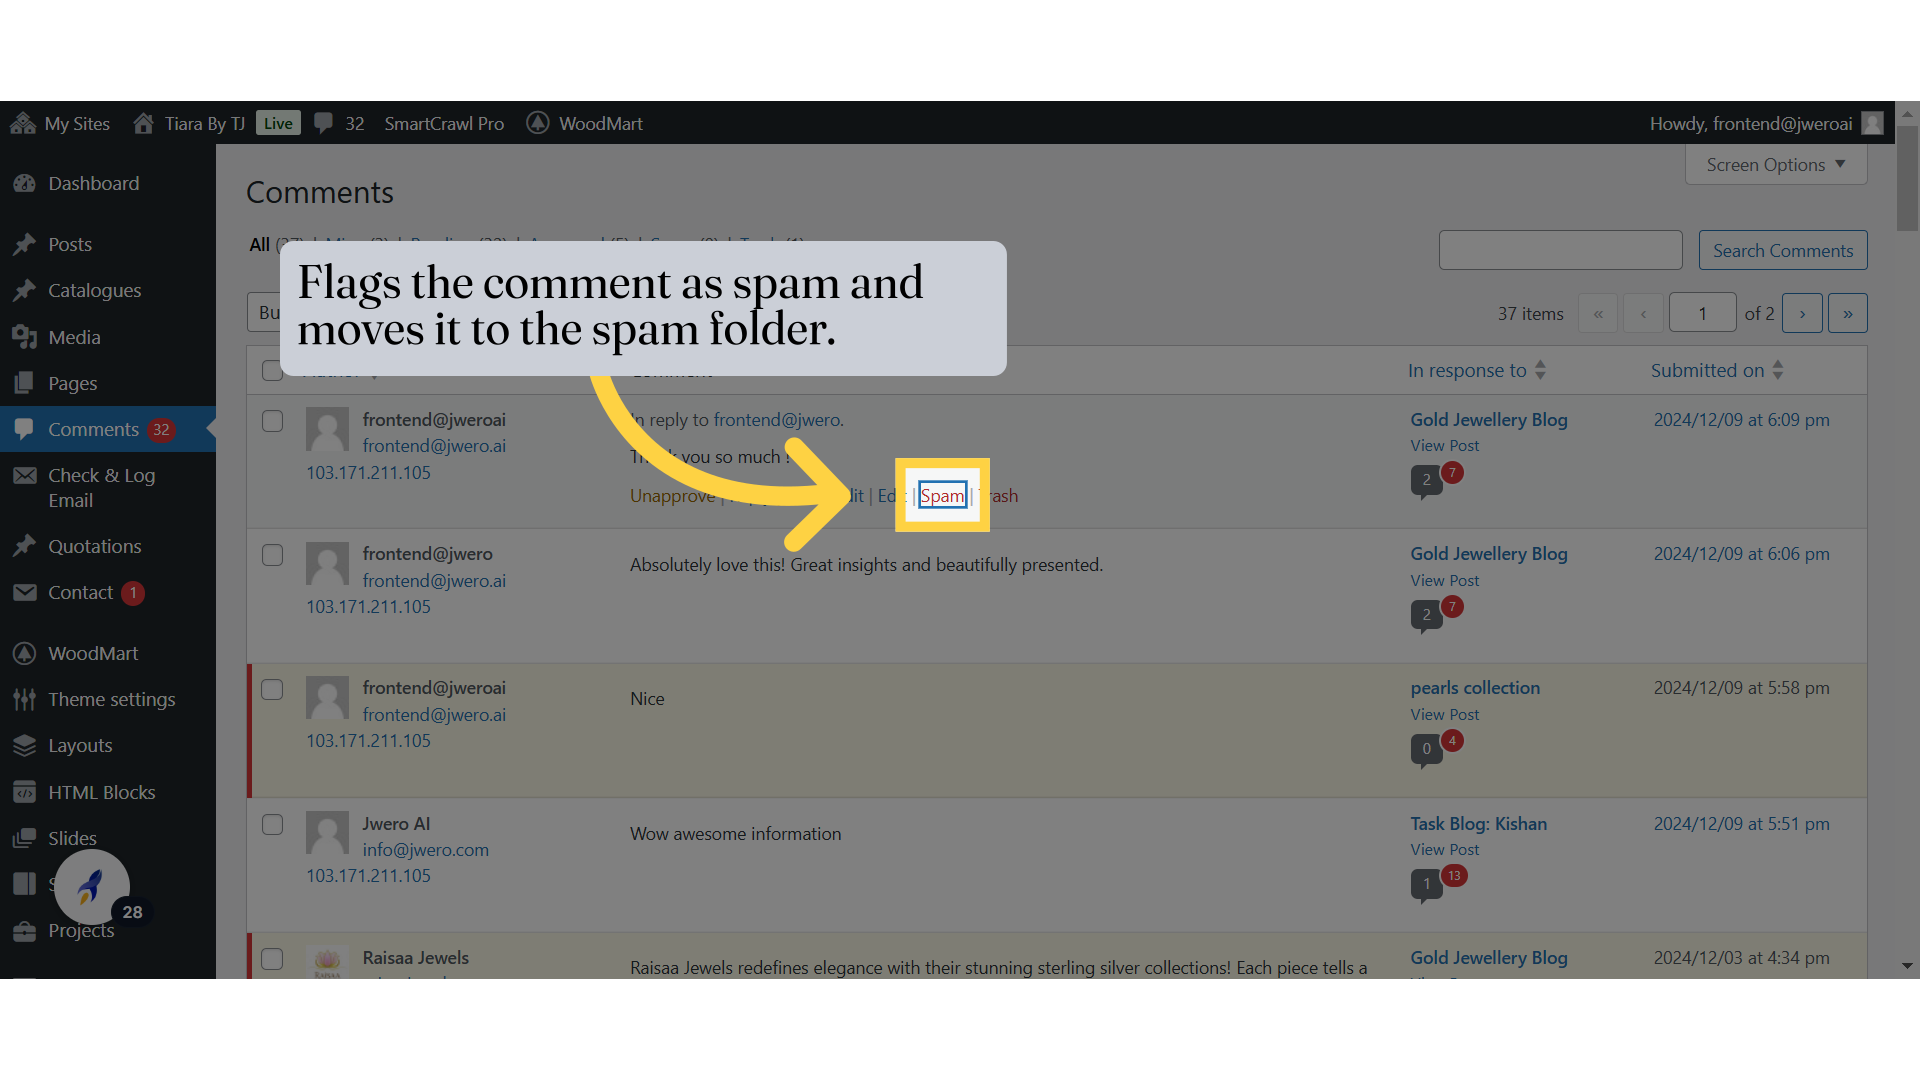
23. Flags the comment as spam and moves it to the spam folder.
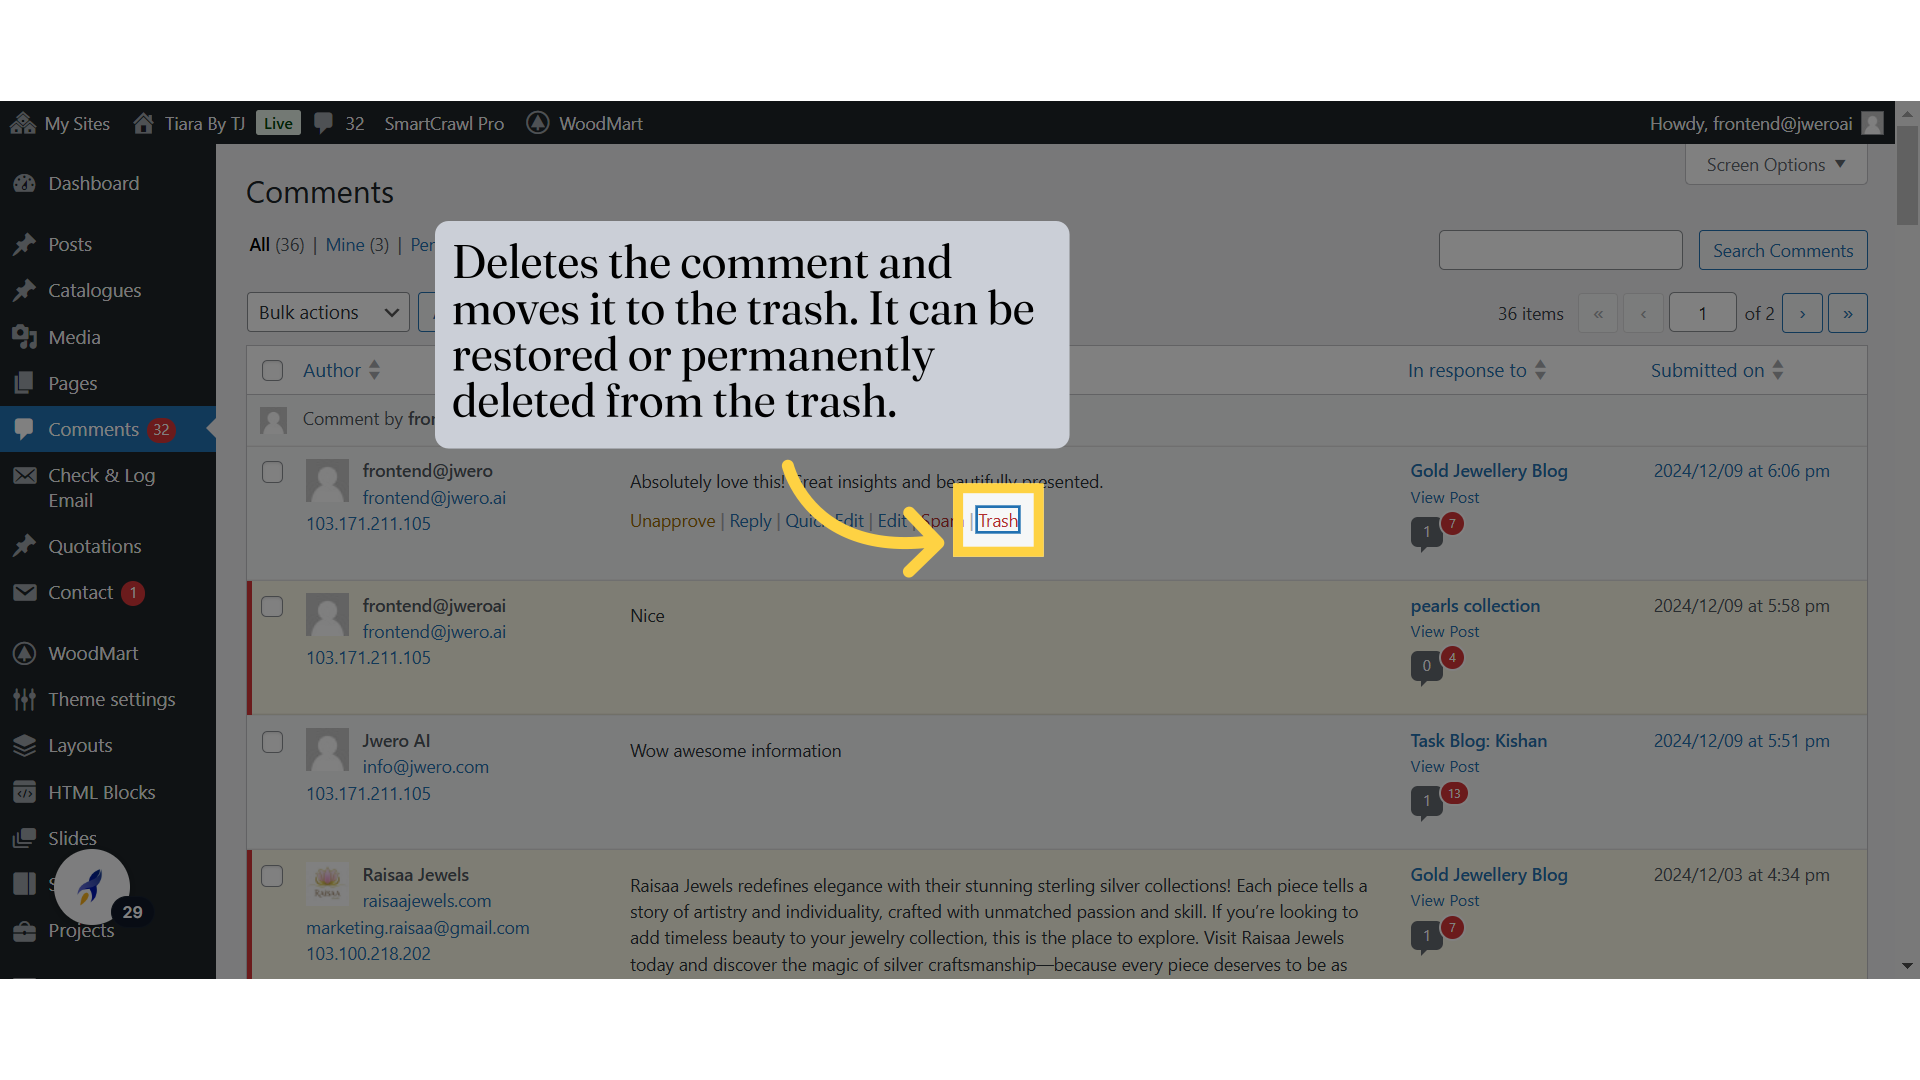
24. Deletes the comment and moves it to the trash. It can be restored or permanently deleted from the trash.
25. To view the deleted comments, click on "Trash".
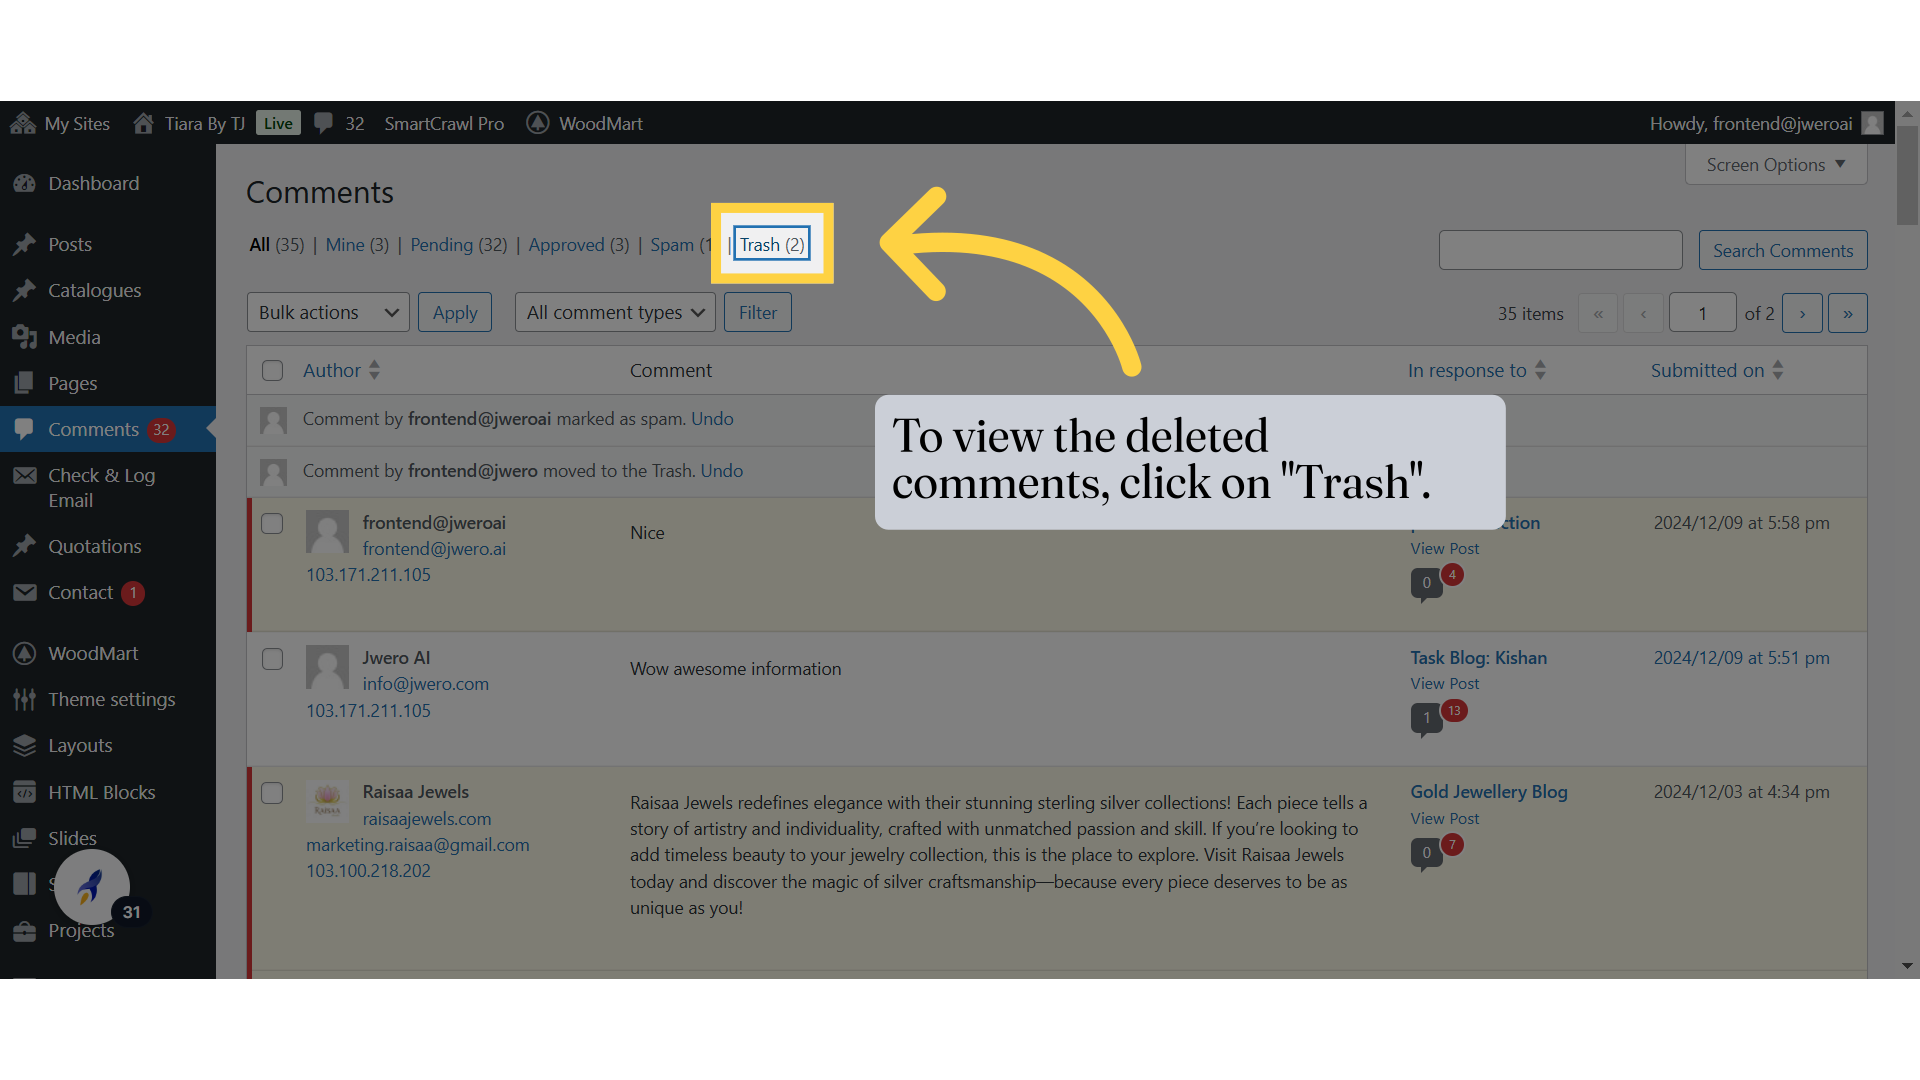
26. The deleted comment can be restored or permanently deleted from the trash.
