How To Design A Header
Enhance your header design with these detailed steps to create a visually appealing and functional header
Go to app.jwero.ai
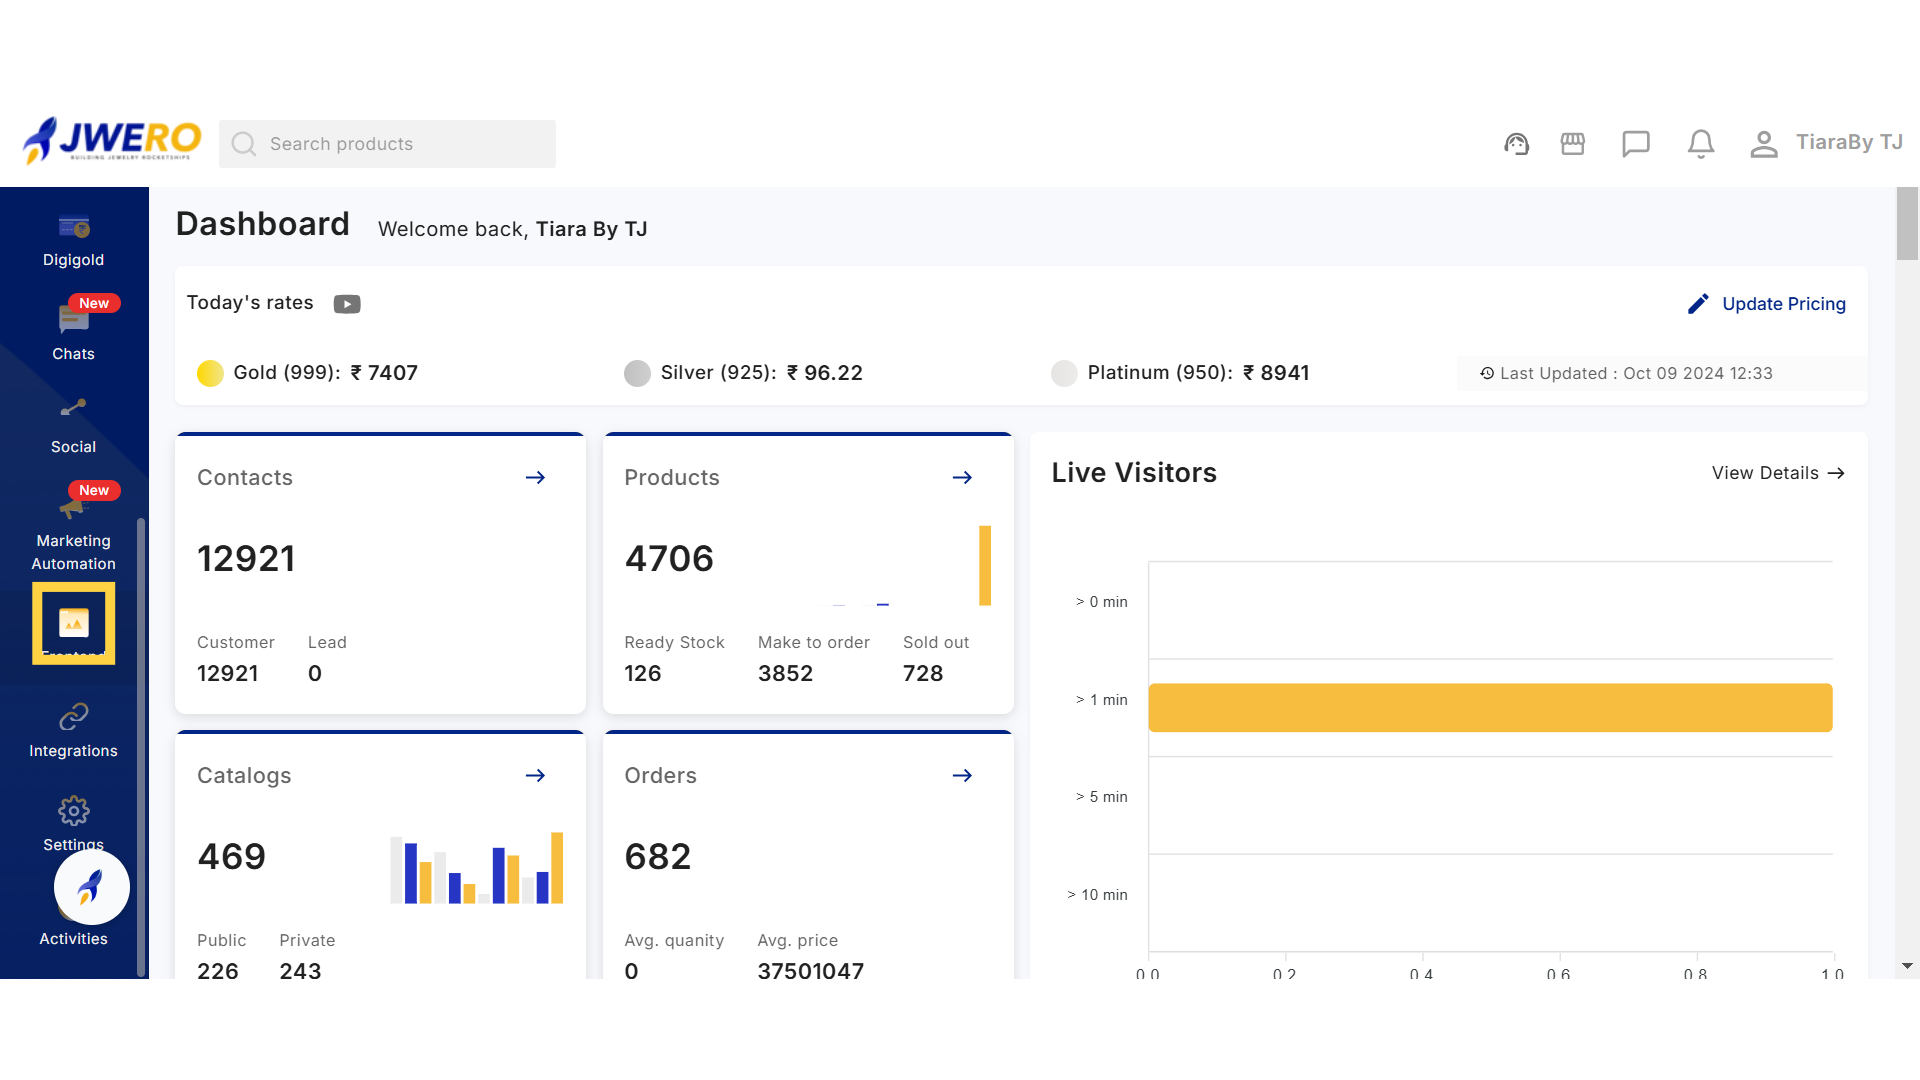
1. Click on "Frontend" to add and design the header.
Access the "Frontend" to do the required changes.
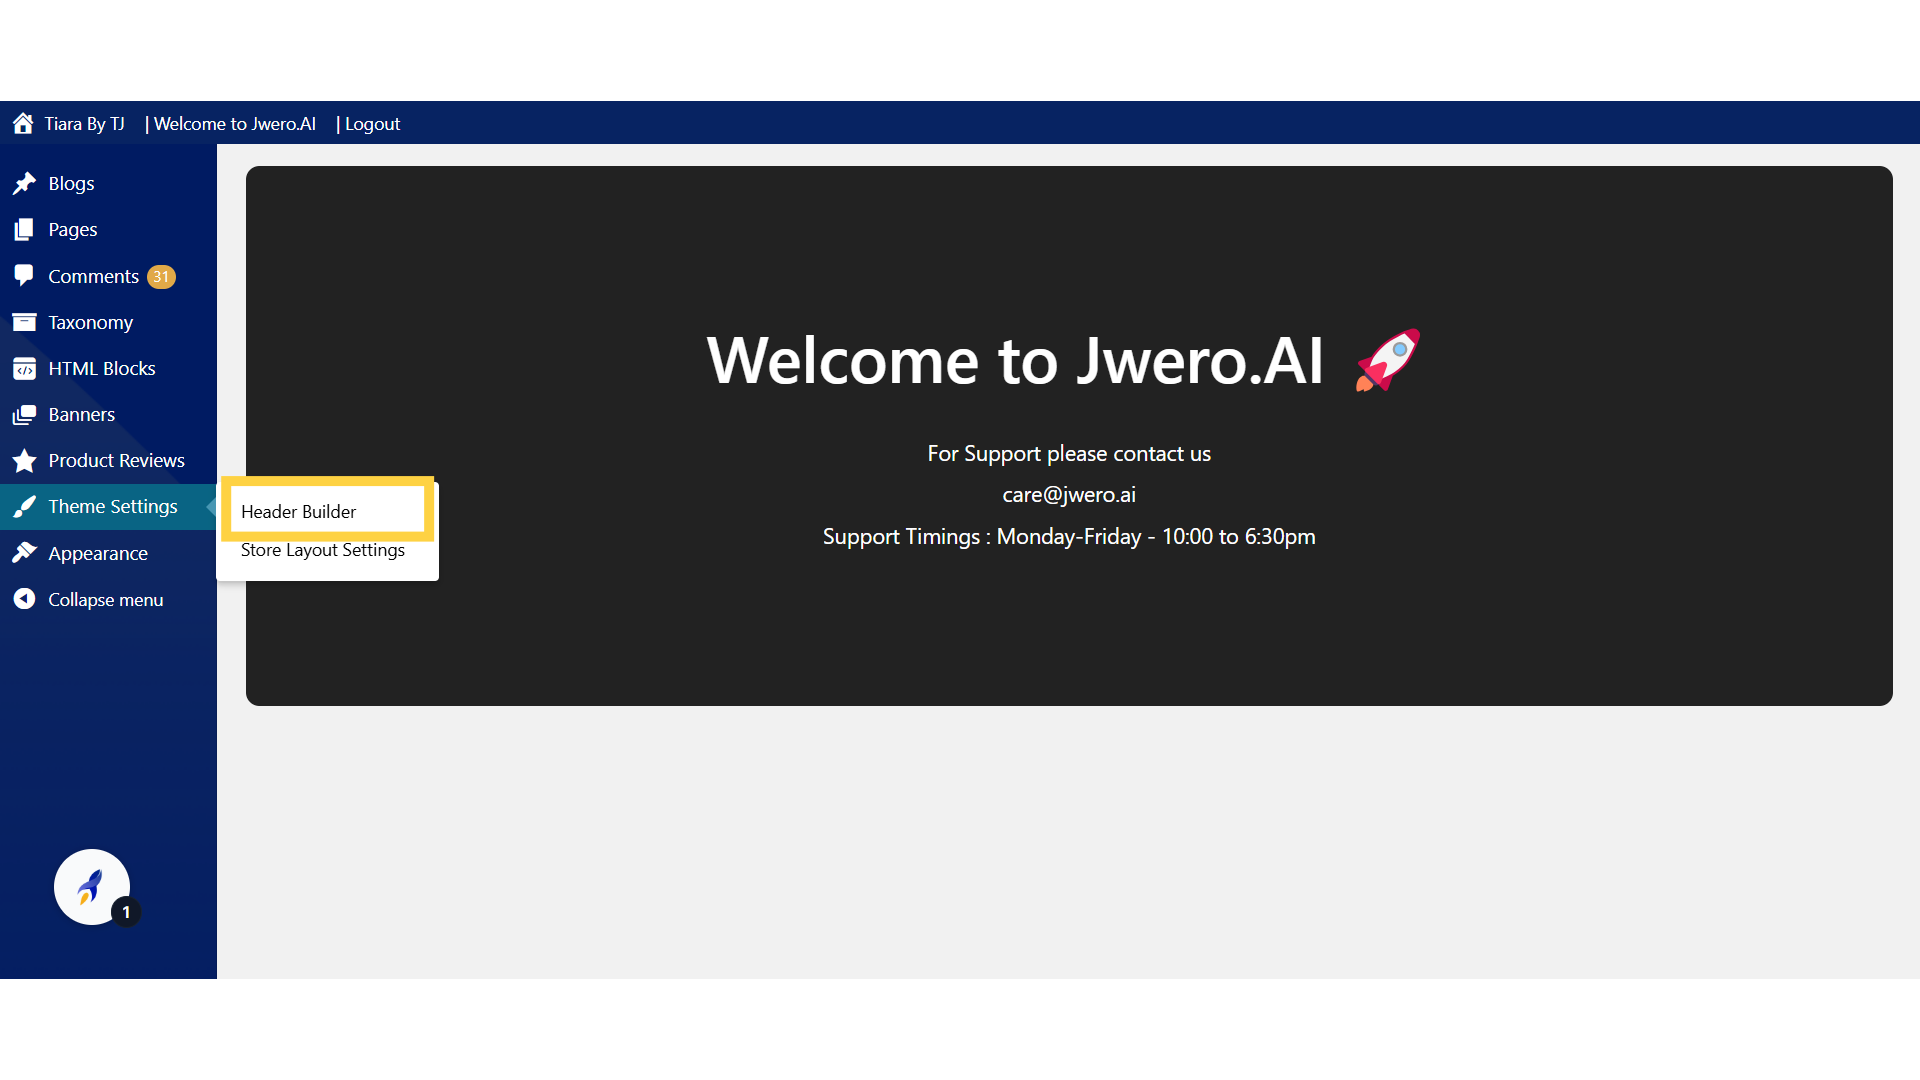
2. Click on "Header Builder" to create the header.
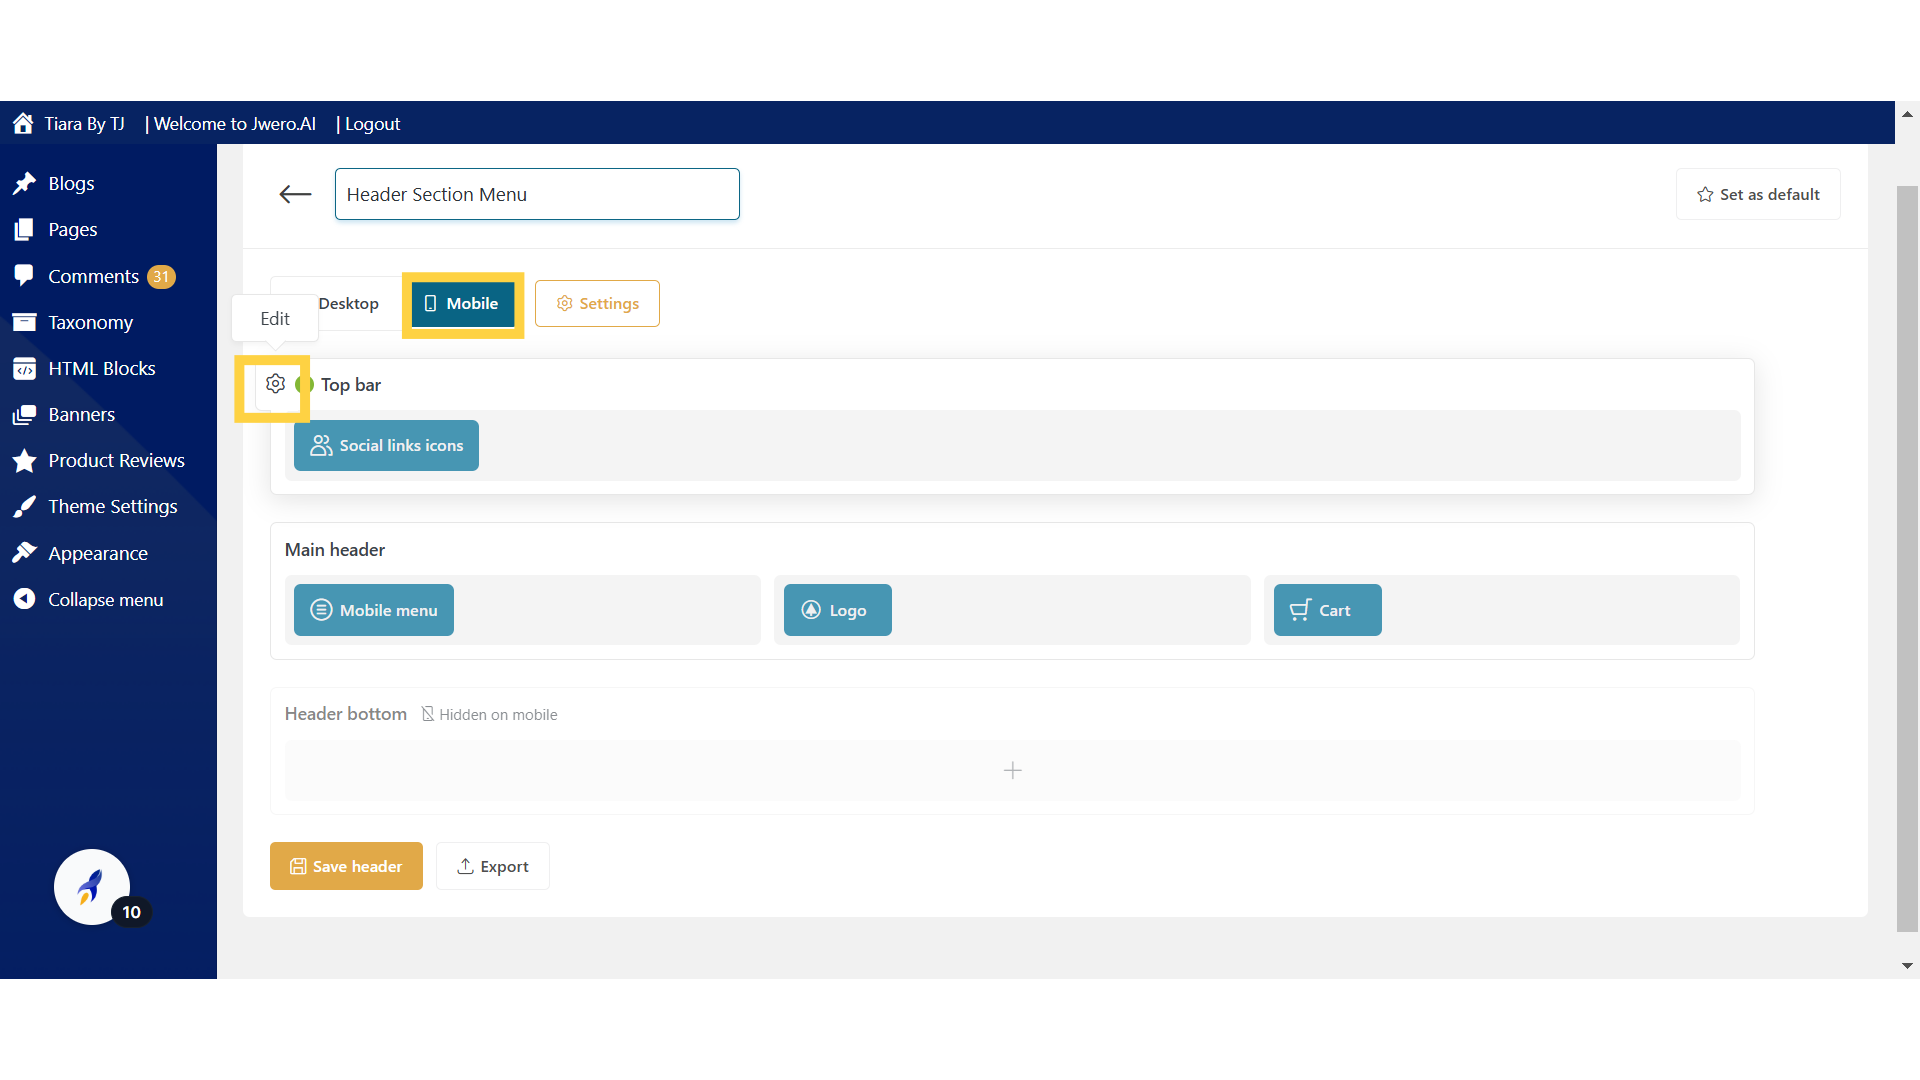
3. Click on Settings icon to design the header.

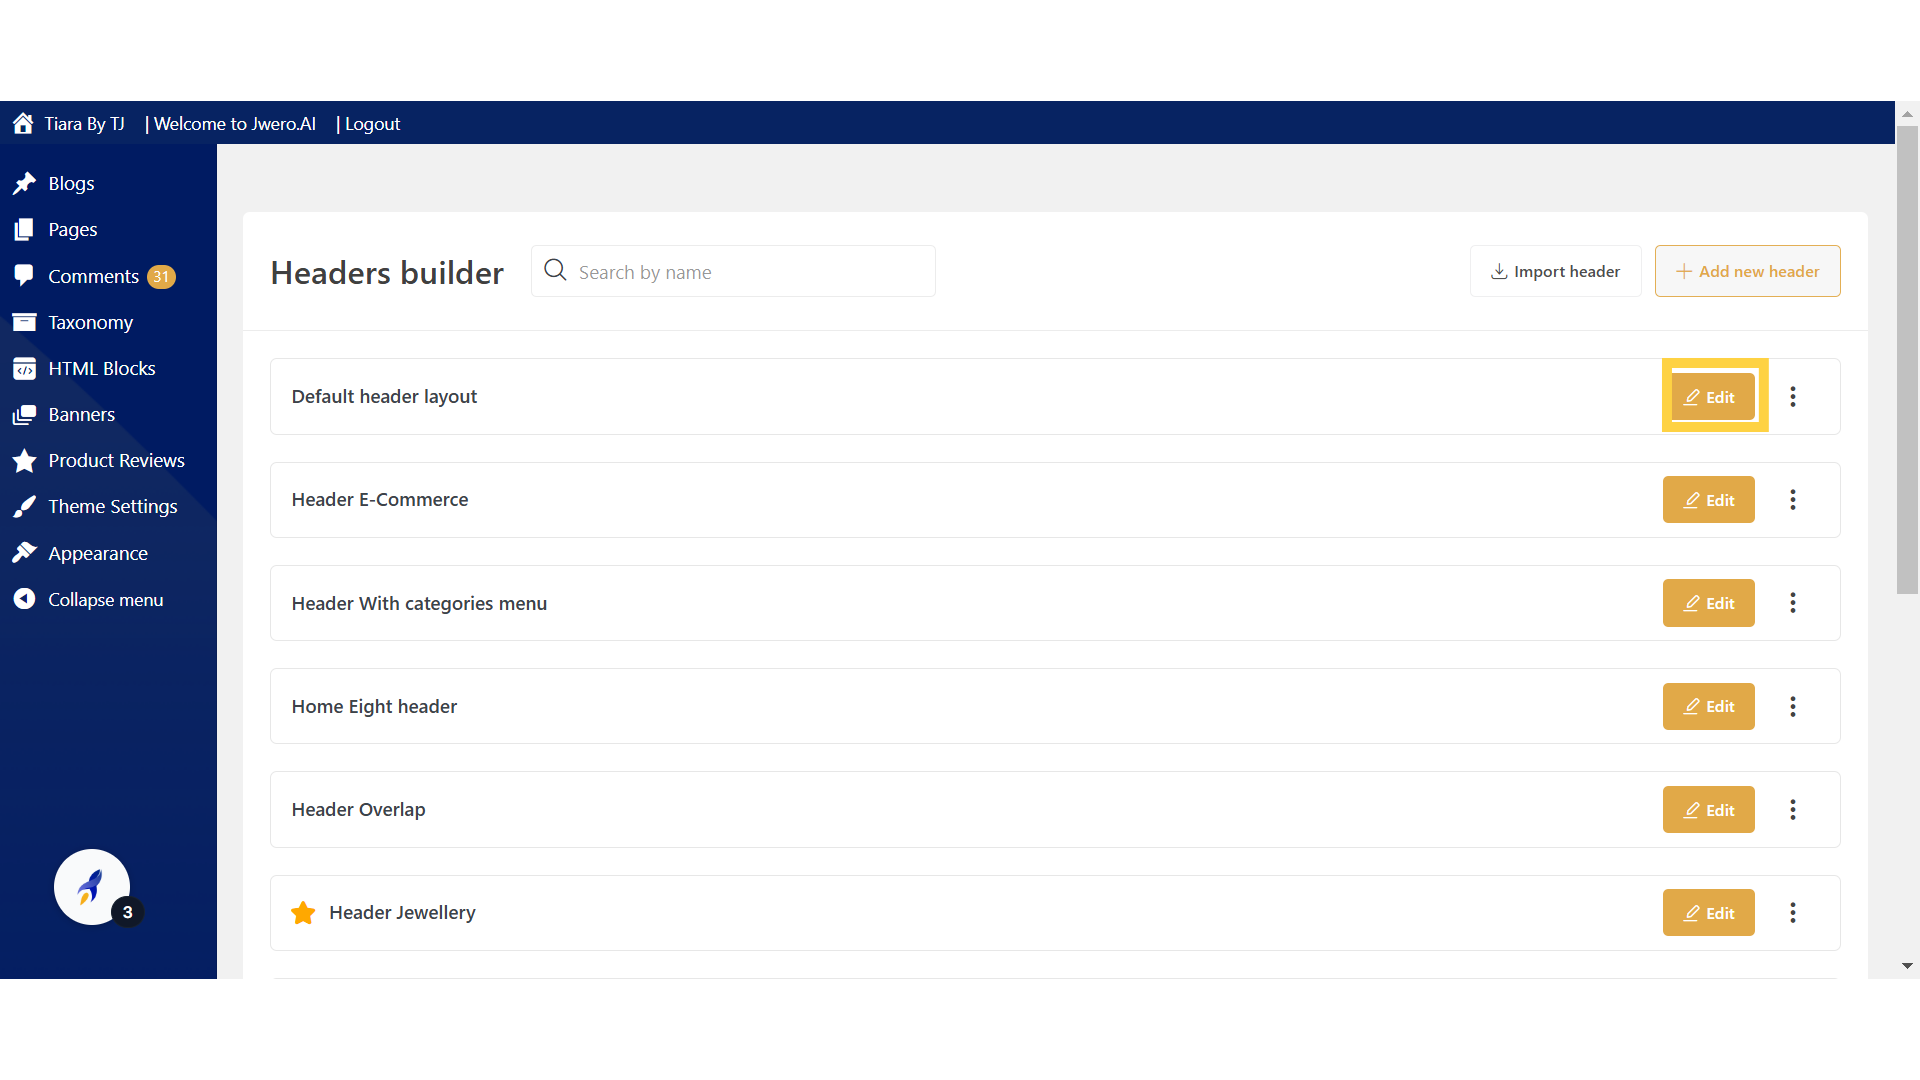
4. Click "Edit" to design the header created. If it's not created then create it first.
5. Click on Settings icon to design the header.

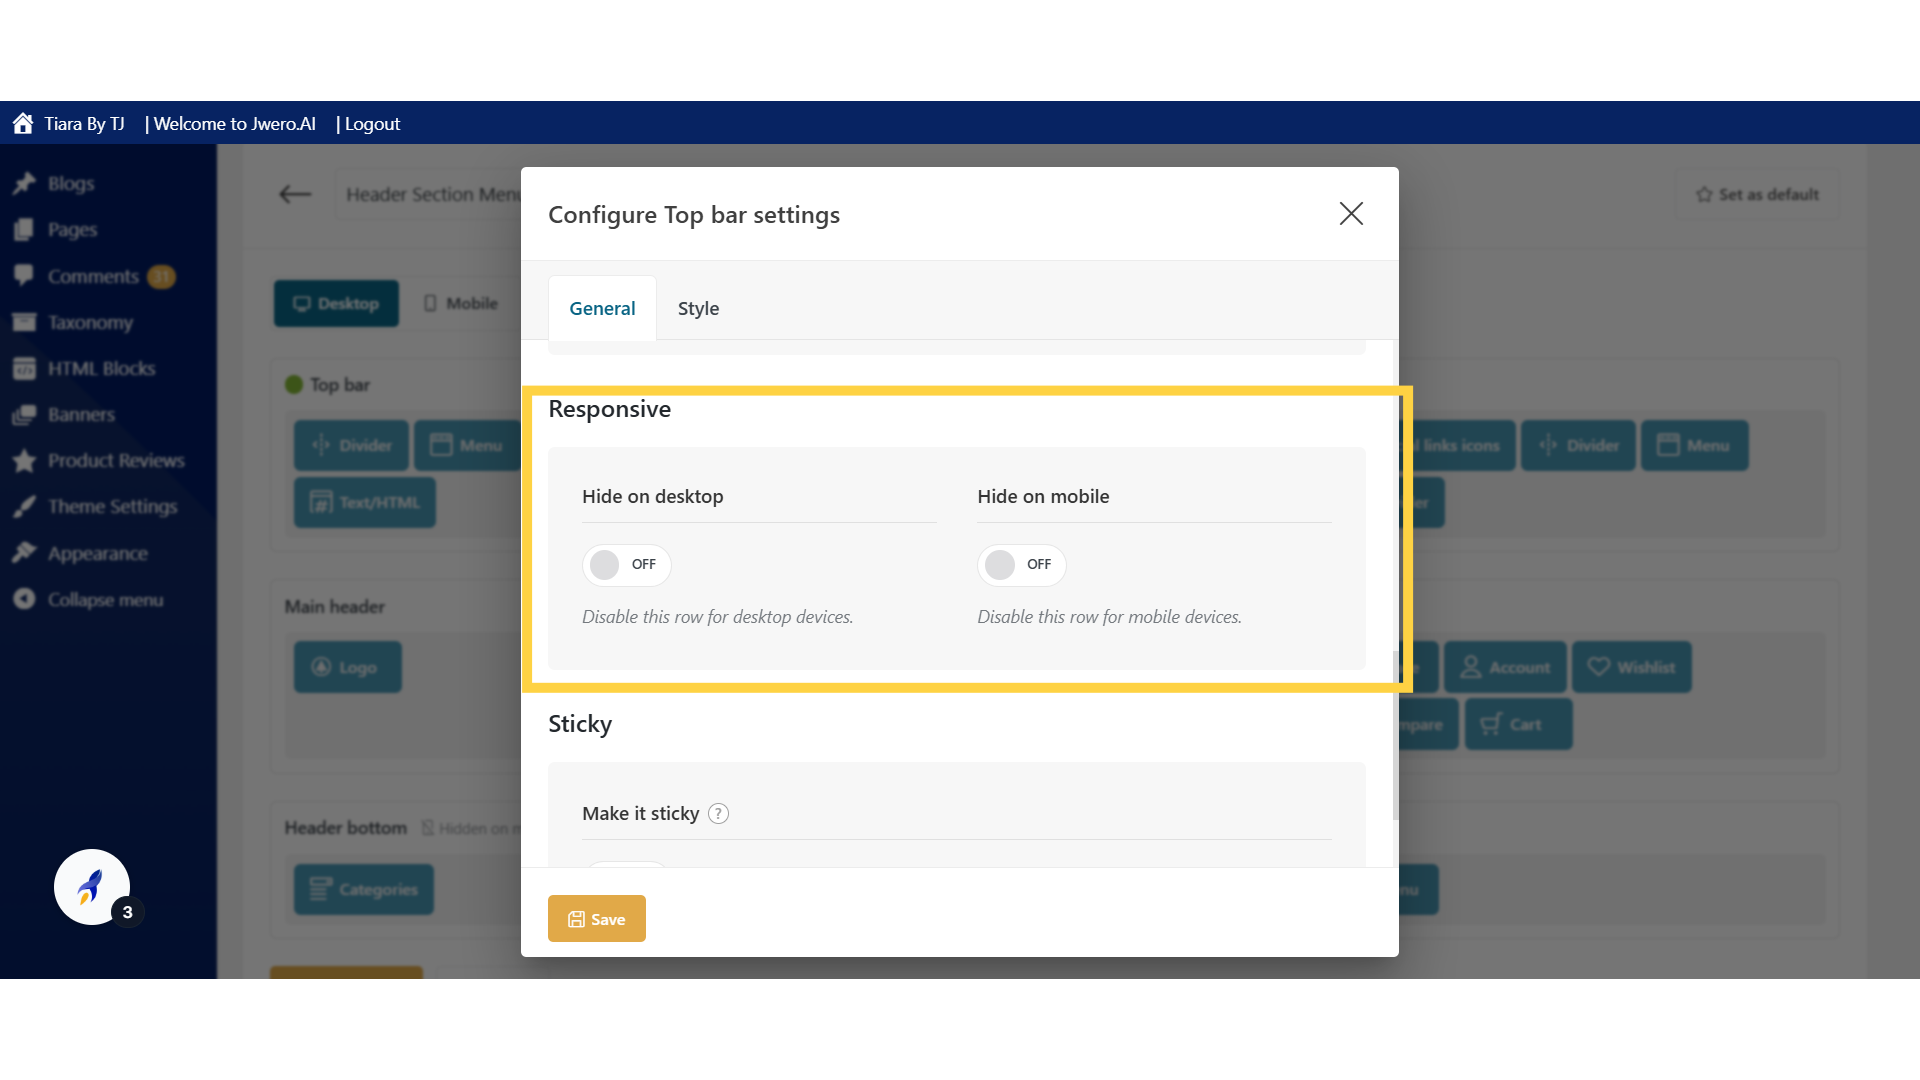
6. Choose the number of columns for the row. You can select between 1 or 3 columns based on how you want to divide the top bar.

7. Choose the number of columns for the row. You can select between 1 or 3 columns based on how you want to divide the top bar.

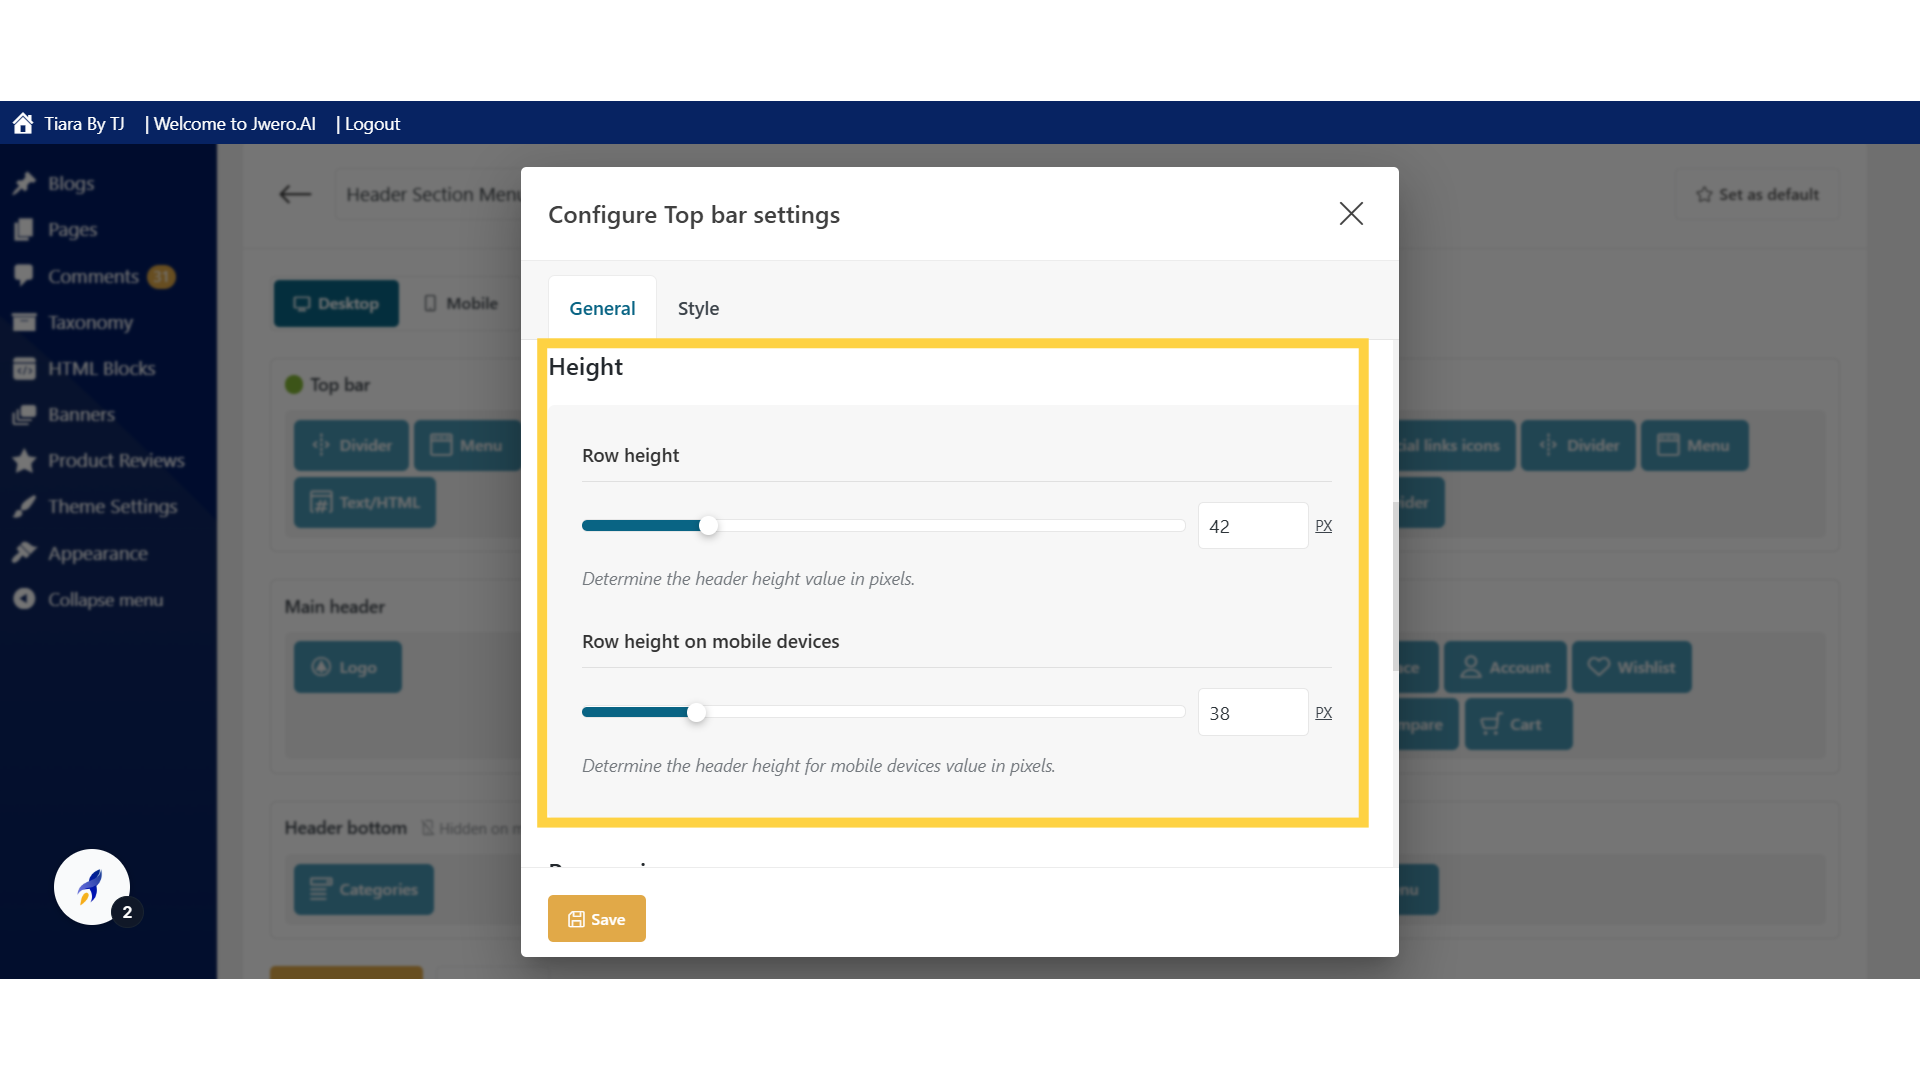
8. Set the height of the header row for desktop view in pixels.
9. Hide on Desktop: Disables this row from appearing on desktop devices when turned ON. Hide on Mobile: Disables this row from appearing on mobile devices when turned ON.
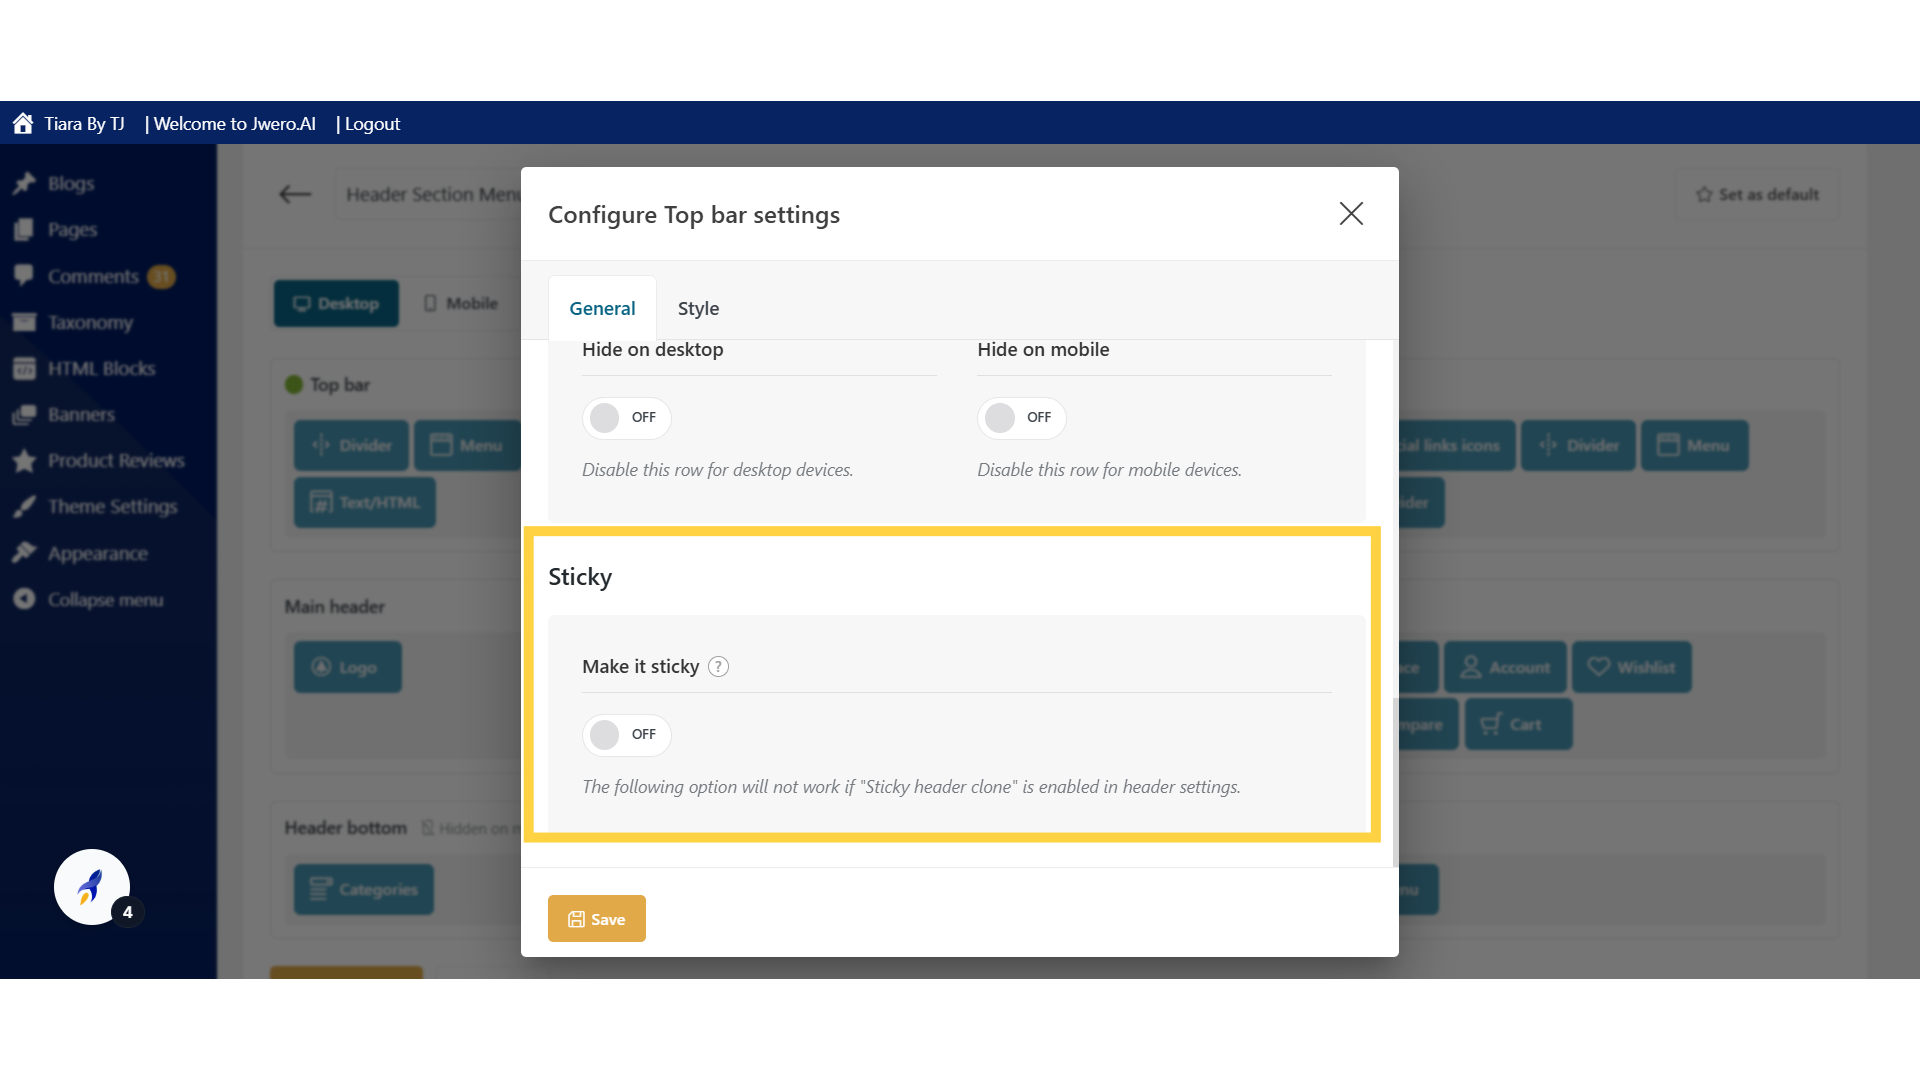
10. Keeps the row fixed (sticky) at the top of the page while scrolling when turned ON.
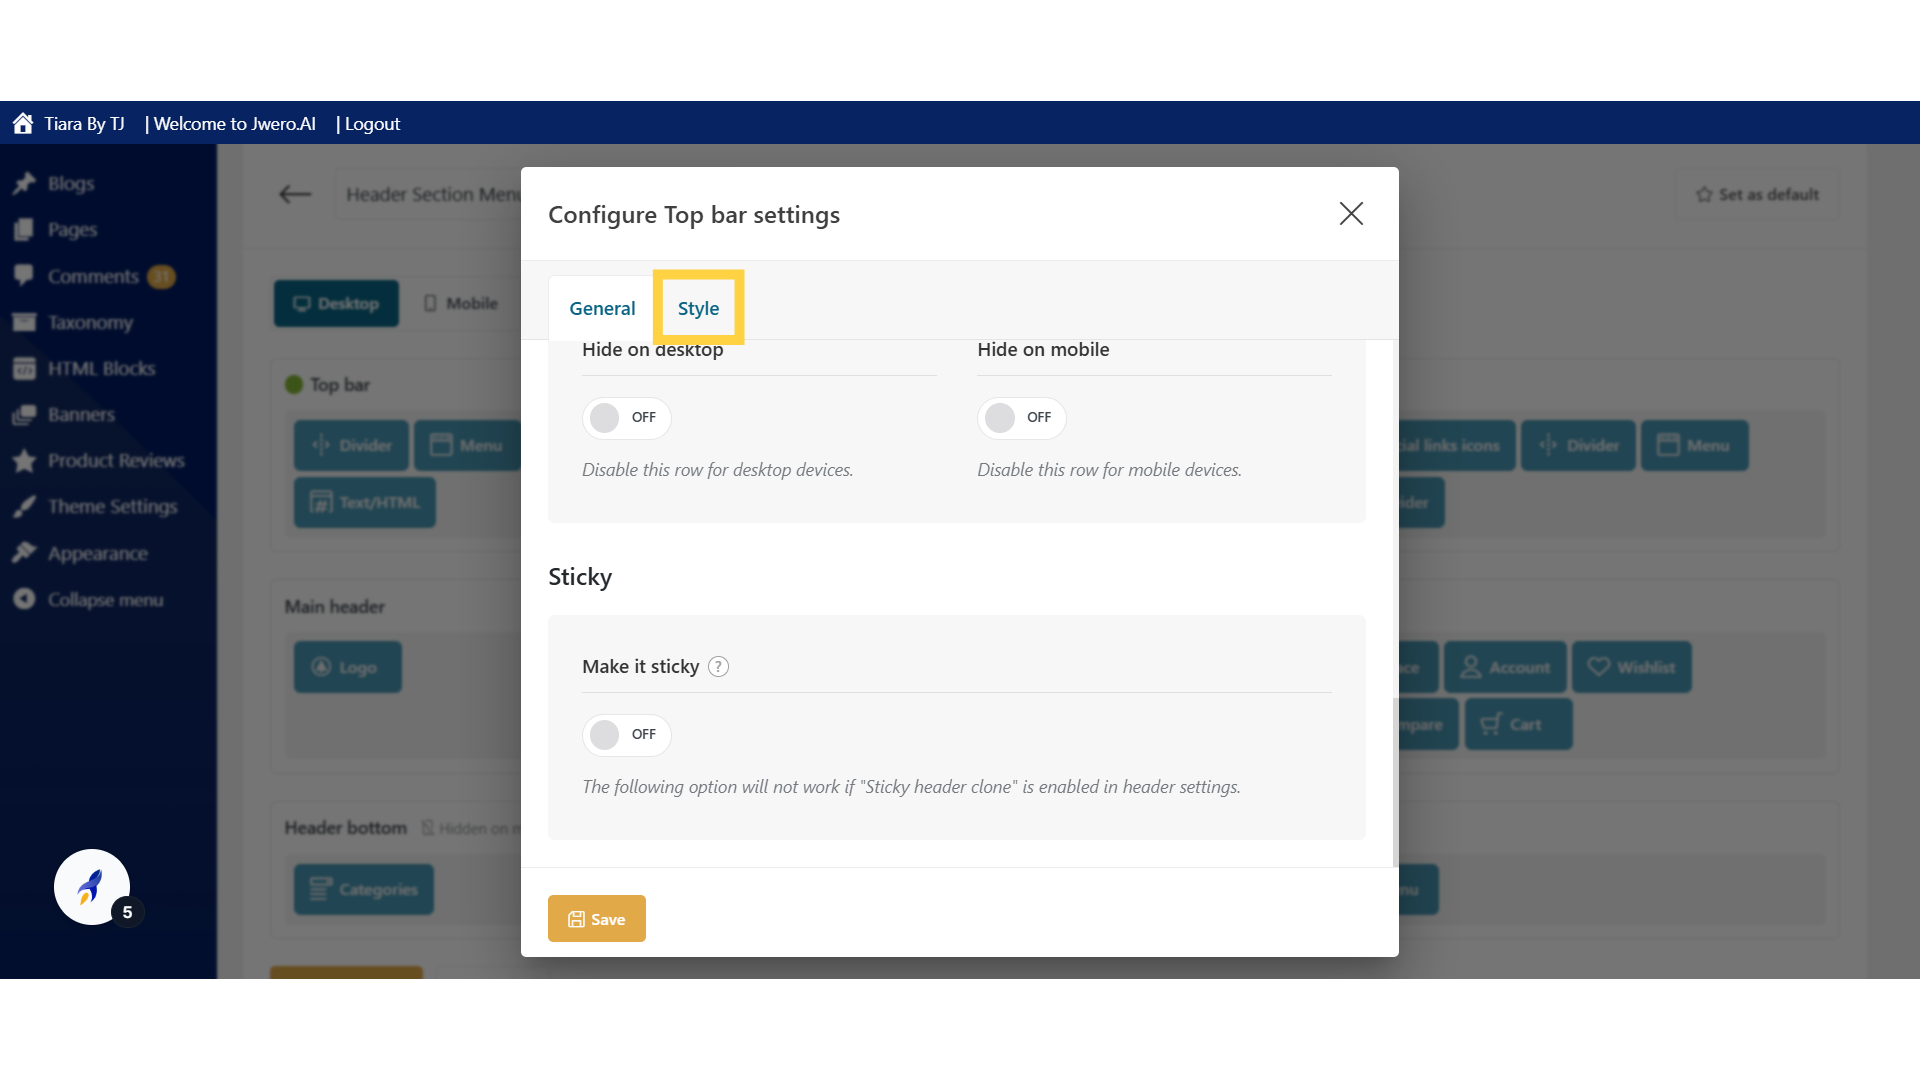
11. Let's move to Styling.
Apply styles to the header
12. Choose between dark or light text colors based on your background for better readability.
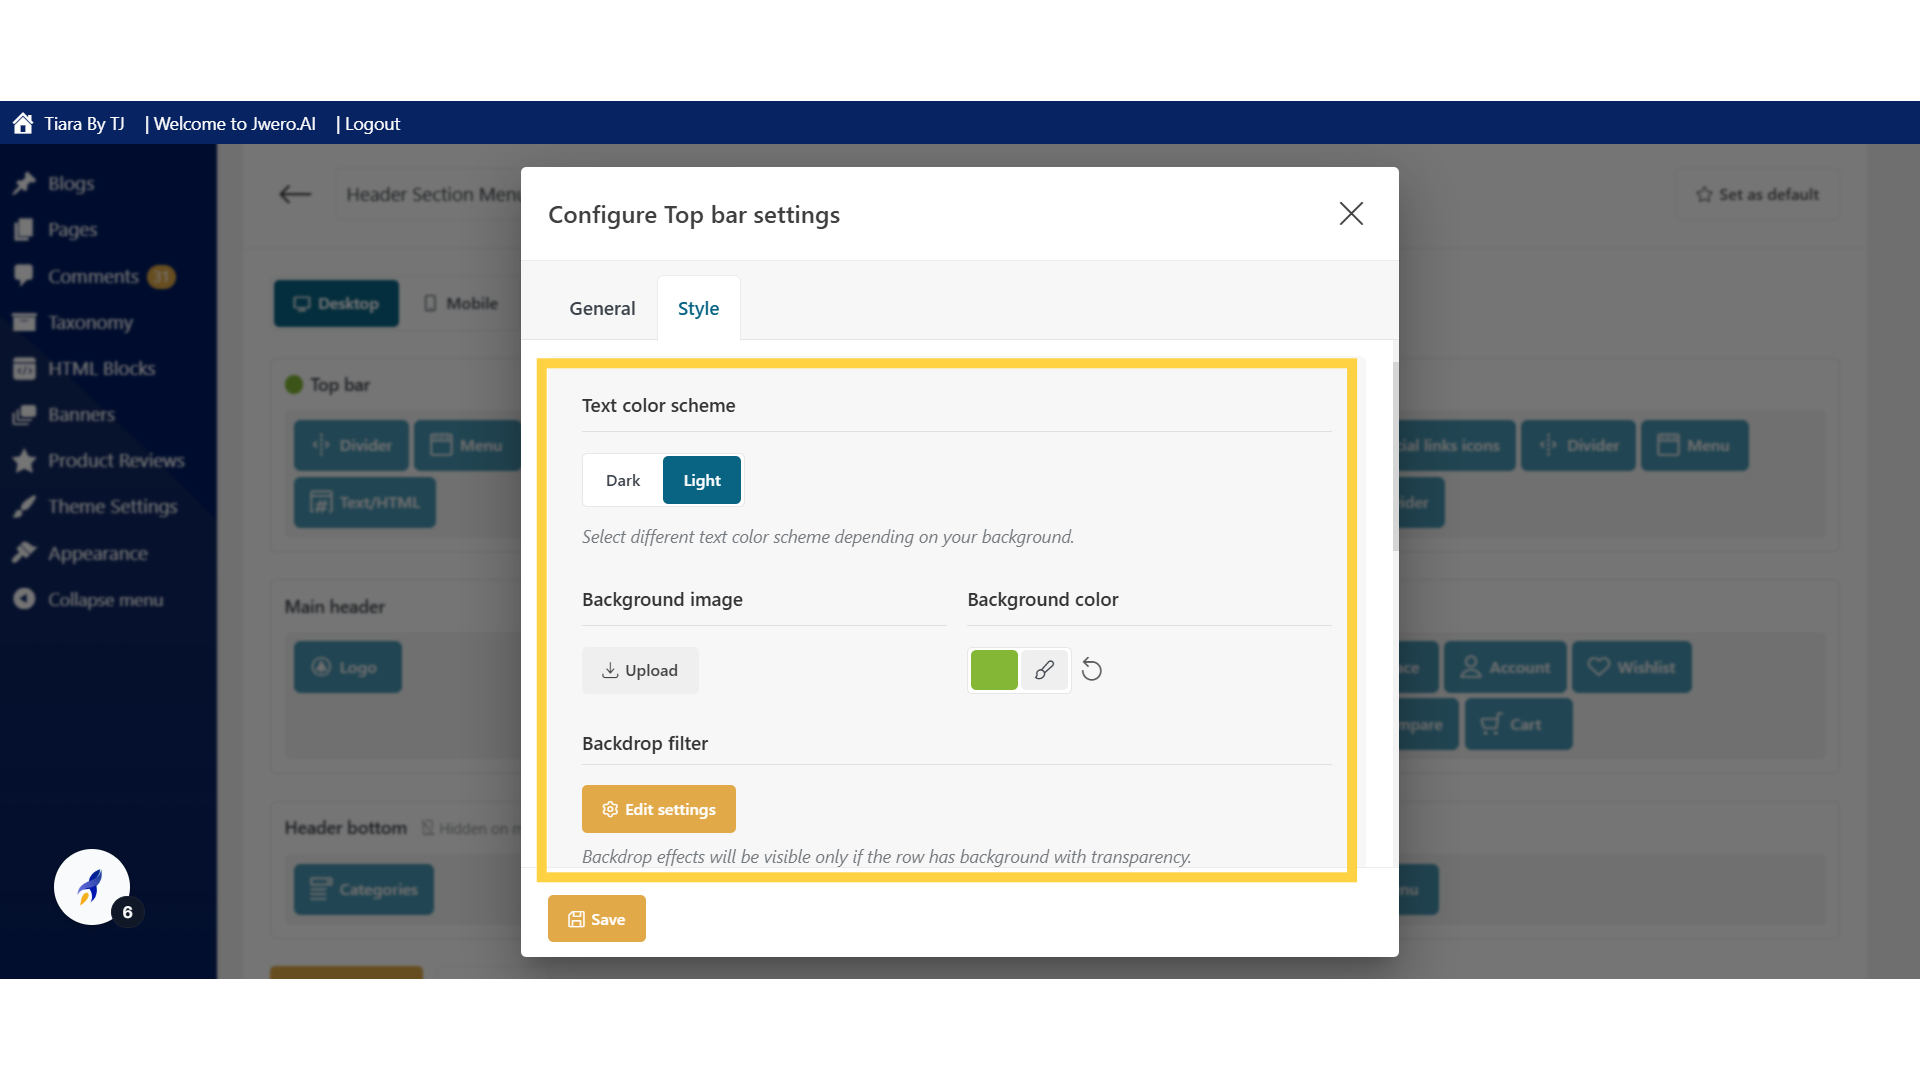
13. Choose between dark or light text colors based on your background for better readability.

14. Set border for the header row.
Border Width: Set the thickness of the bottom border in pixels. Style: Choose the border style (e.g., solid, dashed, dotted).Color: Select the border color. Container: Define whether the border spans the full width of the screen or is contained within the content width.
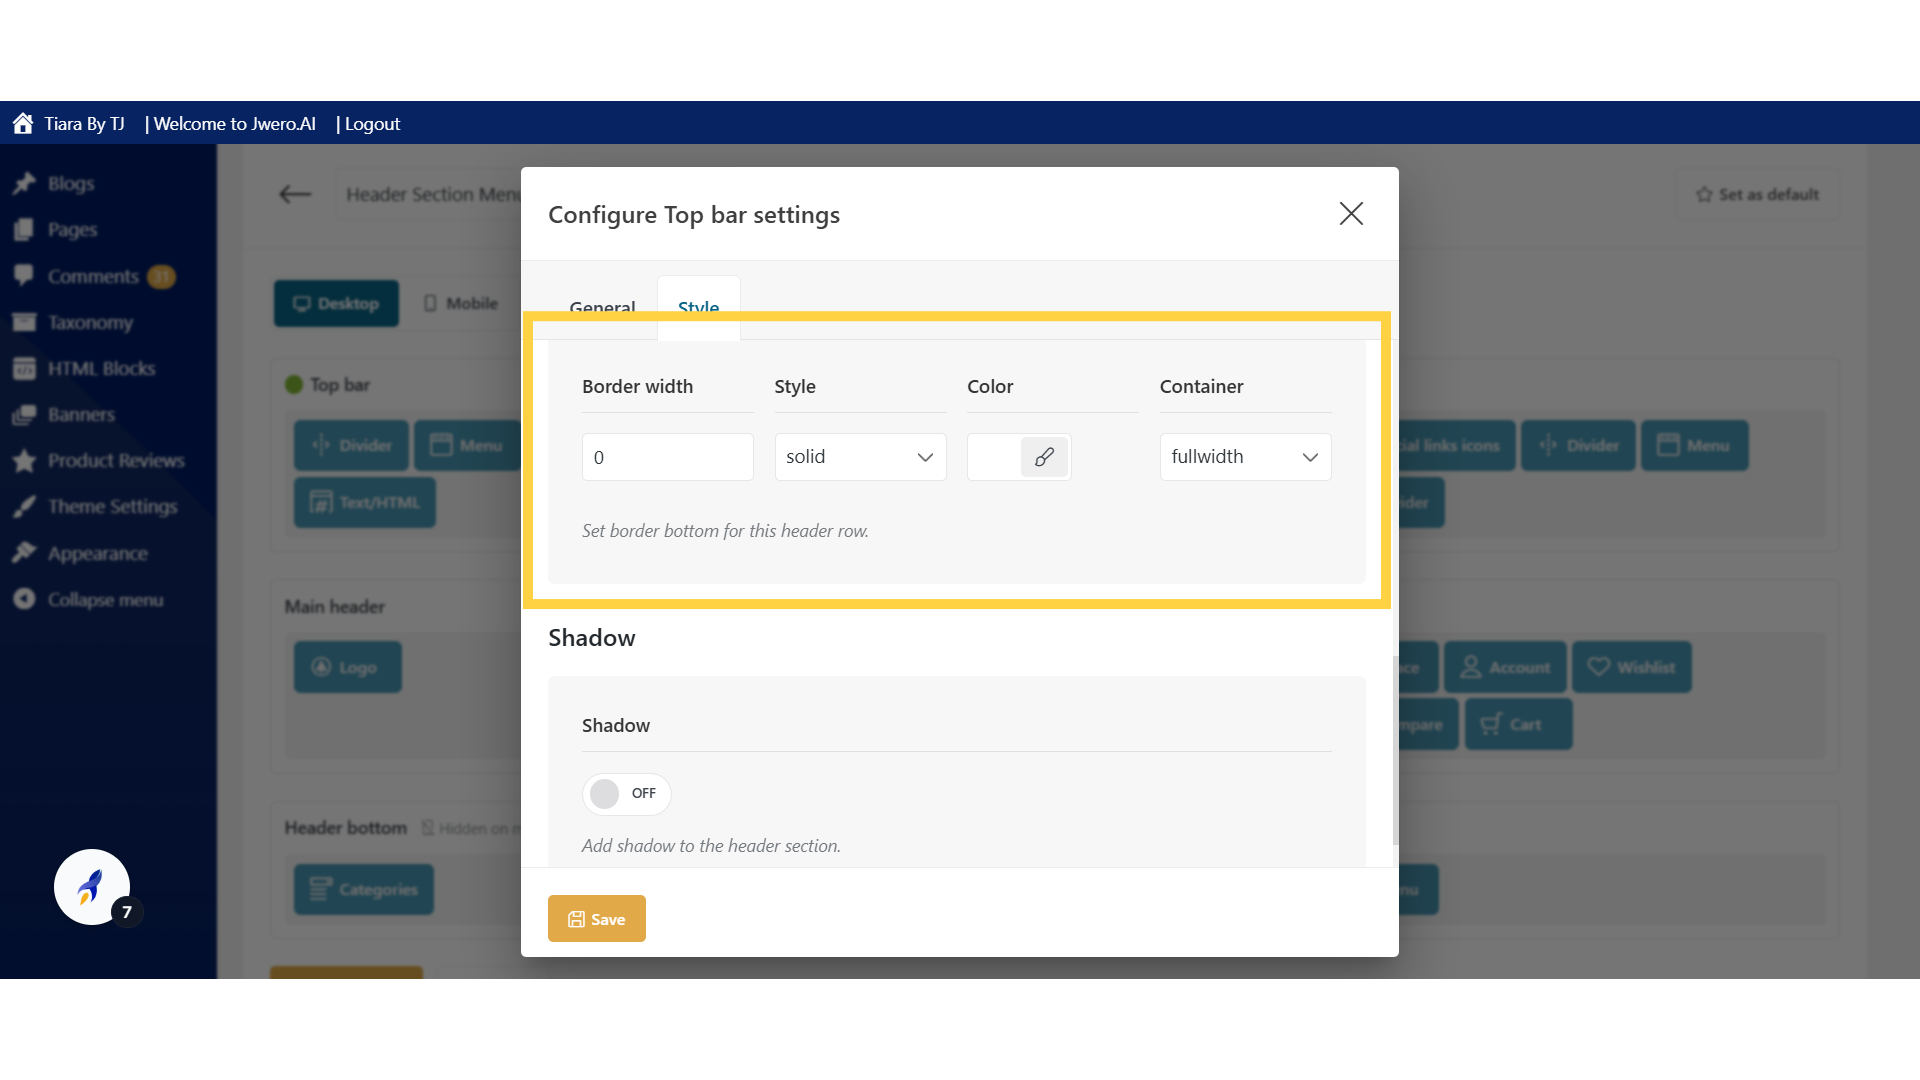
15. Toggle this setting to enable or disable a shadow effect for the header section, enhancing its visual depth.

16. Click "Mobile"

17. All the design options will be same for the Mobile web view.
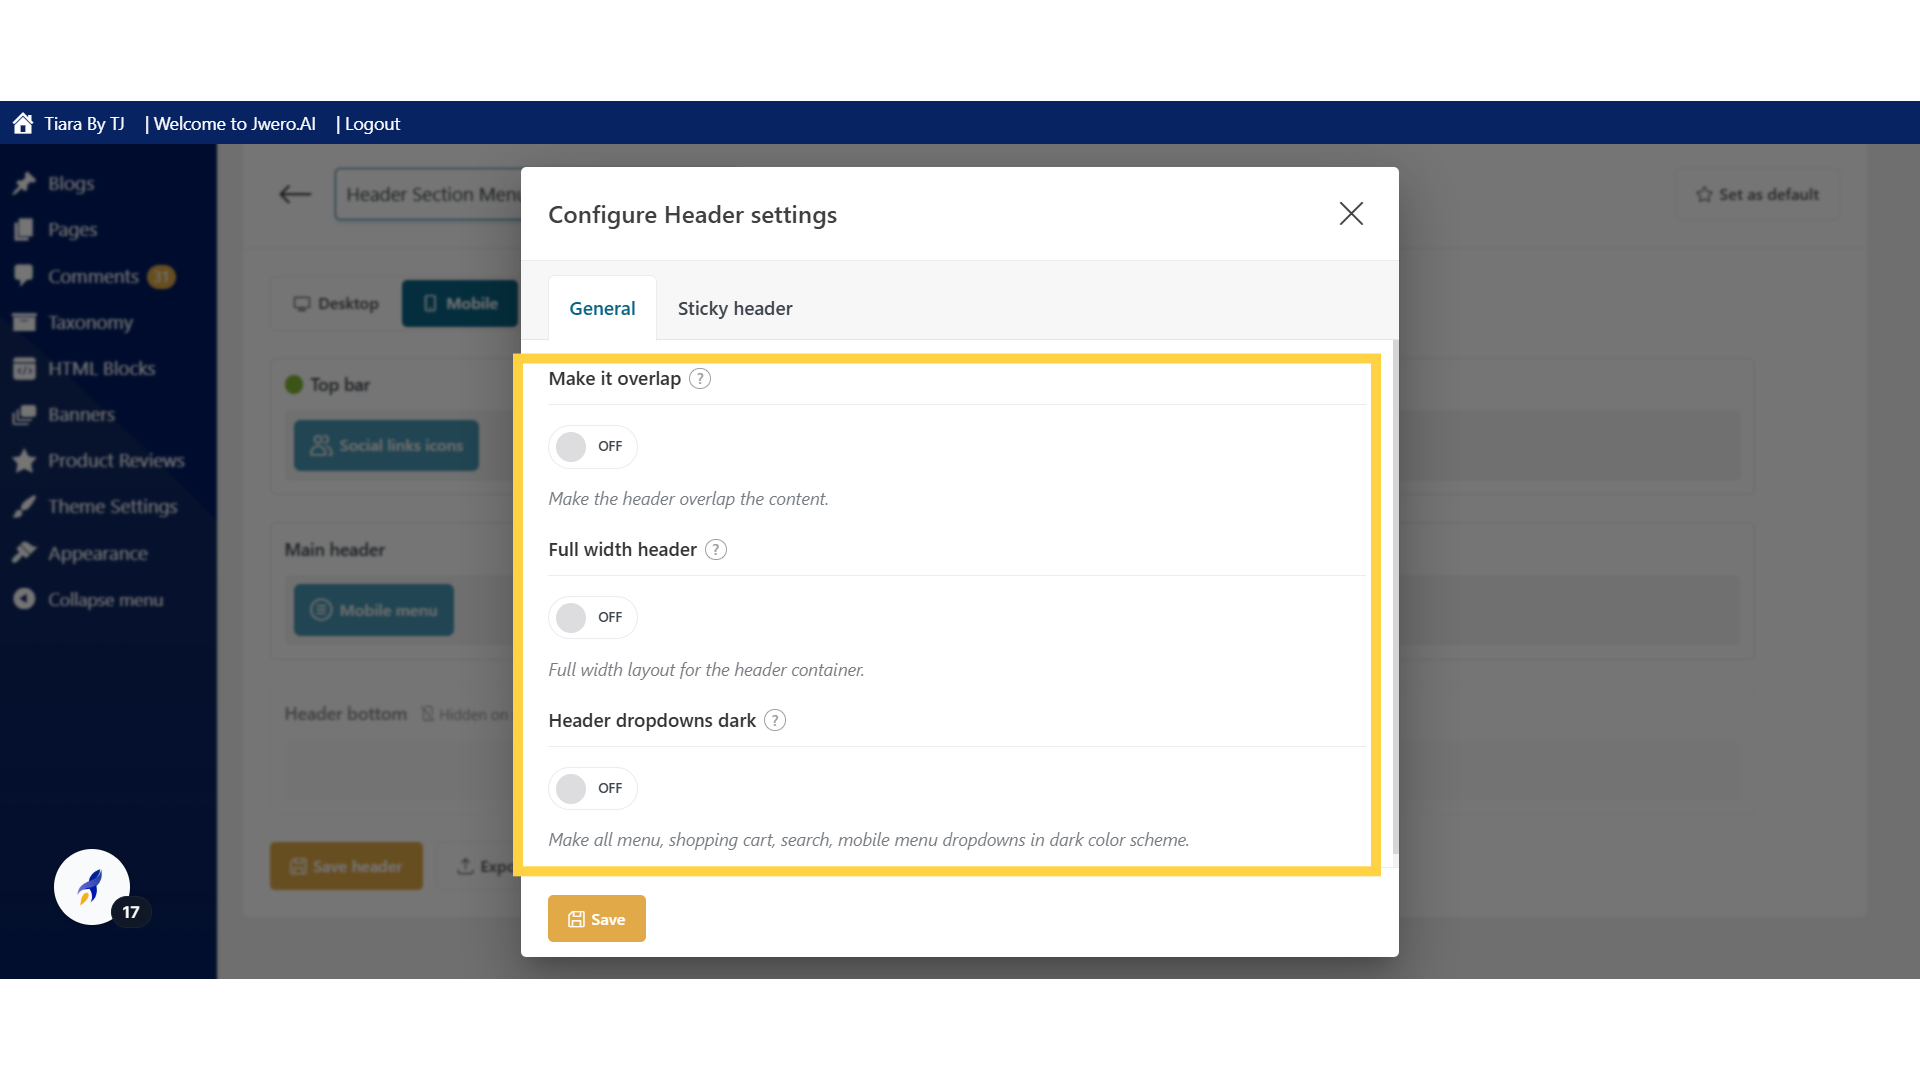
18. Click "Settings" to configure entire Header section.

19. Allows the header to overlap the page content for a layered effect.
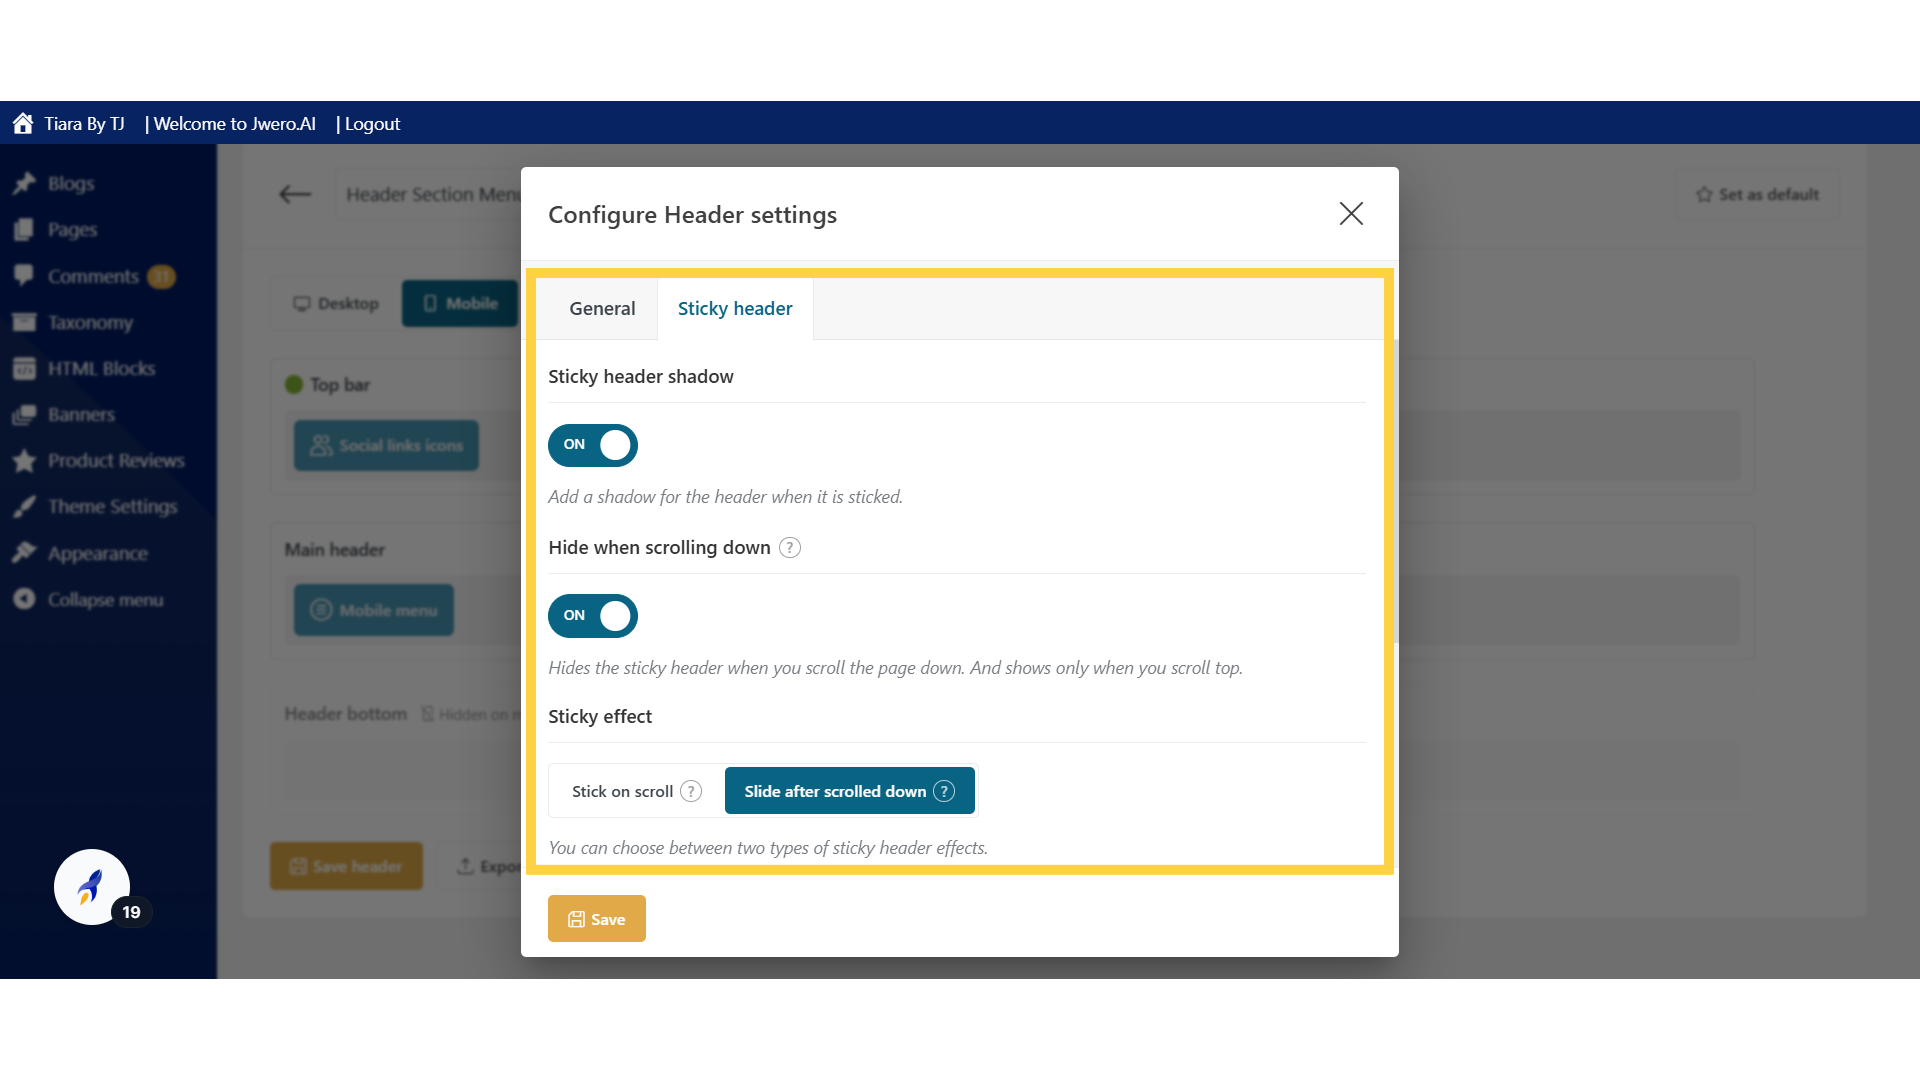
20. Let's move to the "Sticky Header" settings.
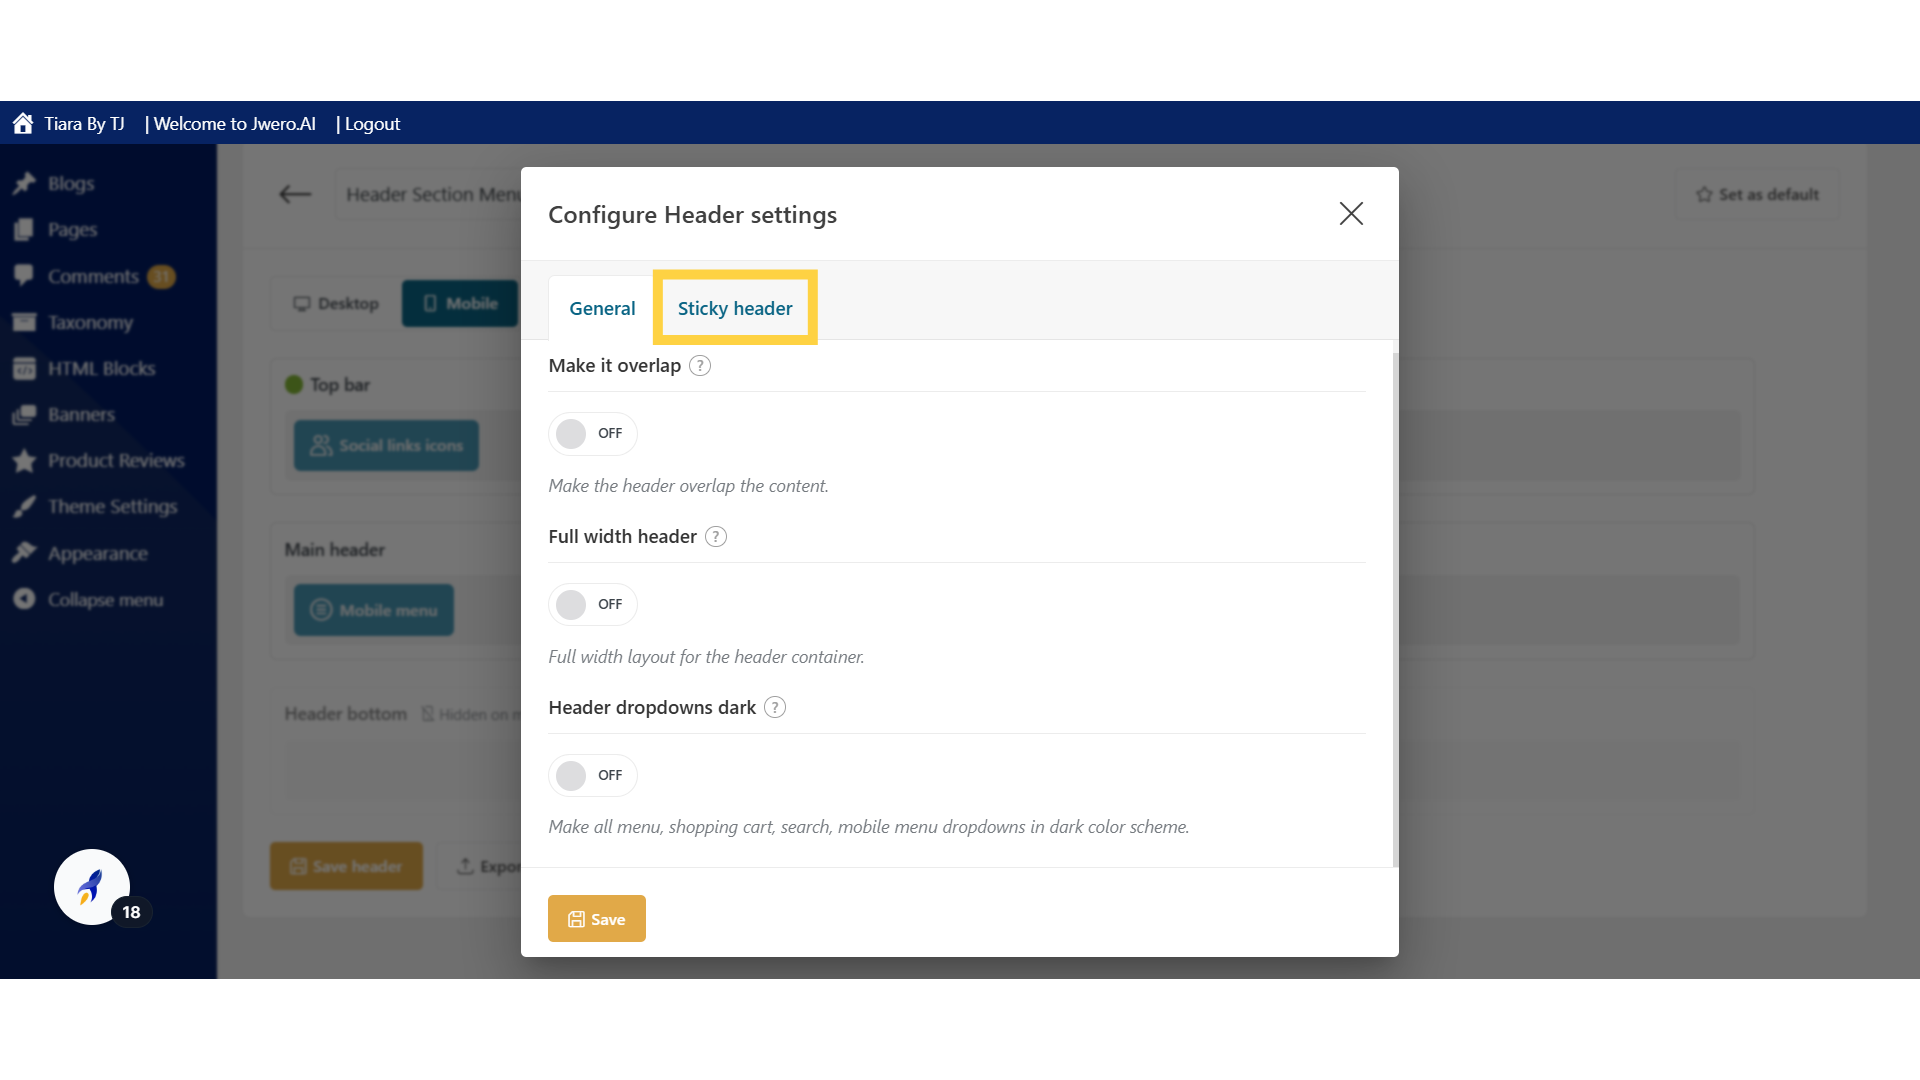
21. Adds a shadow effect to the header when it becomes sticky.

22. Adds a shadow effect to the header when it becomes sticky.
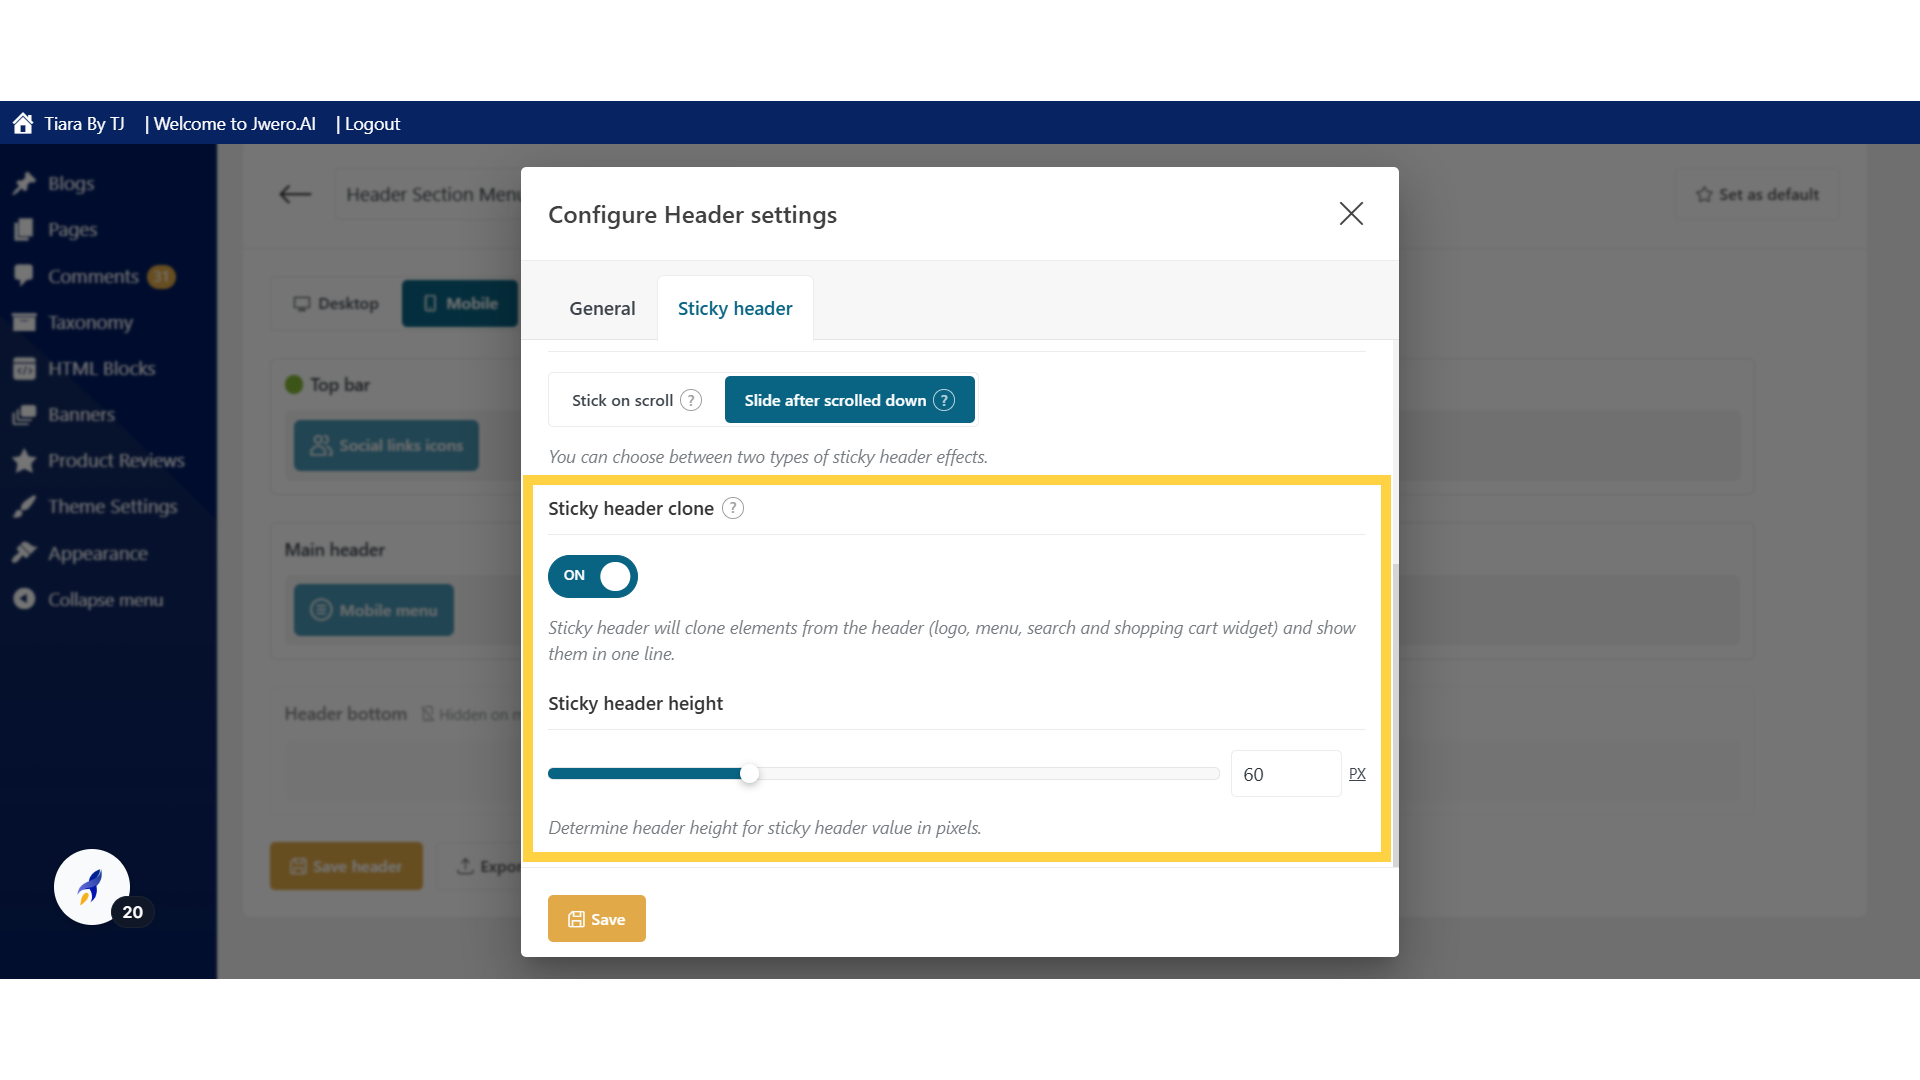
23. Duplicates elements like the logo, menu, search, and cart widget into the sticky header and displays them in a single line.
This guide covered a comprehensive process to design a header on Tiarabytj