How To Create Utility Custom Template
1. Utility templates
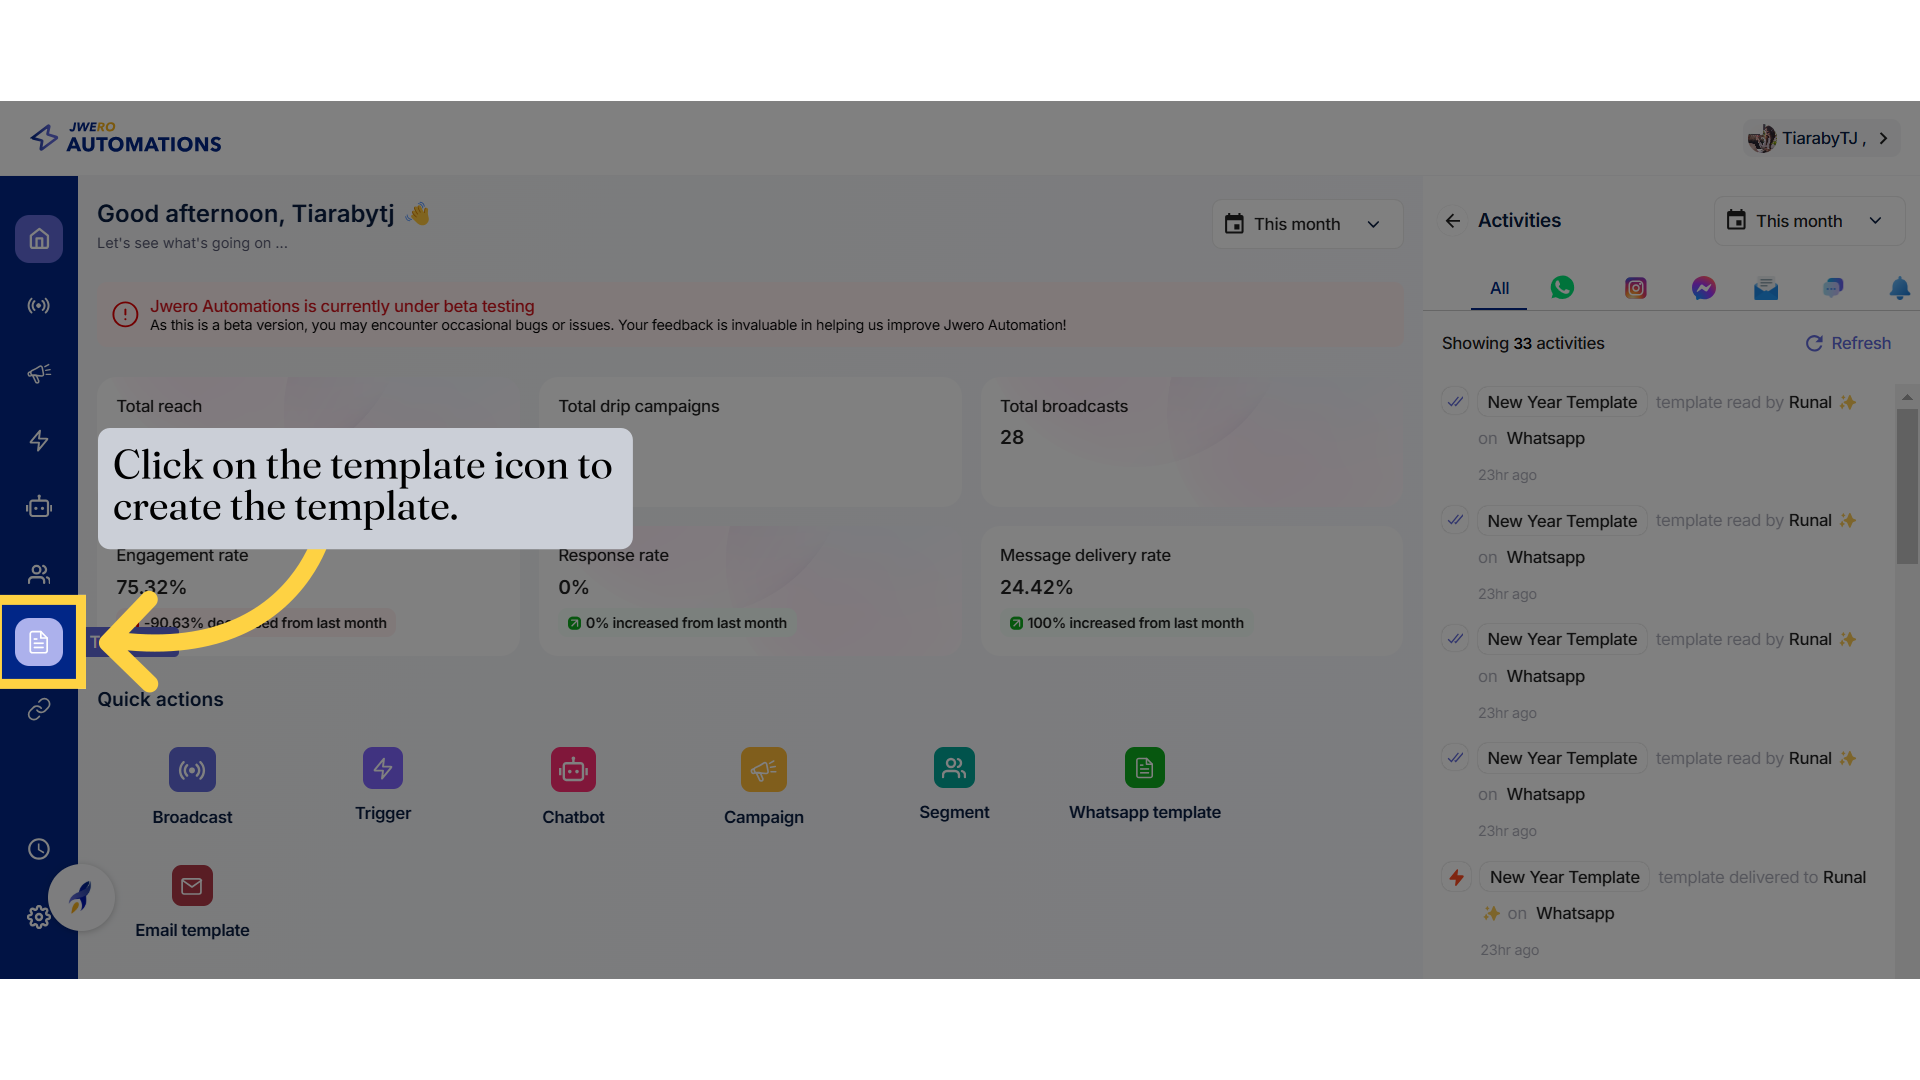
2. Template icon
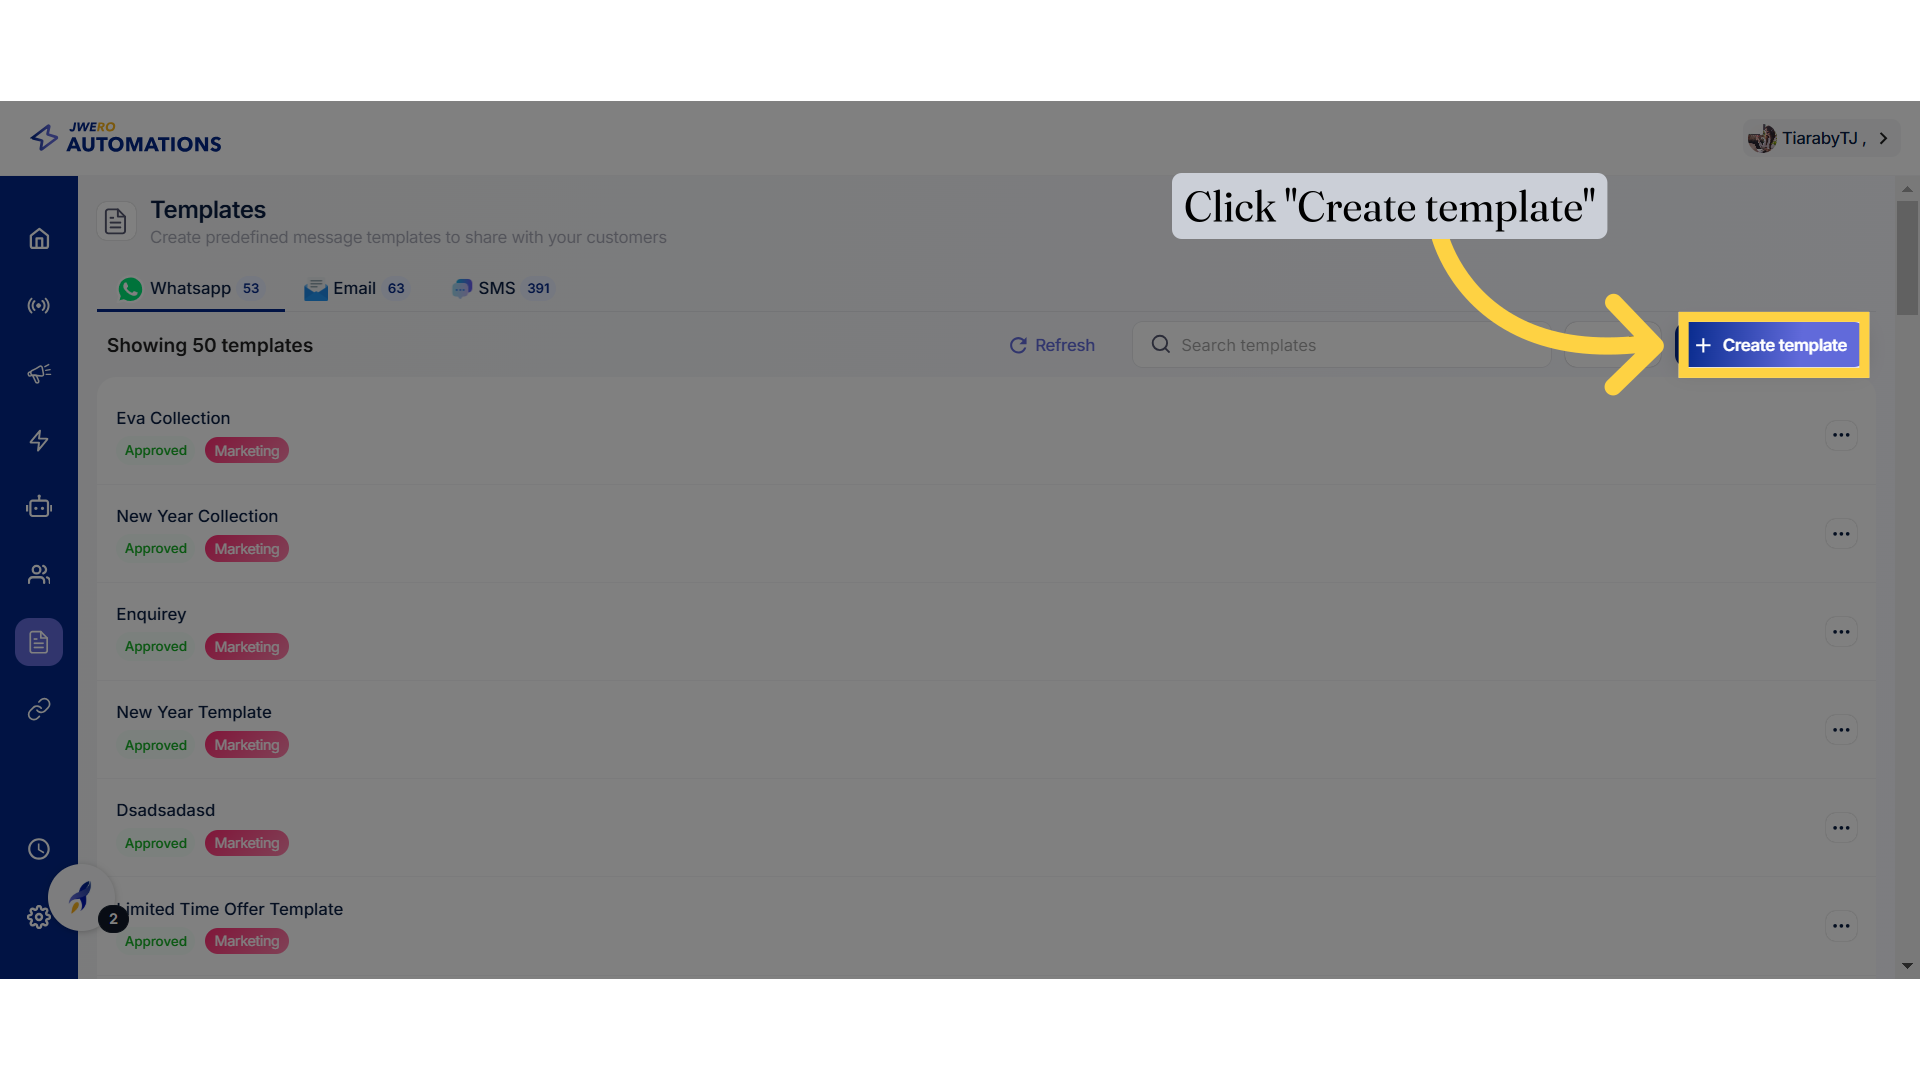
3. Click "Create template"
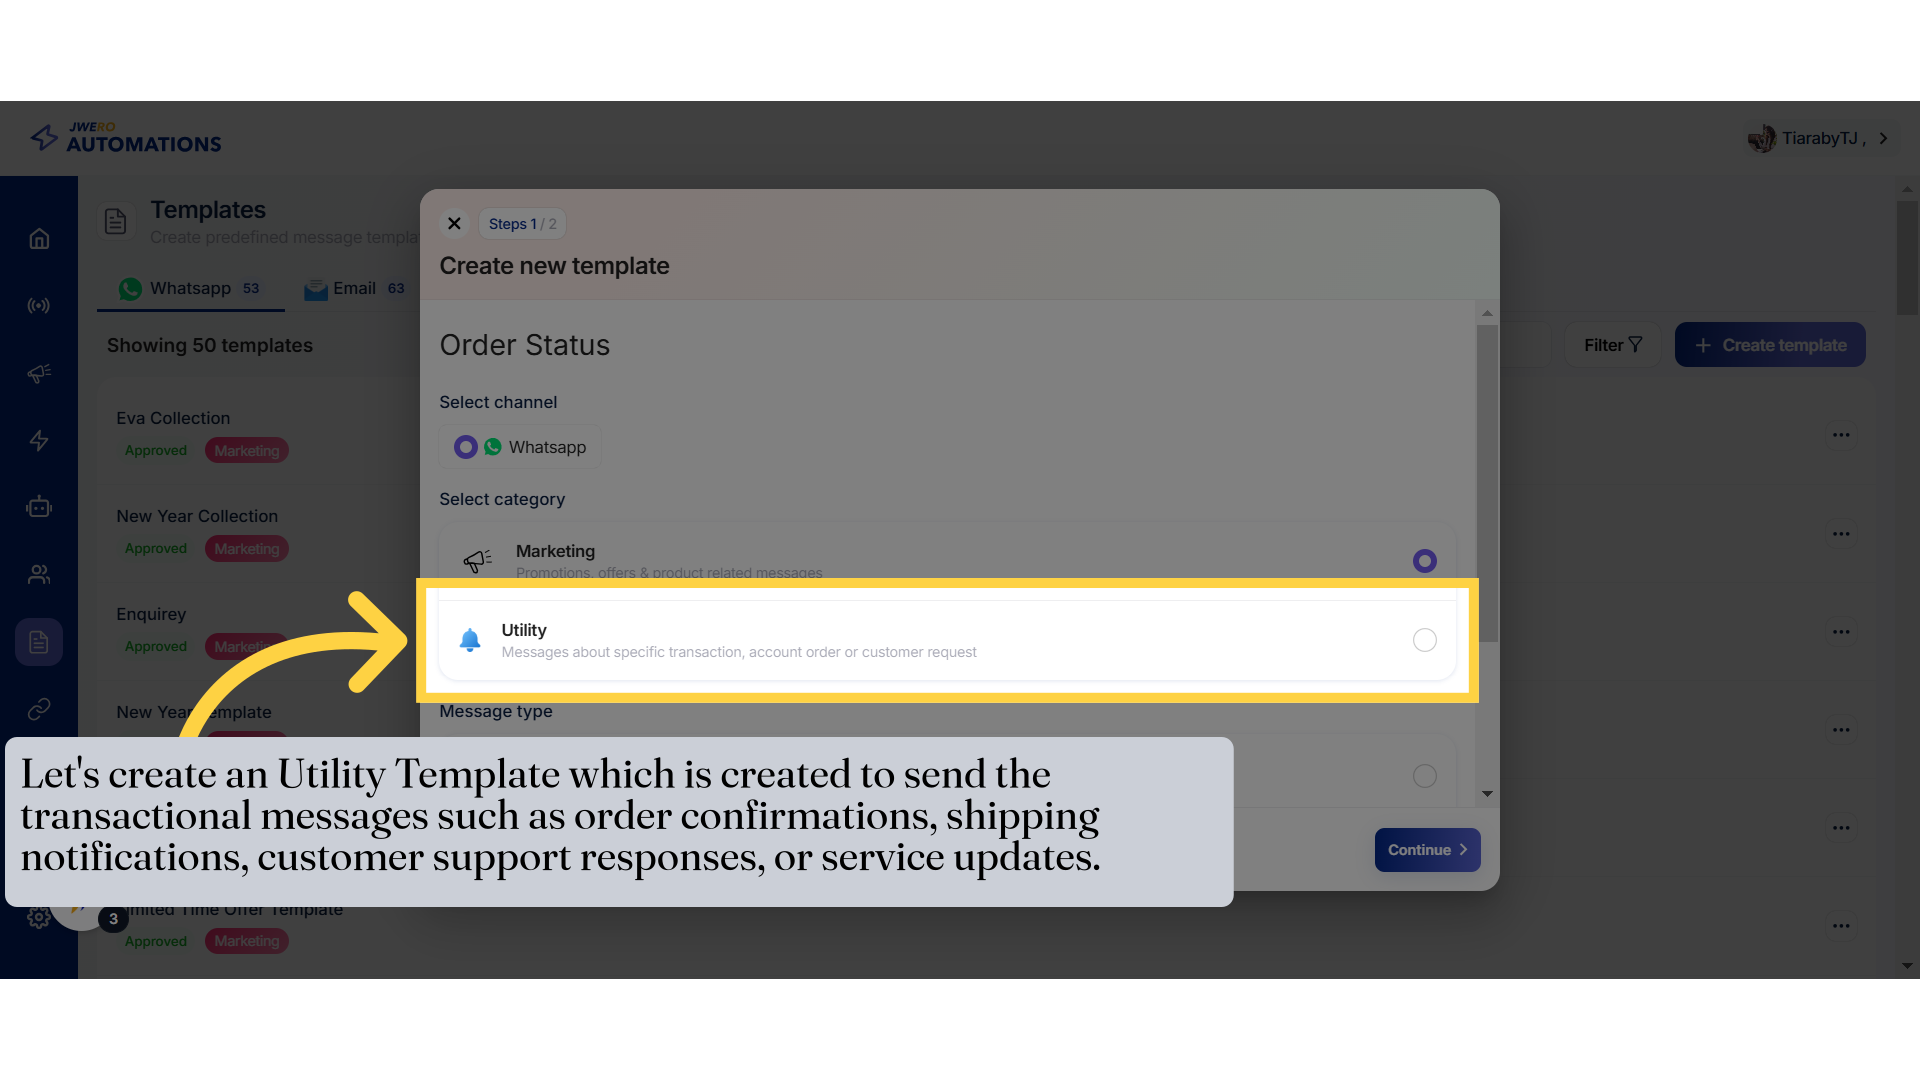
4. Utility Template
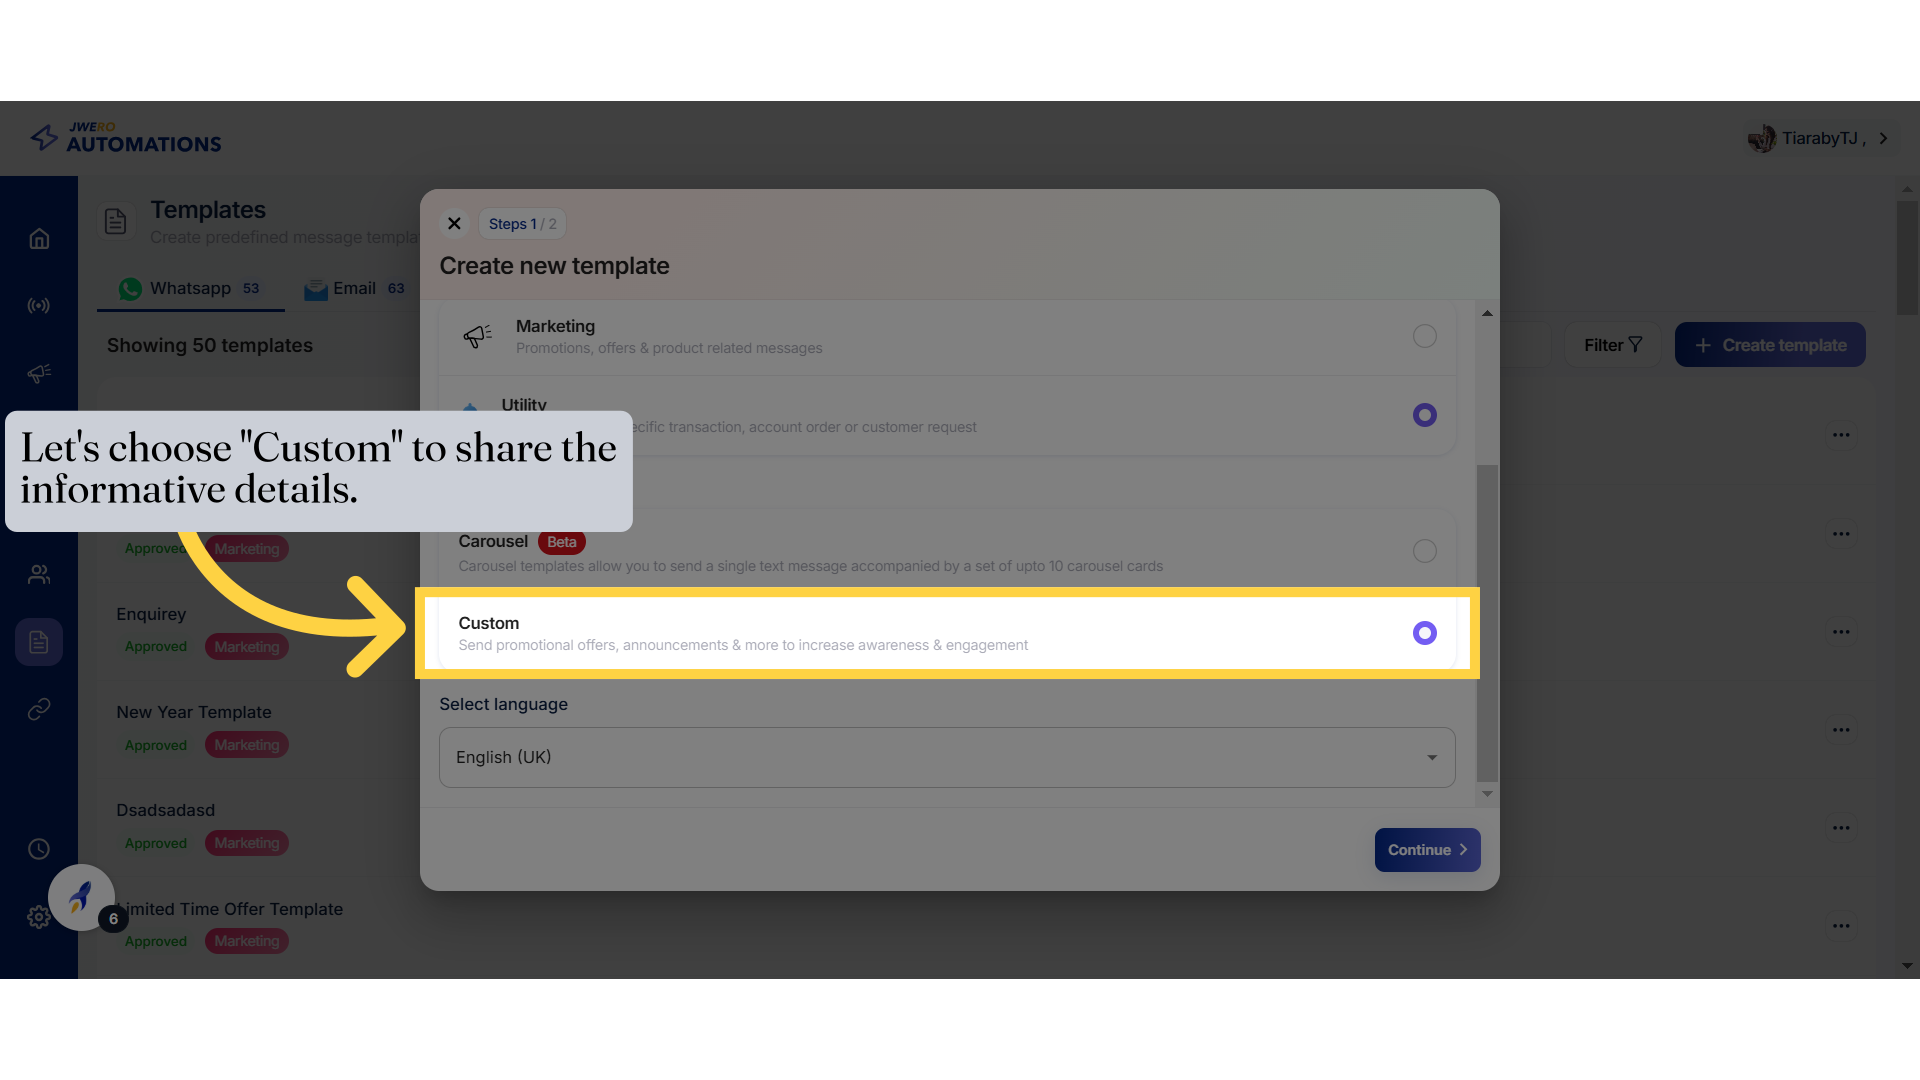
5. Custom Message Type
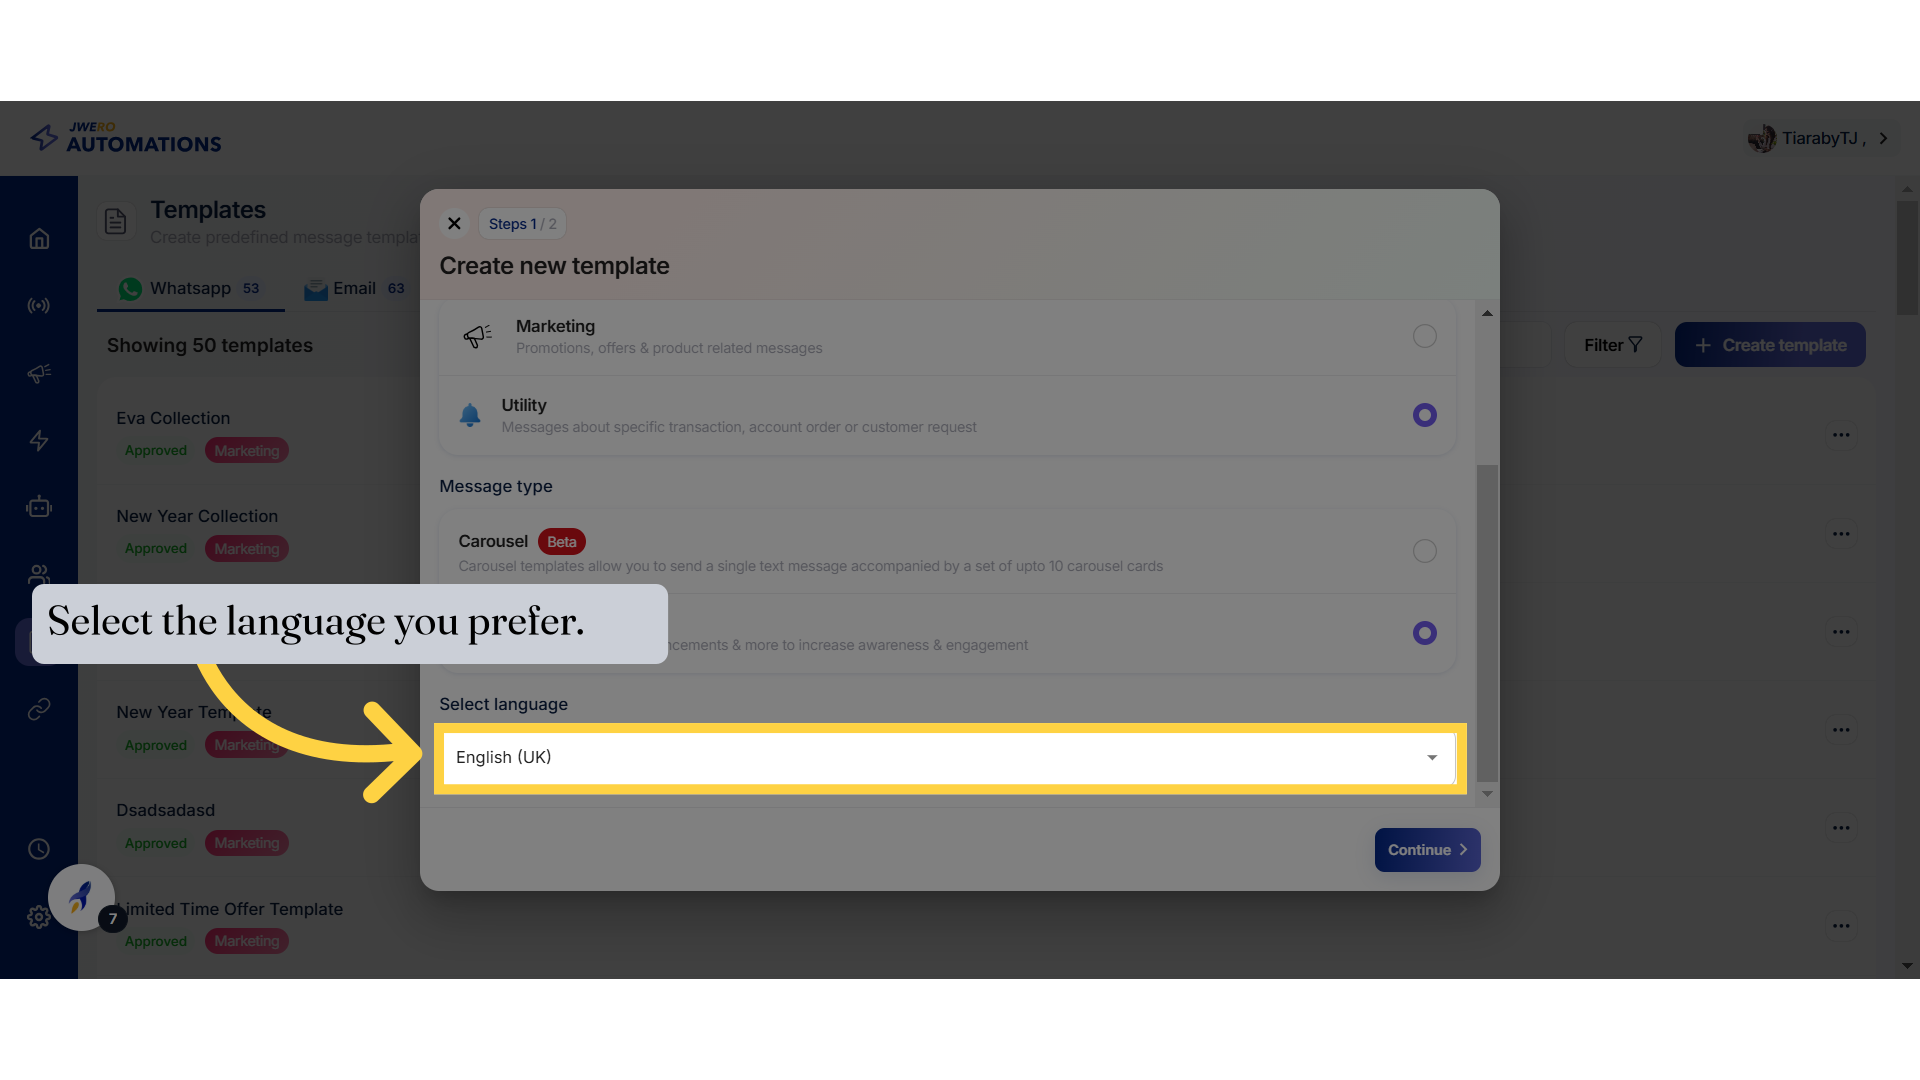
6. Language
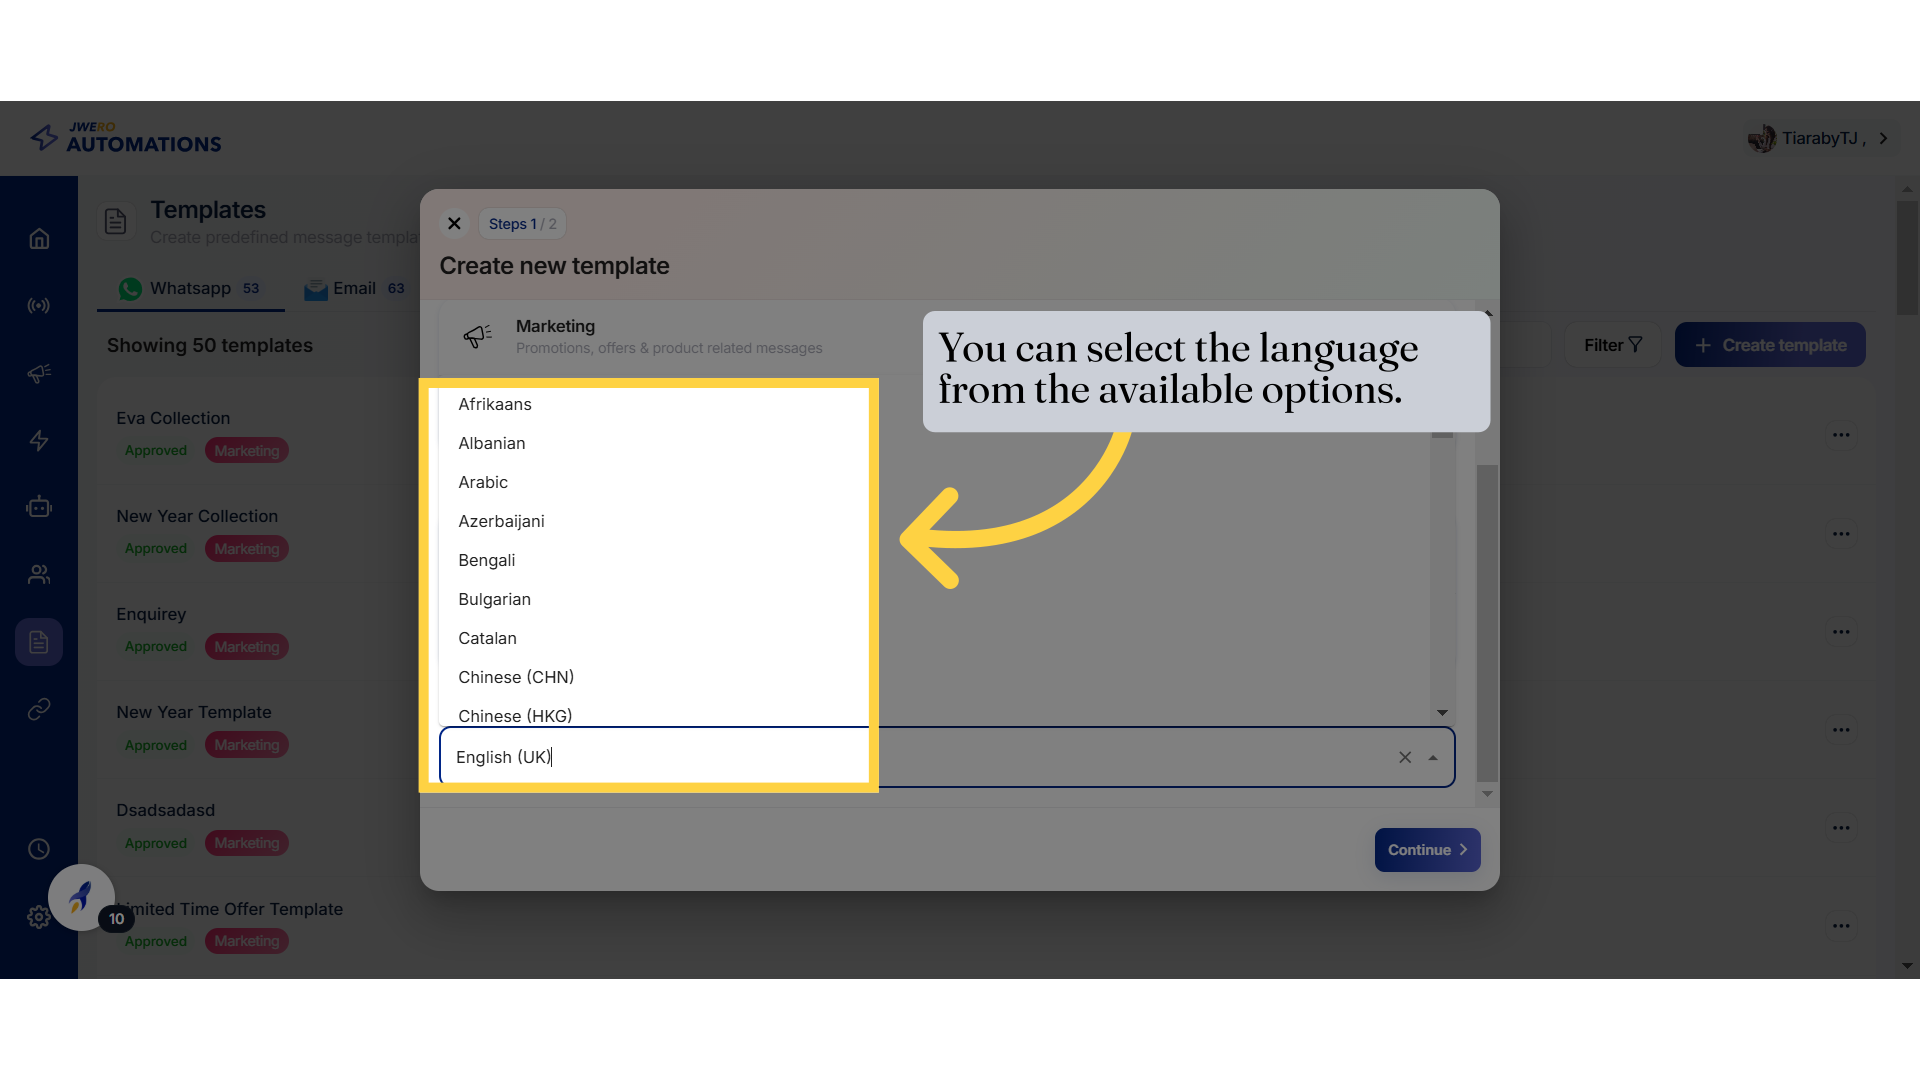
7. Language choices
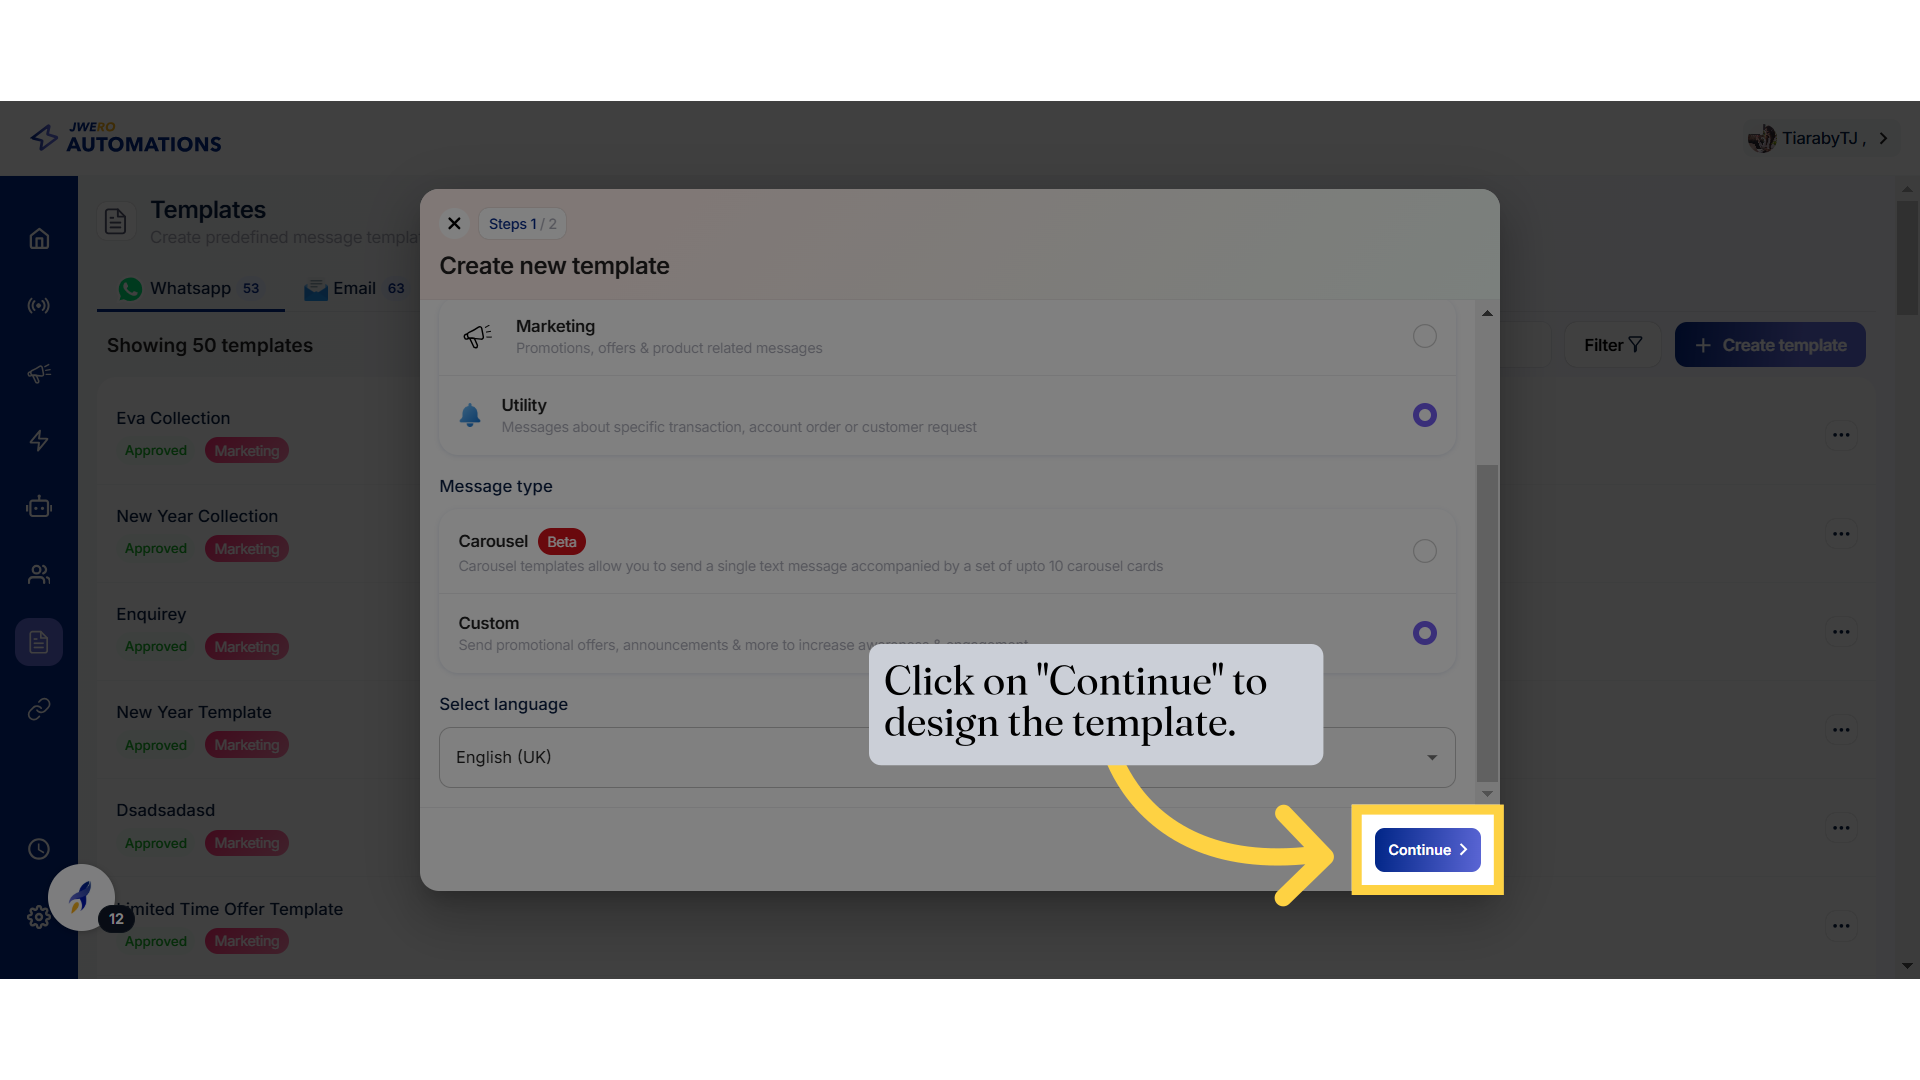
8. Continue Button
9. Header
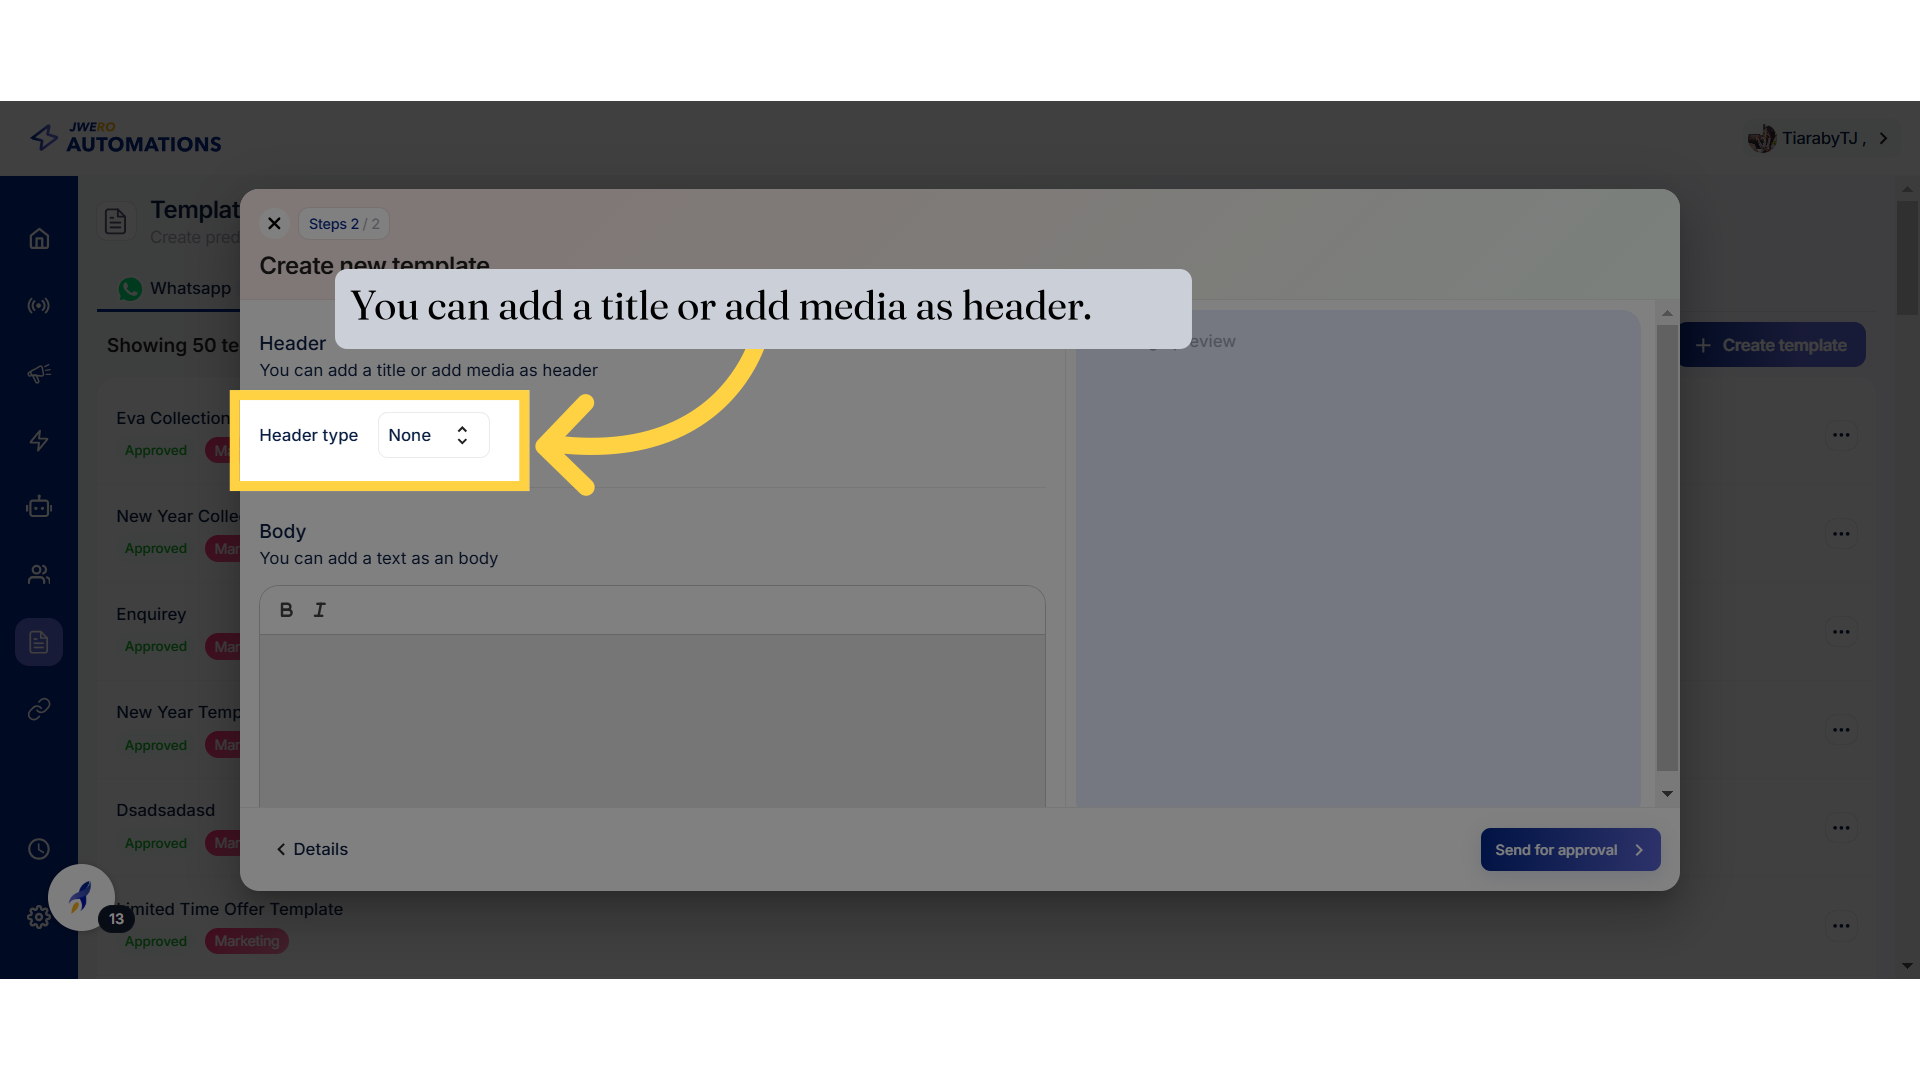
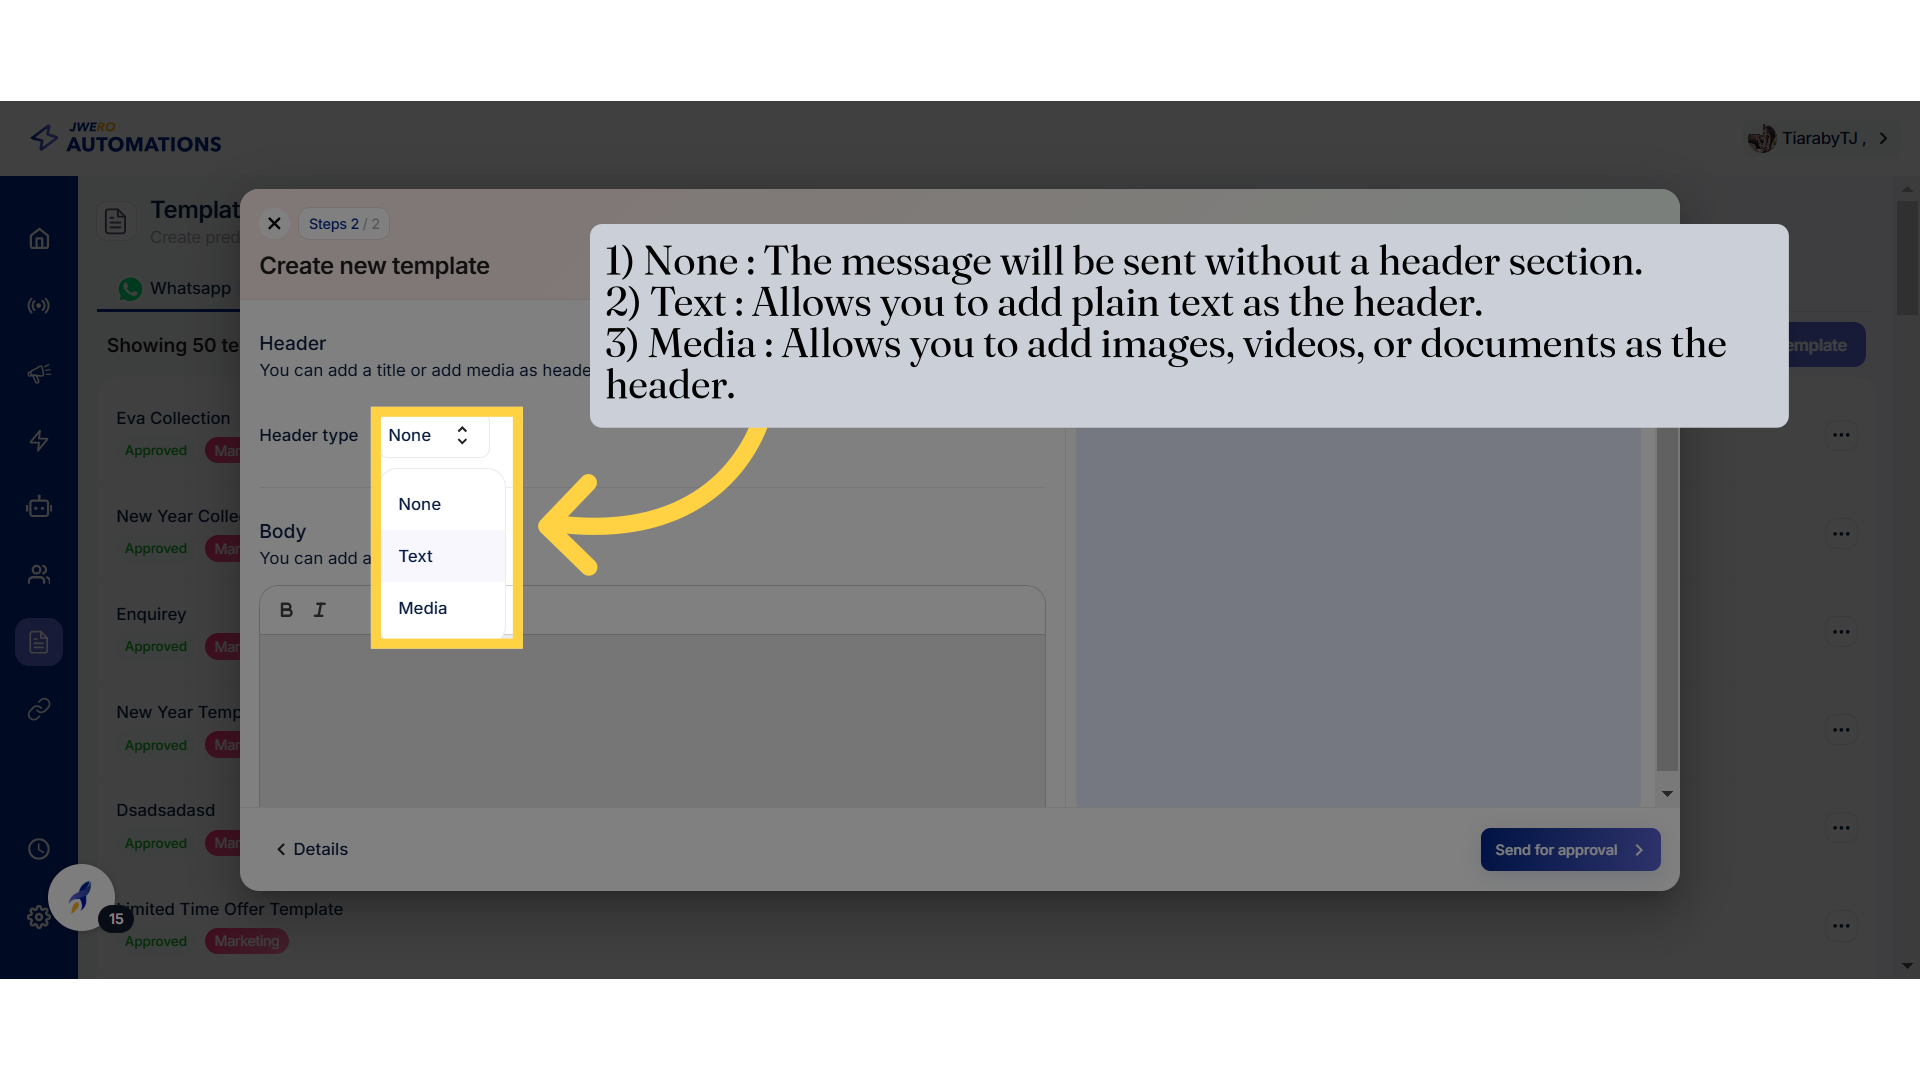
10. Header Types
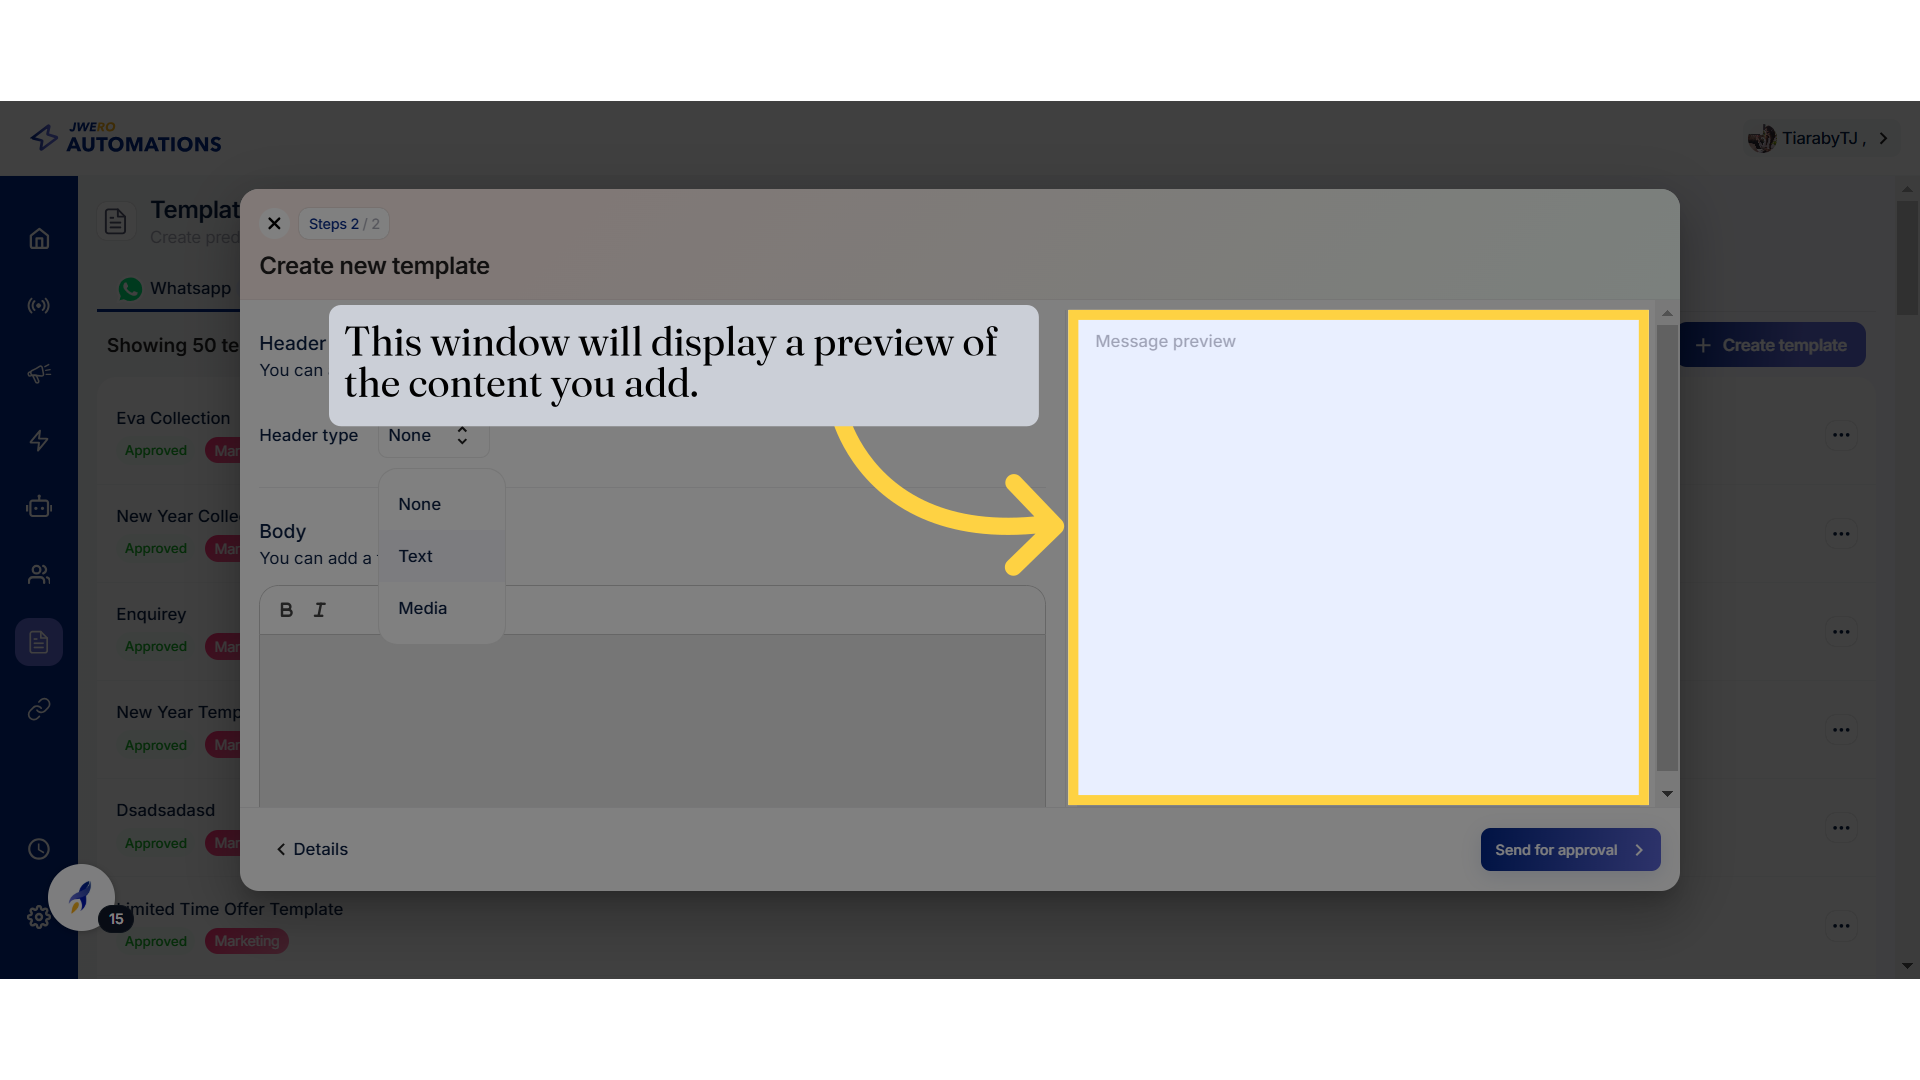
11. Message preview
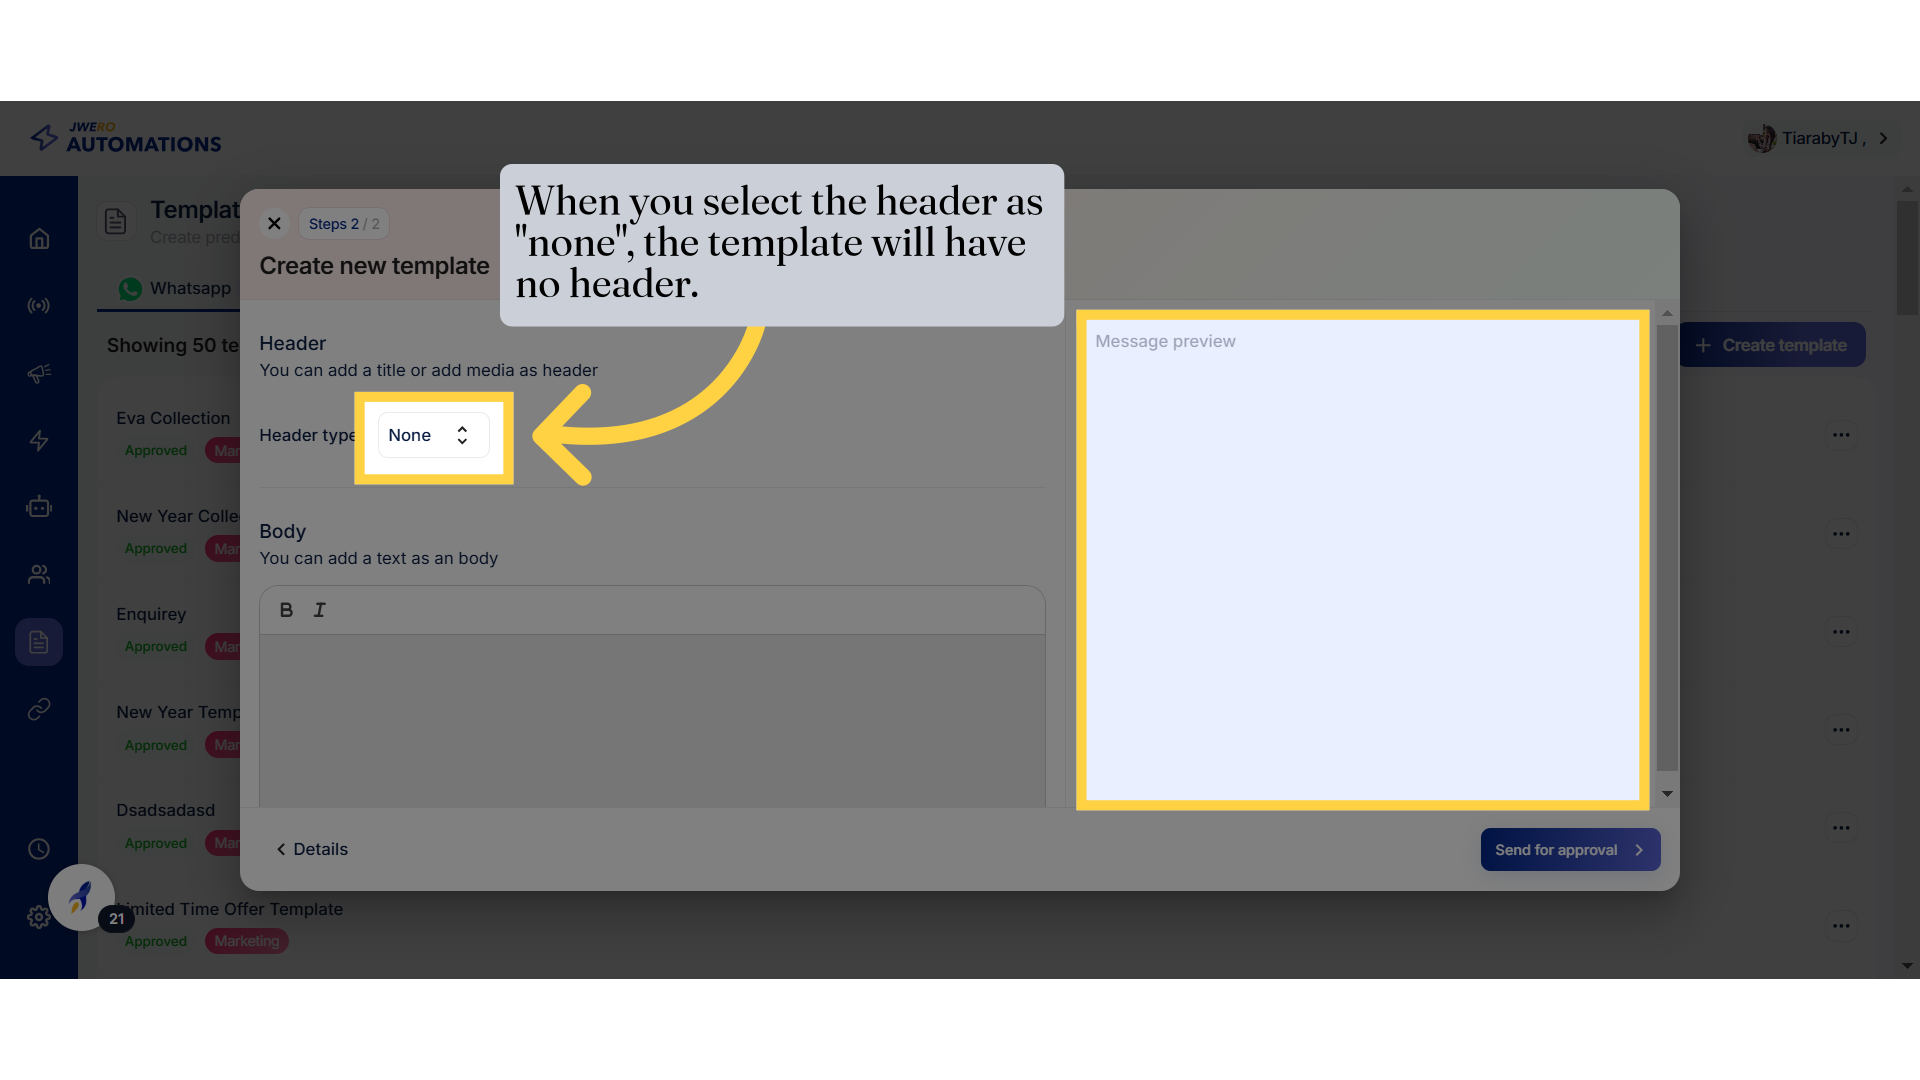
12. Header Type : None
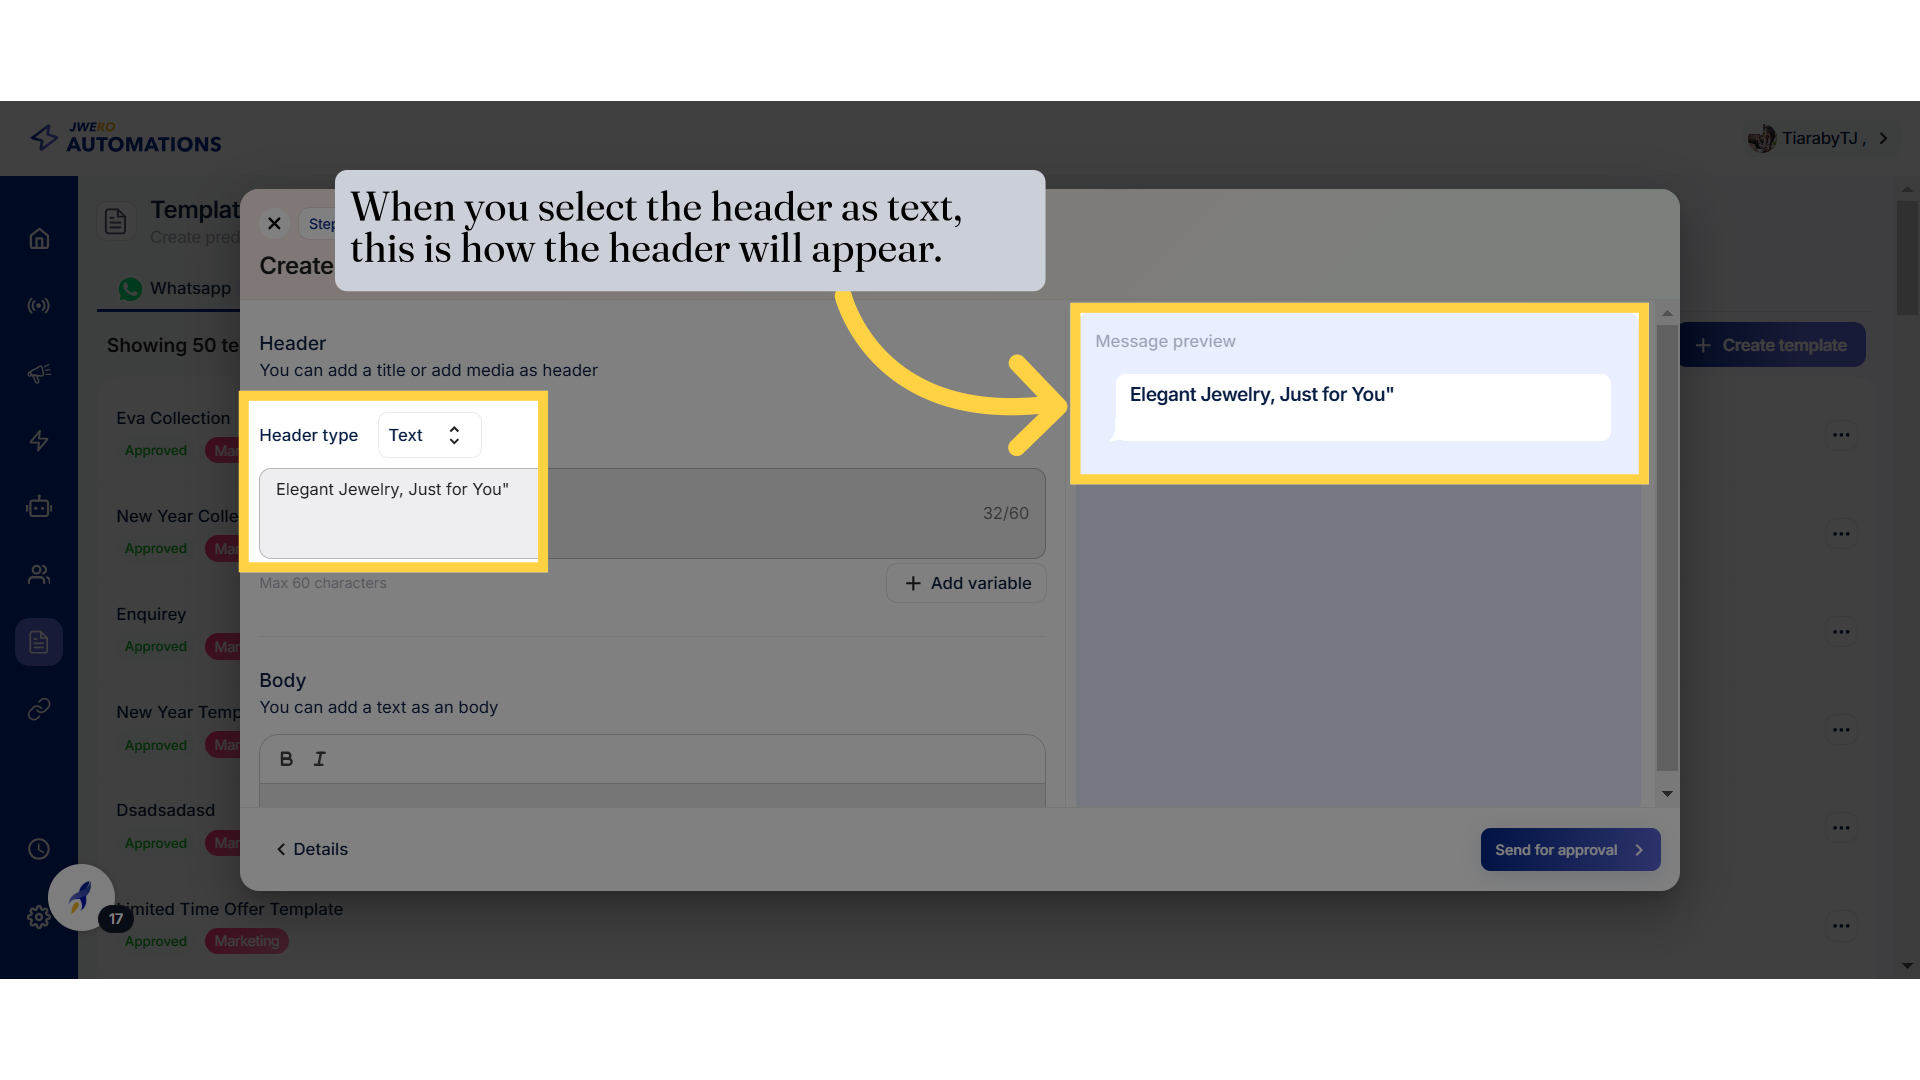
13. When you select the header as text, this is how the header will appear.
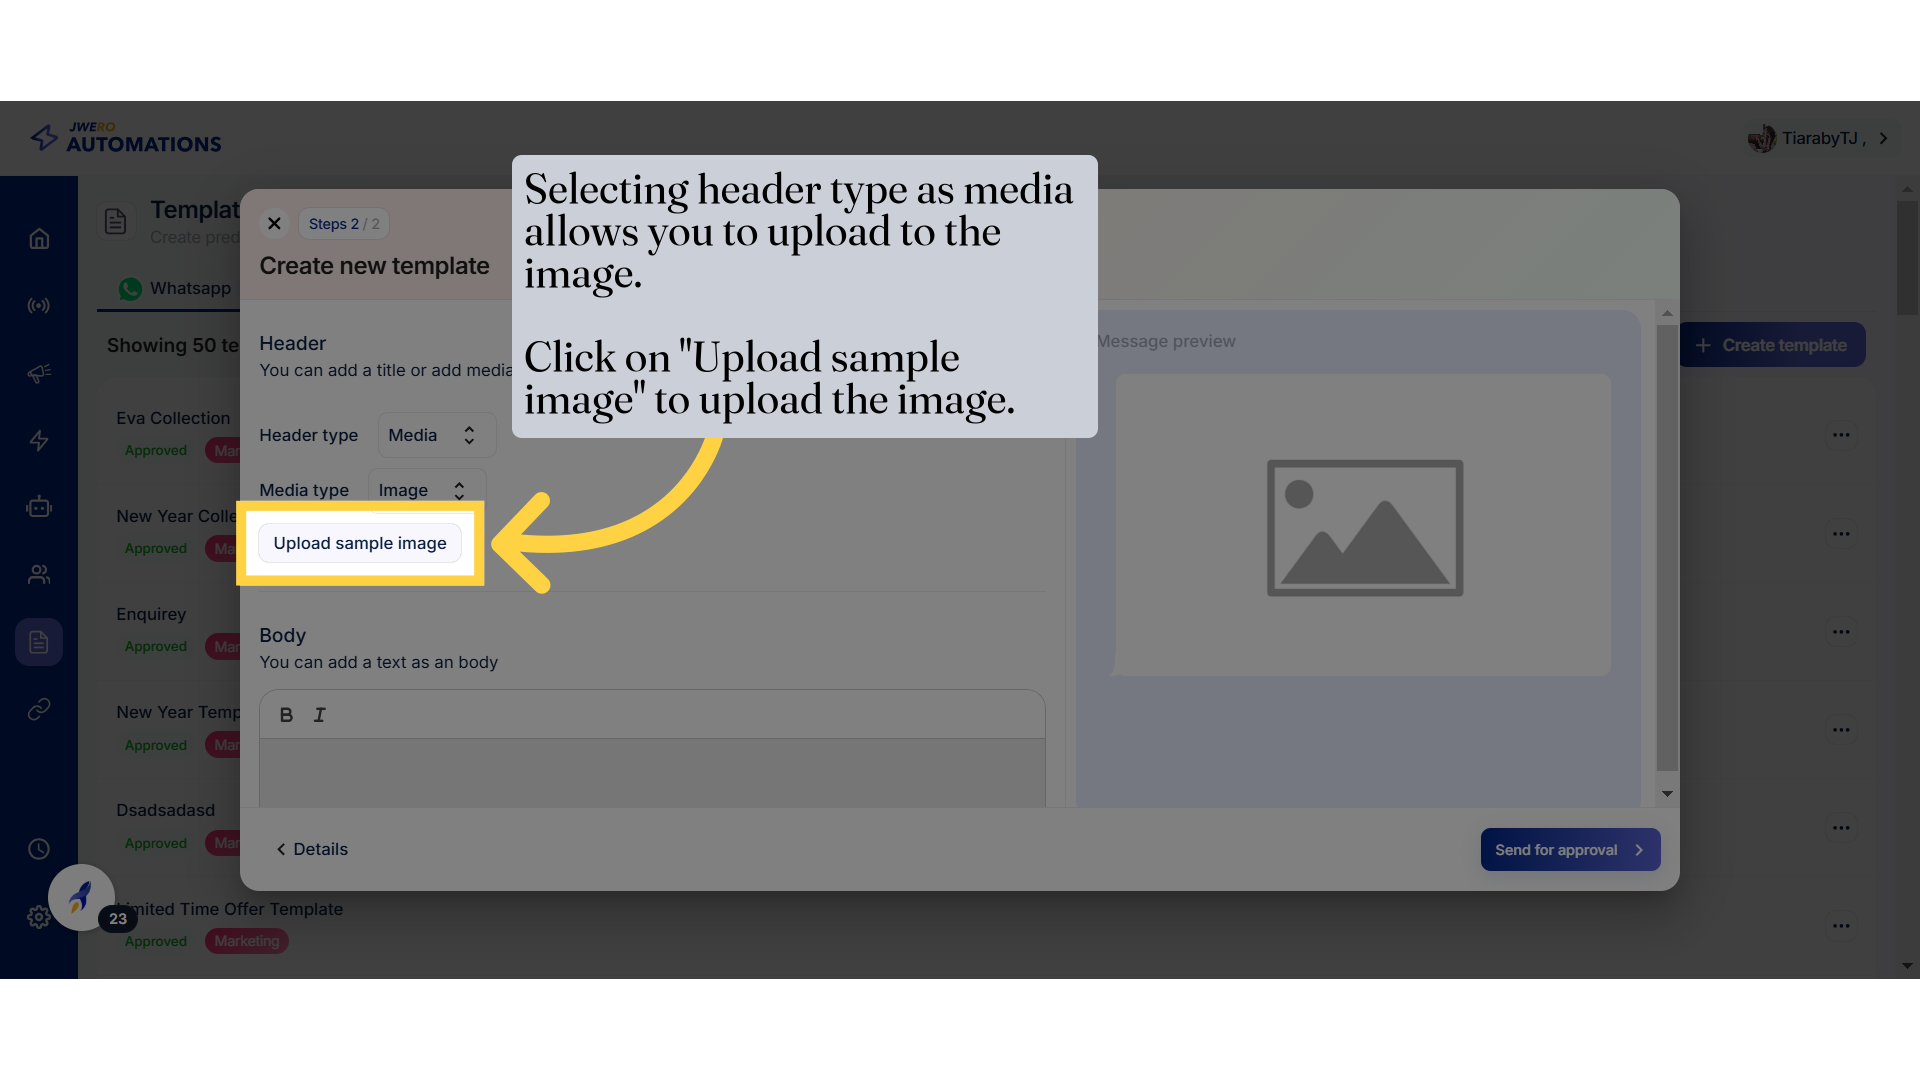
14. Header type : Media
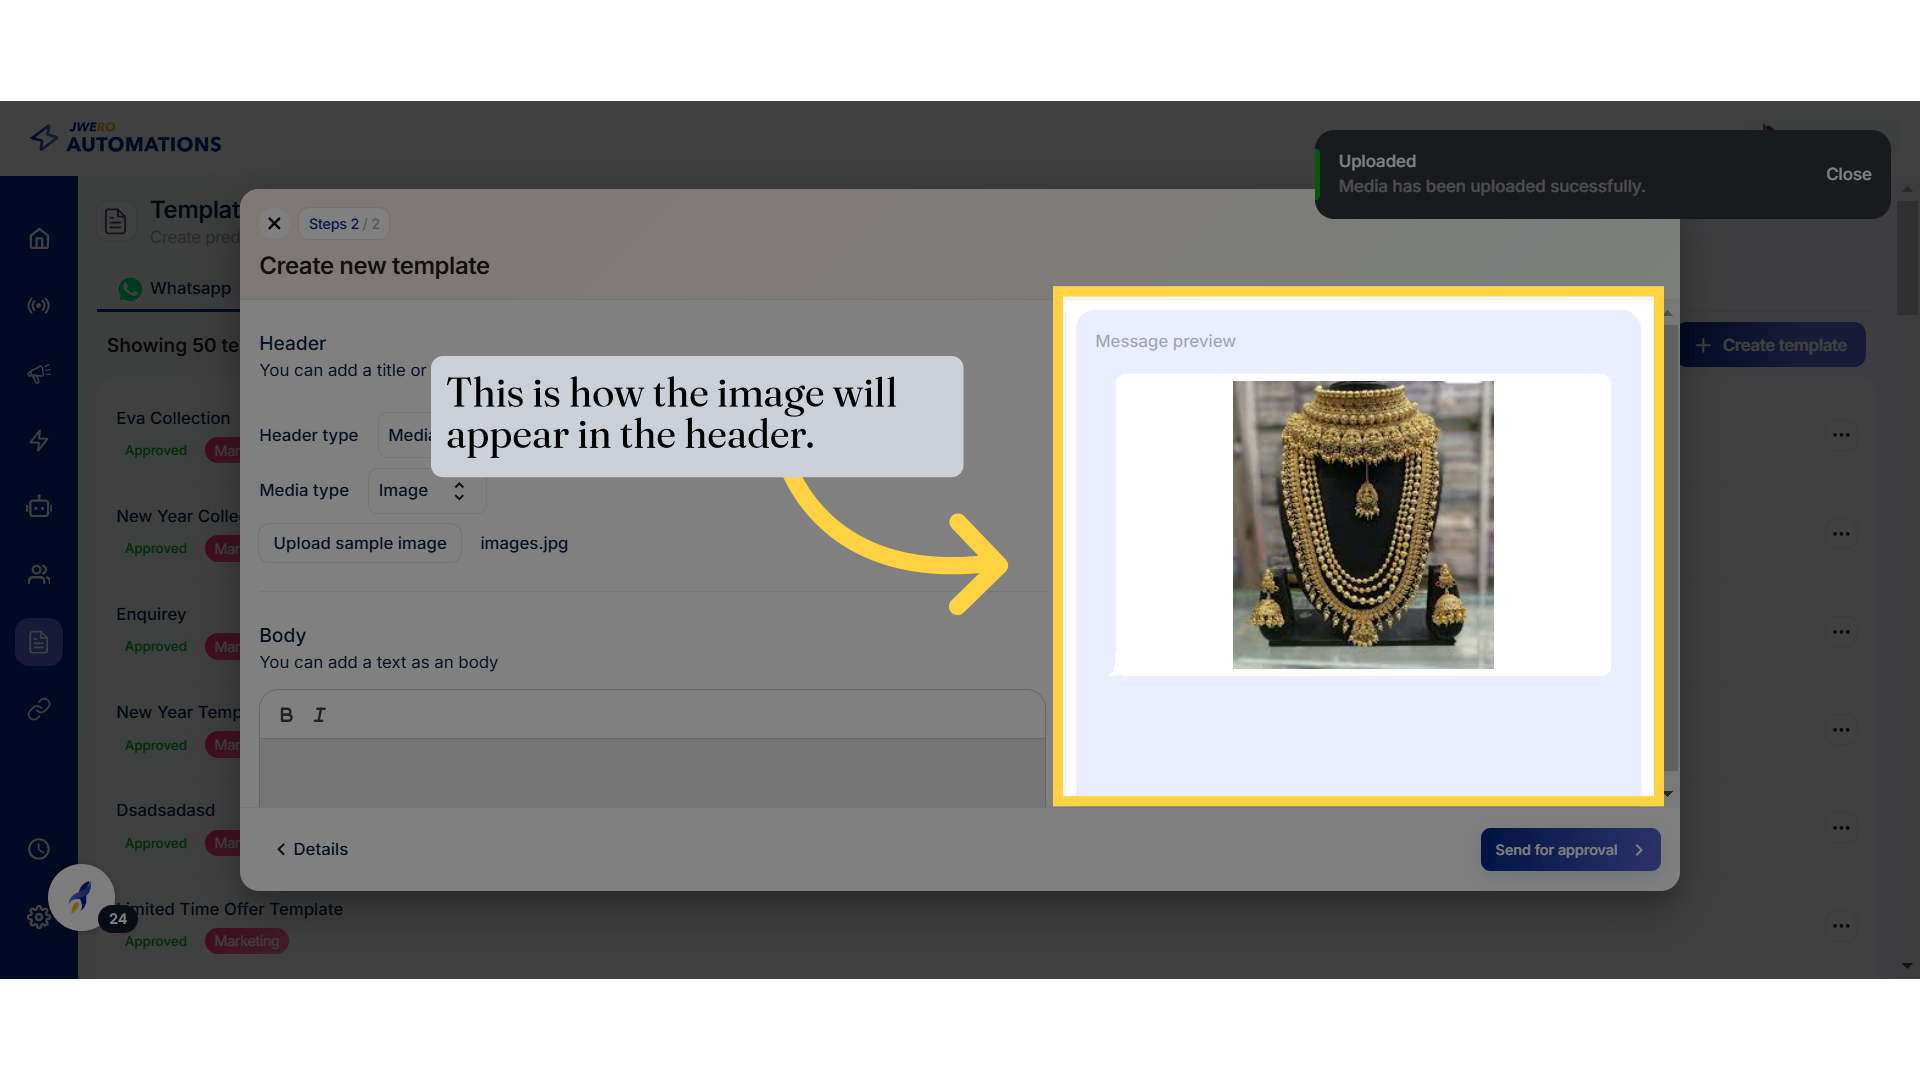
15. This is how the image will appear in the header.
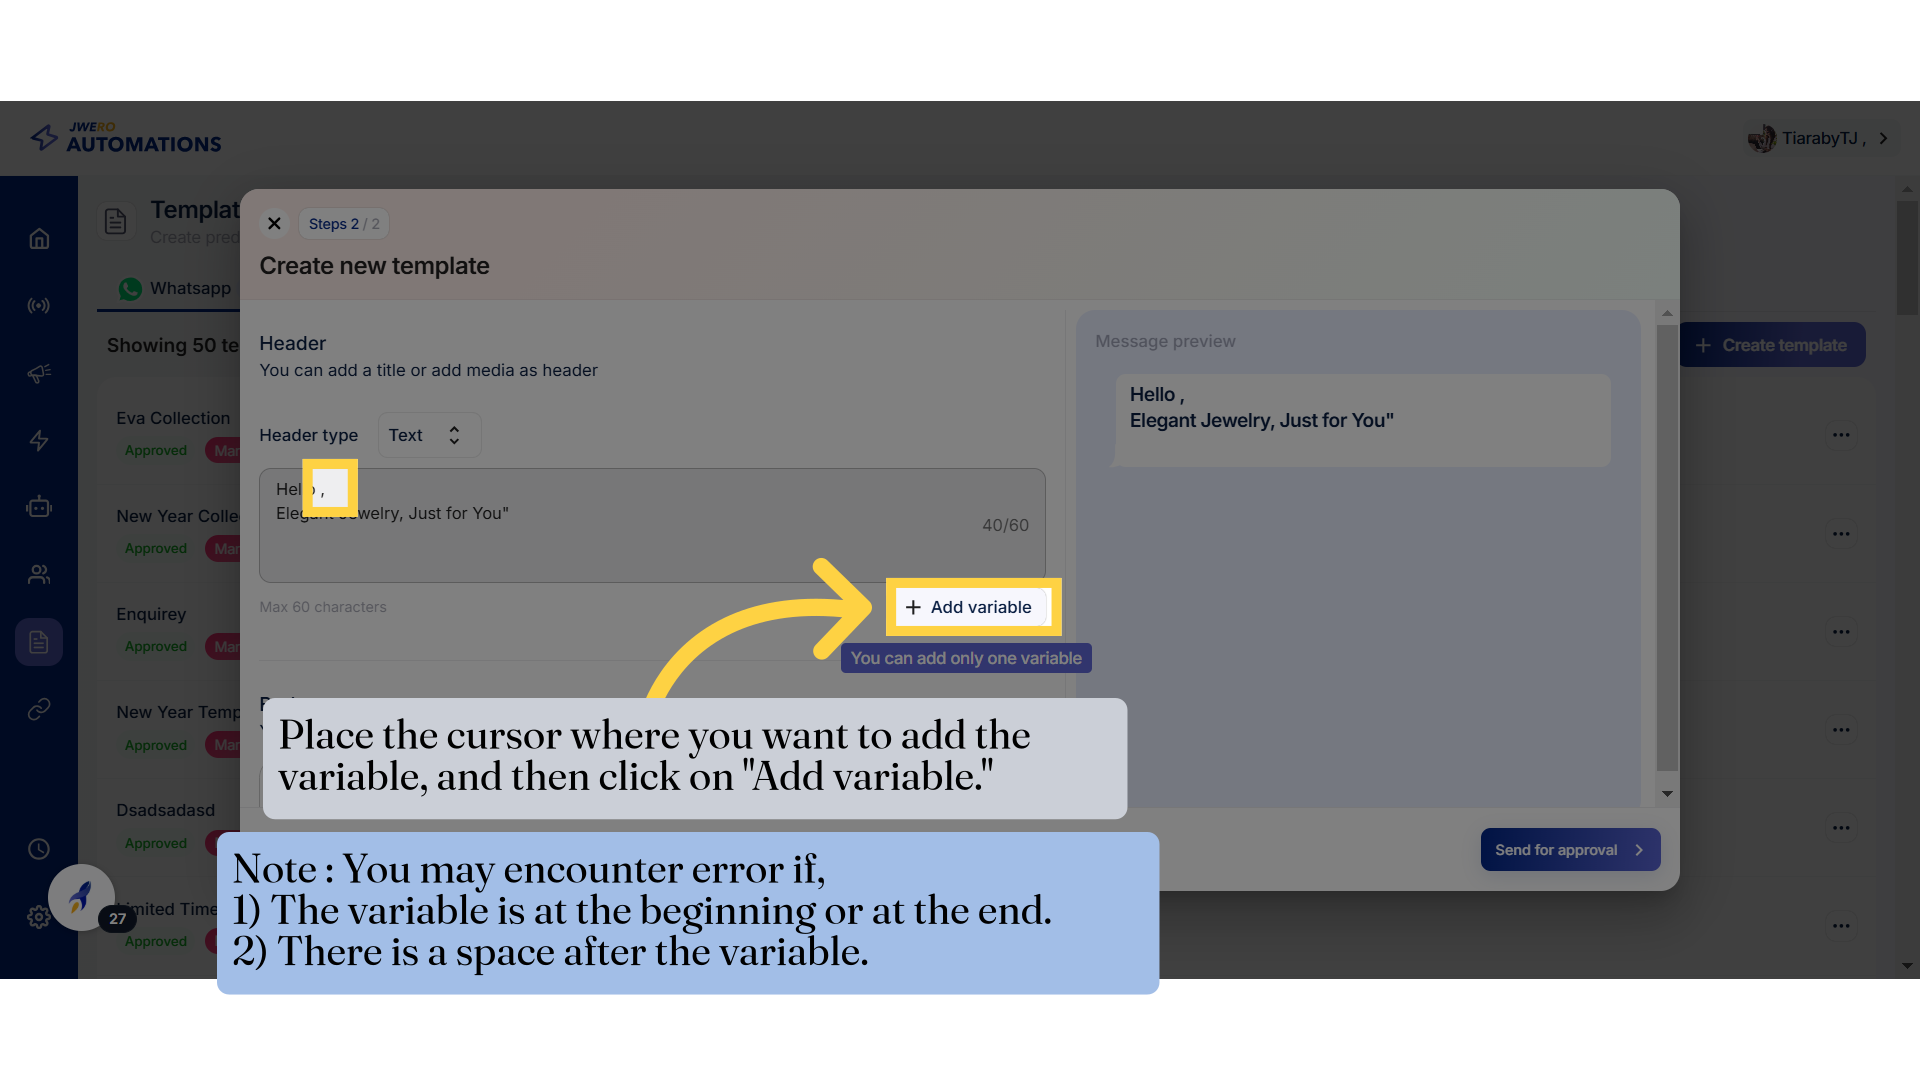
16. Add variable
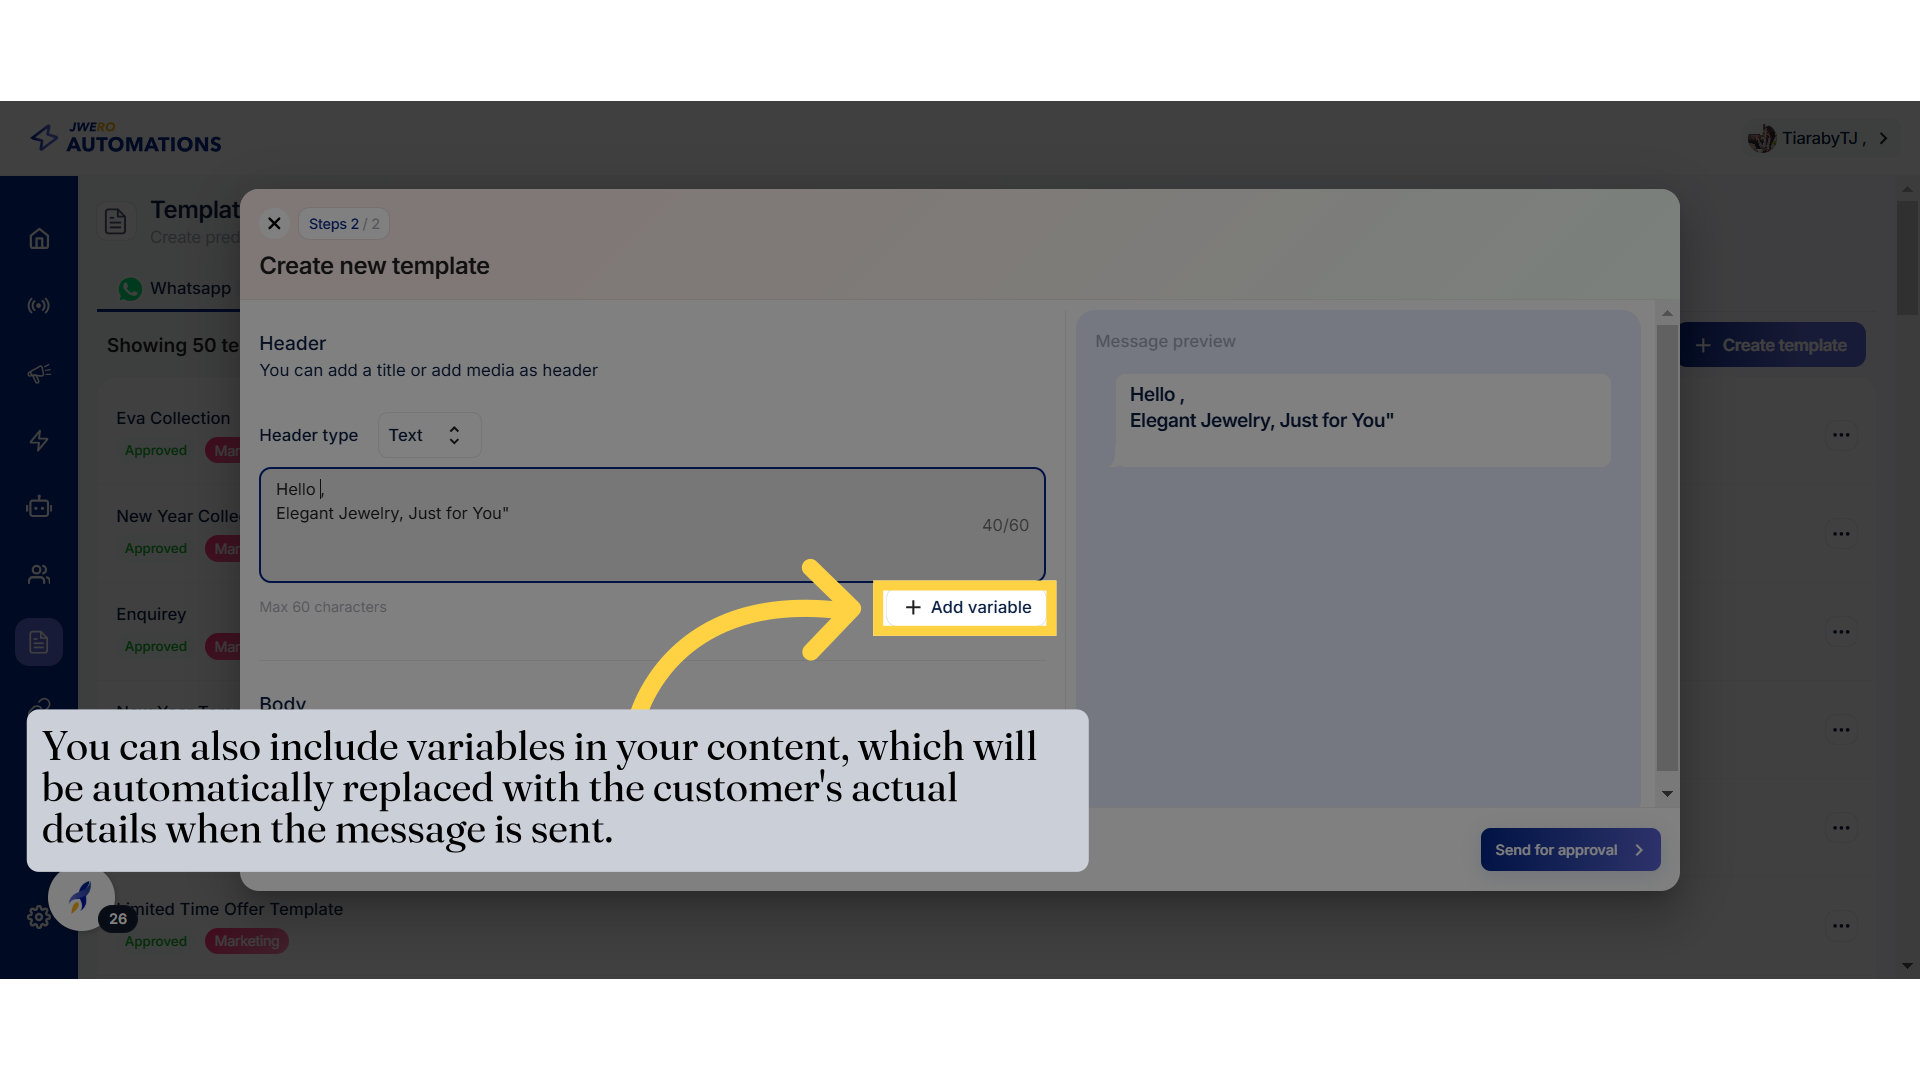
17. Place the cursor where you want to add the variable, and then click on "Add variable."
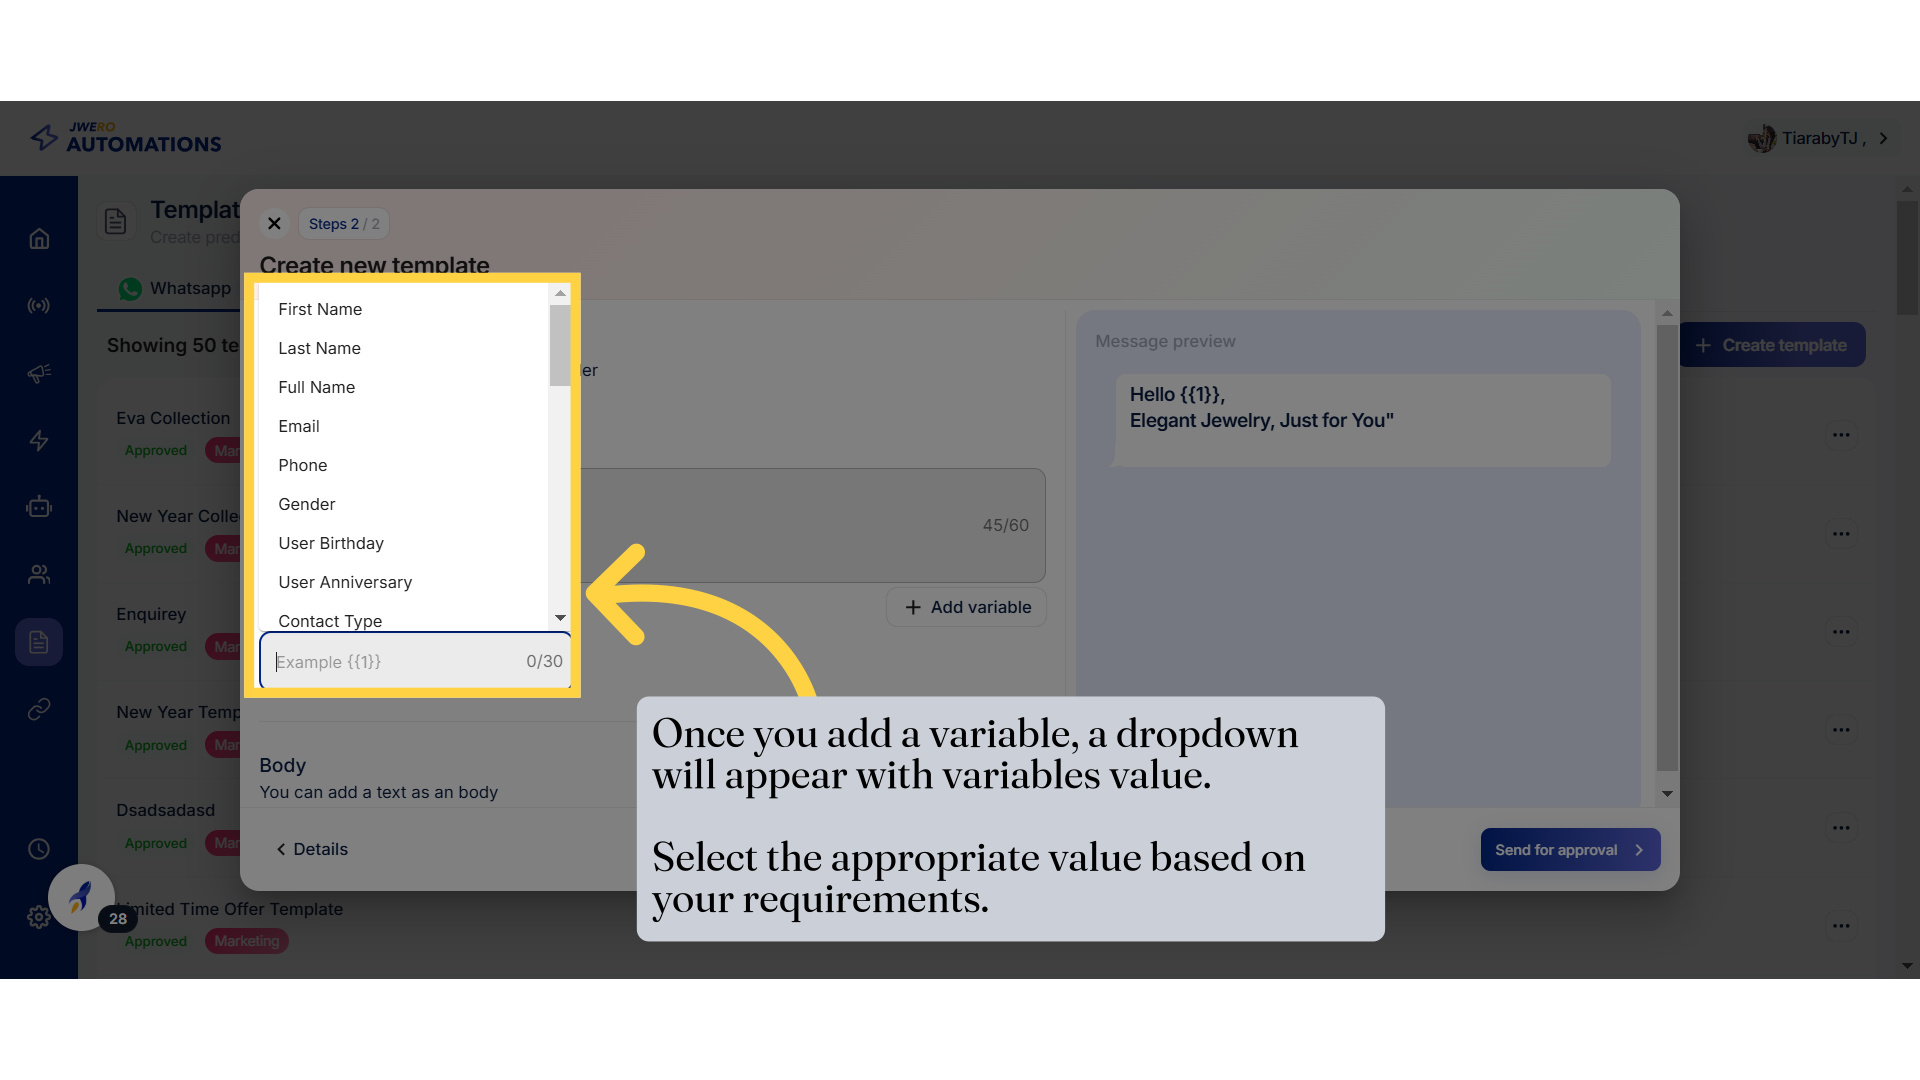
18. Variable values
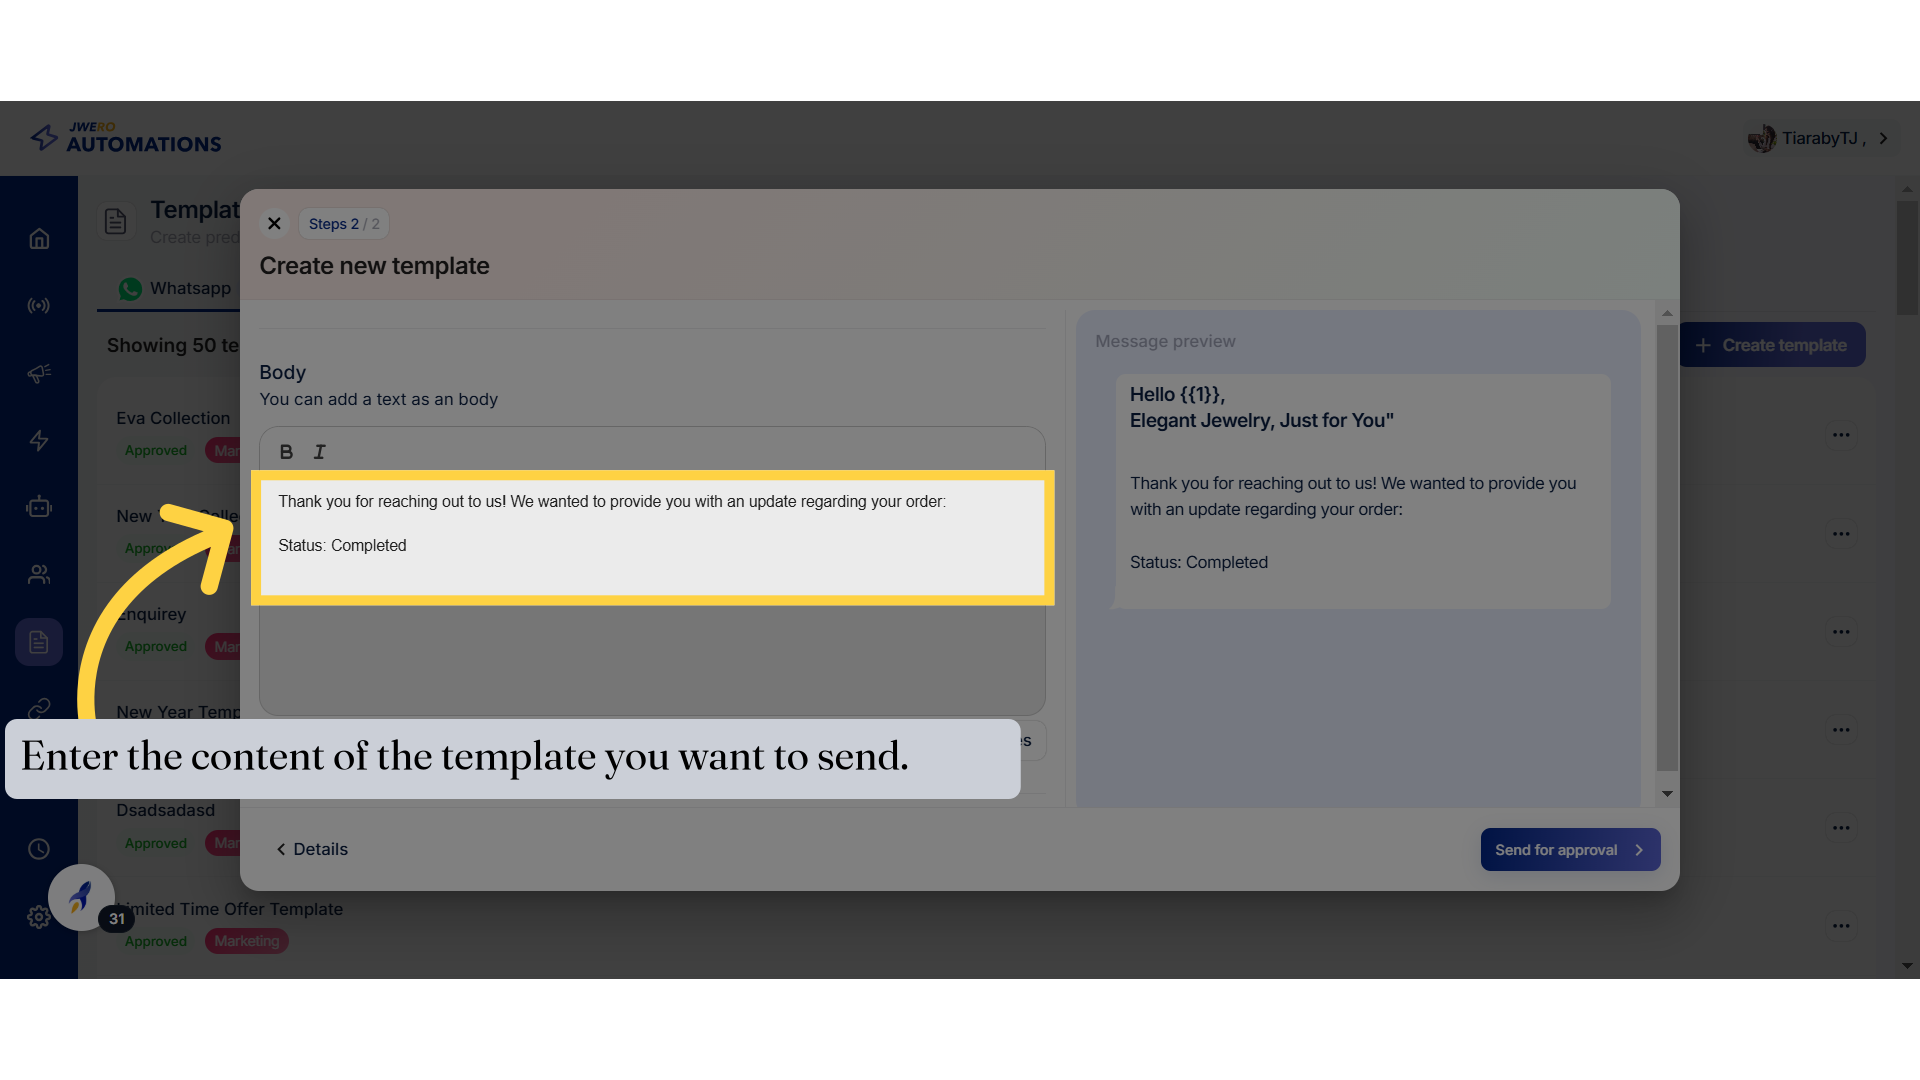
19. Body
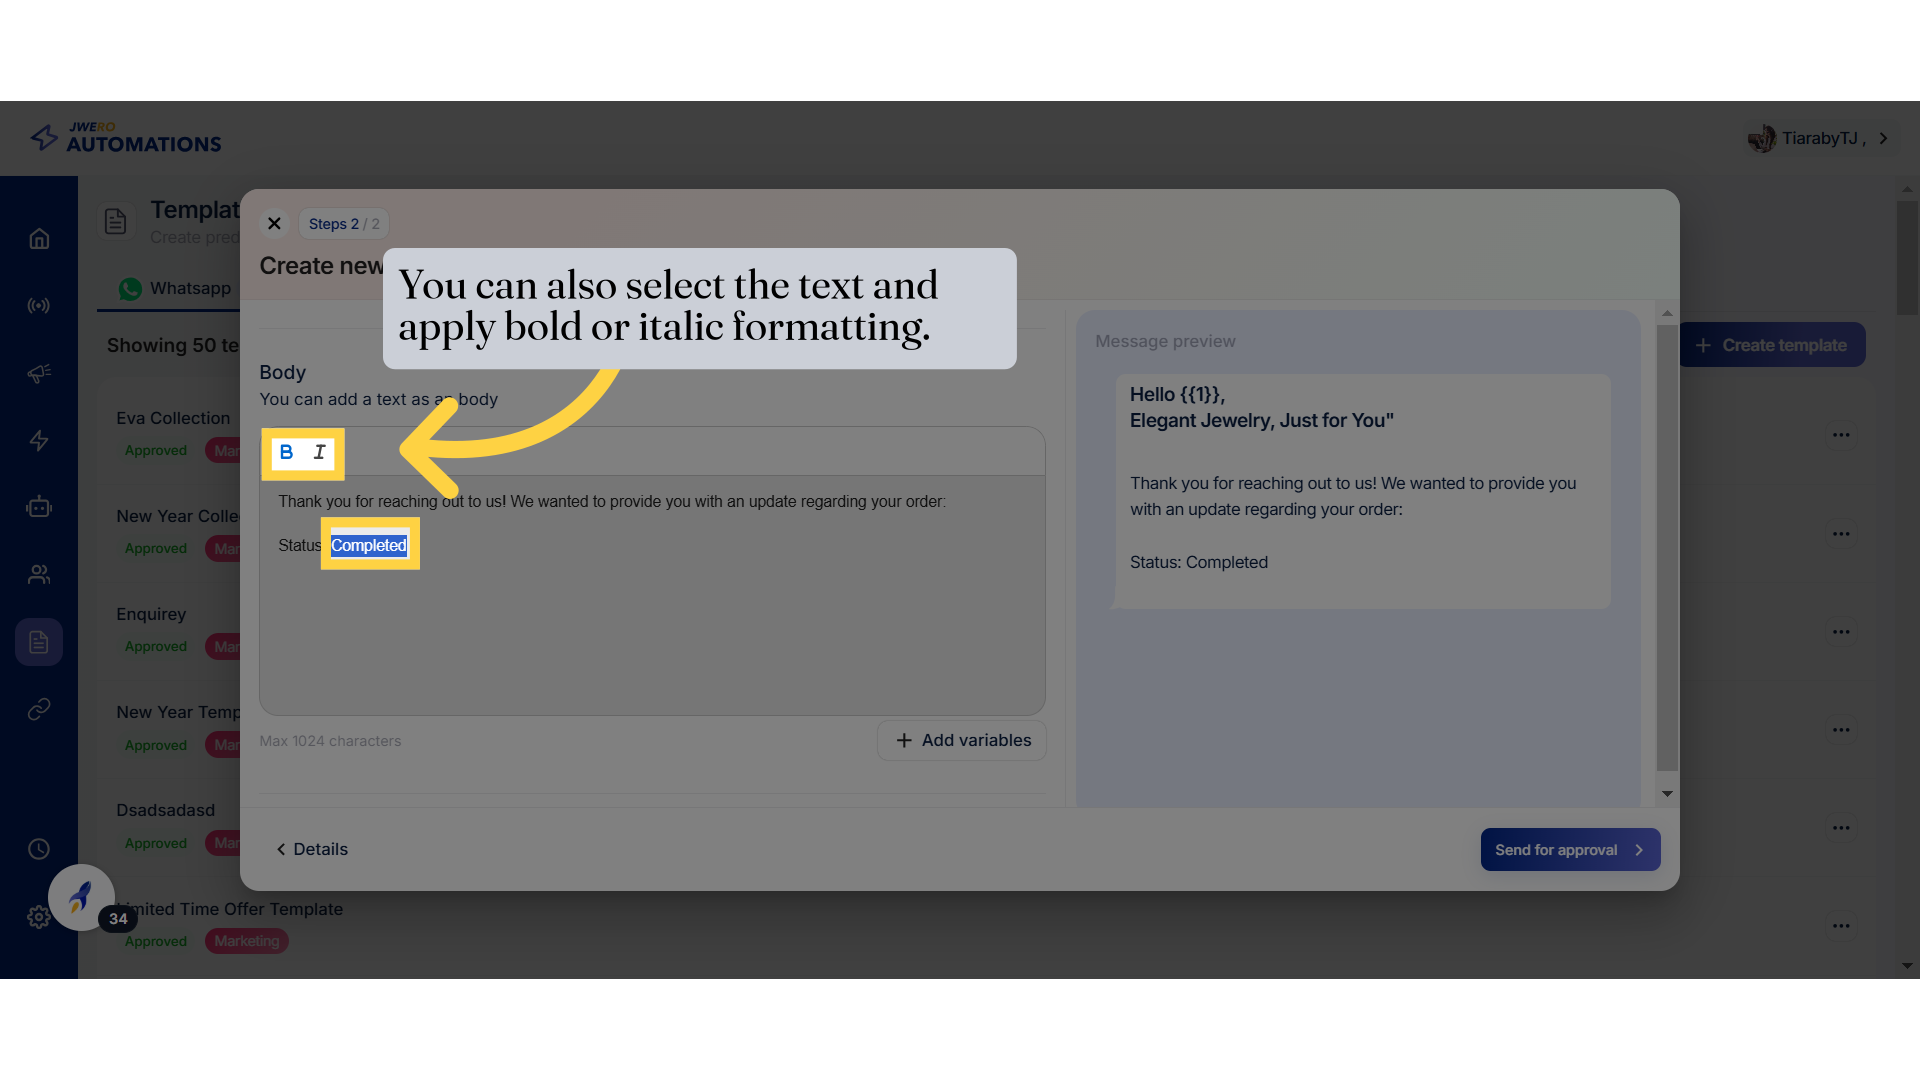
20. You can also select the text and apply bold or italic formatting.
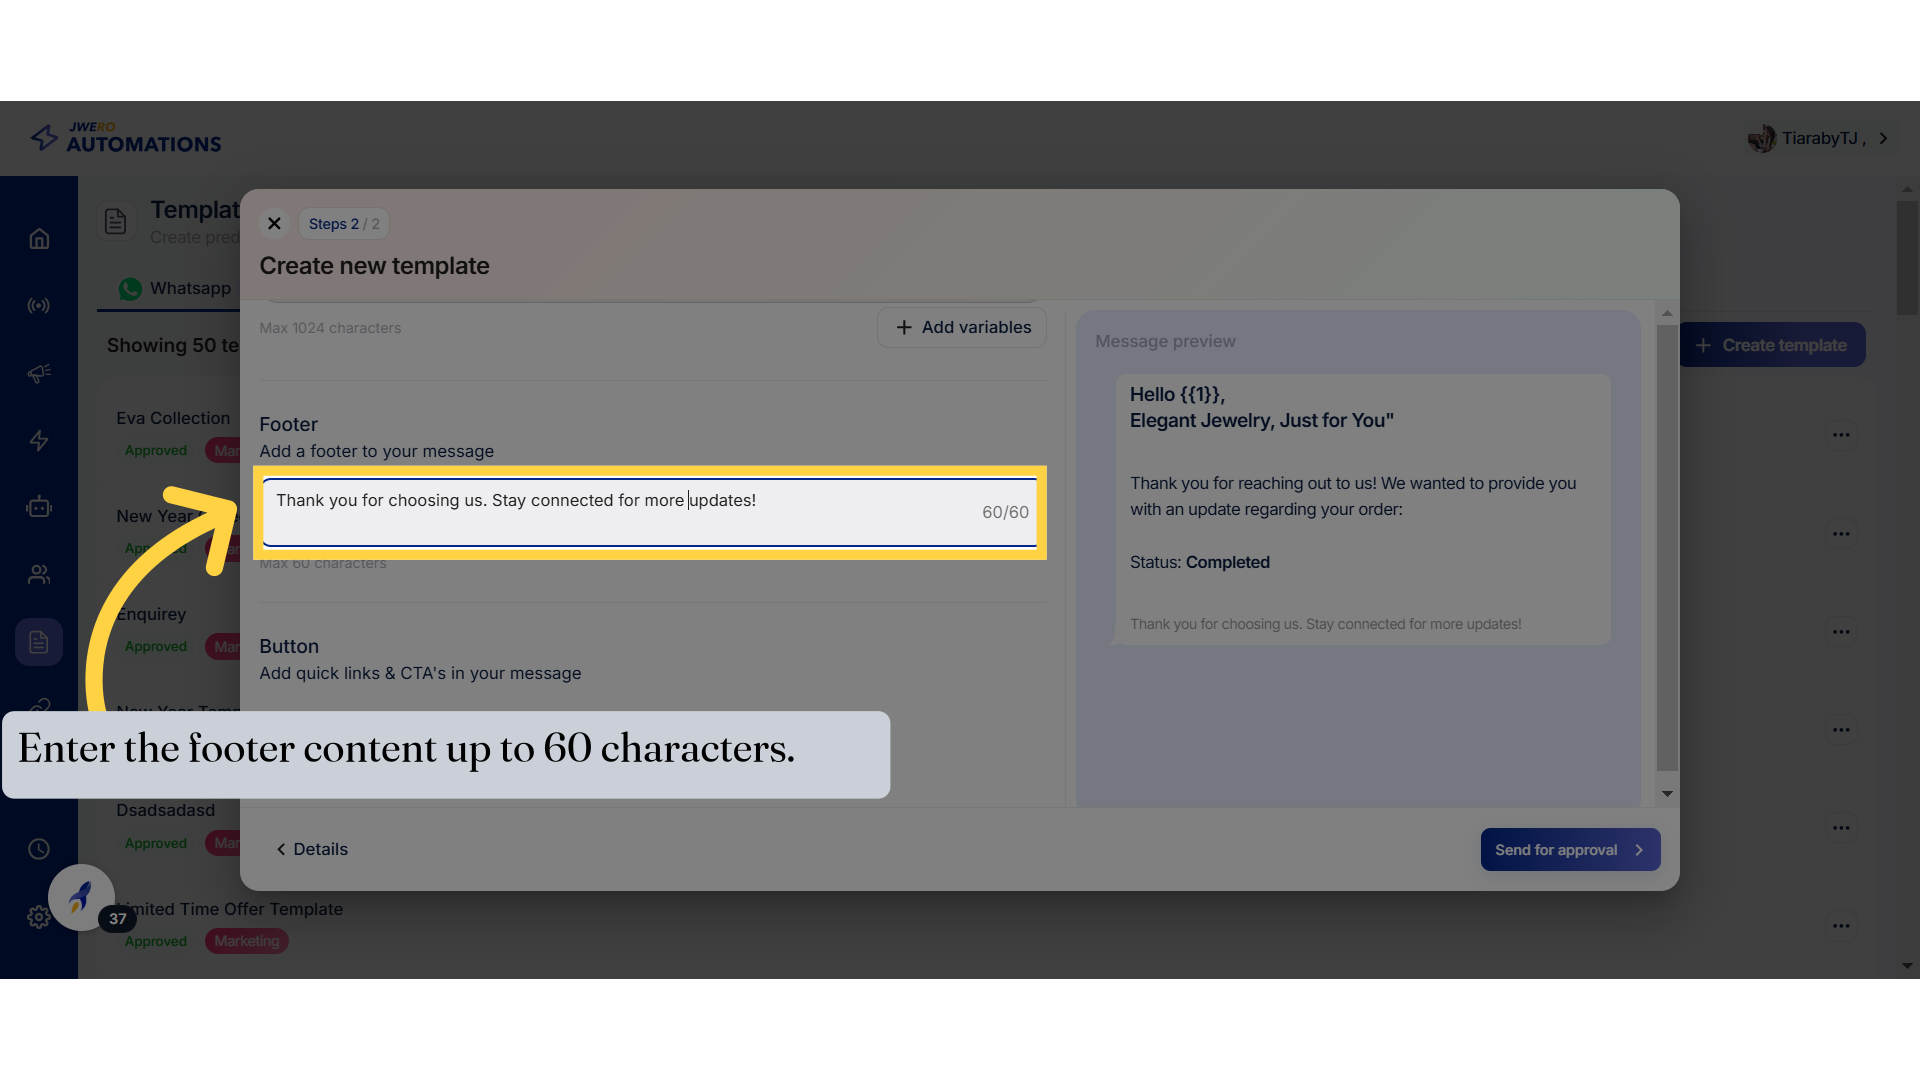
21. Footer
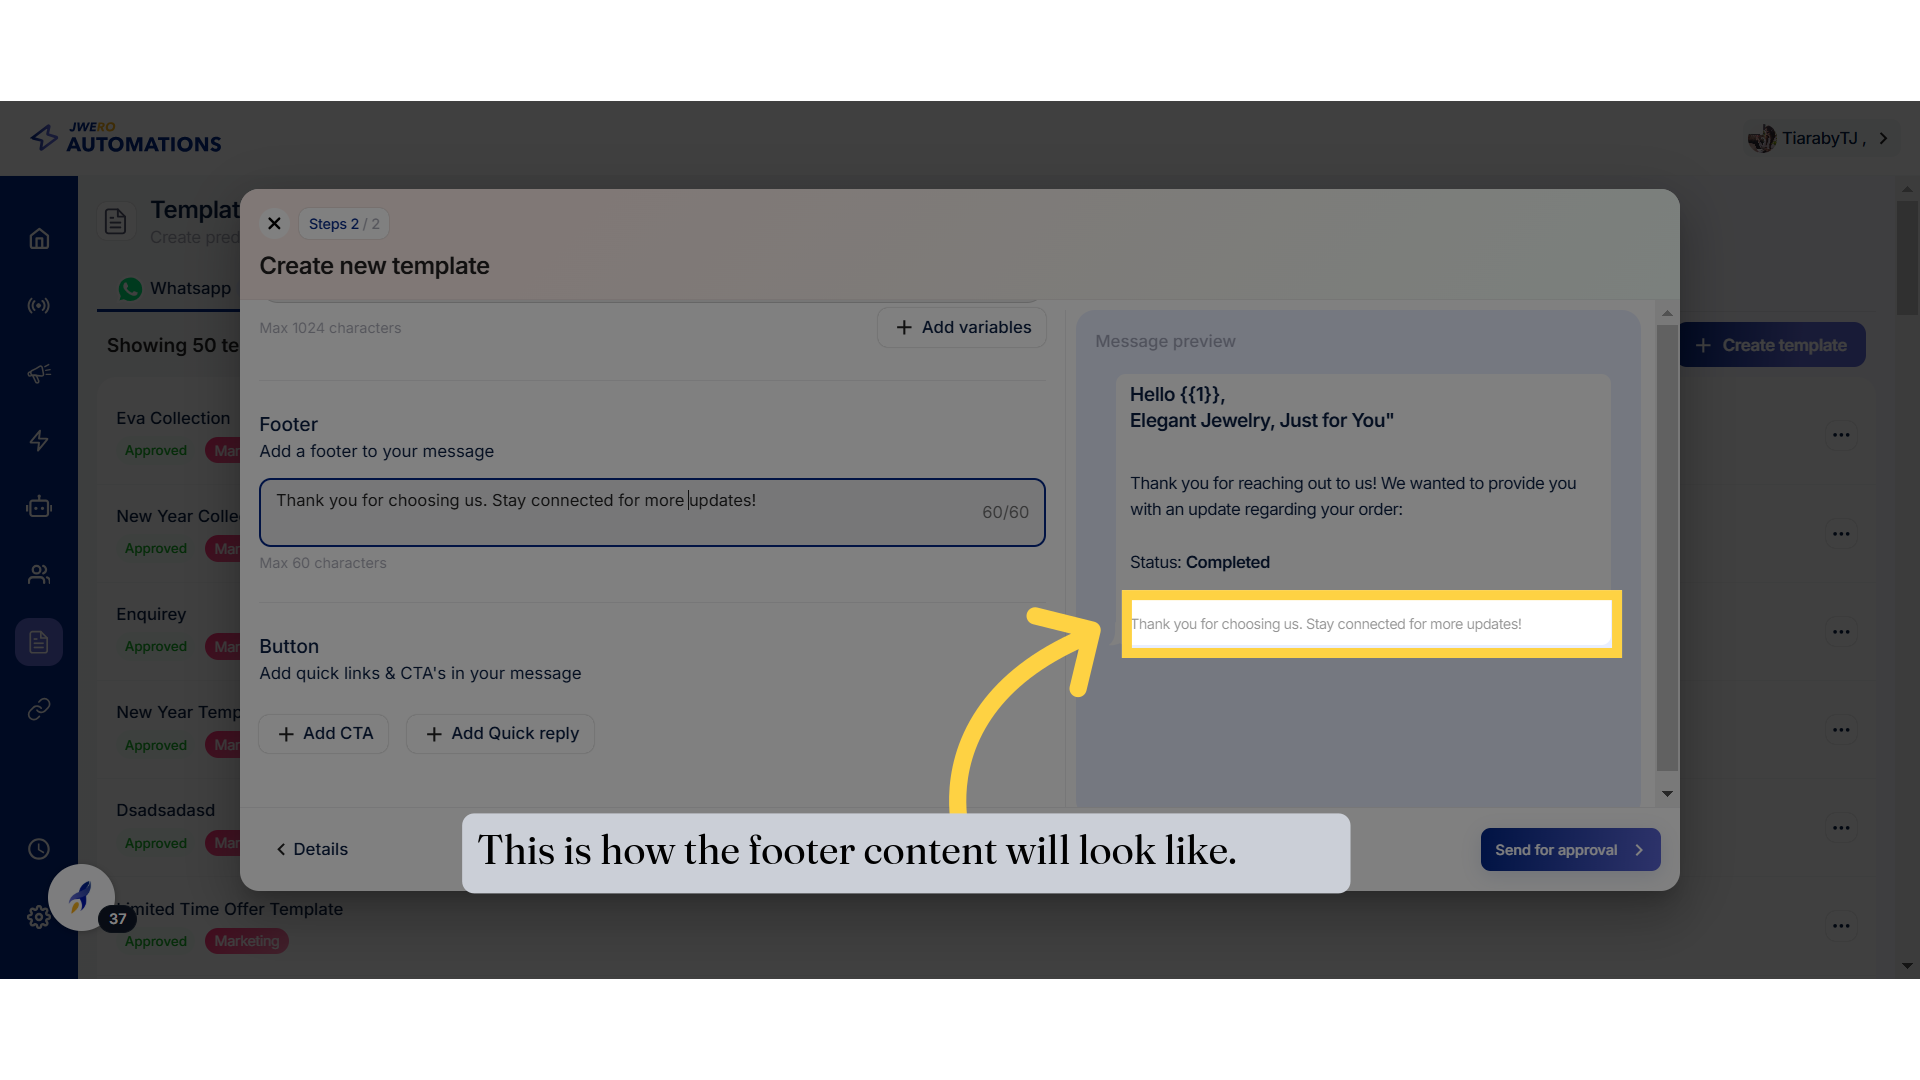
22. This is how the footer content will look like.
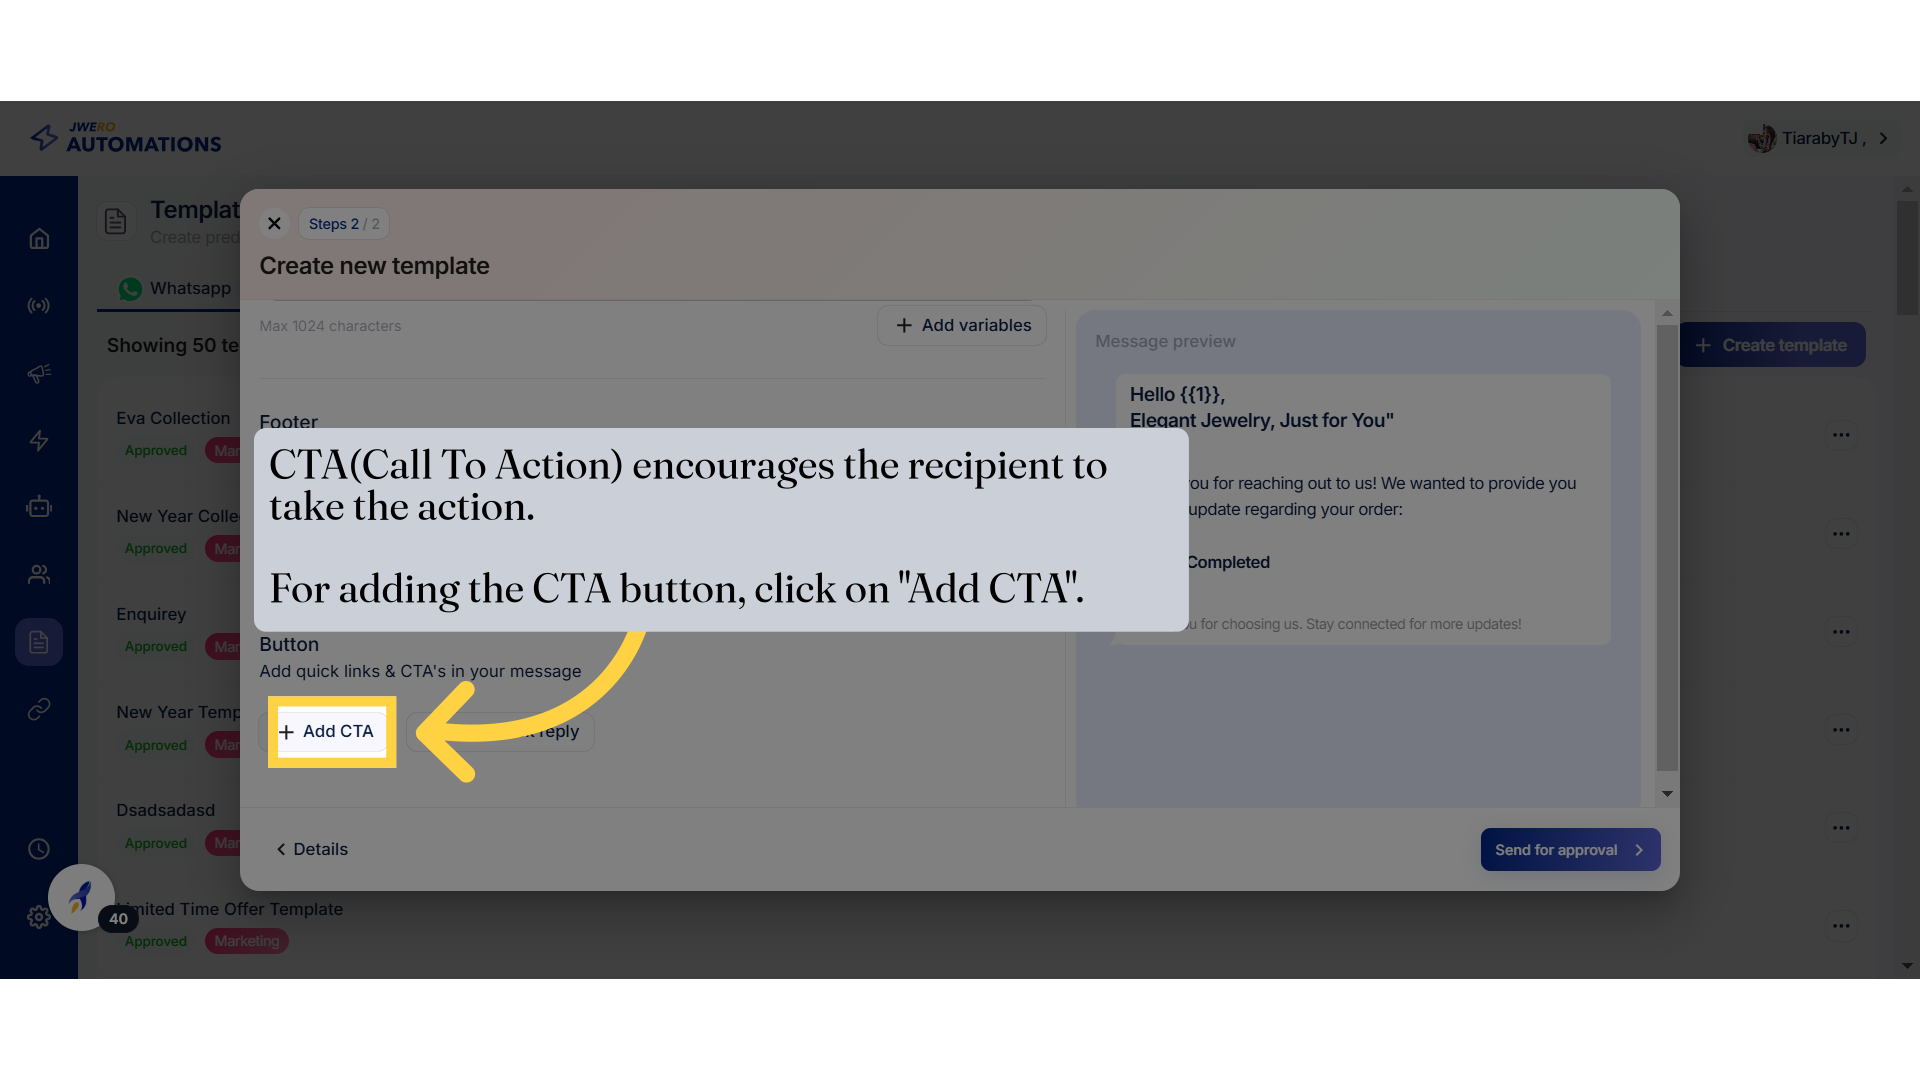
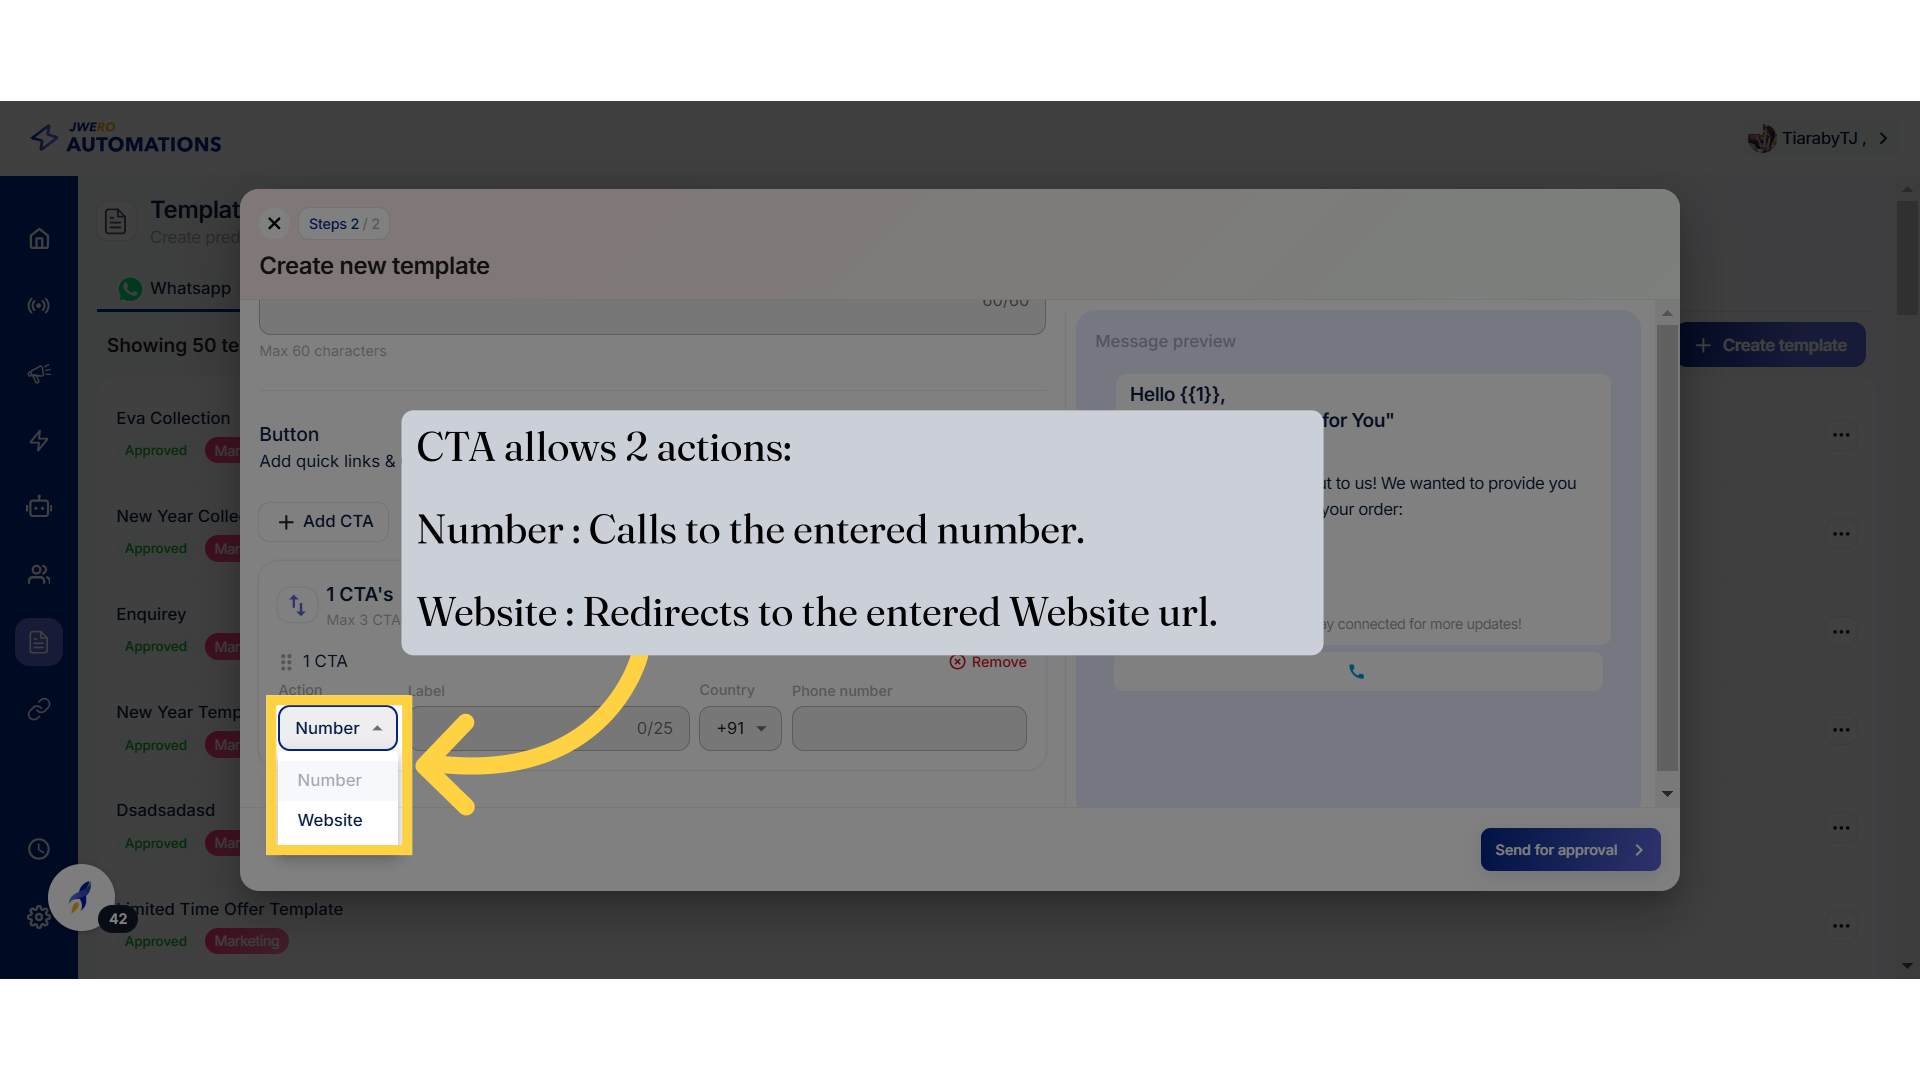
23. CTA(Call To Action)
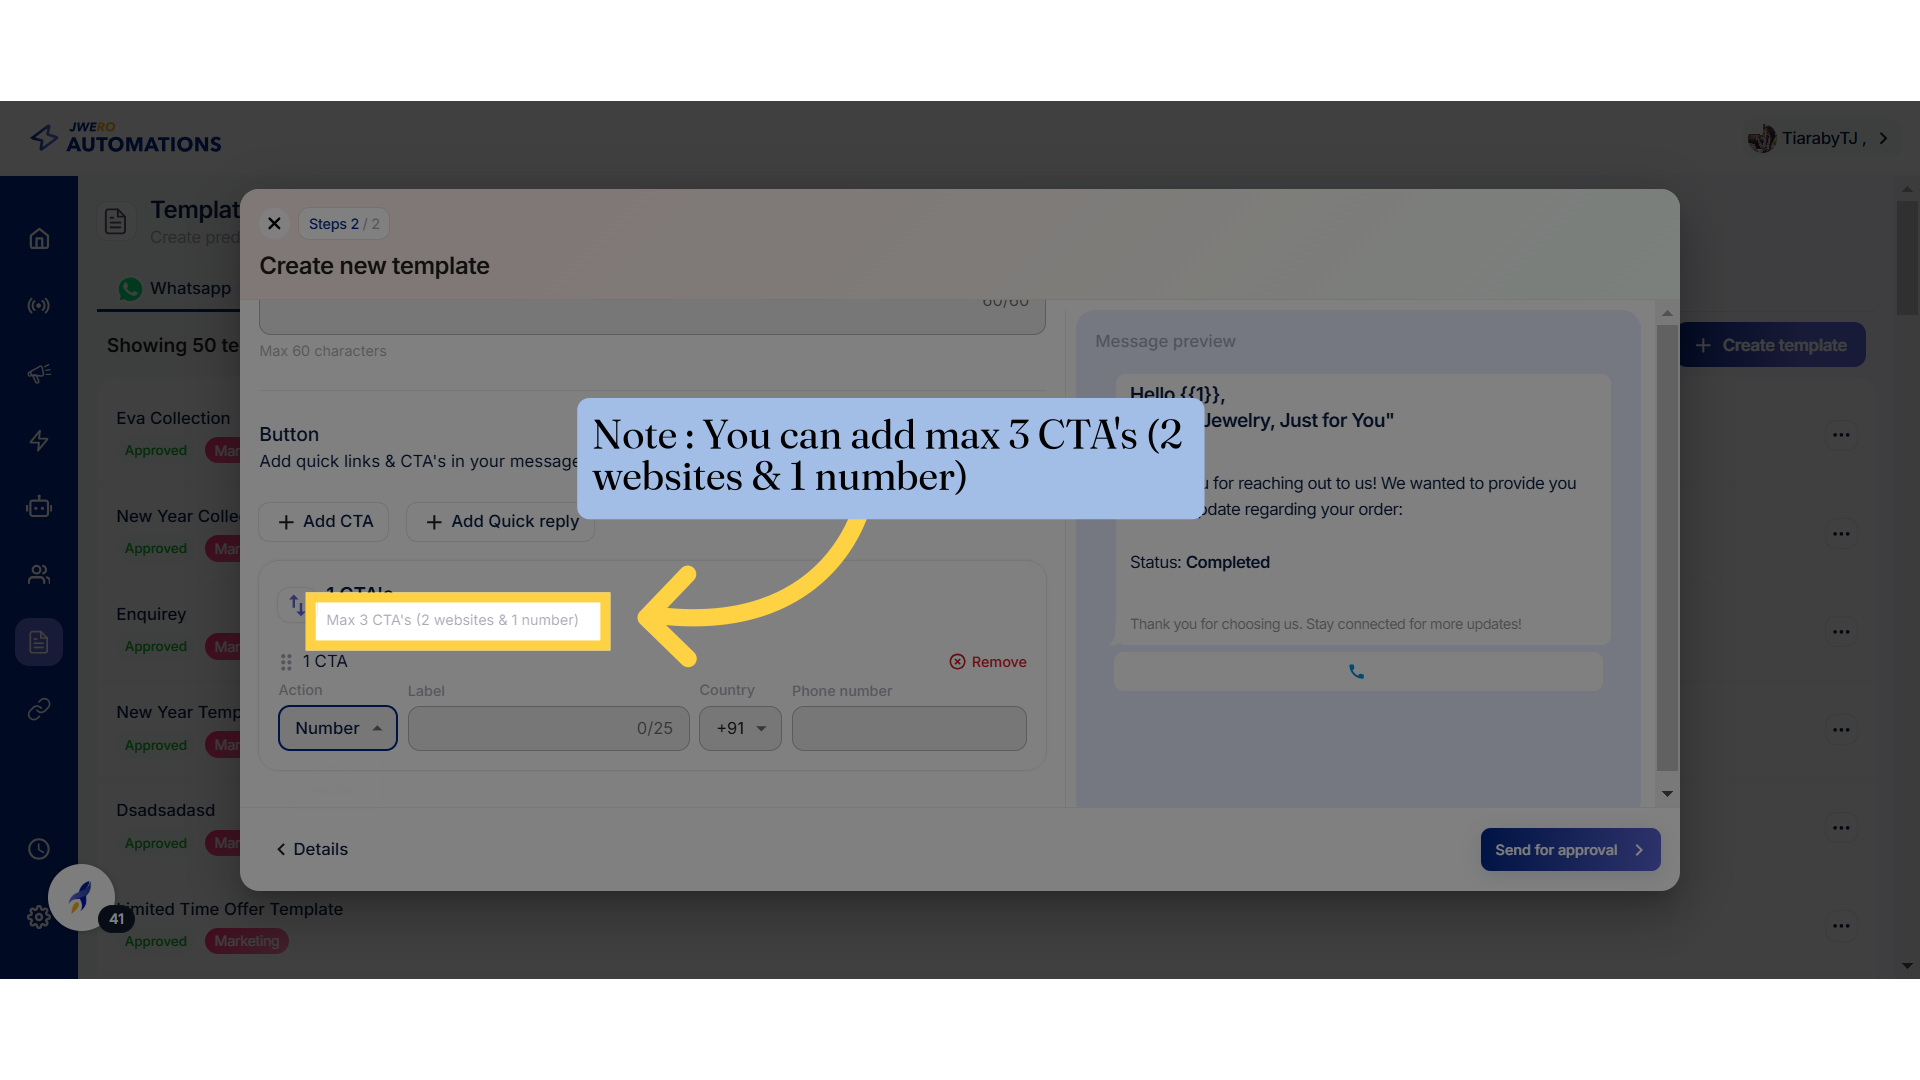
24. Note
25. Action Types
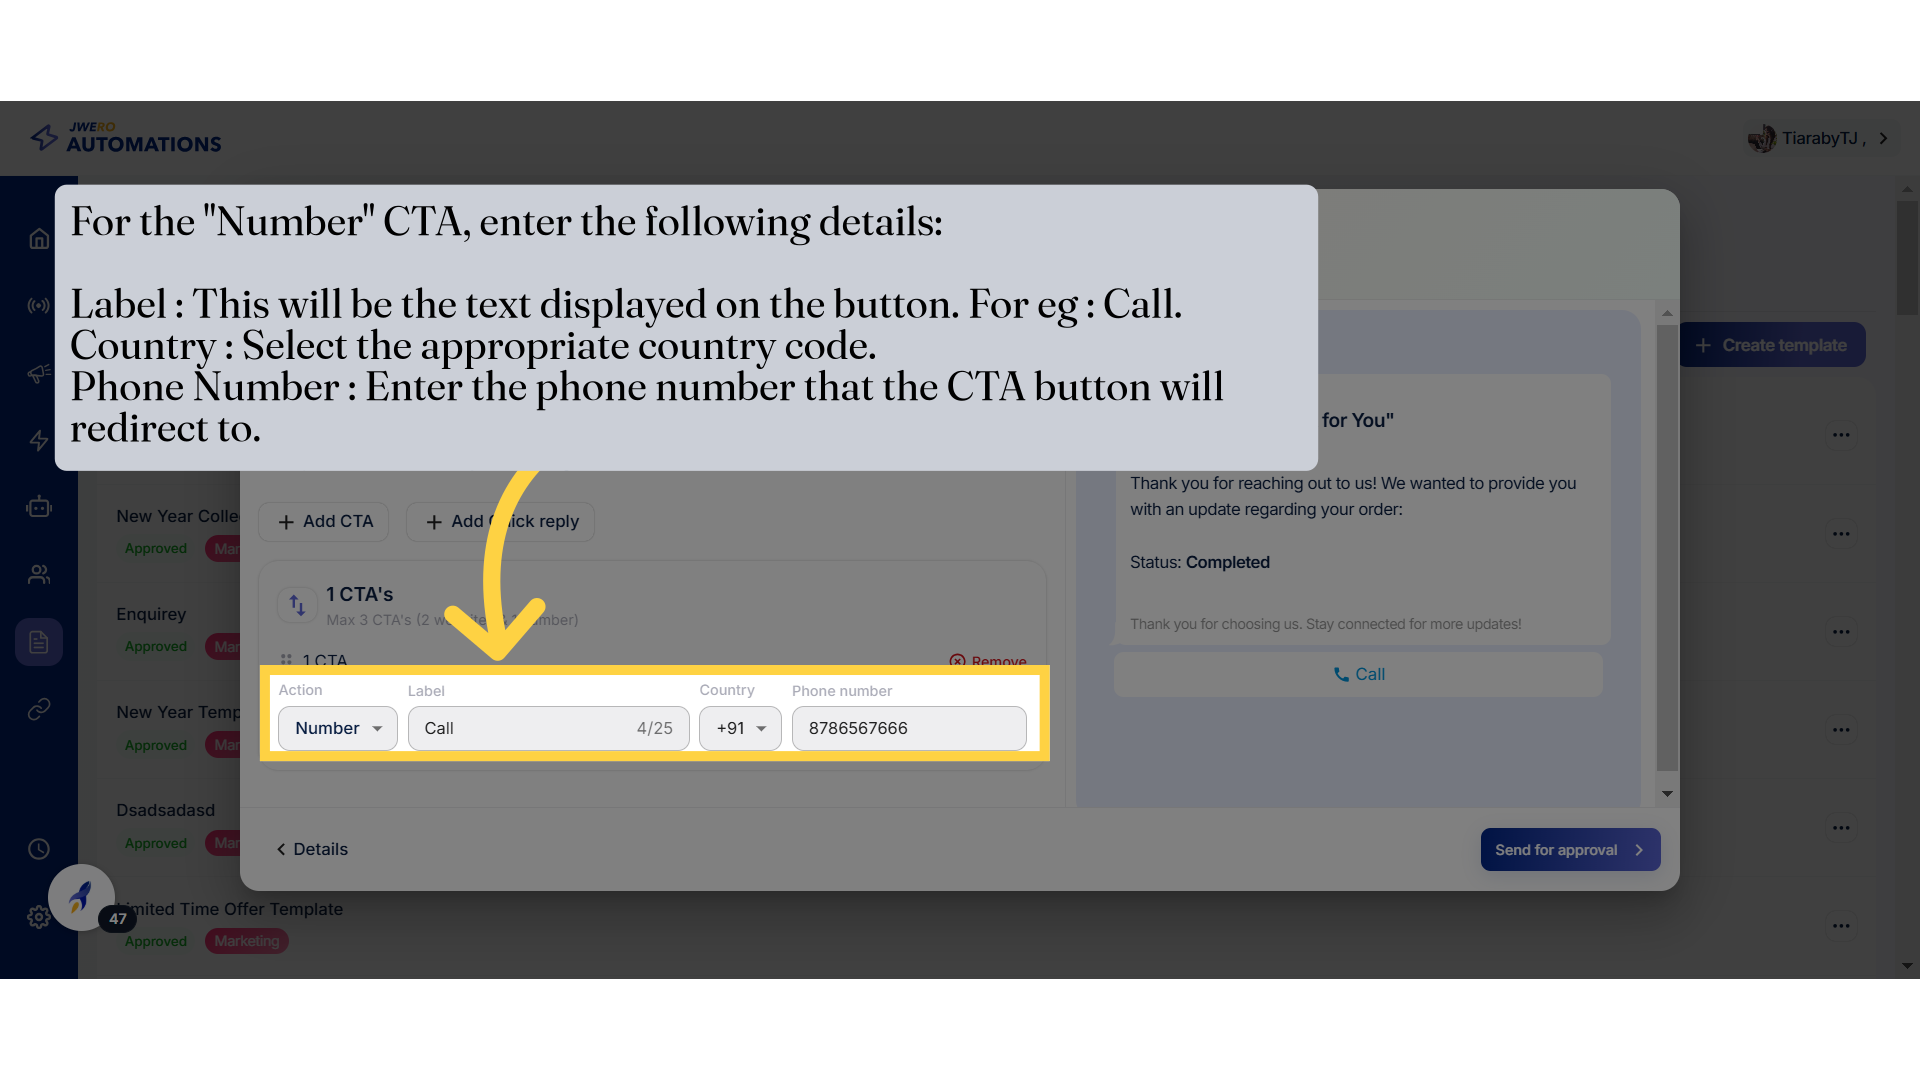
26. Action : Number
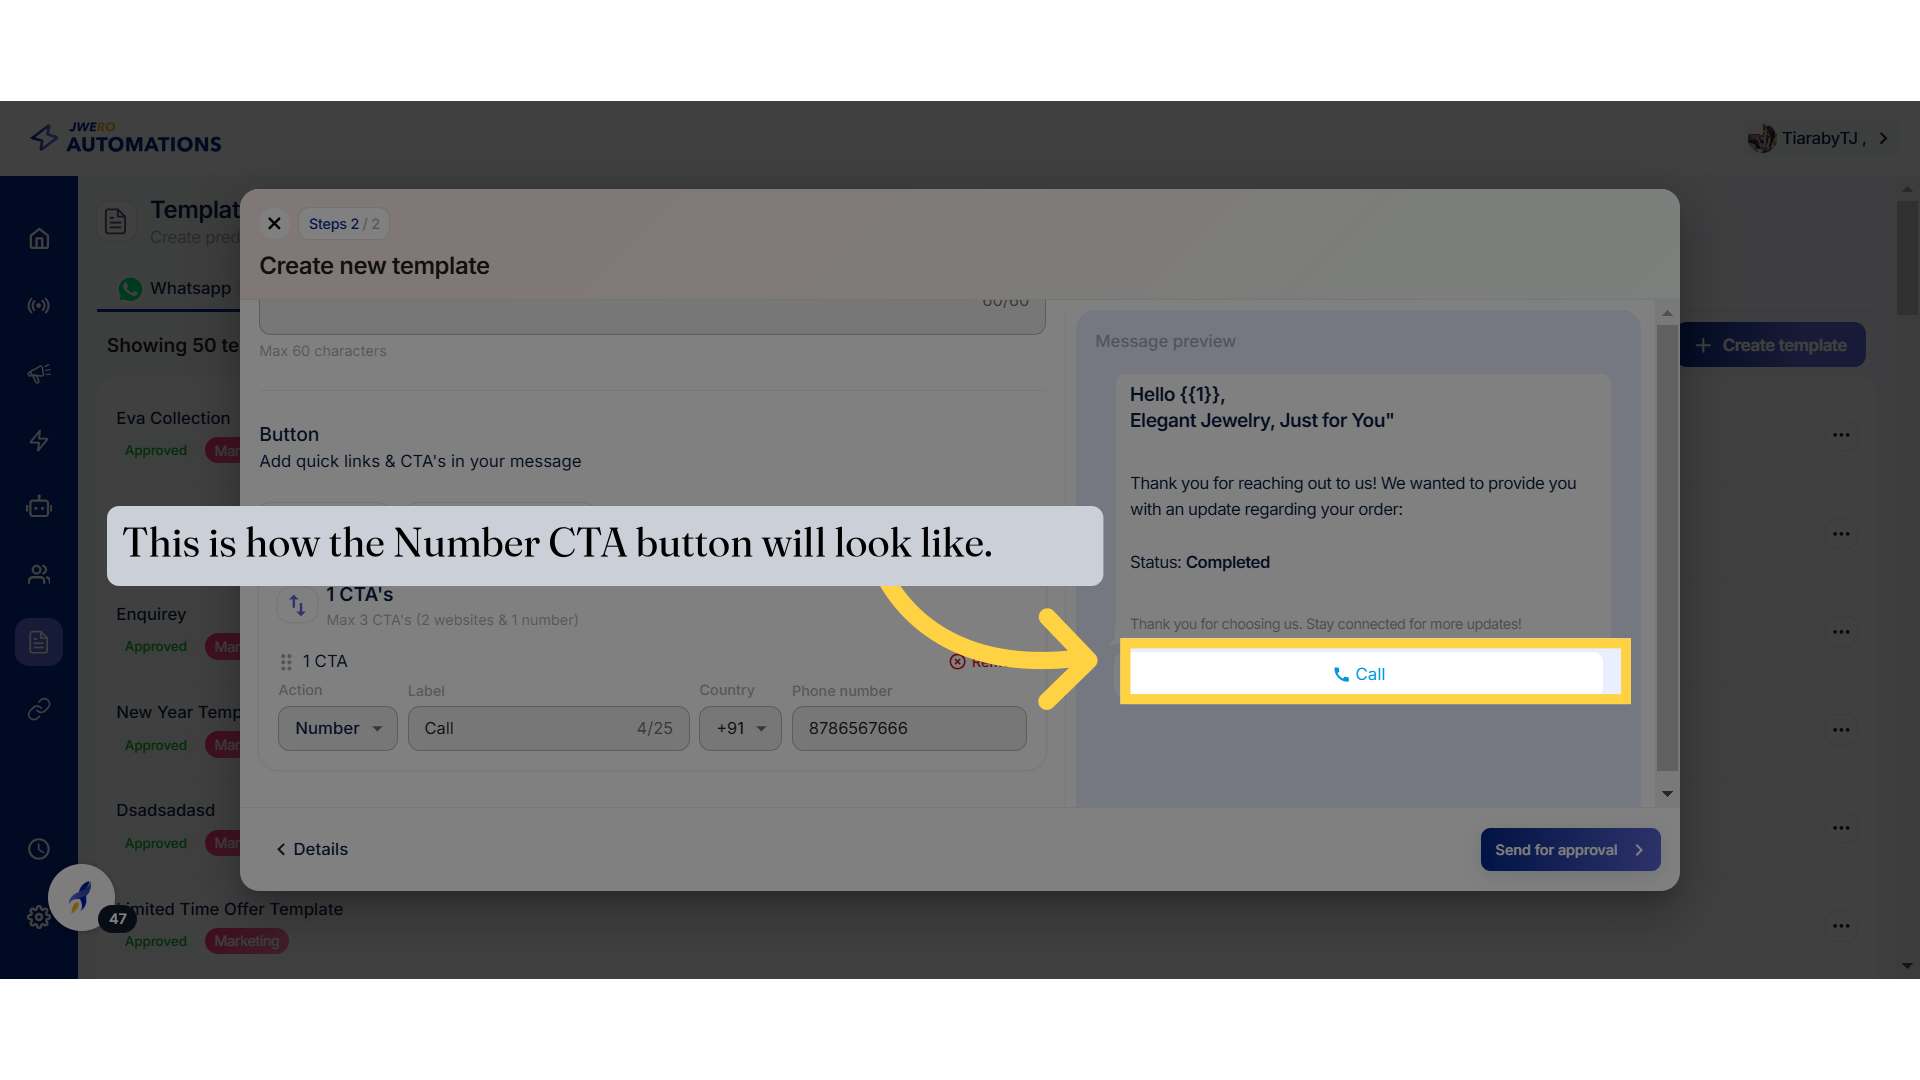
27. This is how the Number CTA button will look like.
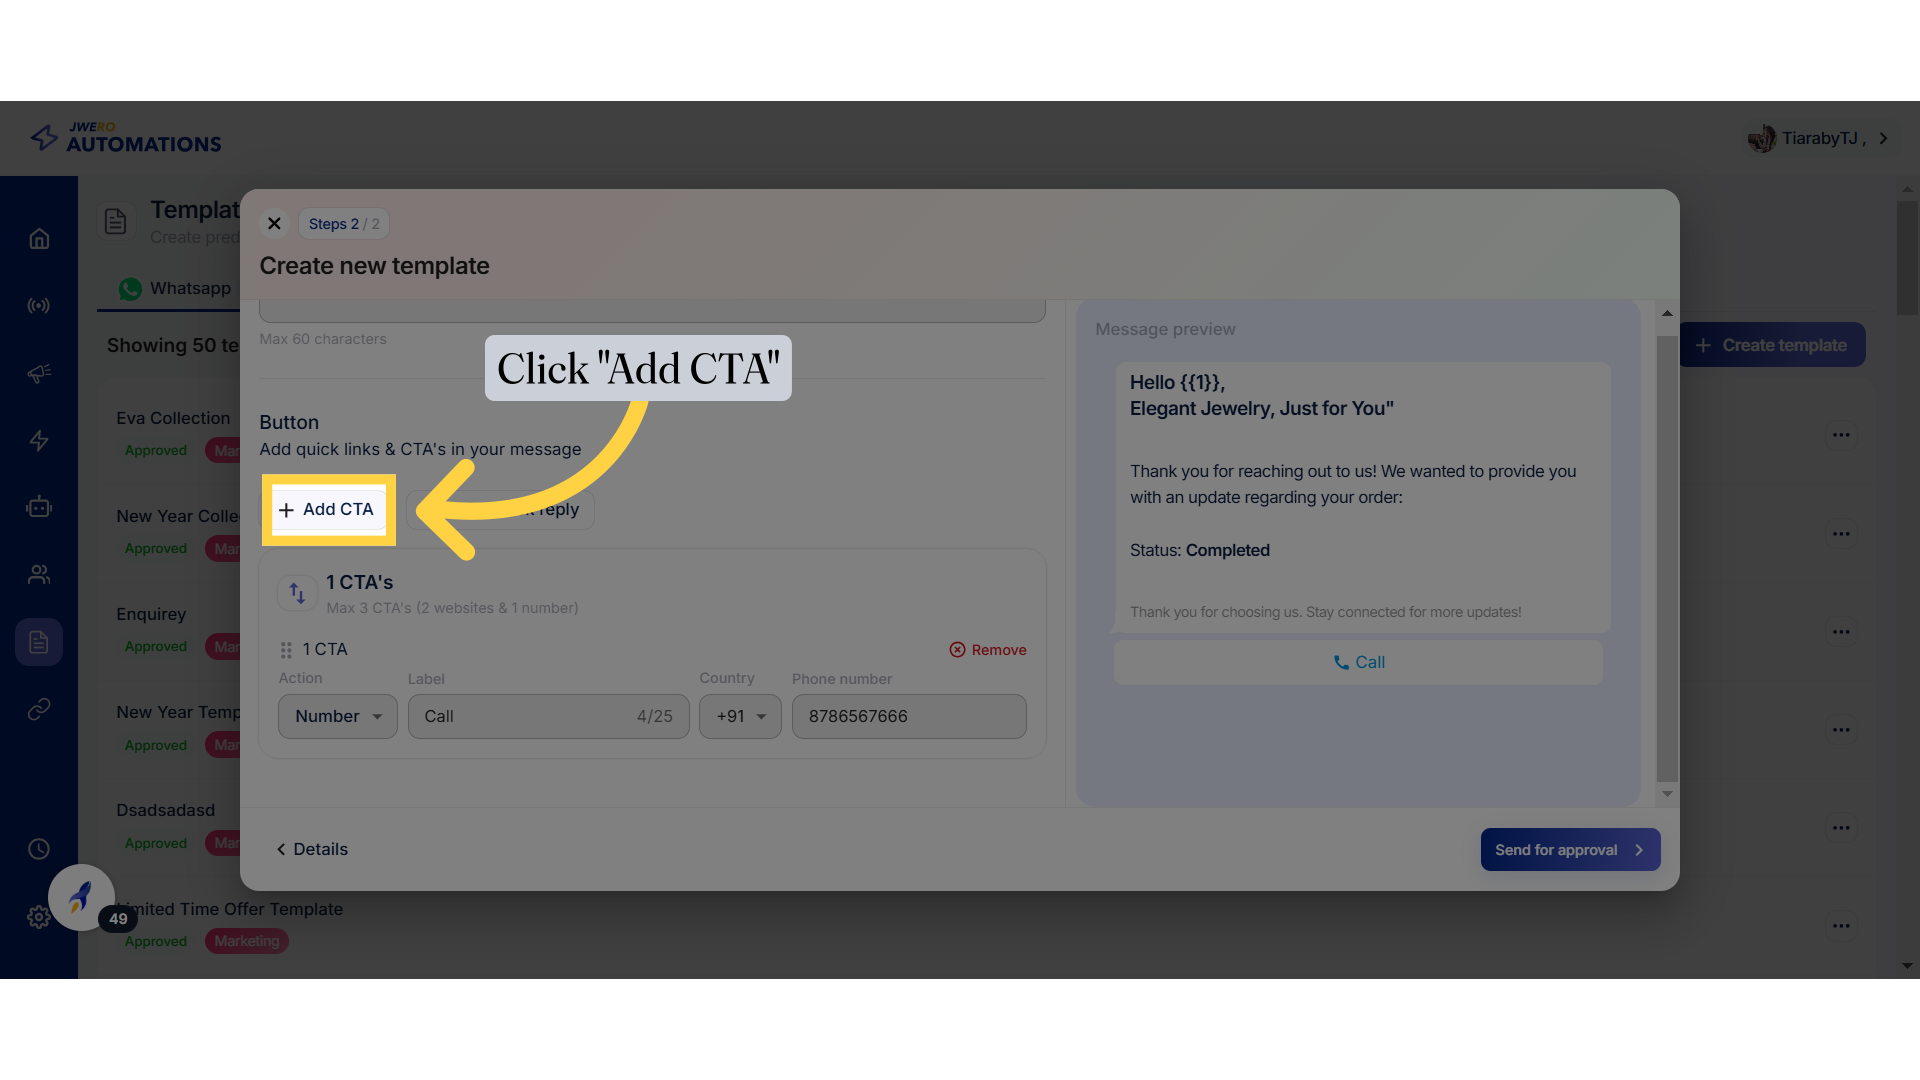
28. Click "Add CTA"
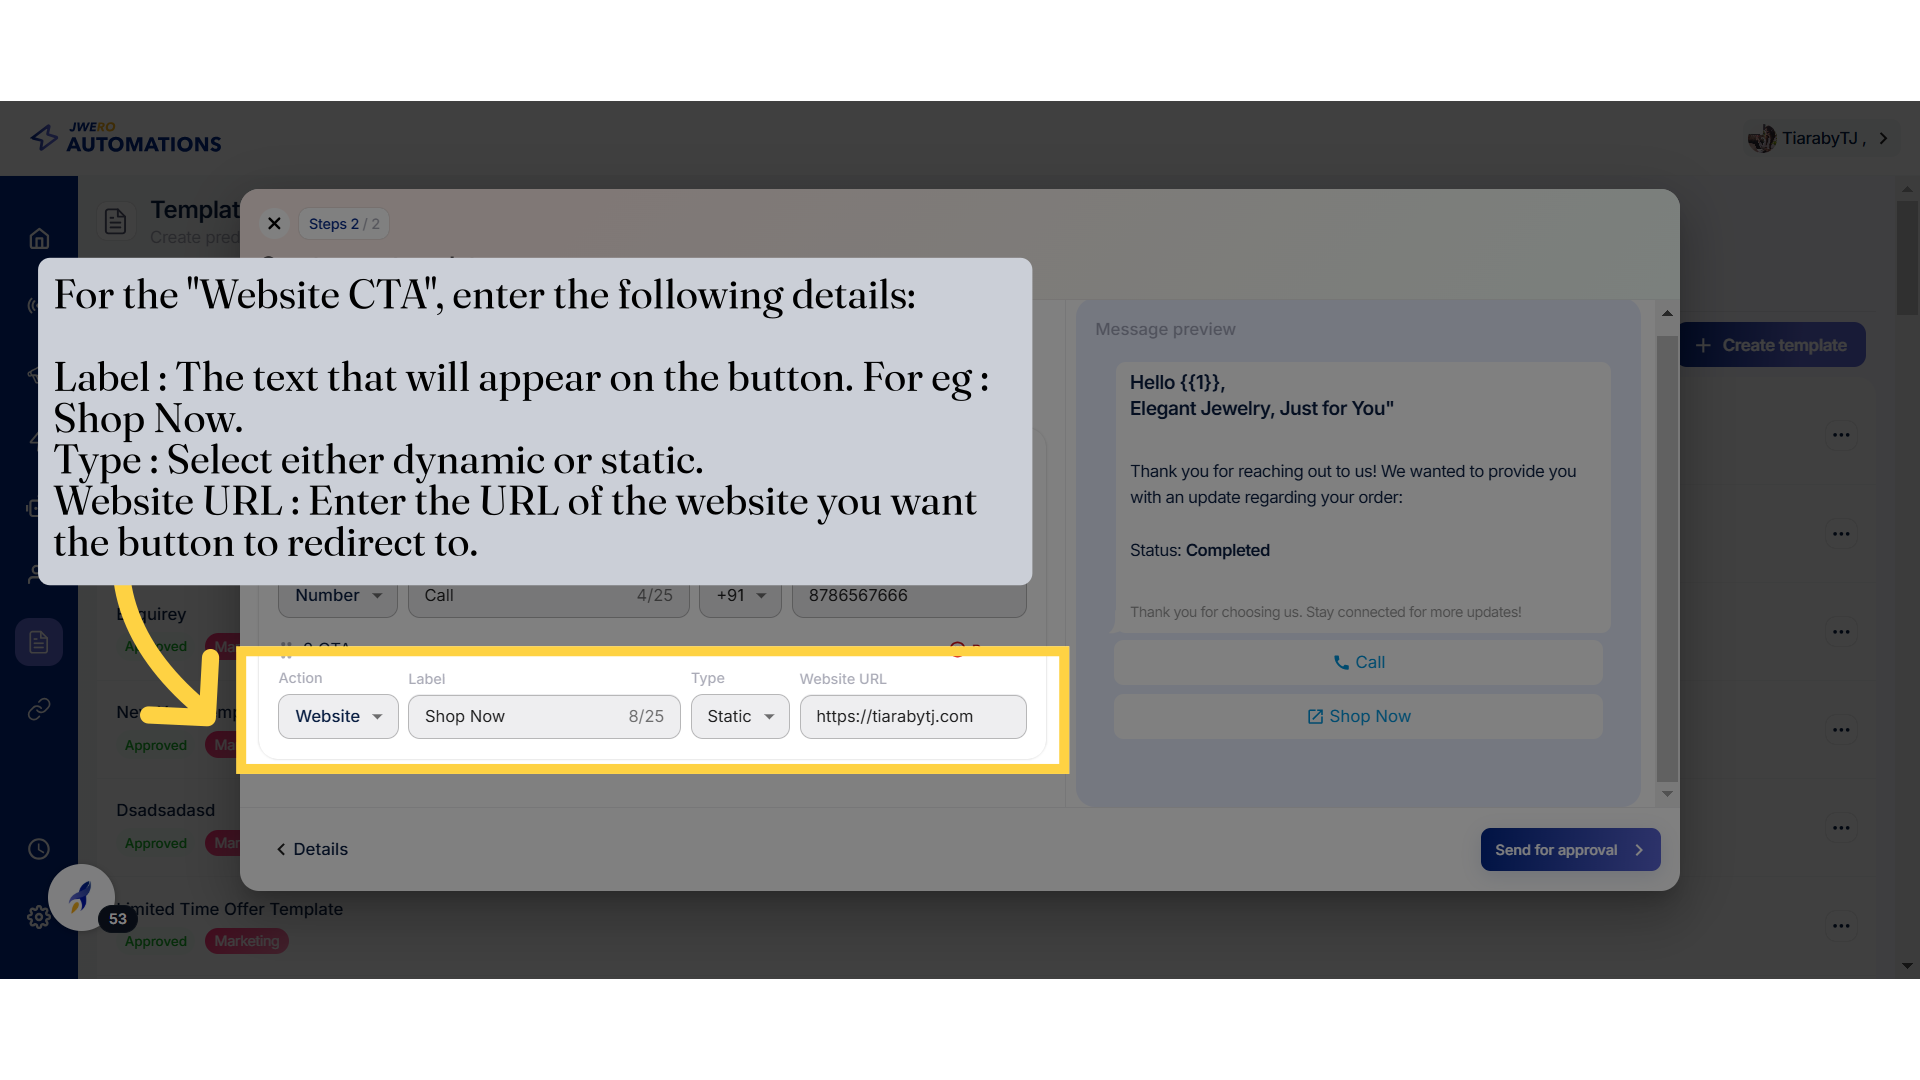
29. Action : Website
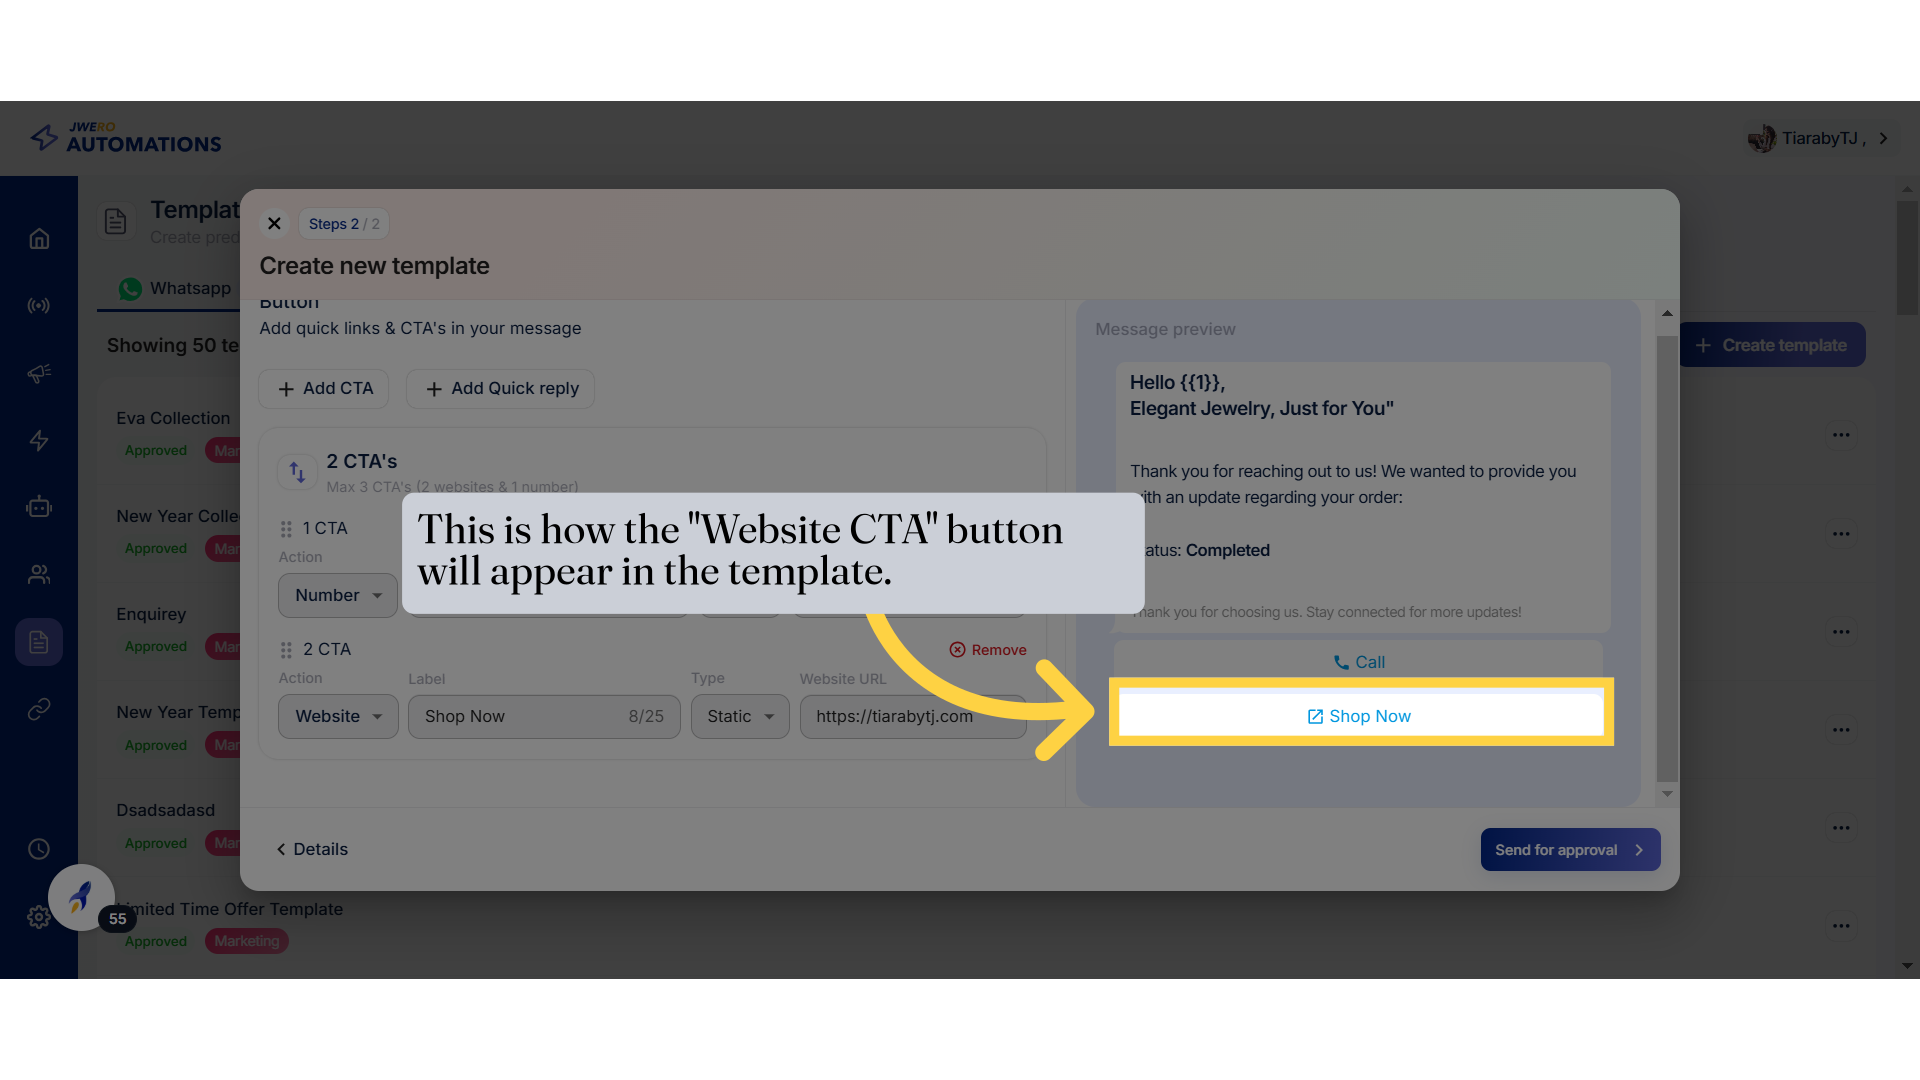
30. This is how the "Website CTA" button will appear in the template.
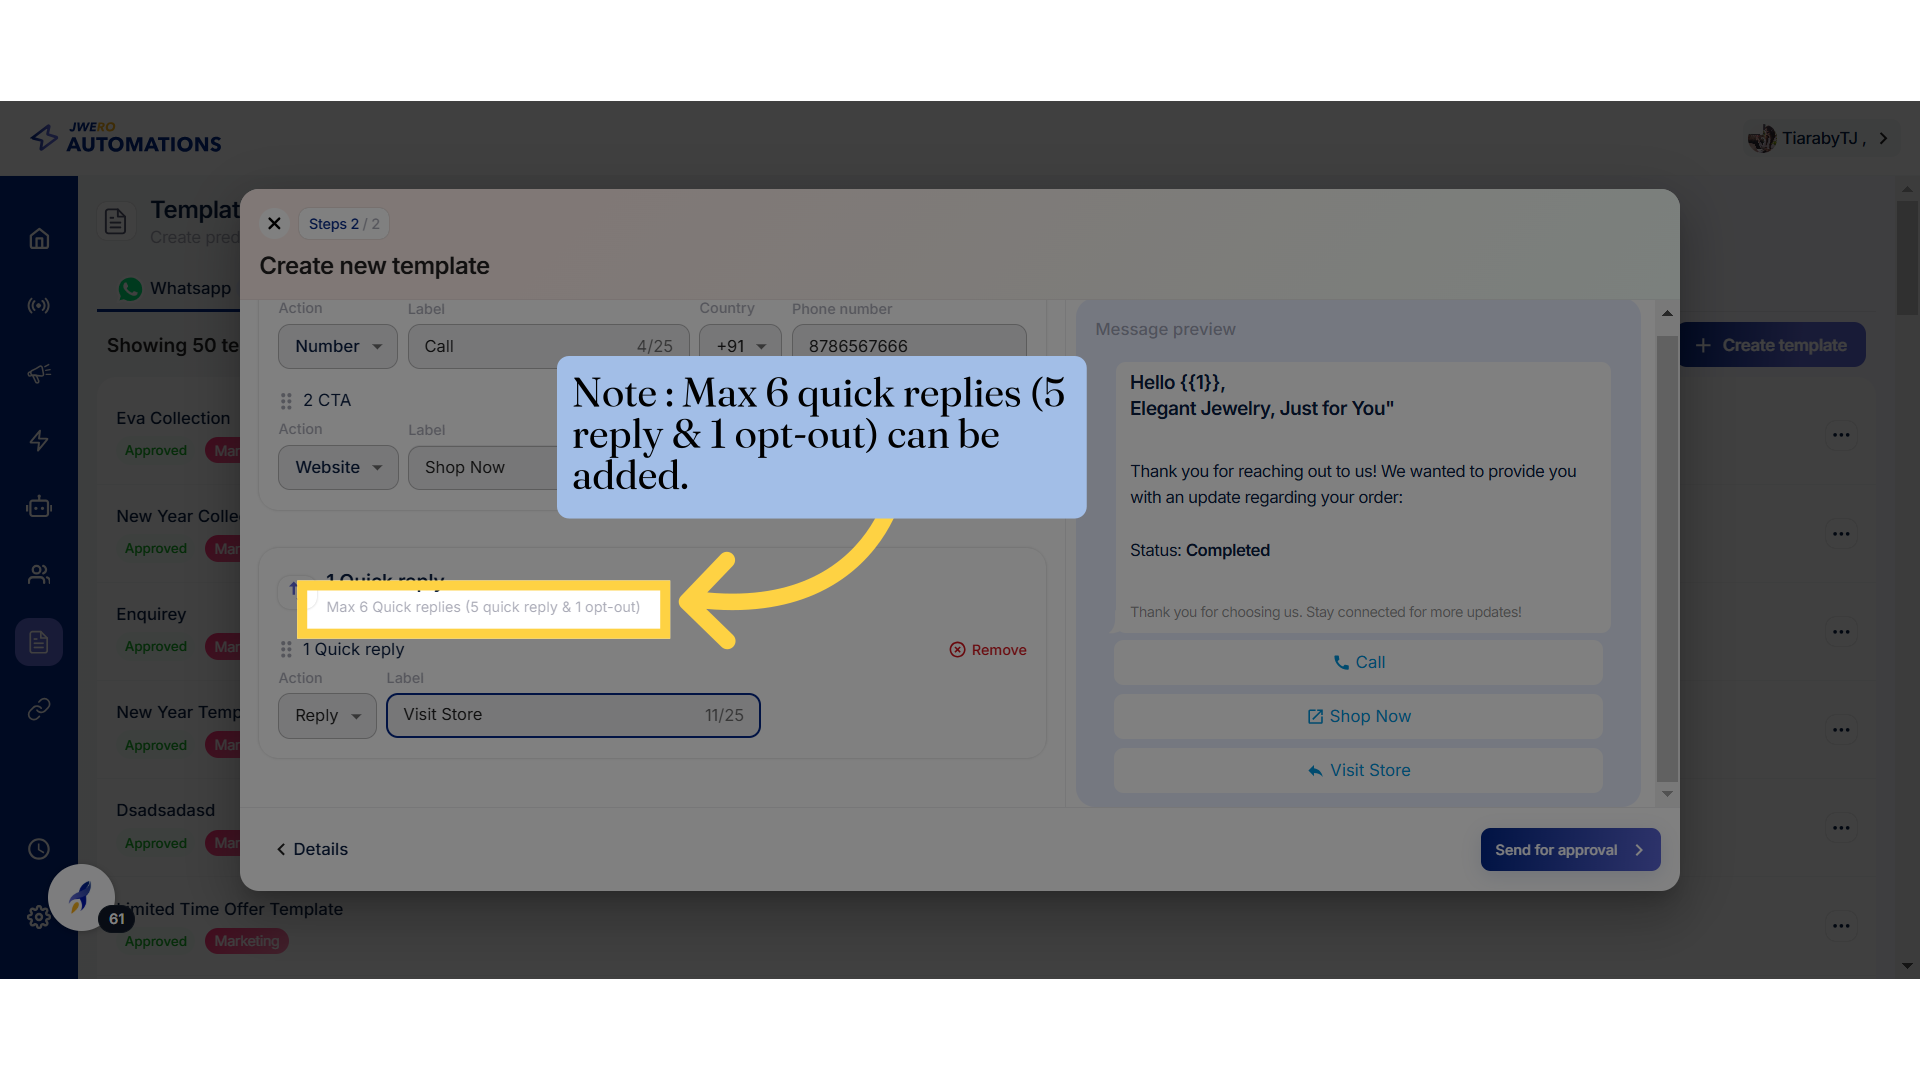
31. Add Quick Reply

32. Note : Max 6 quick replies (5 reply & 1 opt-out) can be added.
33. Action Types
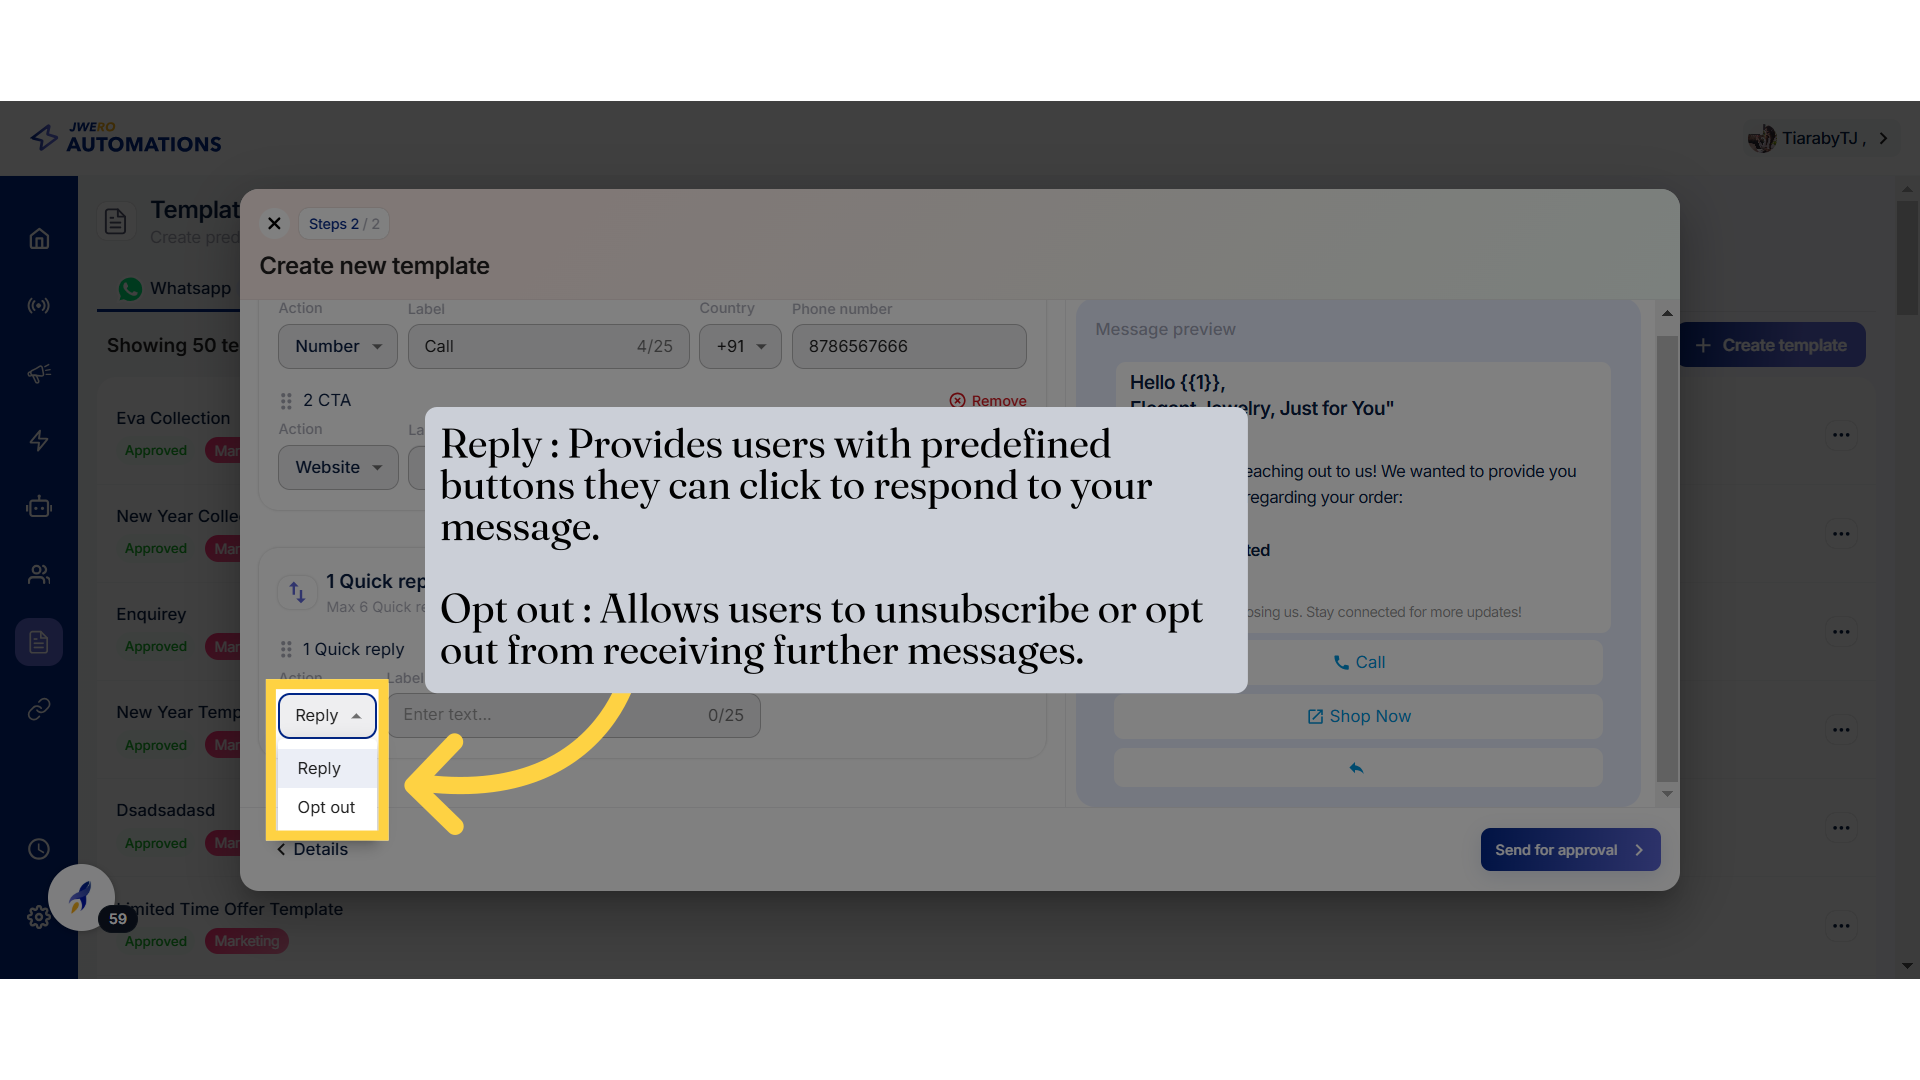
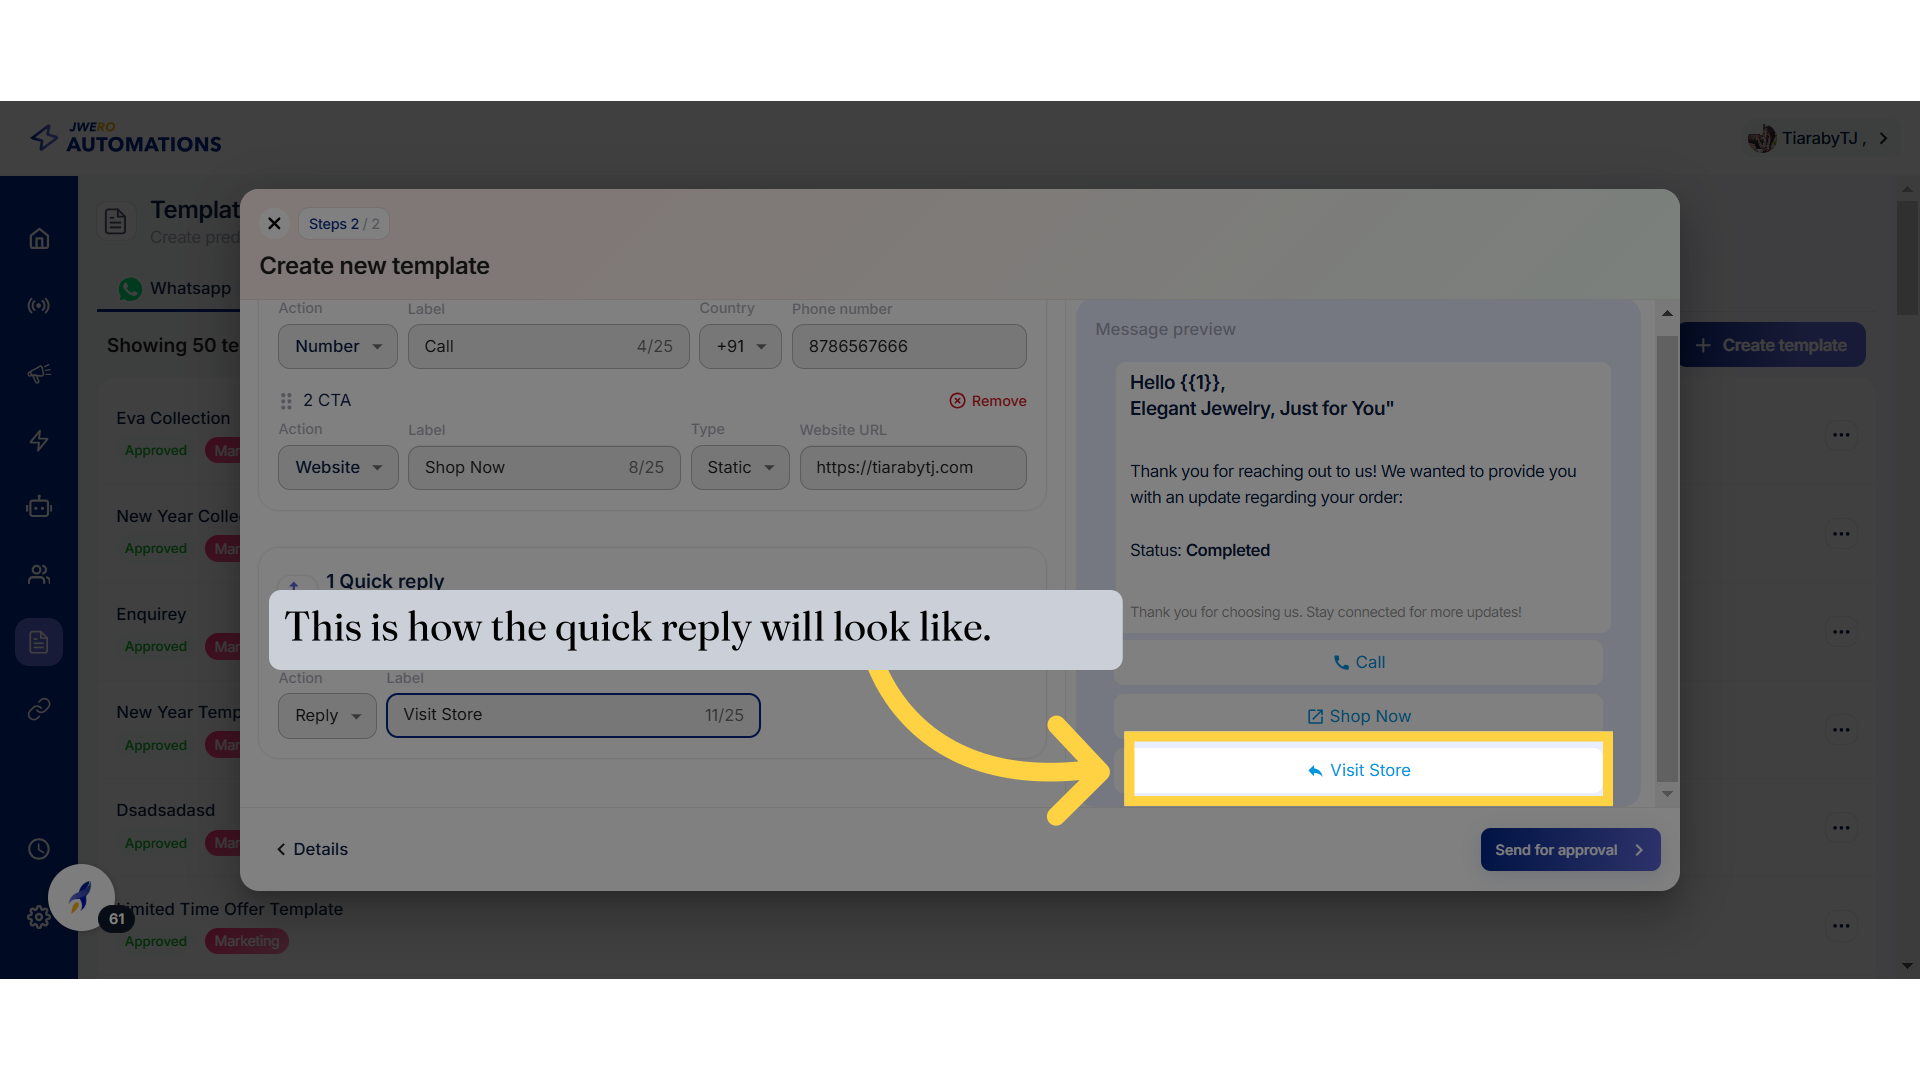
34. Action : Reply

35. This is how the quick reply will look like.
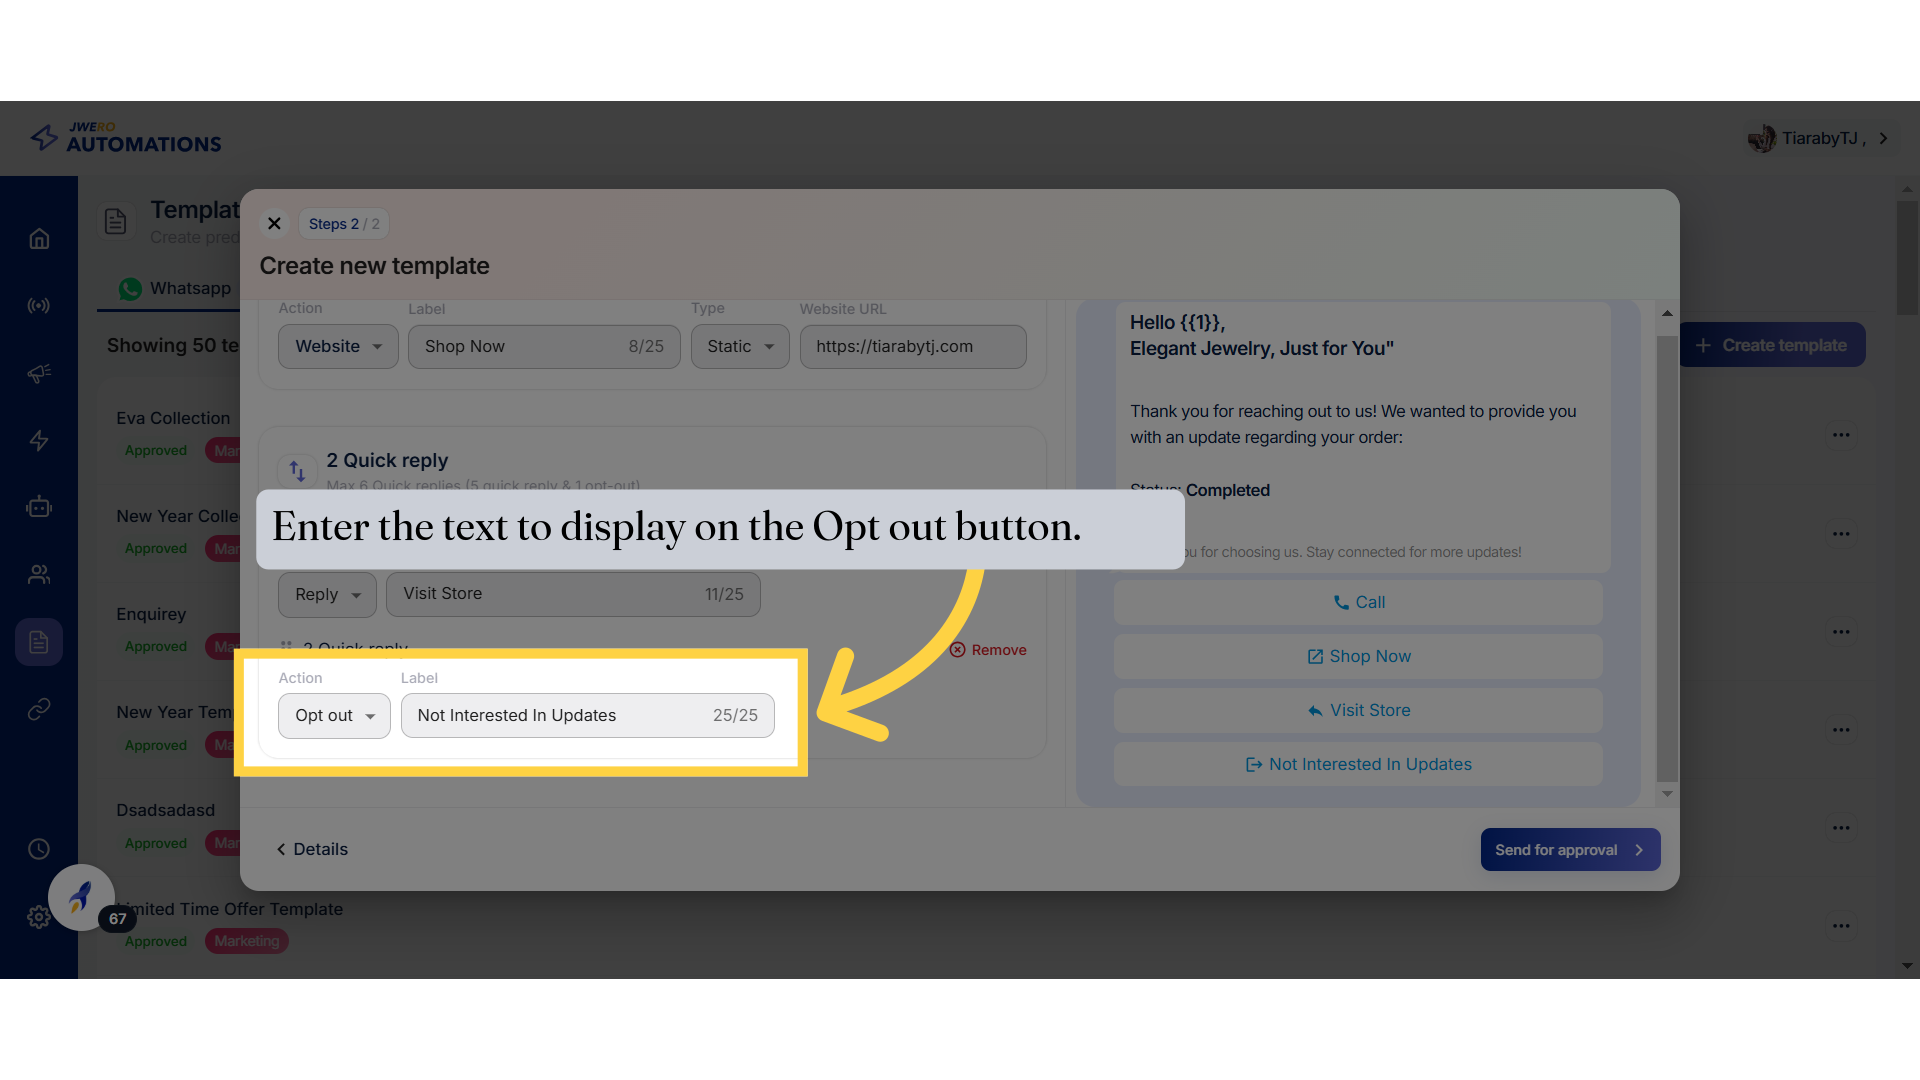
36. Action : Opt out
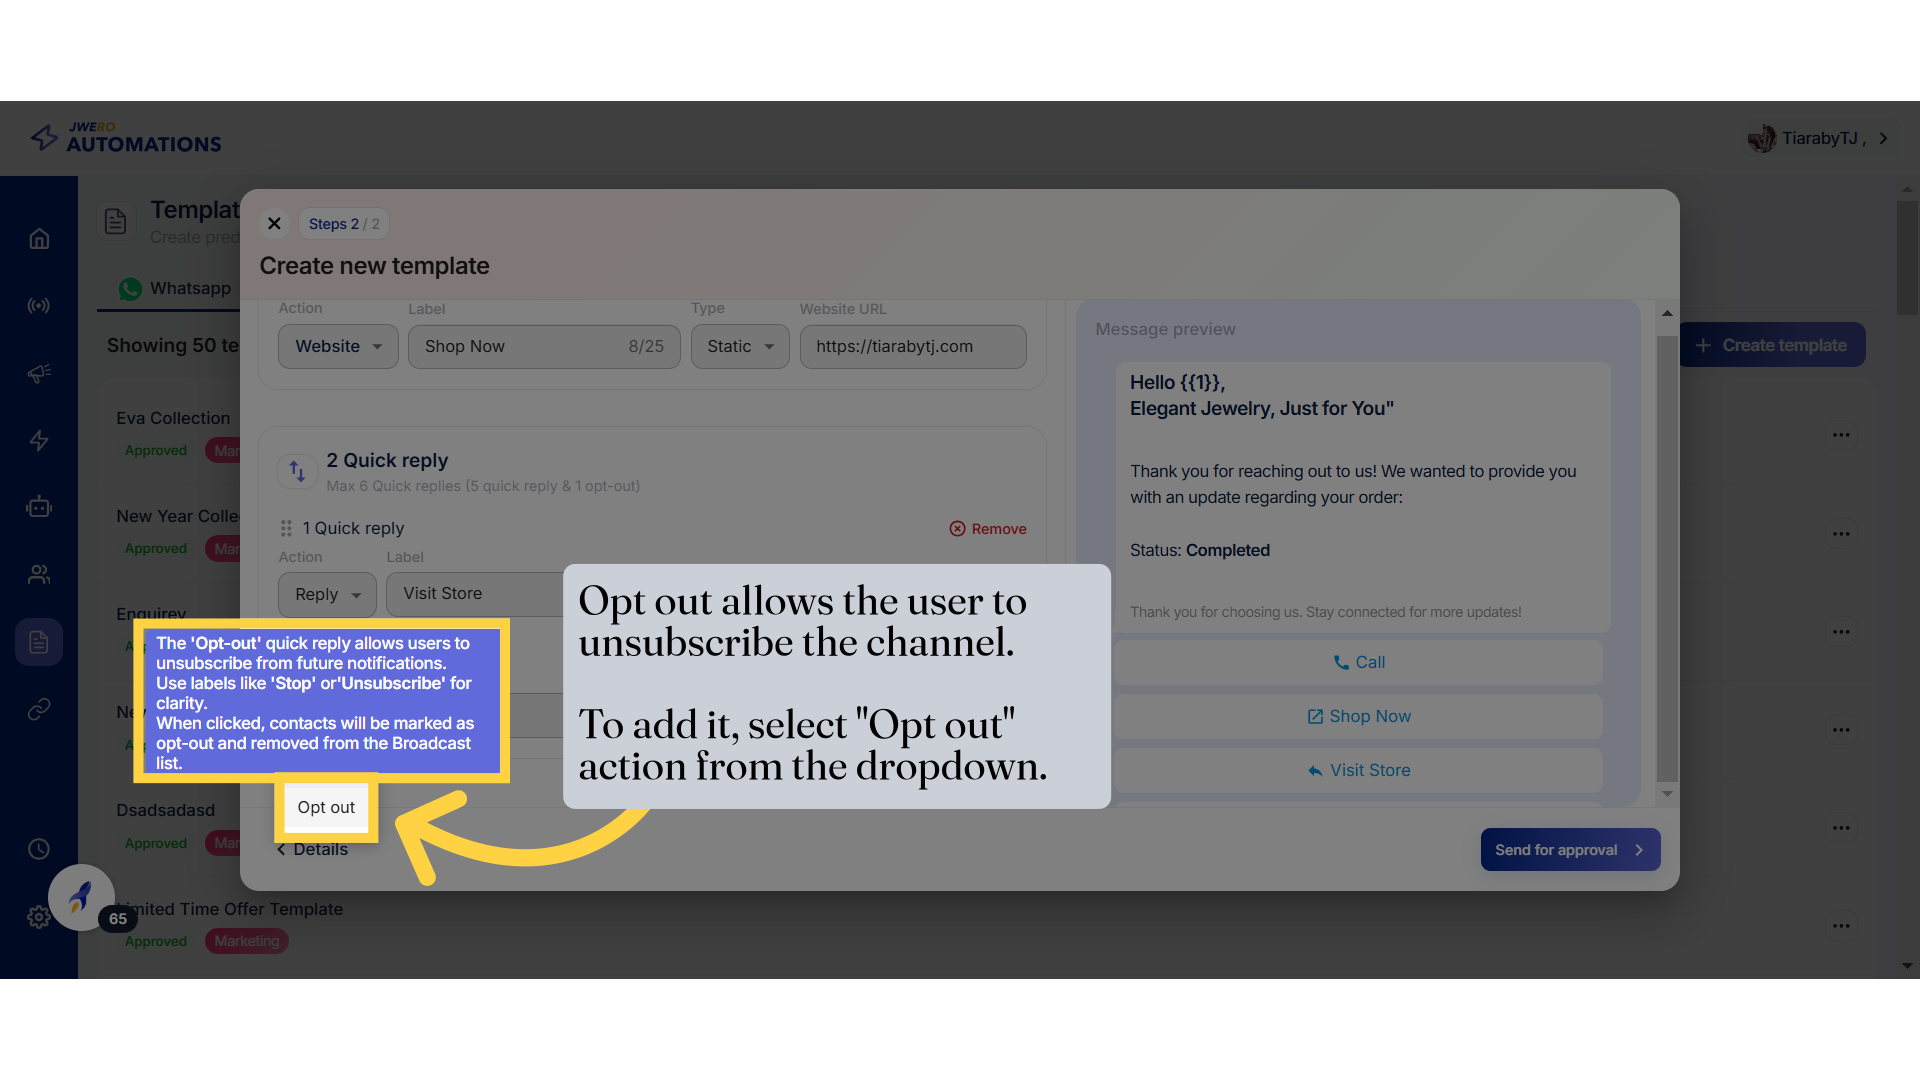
37. Opt out details
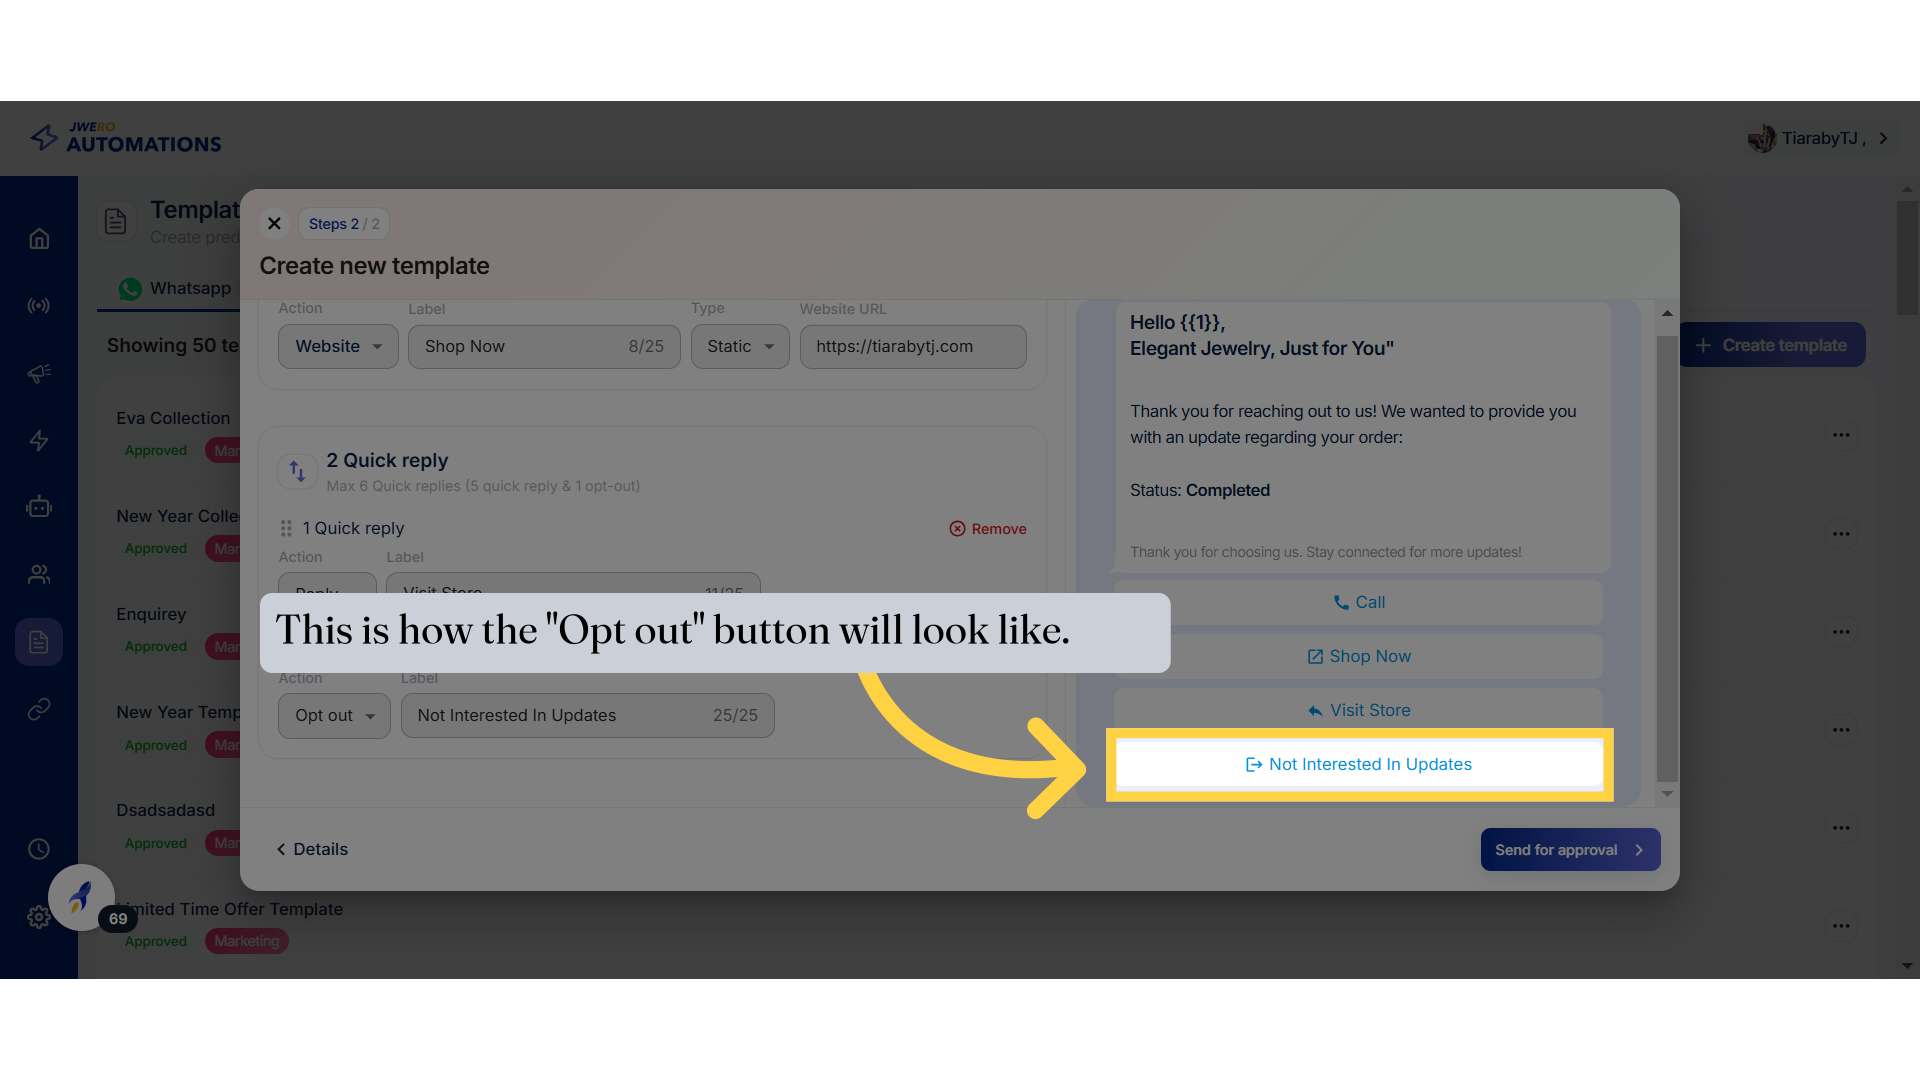
38. This is how the "Opt out" button will look like.
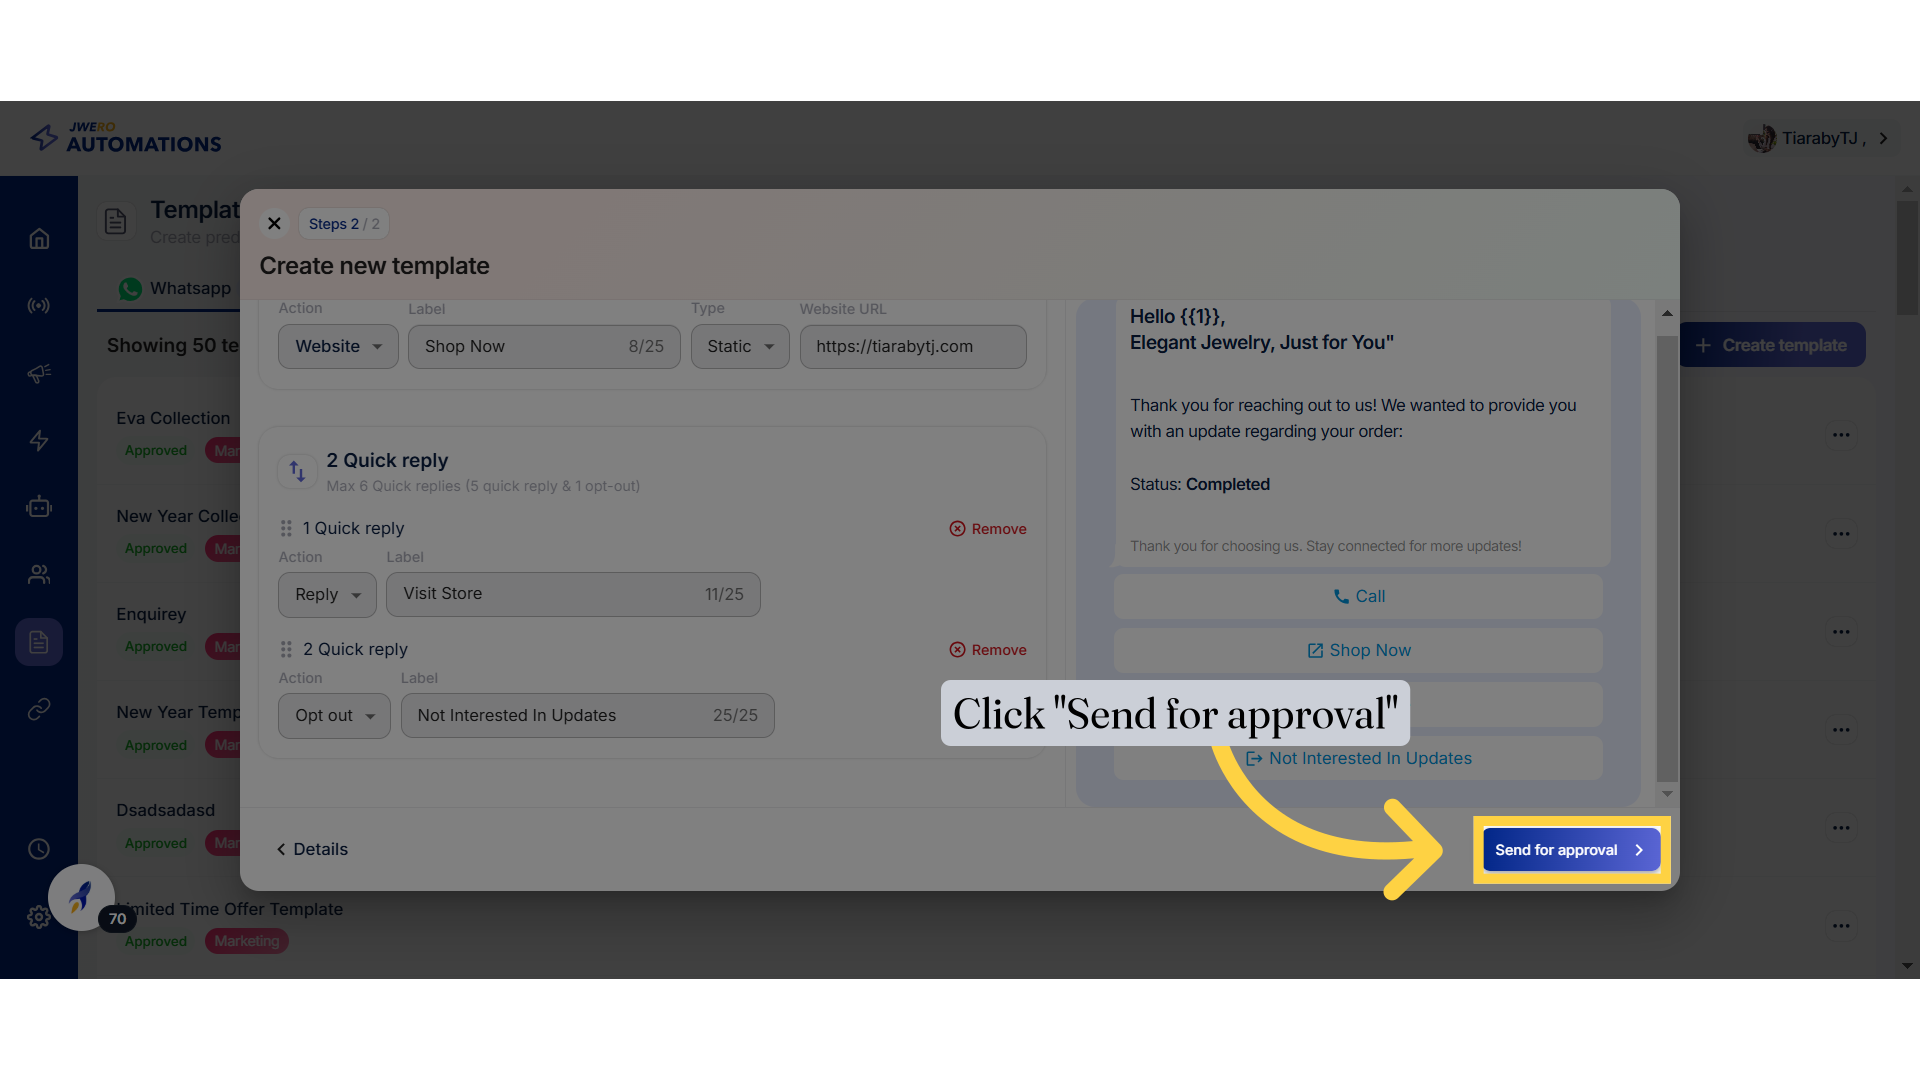
39. Click "Send for approval"
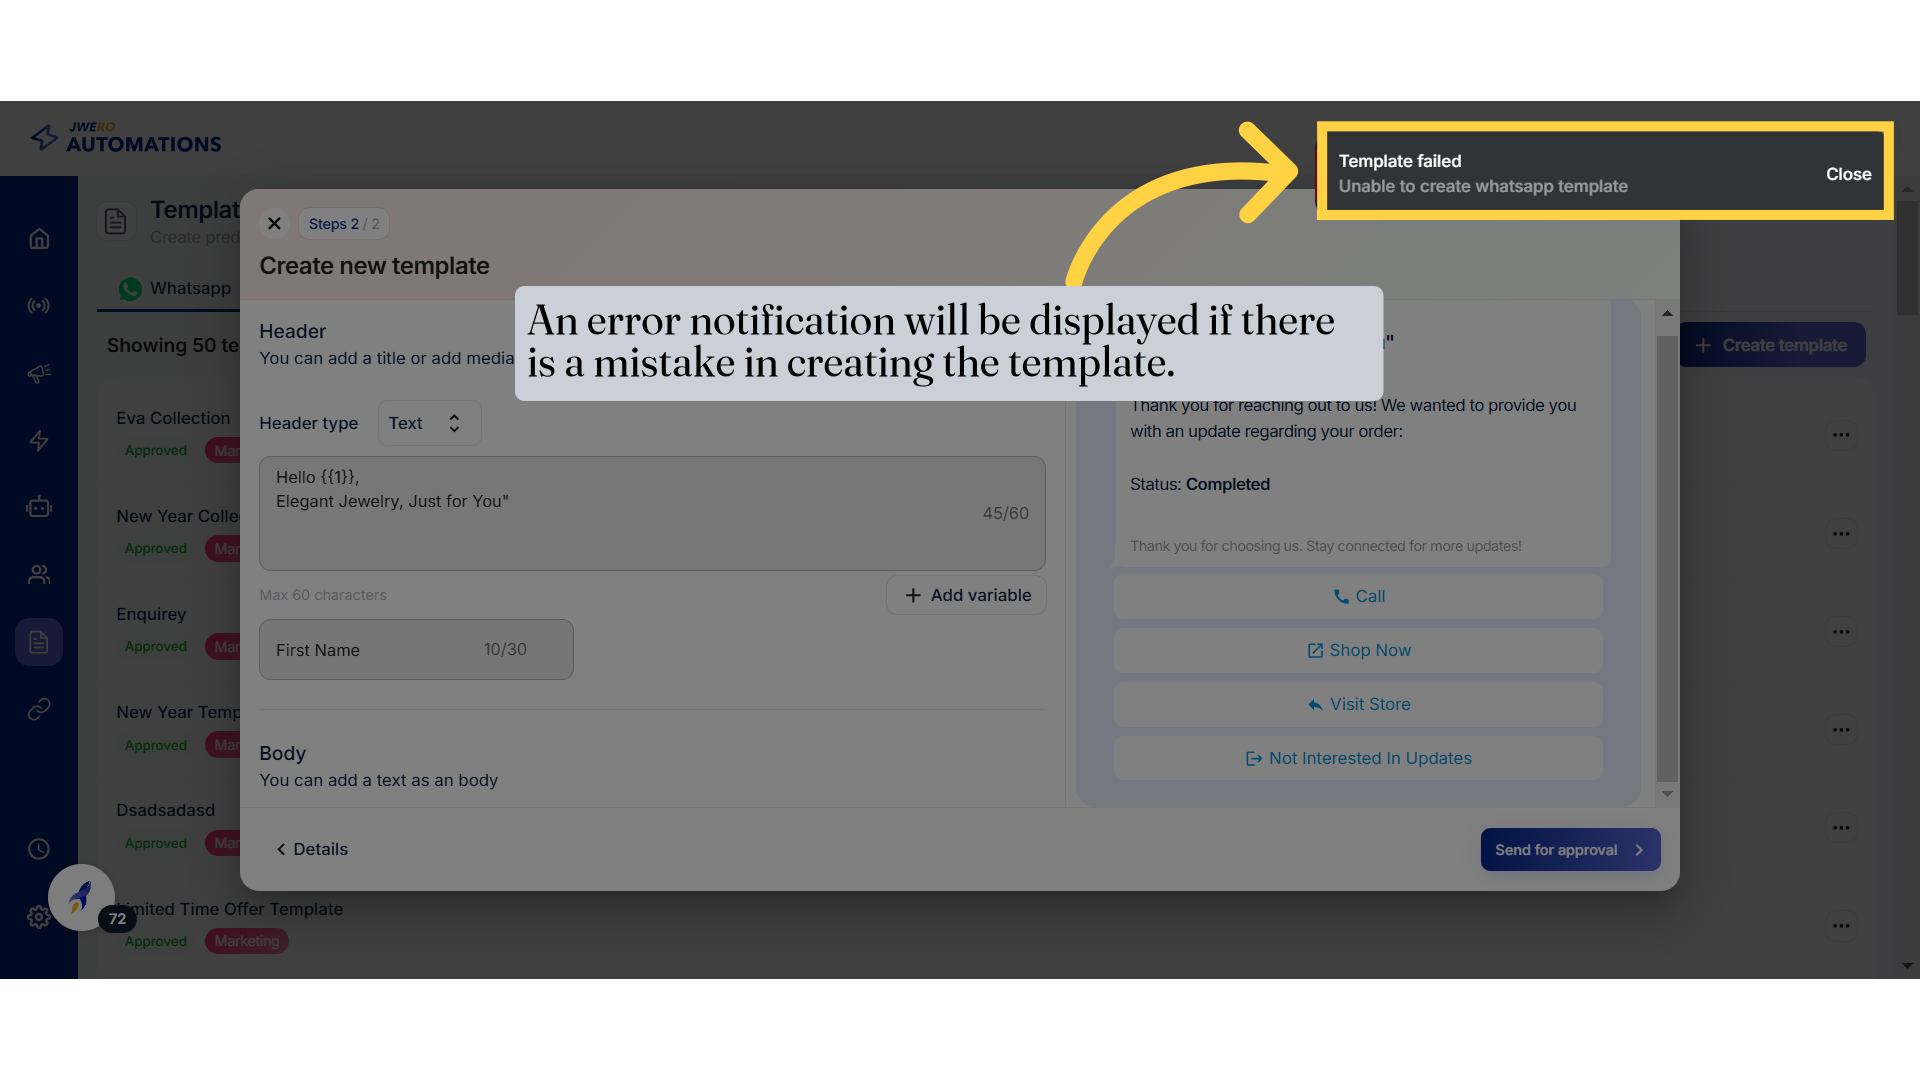
40. Error notification
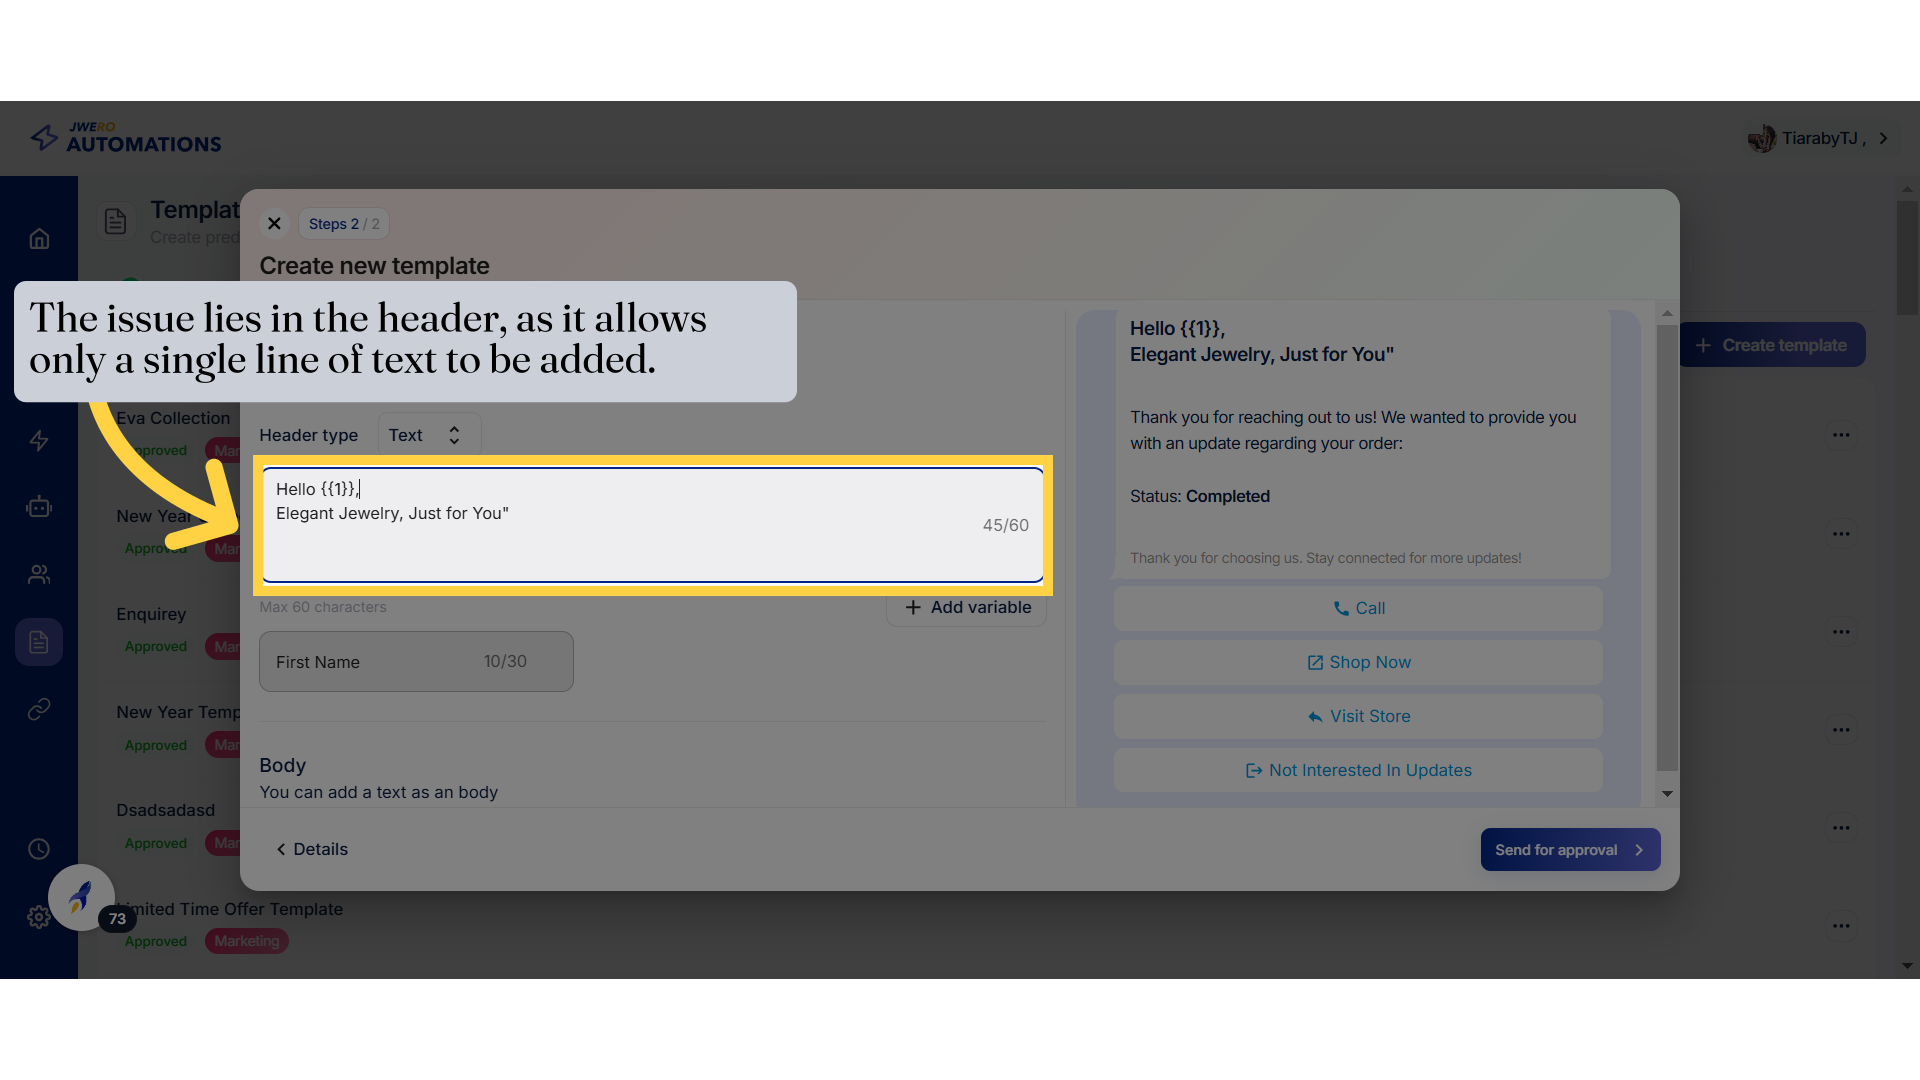
41. The issue lies in the header, as it allows only a single line of text to be added.
Access the specified message.
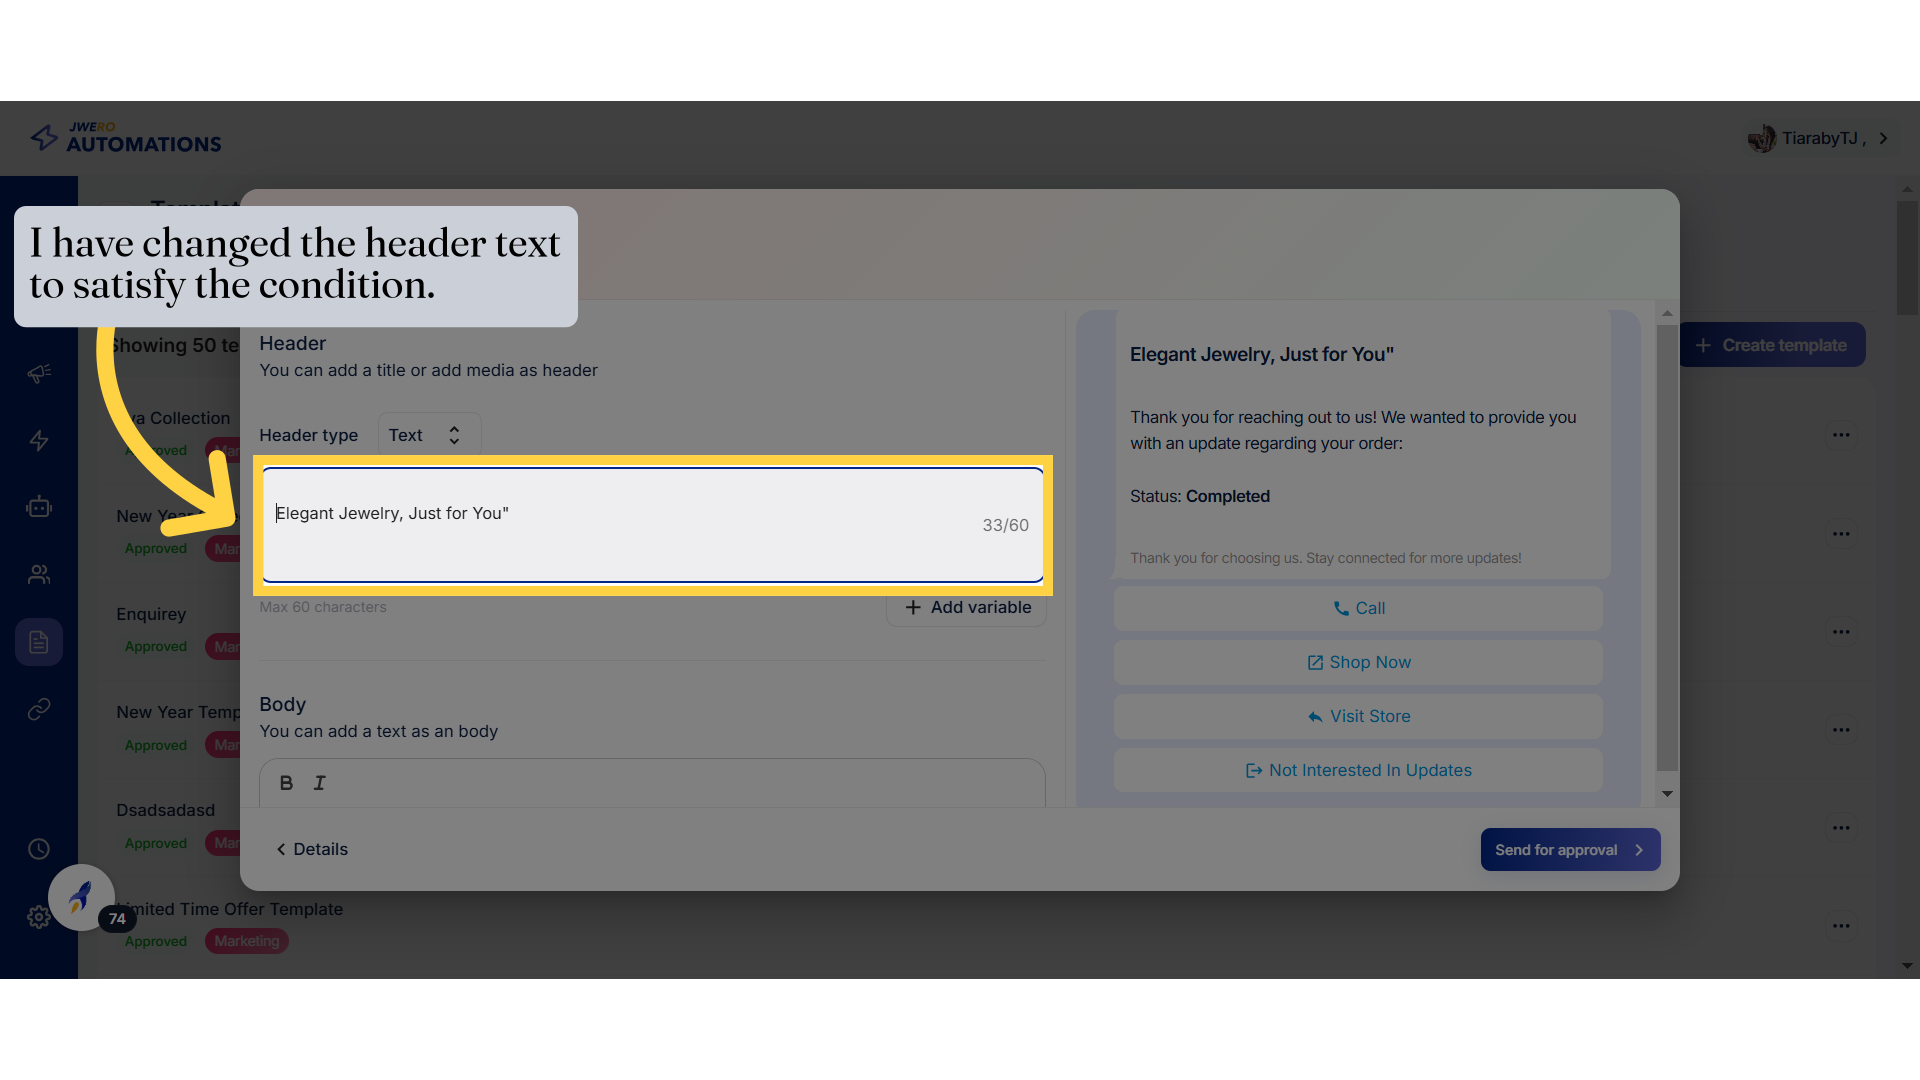
42. I have changed the header text to satisfy the condition.
Select the designated content.
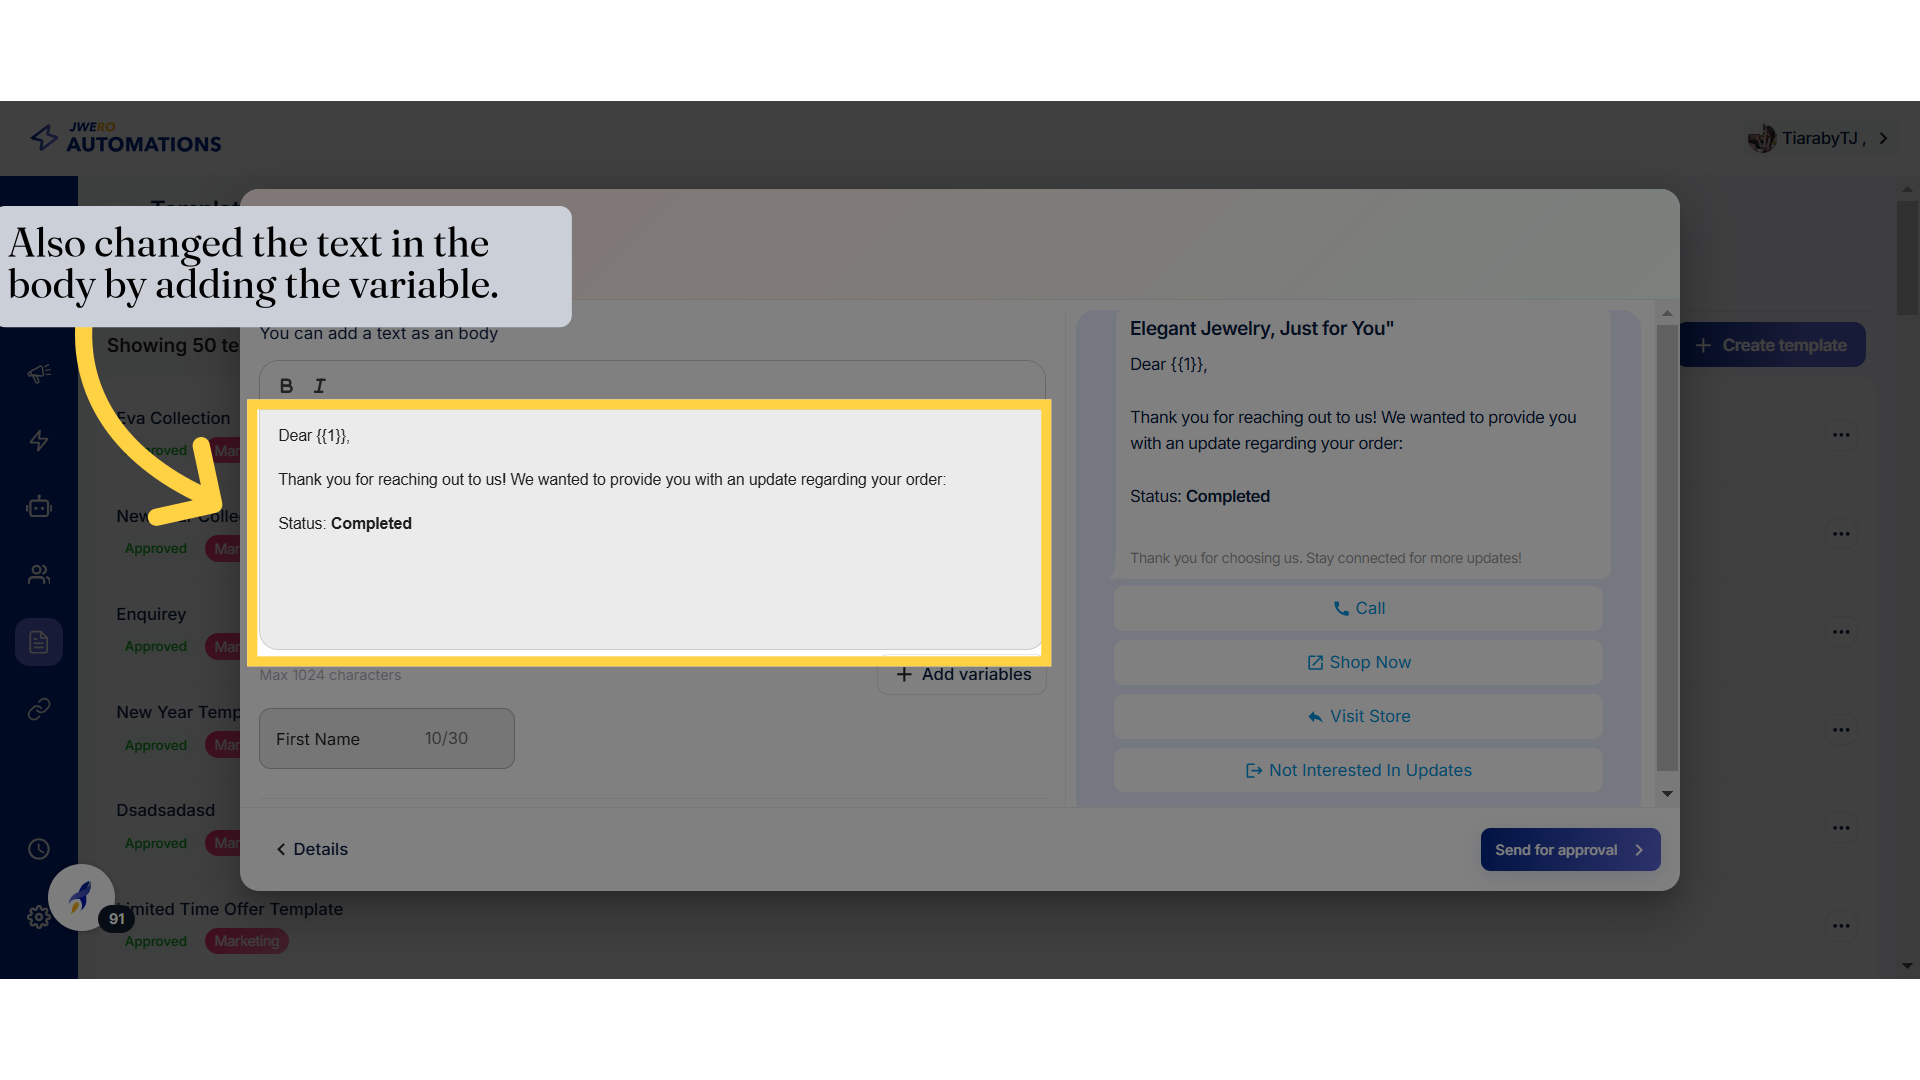
43. Also changed the text in the body by adding the variable.
Choose the specified option.
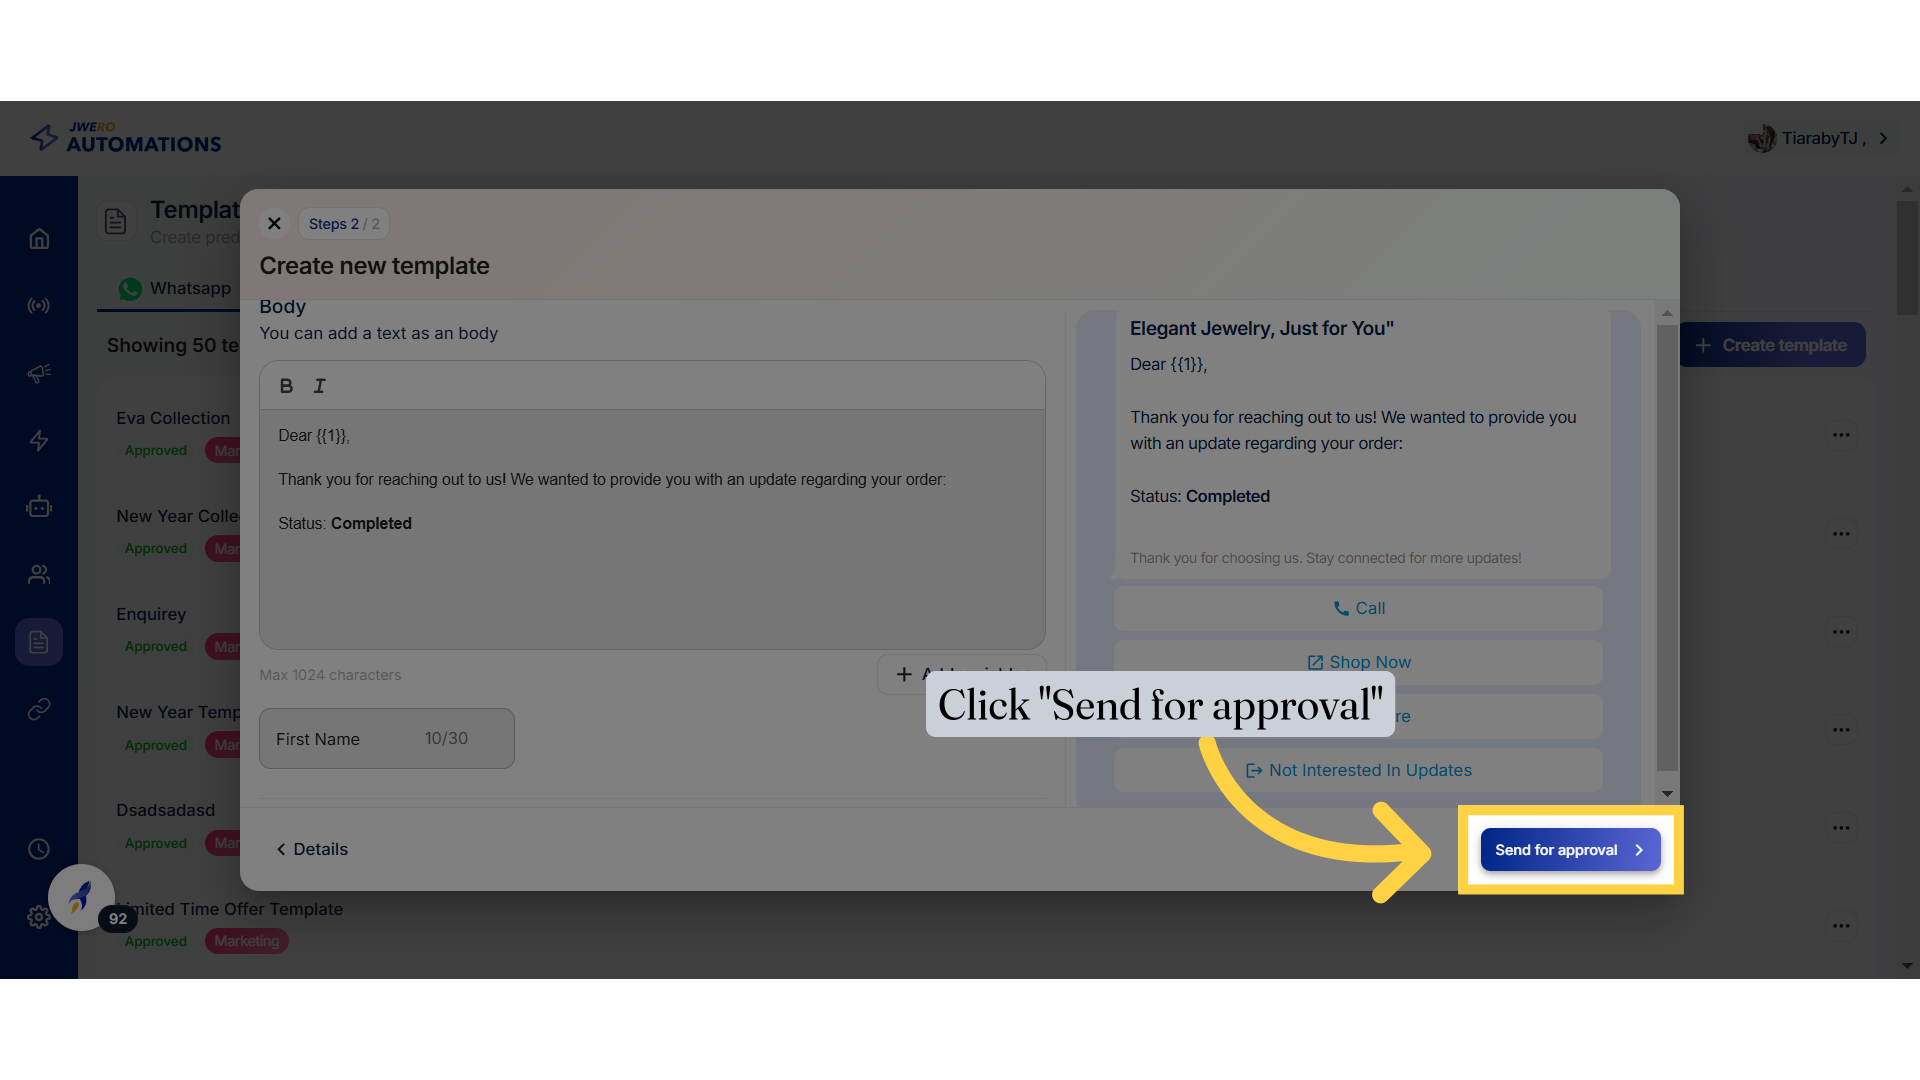
44. Click "Send for approval"
Proceed to send the message for approval.
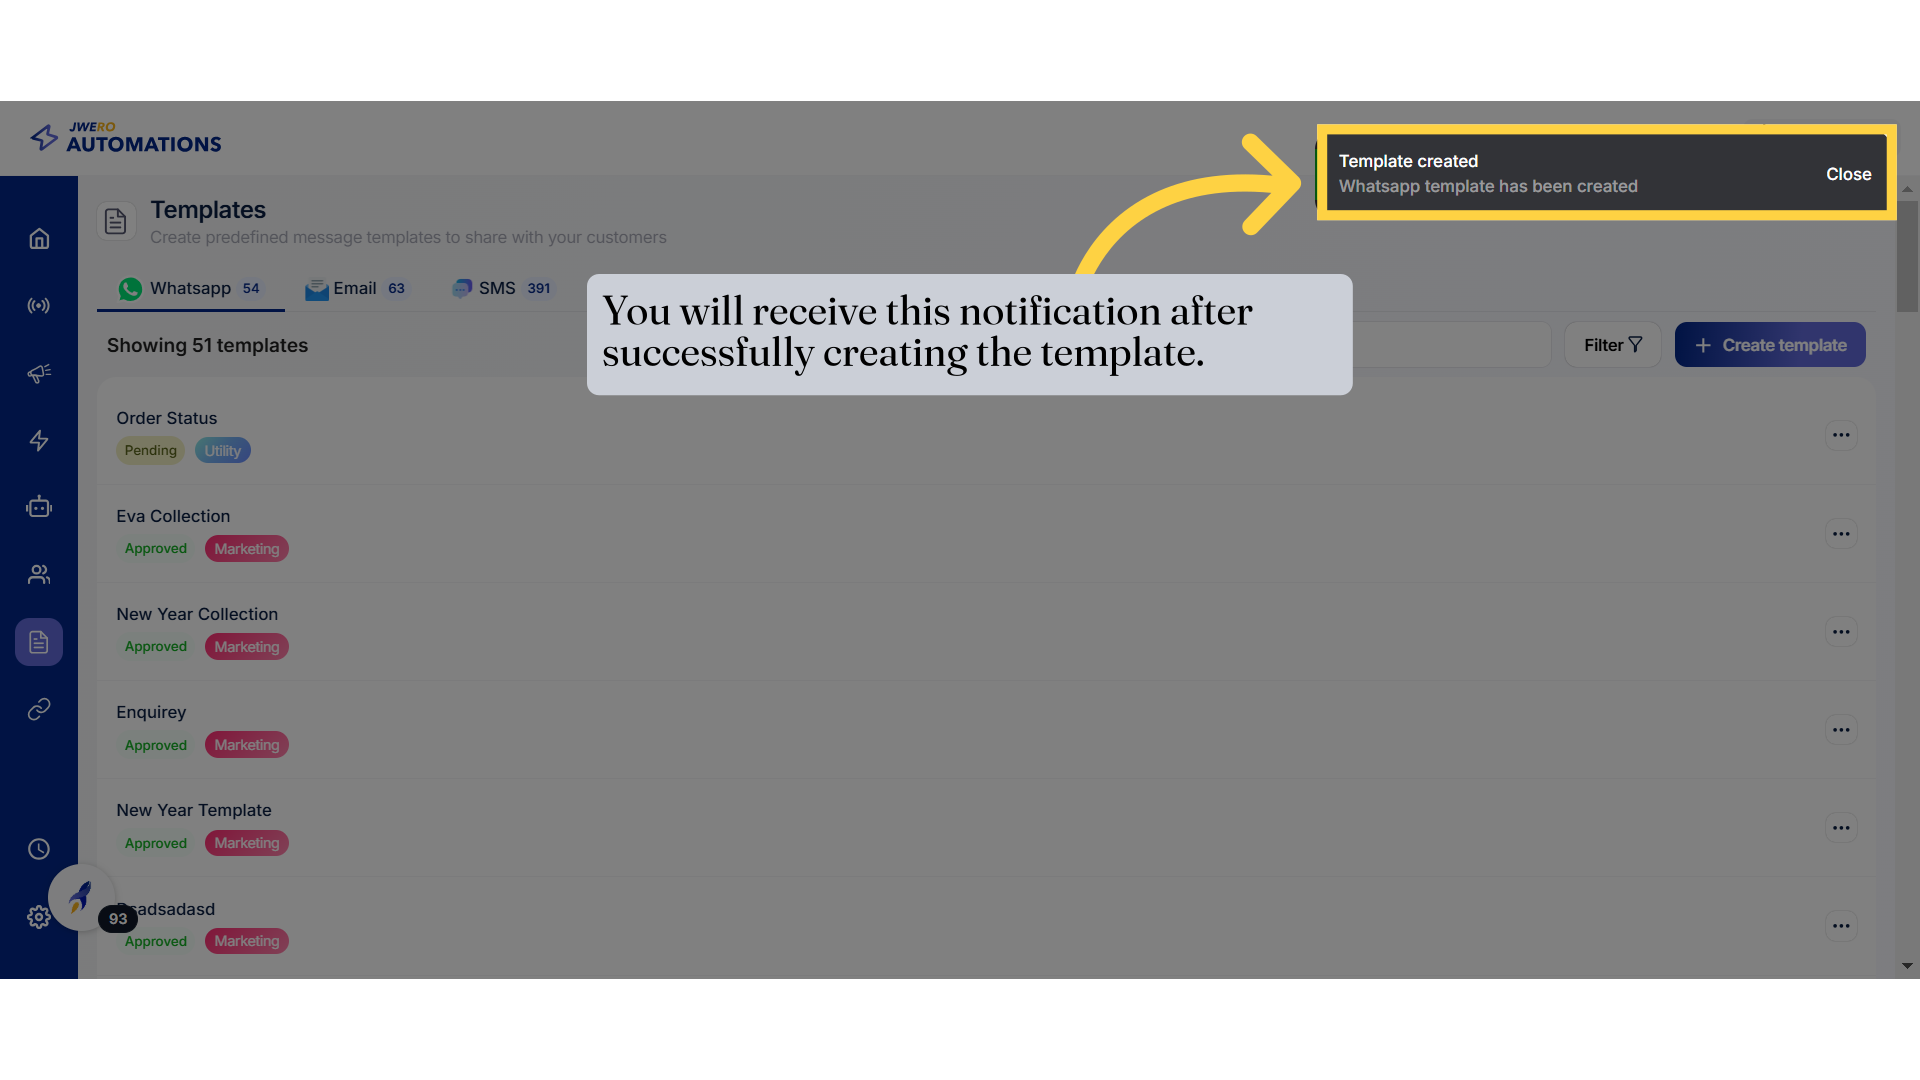
45. You will receive this notification after successfully creating the template.
Confirm the creation of the WhatsApp template.
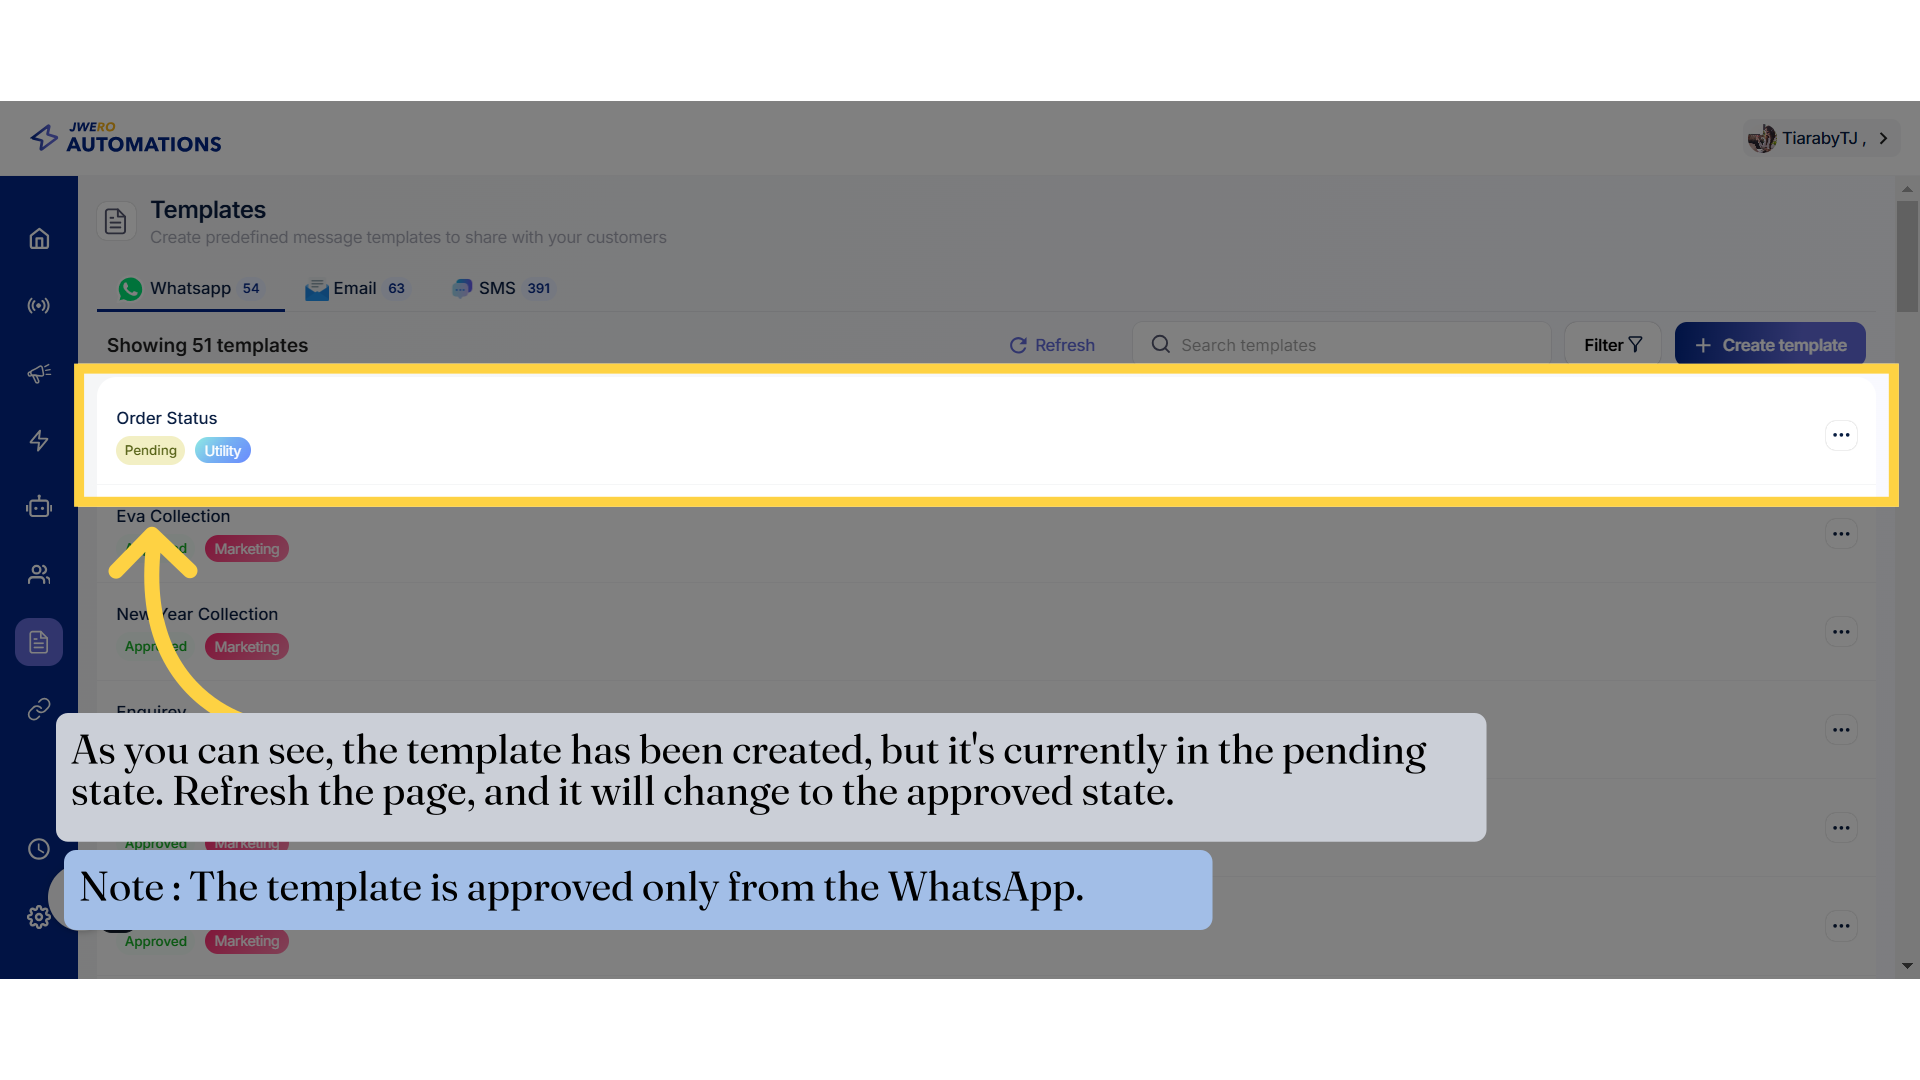
46. As you can see, the template has been created, but it's currently in the pending state. Refresh the page, and it will change to the approved state.
Select the pending order status.
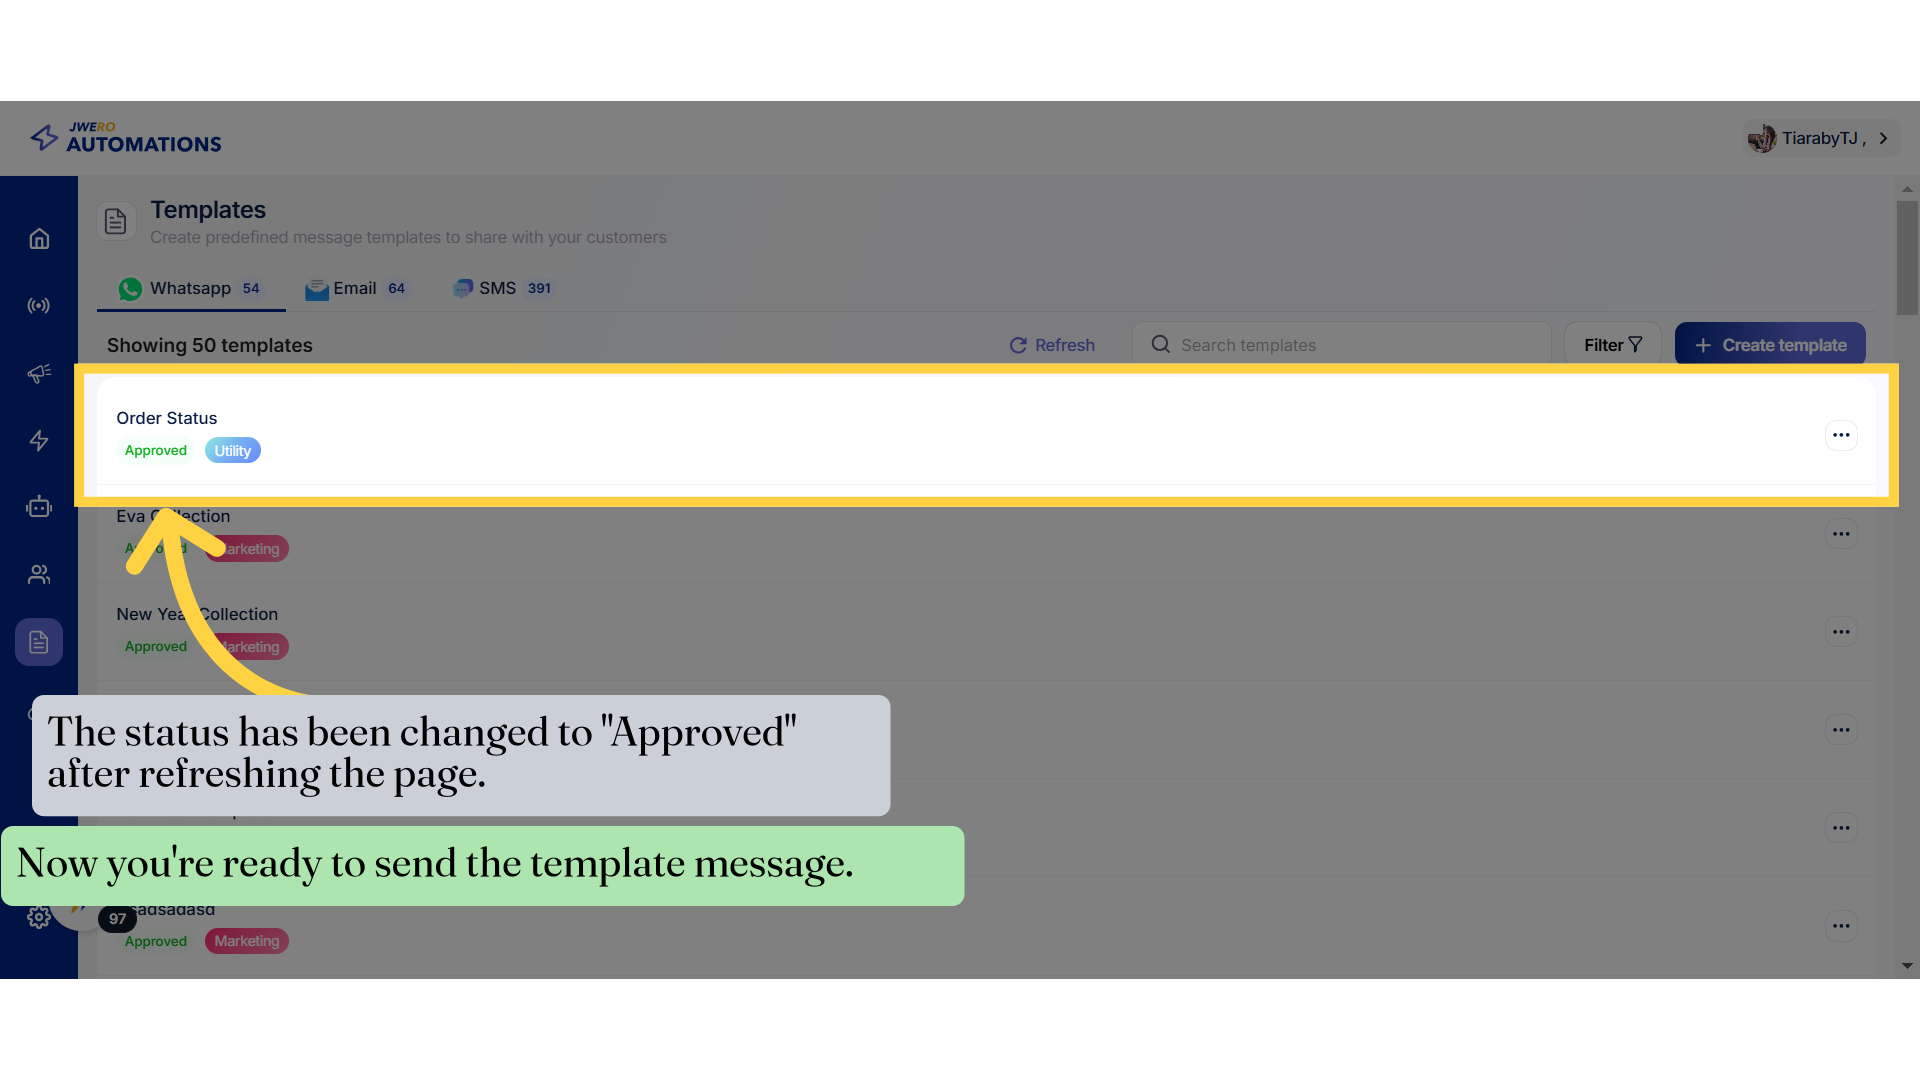
47. The status has been changed to "Approved" after refreshing the page.
Choose the approved order status.
The guide covered a range of actions in Jwero and Chatgpt applications, including template creation, message customization, adding quick replies, and sending messages for approval. These step-by-step instructions aim to facilitate employee training by streamlining processes in the specified applications.