How To Create Marketing Carousel Template
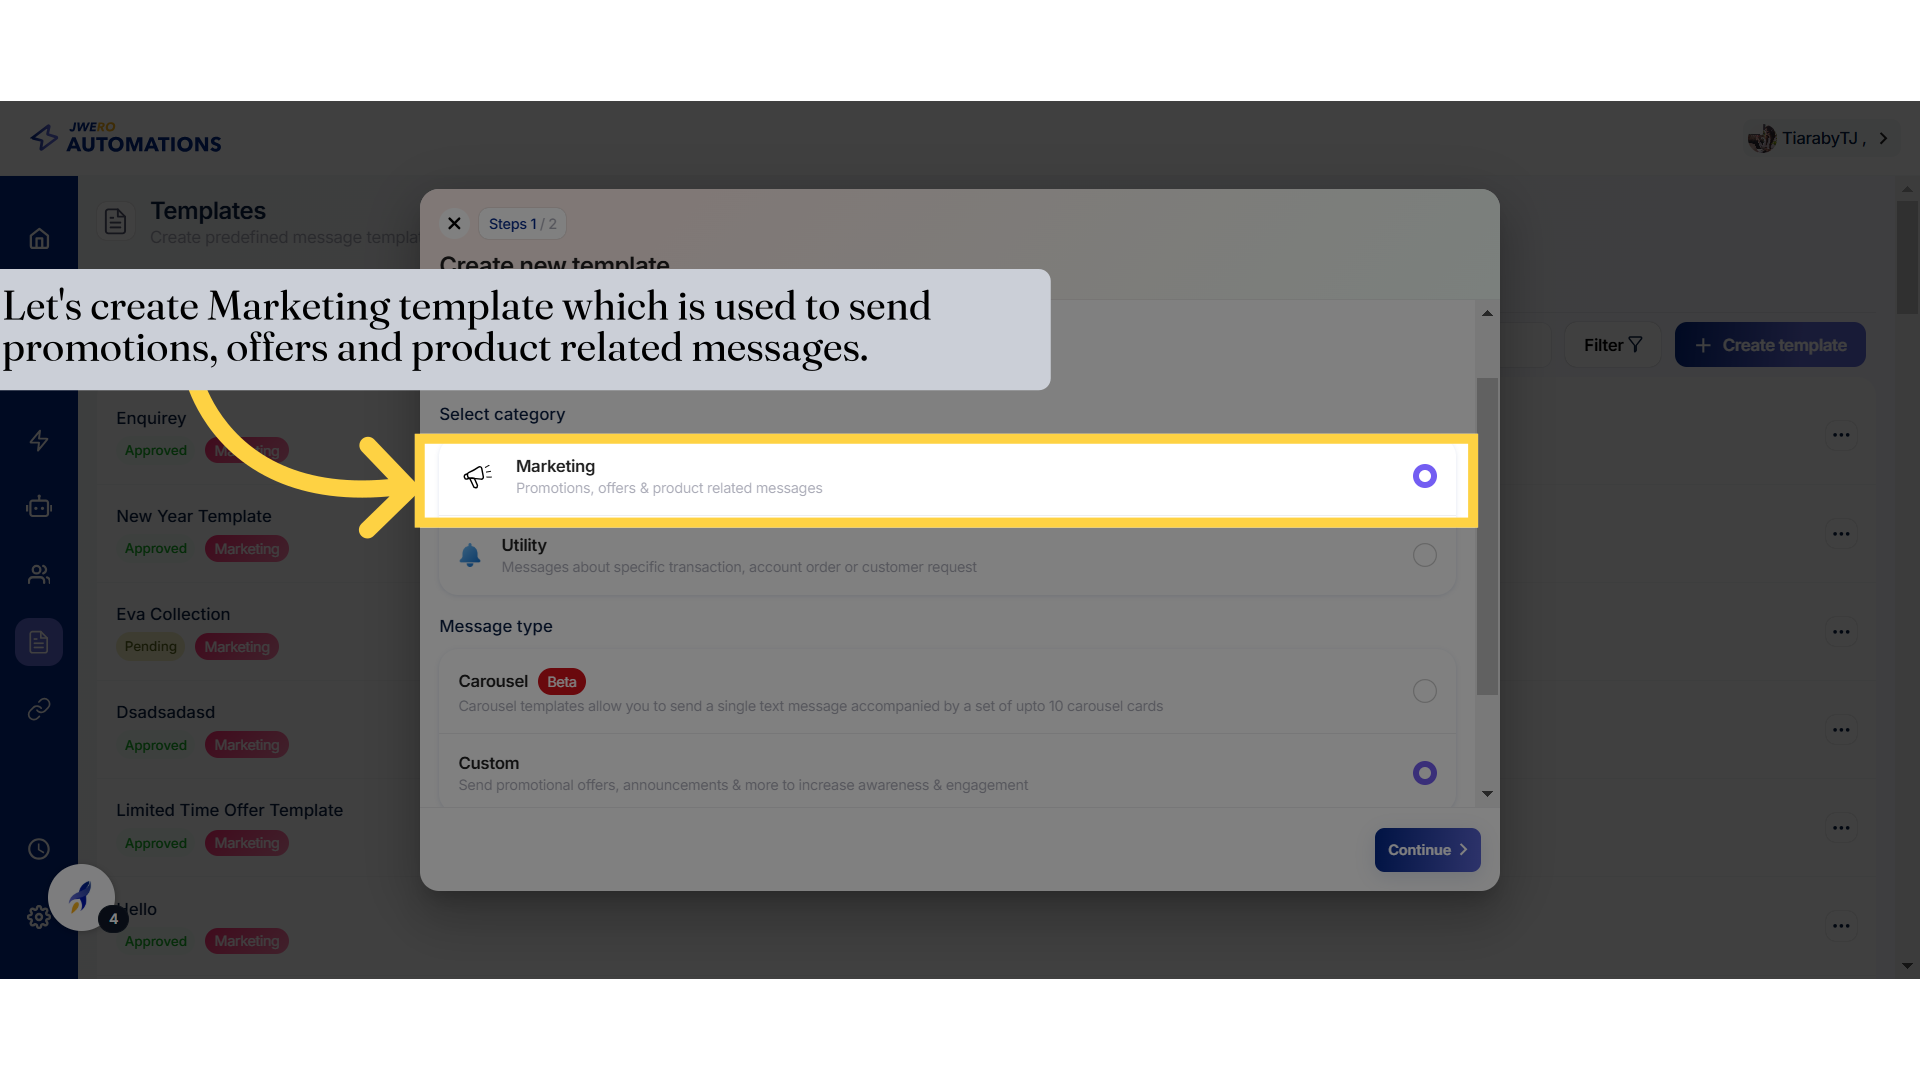
1. The Marketing carousel template
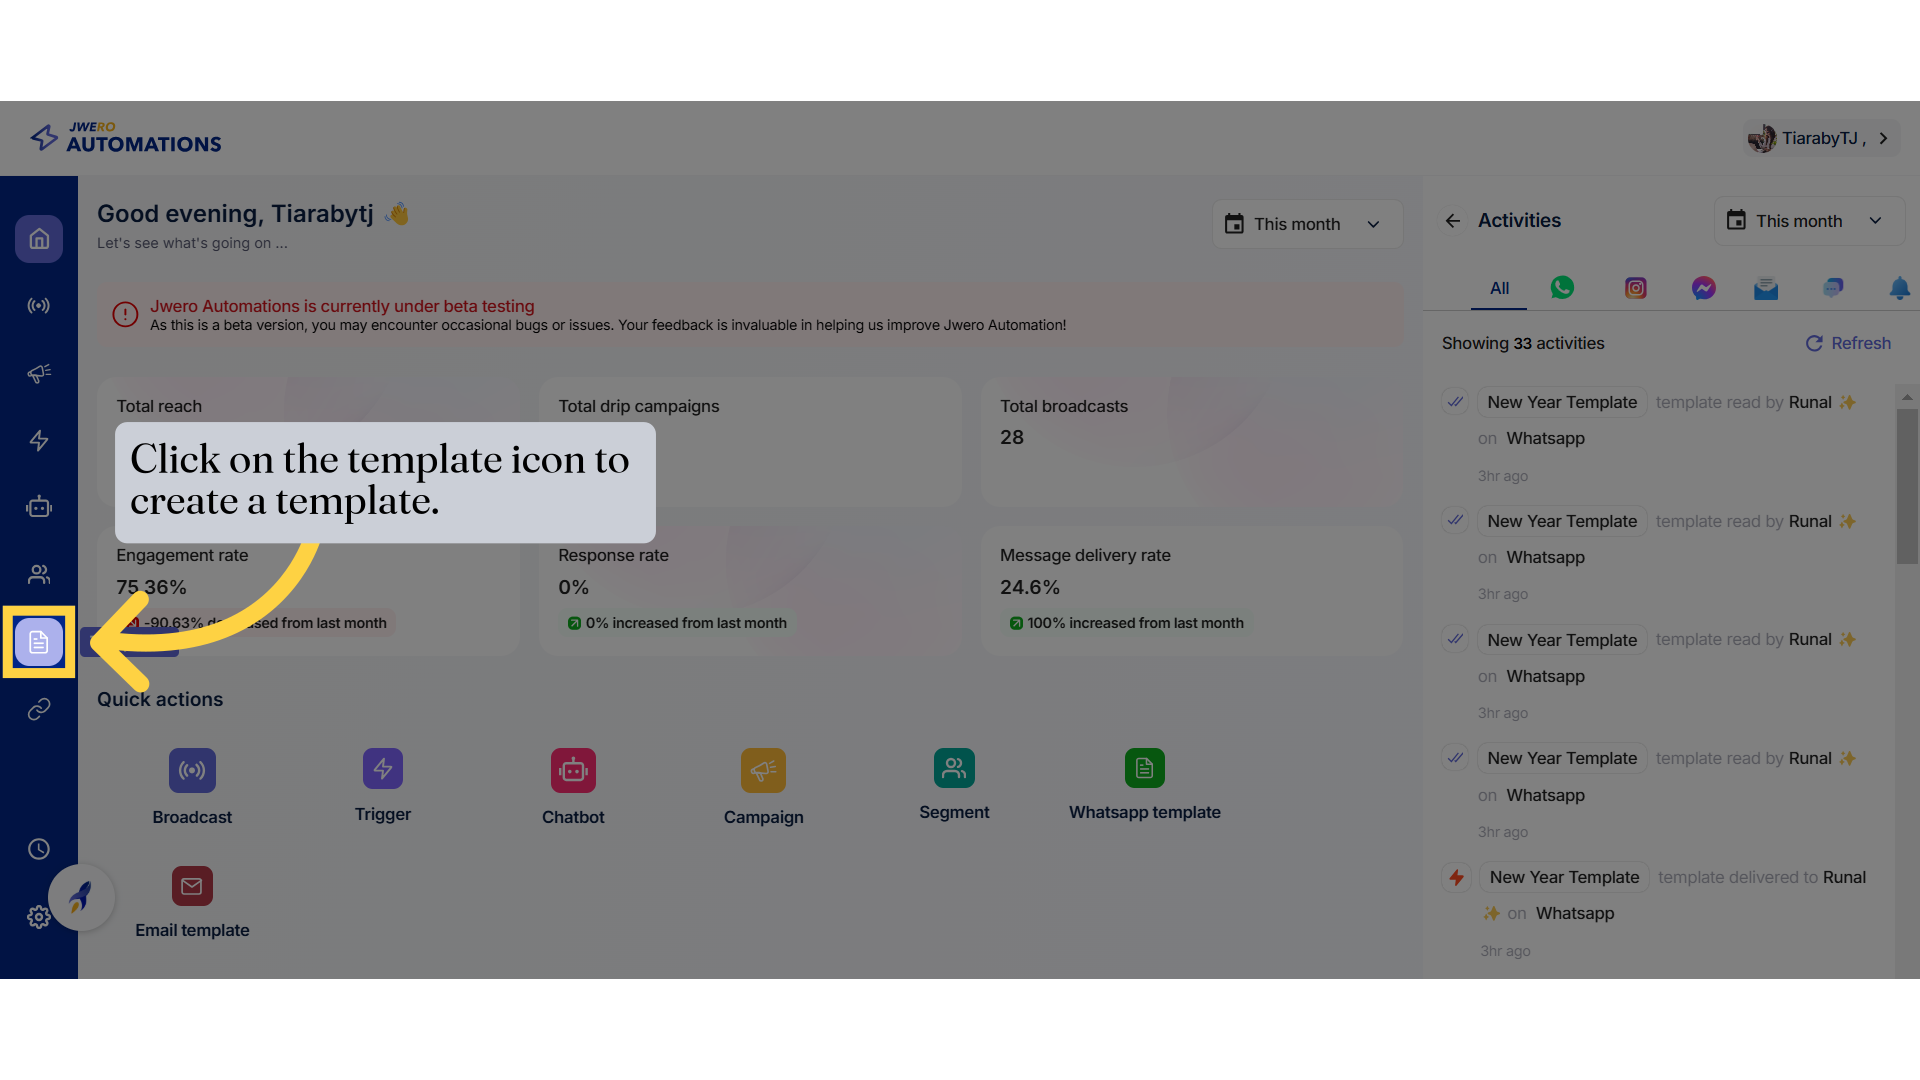
2. Click on the template icon to create a template.
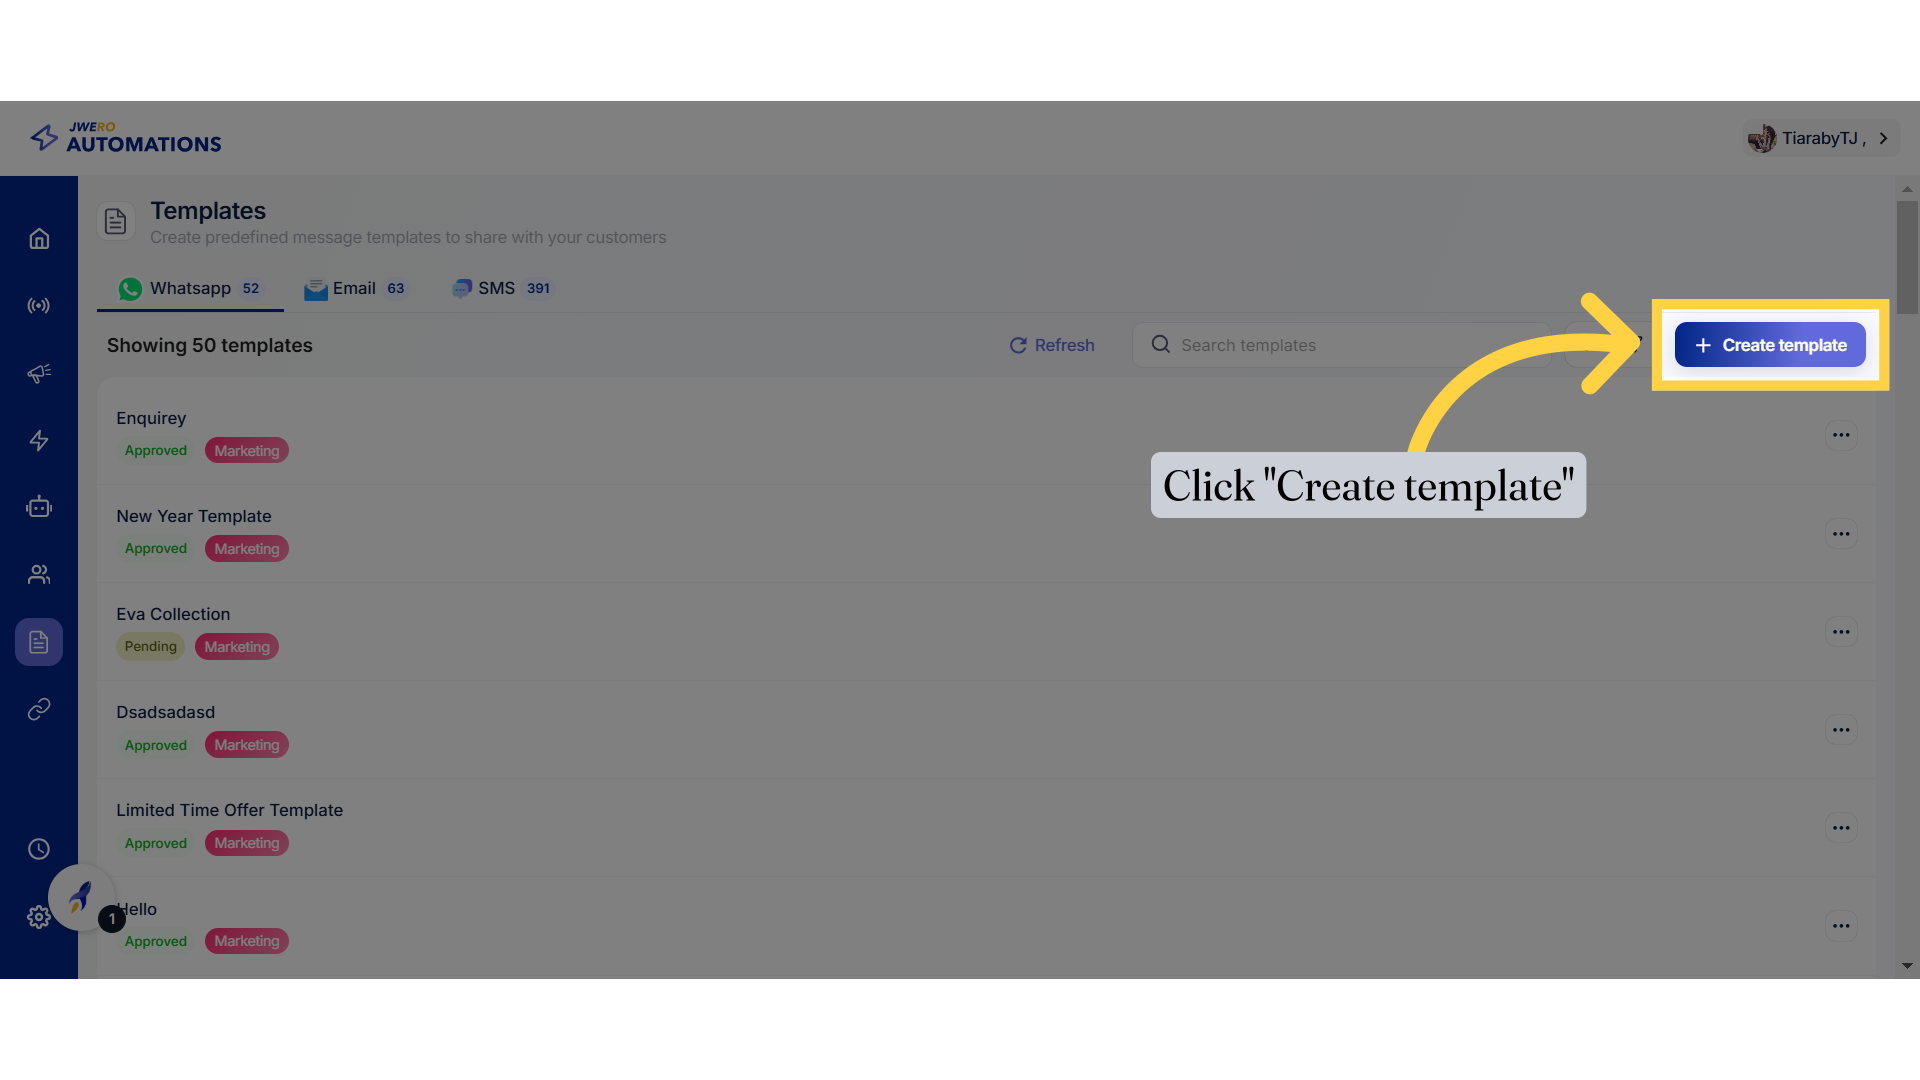
3. Click "Create template"
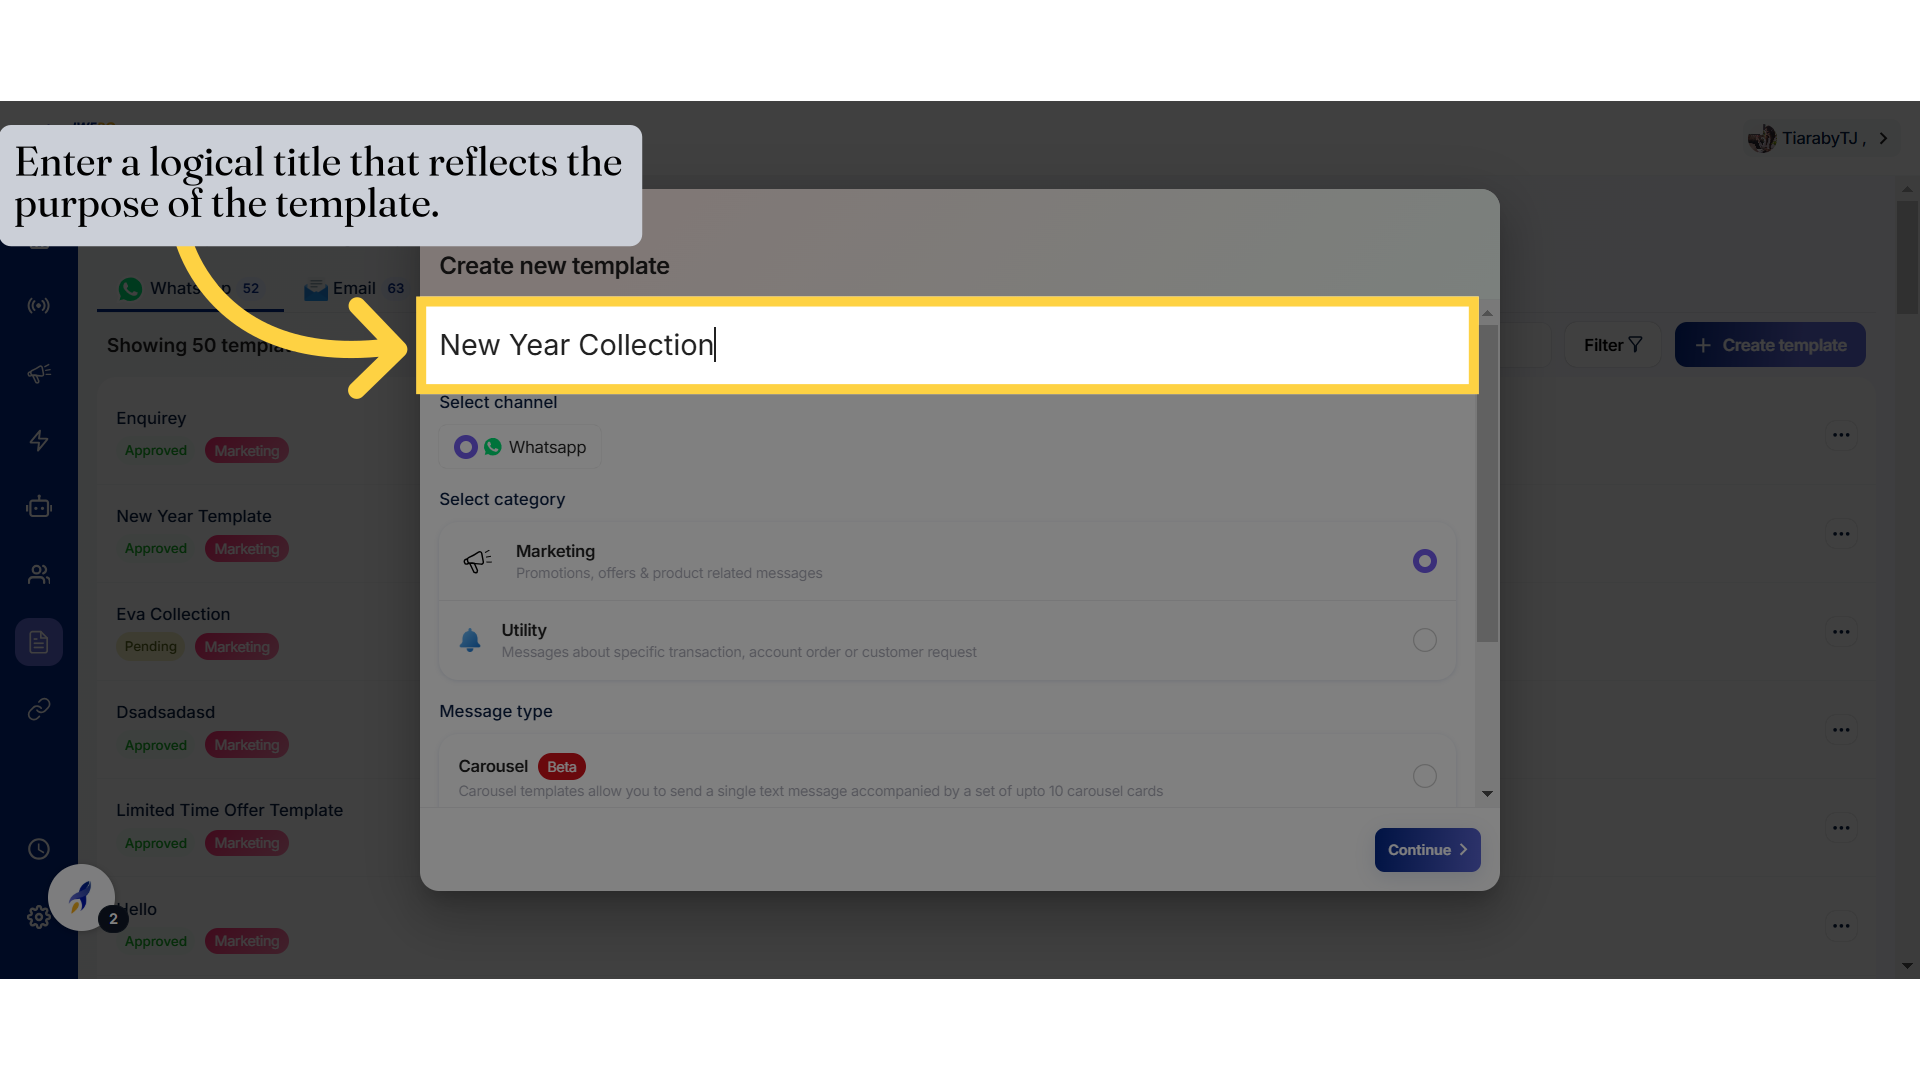
4. Enter a logical title that reflects the purpose of the template.
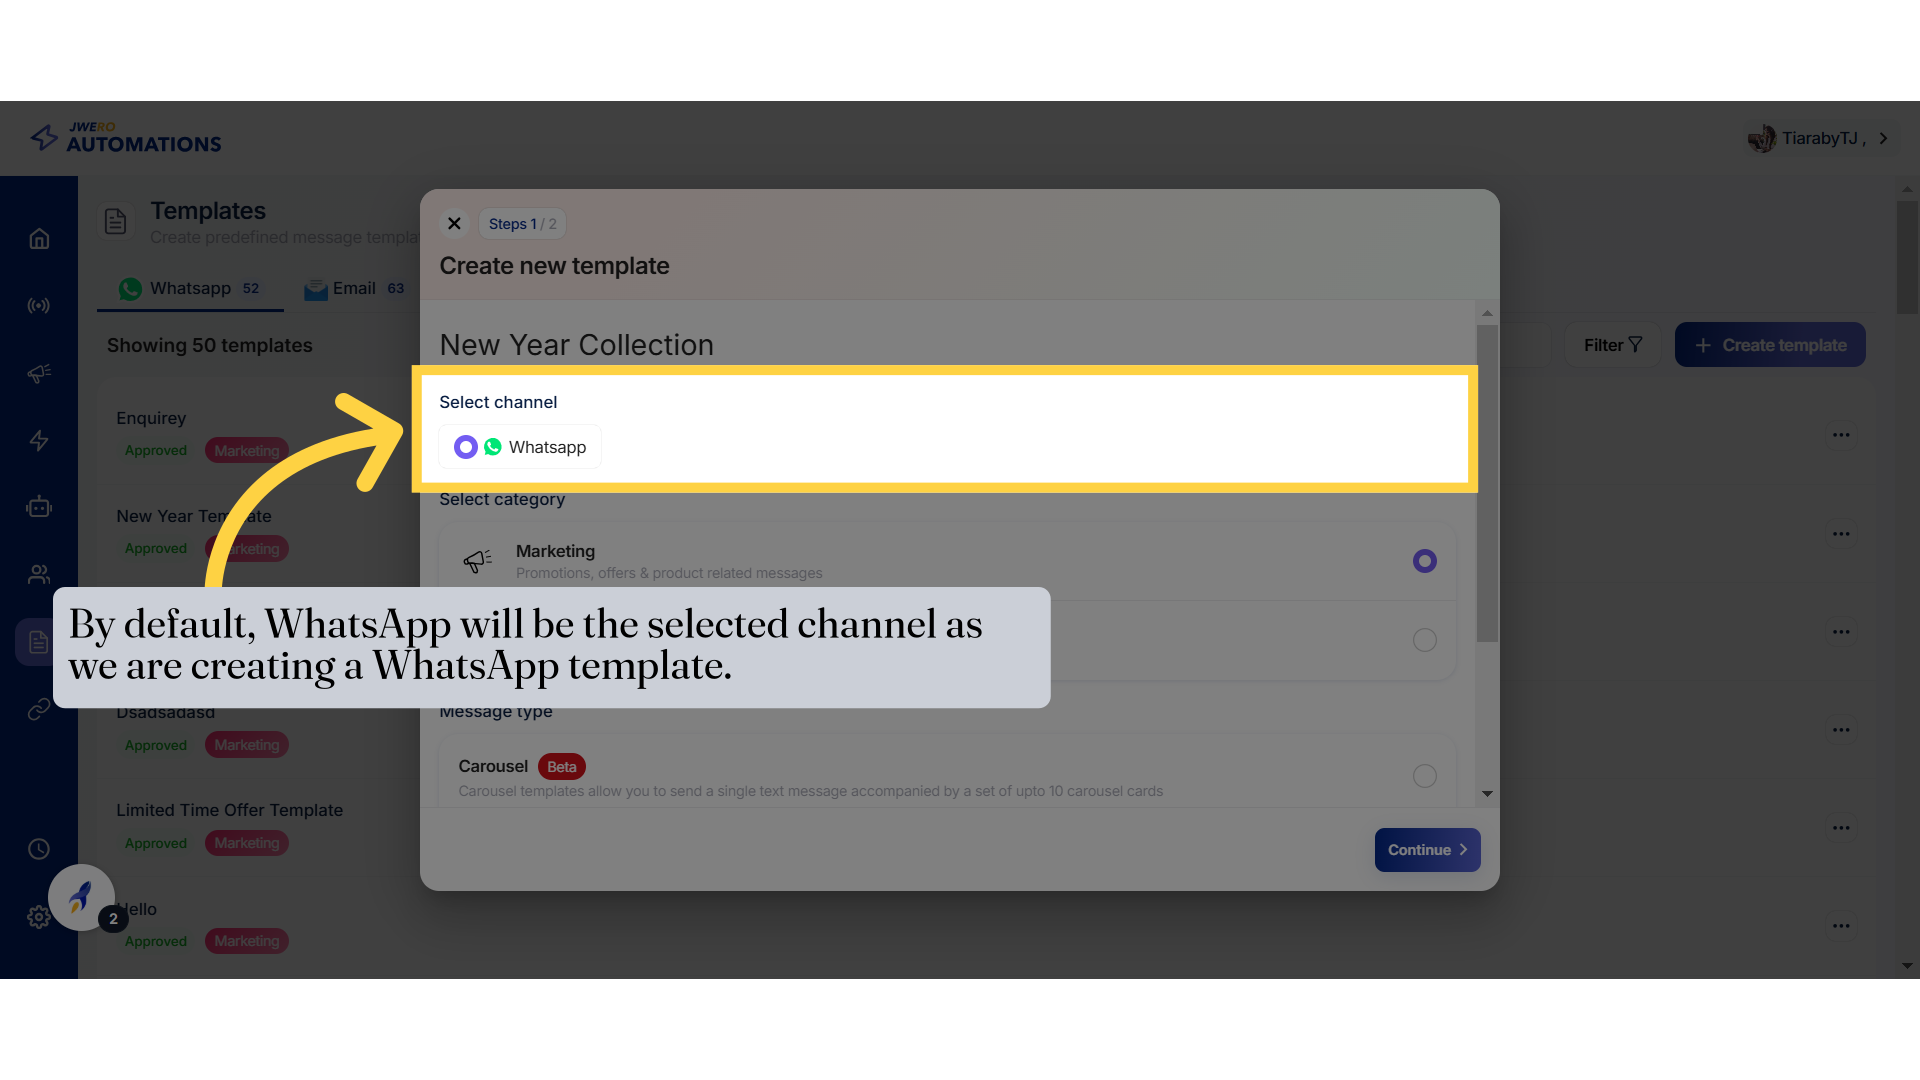
5. By default, WhatsApp will be the selected channel as we are creating a WhatsApp template.
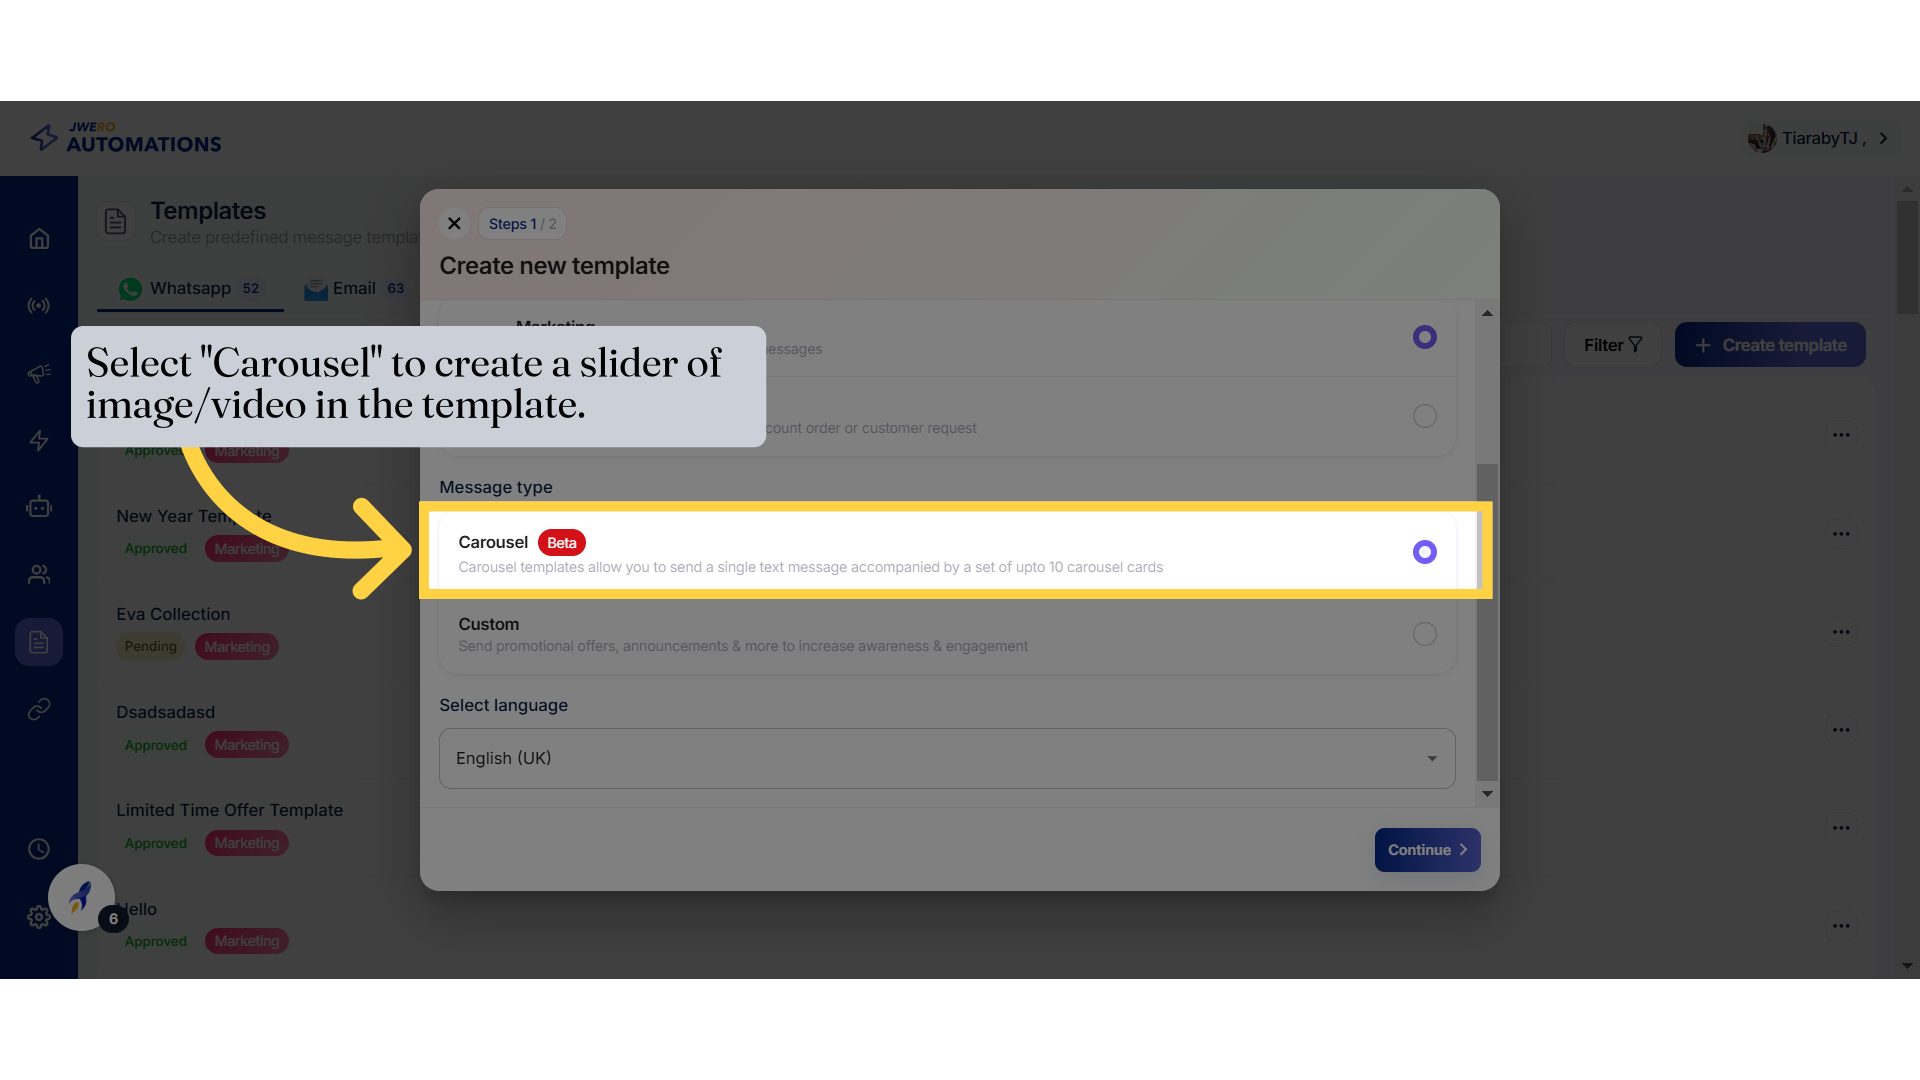
7. Select "Carousel" to create a slider of image/video in the template.
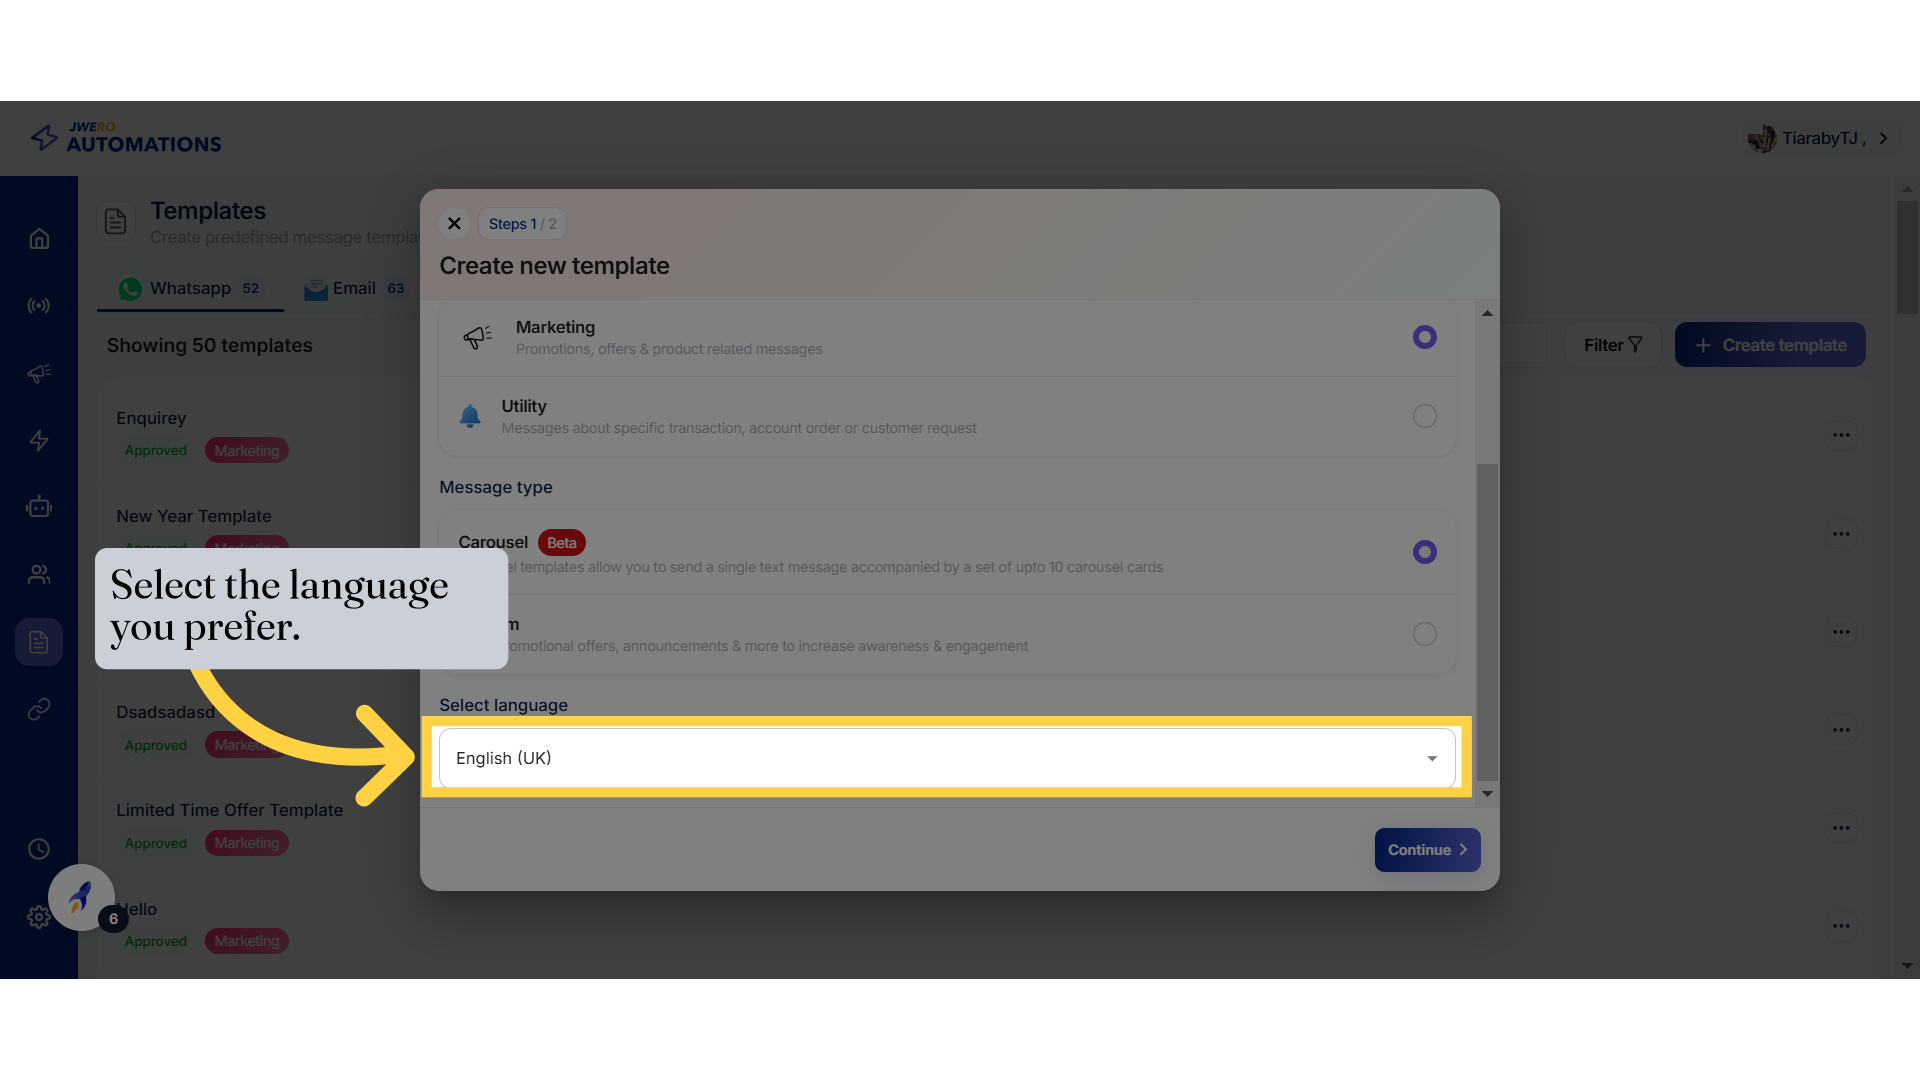
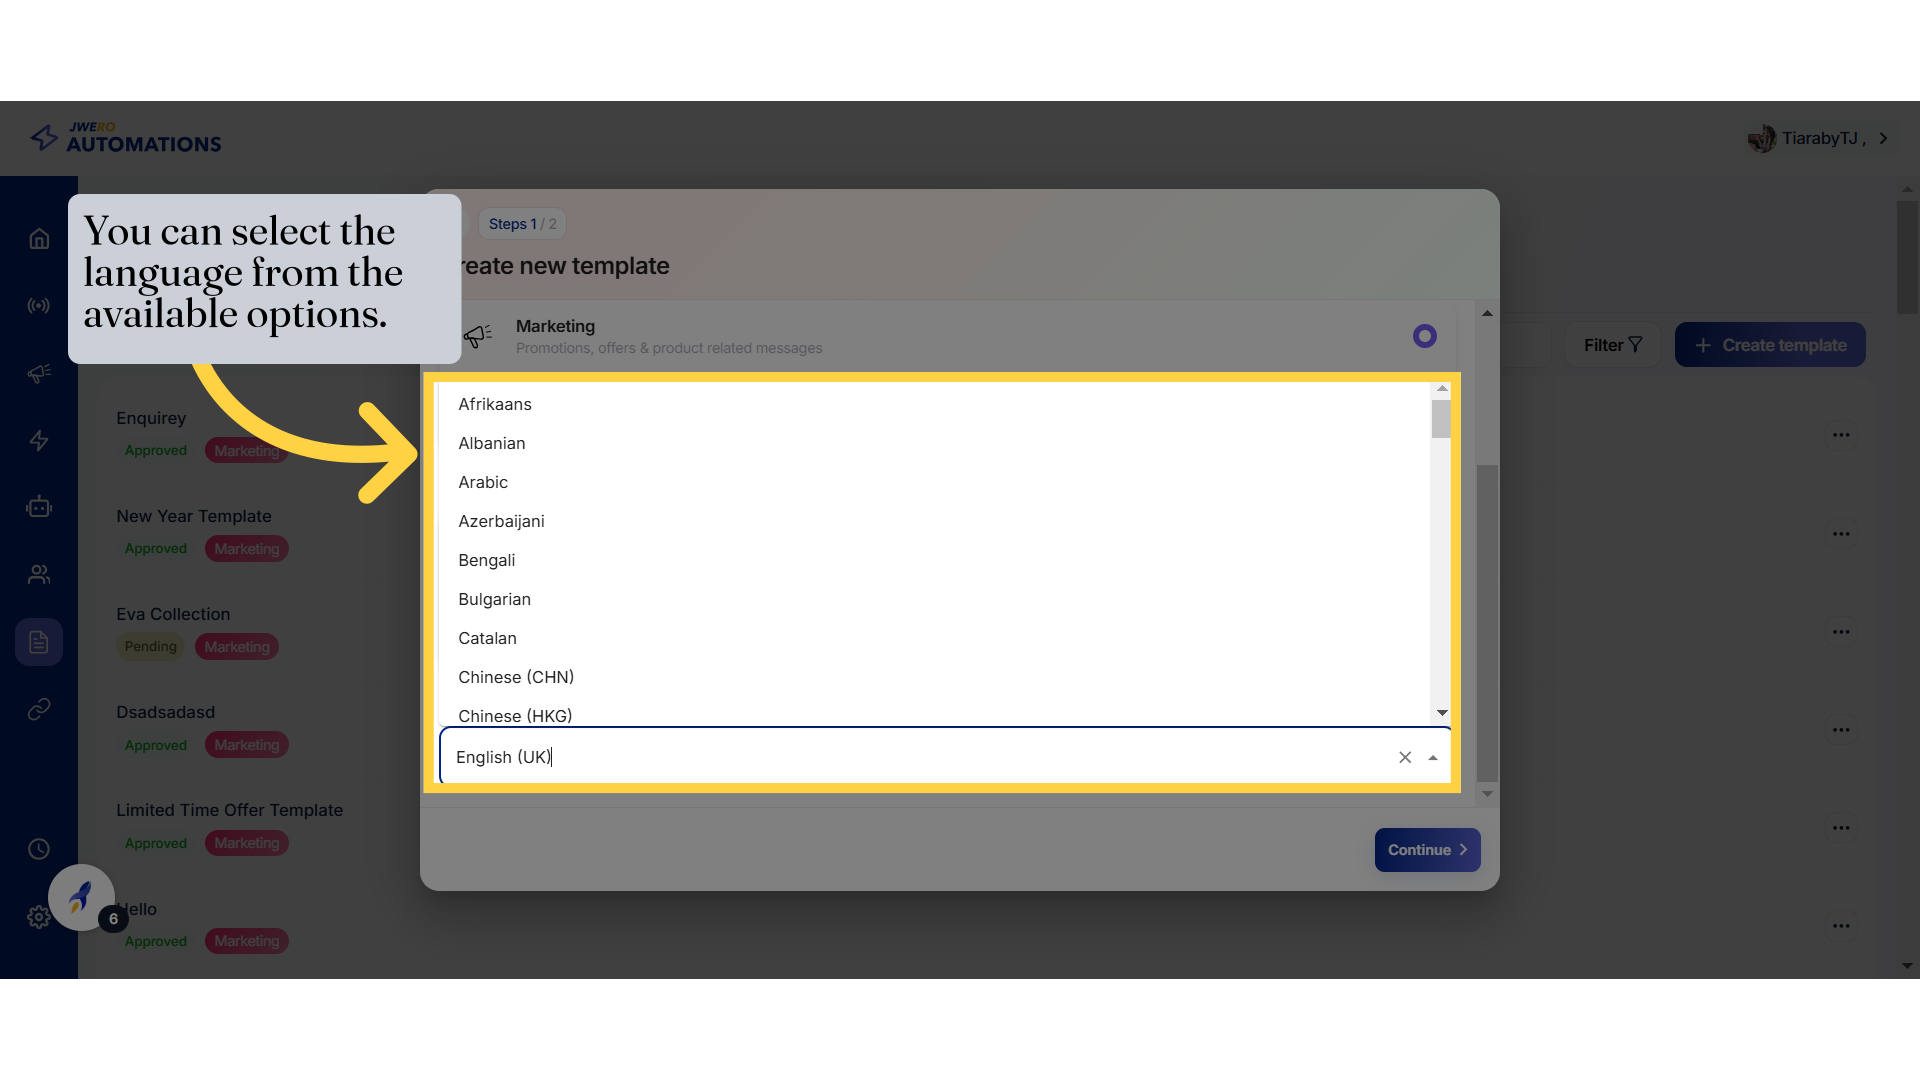
8. Select the language you prefer.
9. You can select the language from the available options.
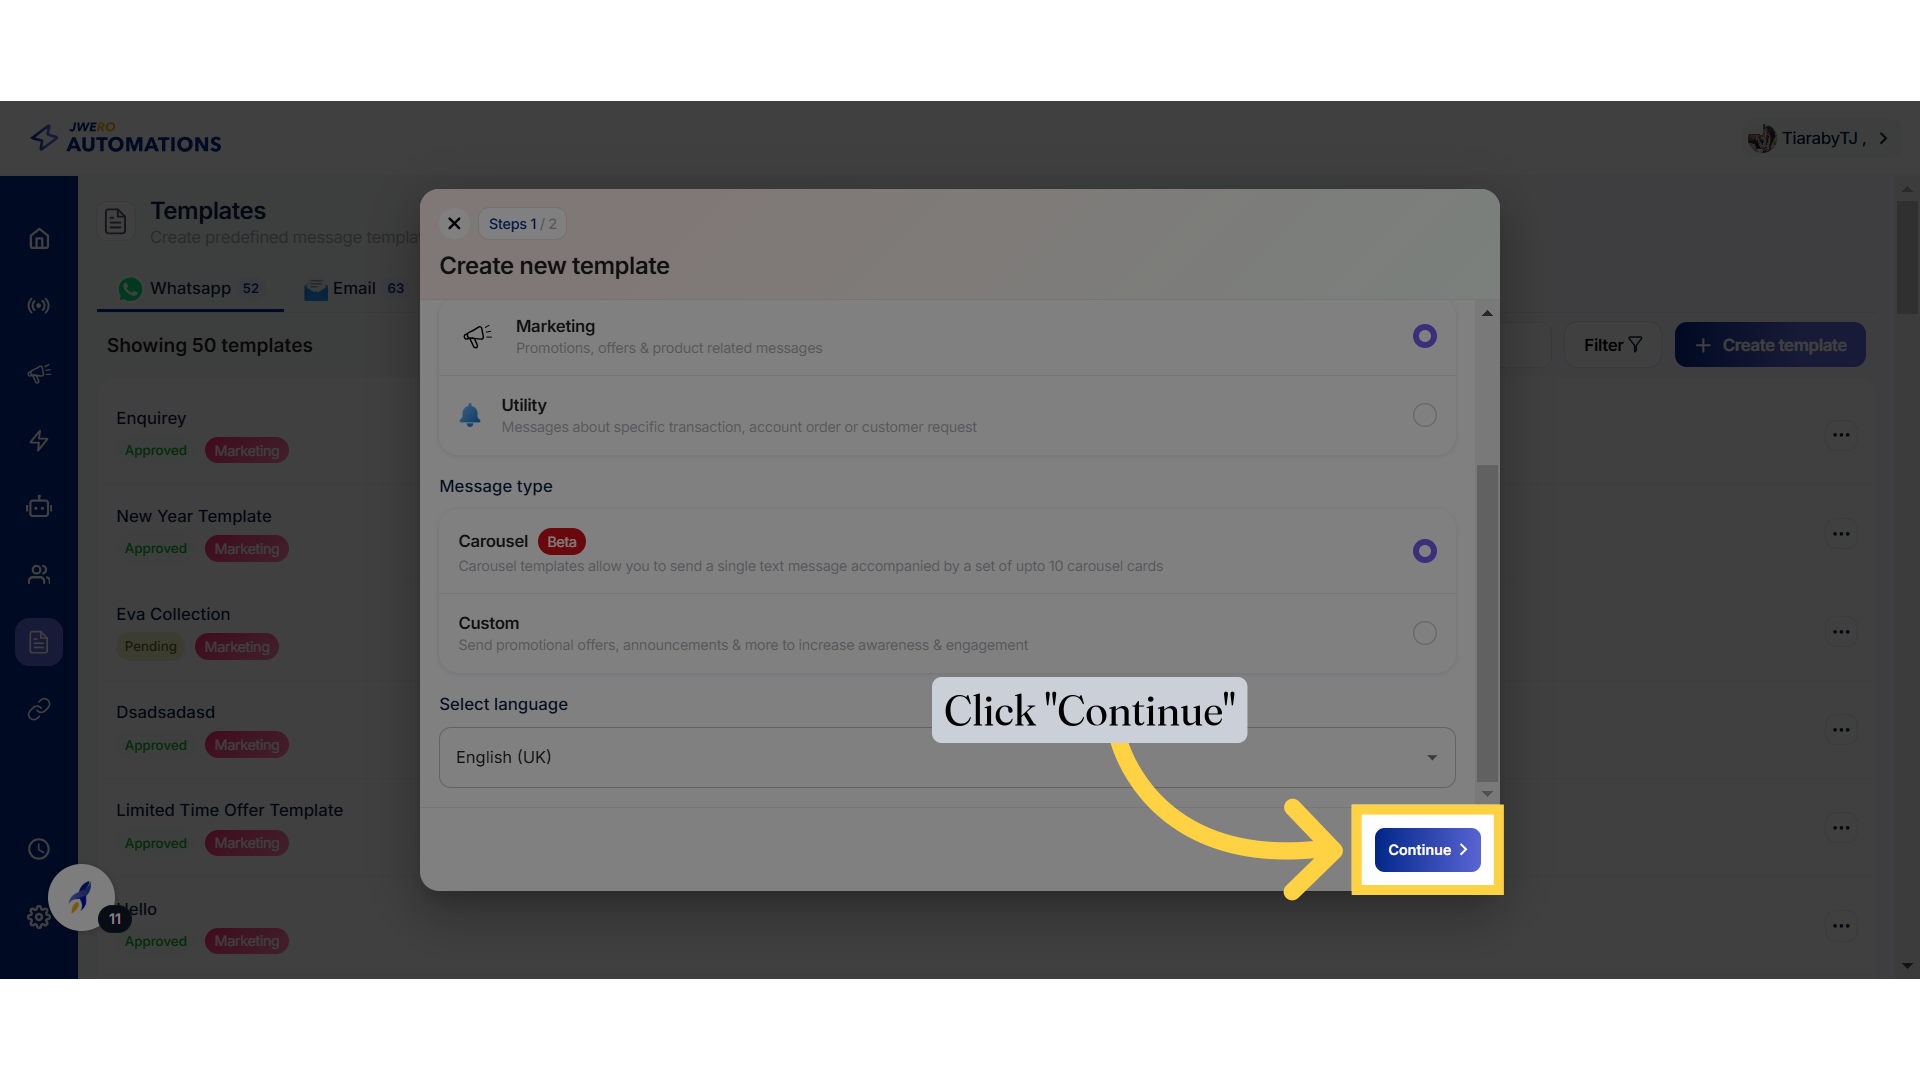
10. Click "Continue"
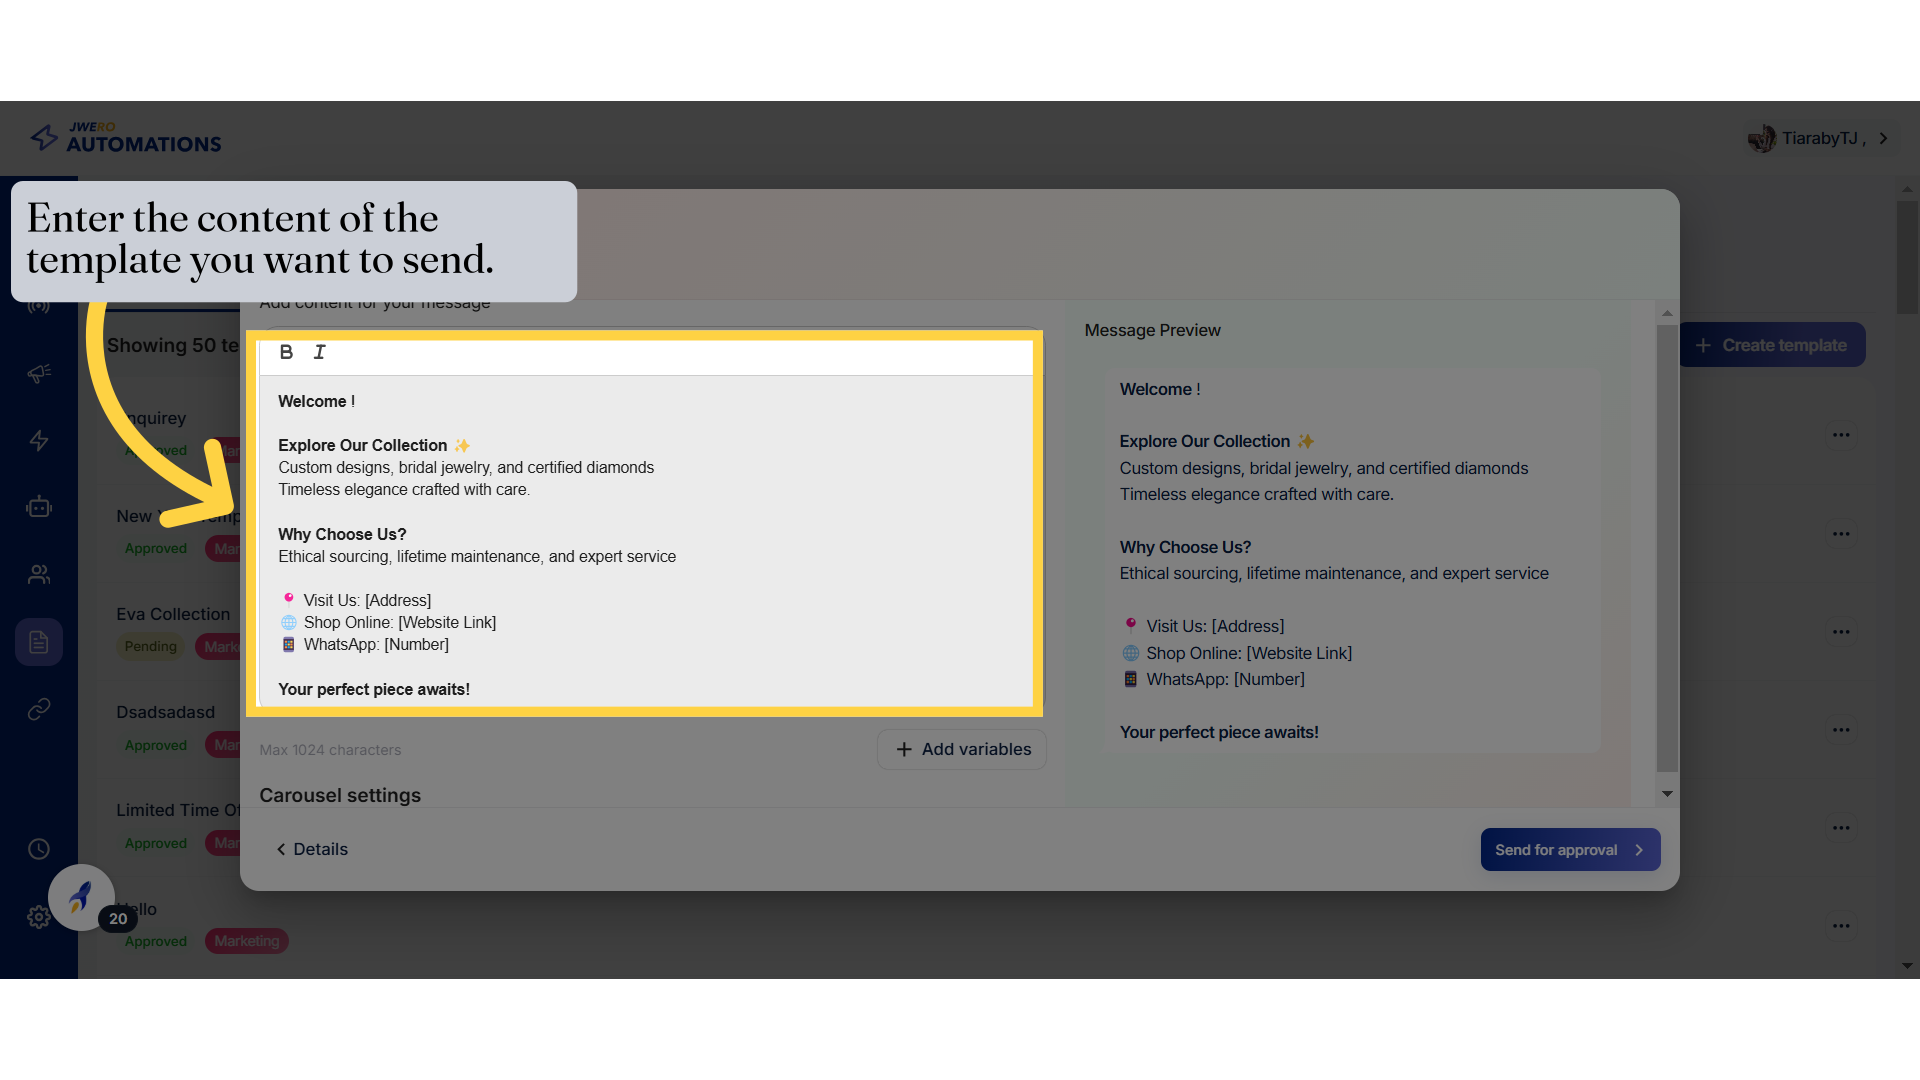
11. Template Content
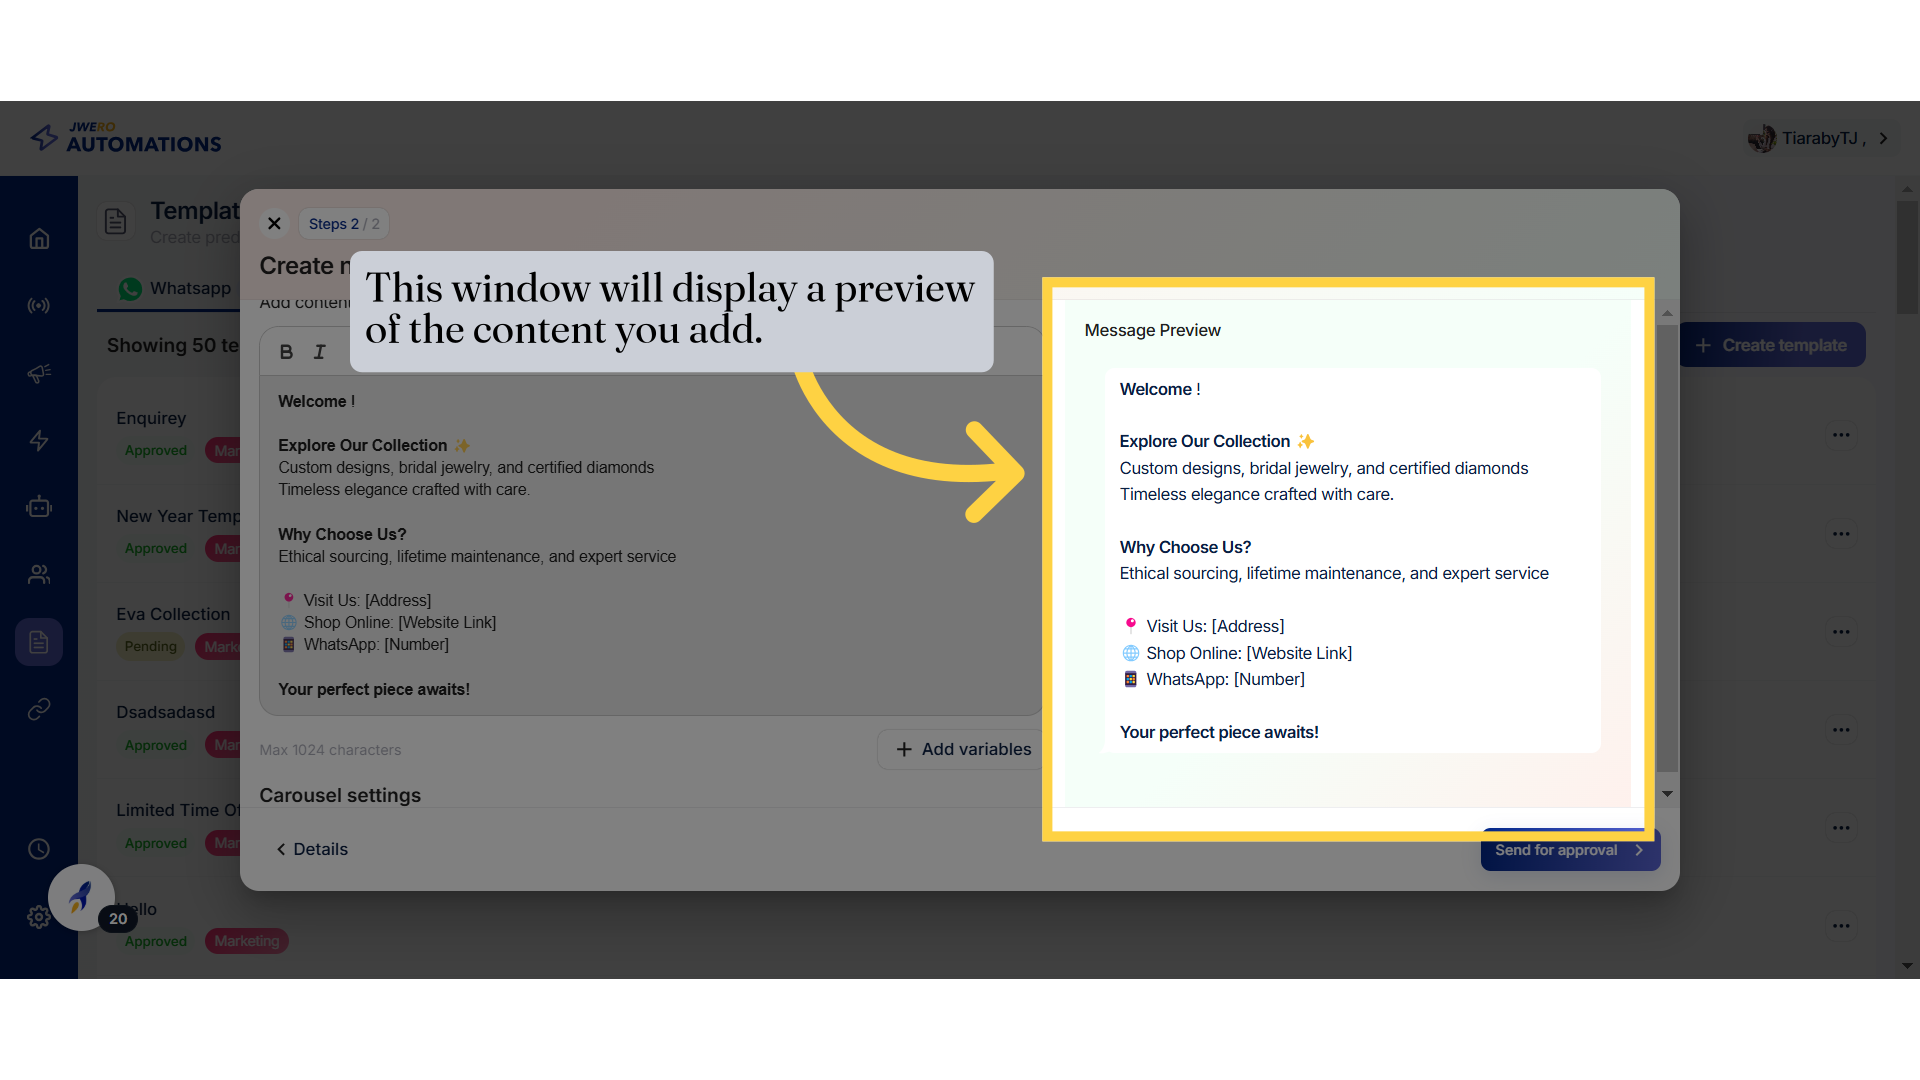
12. Message Preview
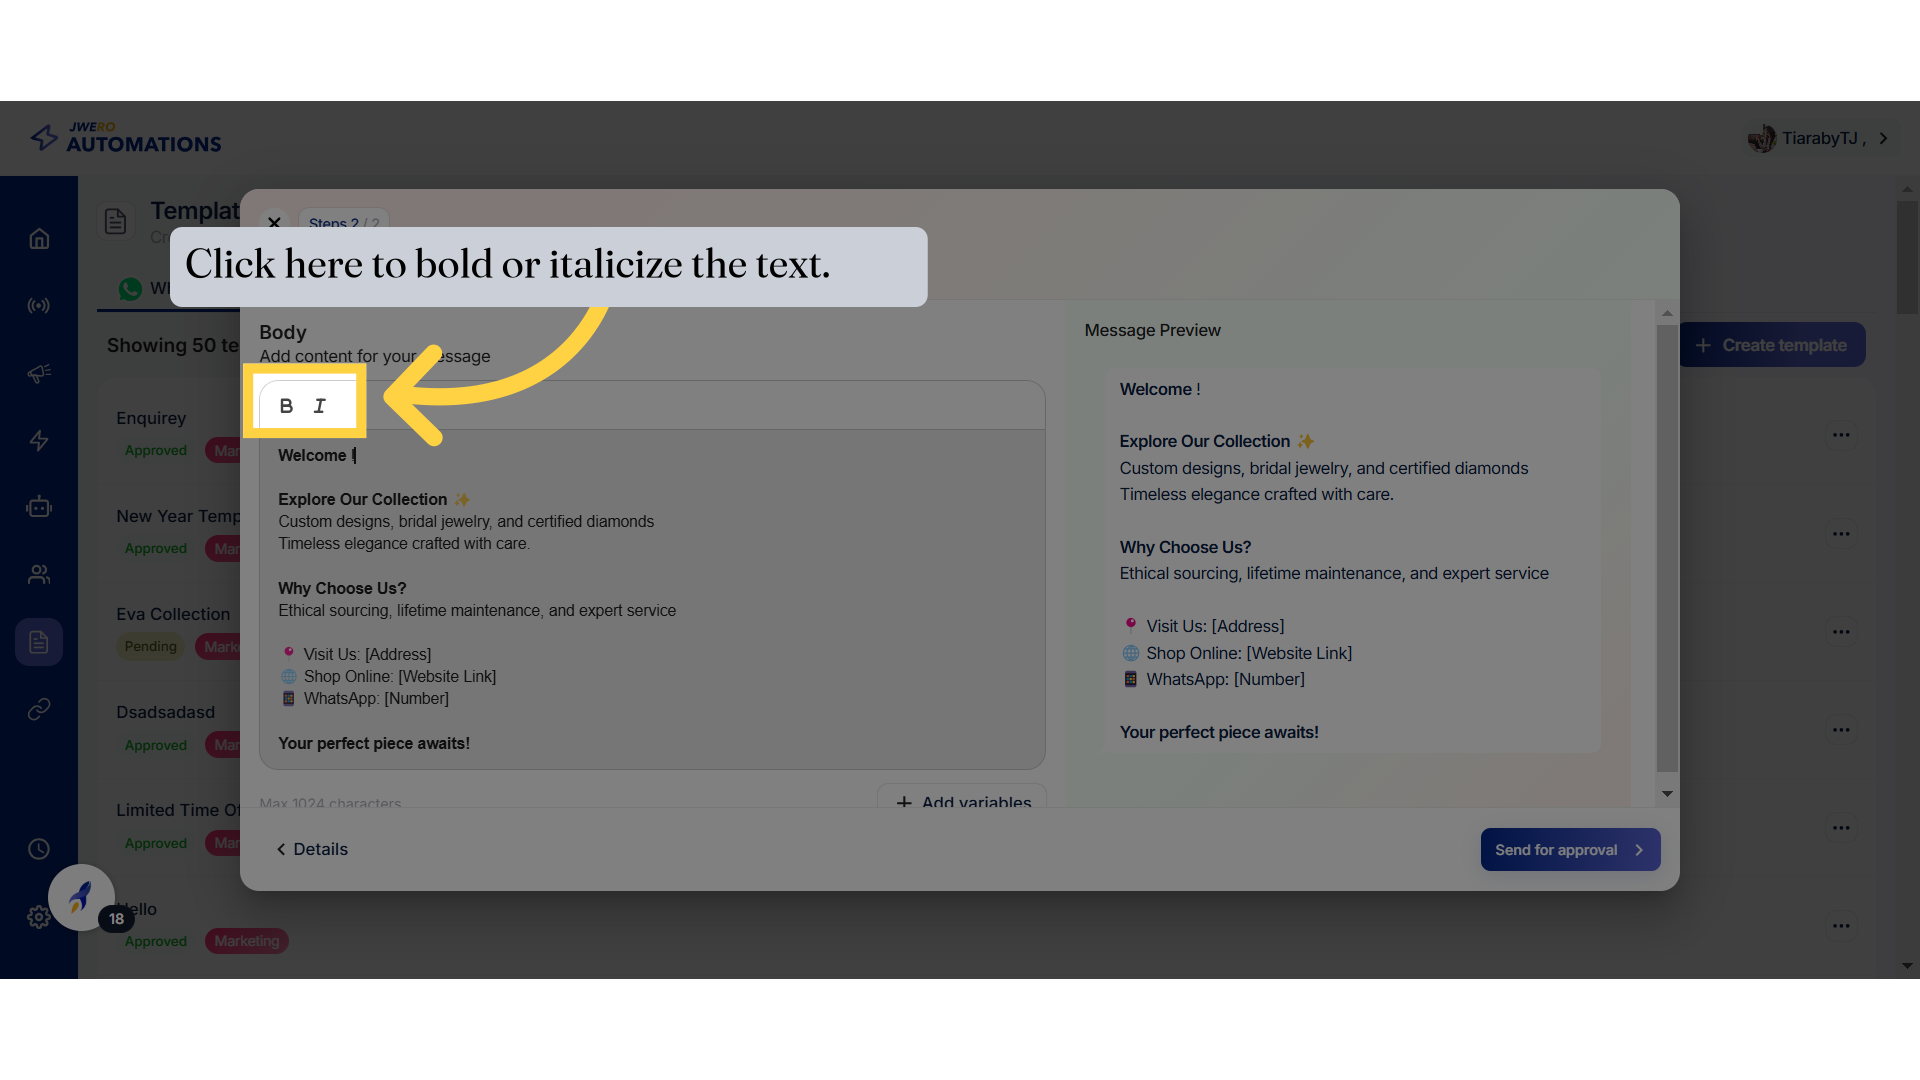
13. Click here to bold or italicize the text.
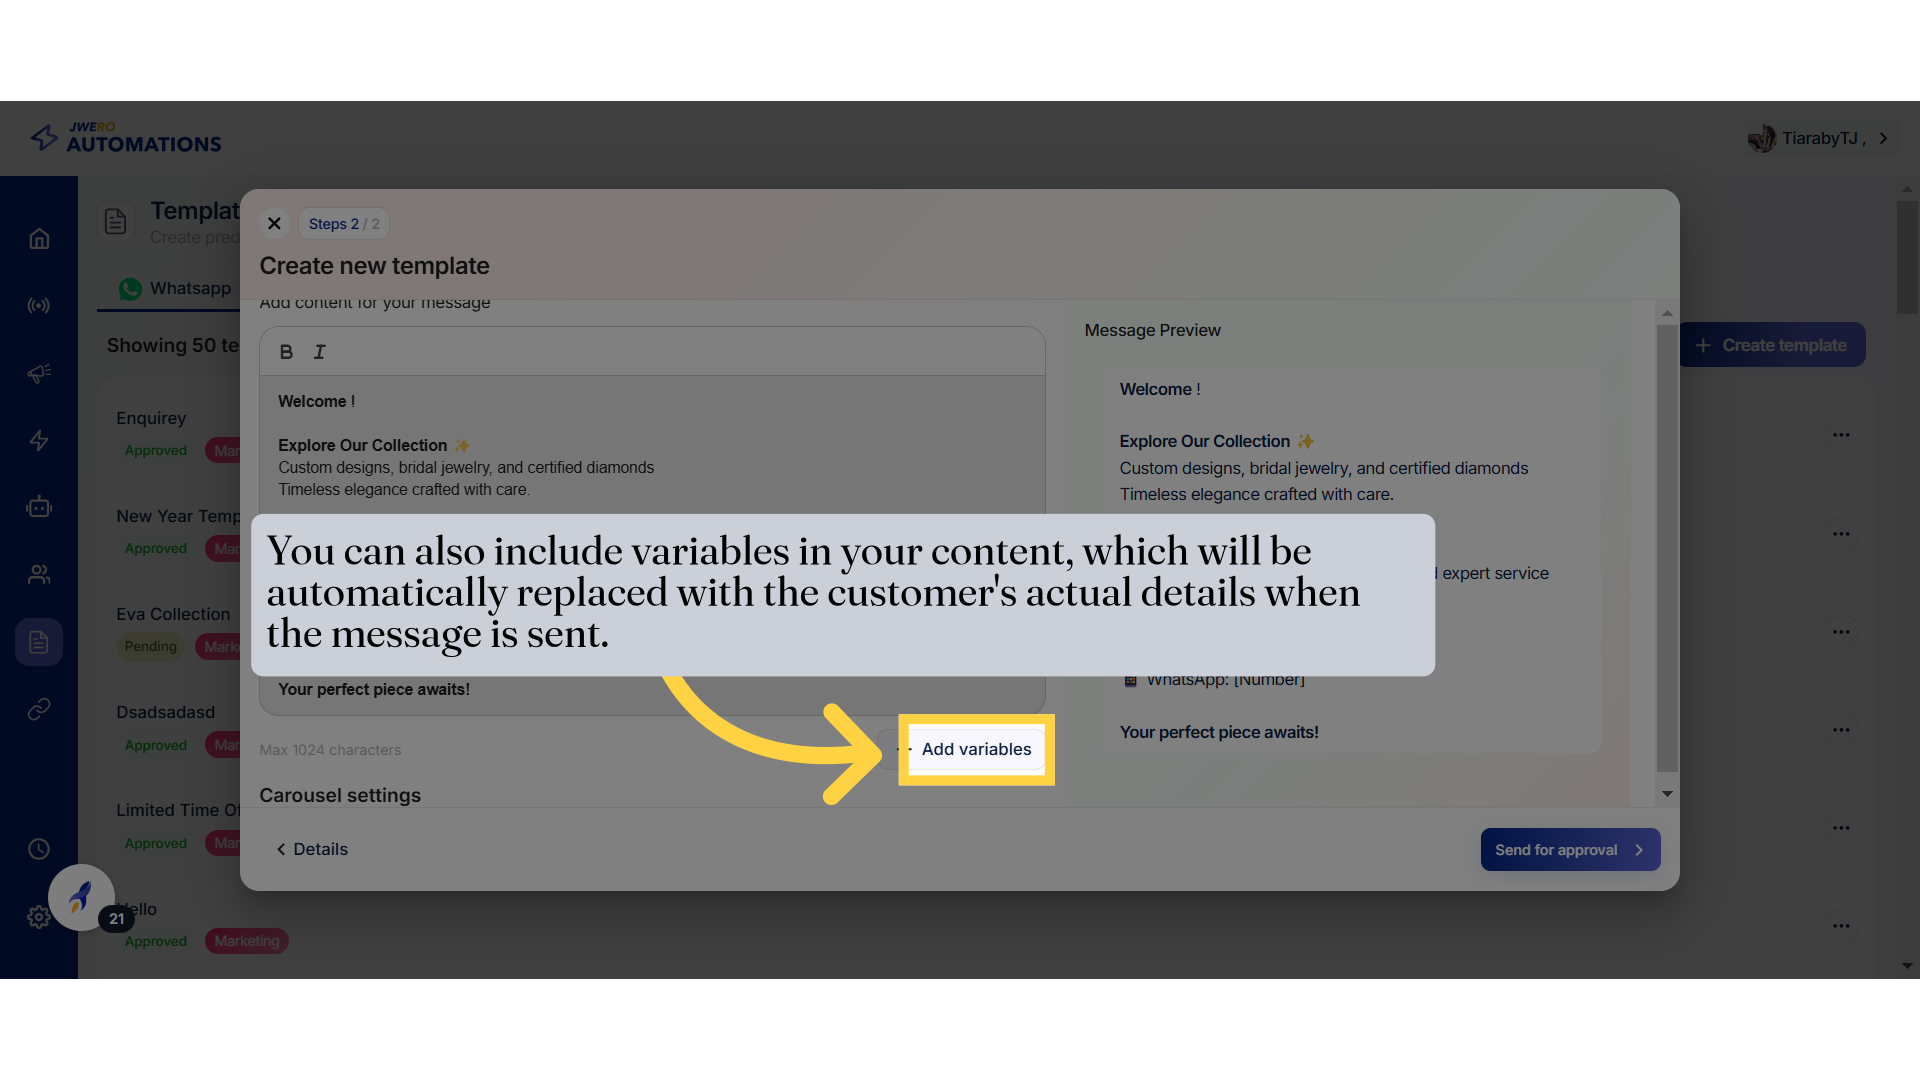
14. Add Variables
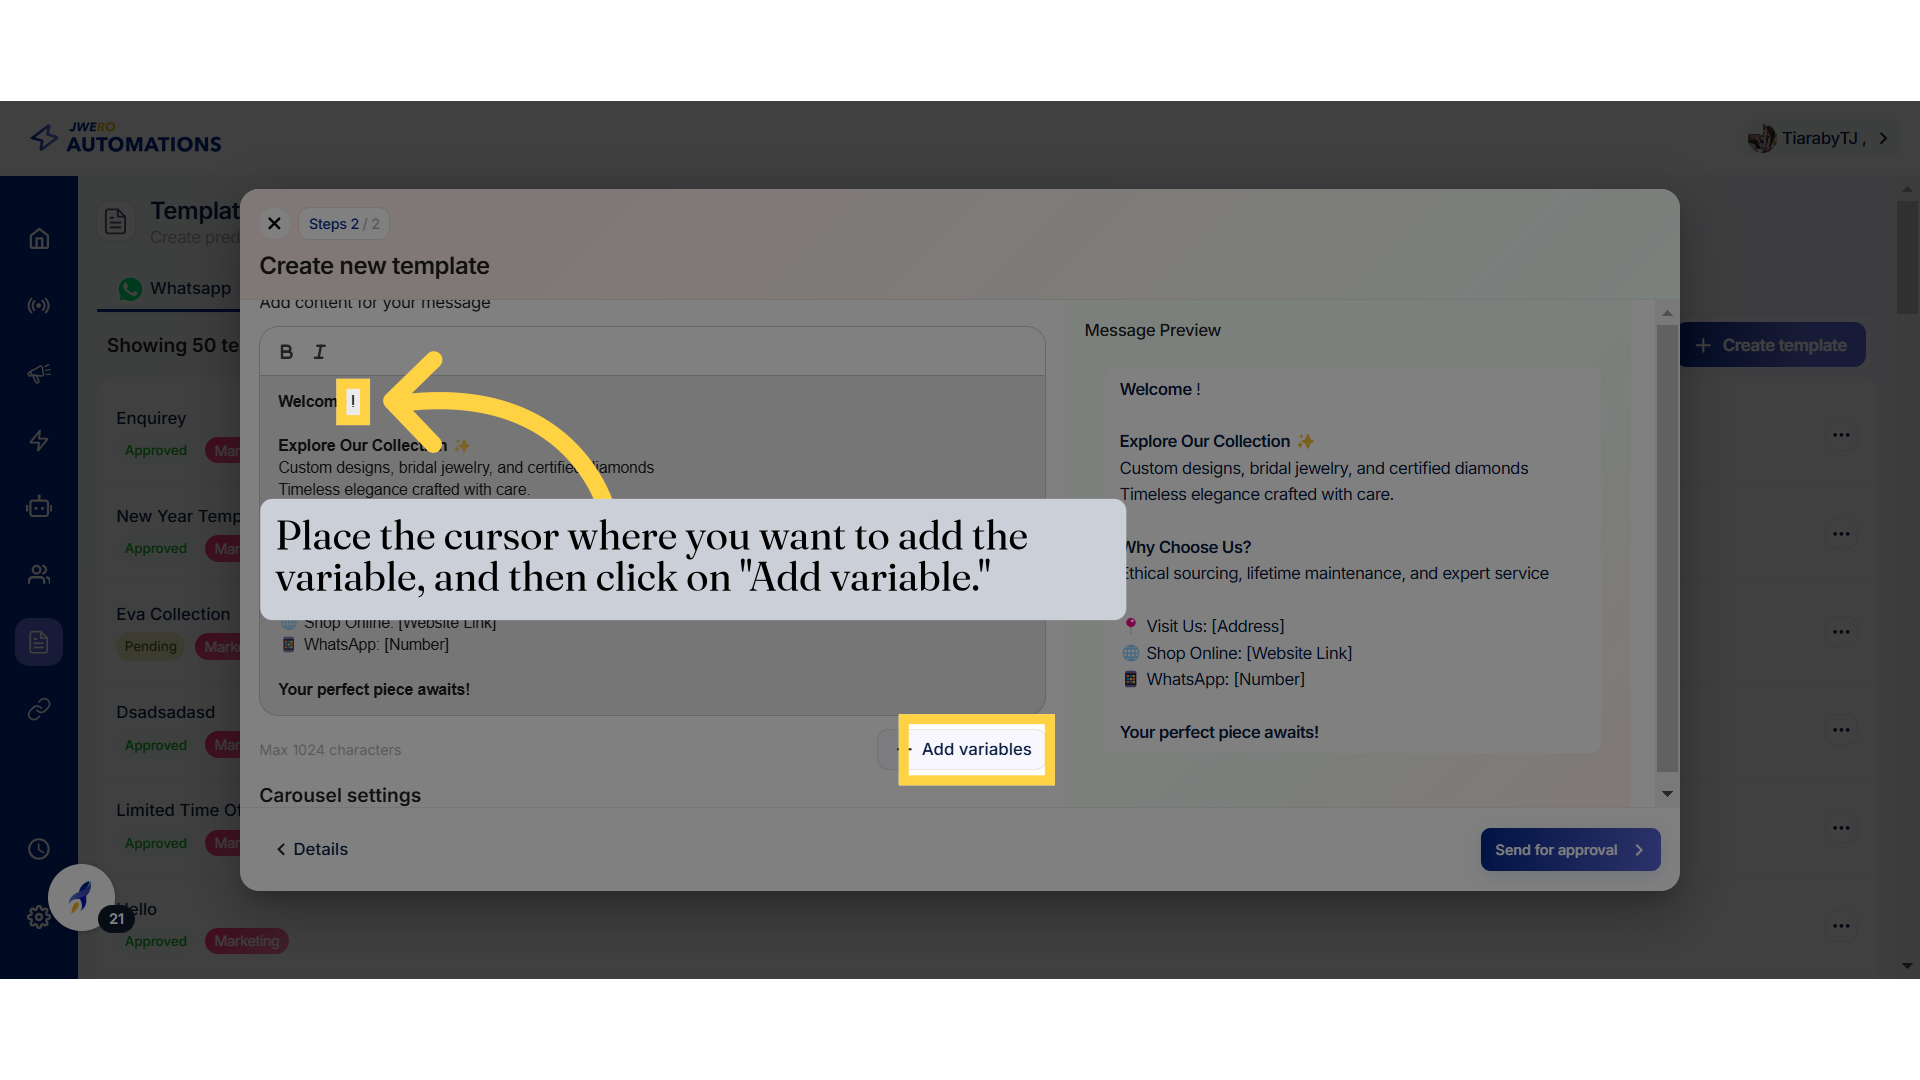
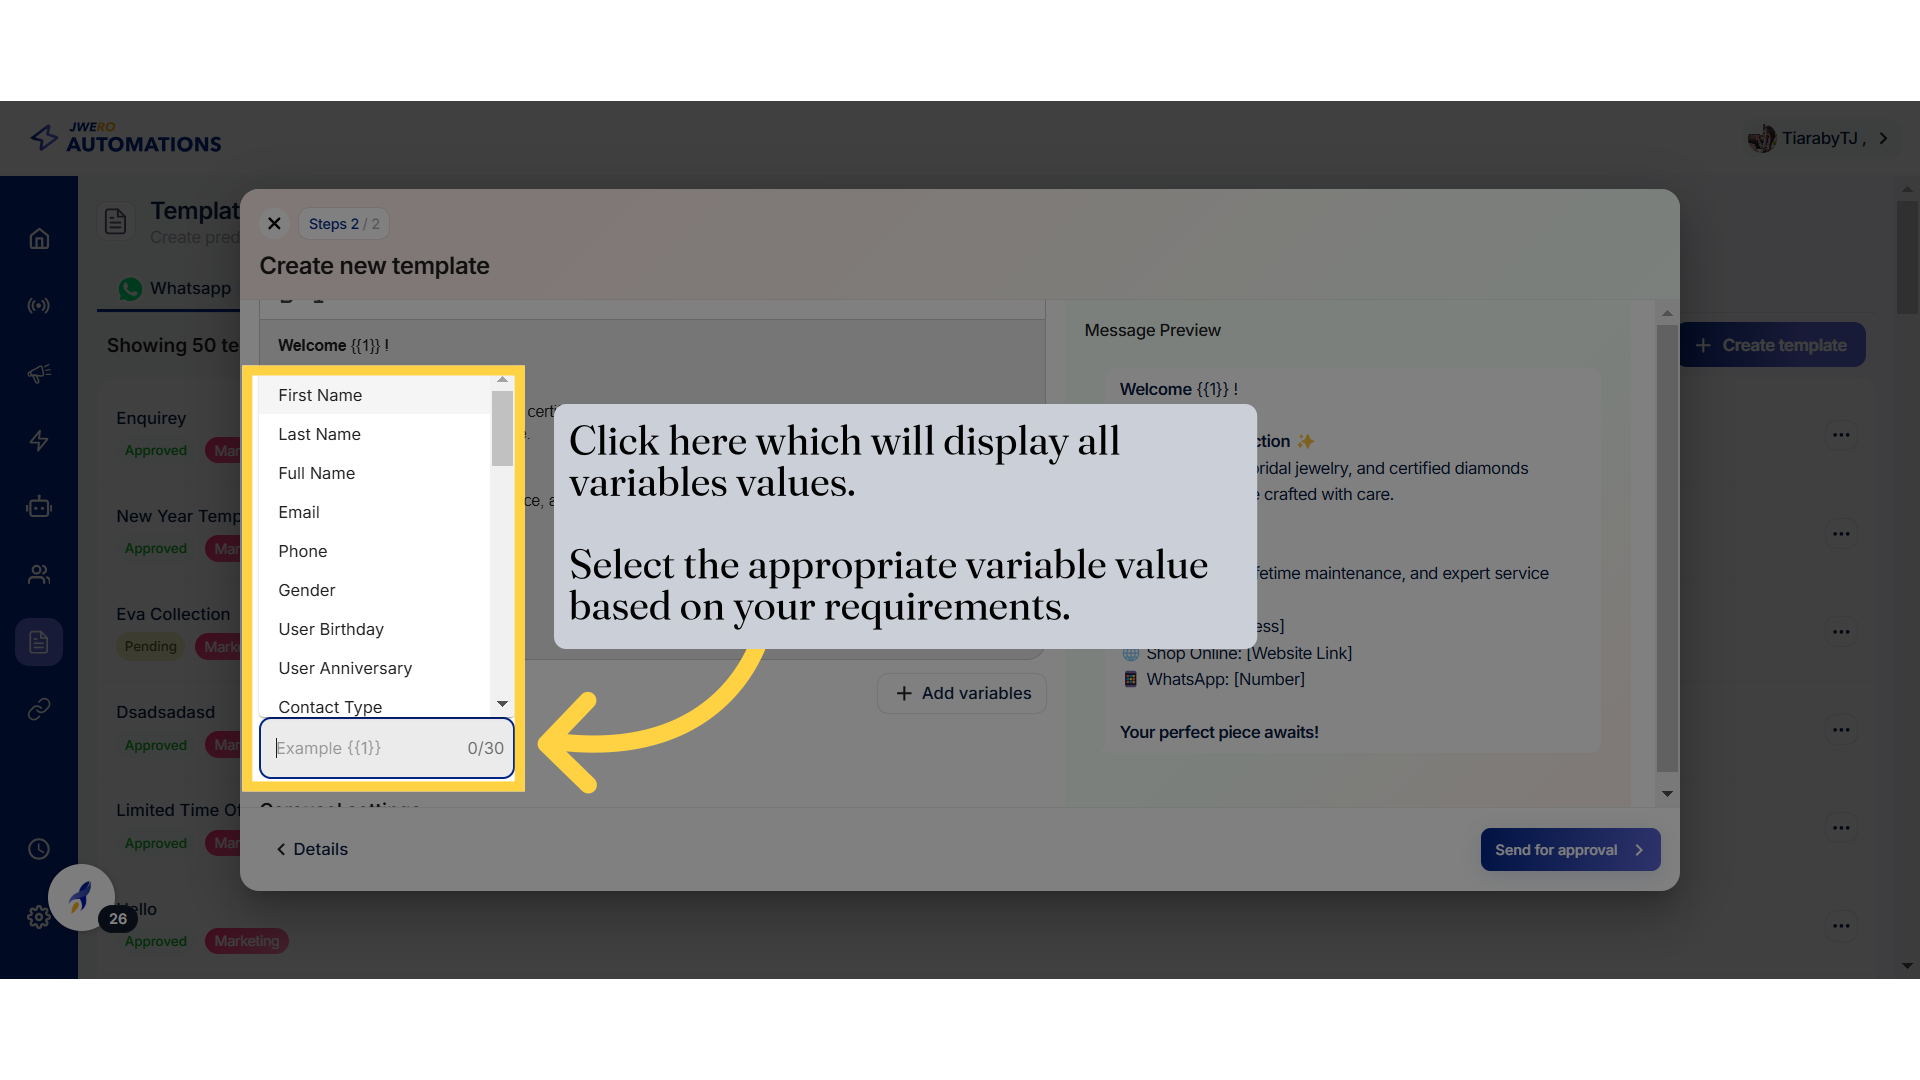
15. Place the cursor where you want to add the variable, and then click on "Add variable."
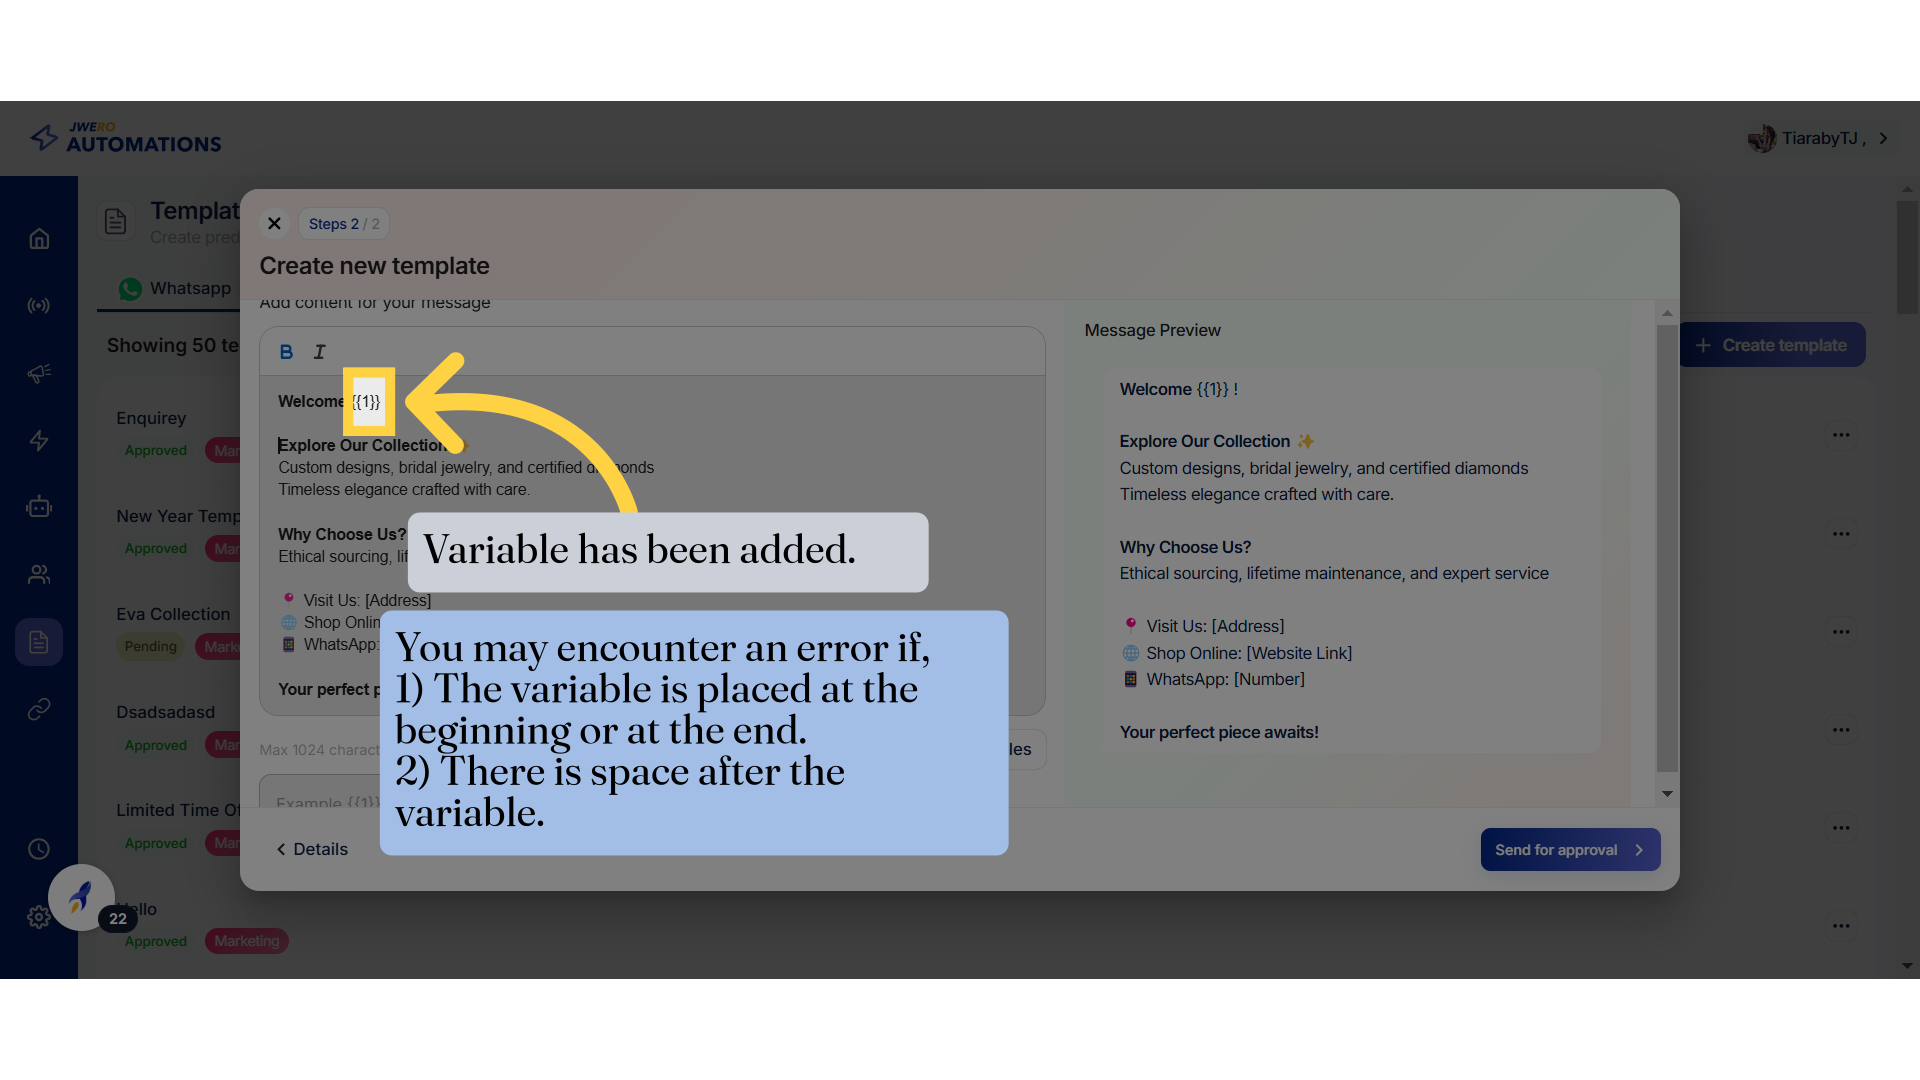
16. Variable has been added.
17. Variables values
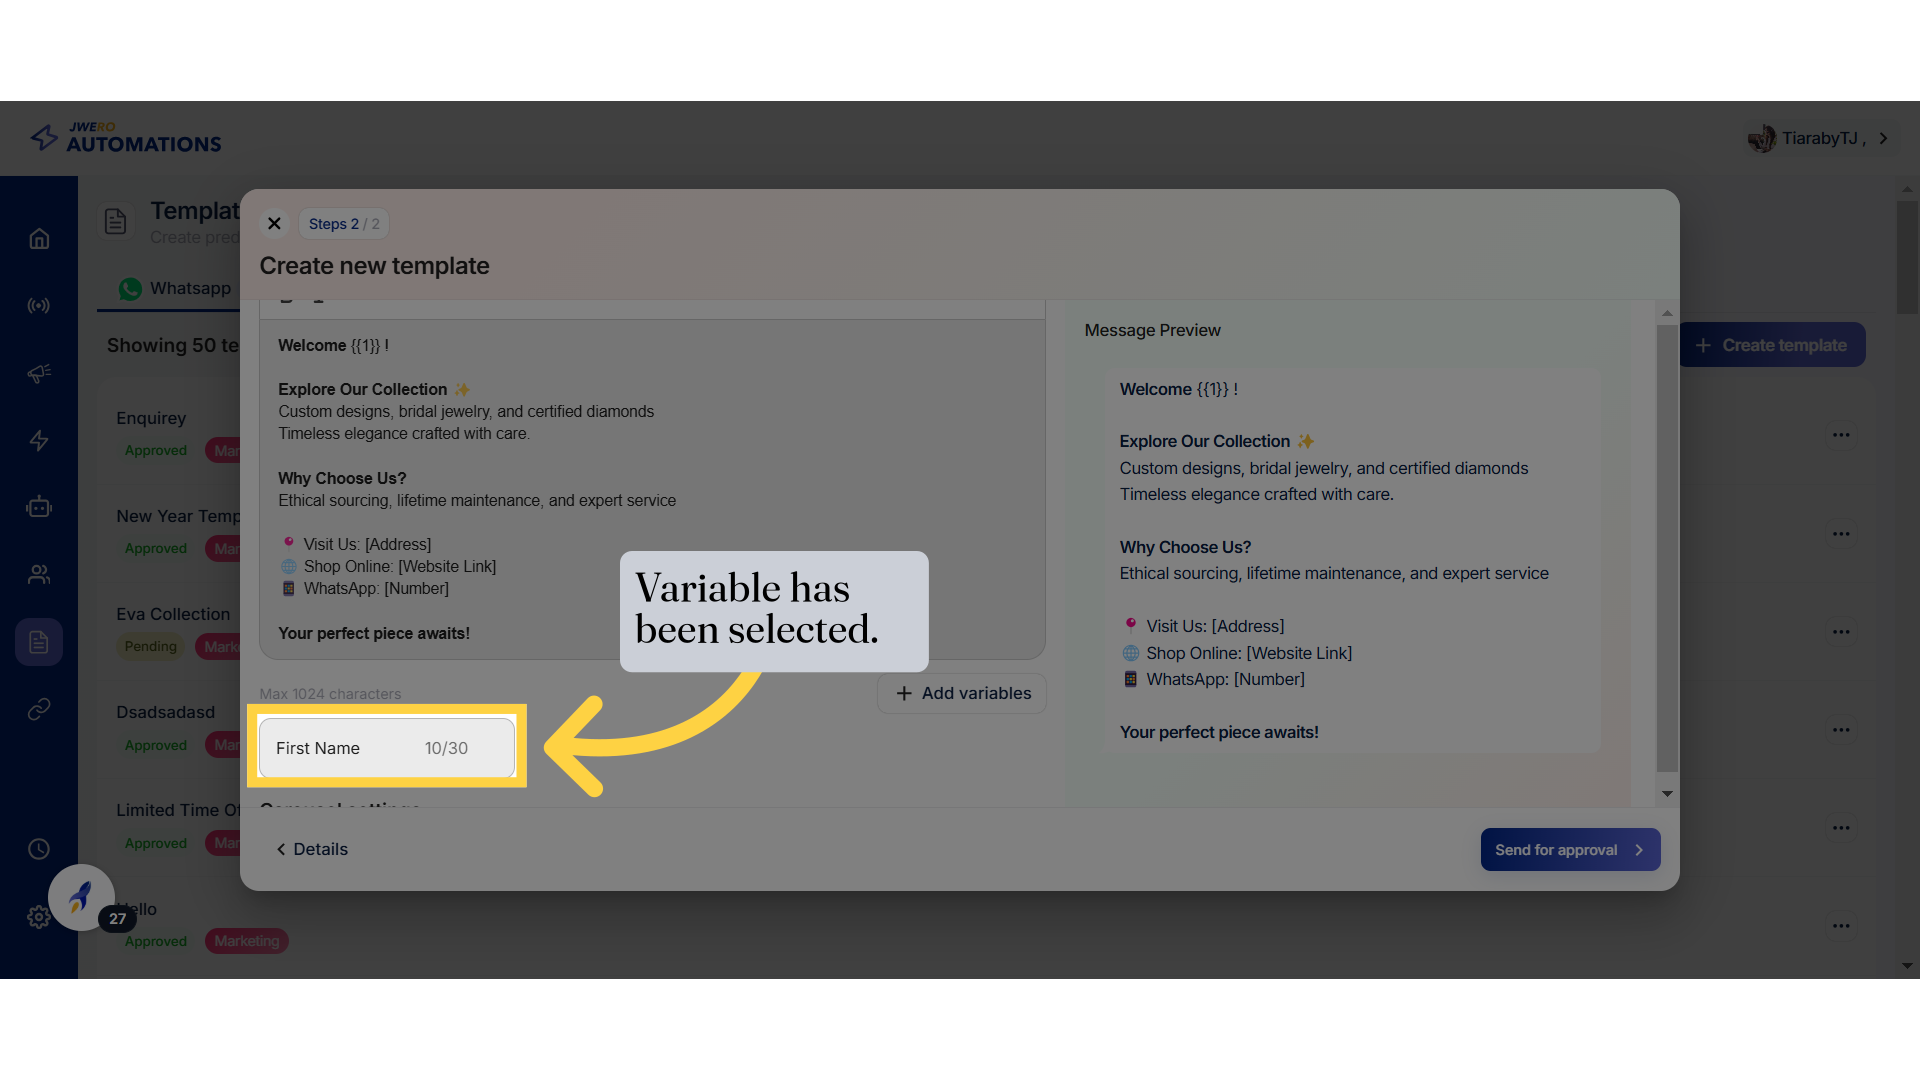
18. Variable has been selected.
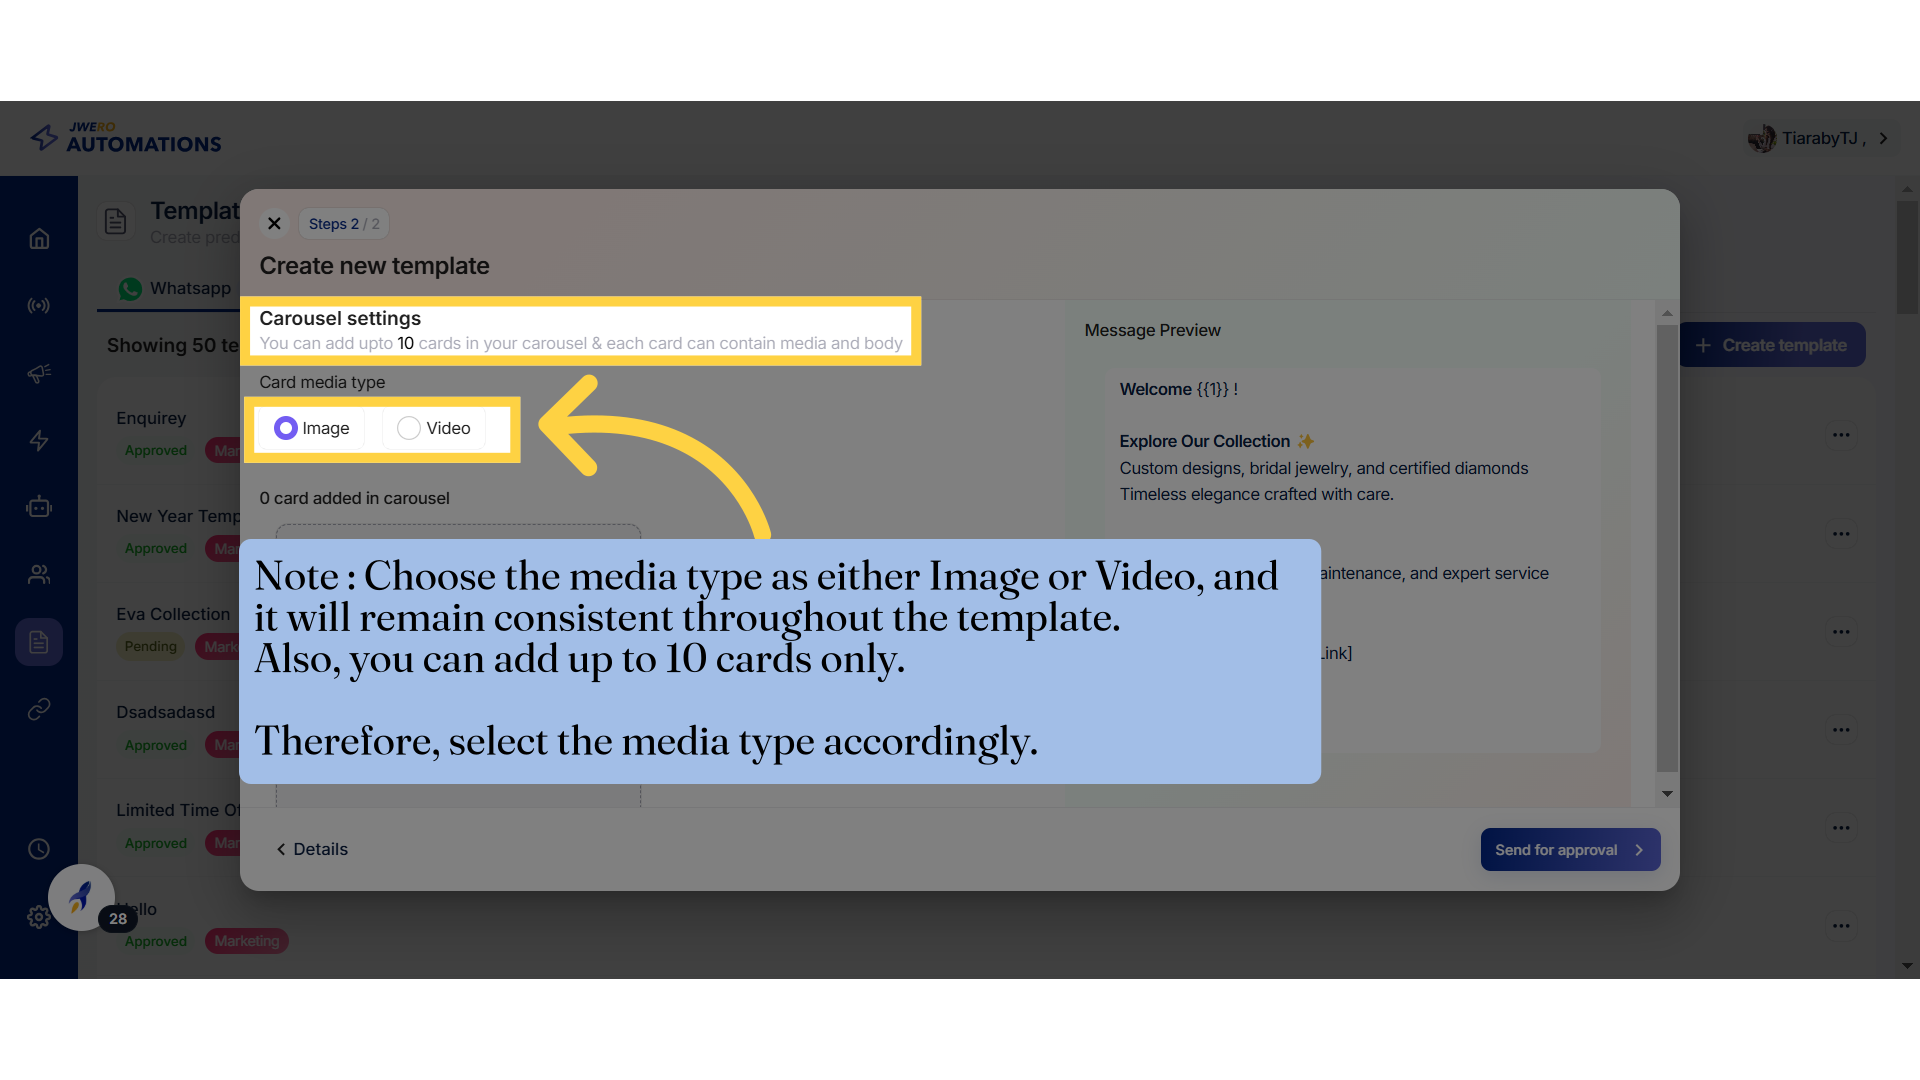
19. Note
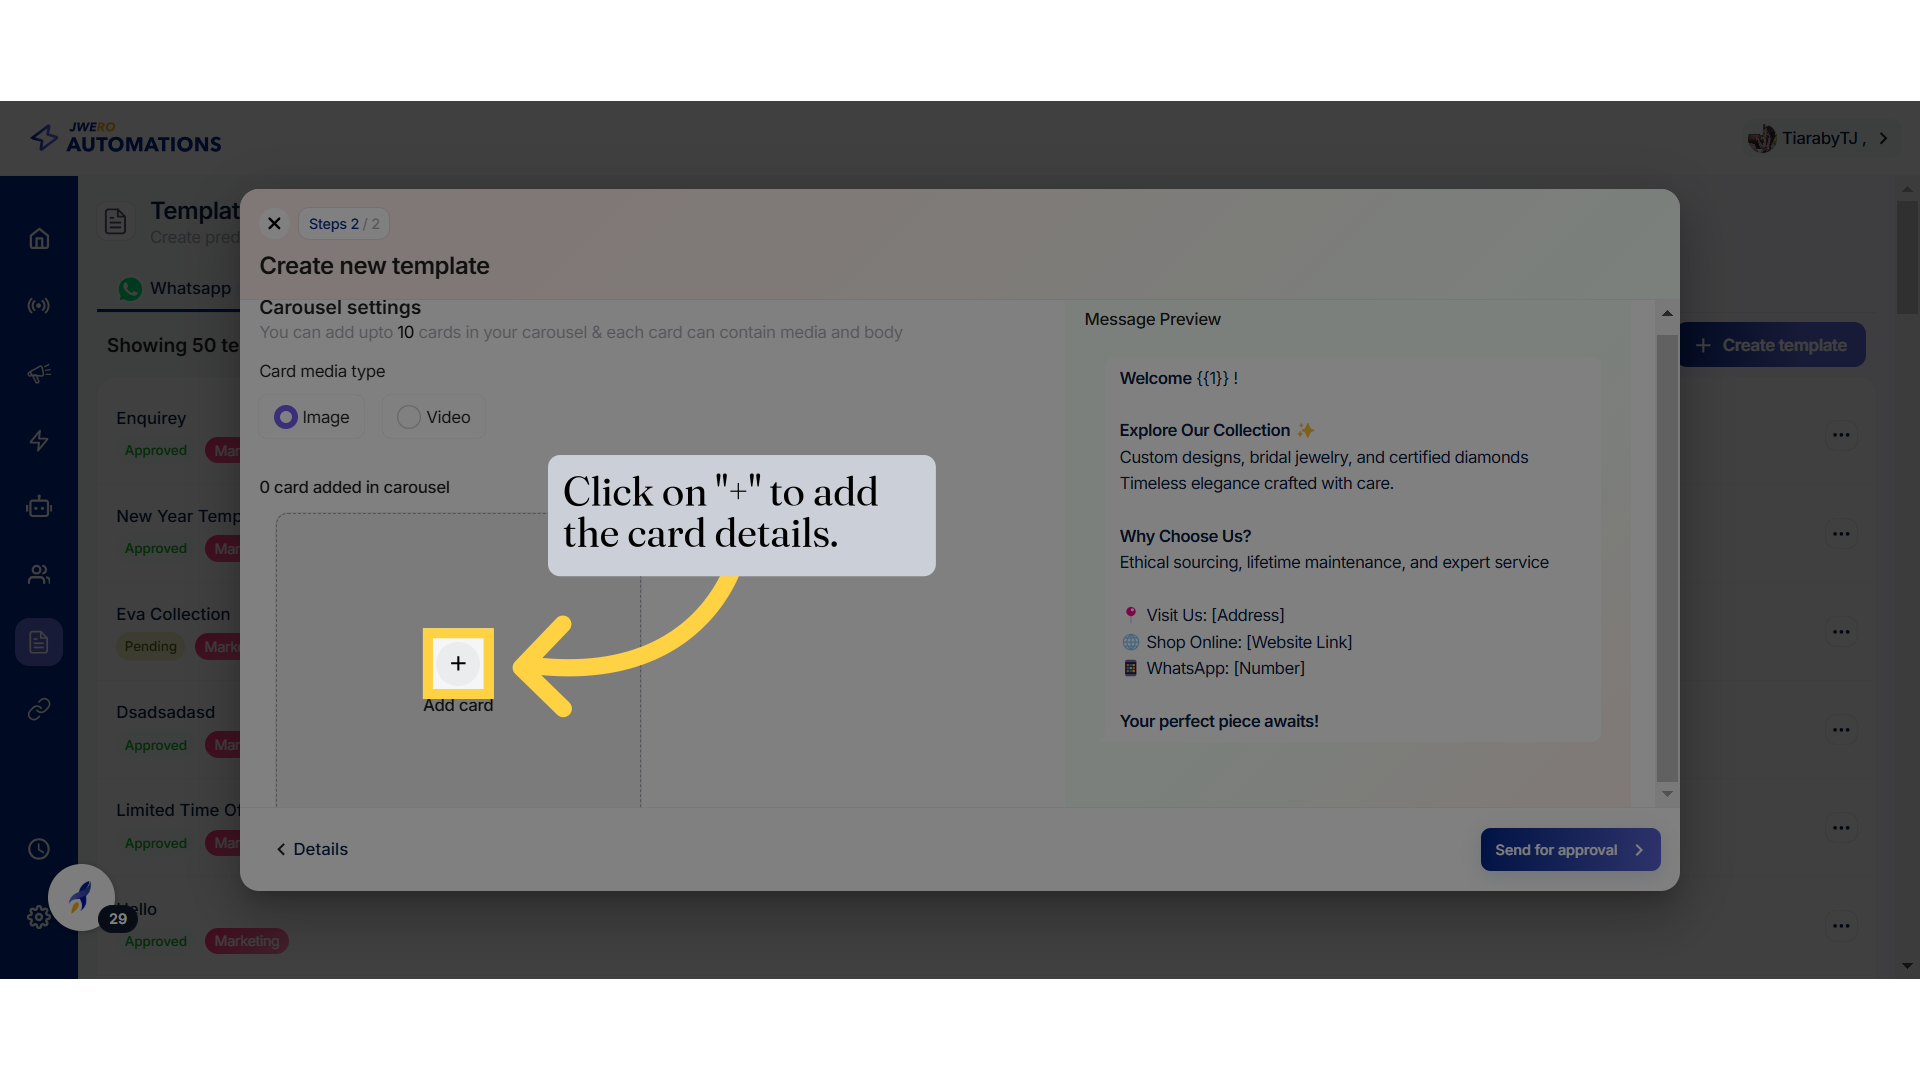
20. Click on "+" to add the card details.
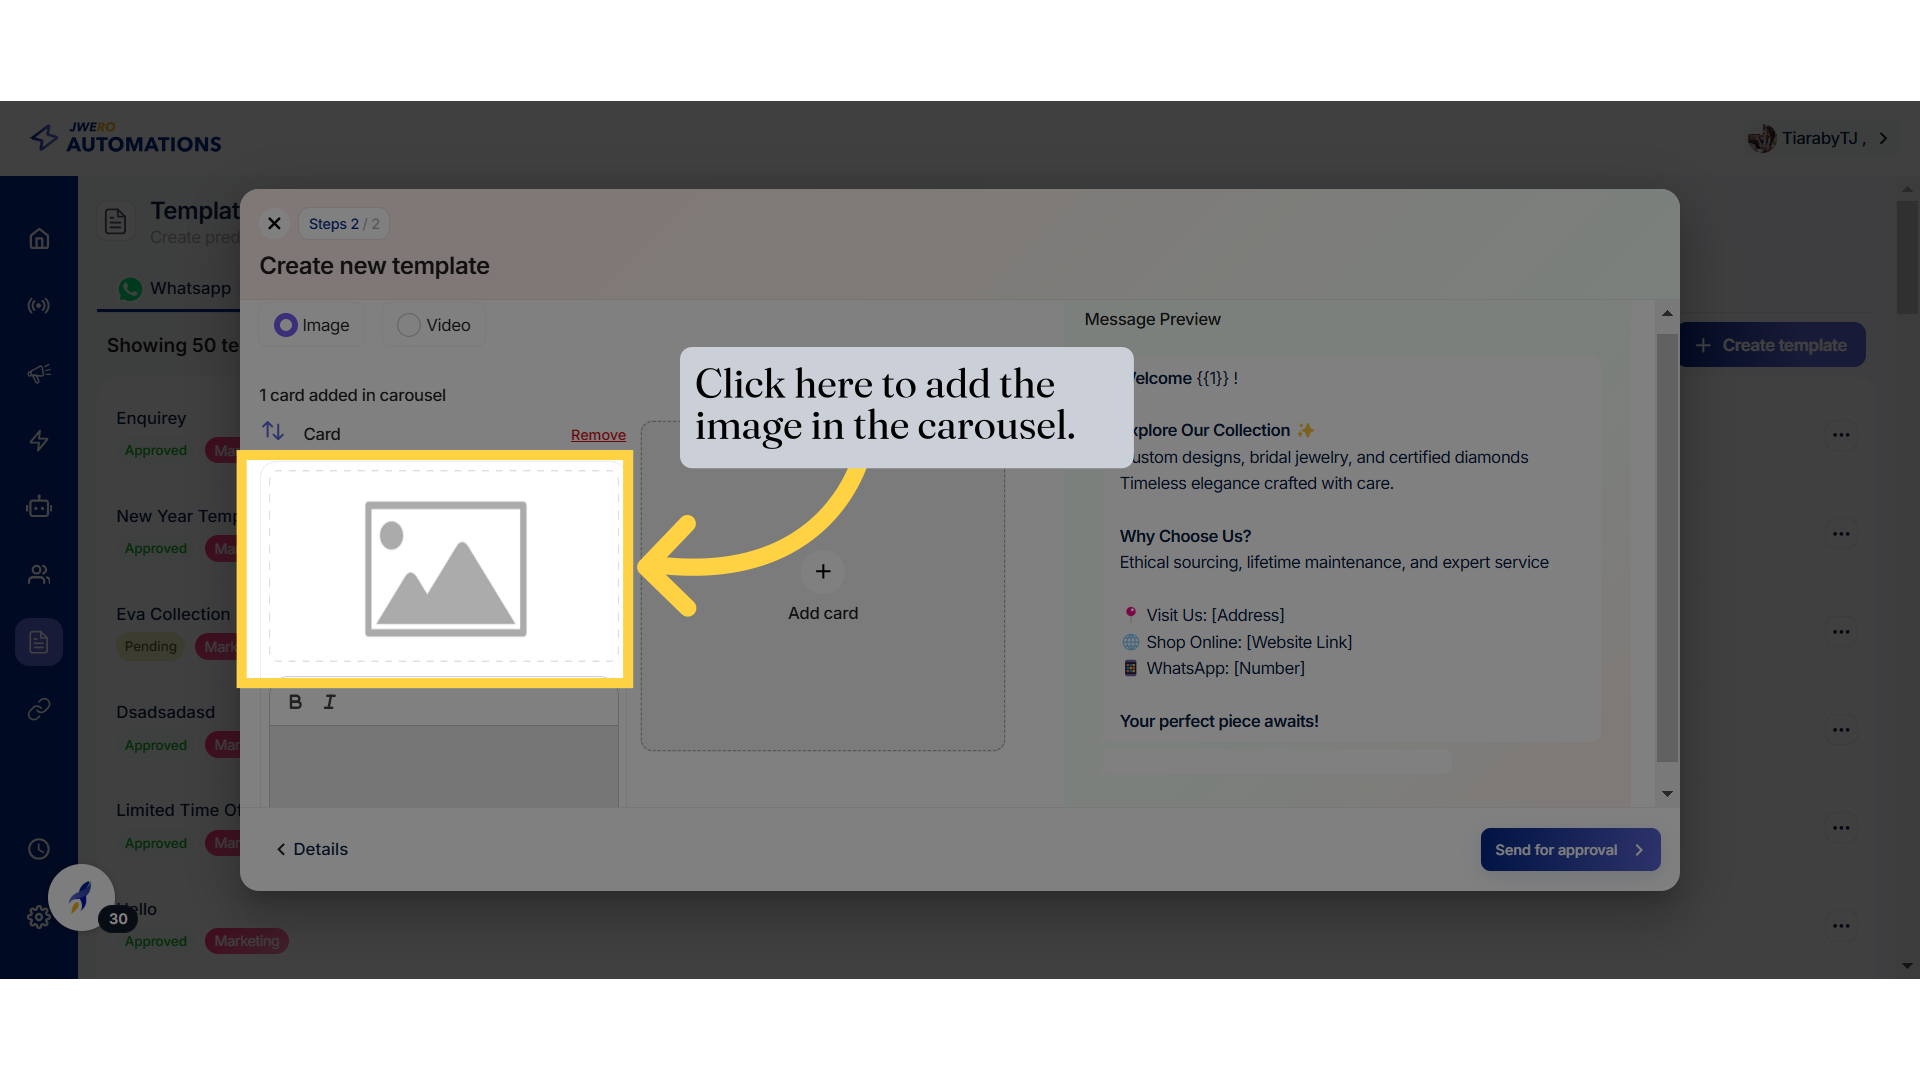
21. Click here to add the image in the carousel.
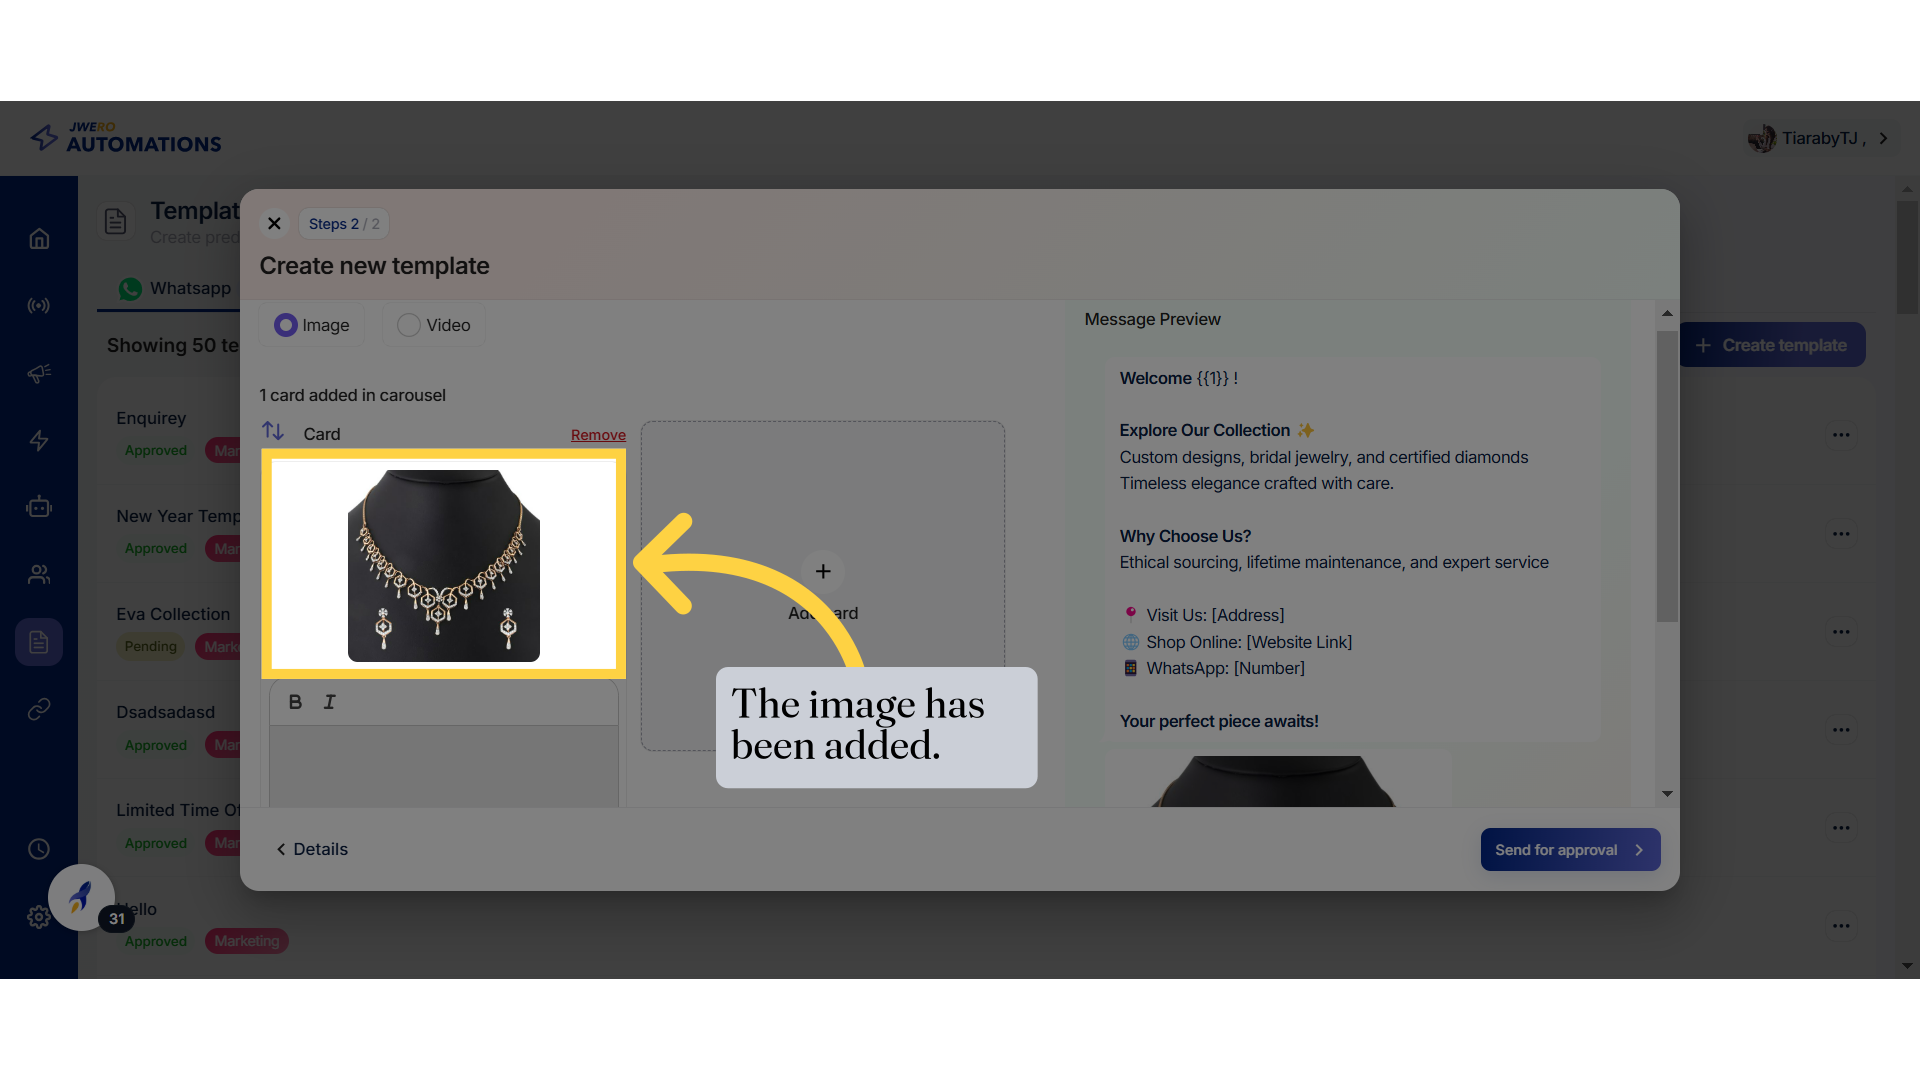
22. The image has been added.
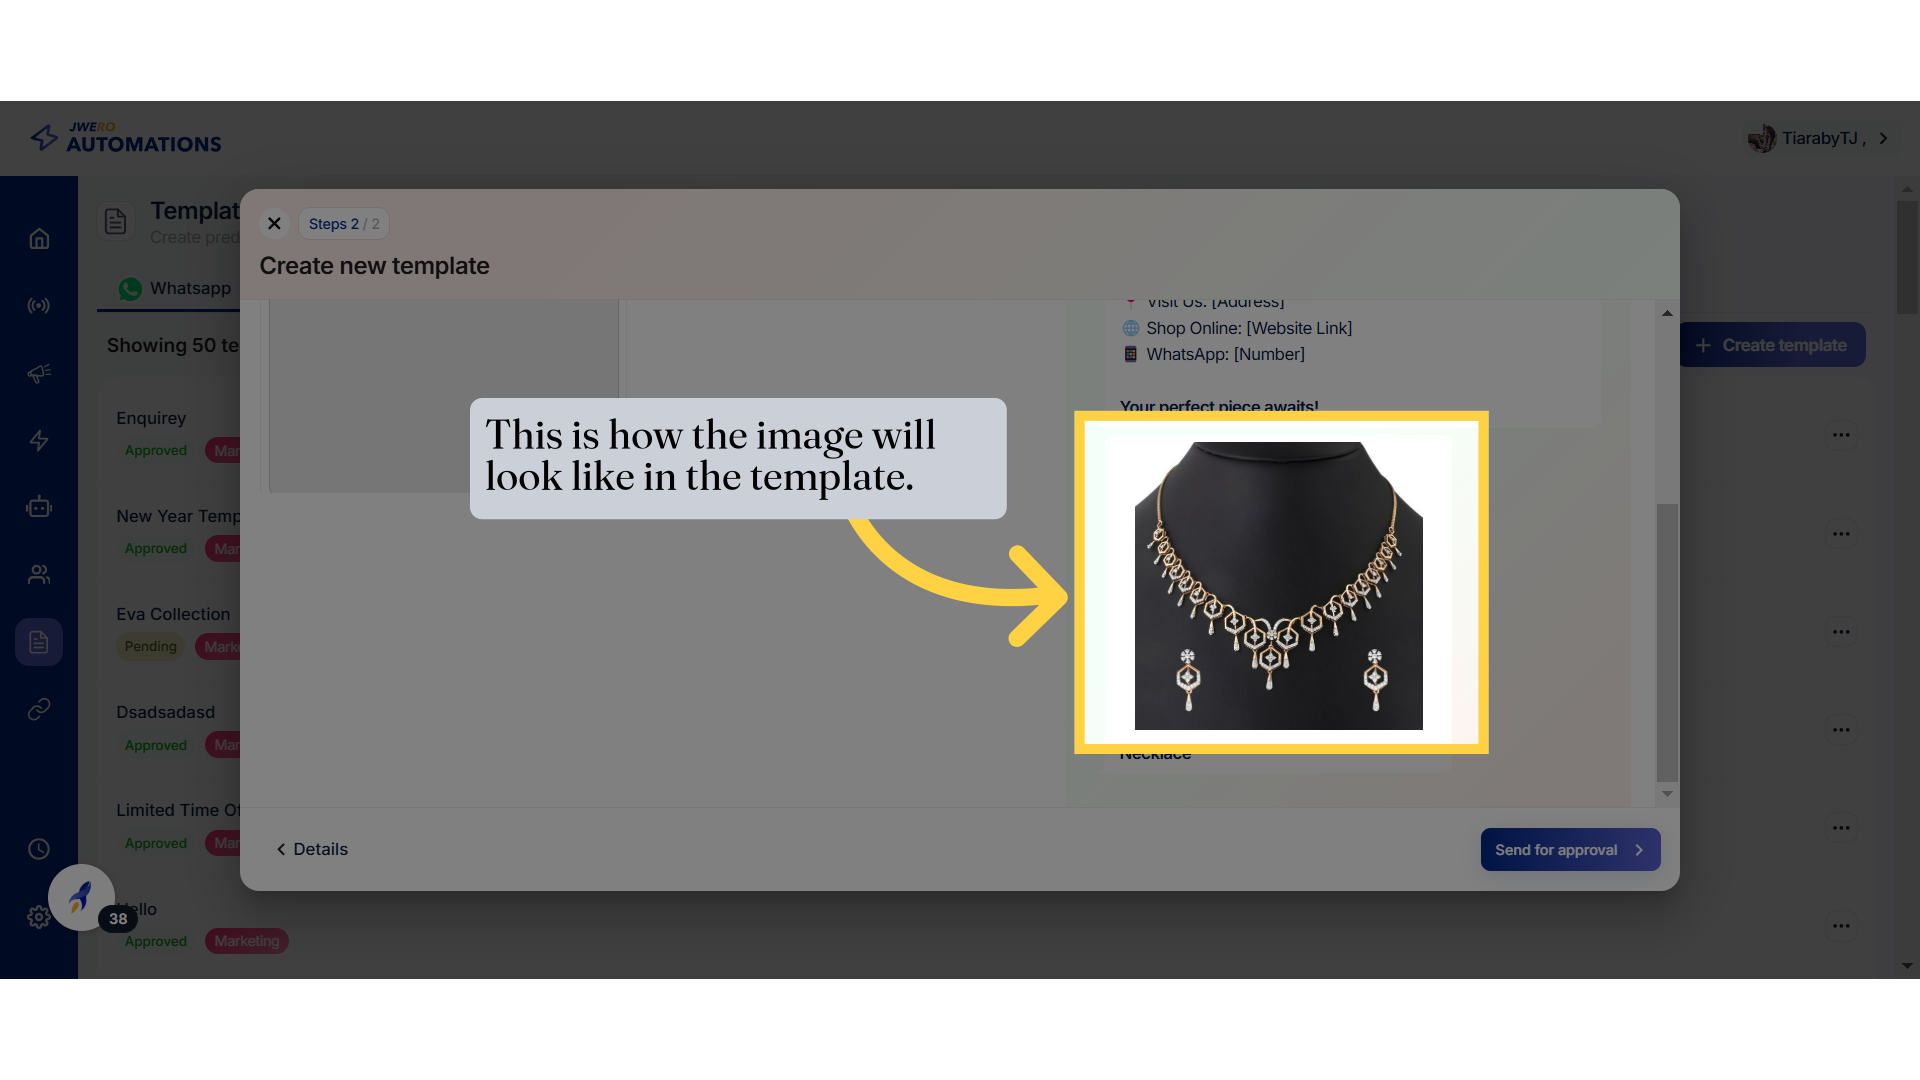
23. This is how the image will look like in the template.
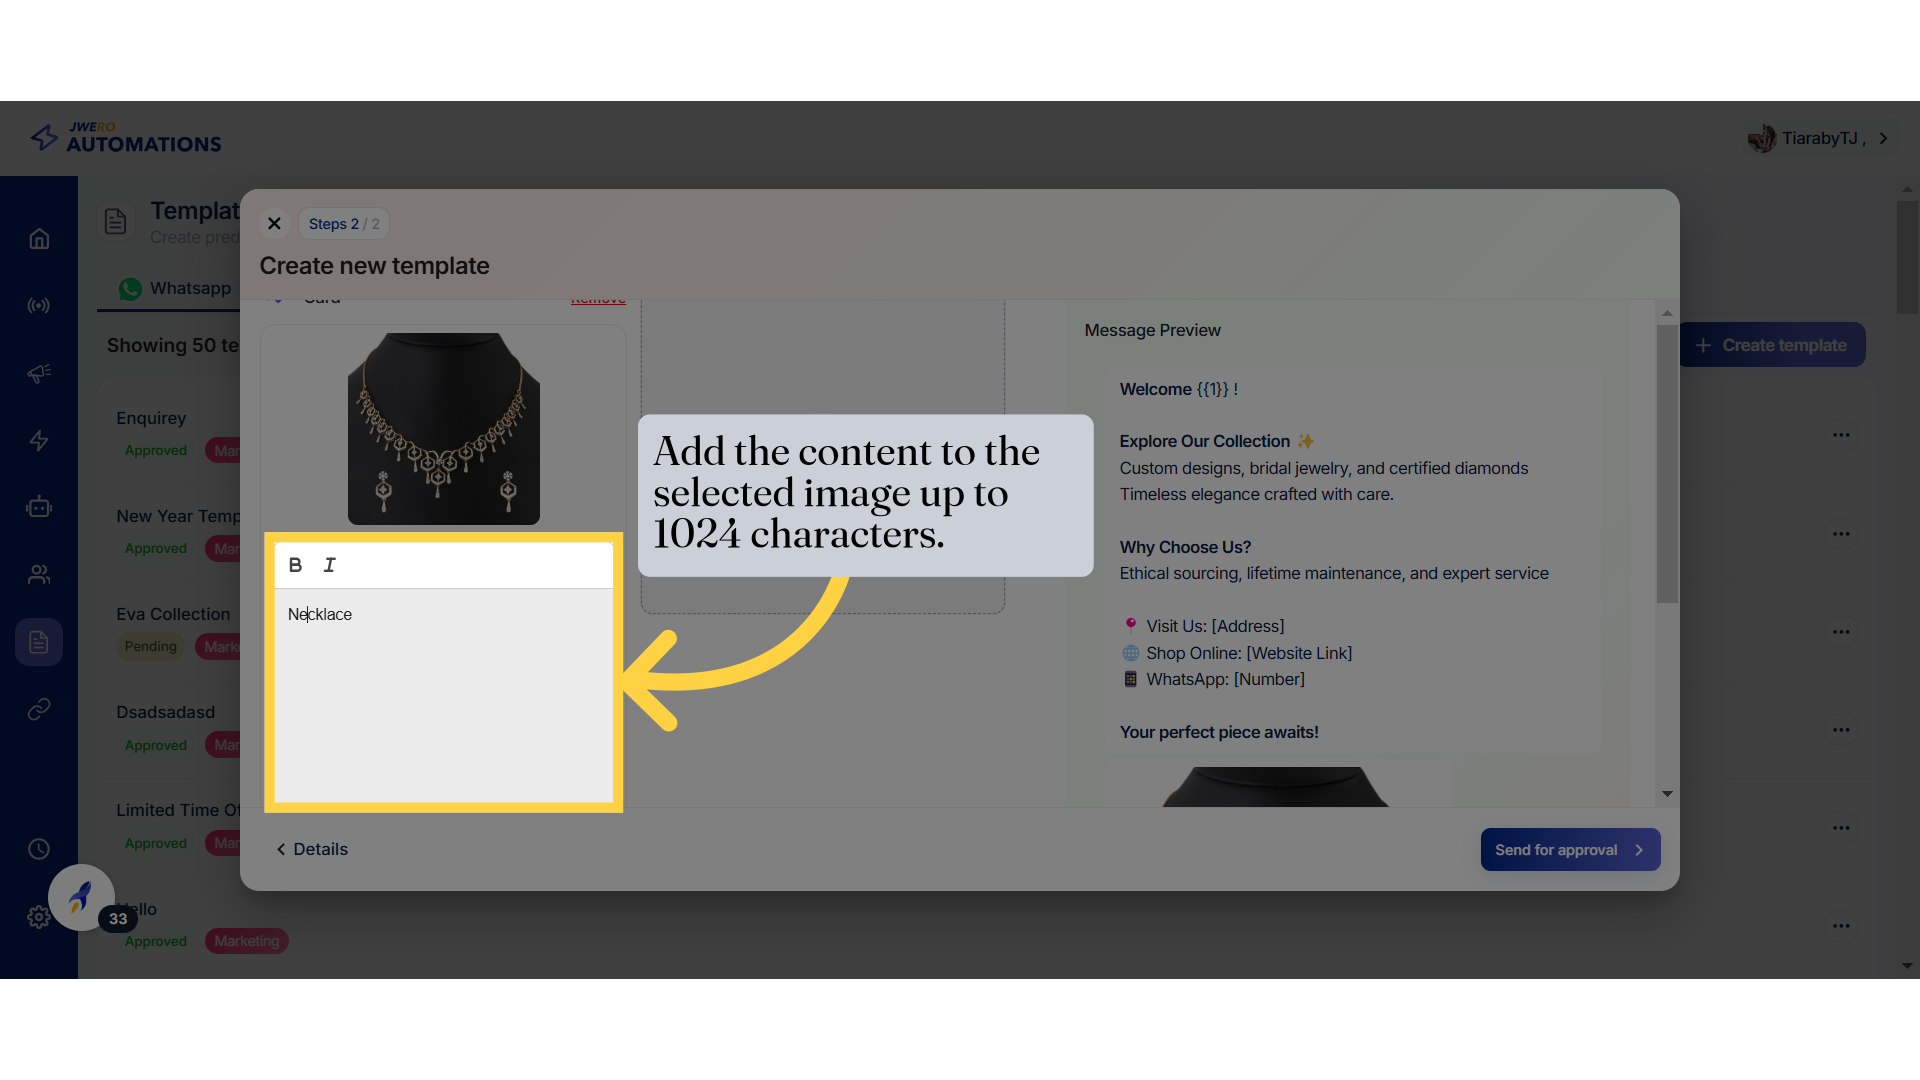
25. Card content
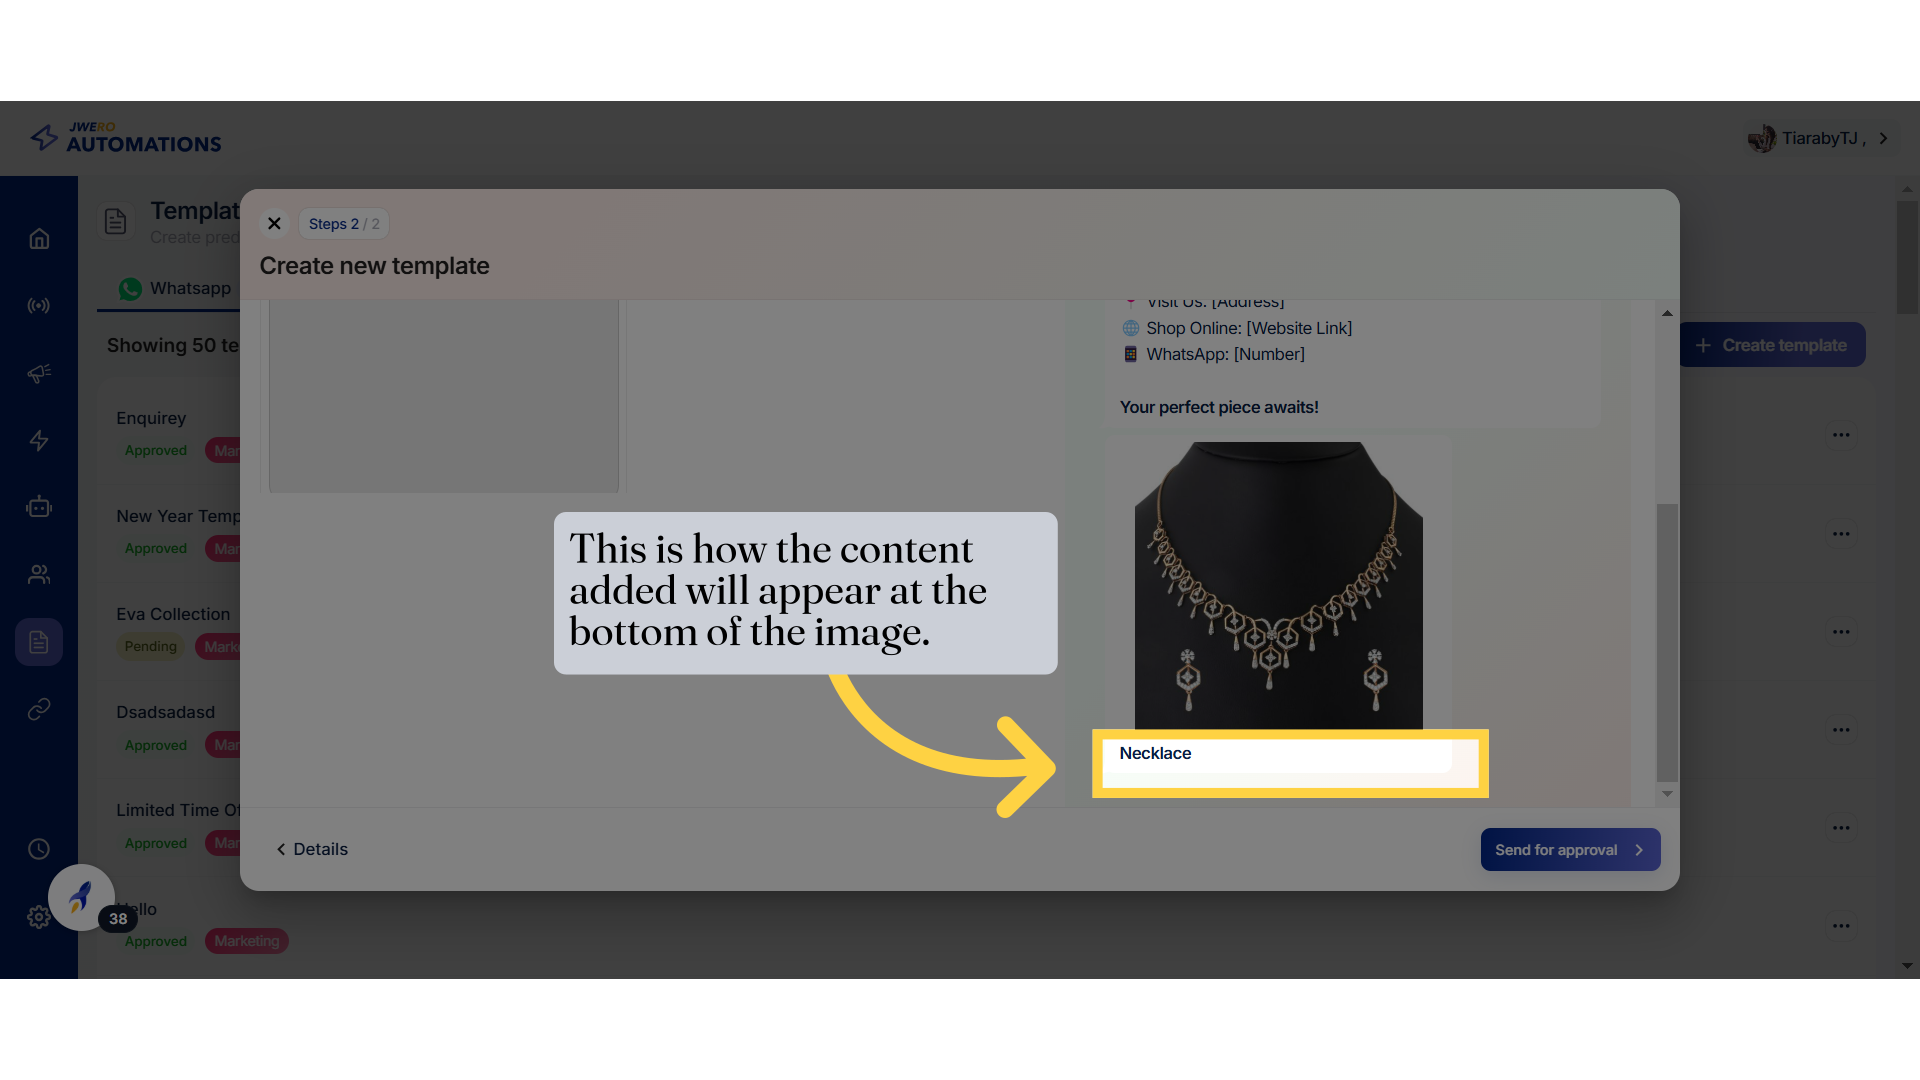
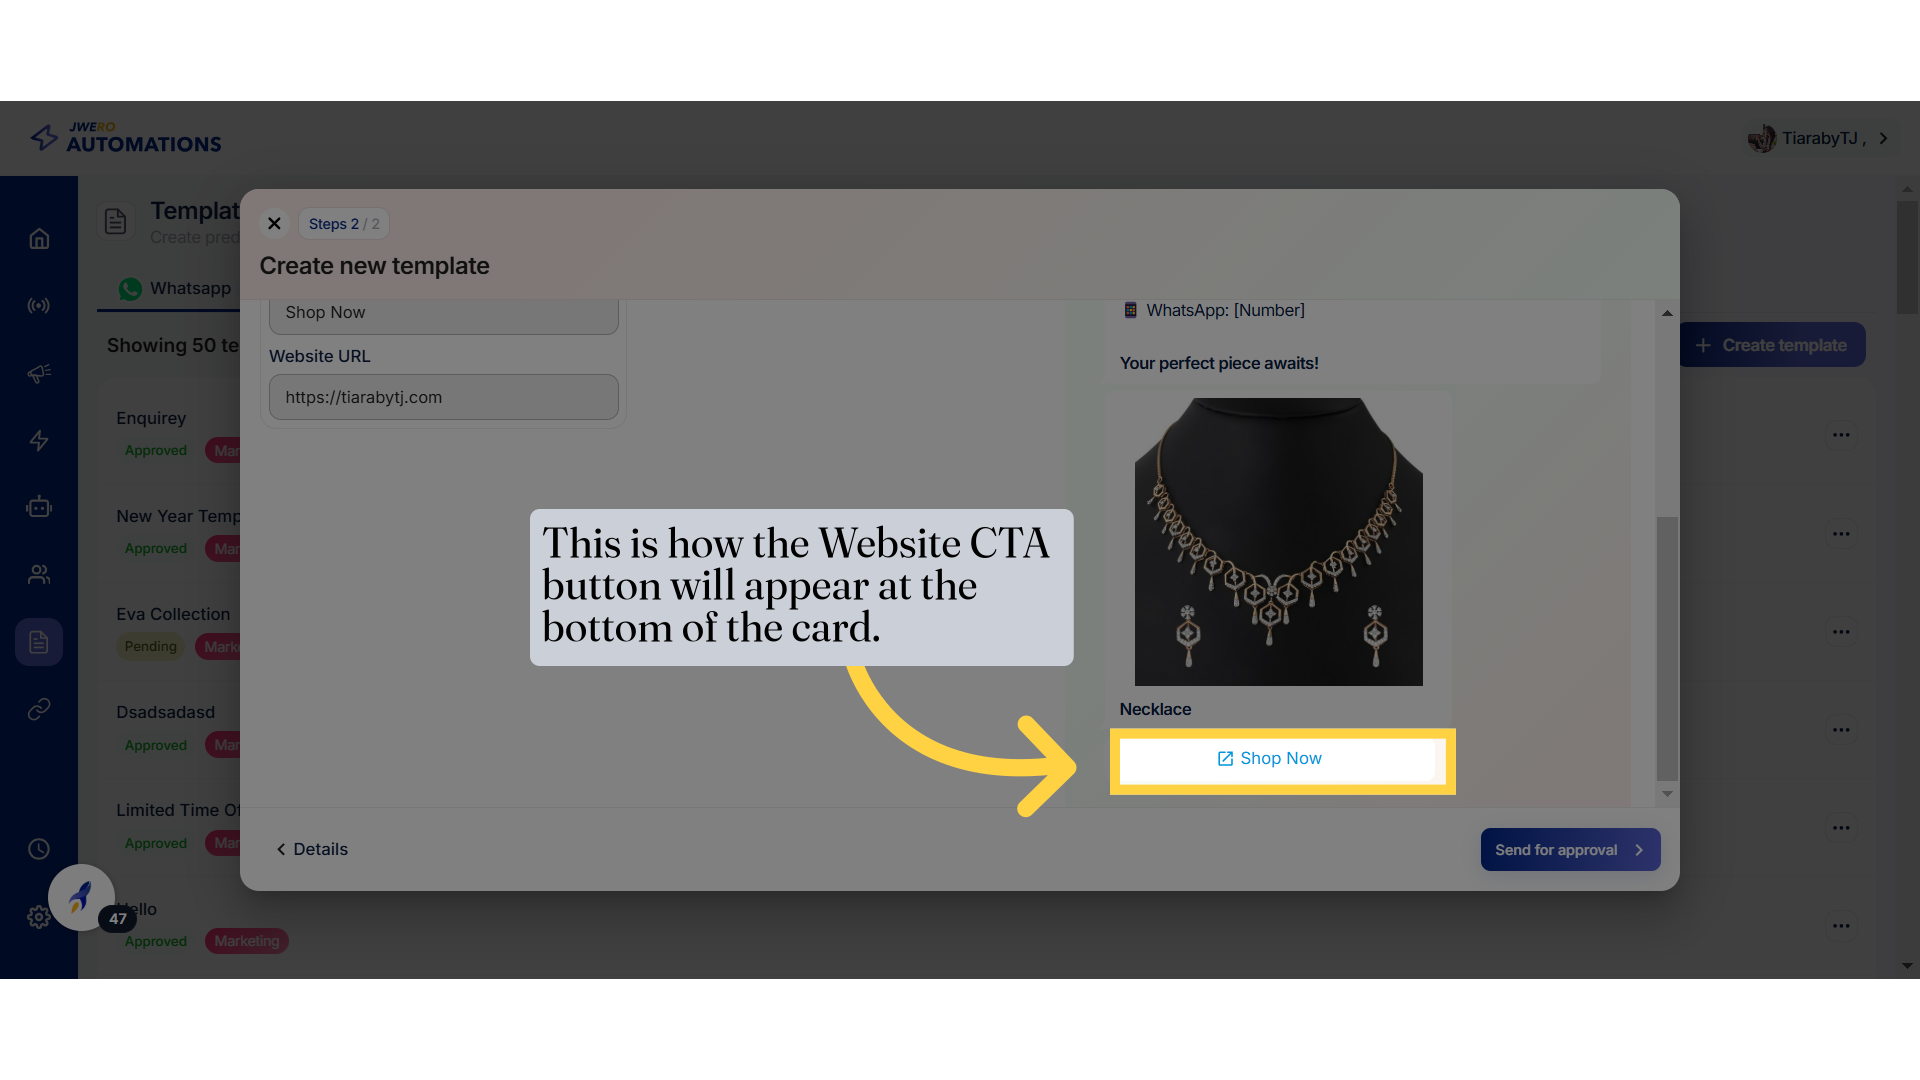
26. This is how the content added will appear at the bottom of the image.
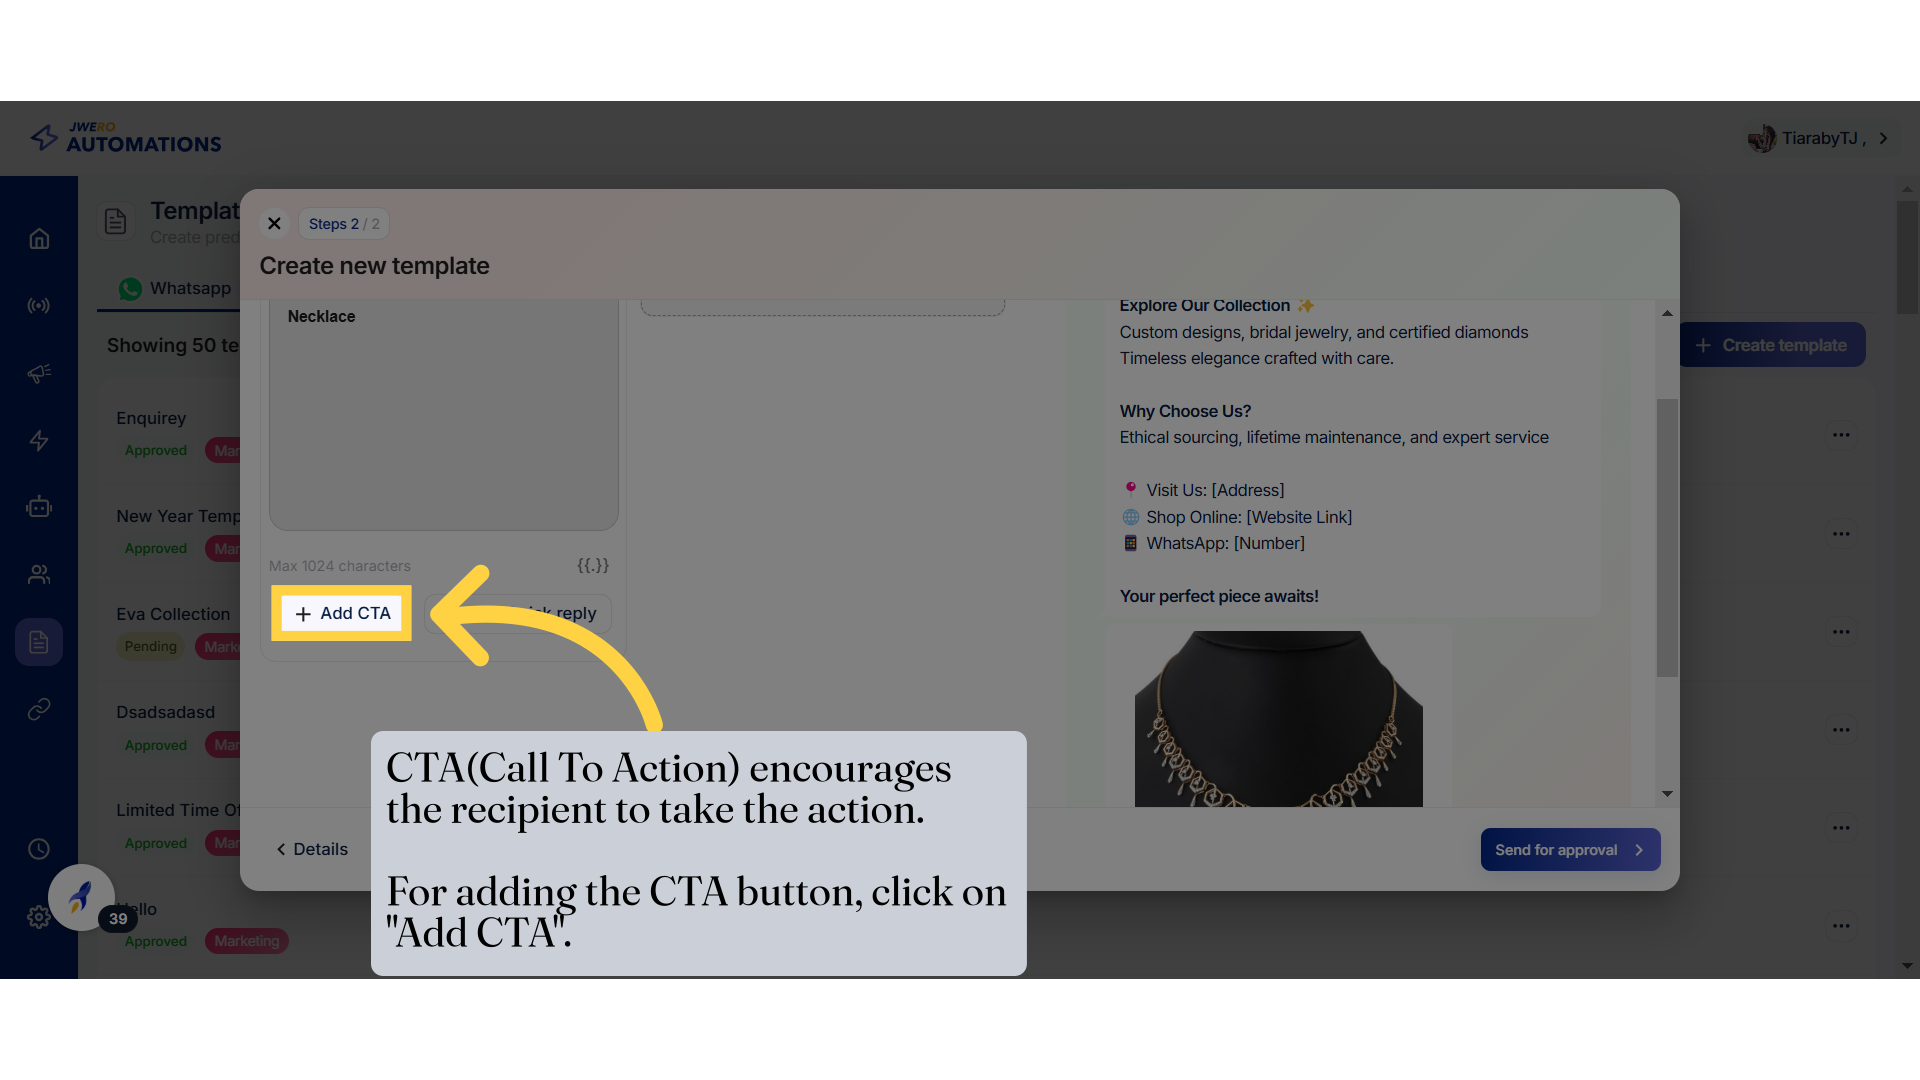
27. Add CTA
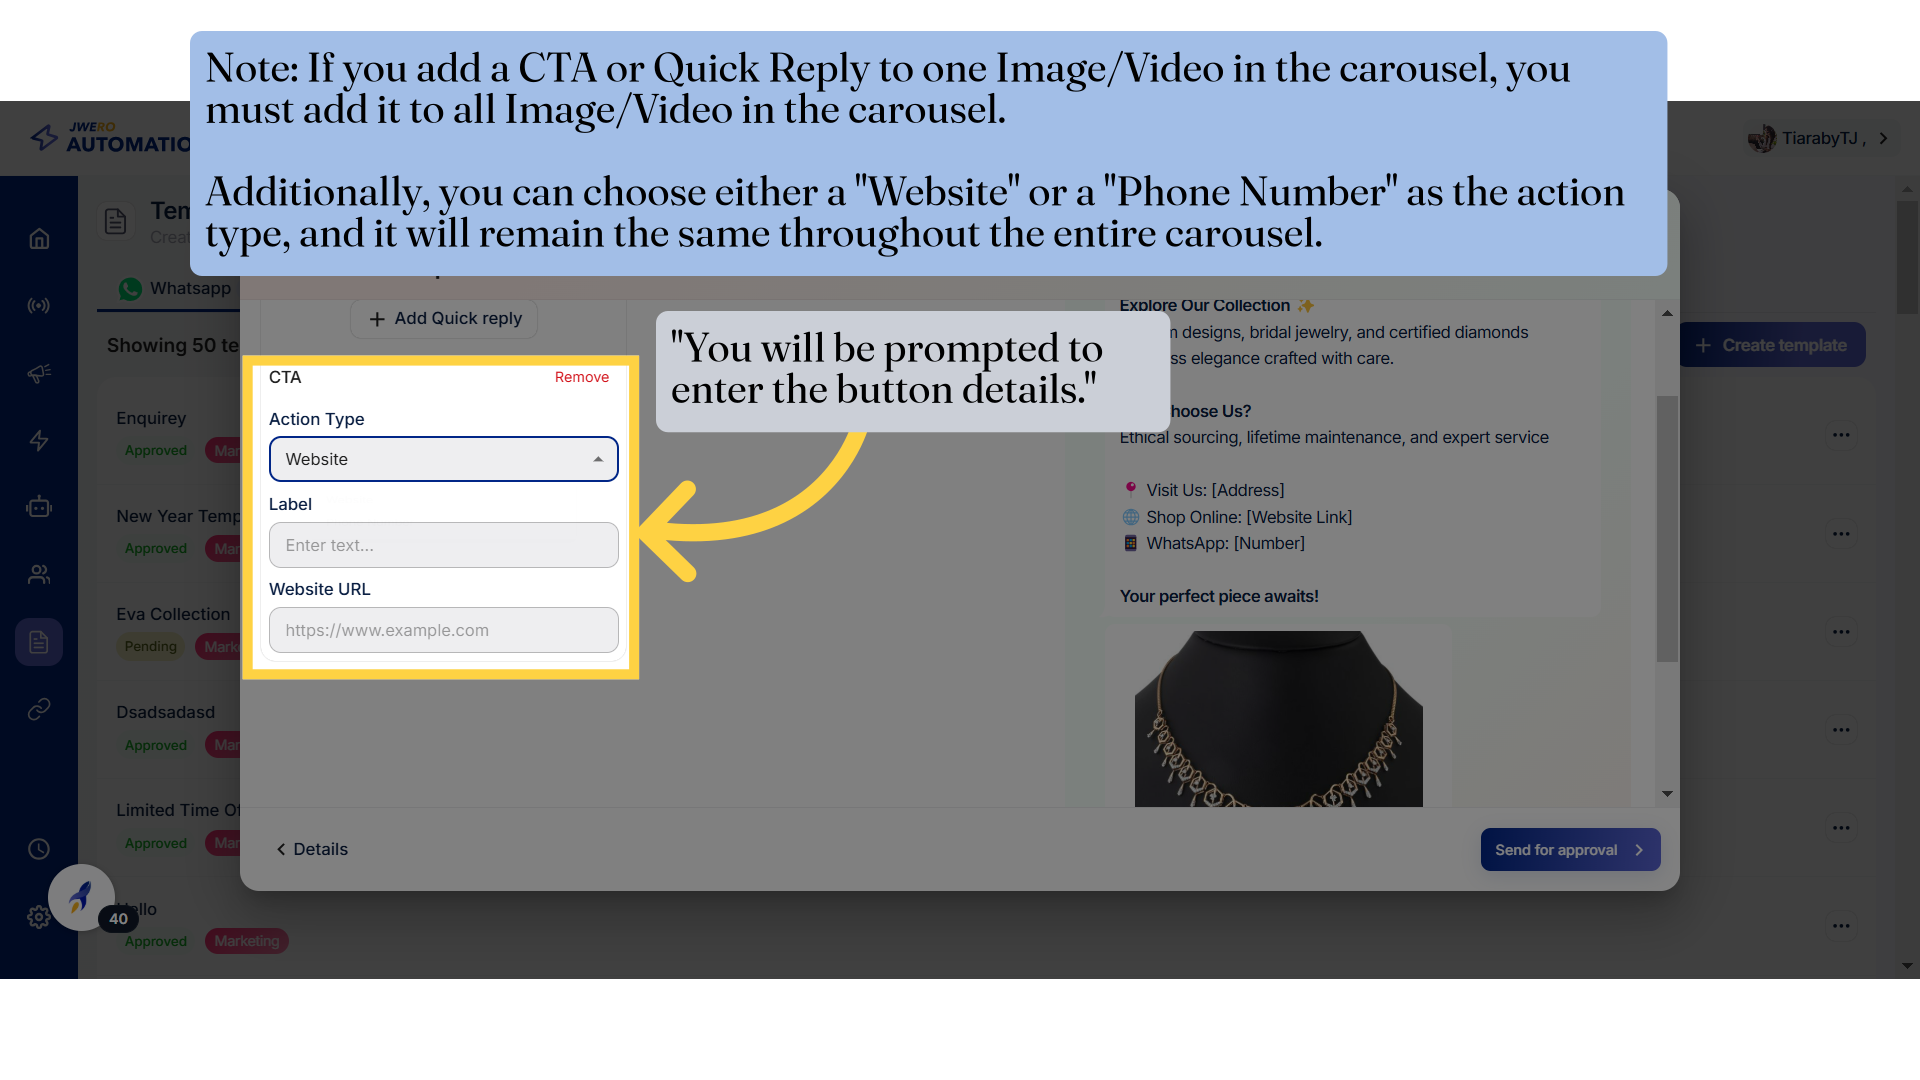
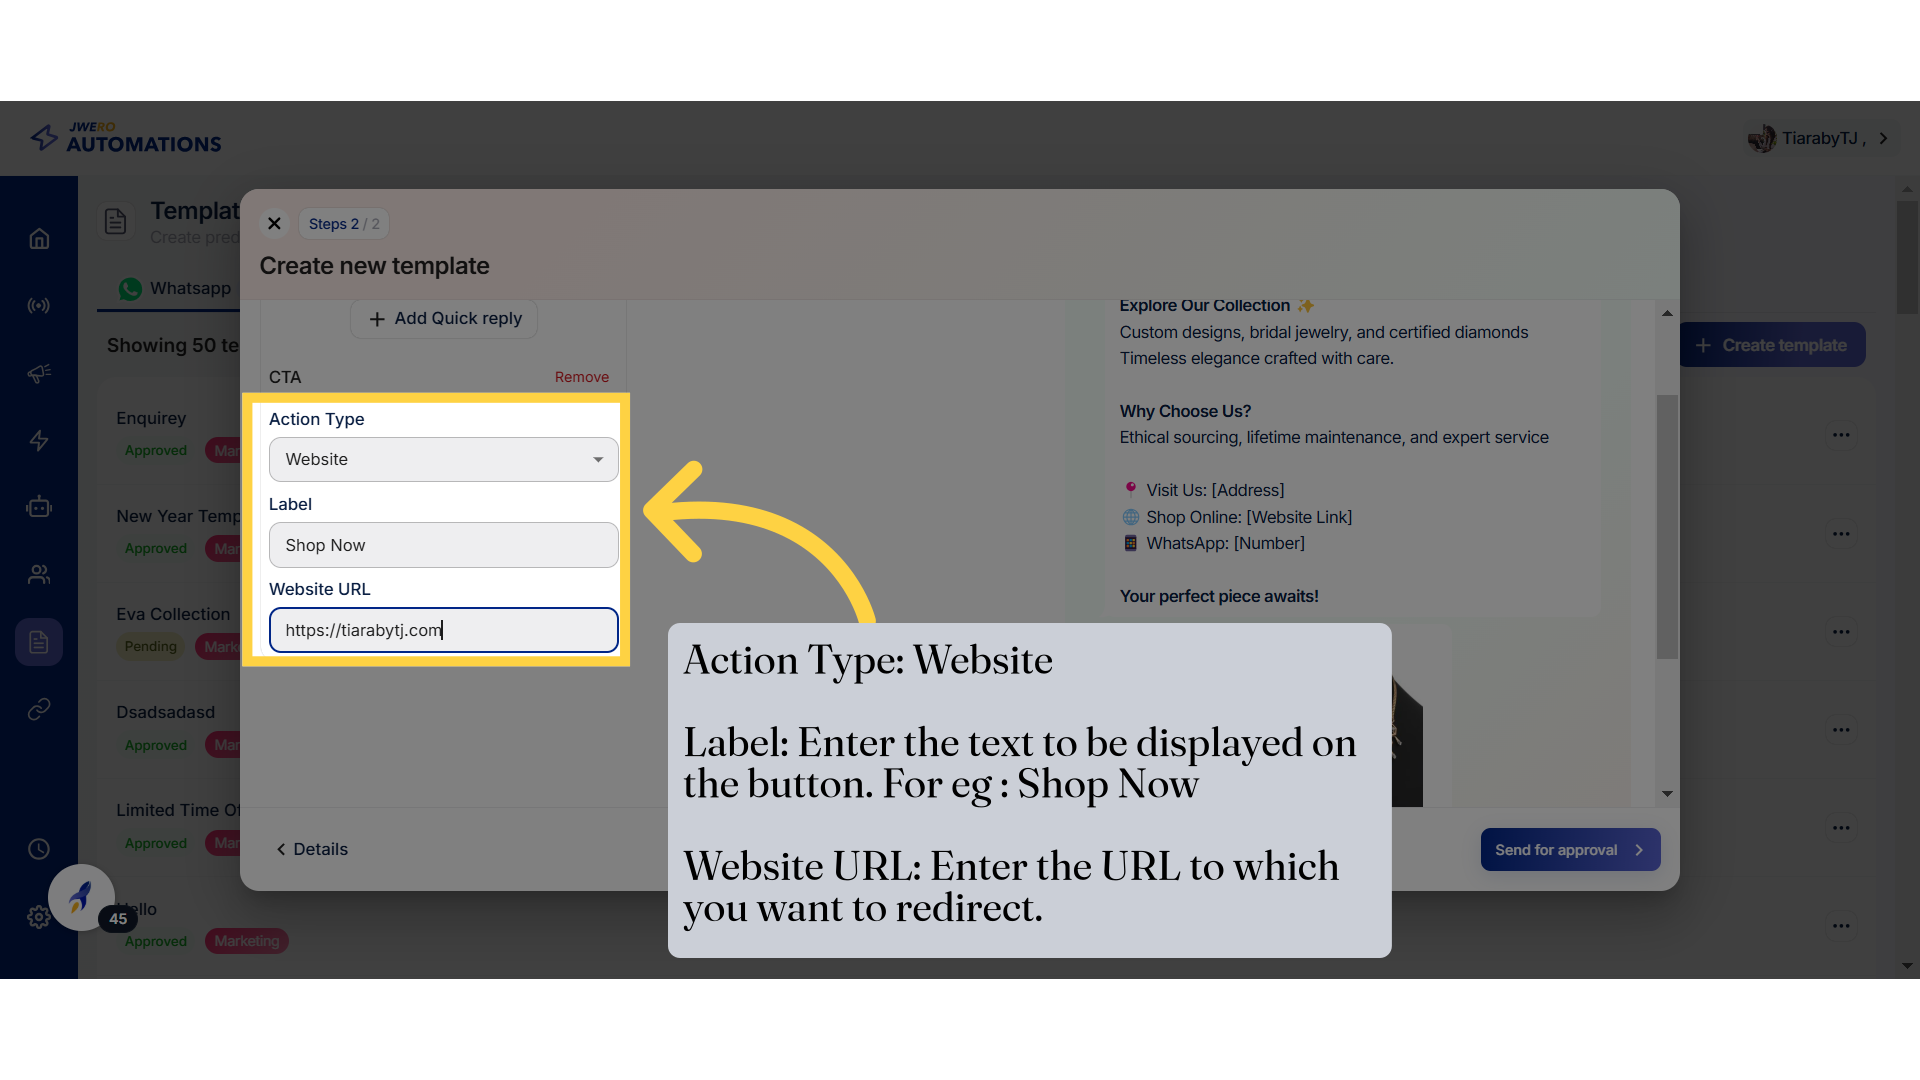
28. Action Type = Website
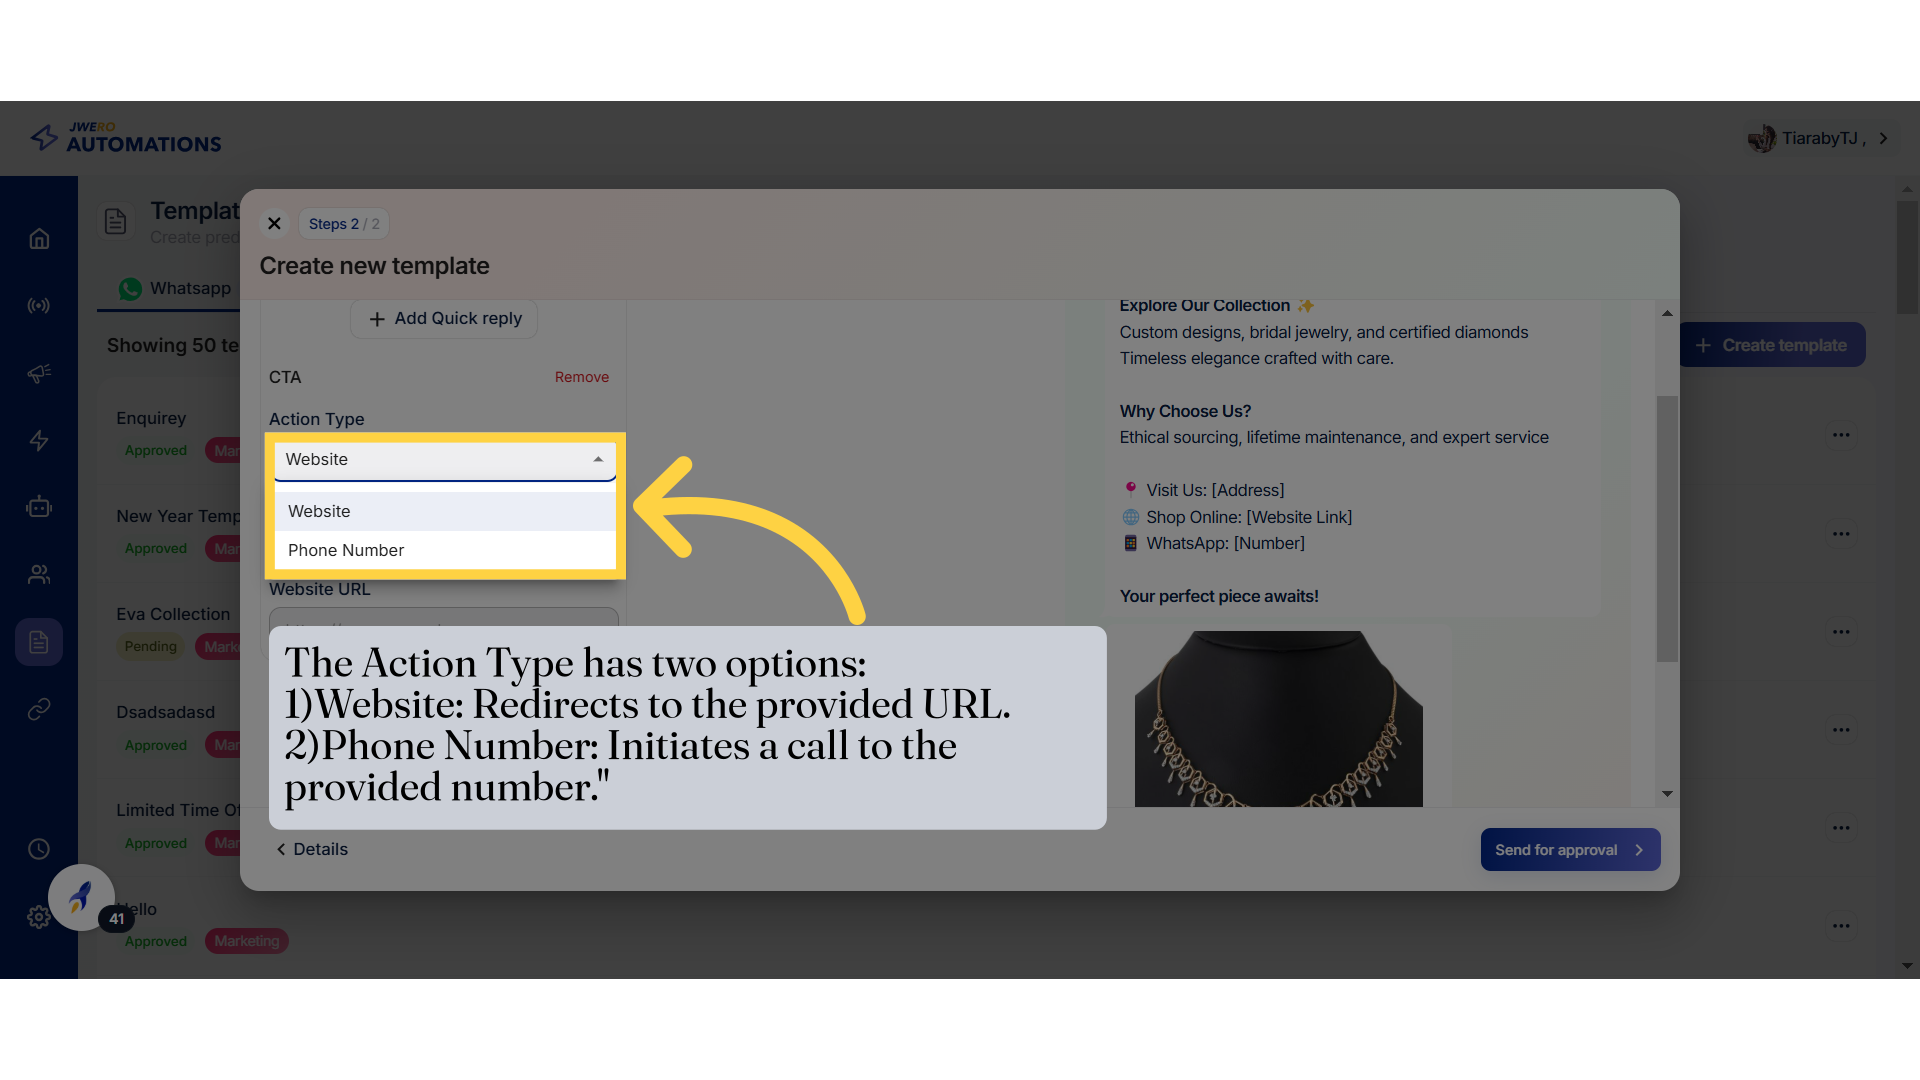
29. Action Type
30. Action Type: Website
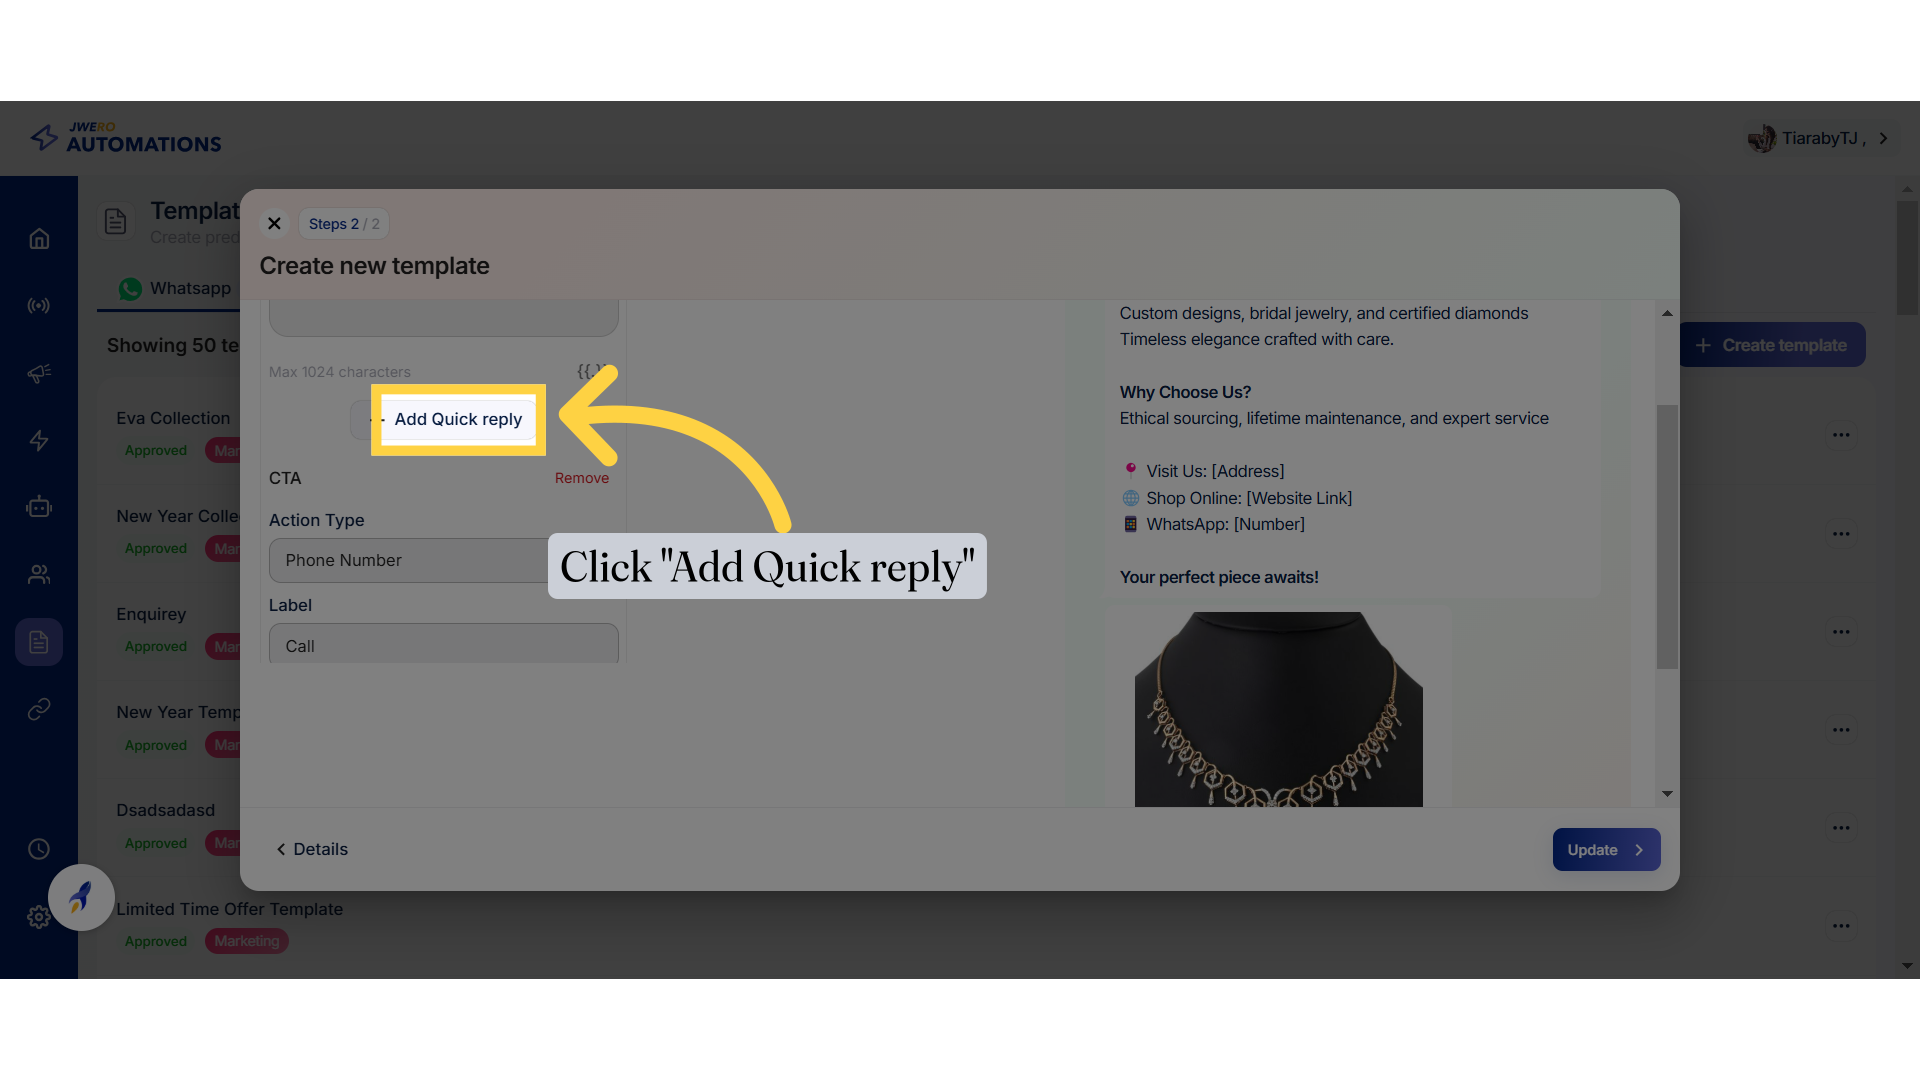
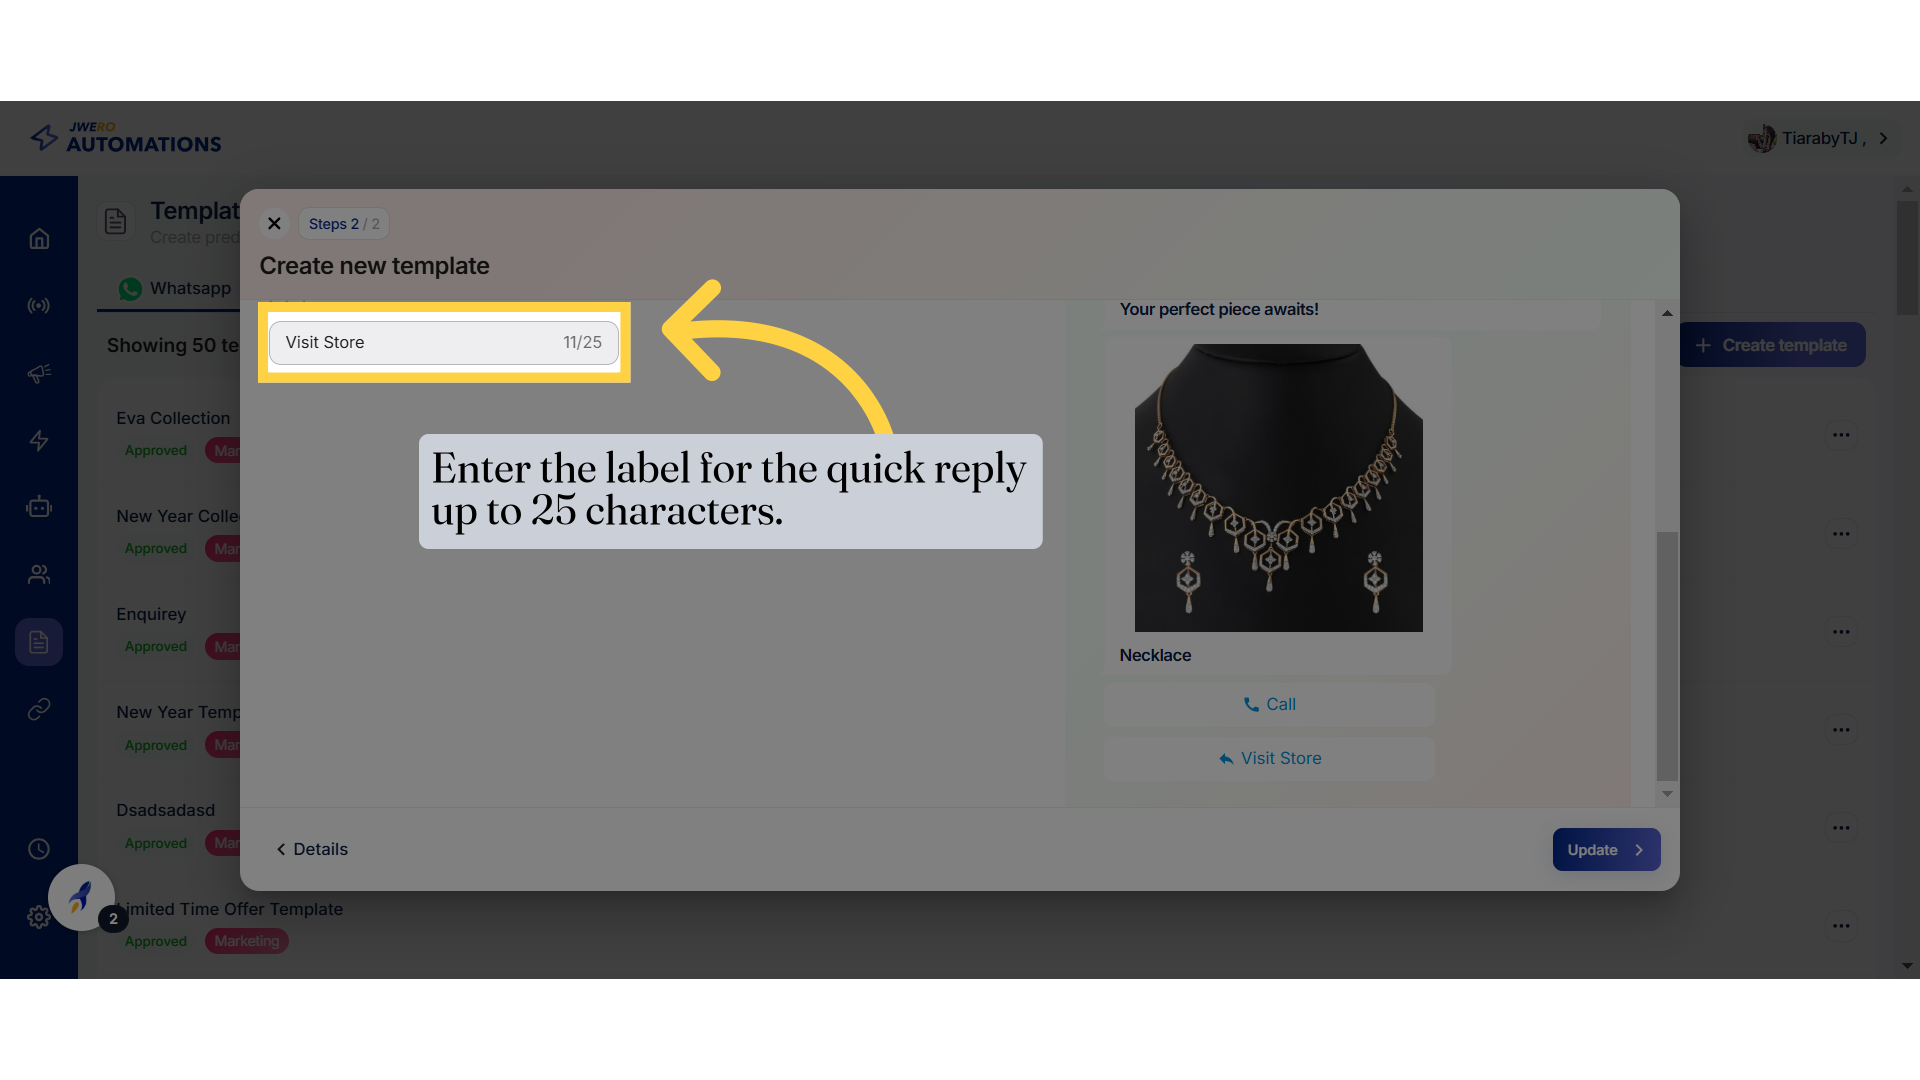
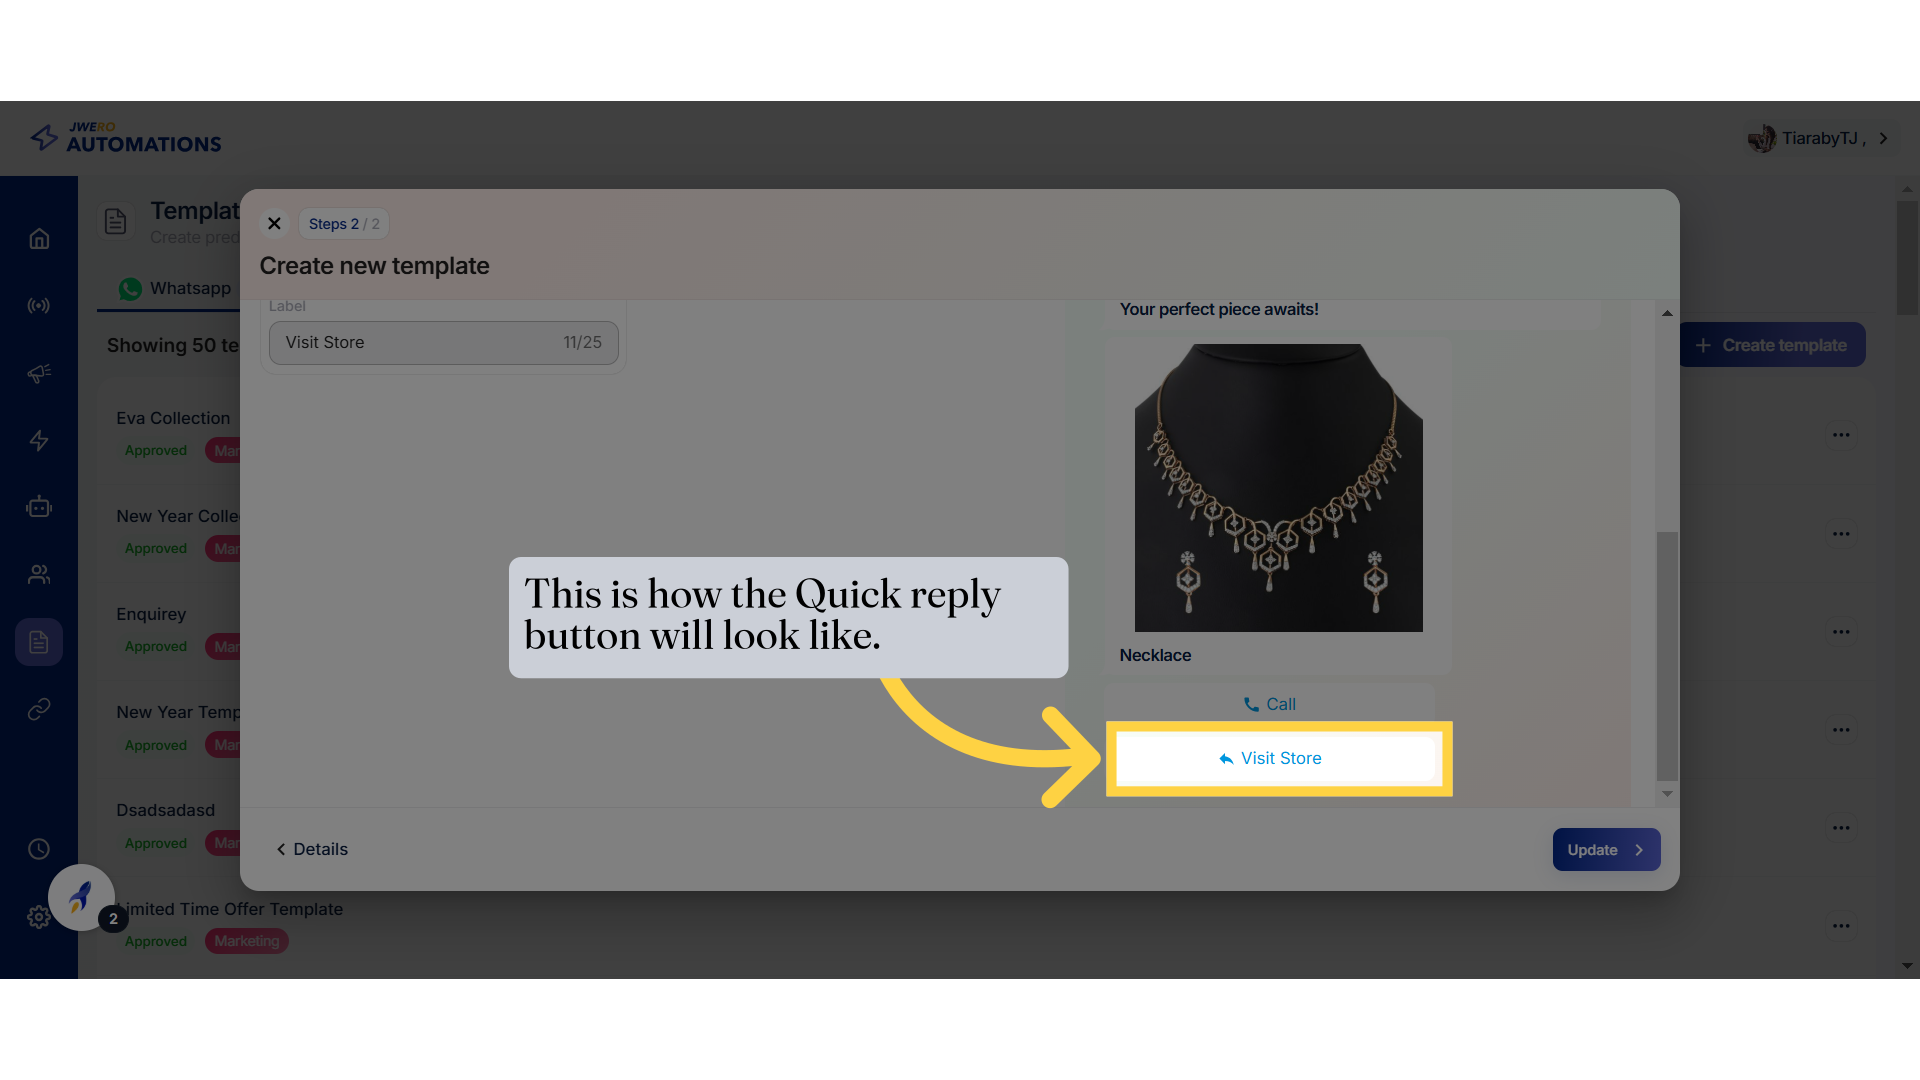
32. Click "Add Quick reply"
33. Quick reply text
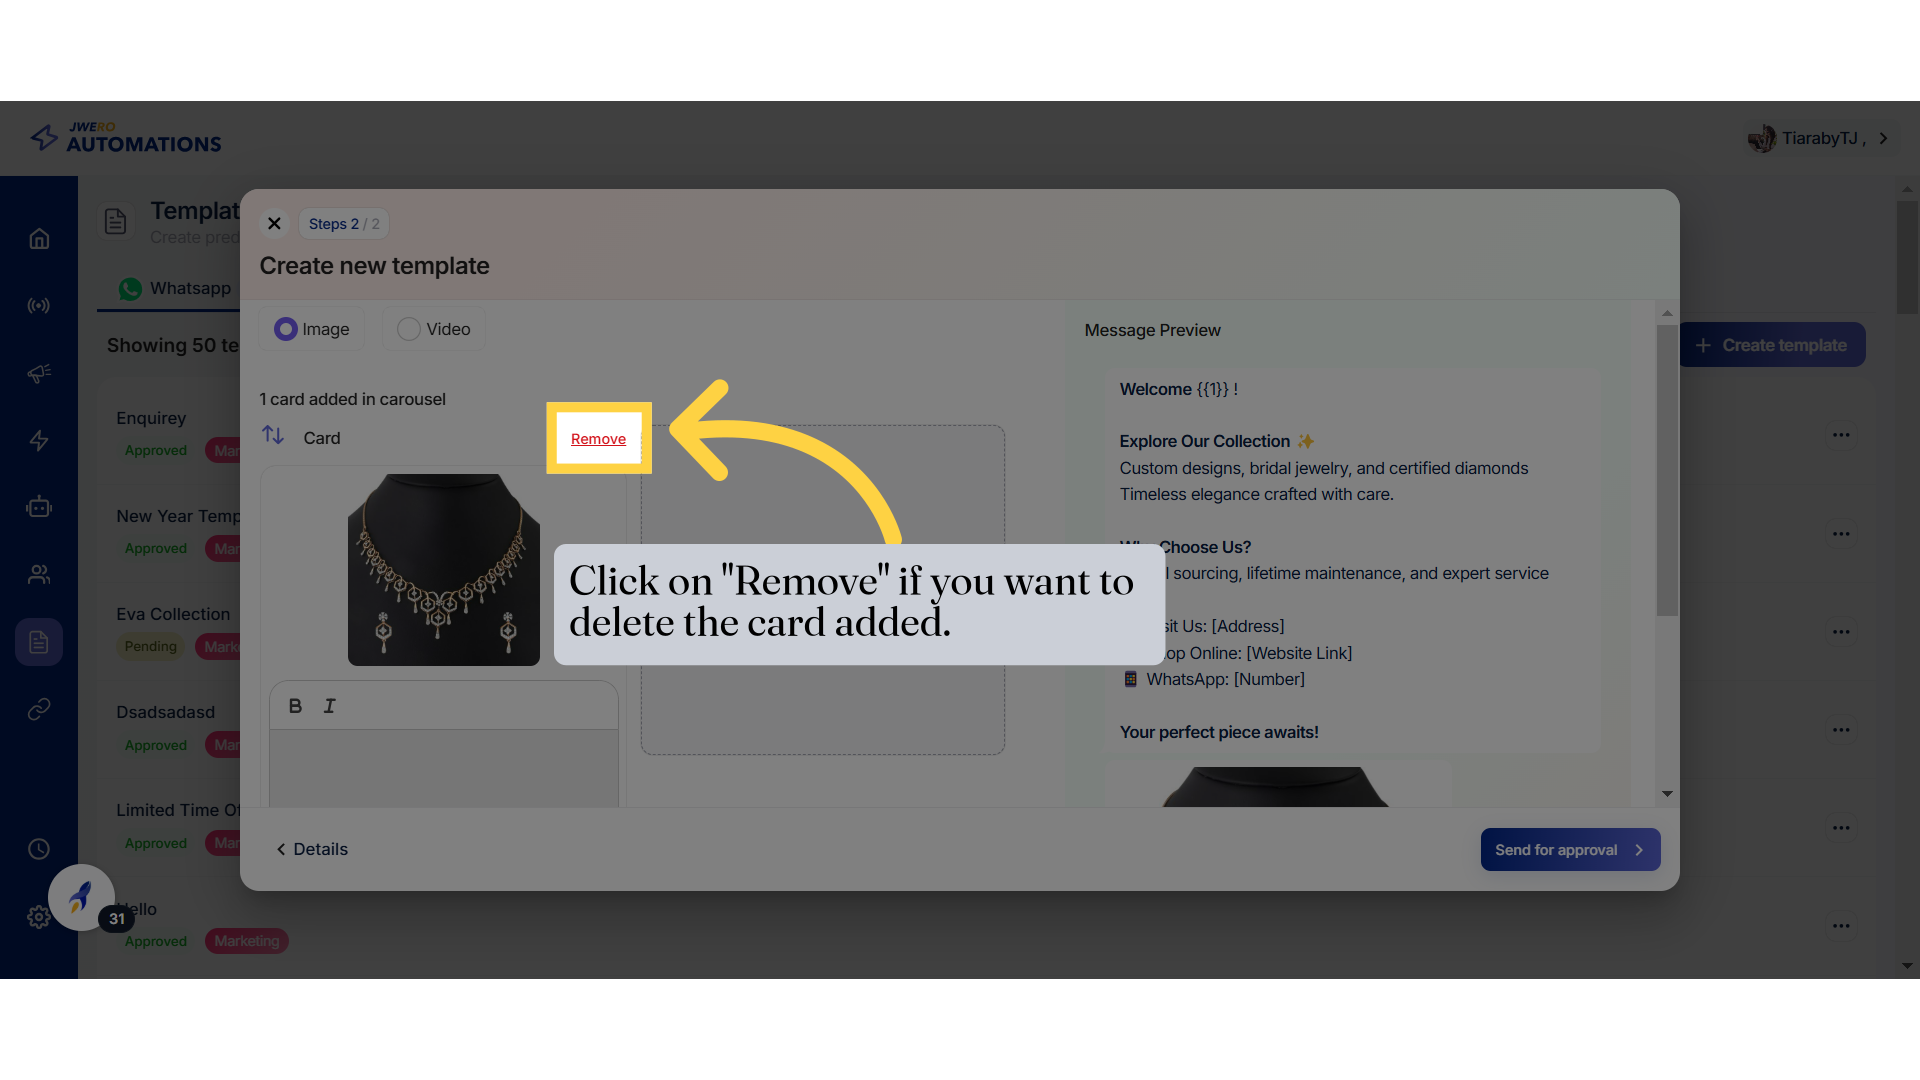
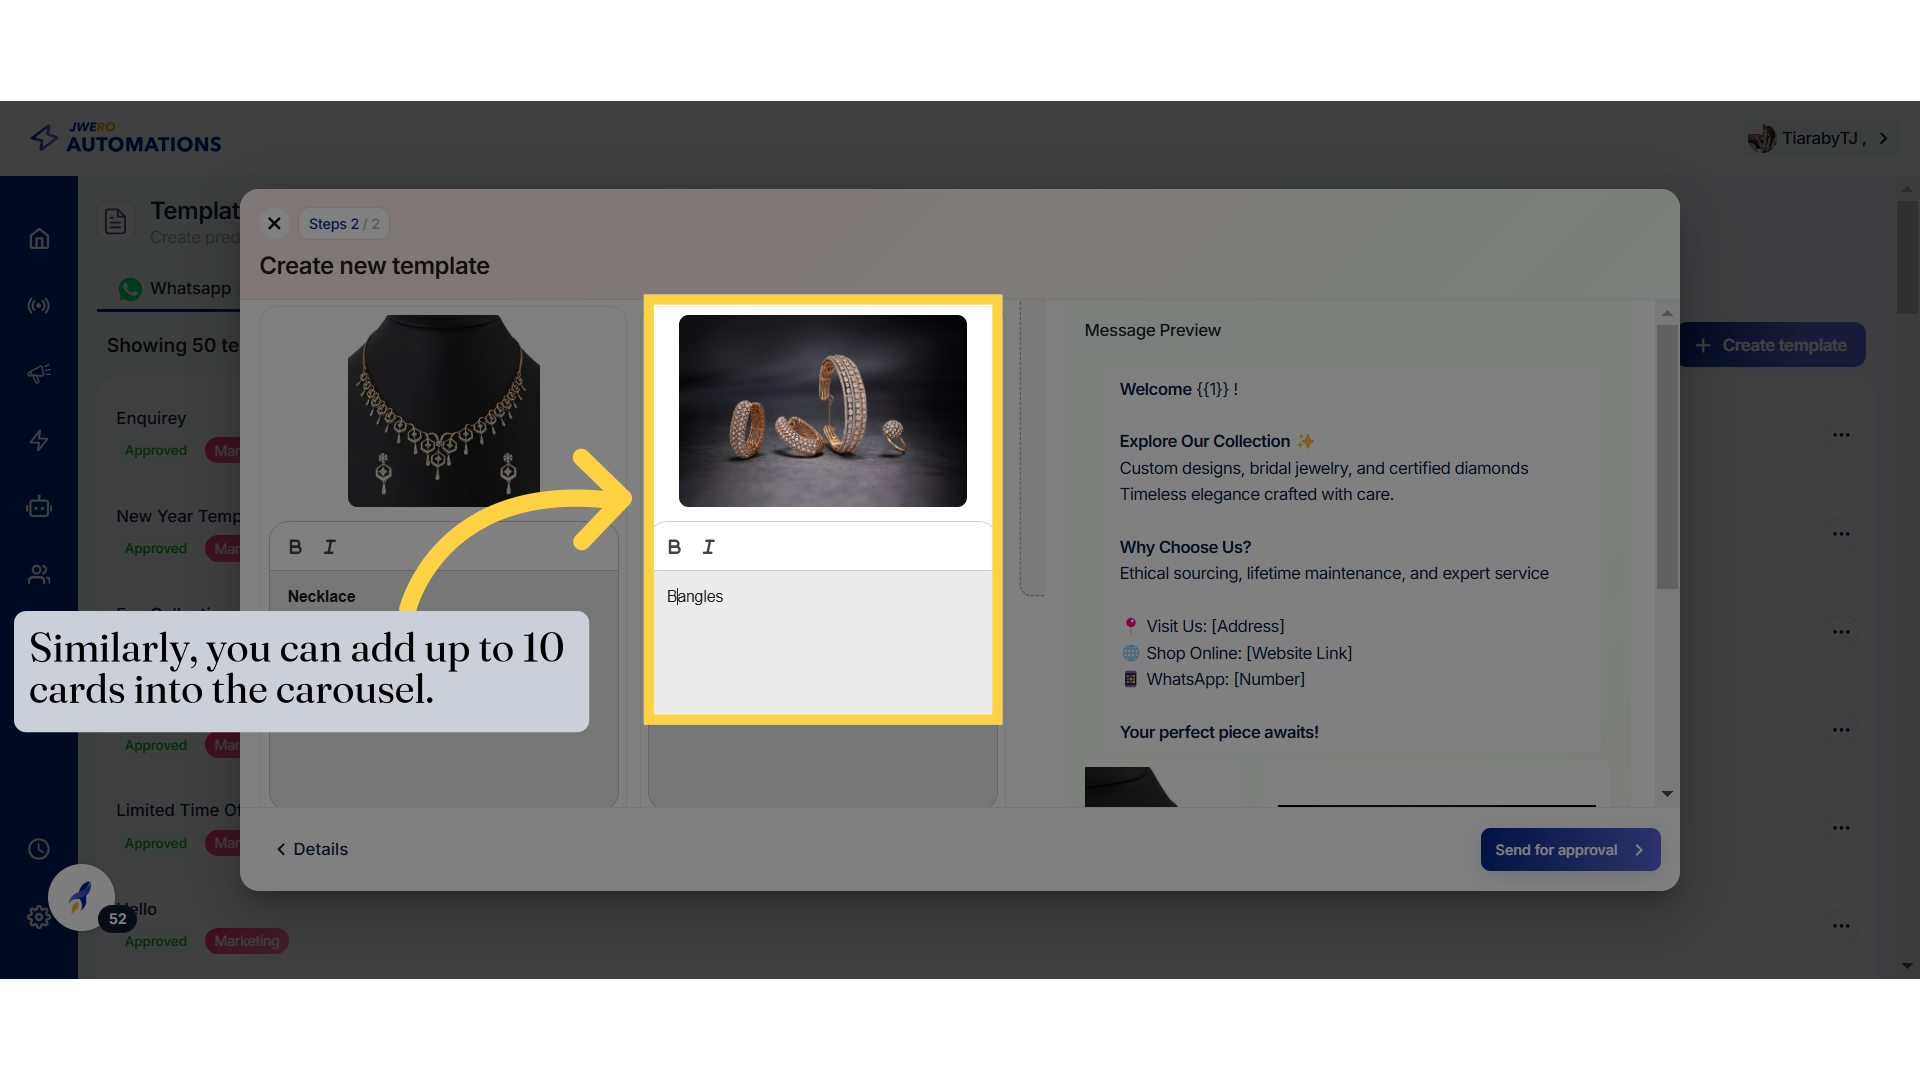
35. Similarly, you can add up to 10 cards into the carousel.
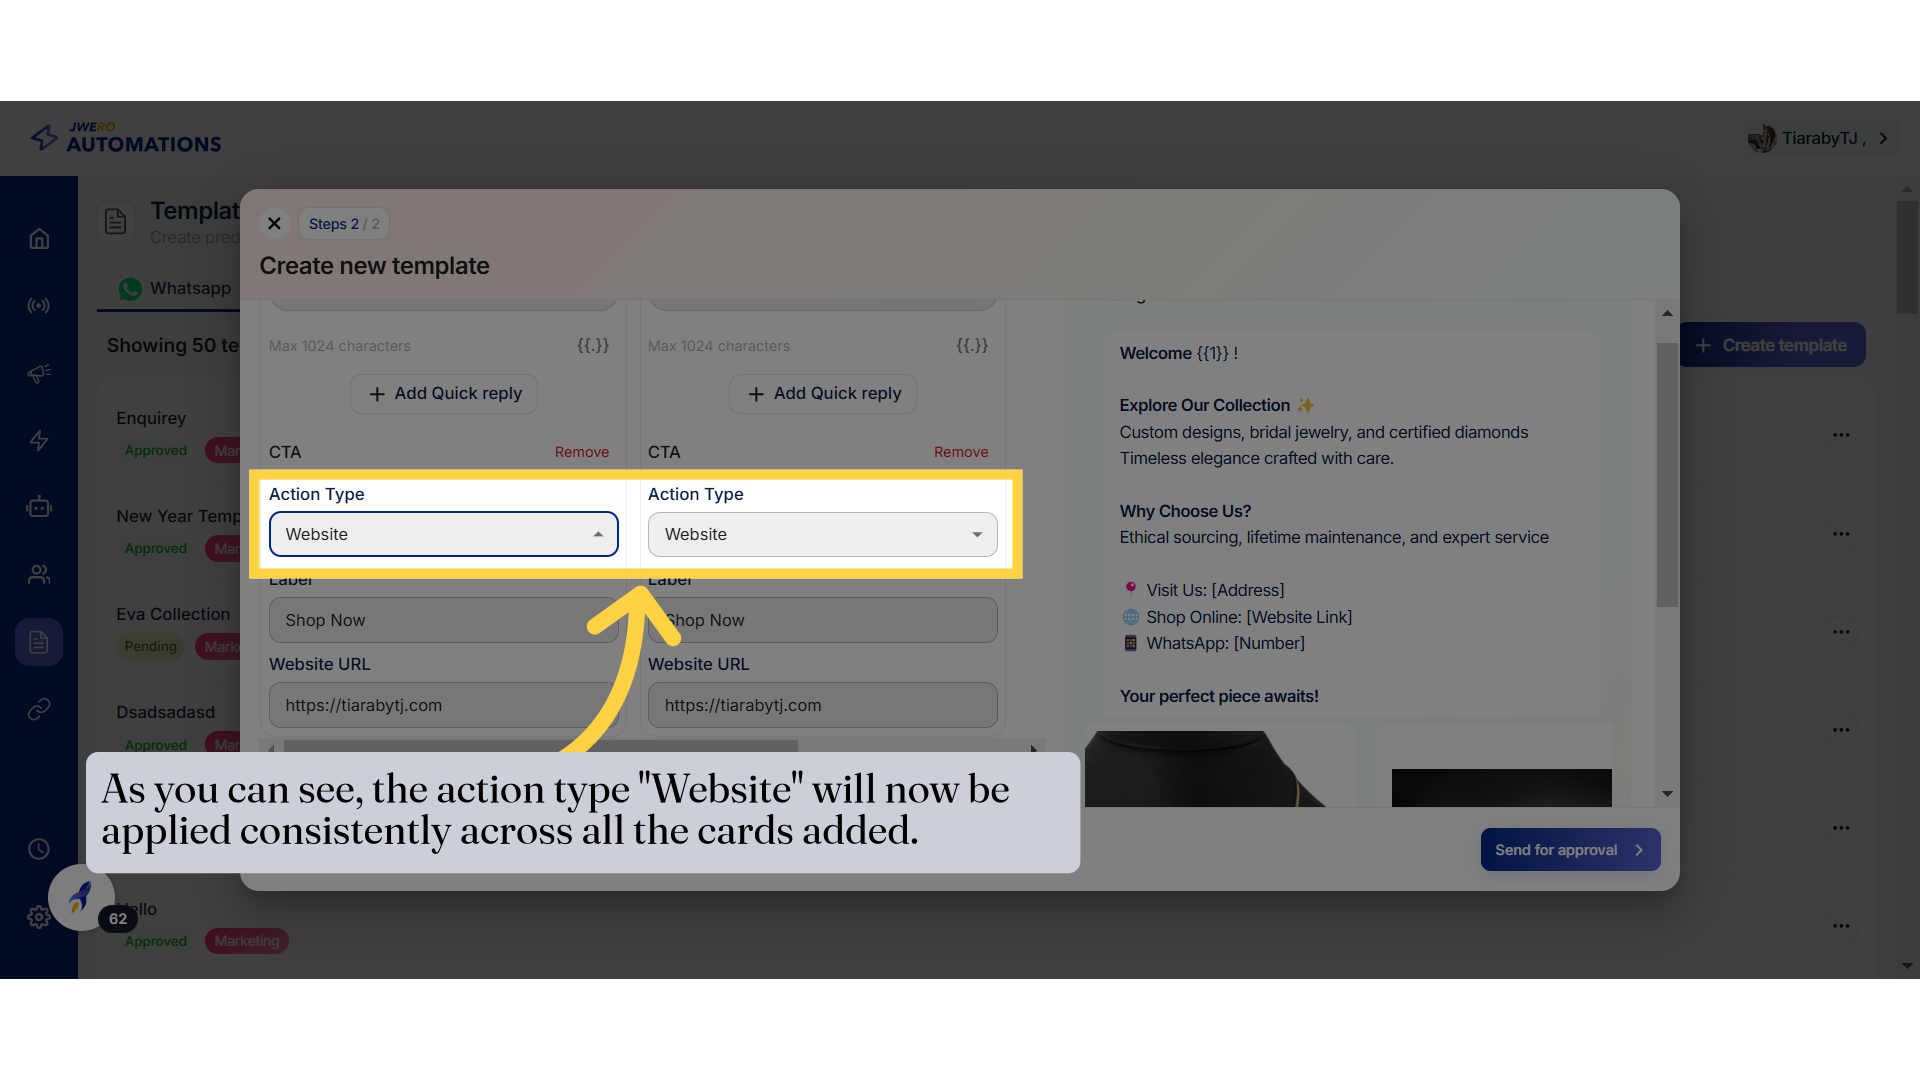
36. As you can see, the action type "Website" will now be applied consistently across all the cards added.
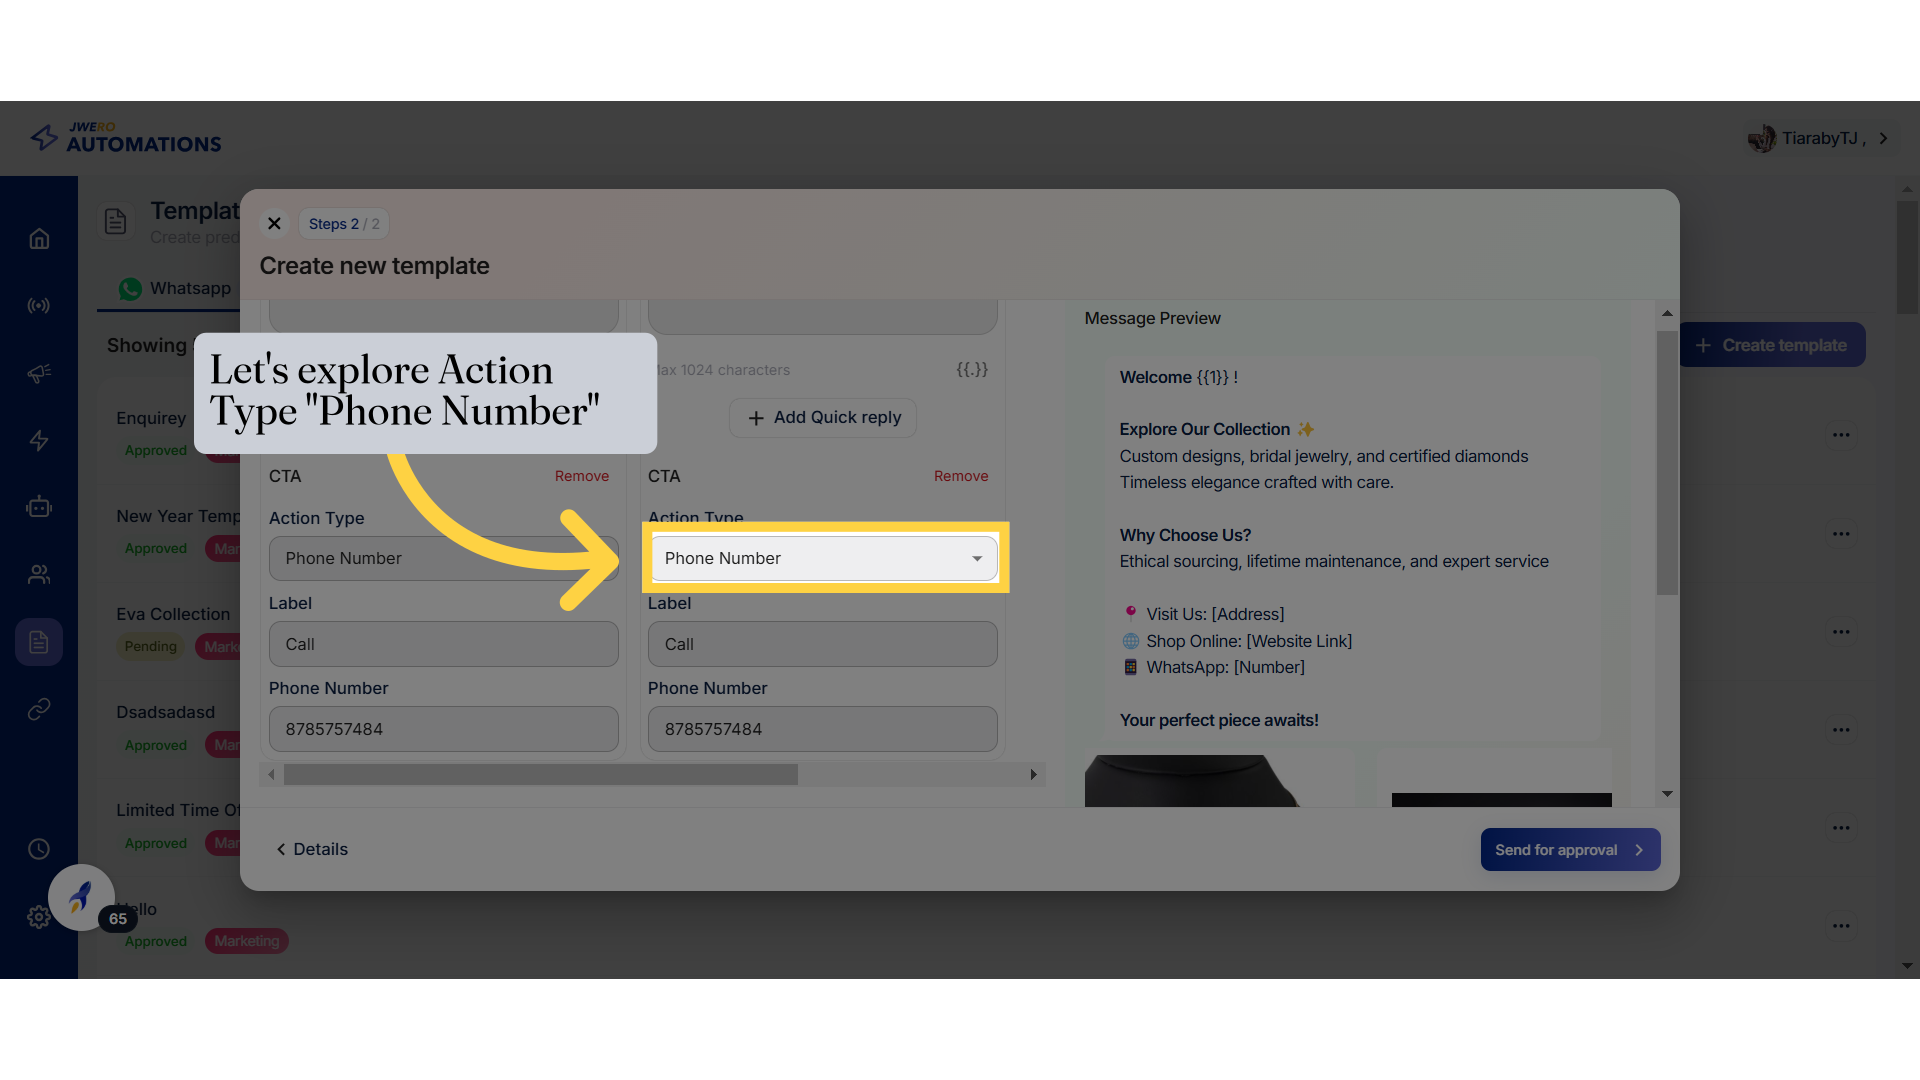
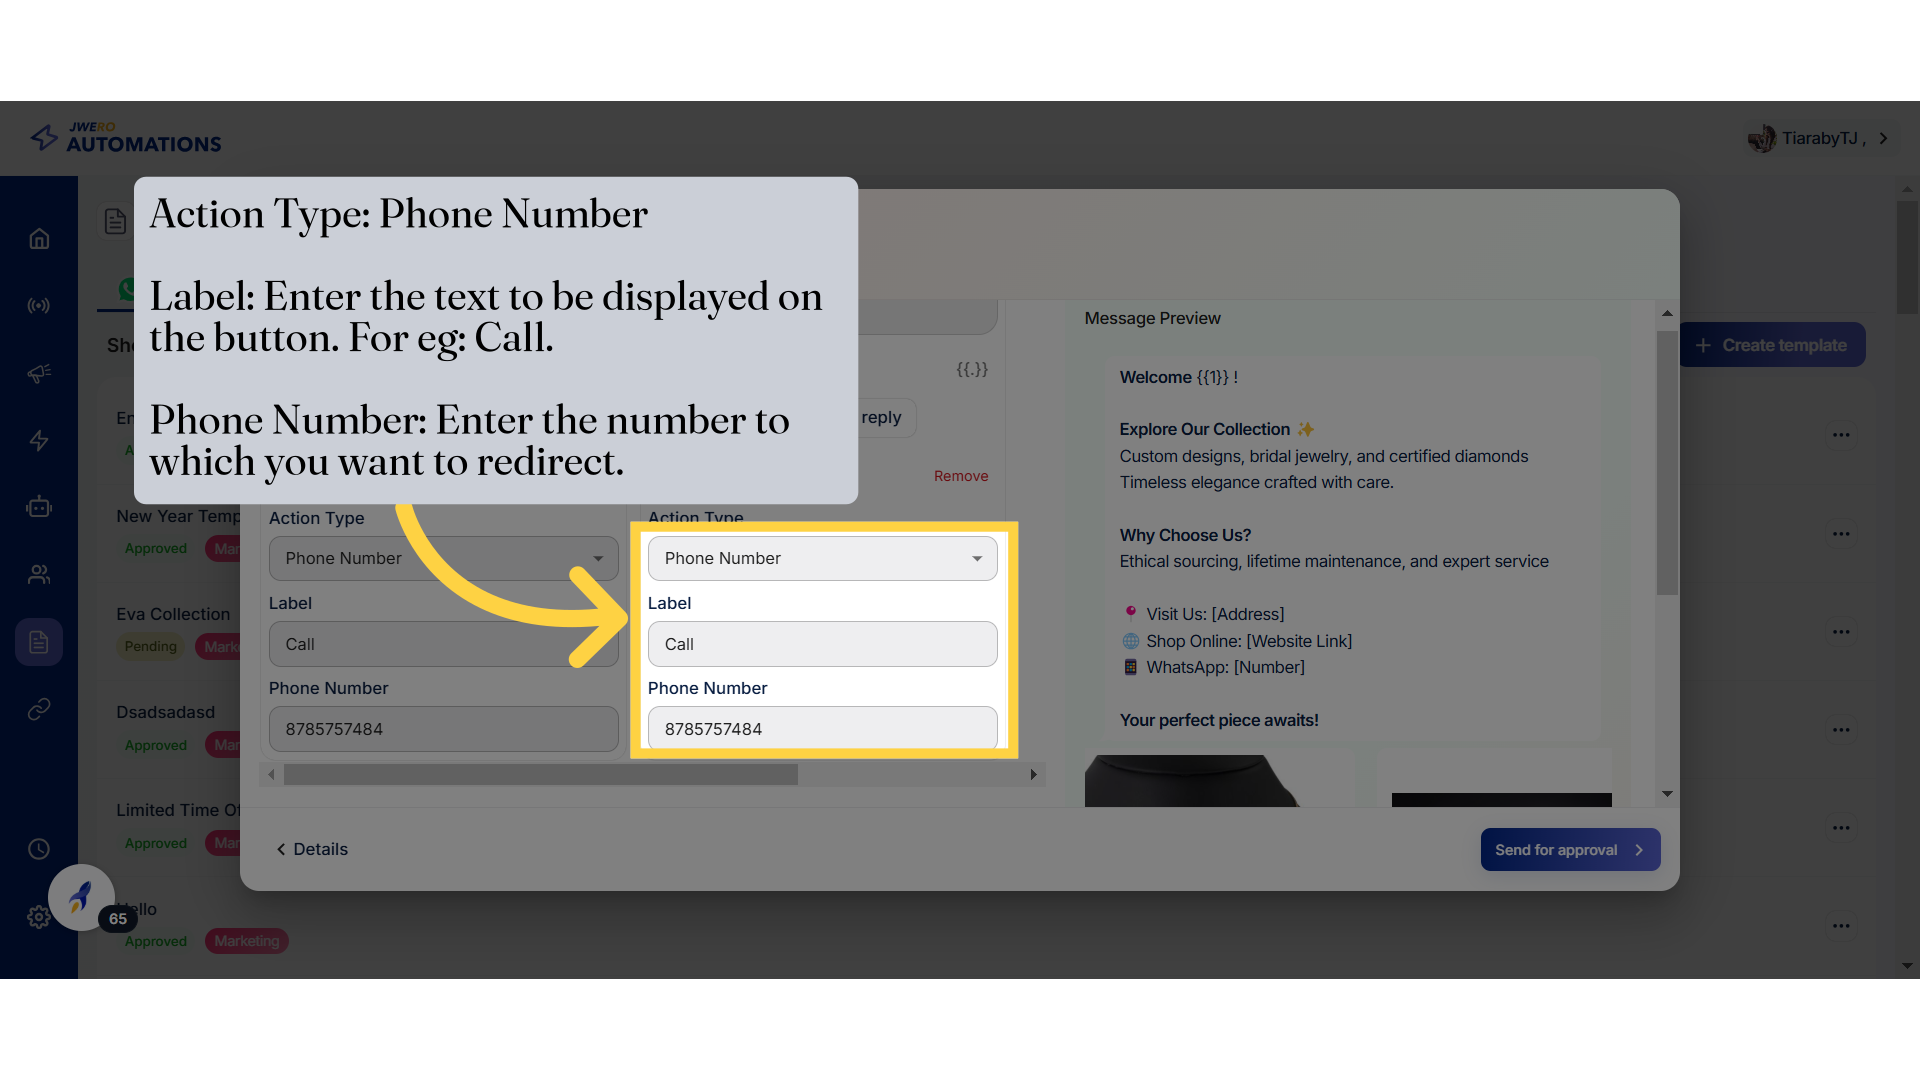
37. Action Type = Phone Number
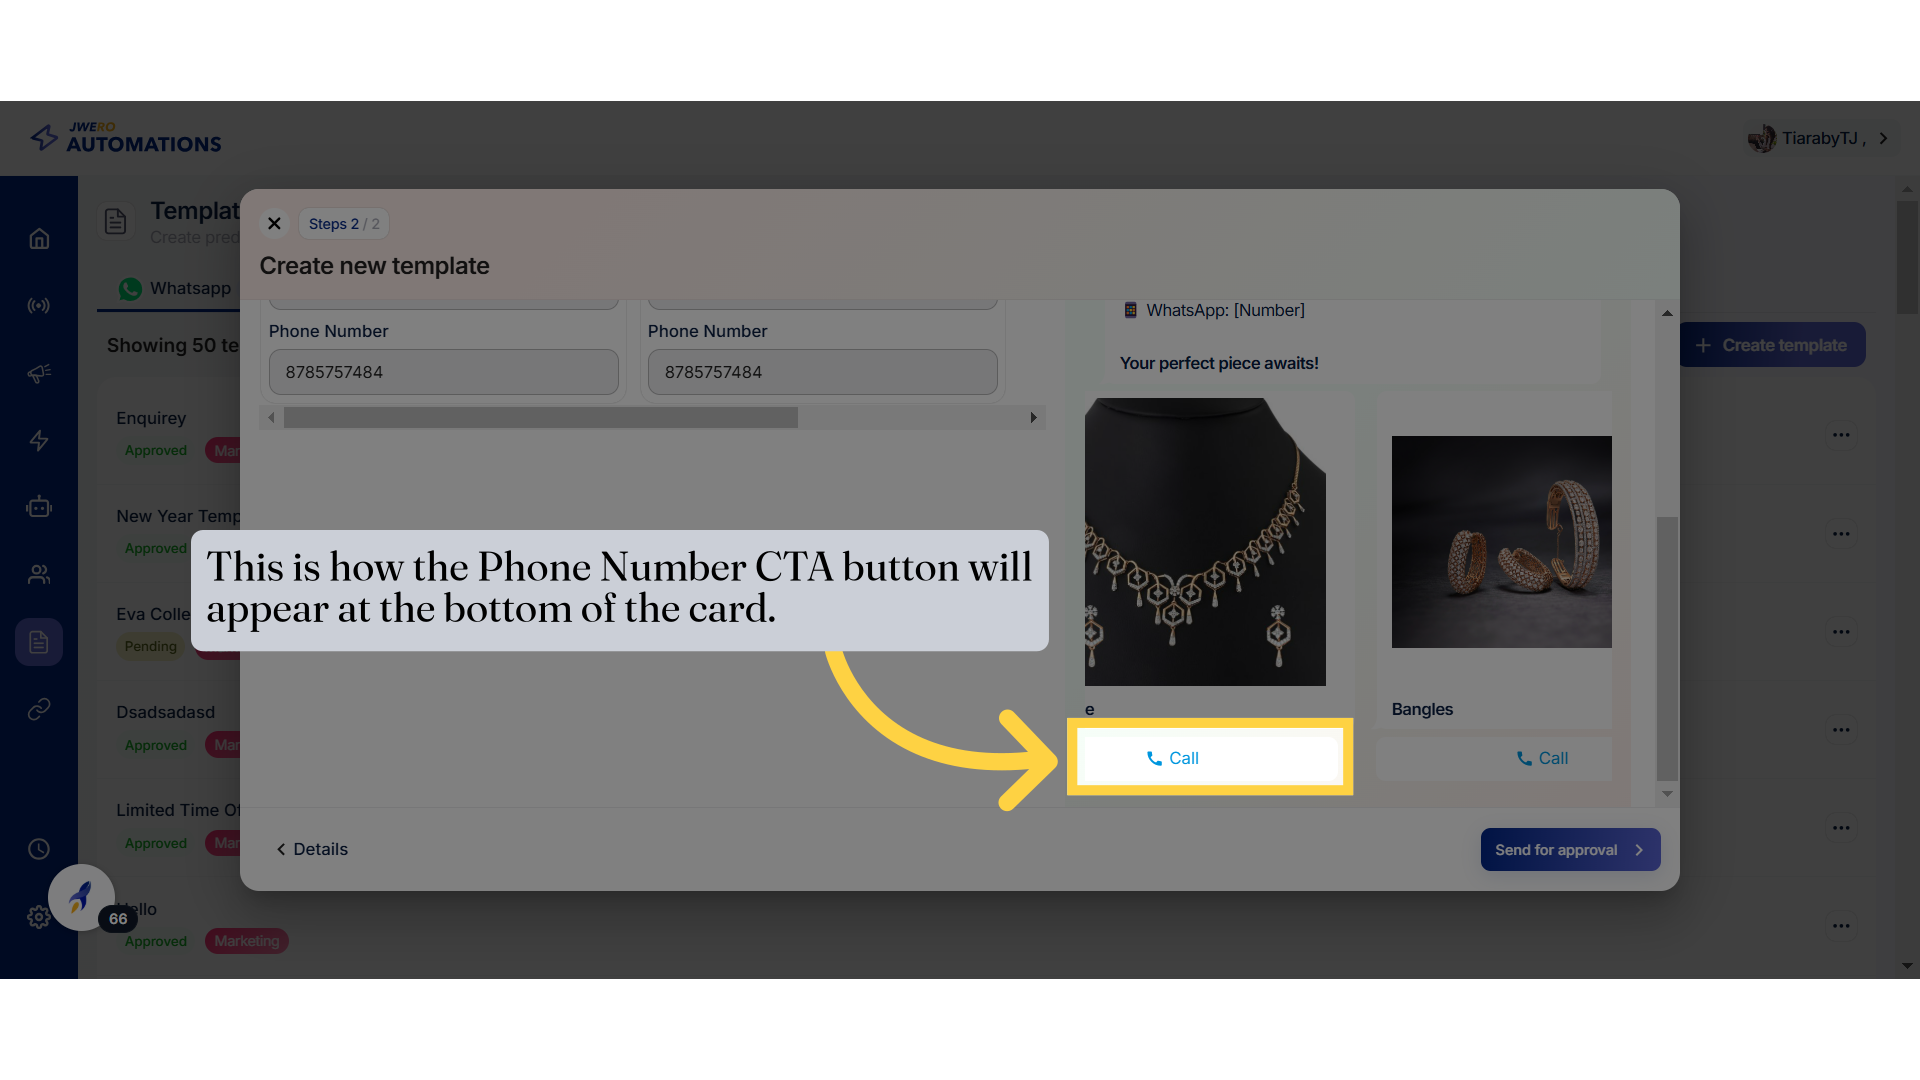
38. Action Type: Phone Number
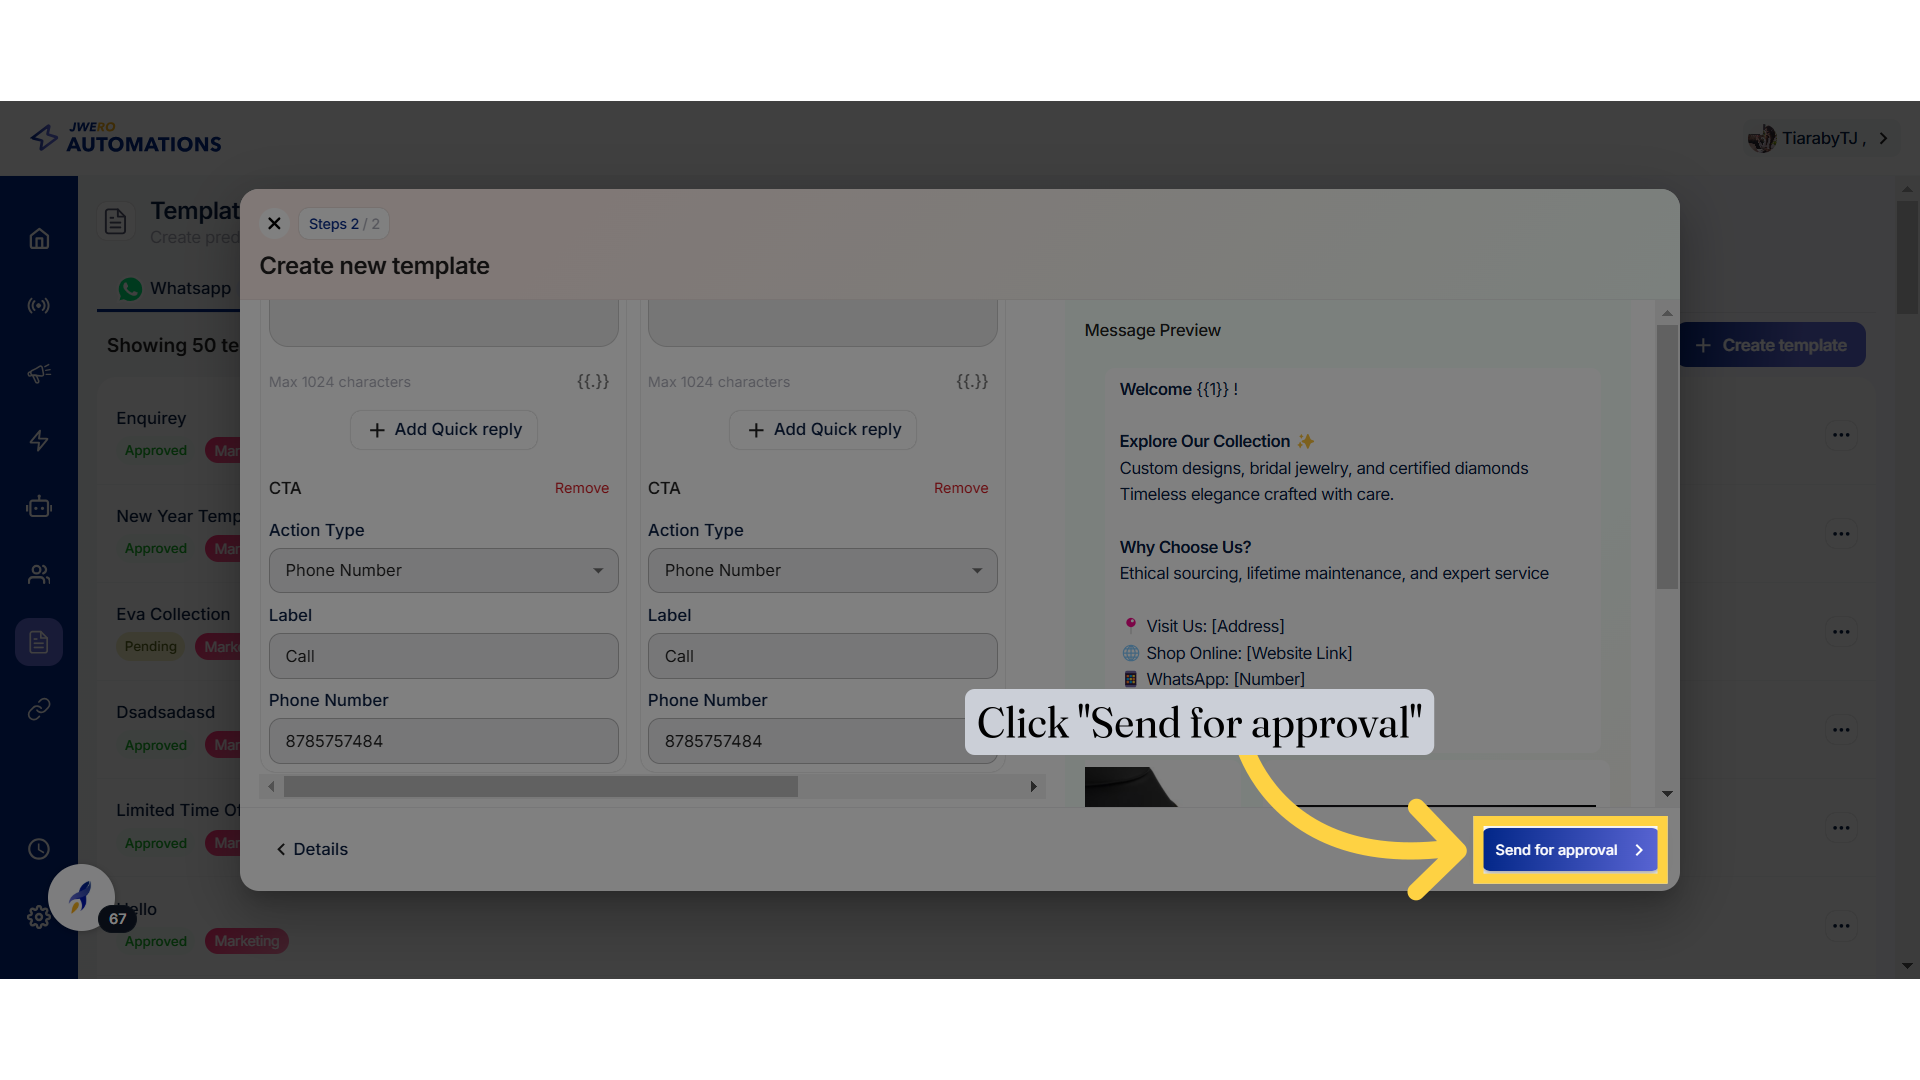
40. Click "Send for approval"
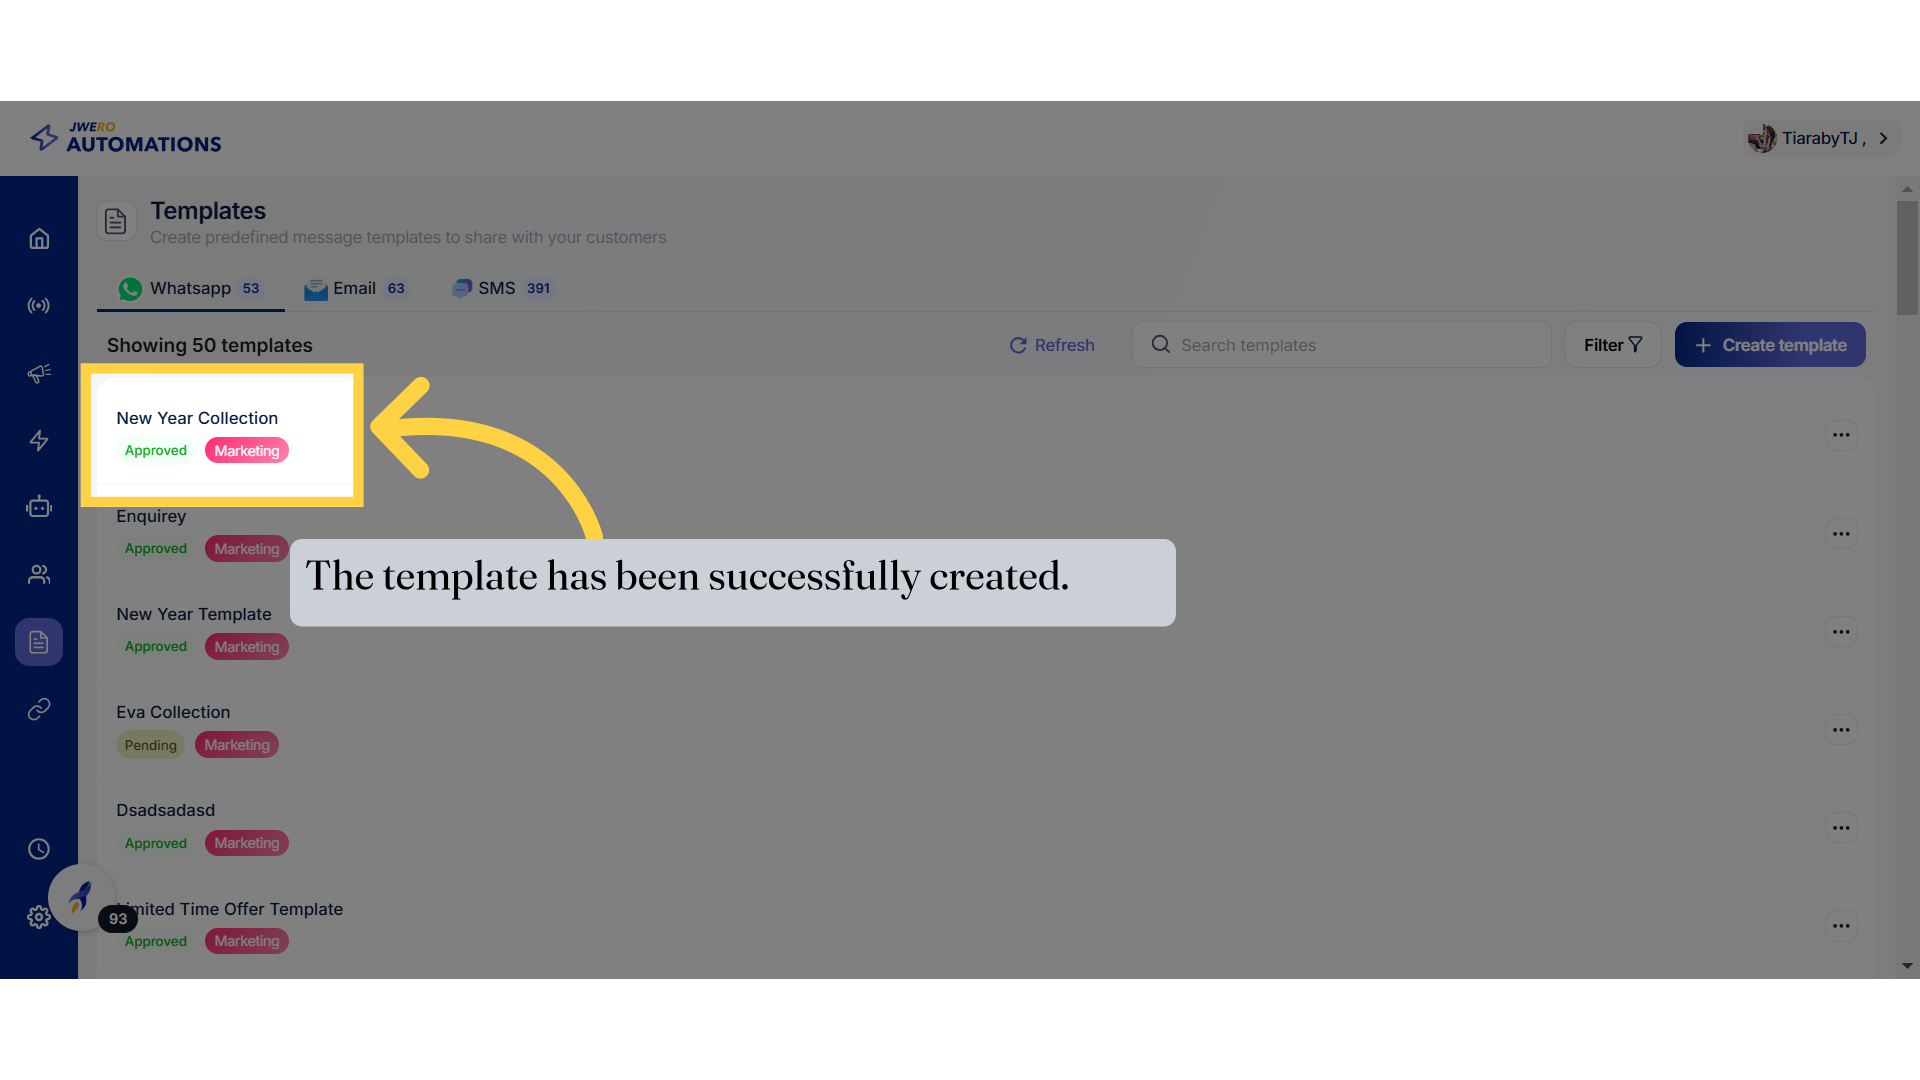
41. The template has been successfully created.
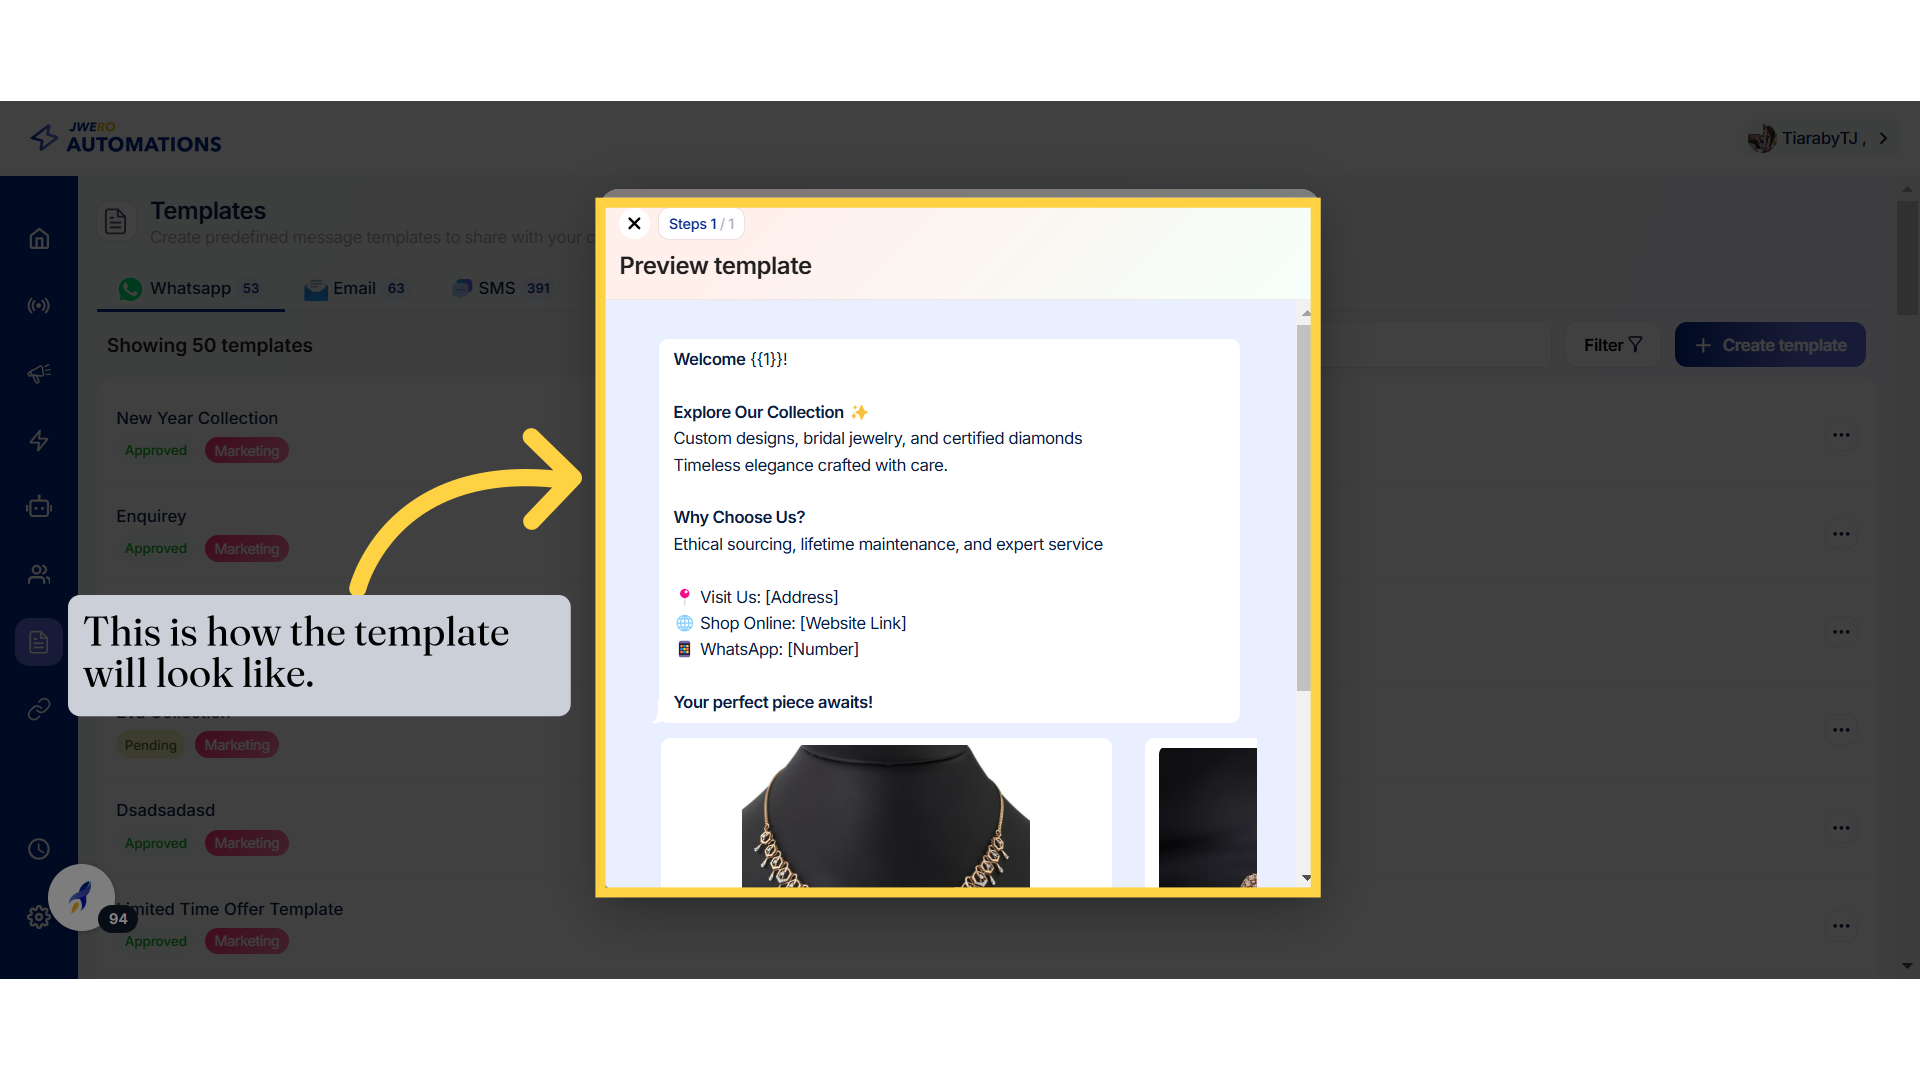
42. This is how the template will look like.
