How To Create Footer Using Widget
This guide details the steps to create a footer using widgets in the Tiarabytj application
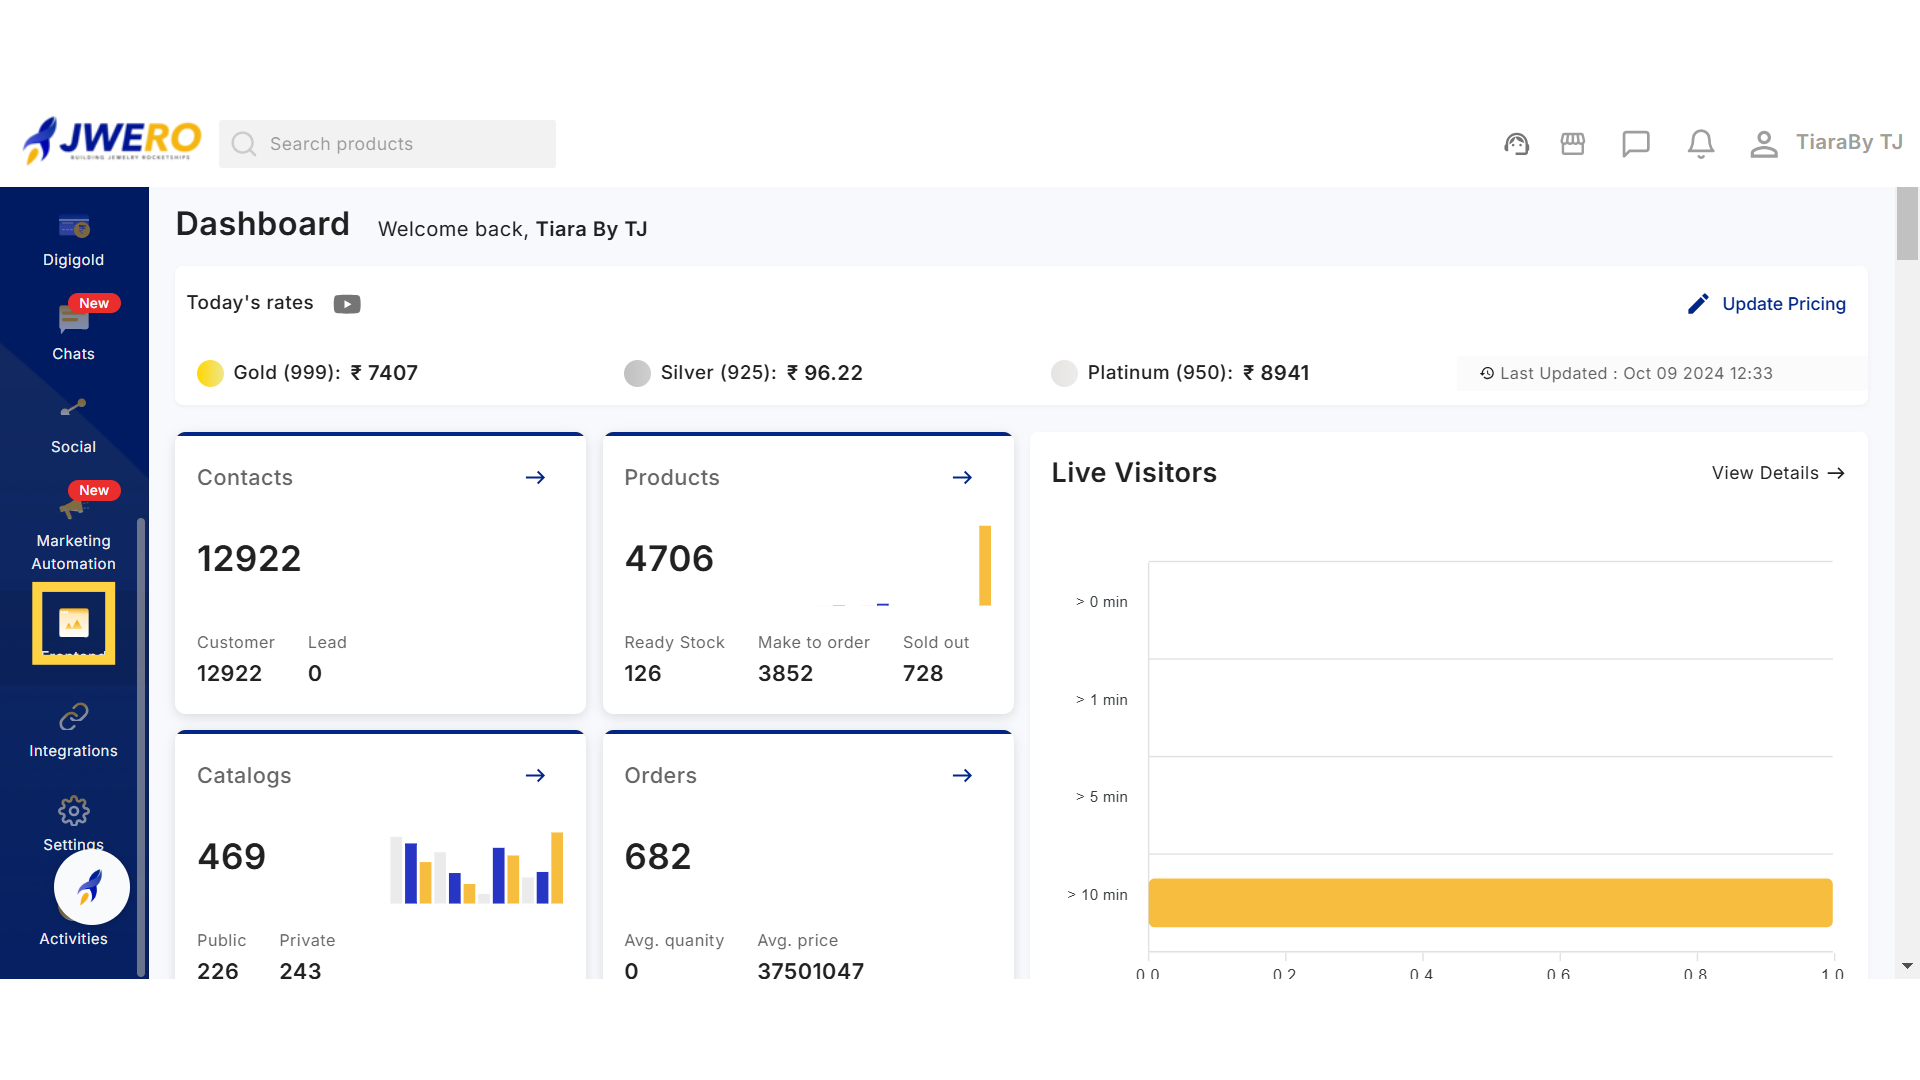
Go to app.jwero.ai
1. Click on "Frontend" to create the Footer.
Access "Frontend" to add the Footer.
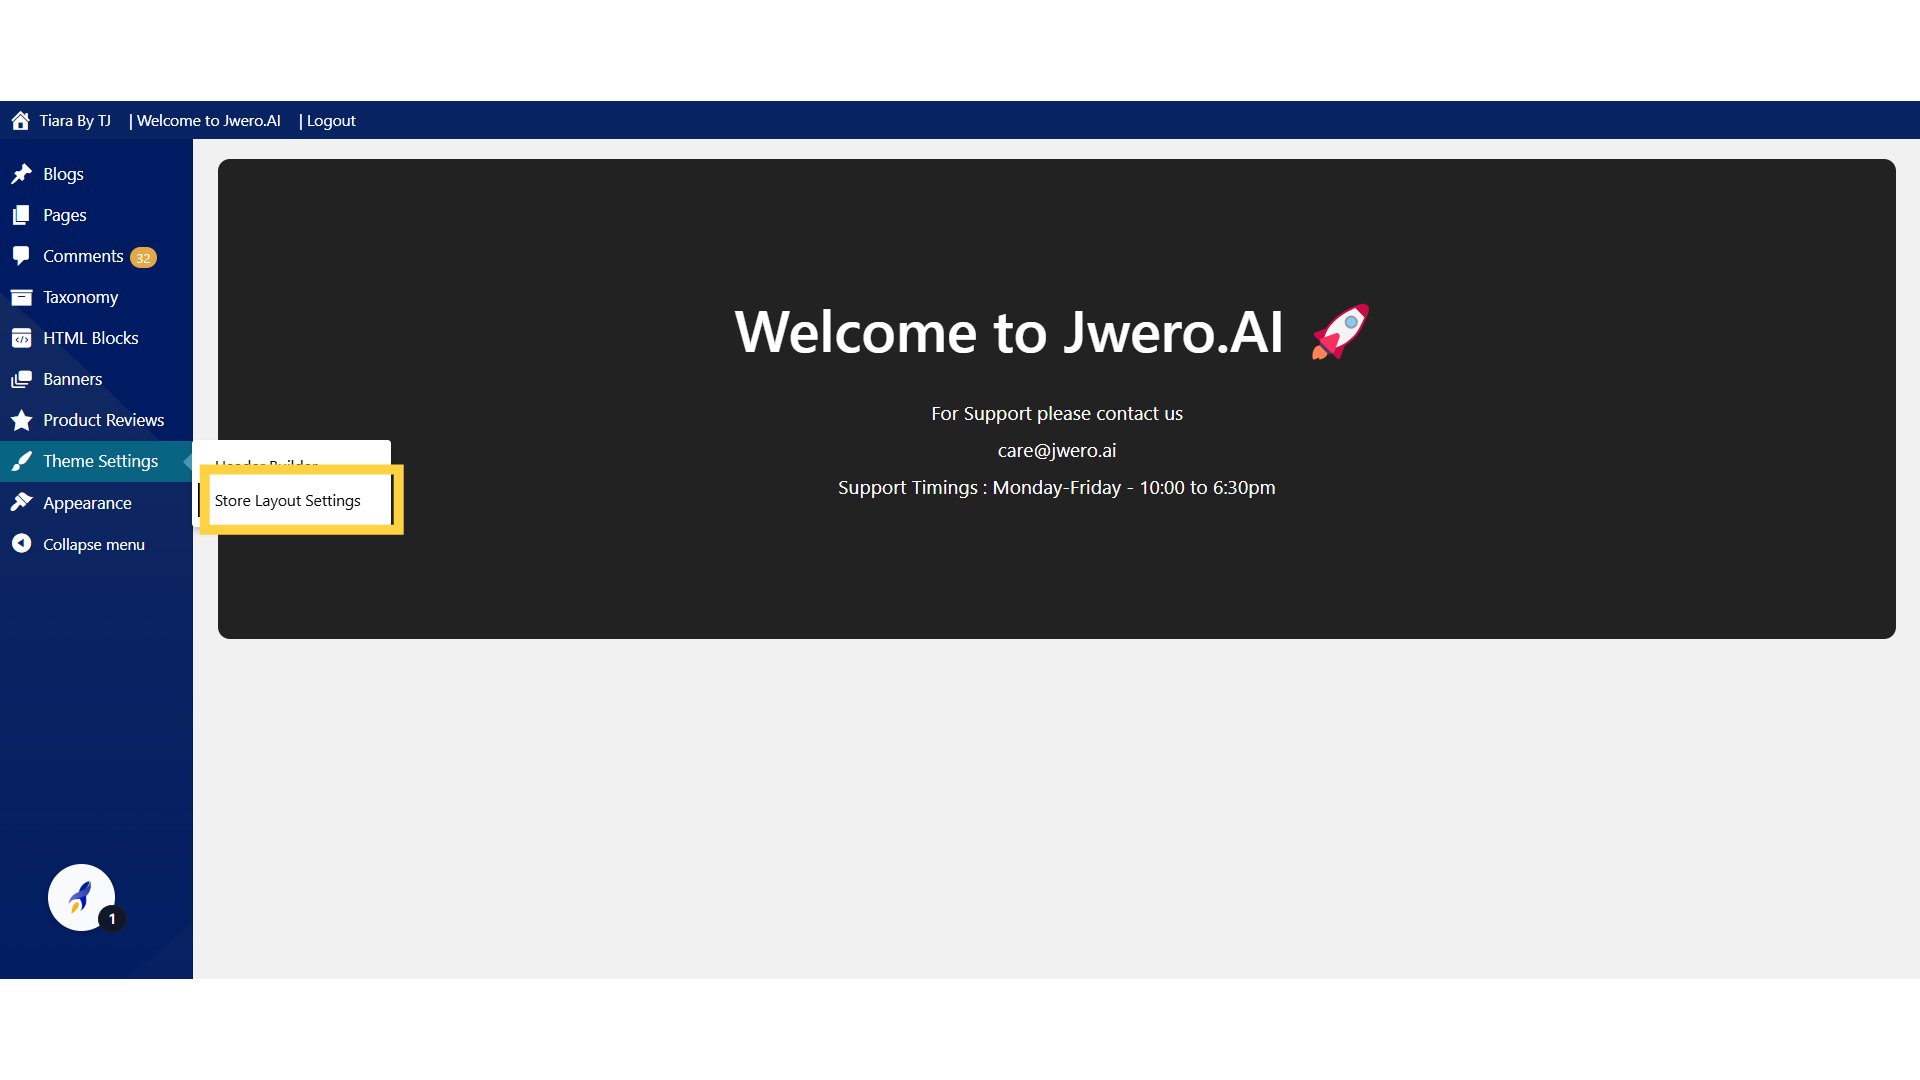
2. Click on "Store Layout Settings" to activate the footer using the widget area.
3. Select "Footer" which is available under the Footer section.
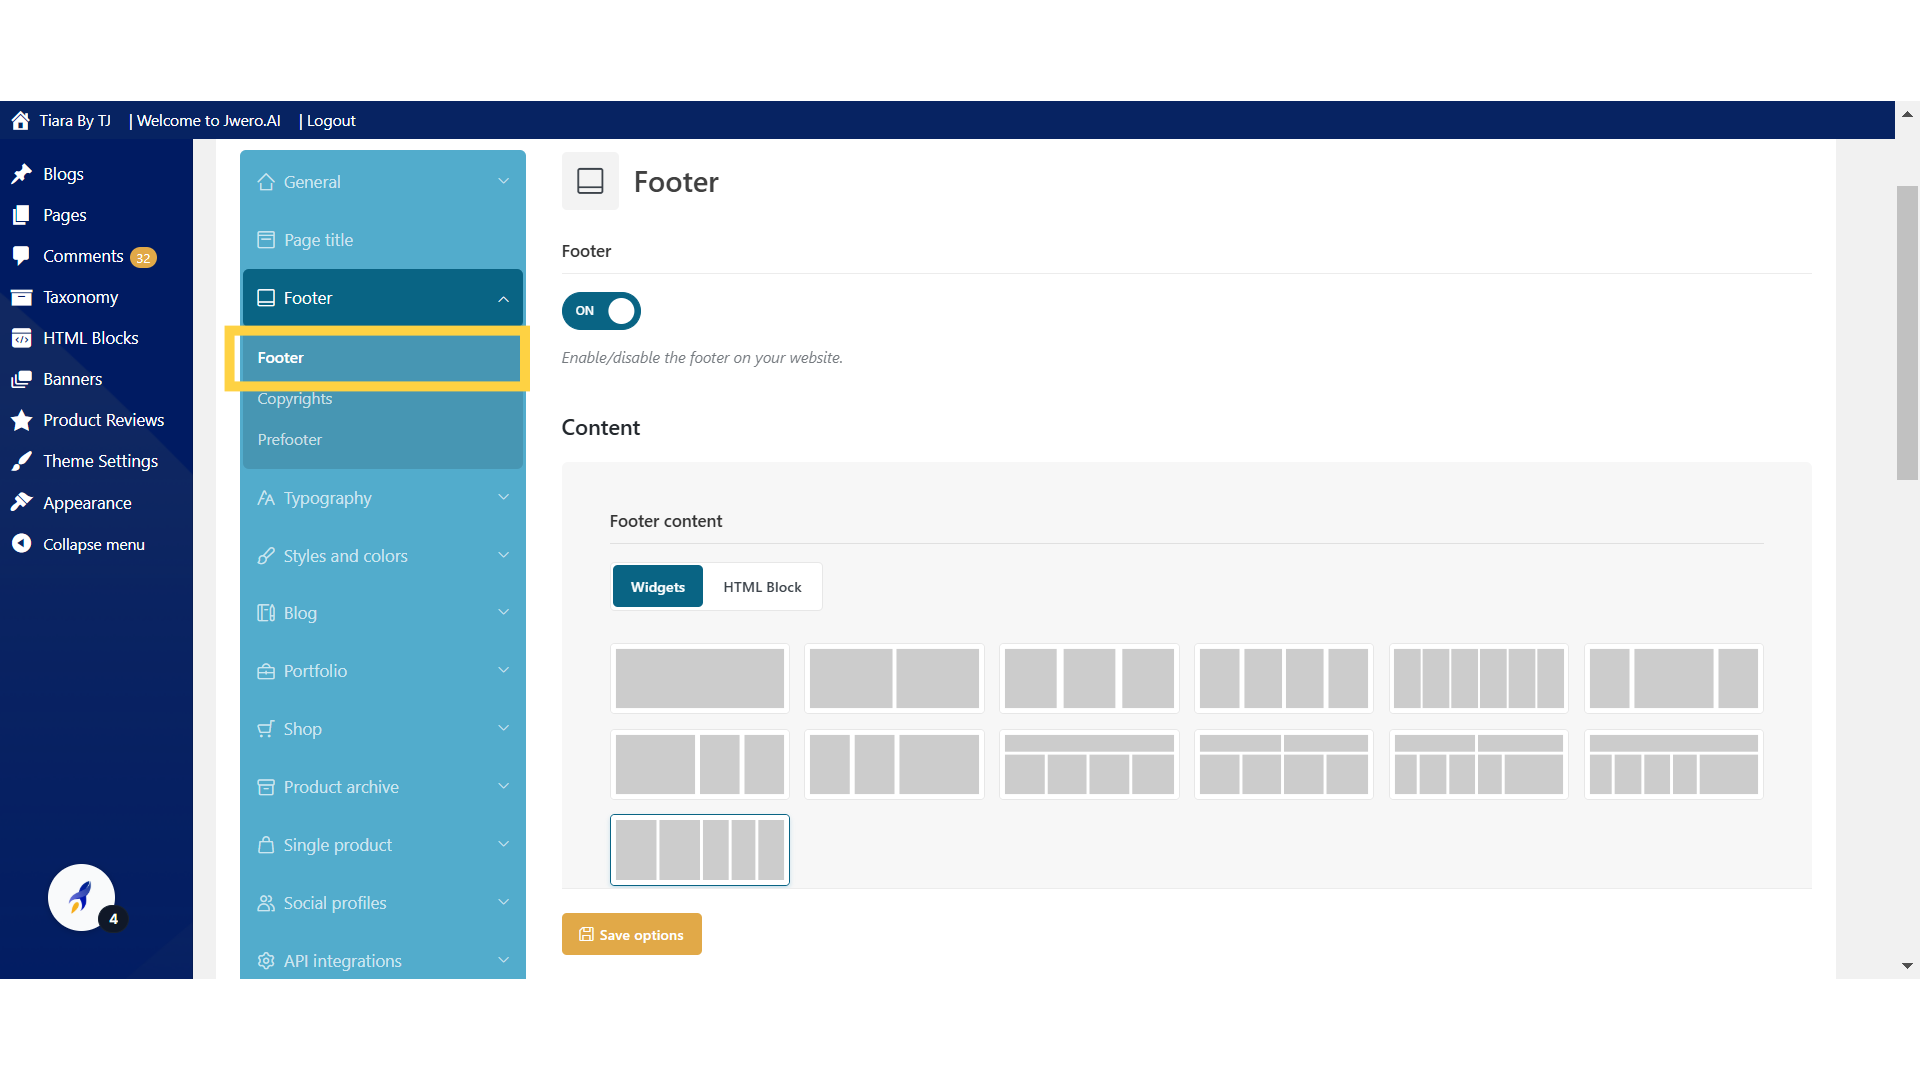
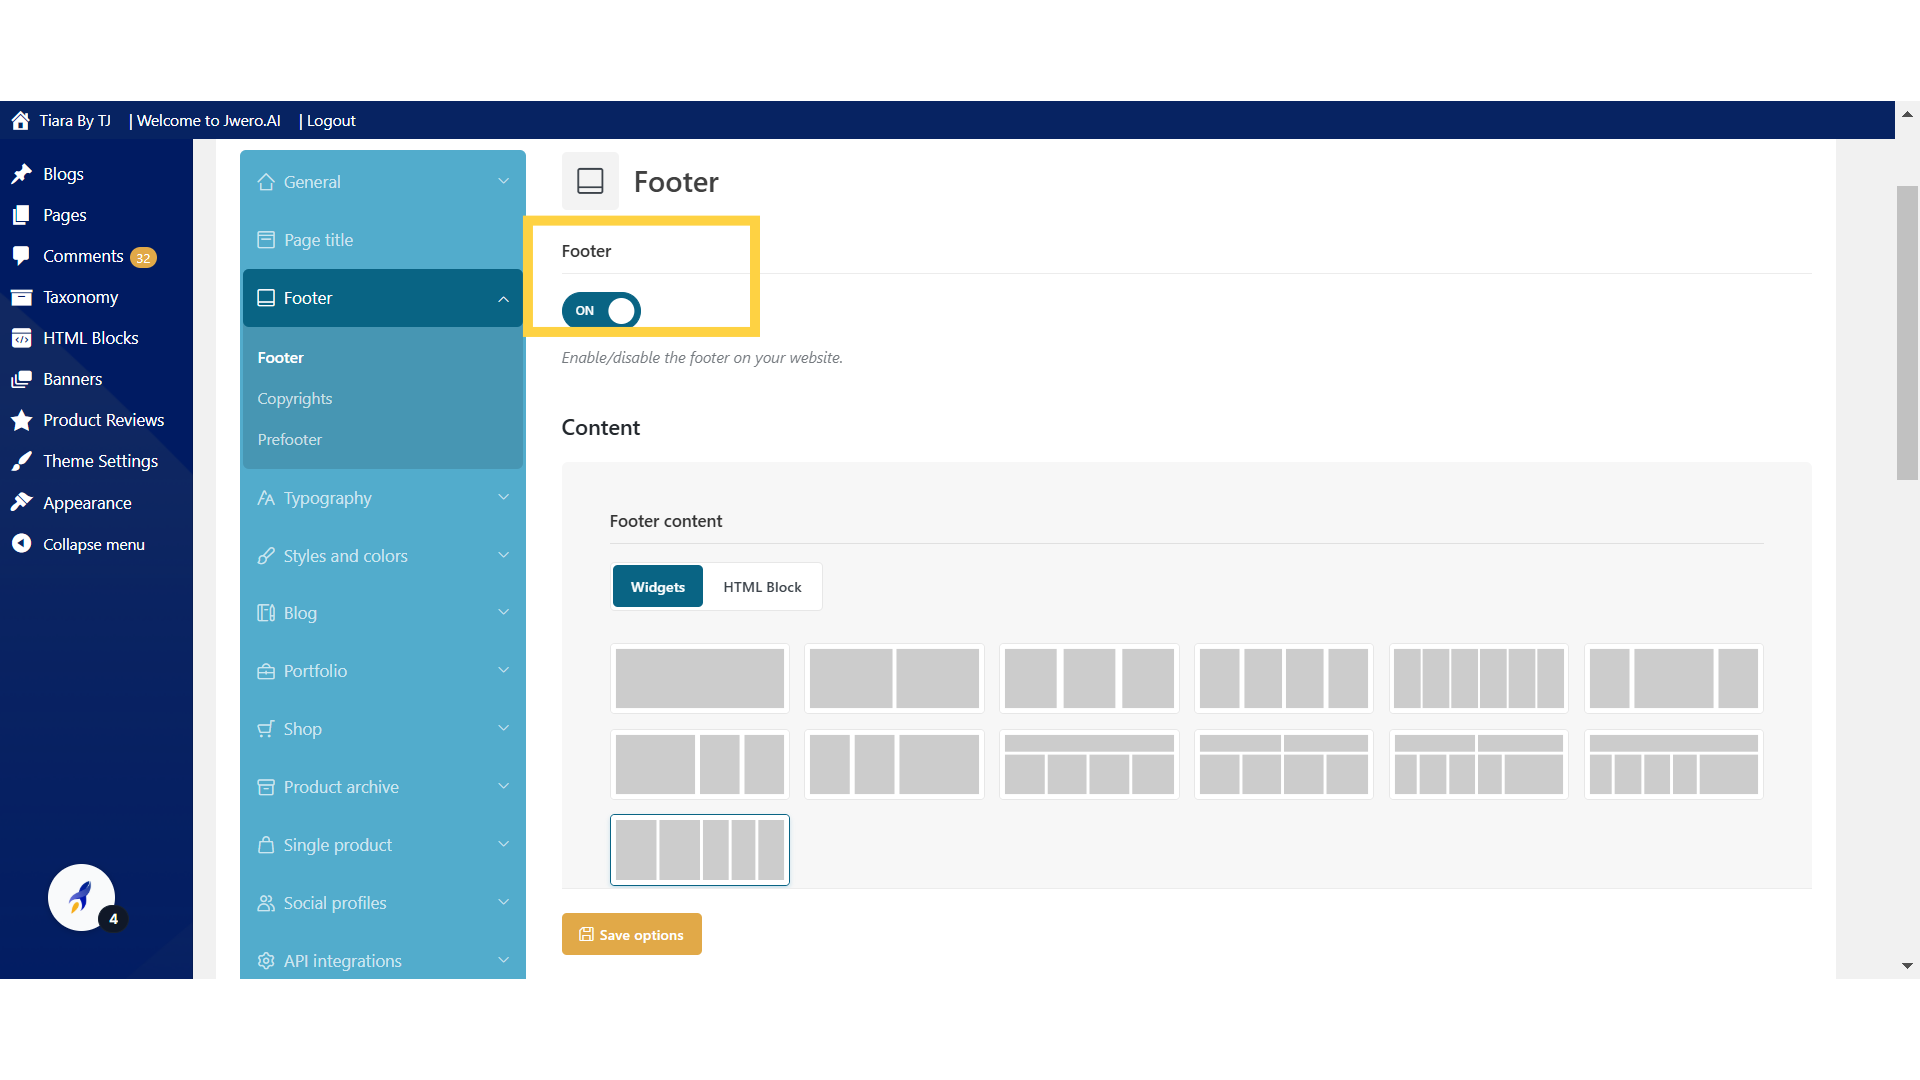
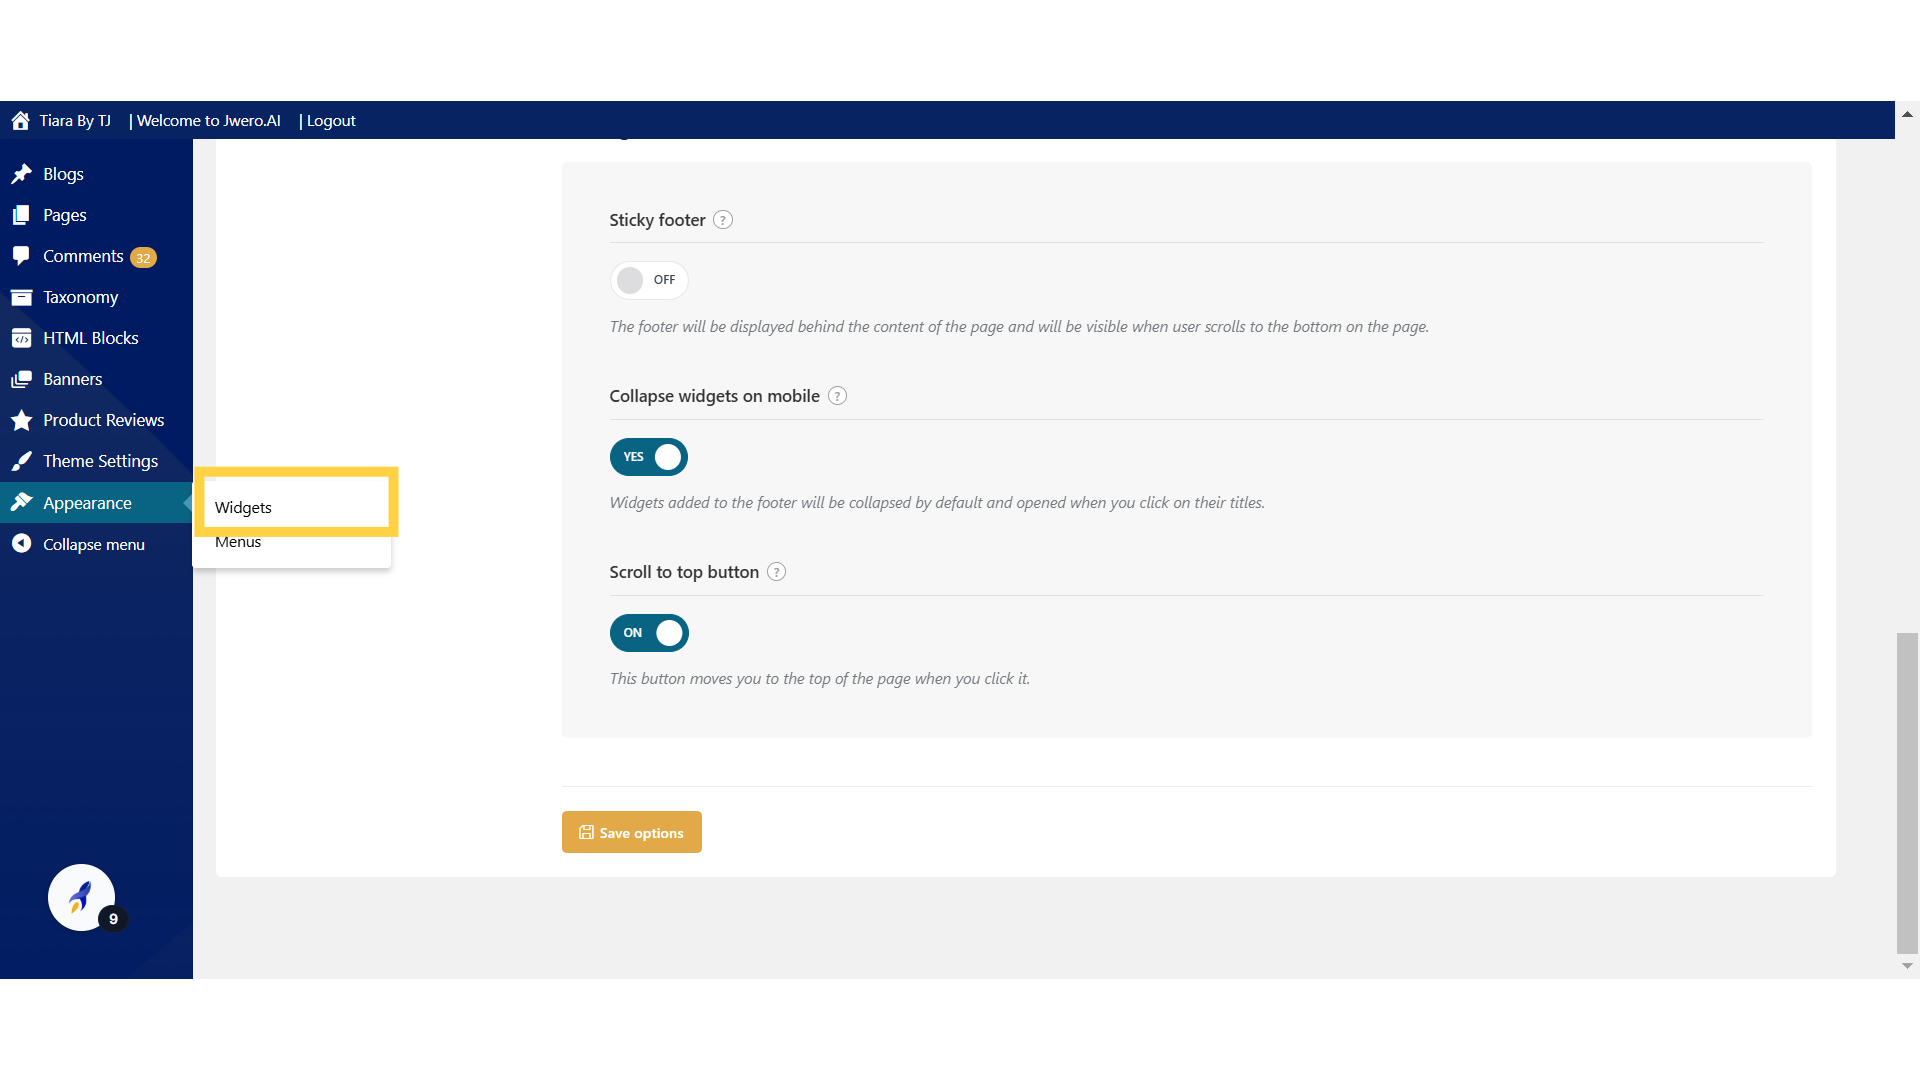
4. Enables or disables the footer section on your website. If turned off, no footer content will appear.
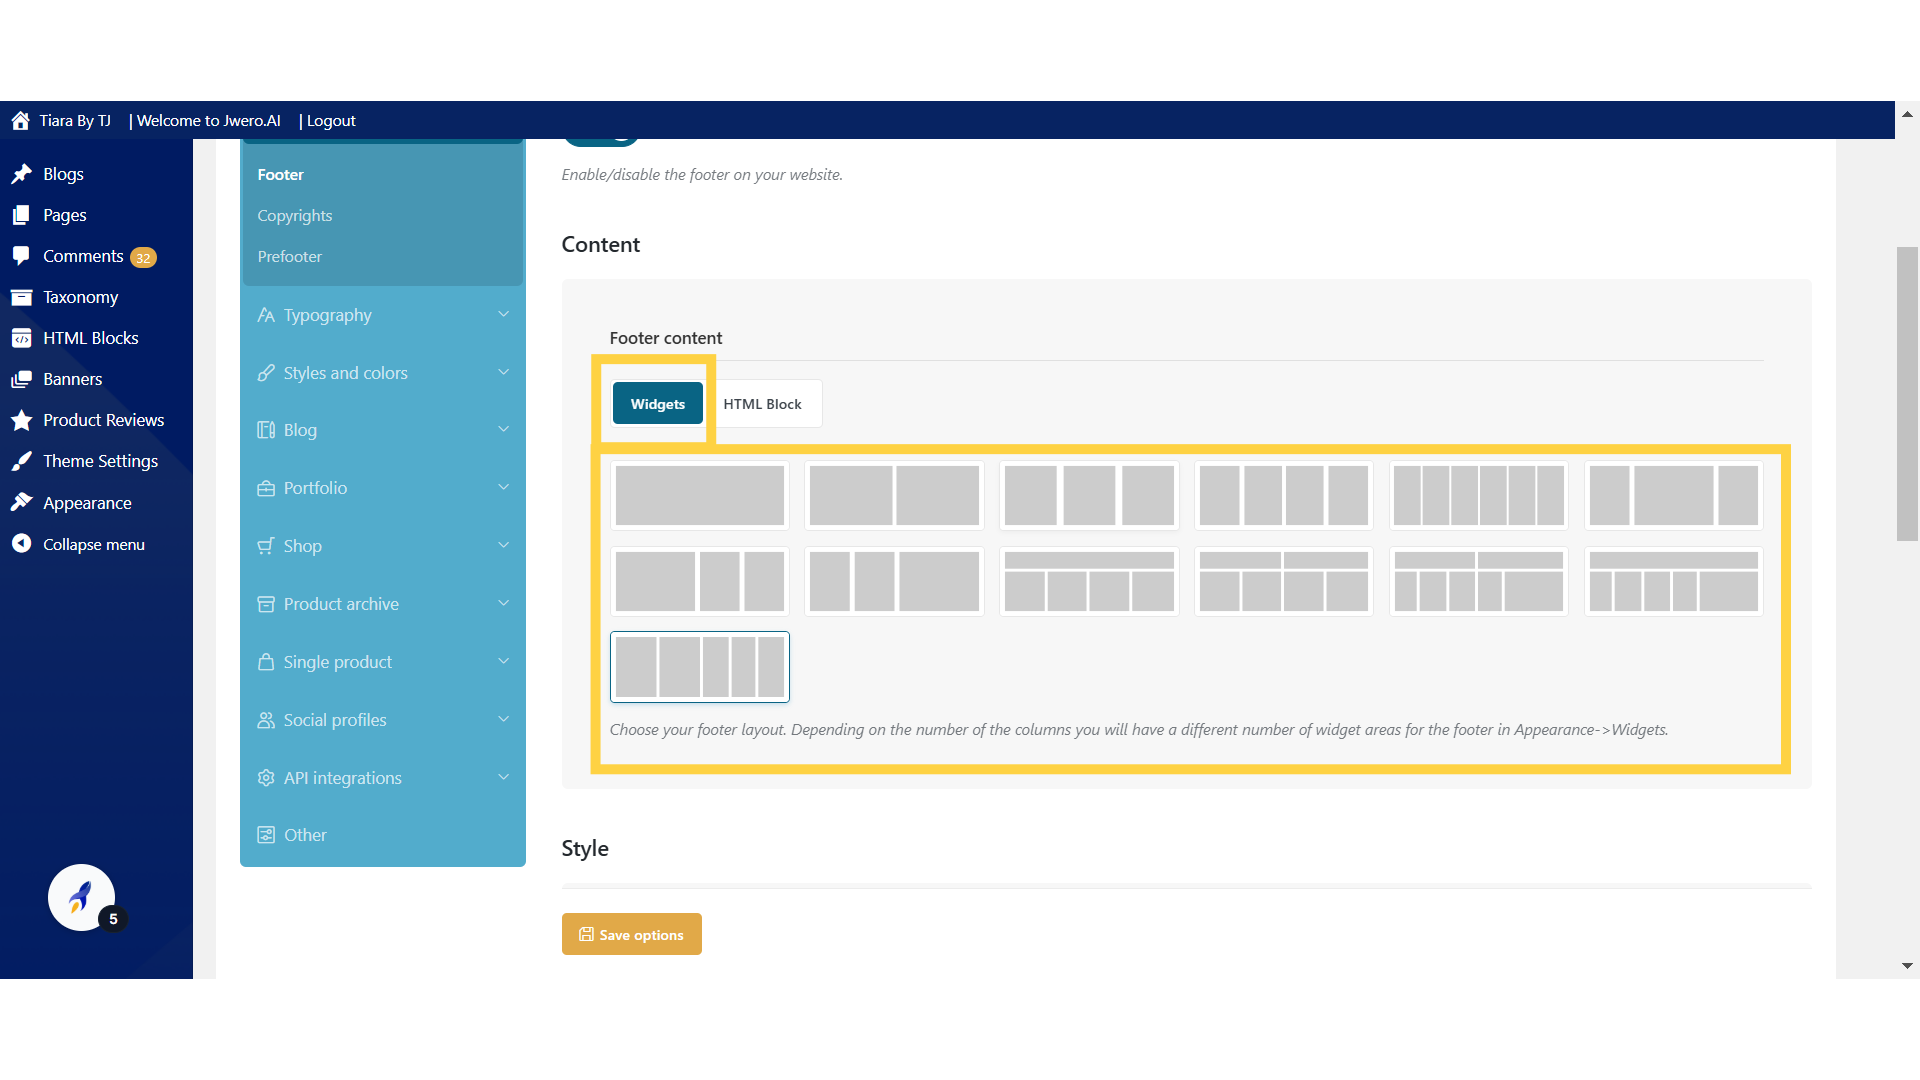
5. You can choose a layout (single or multiple columns) to define how the footer will be divided into sections.
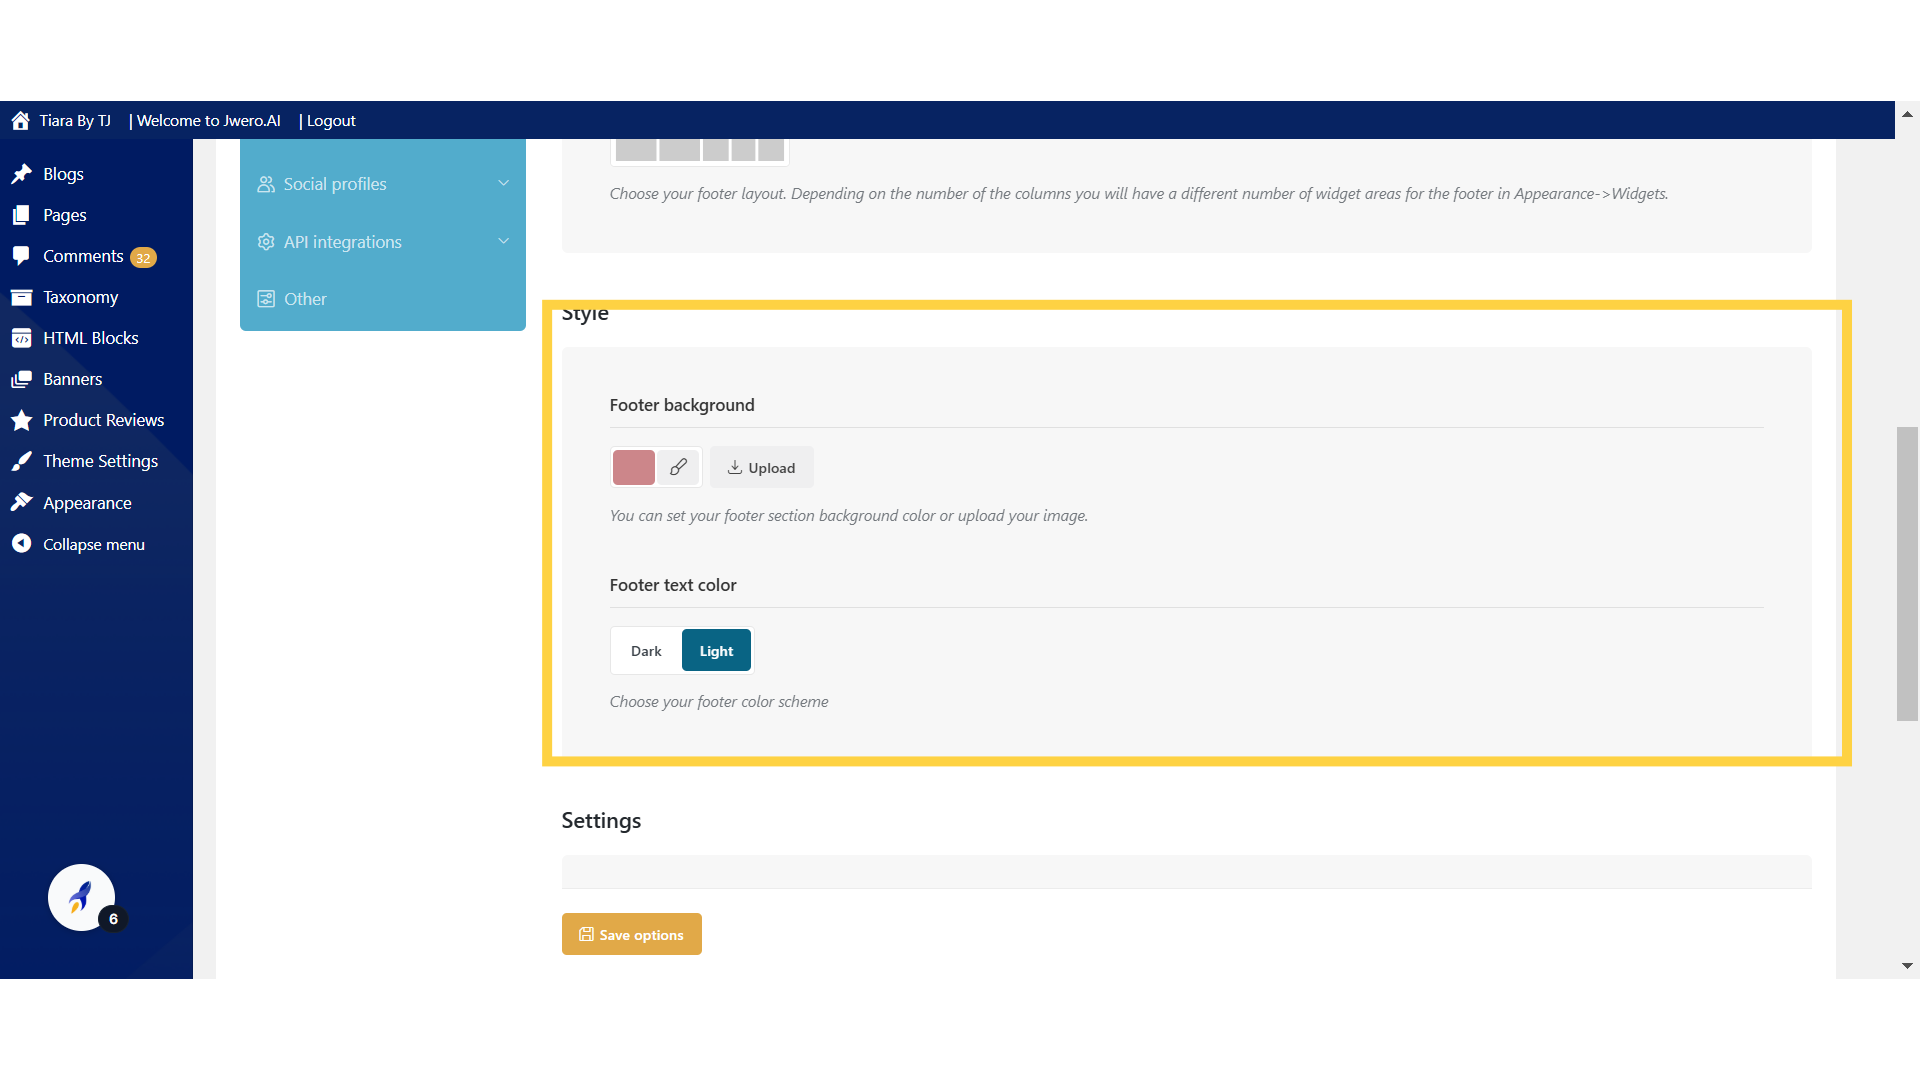
6. Allows you to choose a background color for the footer. You can click on the color box to select or adjust a color.
7. Sticky Footer: Keeps the footer fixed at the bottom of the page and visible when scrolling to the bottom.
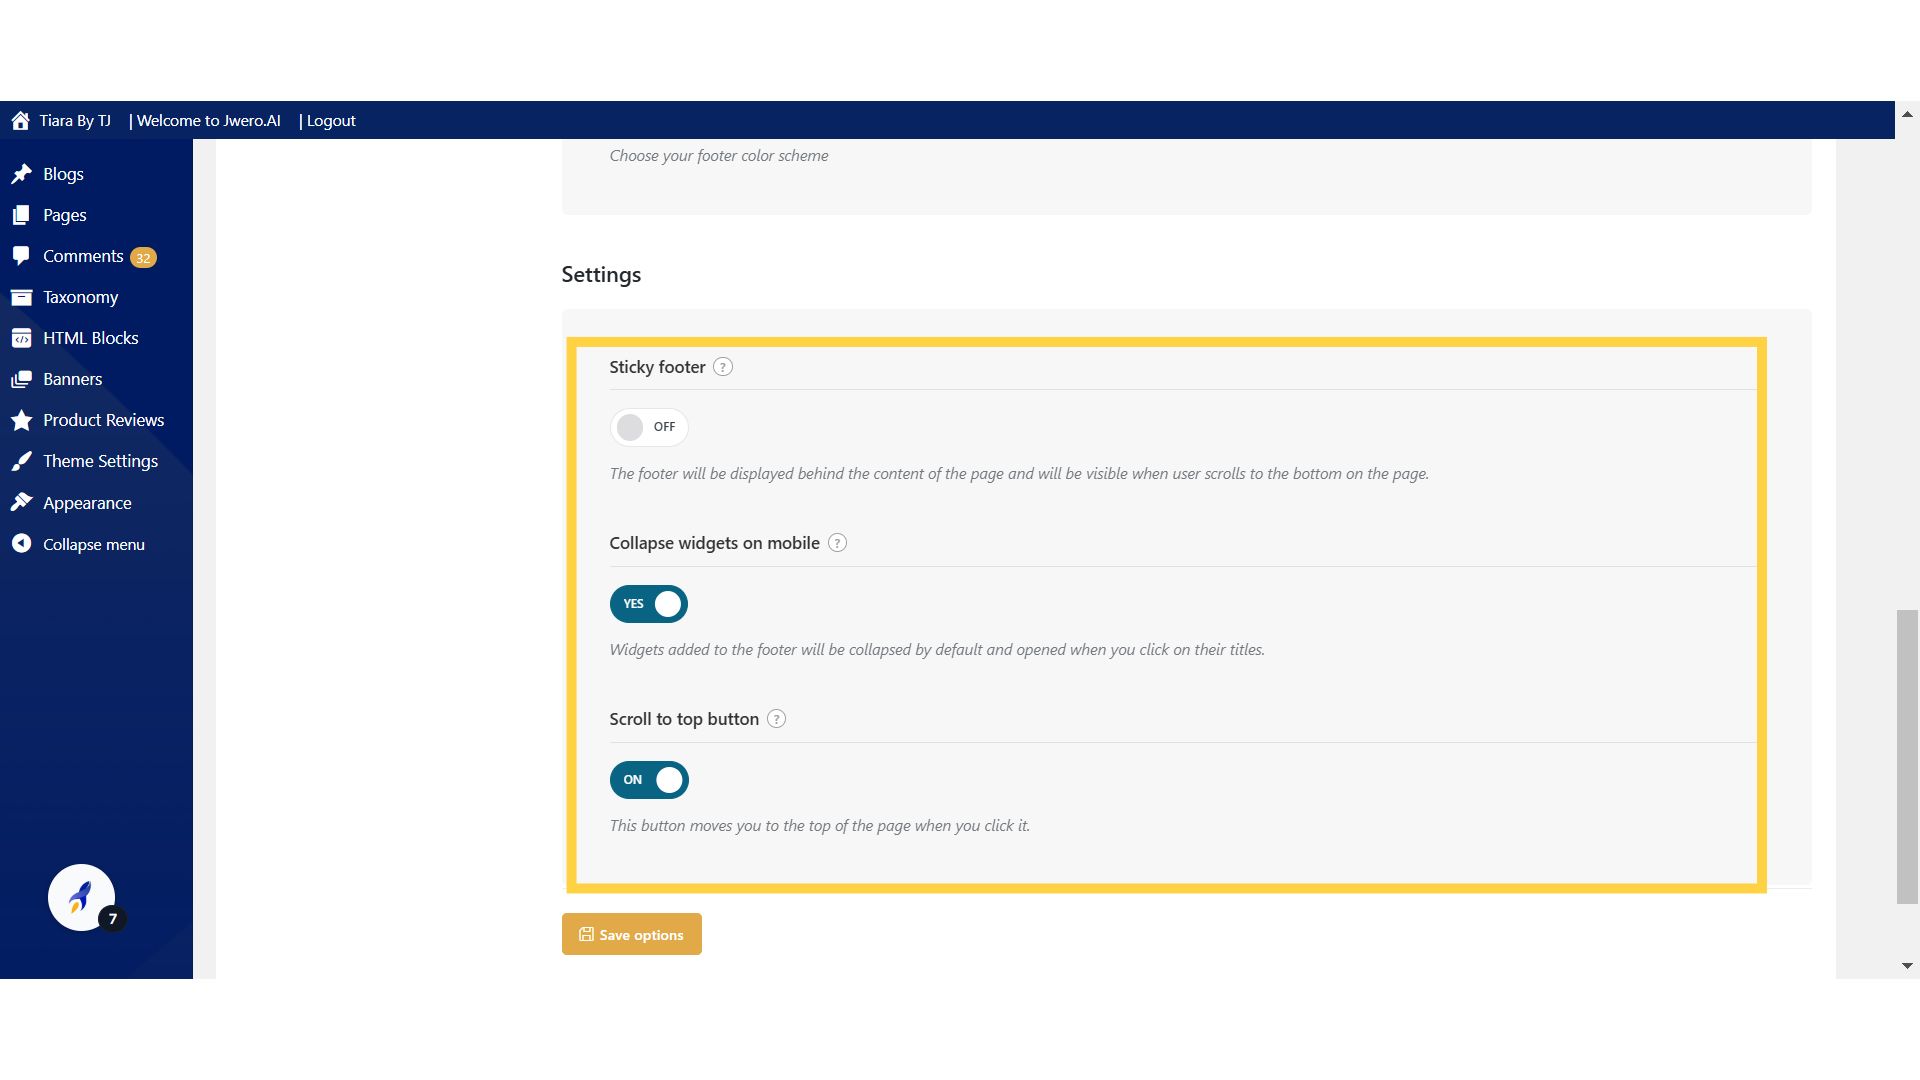
8. Collapse Widgets on Mobile
Optimizes the display of footer widgets on mobile devices by collapsing them into expandable sections, improving mobile usability.

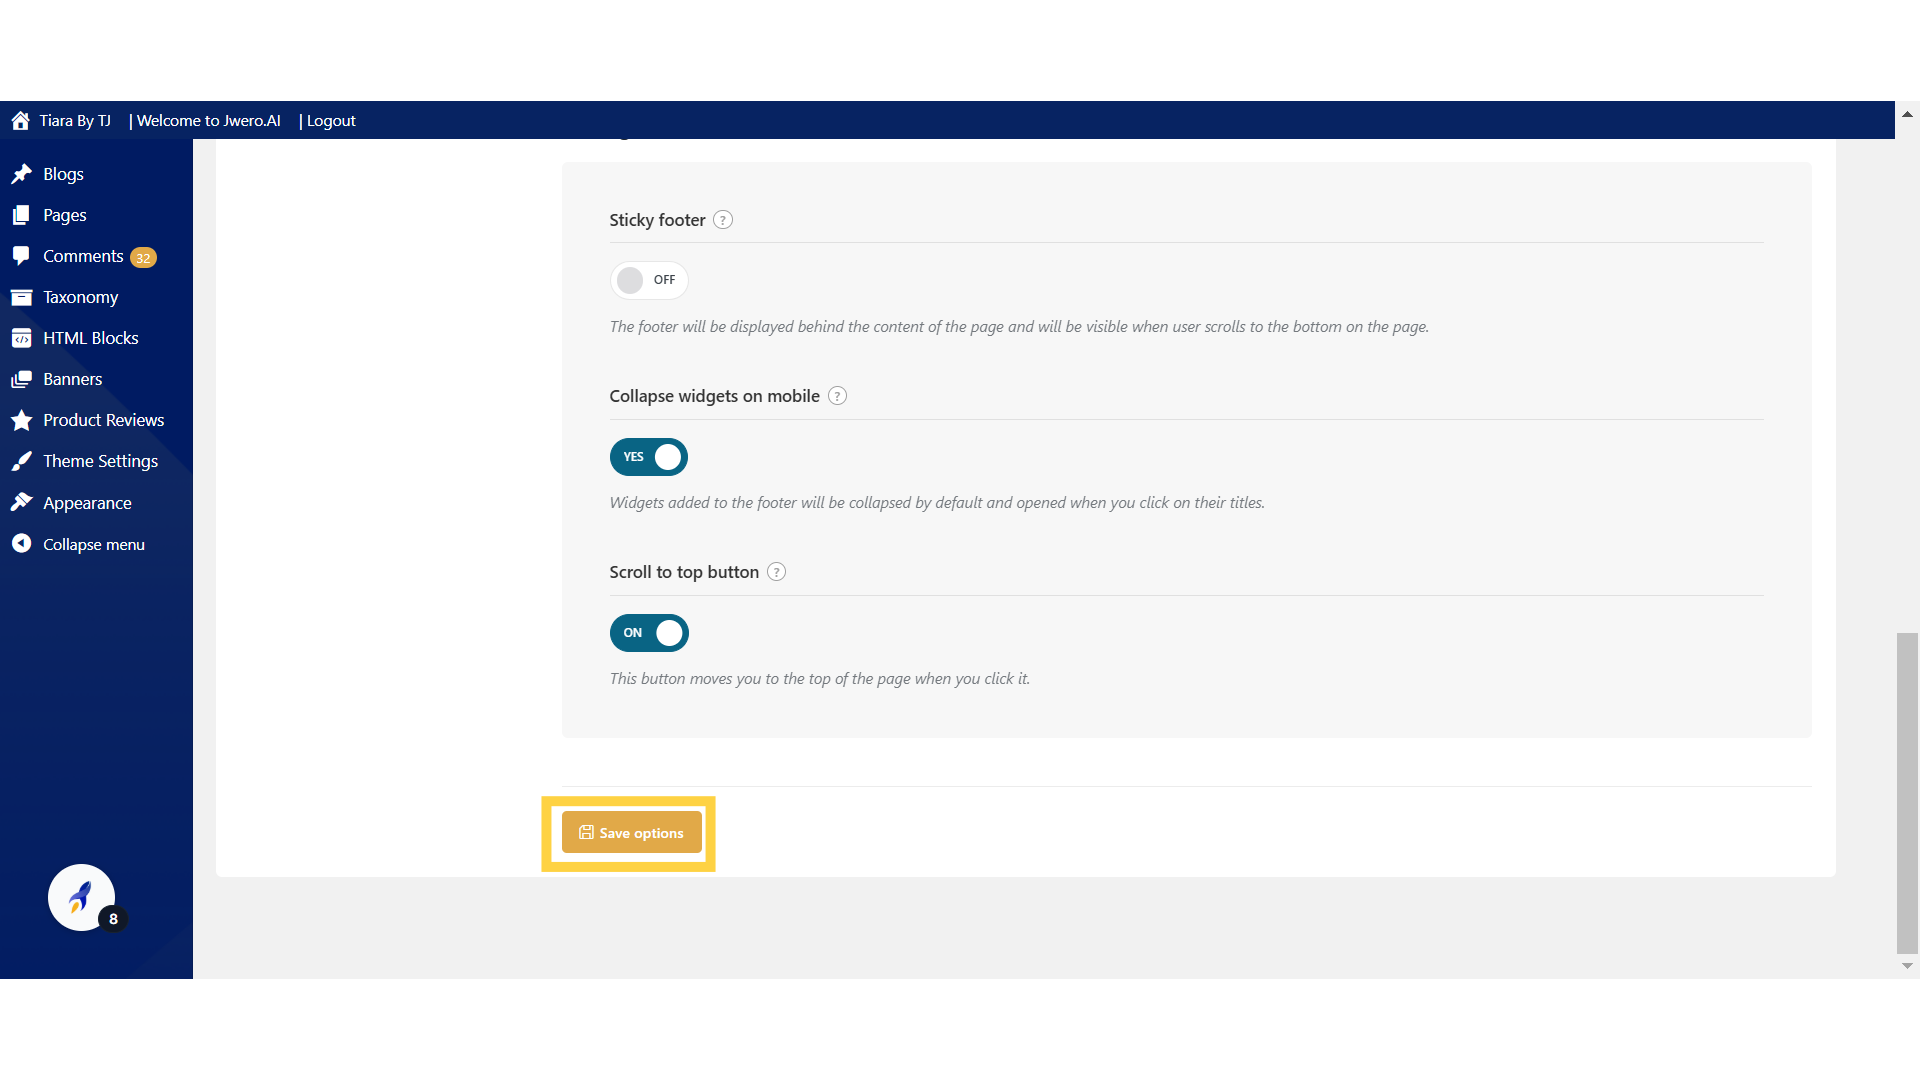
9. Click on "Save options" after making all the necessary changes.
10. For adding the content of Footer, click on "Widgets".
Access the "Widgets" section.
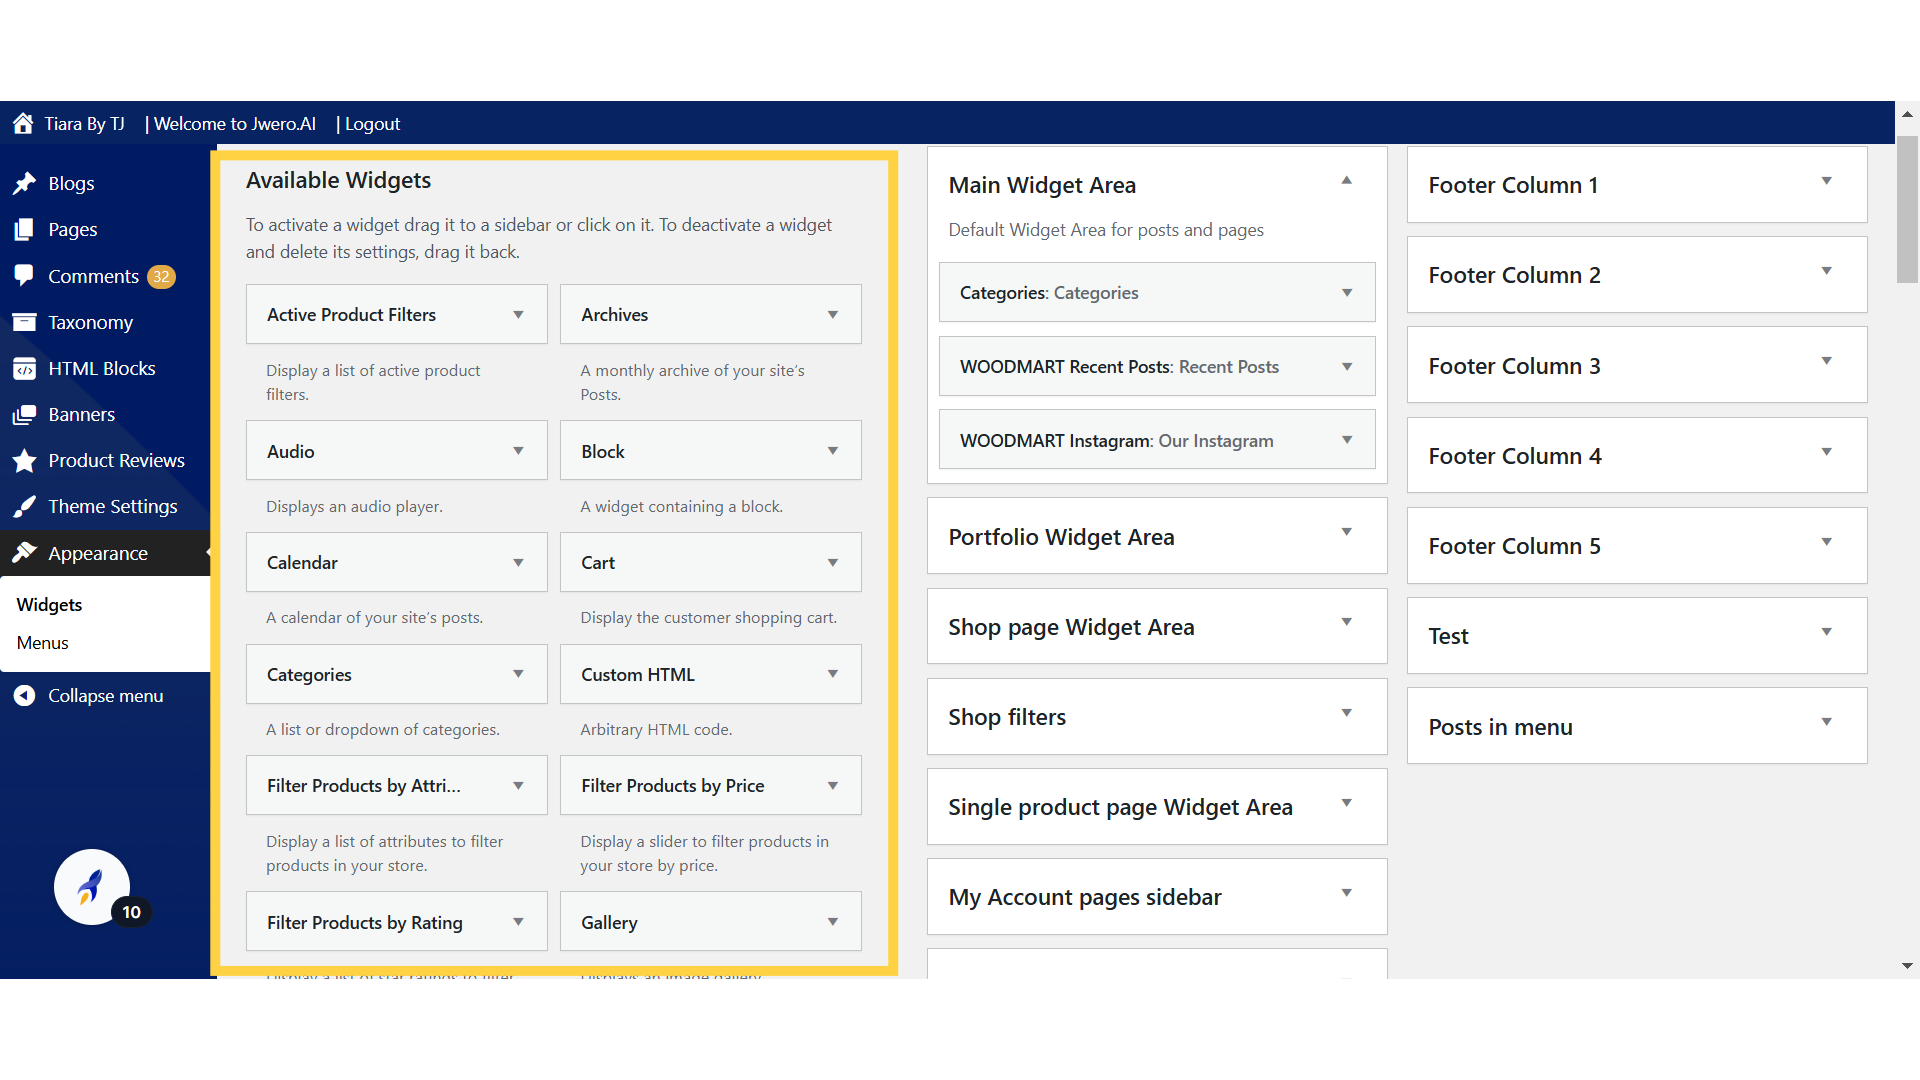
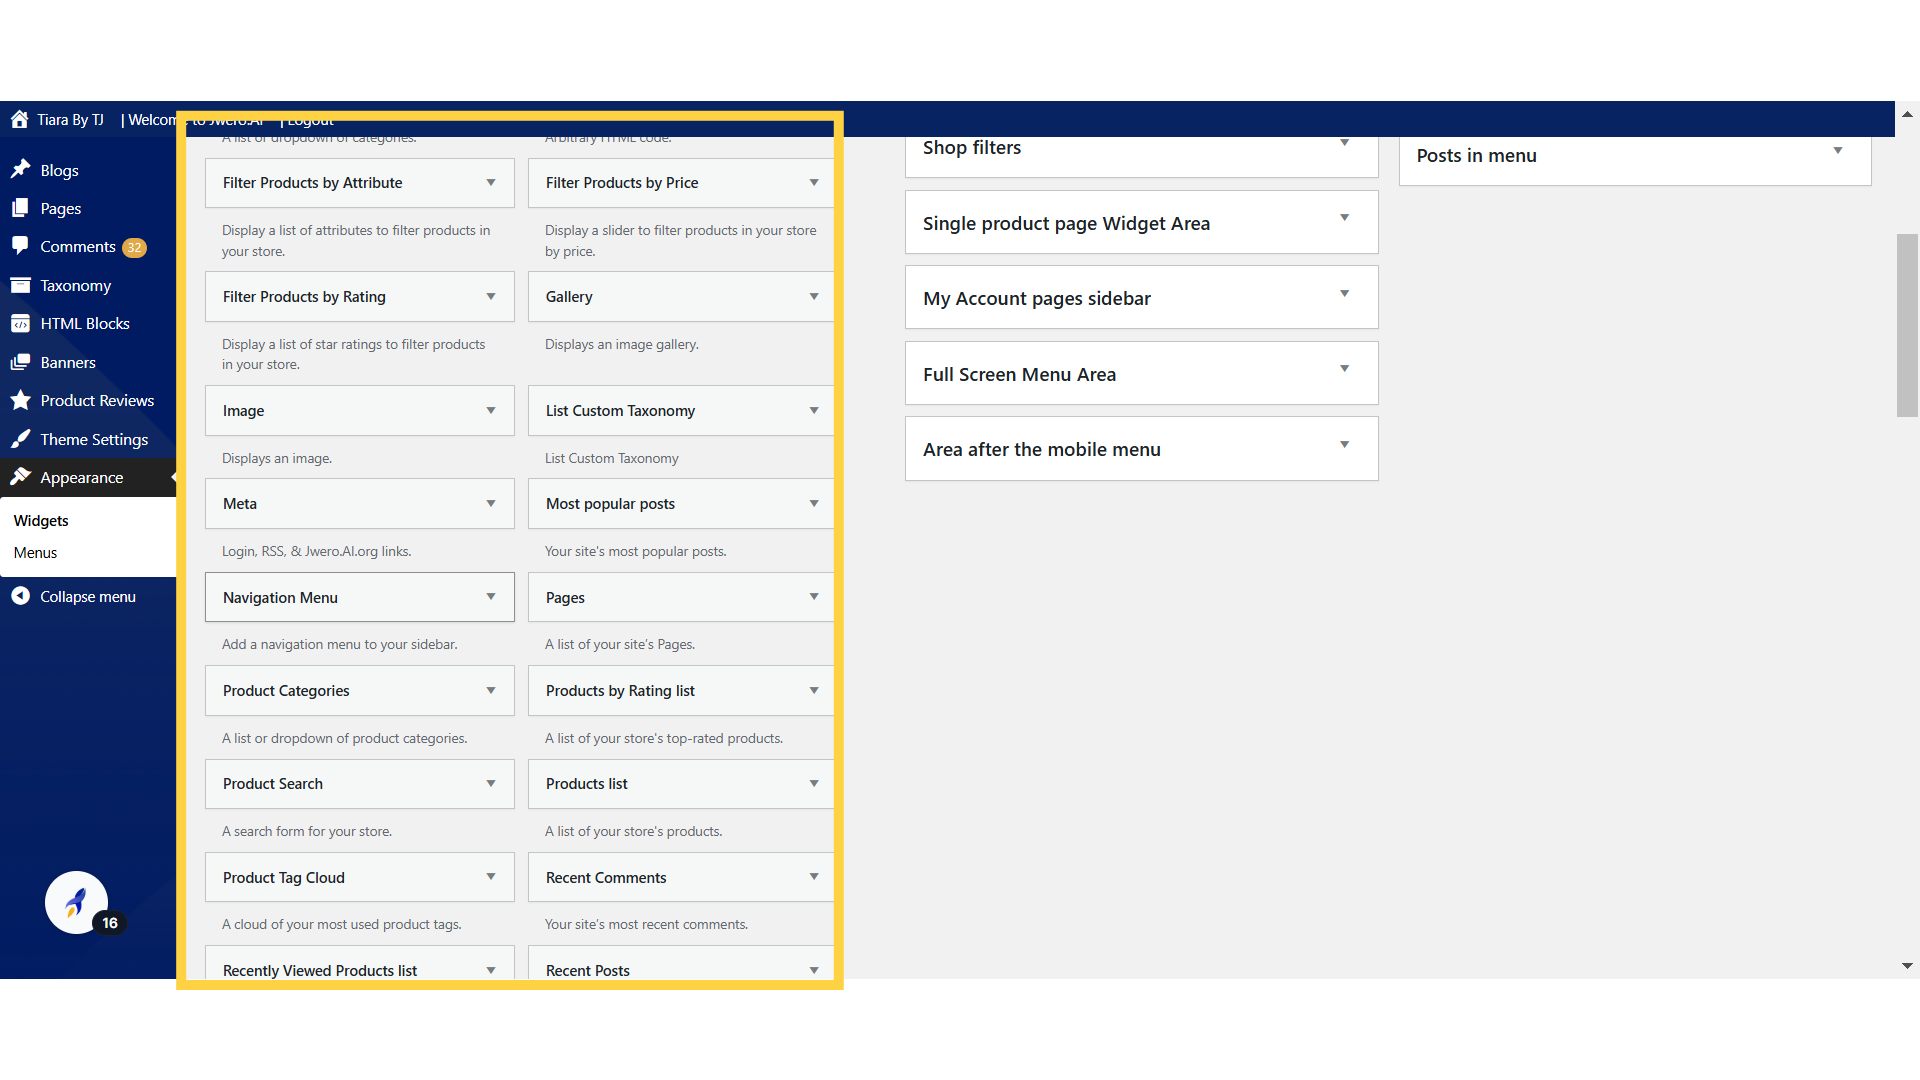
11. This section contains a list of widgets that can be added to various areas.
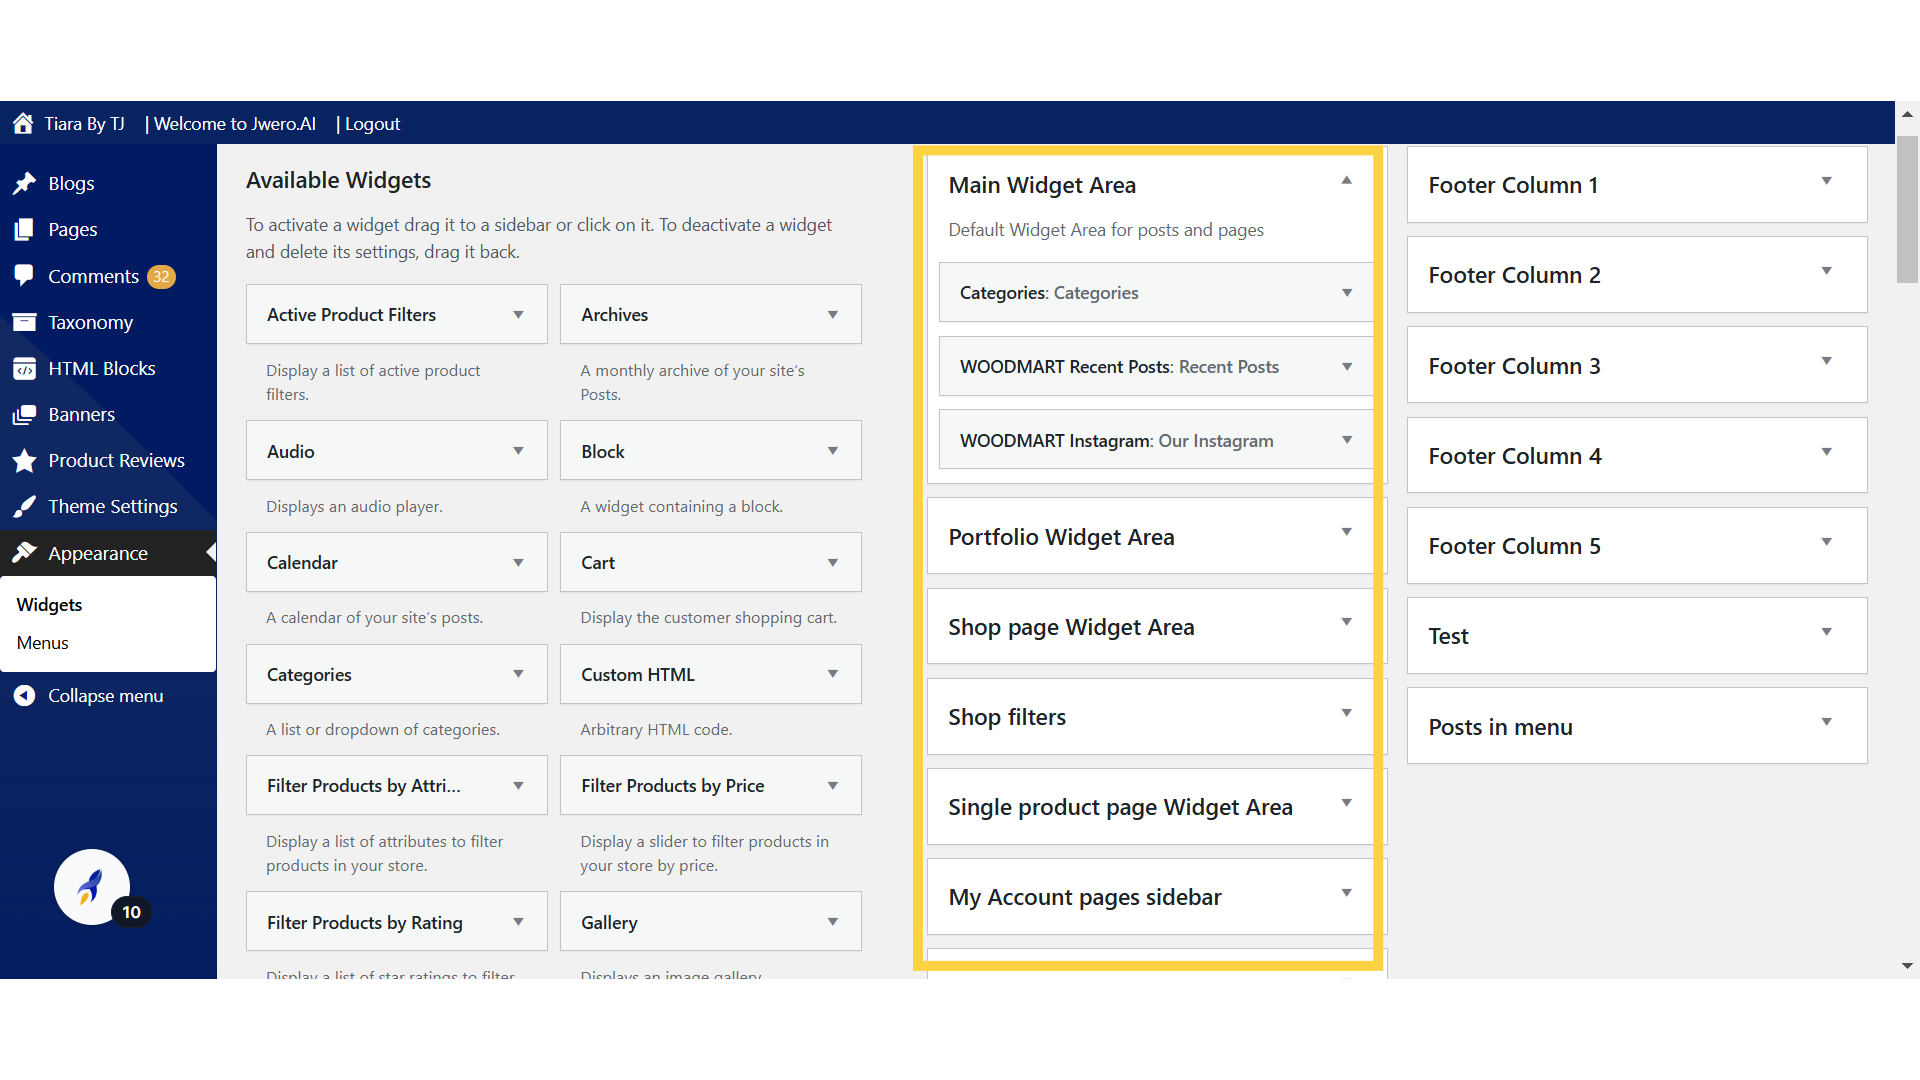
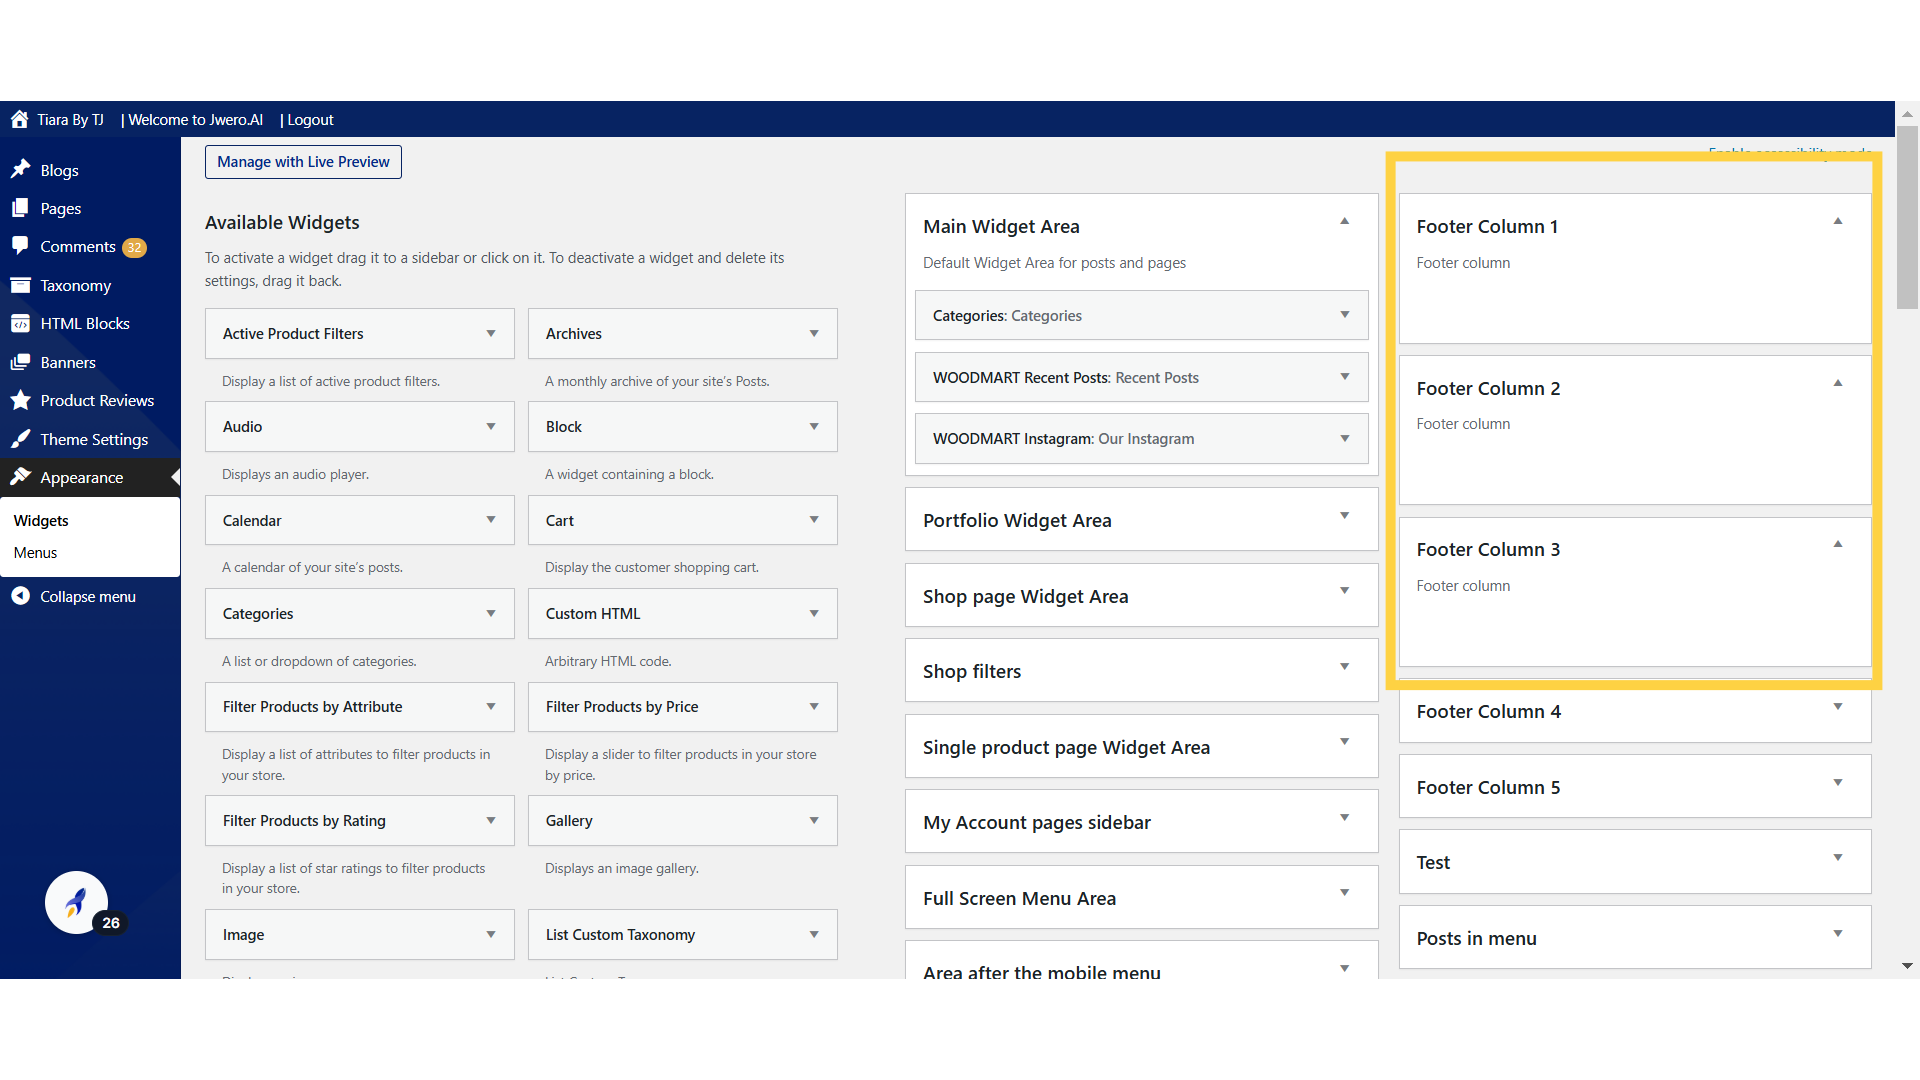
12. This panel shows all the available widget areas where you can add content using widgets.
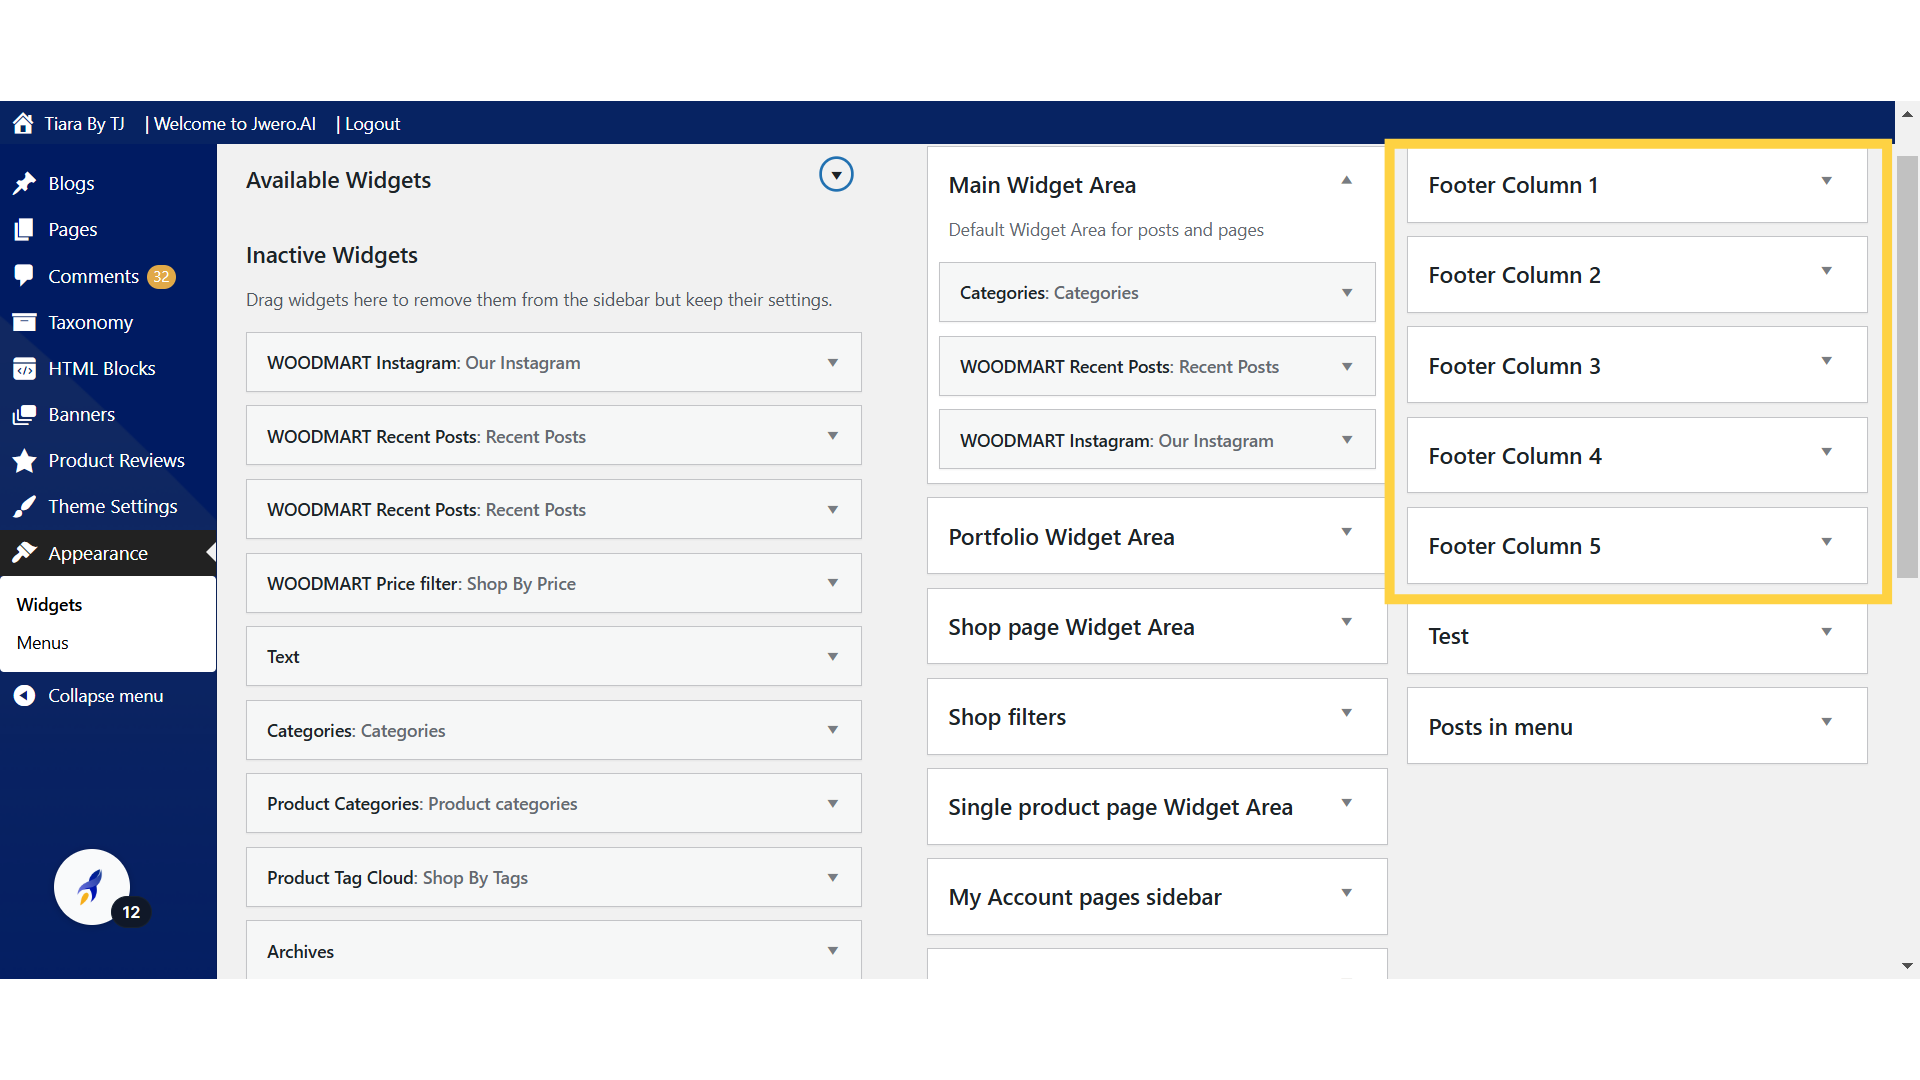
13. These are designated widget areas for each column in the footer. Since a 3-column layout was selected in the store layout settings, content can be added to Footer Columns 1, 2, and 3.
14. Click "Widgets Manage with Live Preview Enable accessibility modeDisable accessibility mode Available Widgets Available Widgets Deactivate To..."
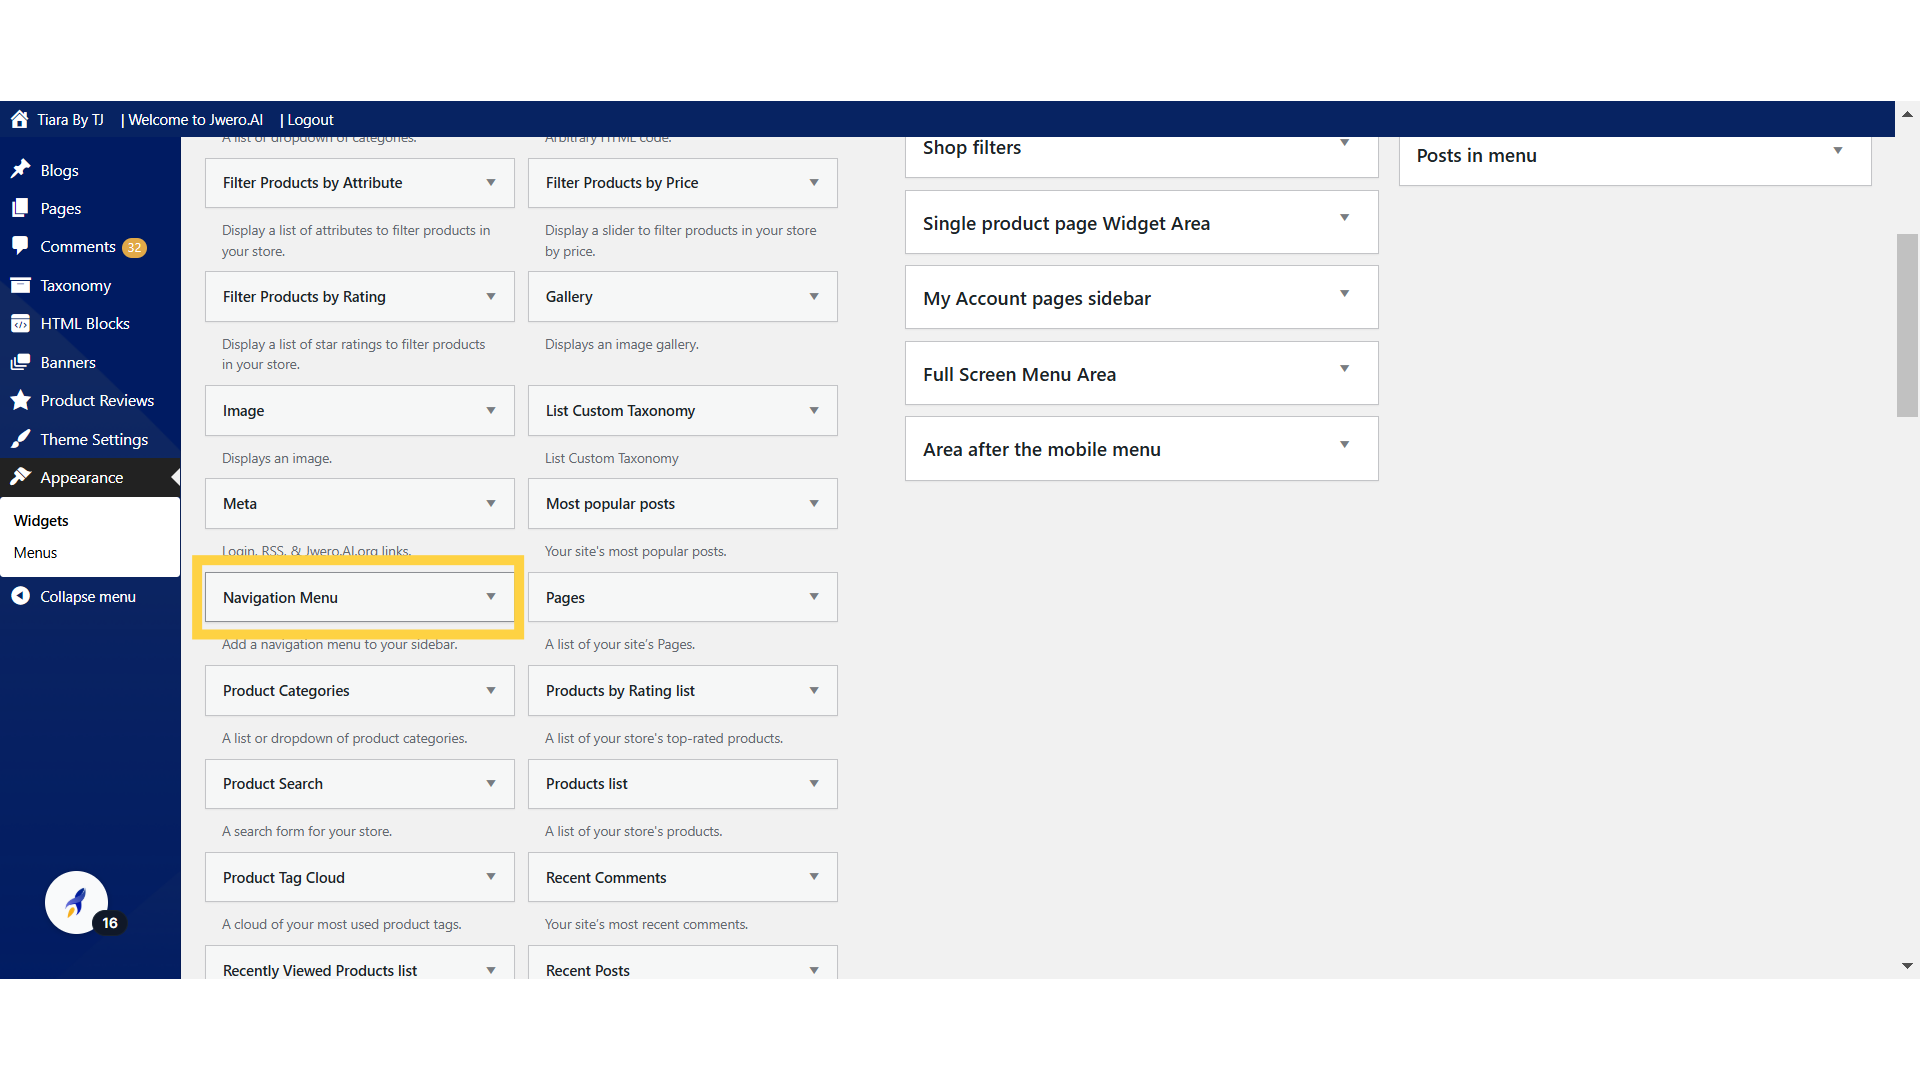
15. Choose any widget you wish to include in the footer section.
16. For example, if you want to add a menu to the footer, click on "Navigation Menu".
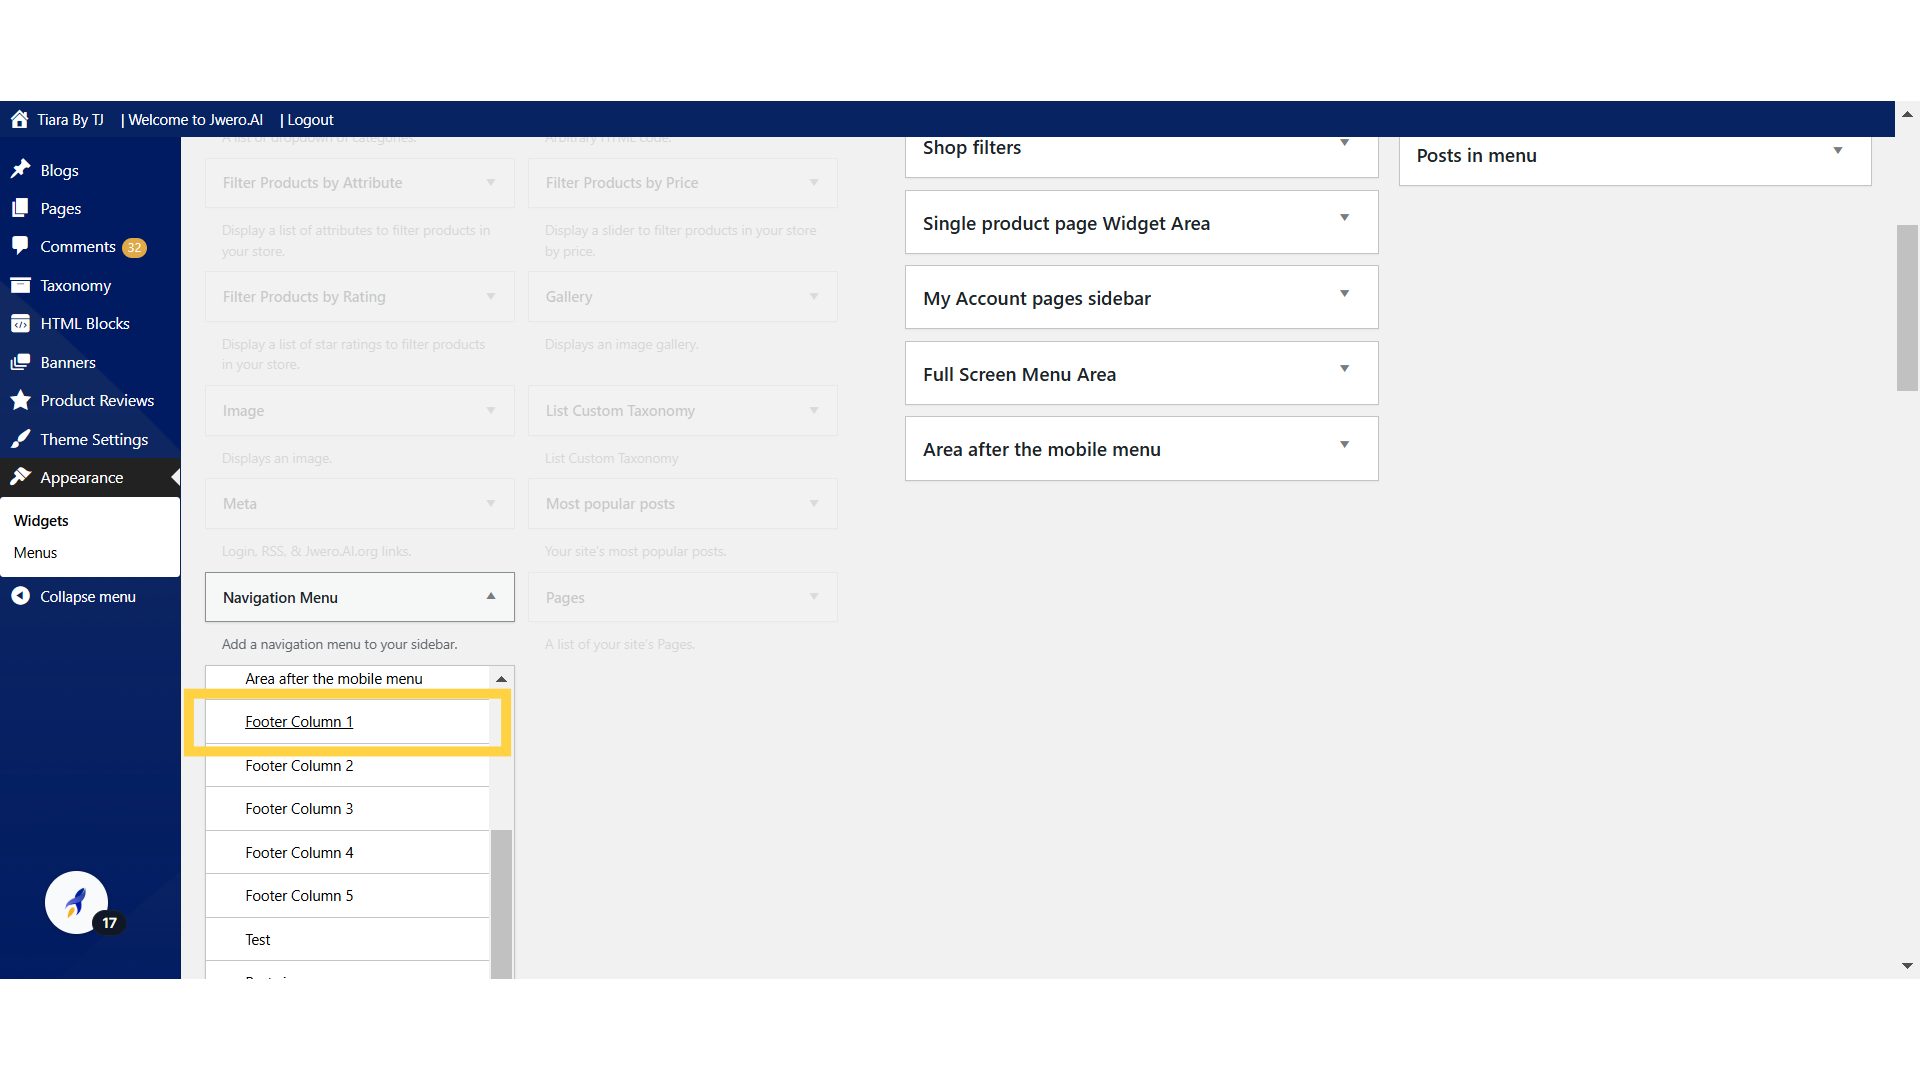
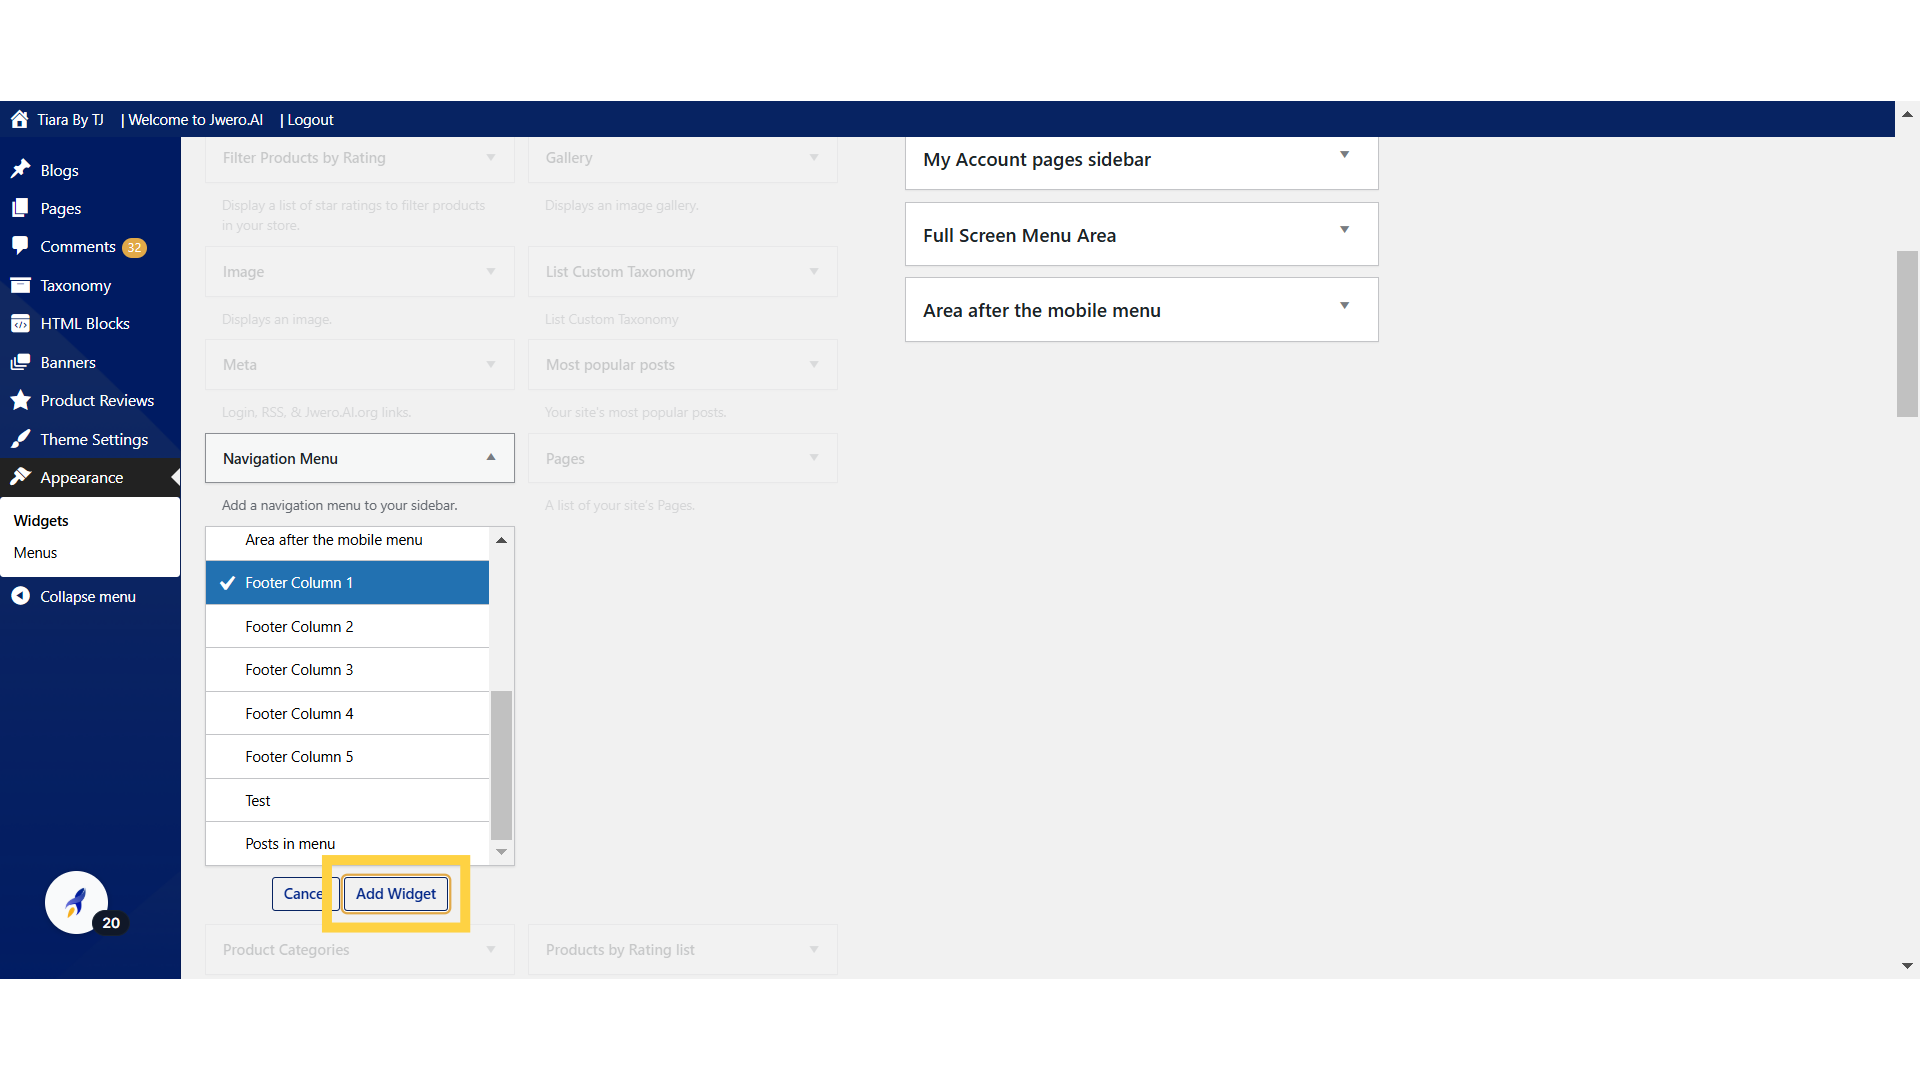
17. The dropdown provides several available areas. Select "Footer 1" to add content to the first column of the footer on the website.
18. Click "Add Widget"
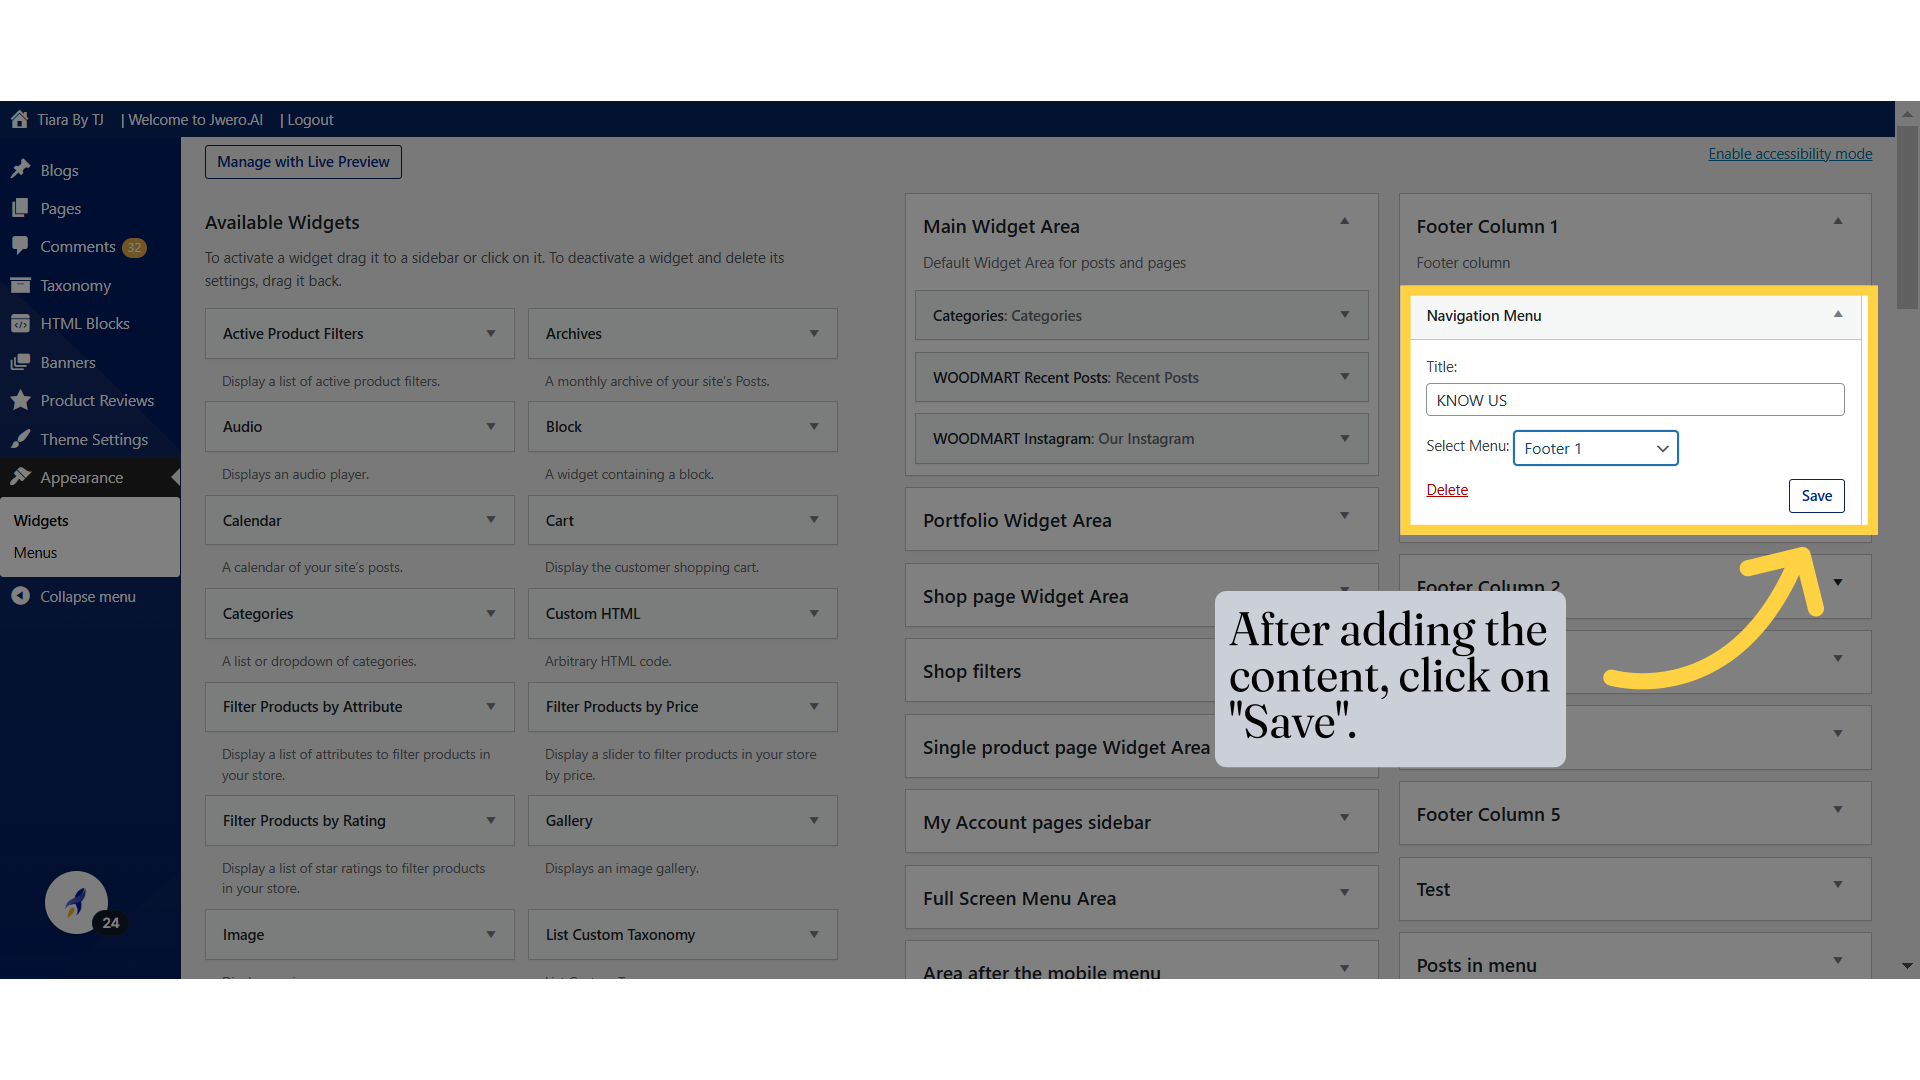
19. Navigation Menu added to Footer 1 column.
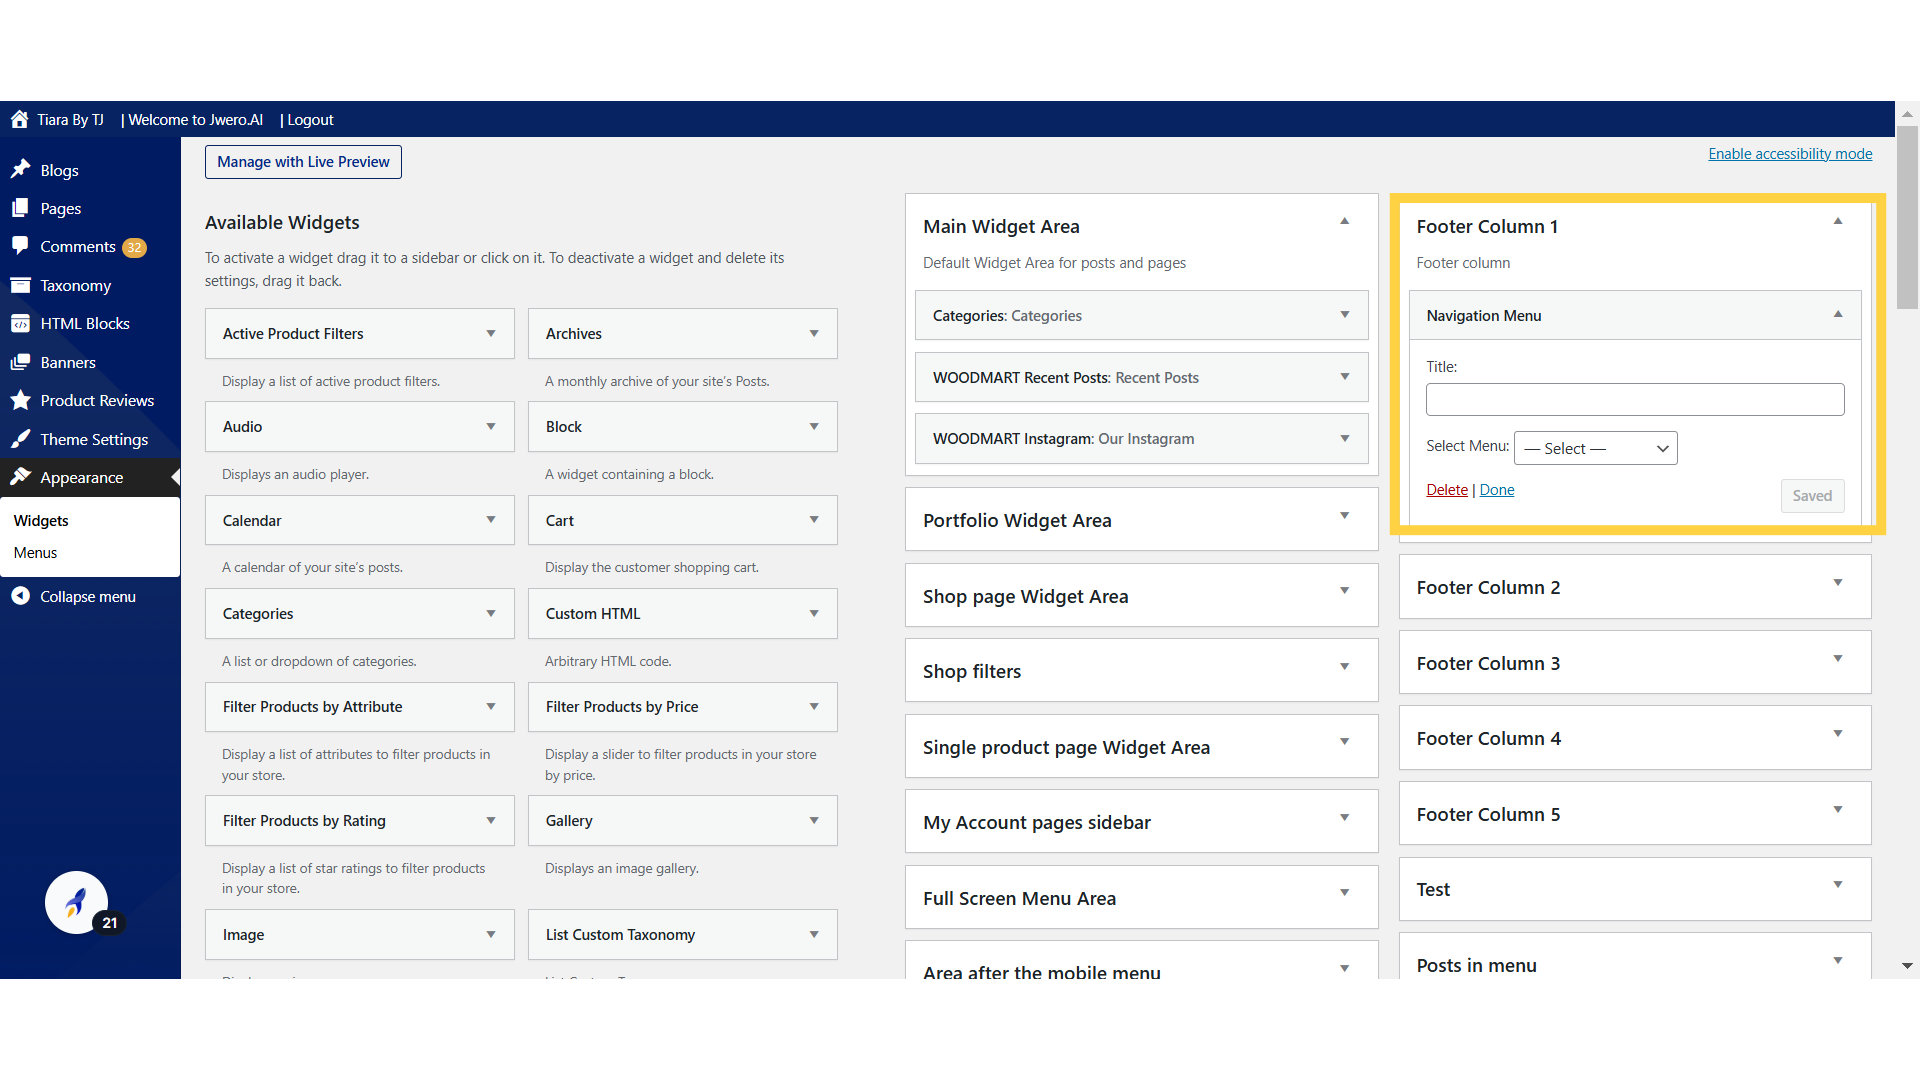
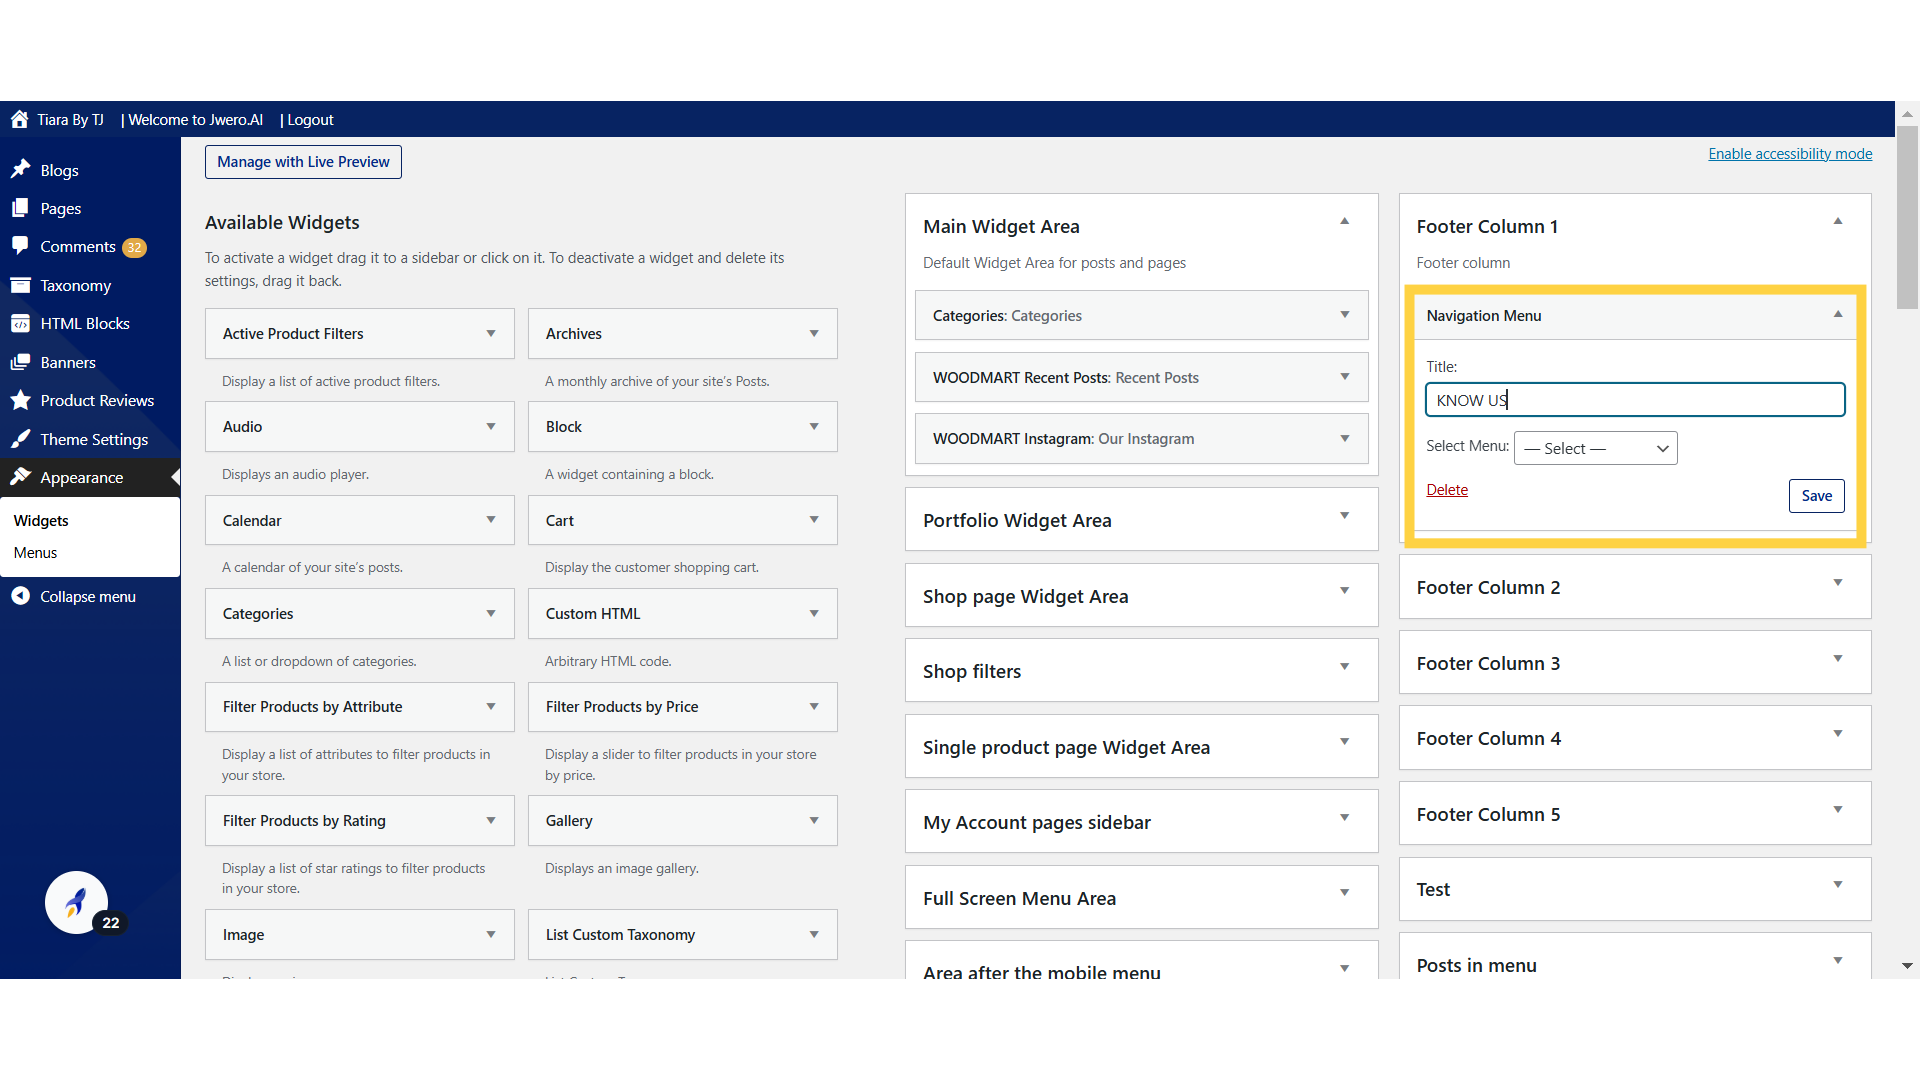
20. Enter the Title which you want to display in footer.
21. The dropdown will display all the created menus. Choose the menu which you want to display in column 1.
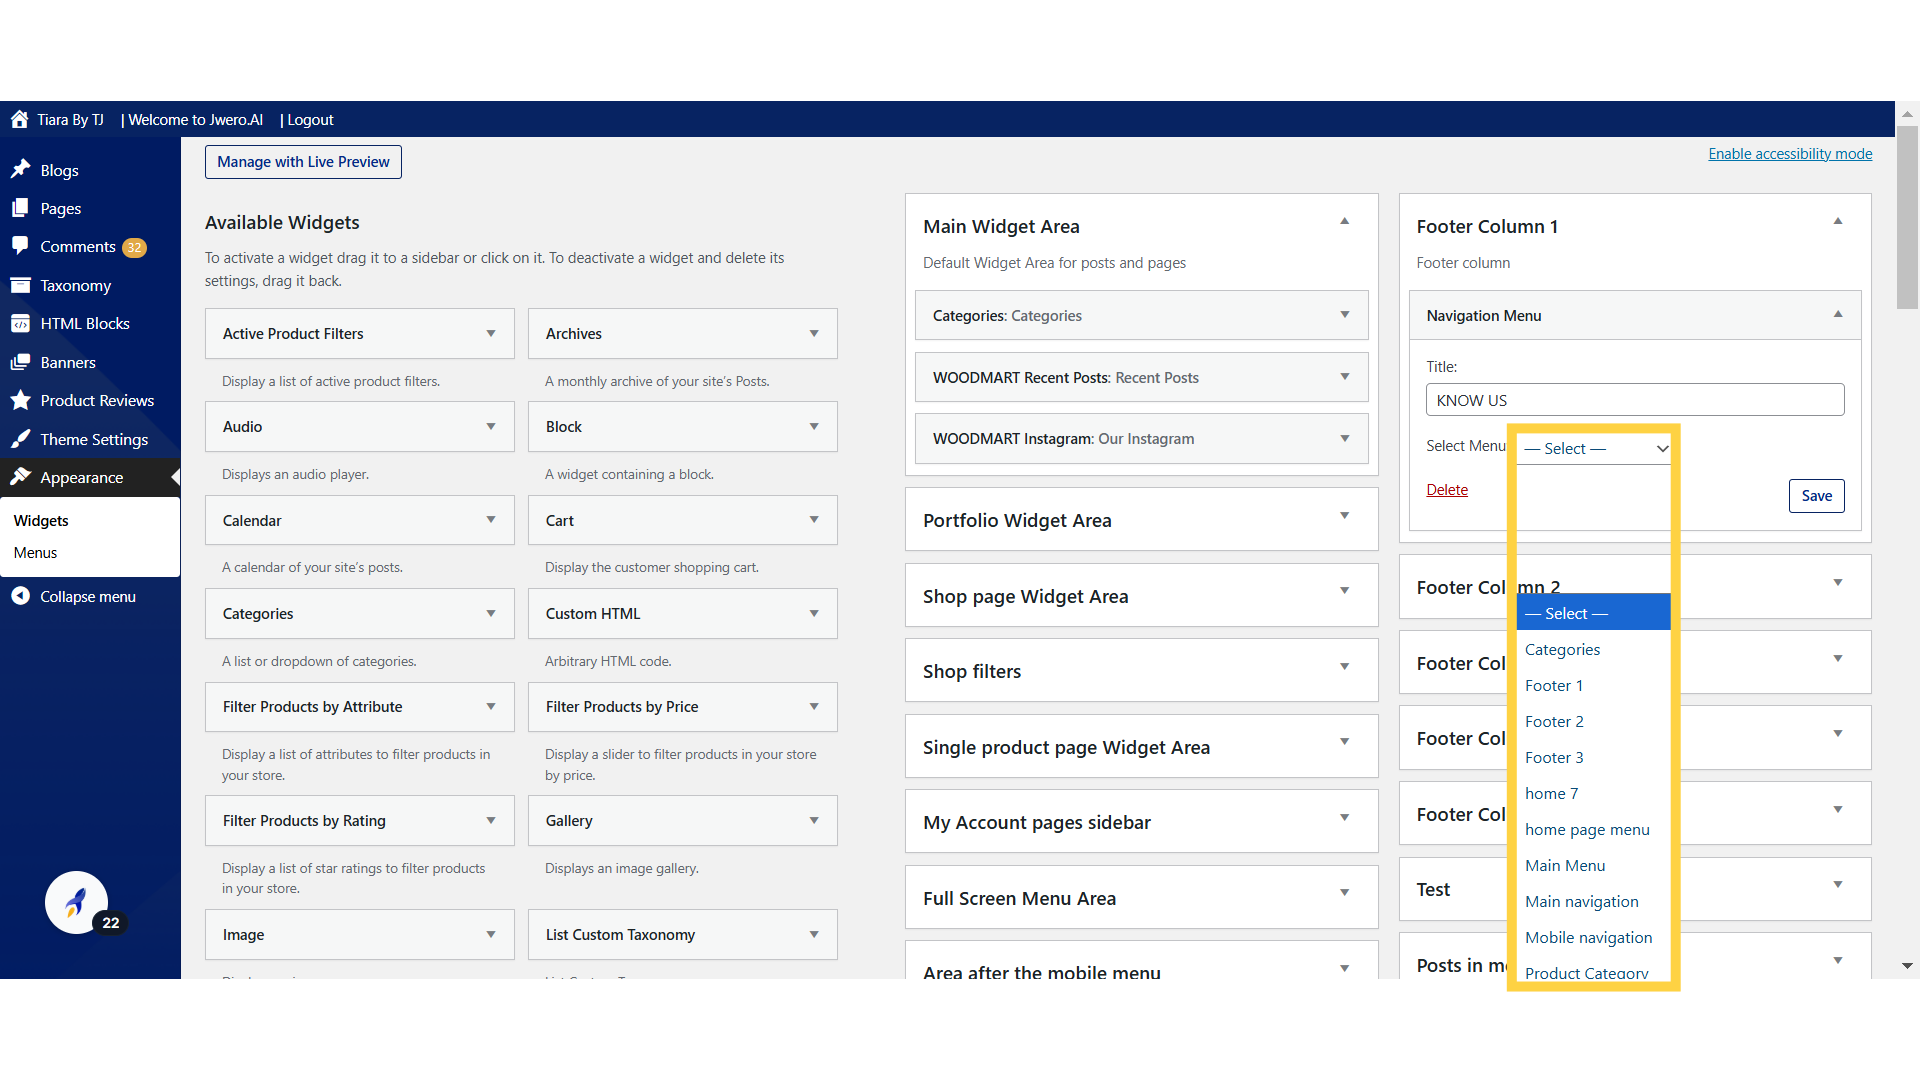
22. After adding the content, click on "Save".
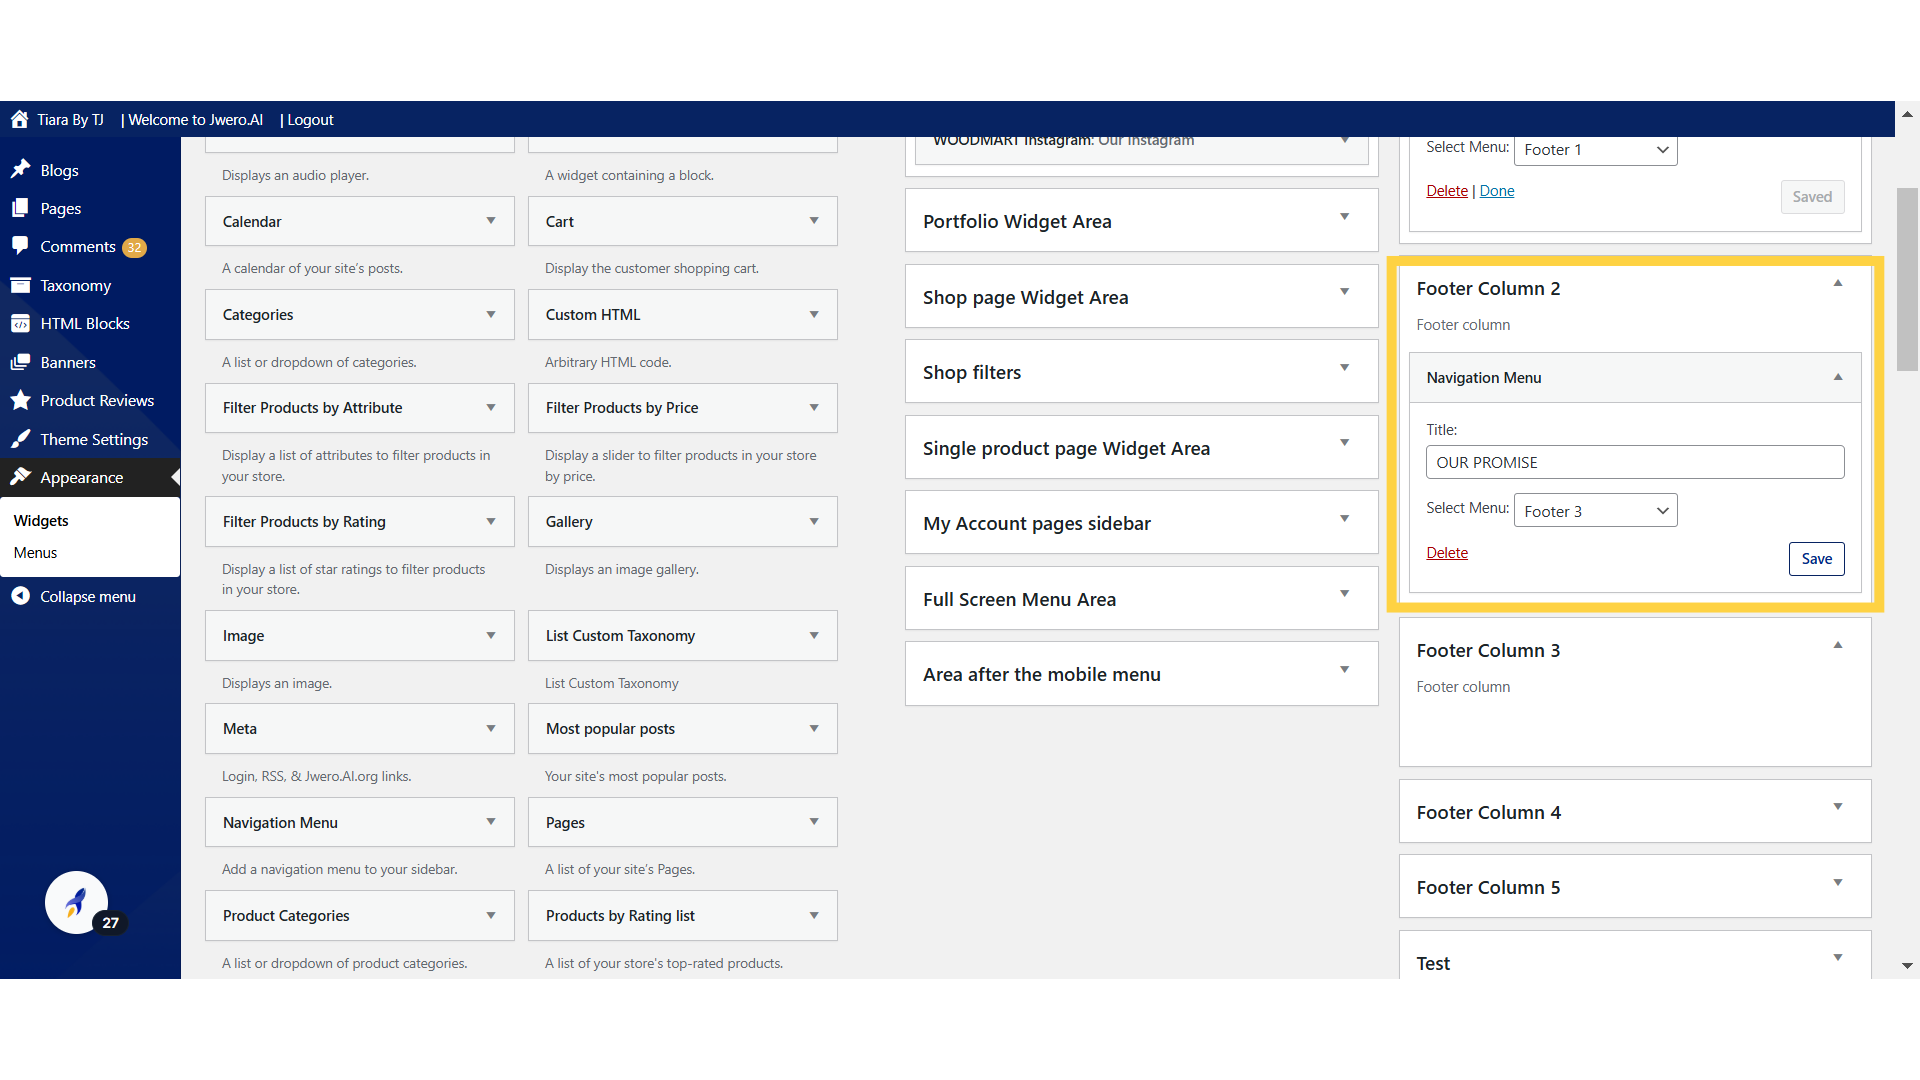
23. Similarly, add the desired menu in column 2.
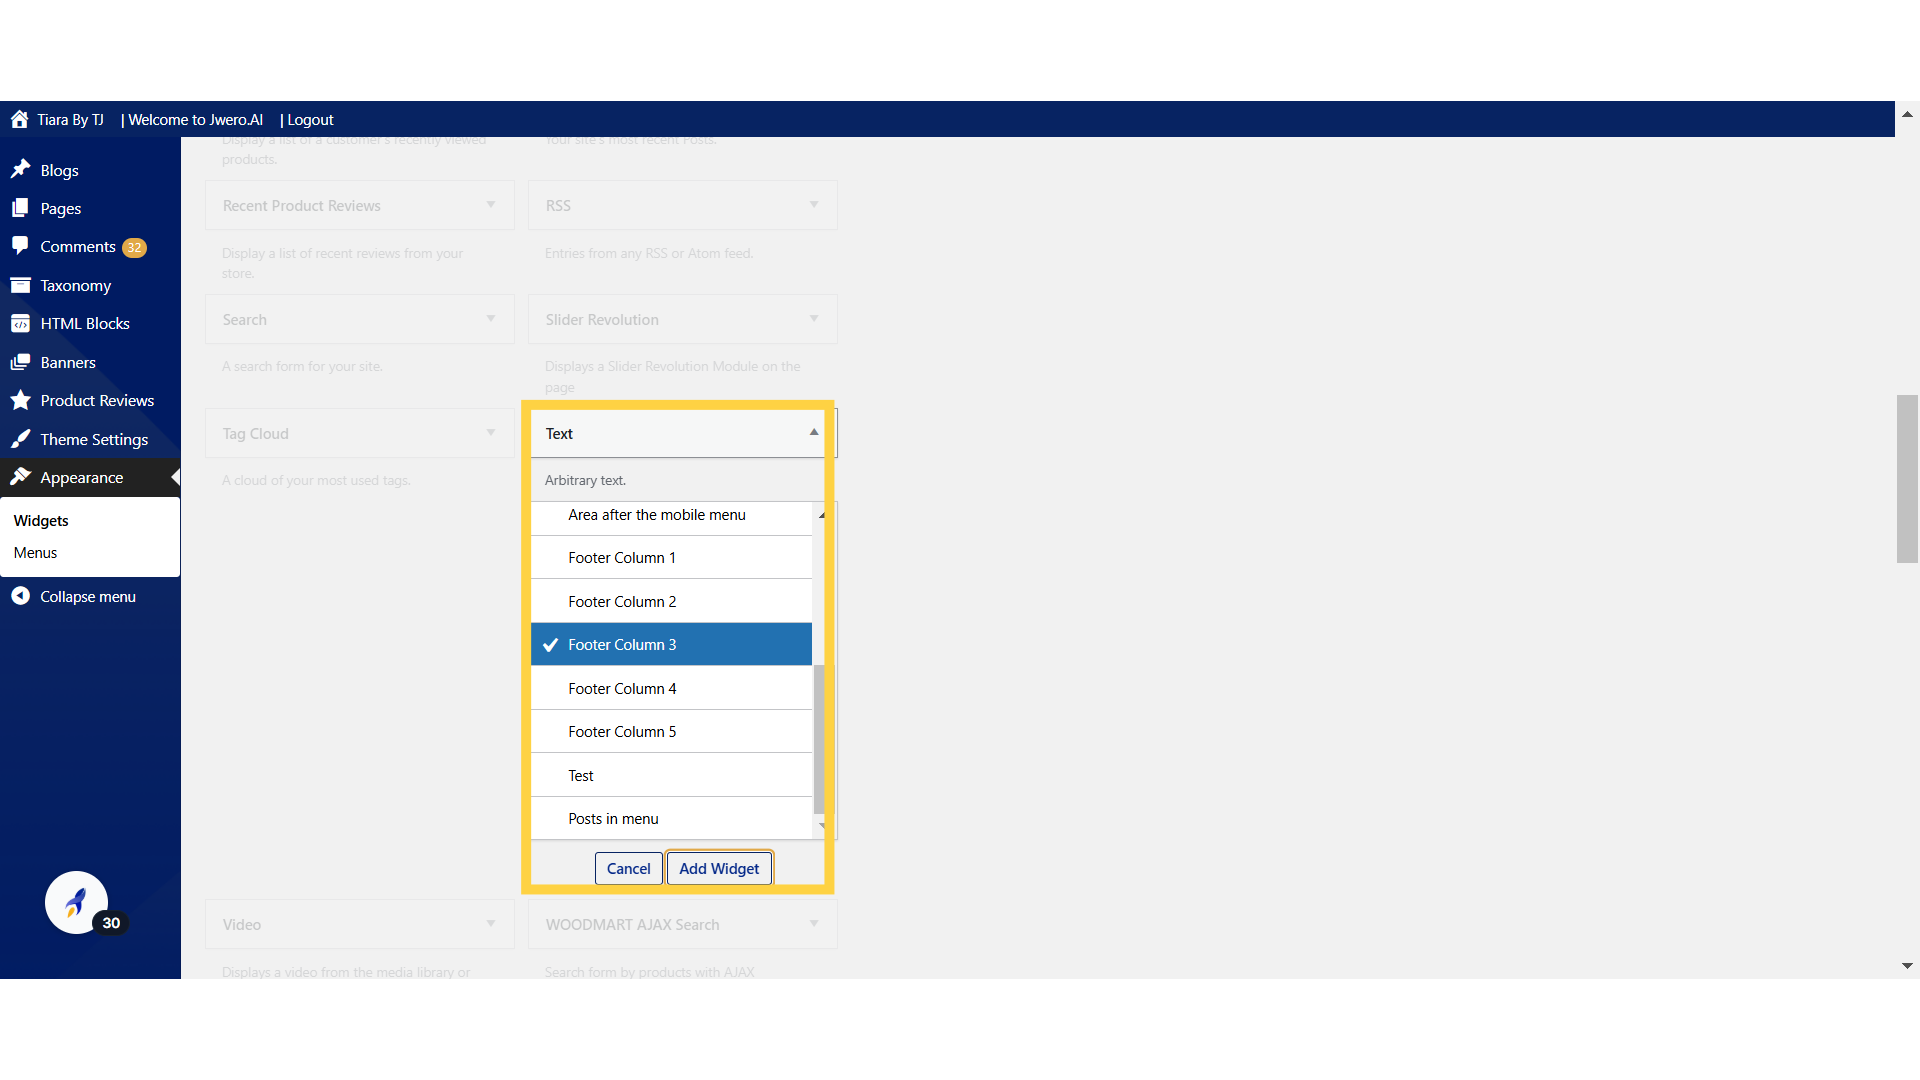
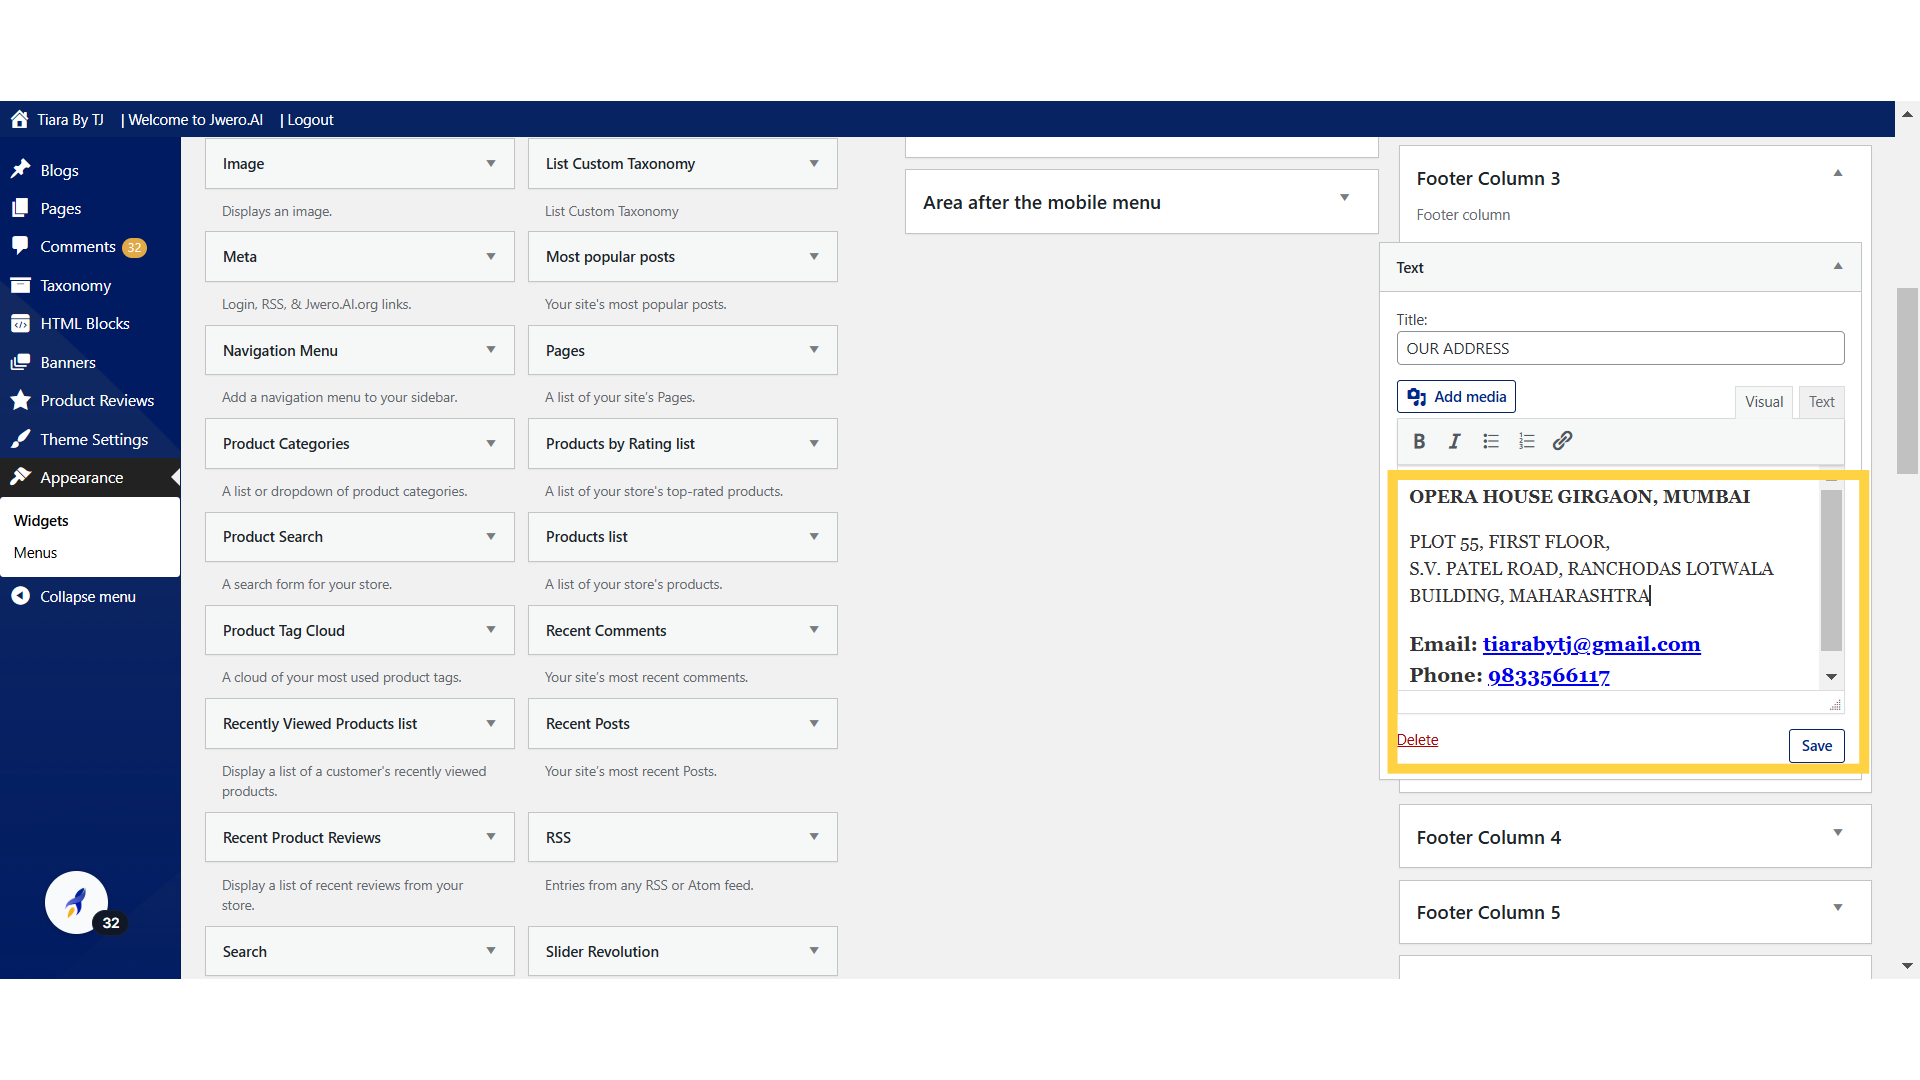
24. We will use "Text" in column 3 which allows to add plain text or other custom content to your website's widget areas.

25. Select Footer Column 3 and Click on "Add Widget".
26. You can add messages, information, or media and customize the design as needed.
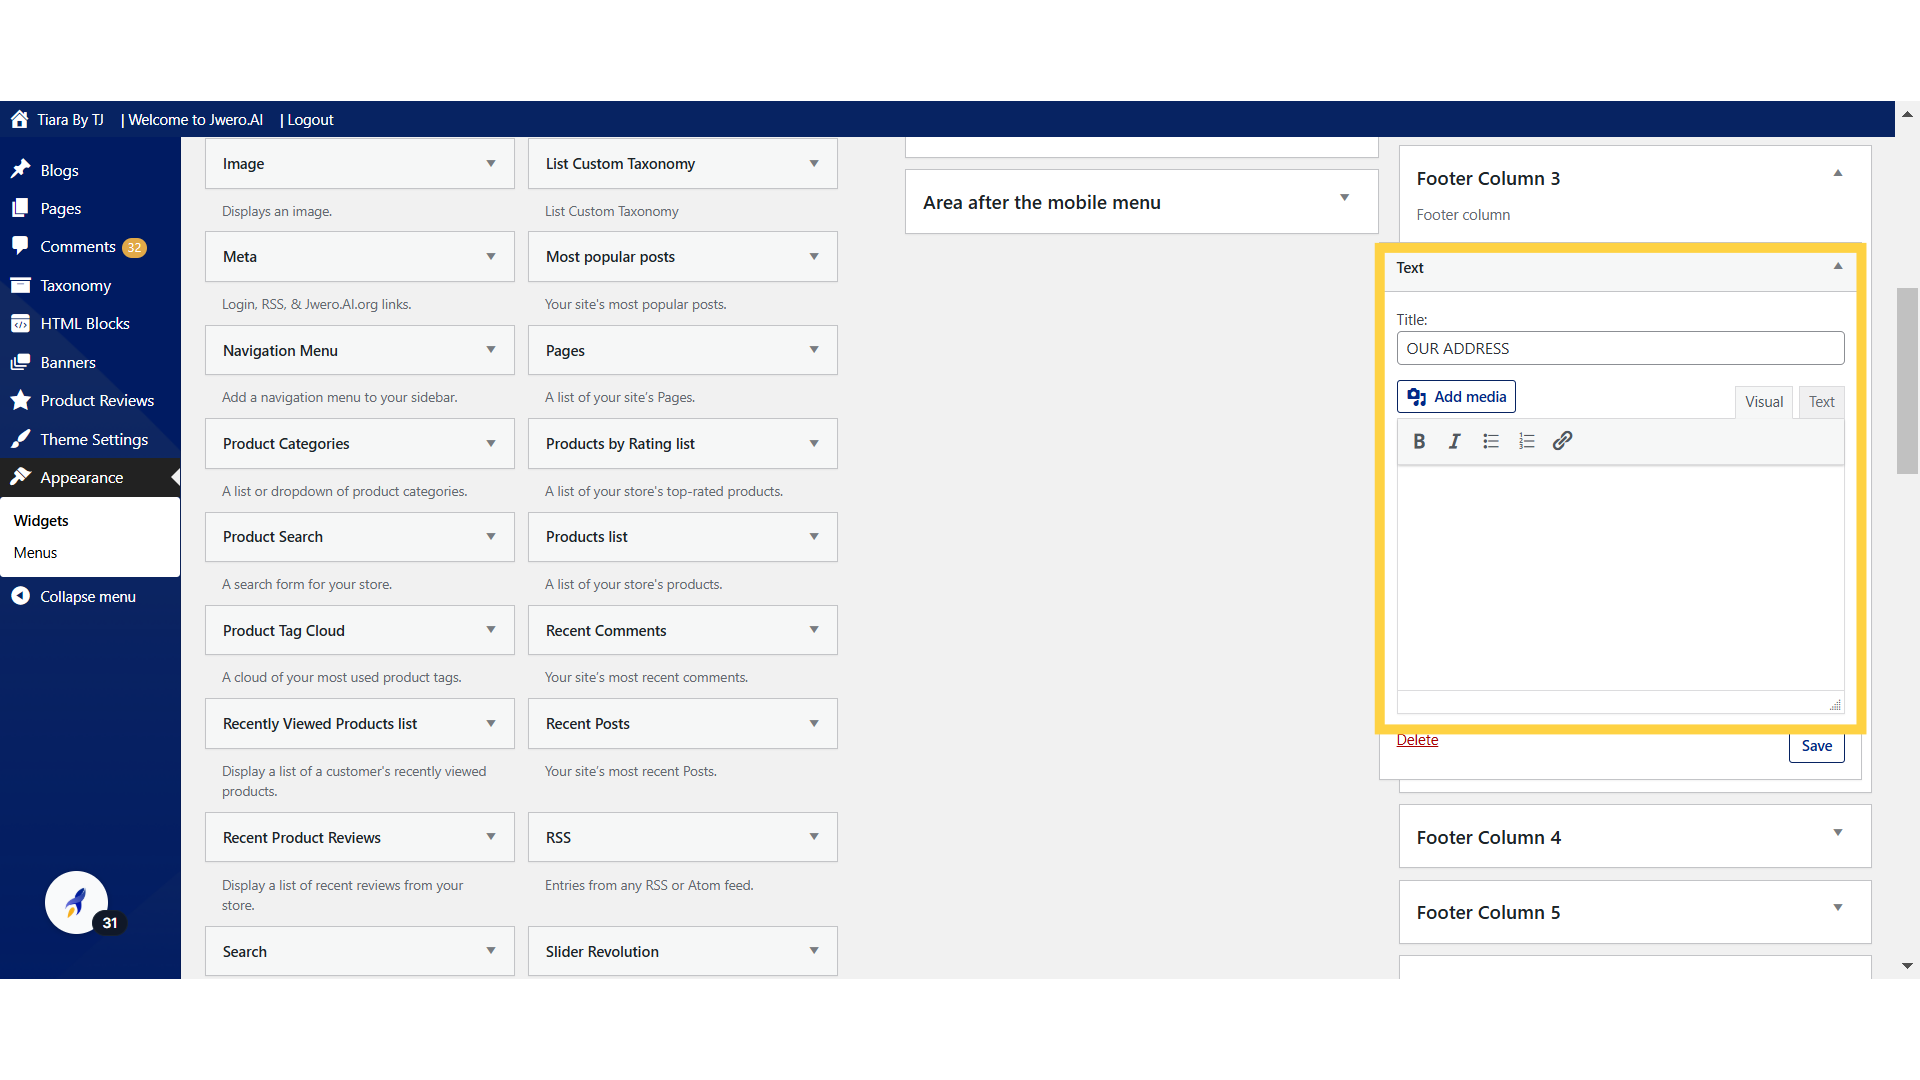
27. For example, I have included information such as the address, email, and phone number.
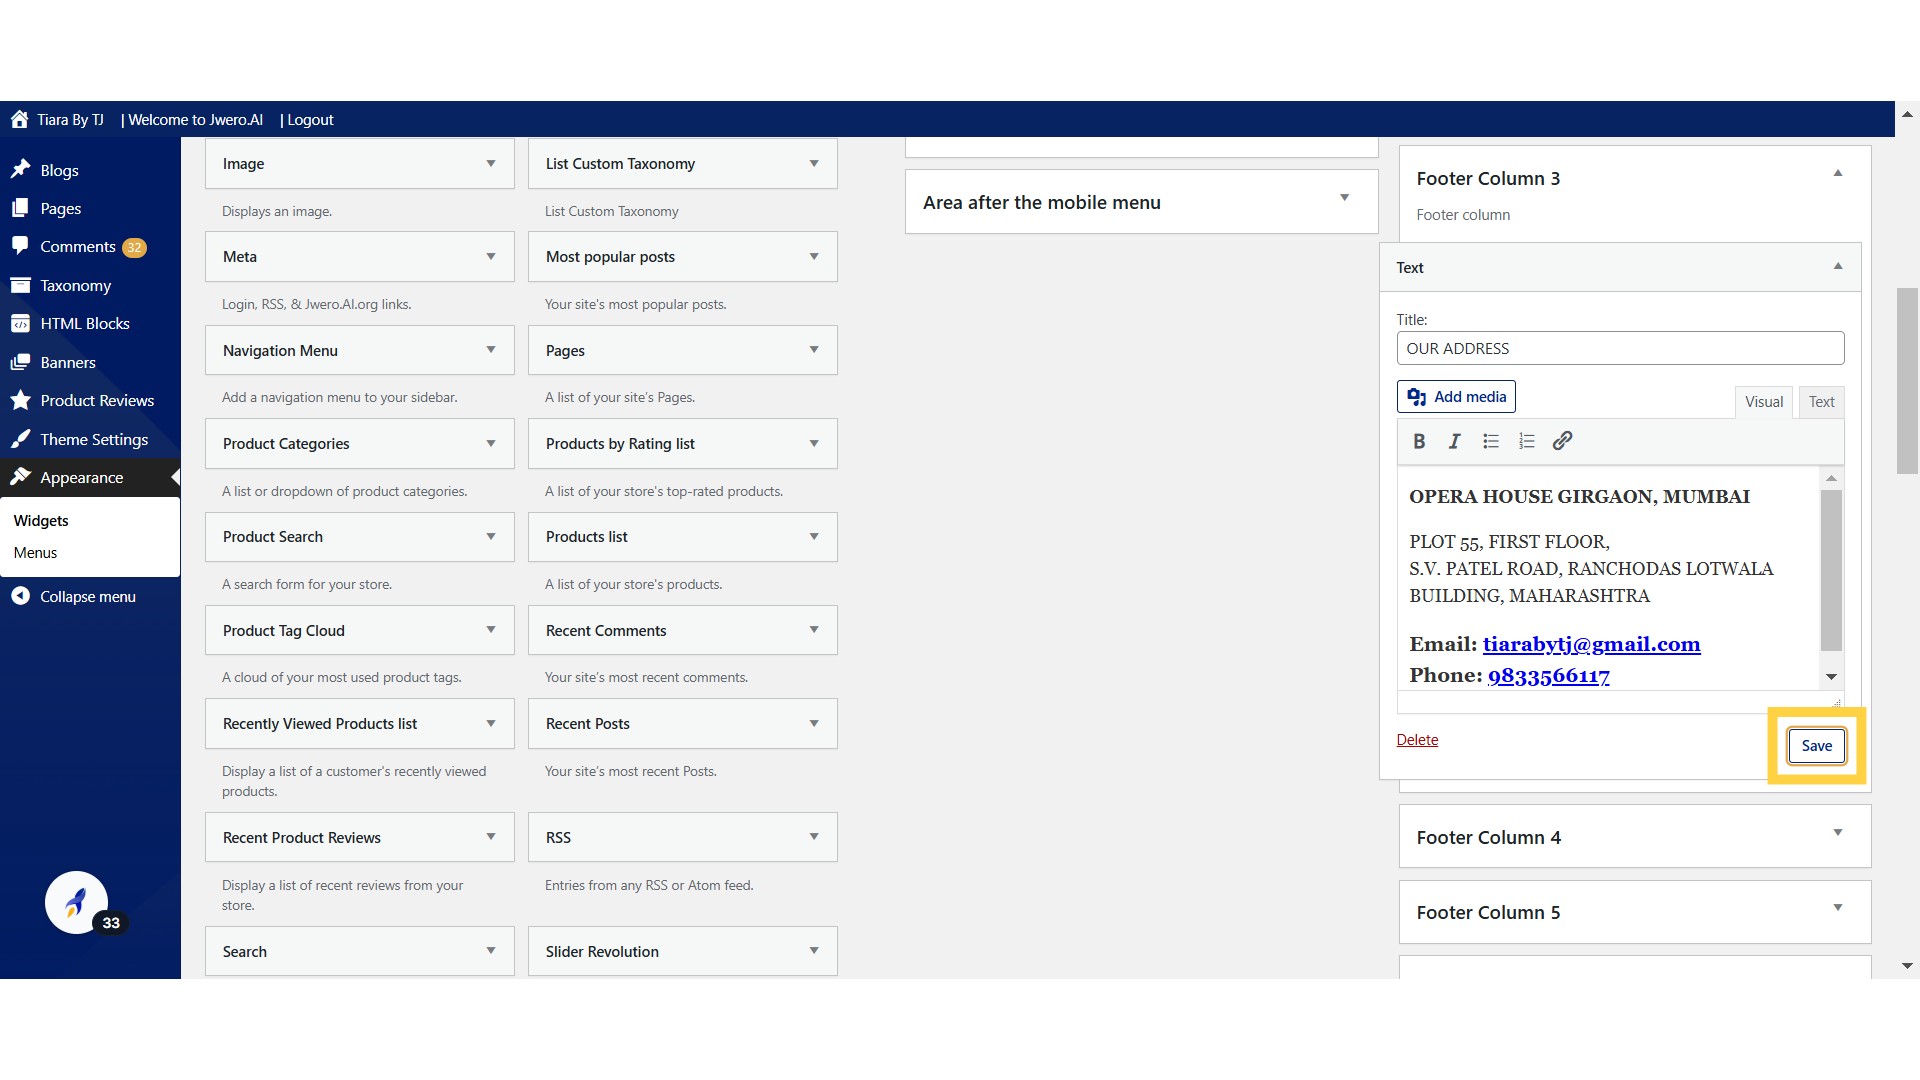
28. Click "Save" after adding the content.
29. The footer will appear as shown, divided into three sections based on our selection and the added content.

The guide covered a comprehensive process of creating a footer using widgets.