How To Create & Delete A Header
Go to app.jwero.ai
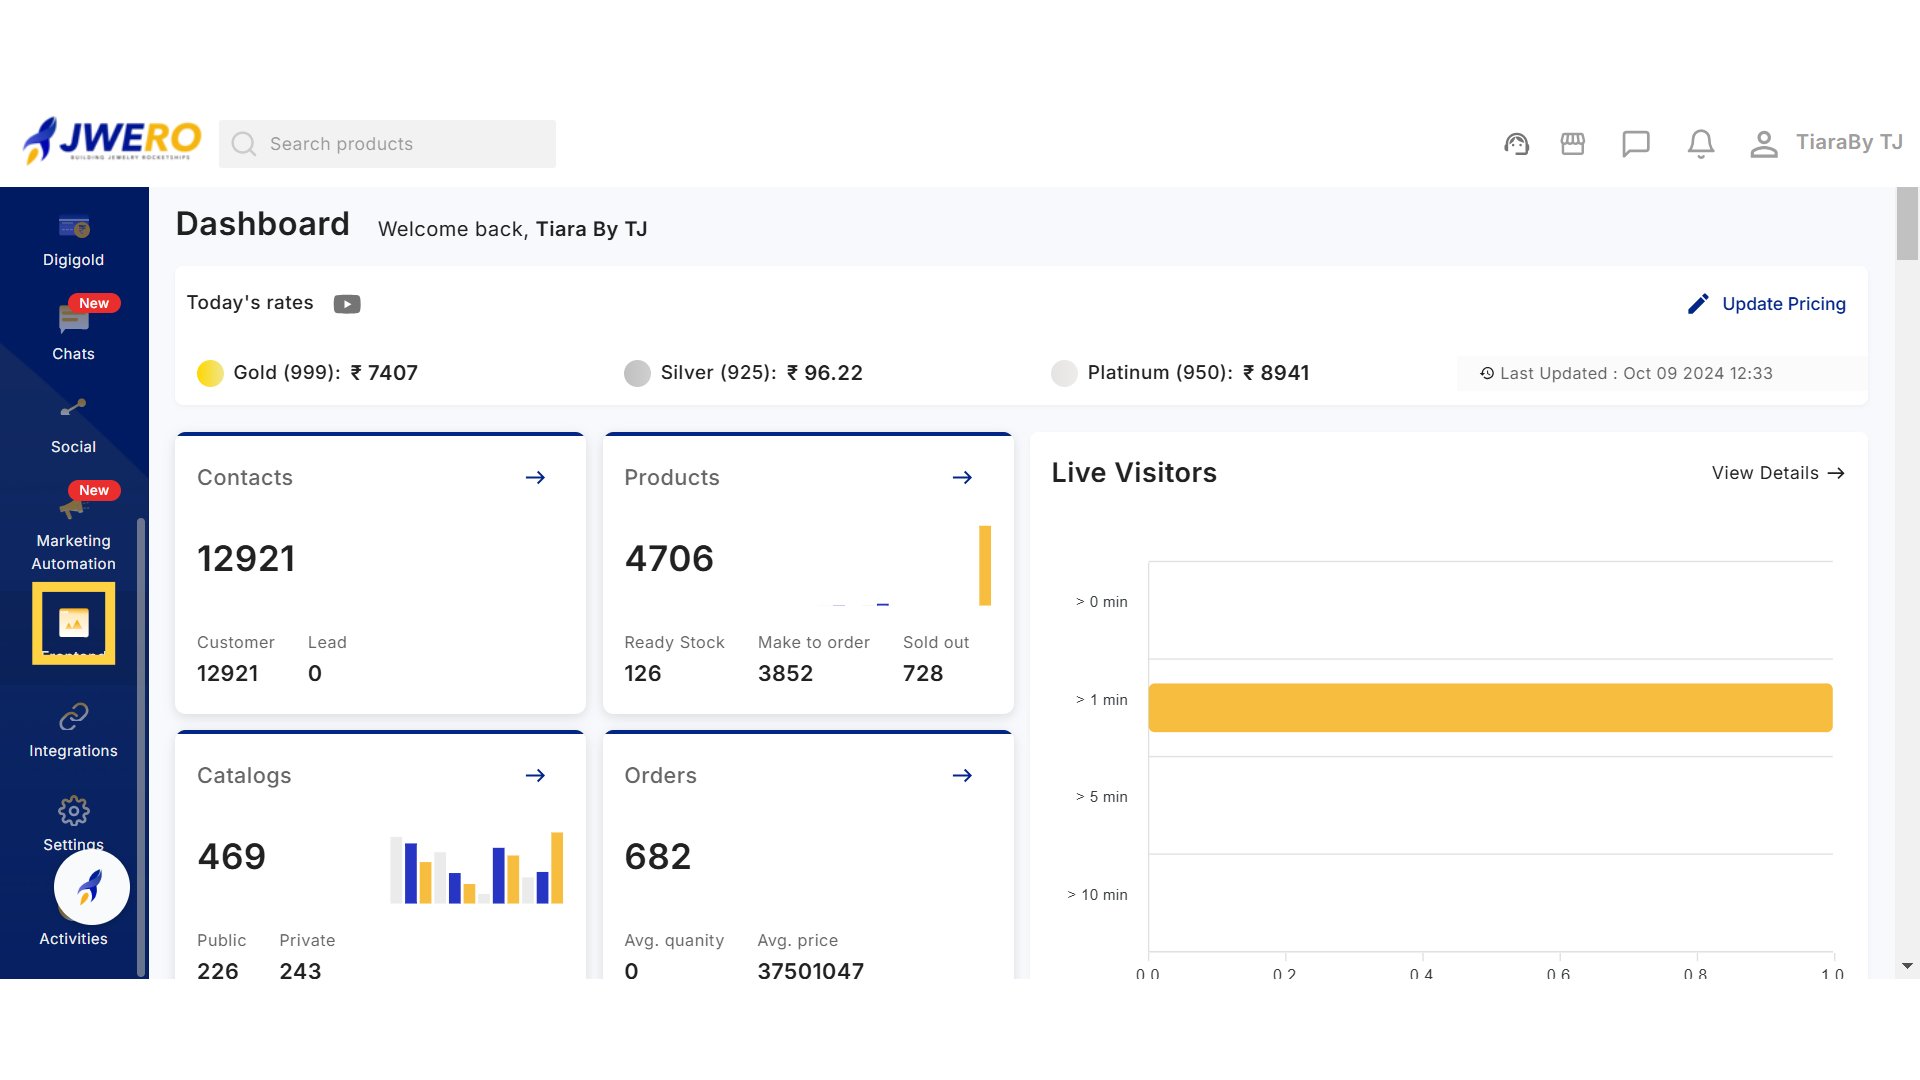
1. Click on "Frontend" to add and design the header.
Access the "Frontend" to do the required changes.
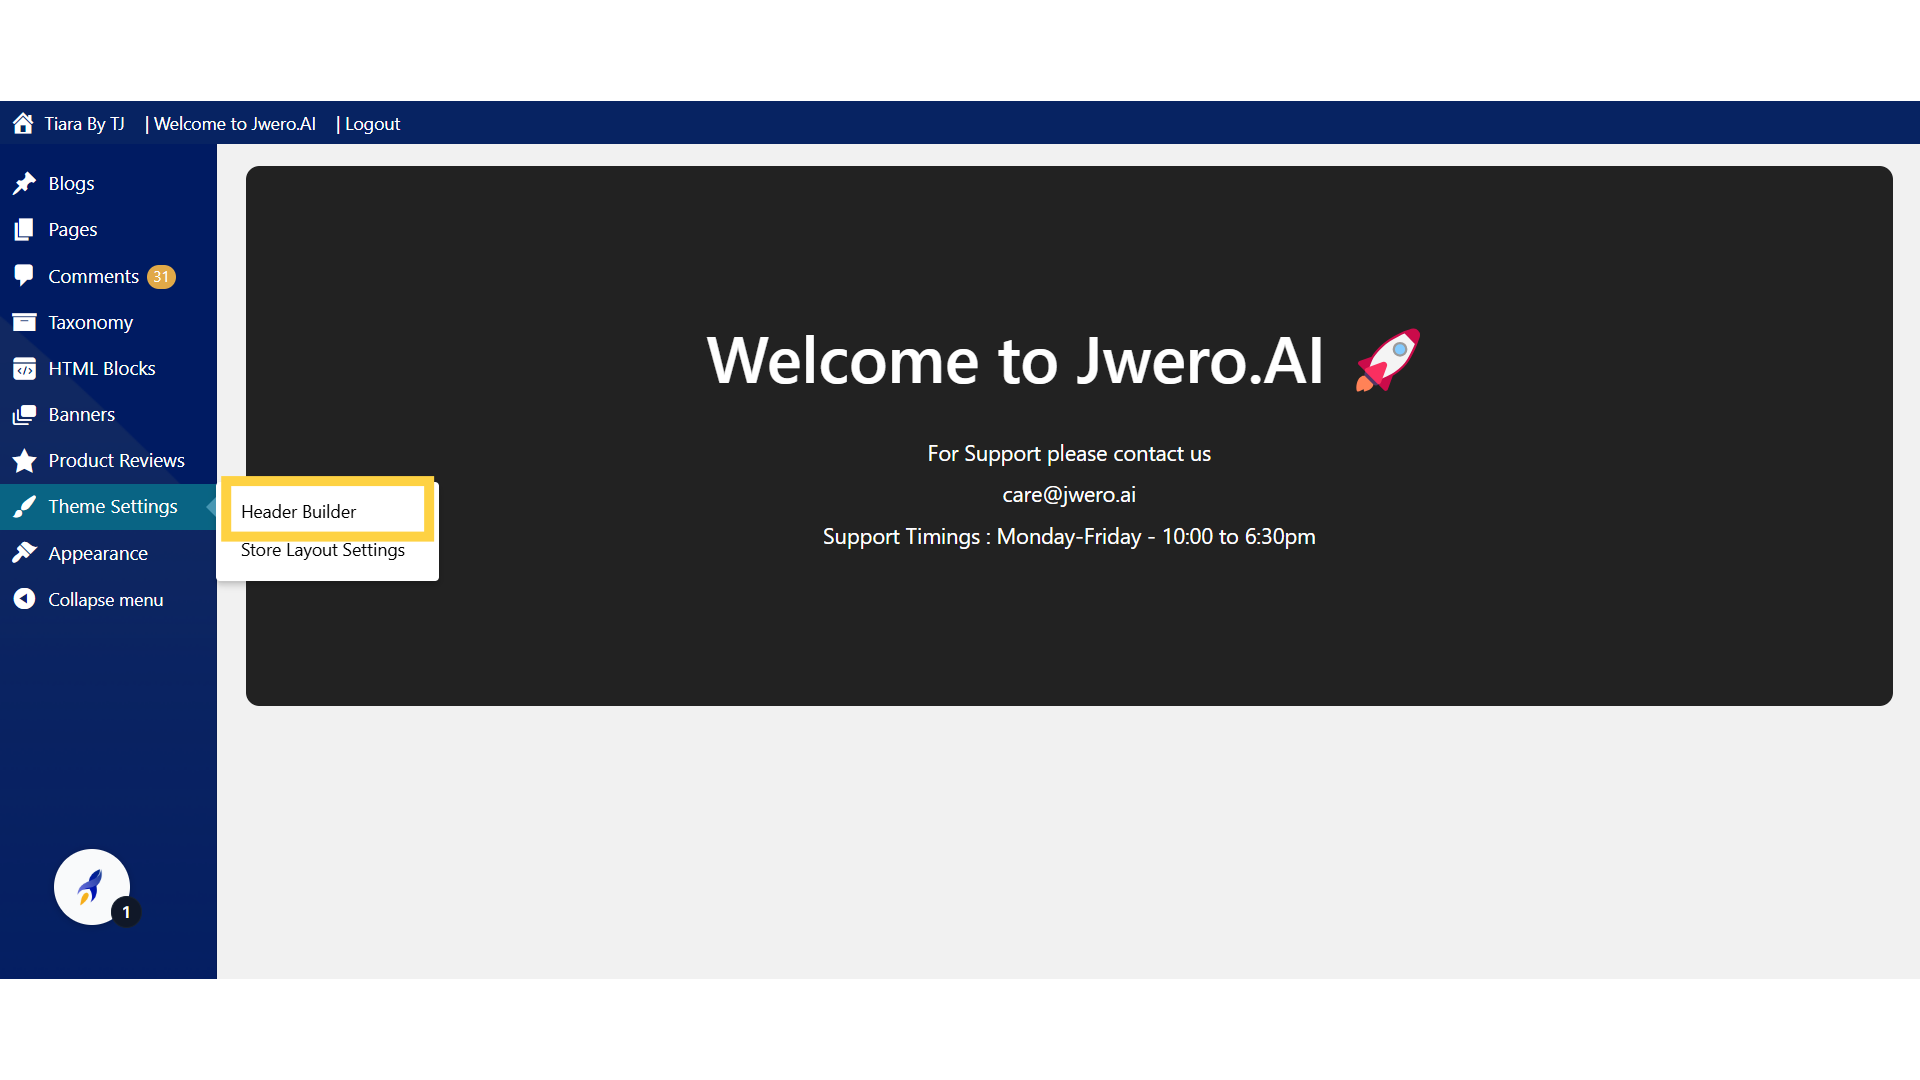
2. Click on "Header Builder" to create the header.
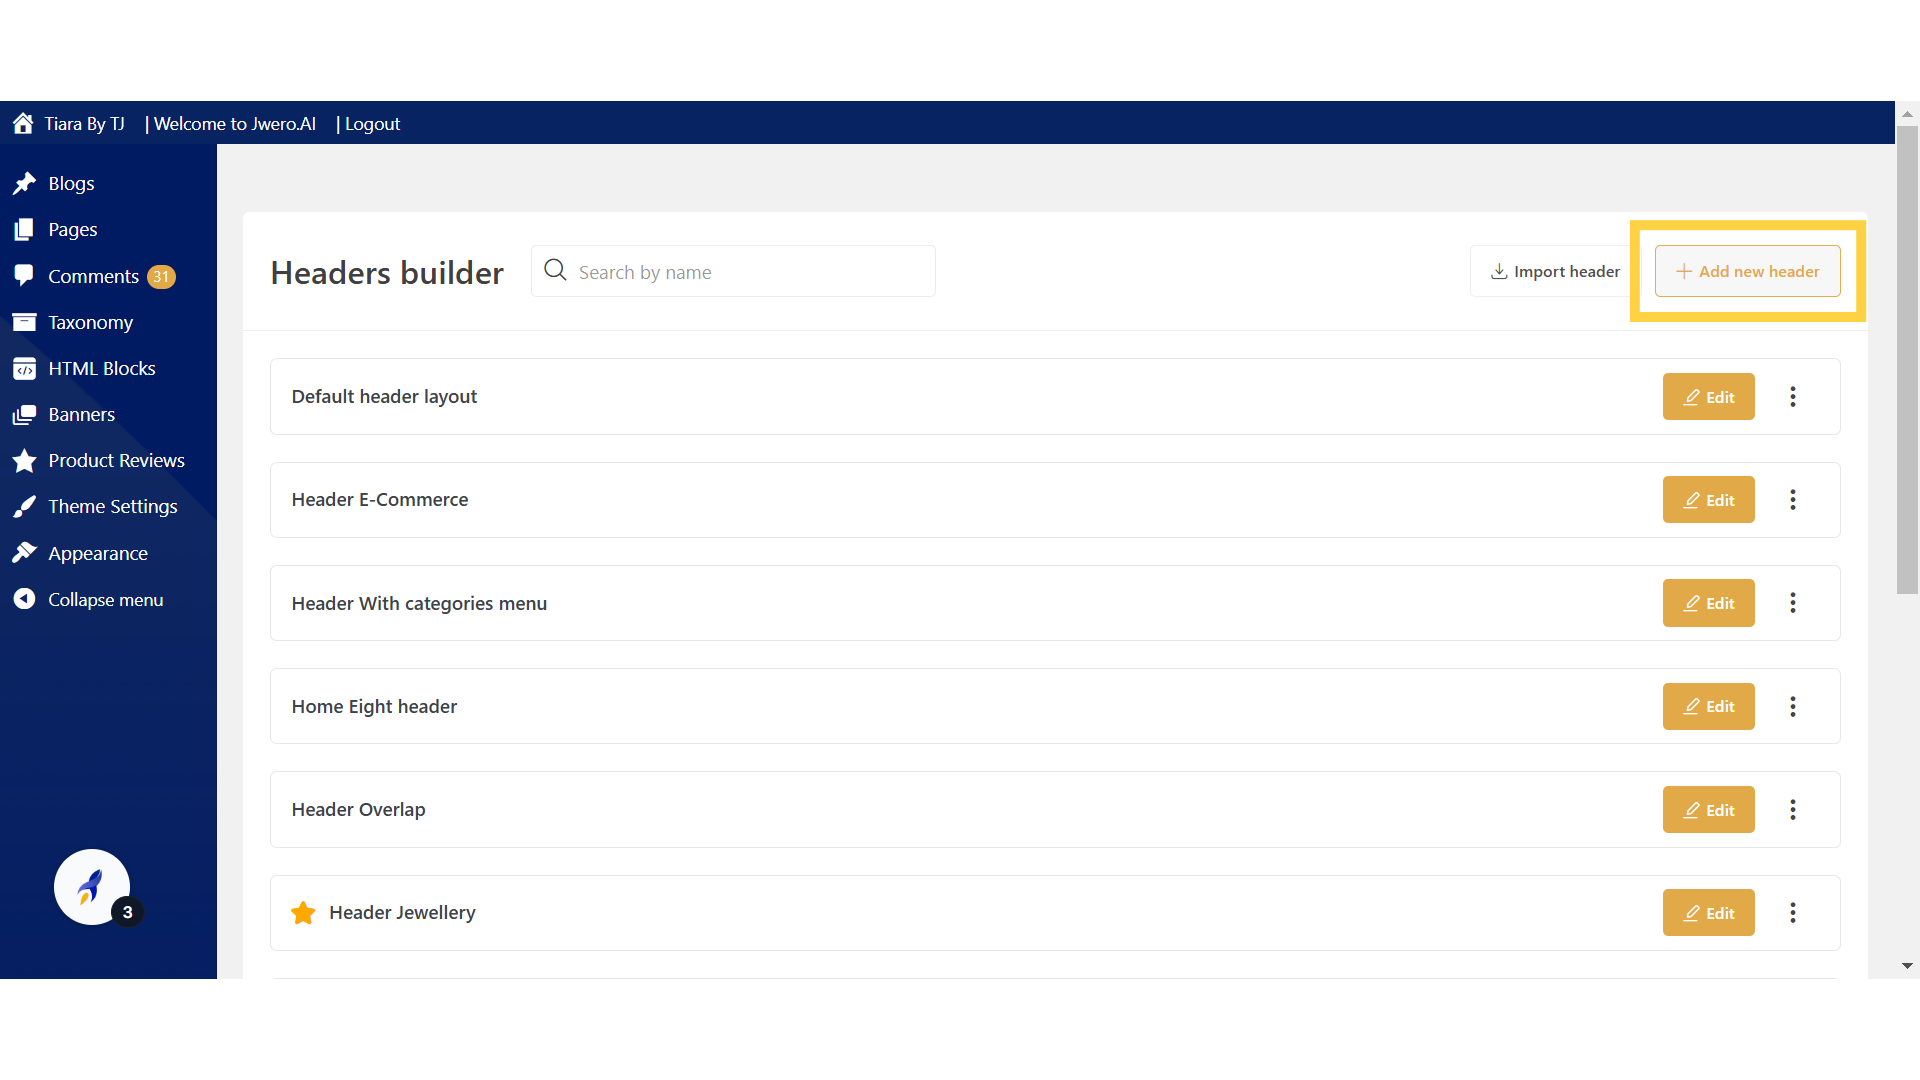
3. Click "Add new header"
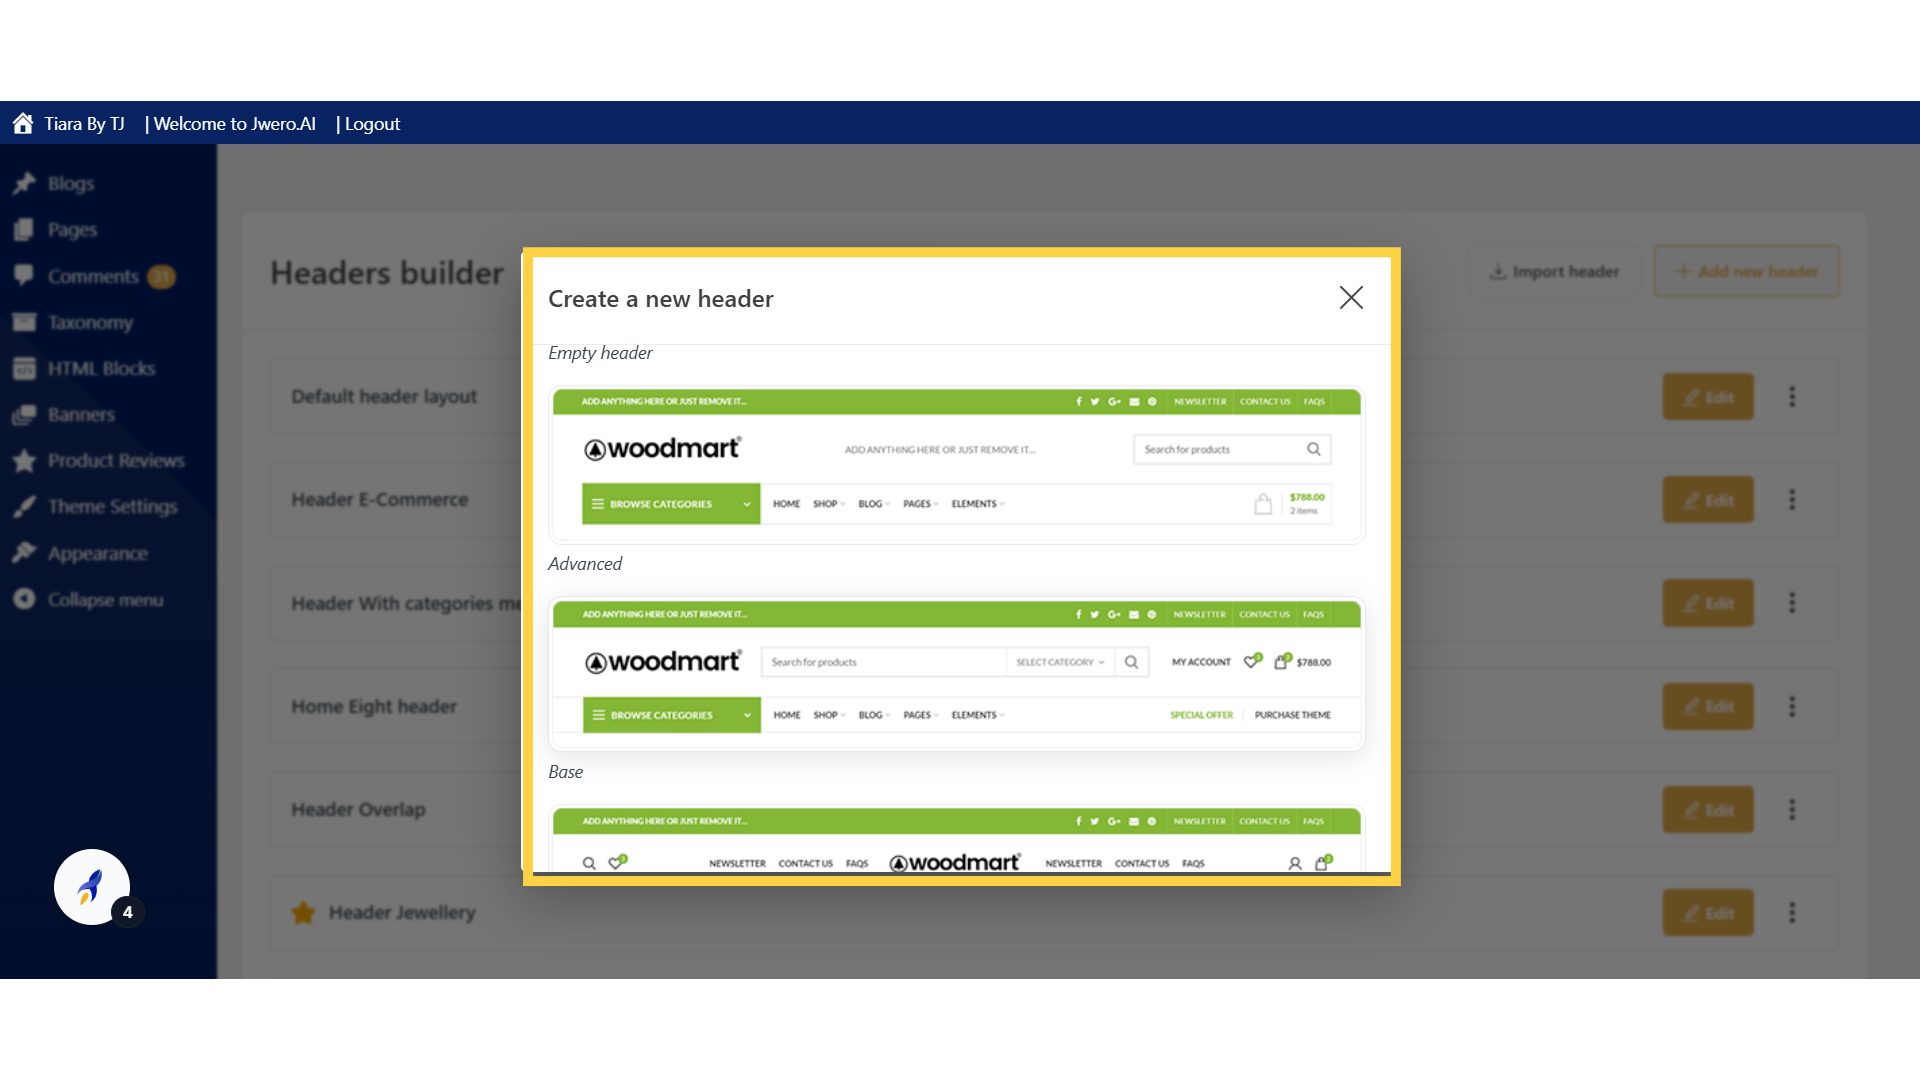
4. You will be shown number of pre-designed headers. Simply choose the one you prefer and customize it according to your needs.
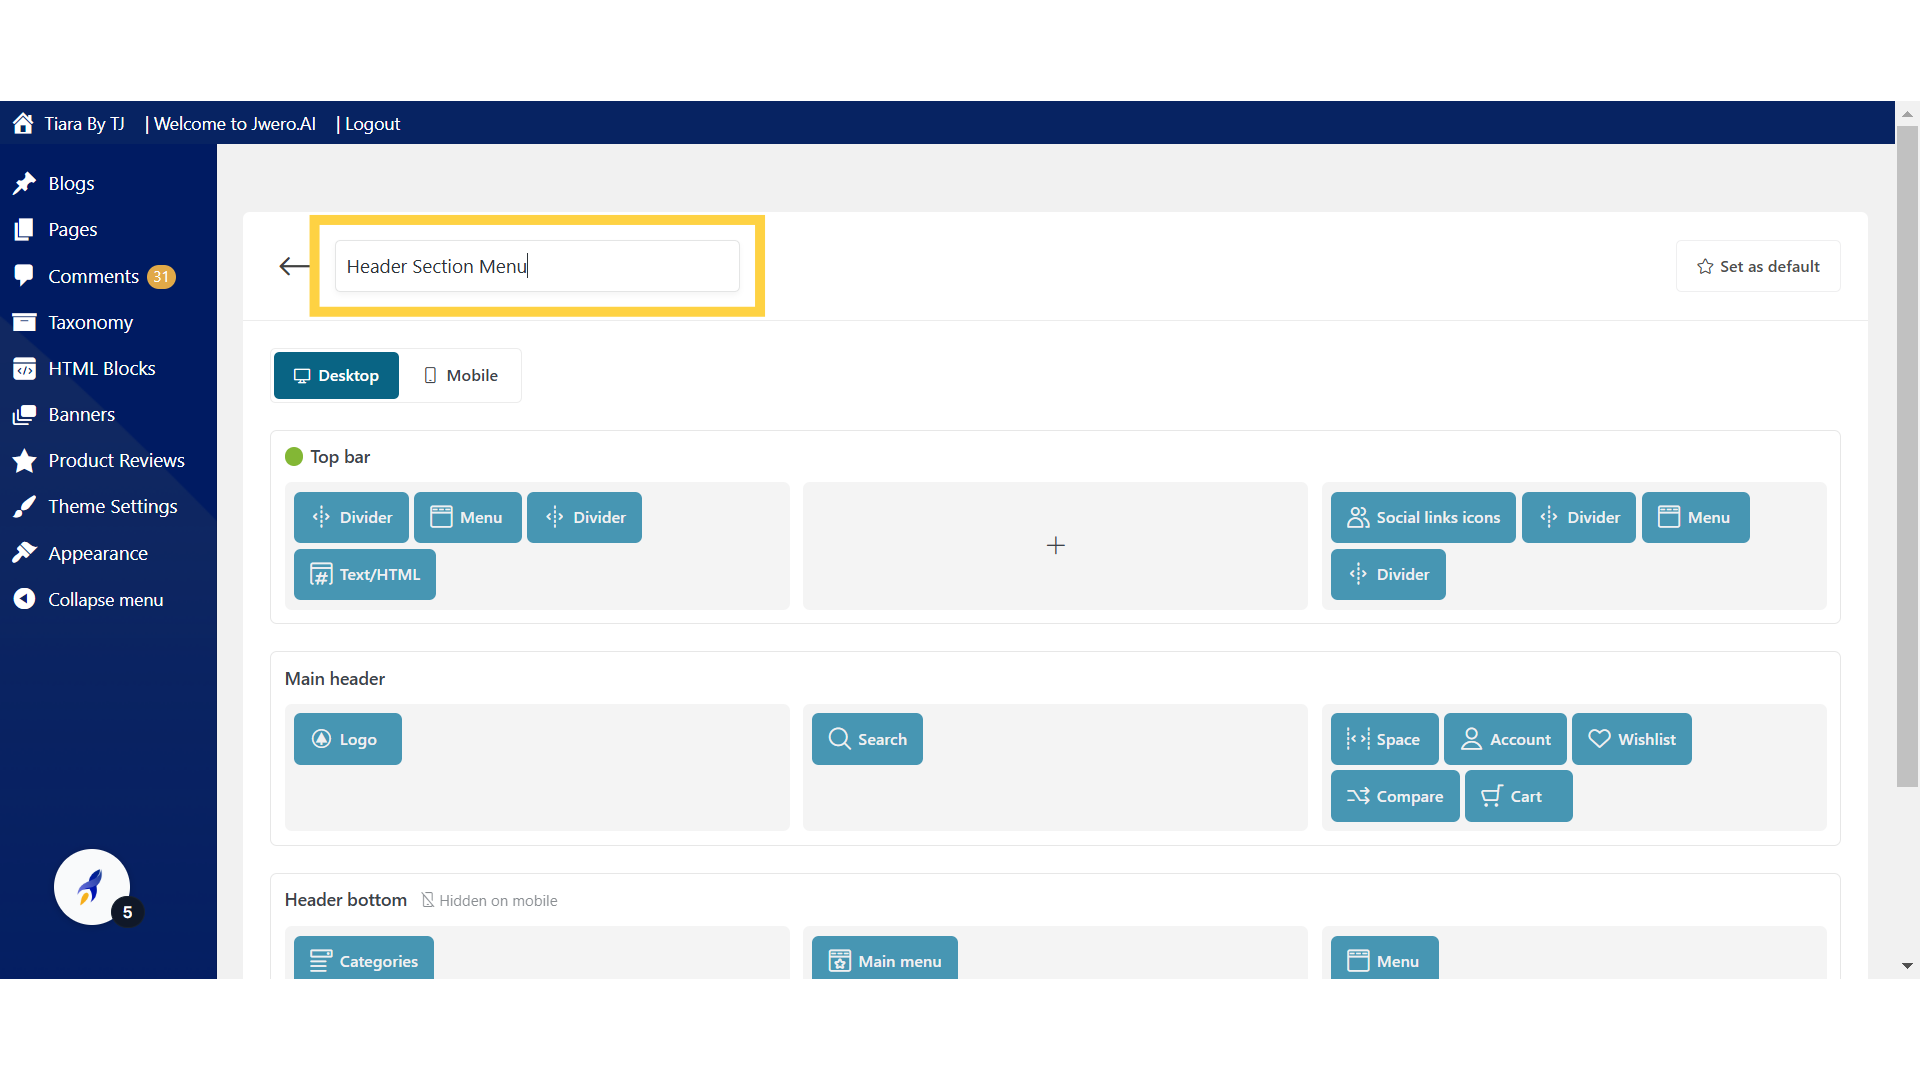
5. Enter the desired name for your header. This name will not be visible on the screen. Choose a logical name that helps you remember its purpose.
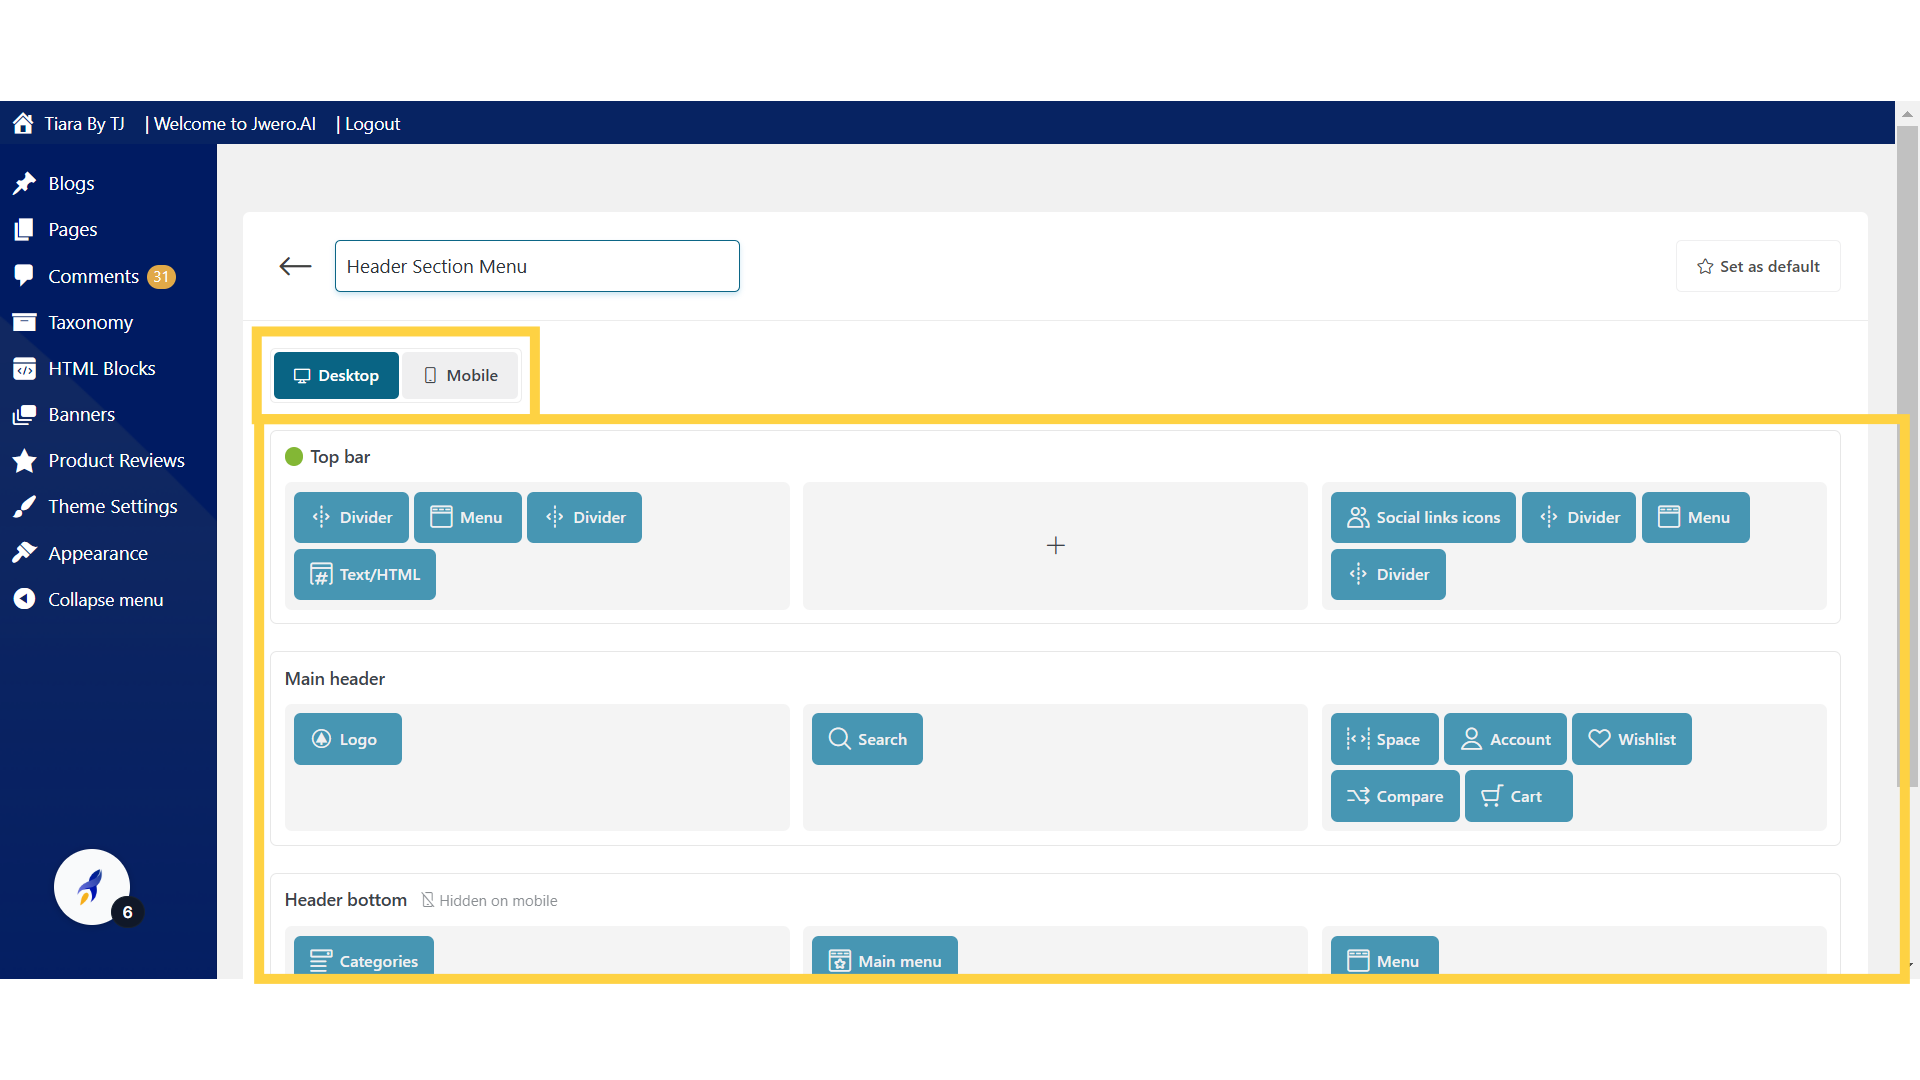
6. We have two separate tabs: one for desktop and the other for mobile. This allows us to design and optimize the webpage view specifically for each device type. Currently we are in Desktop tab.
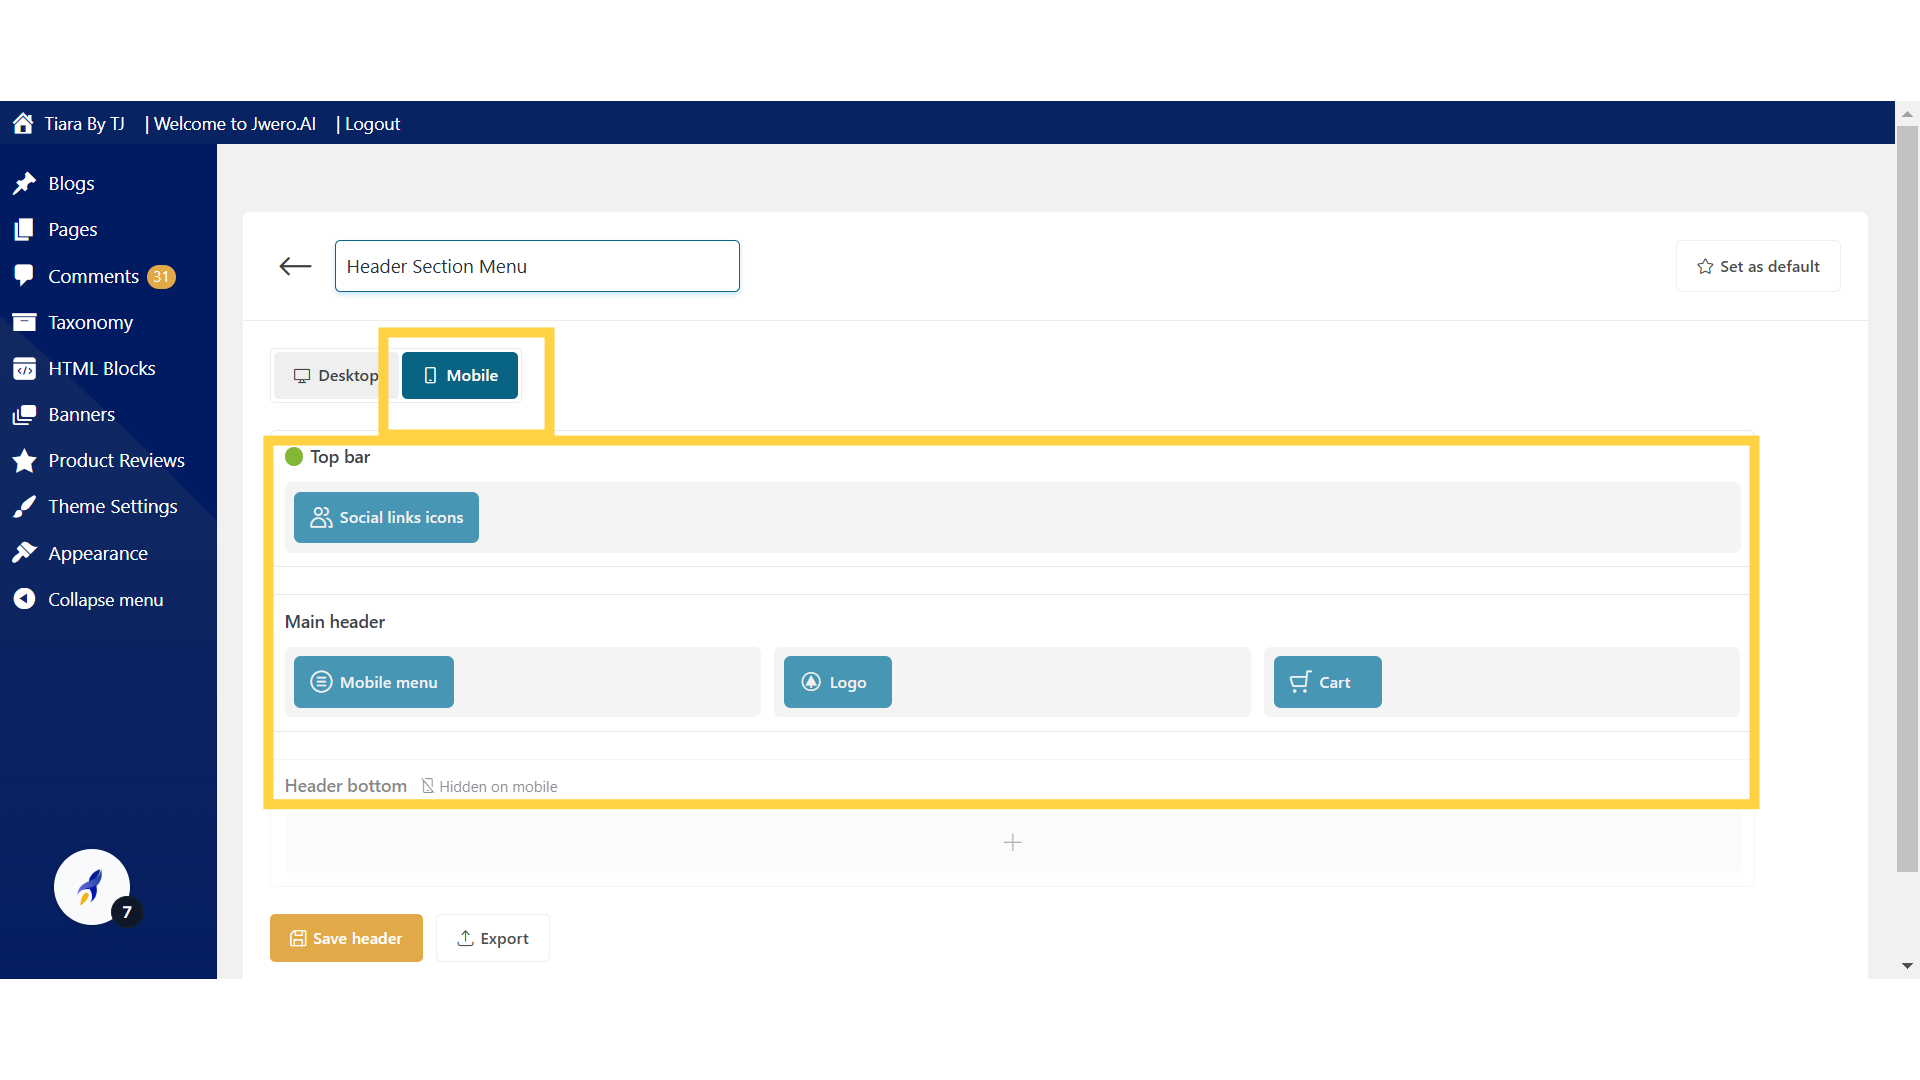
7. This tab is for mobile.
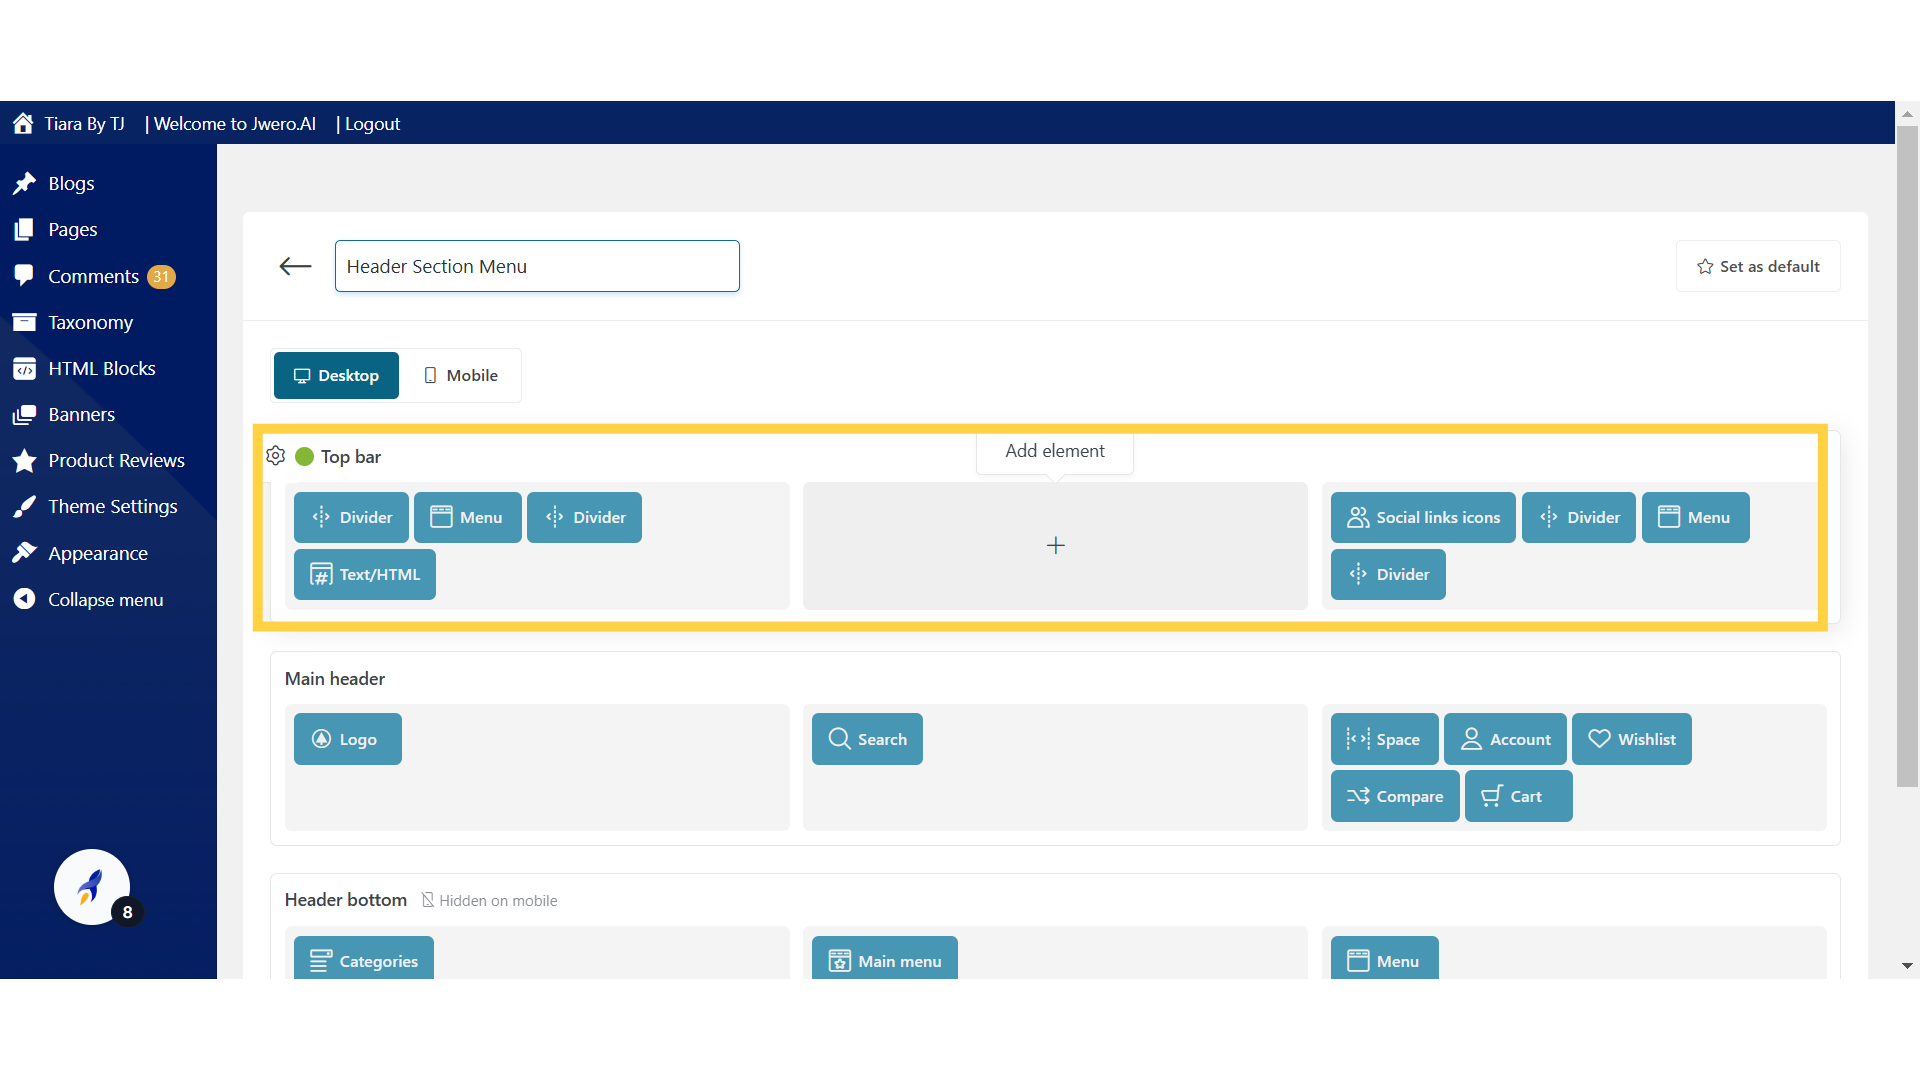
8. The Top Bar is the uppermost section of the header. It usually contains important secondary information but not the main focus of the site. For example Email, Text, Links, etc.
9. The Main Header is the central section of the header and usually contains the most important navigational elements. It is where the branding, logo, and primary navigation links are placed.
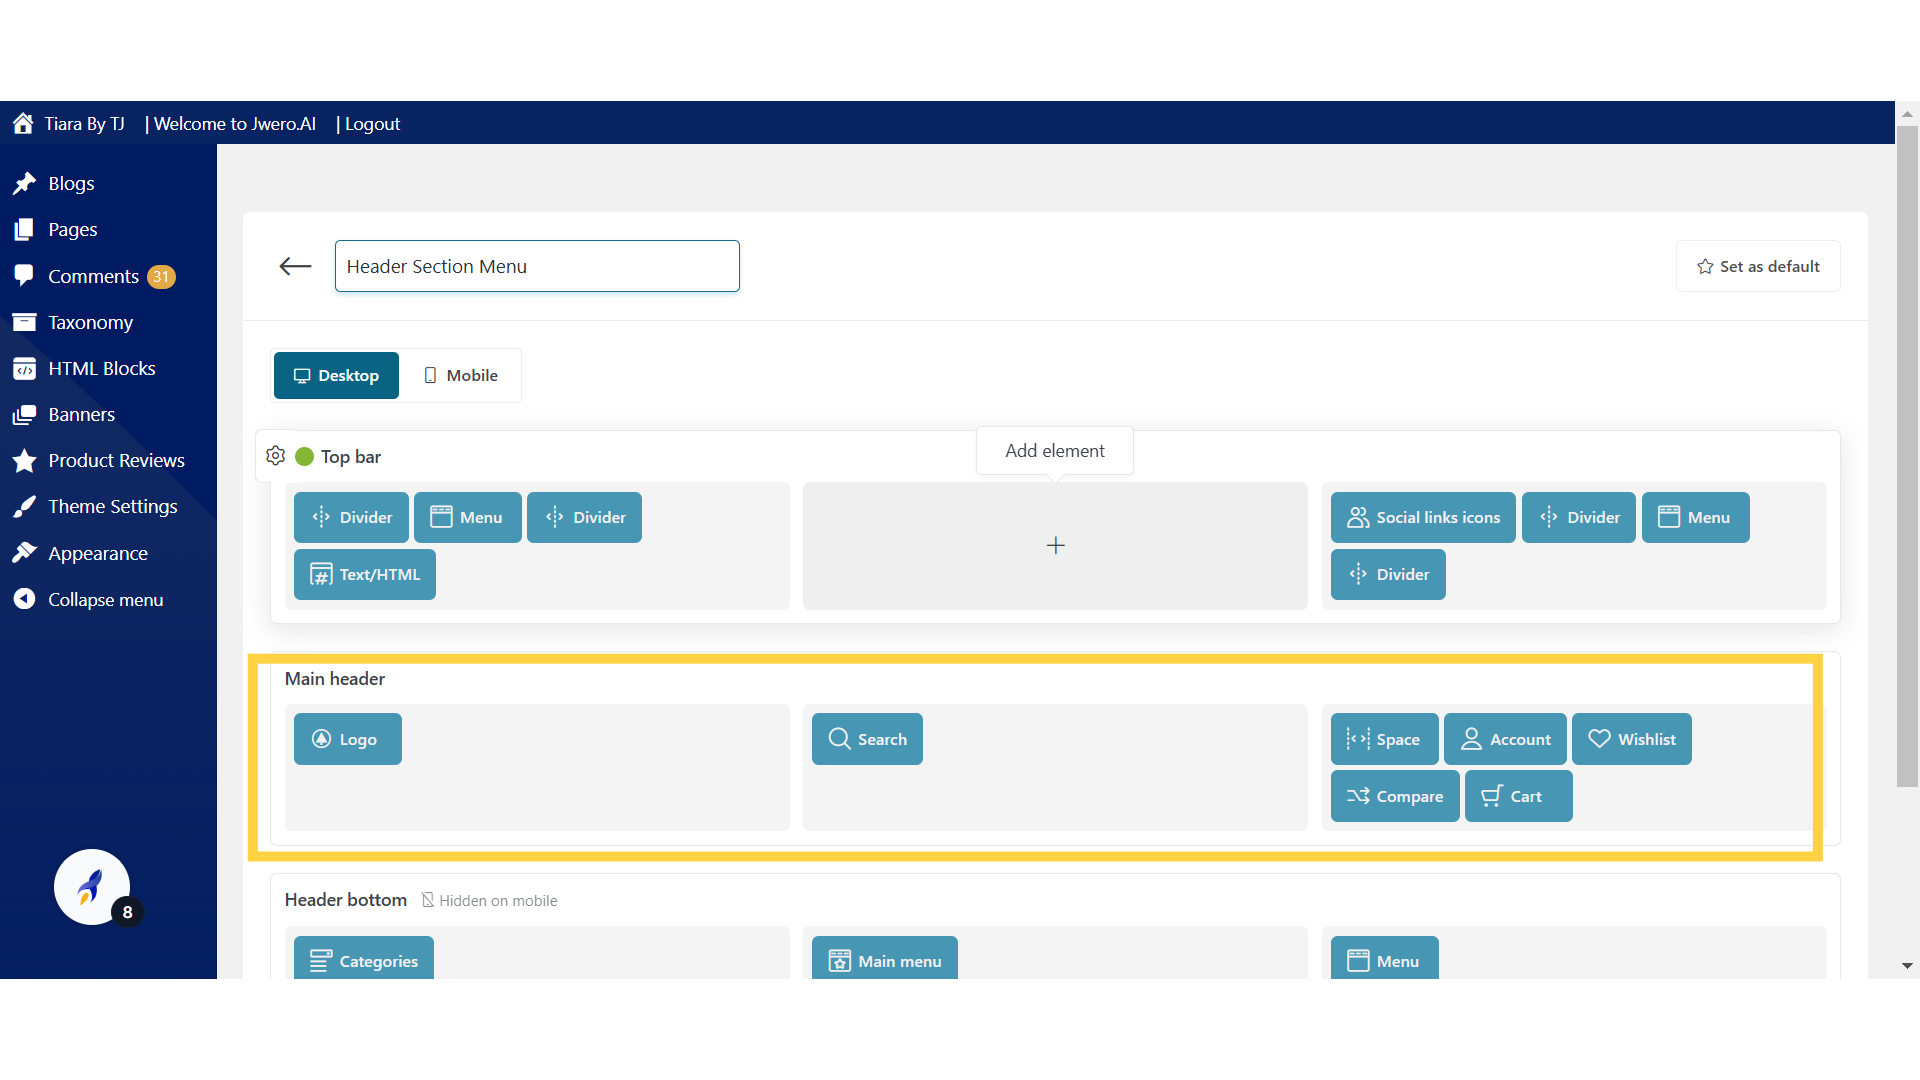
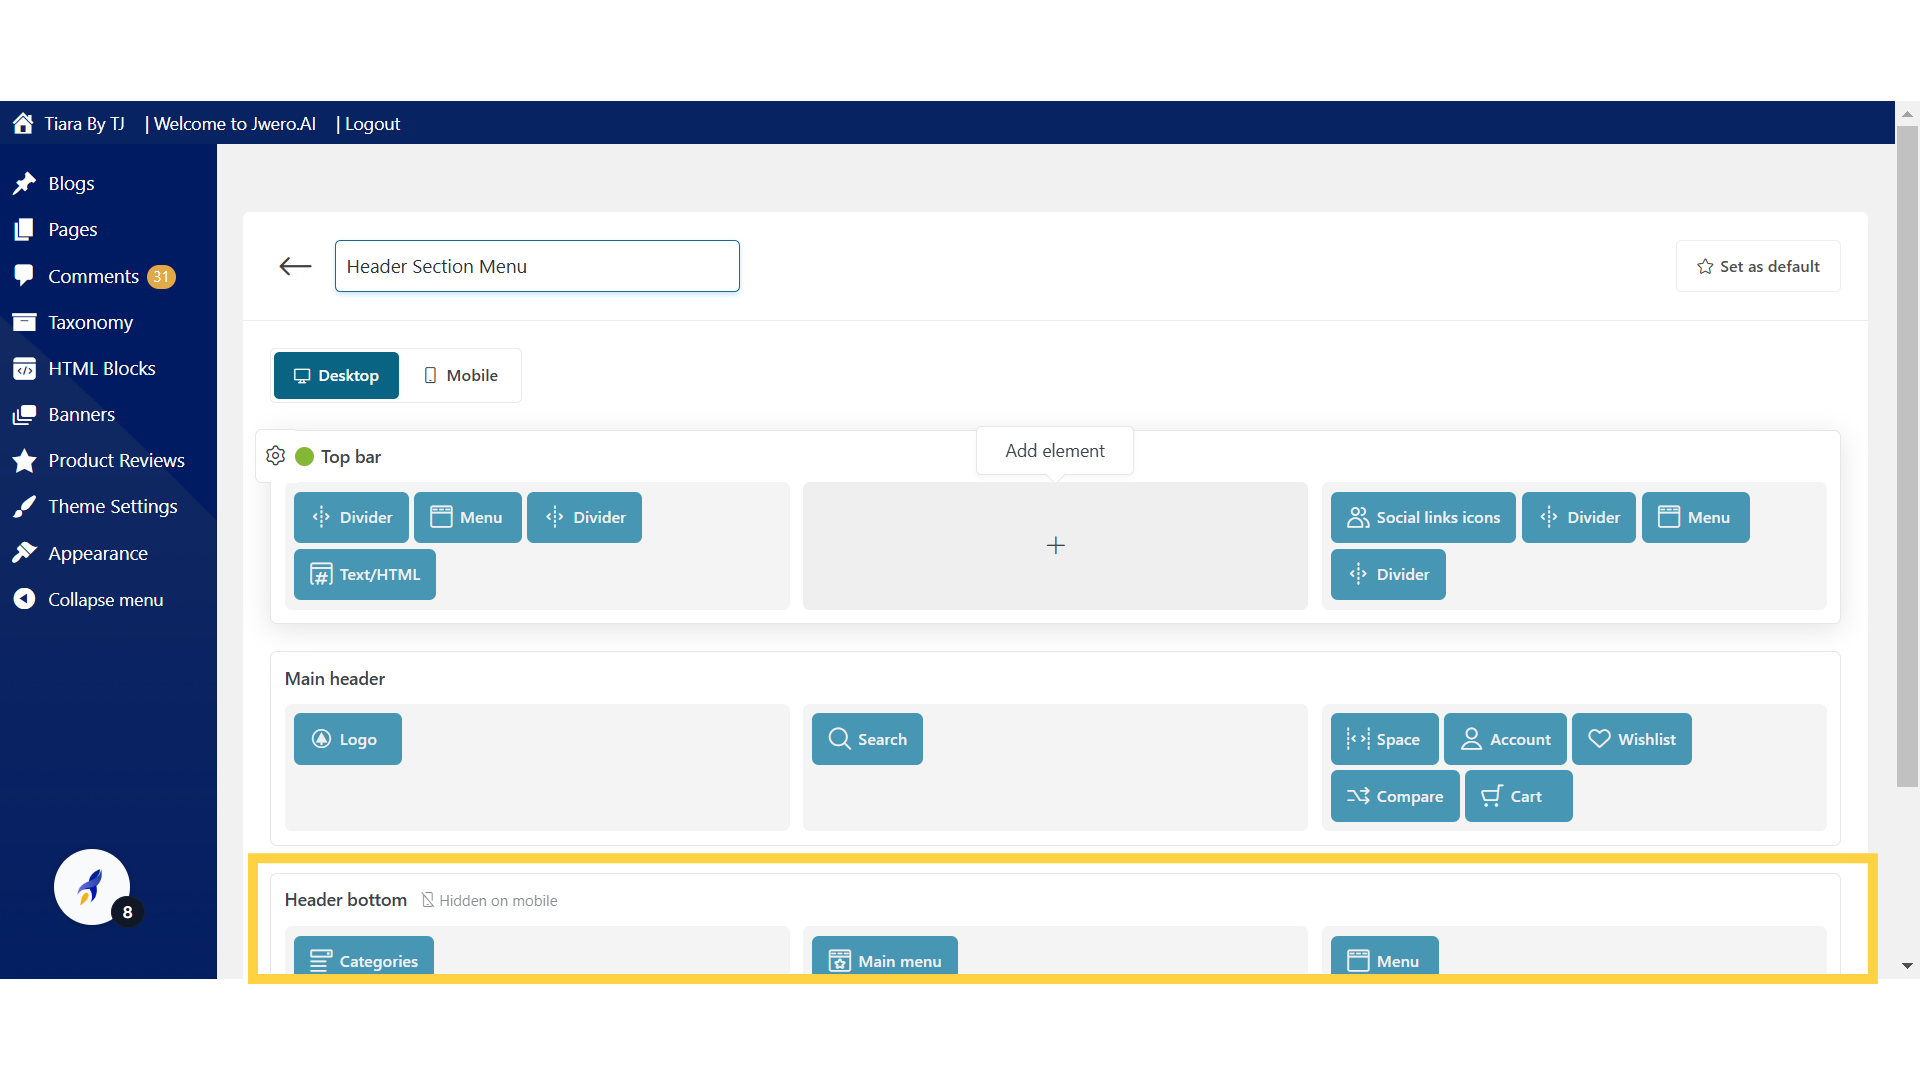
10. Sits below the Main Header, often with links to categories or subcategories that complement the Main Header navigation.
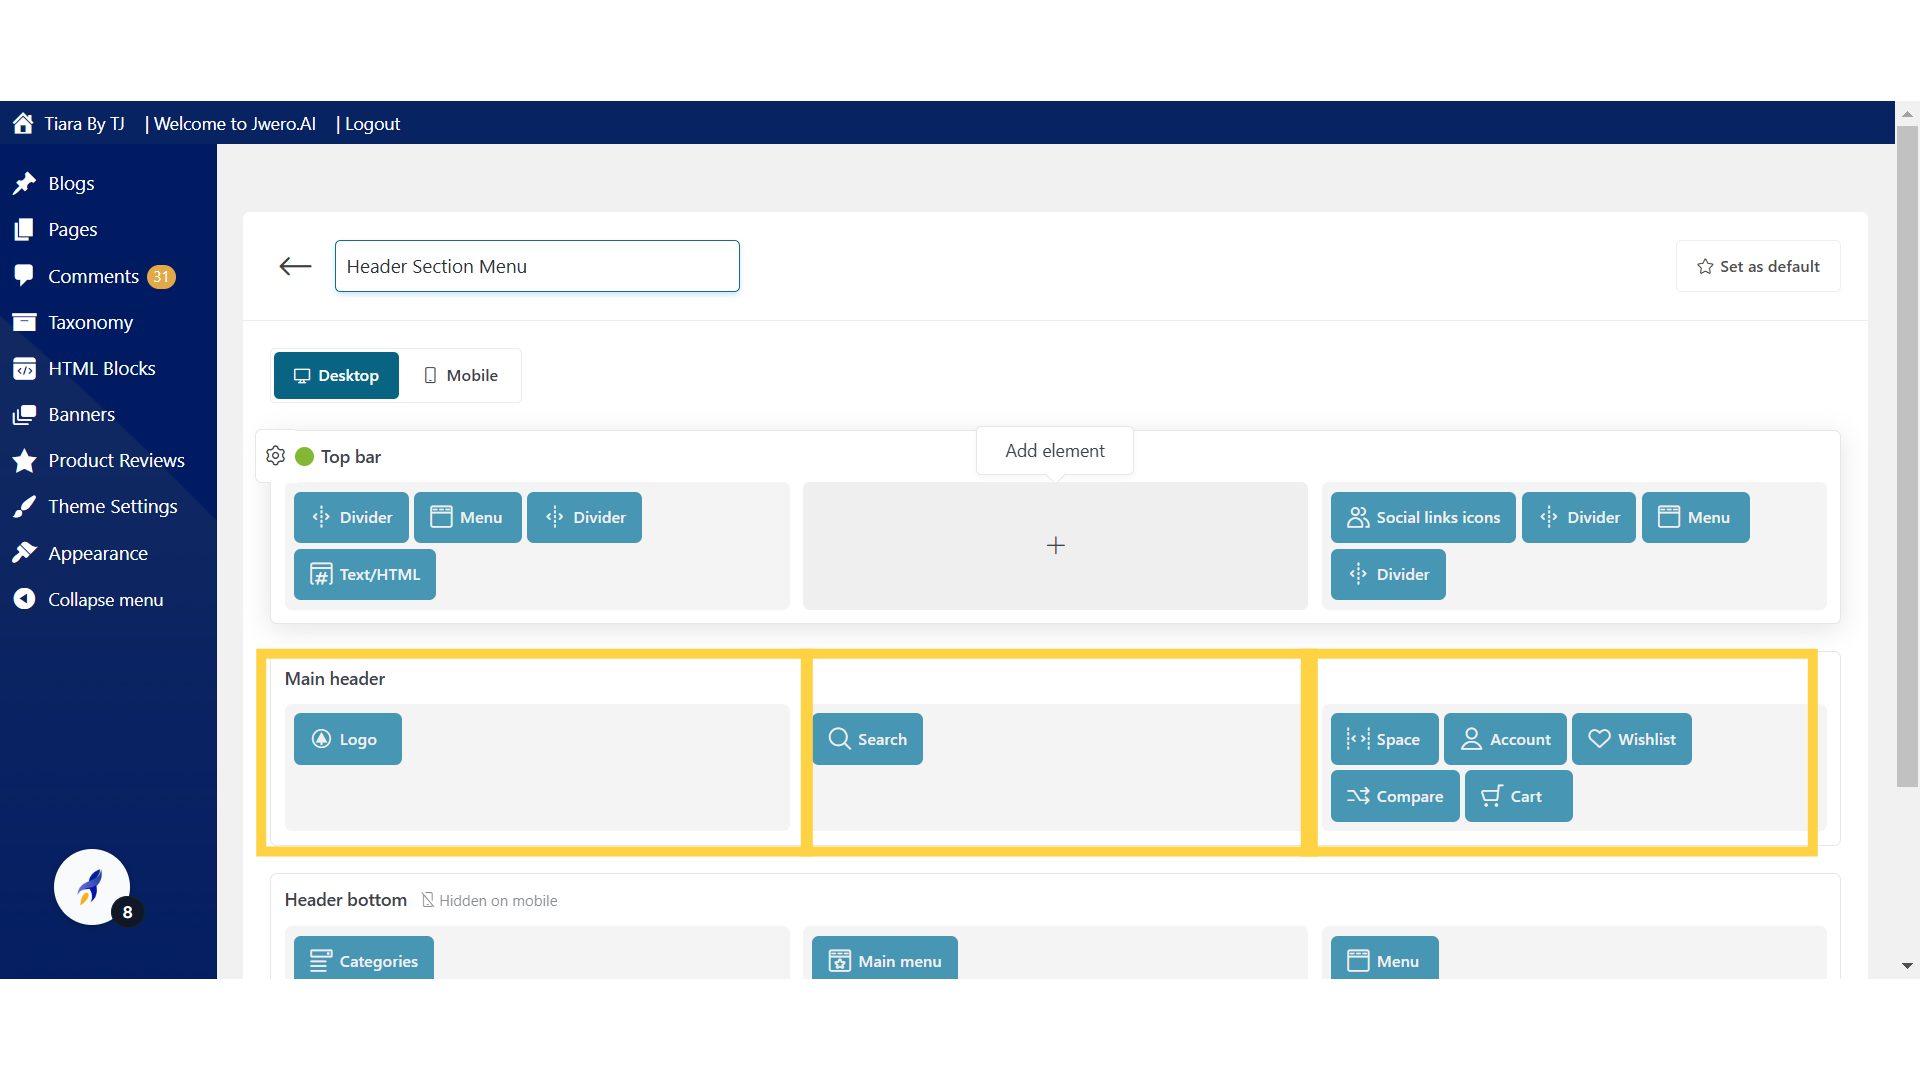
11. Division of header section.
The header section is divide into three columns:
1) The header-left section generally contains the logo or site title.
2) The header-center section contains the primary navigation menu.
3)The header-right section can contain social media links, a login button, or a cart icon.
You can keep the placement according to your design.
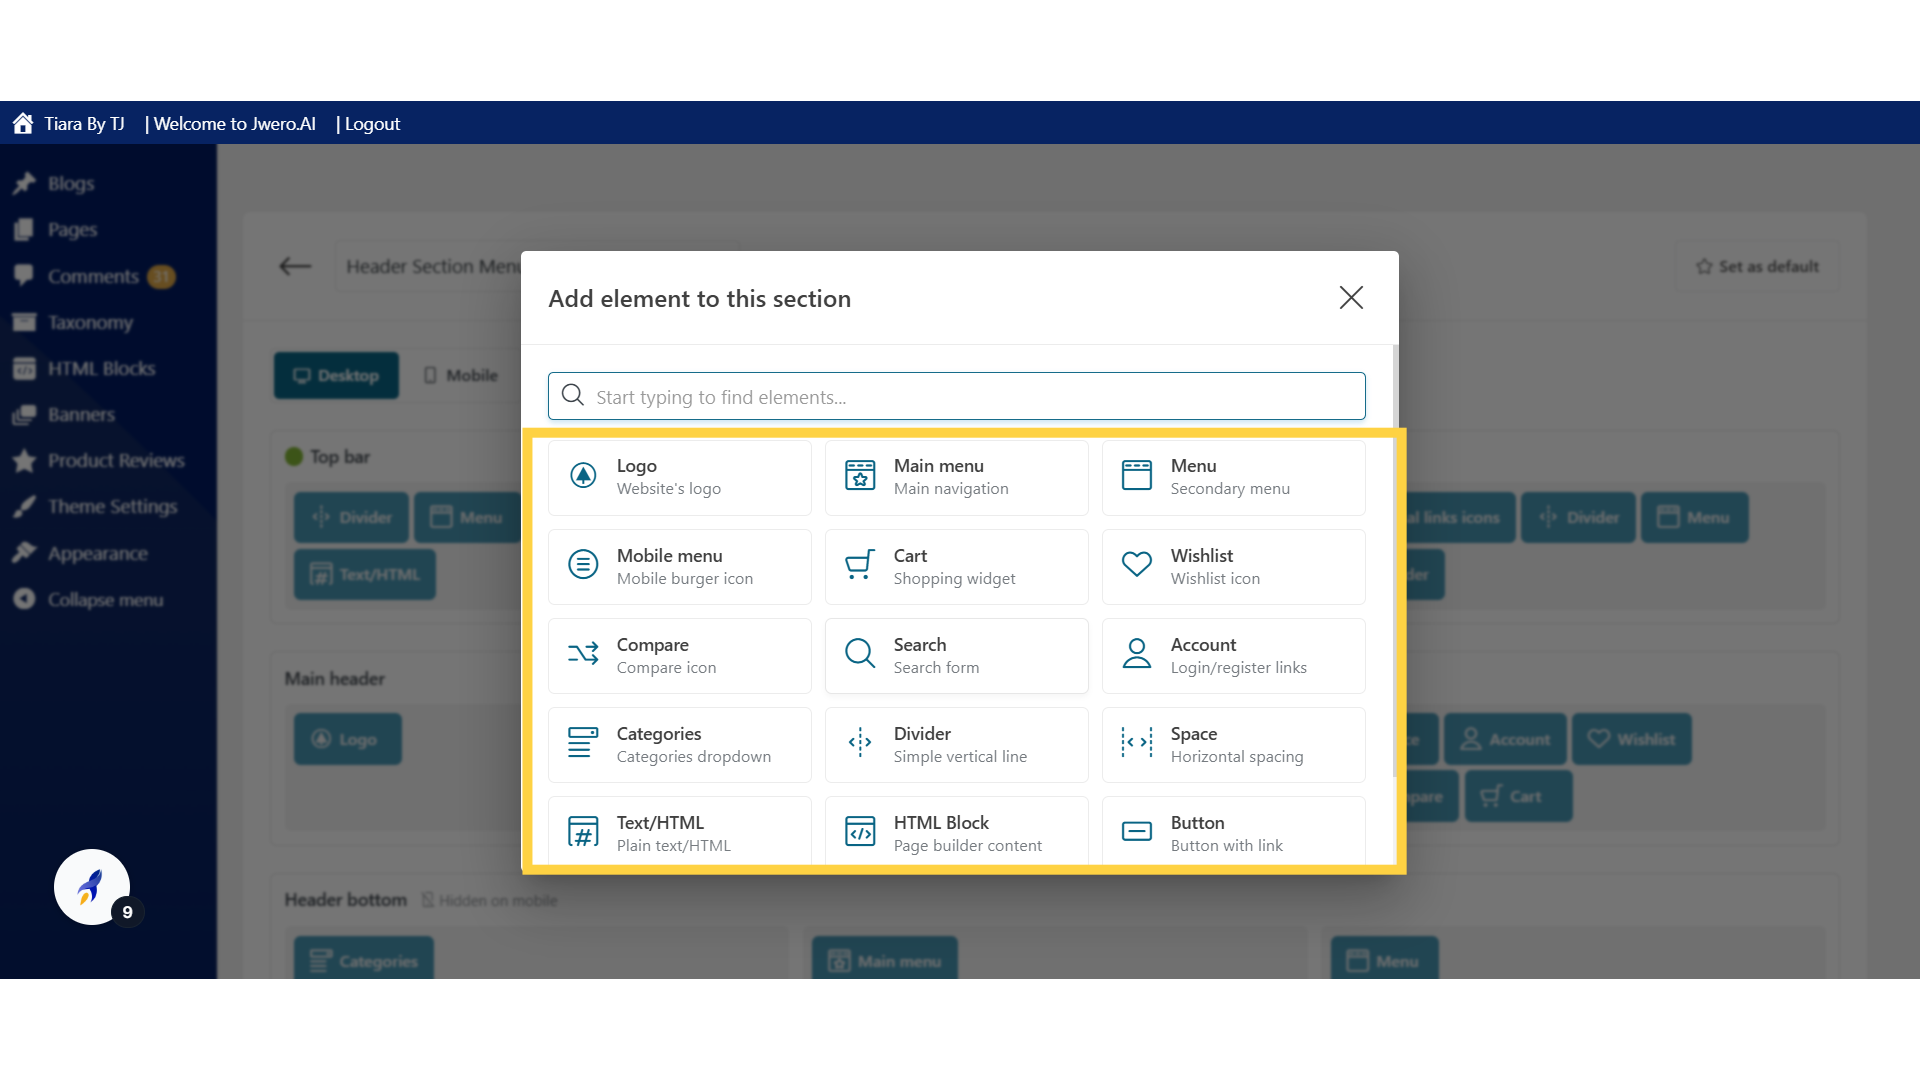
12. To add the elements into the header, click on "+"
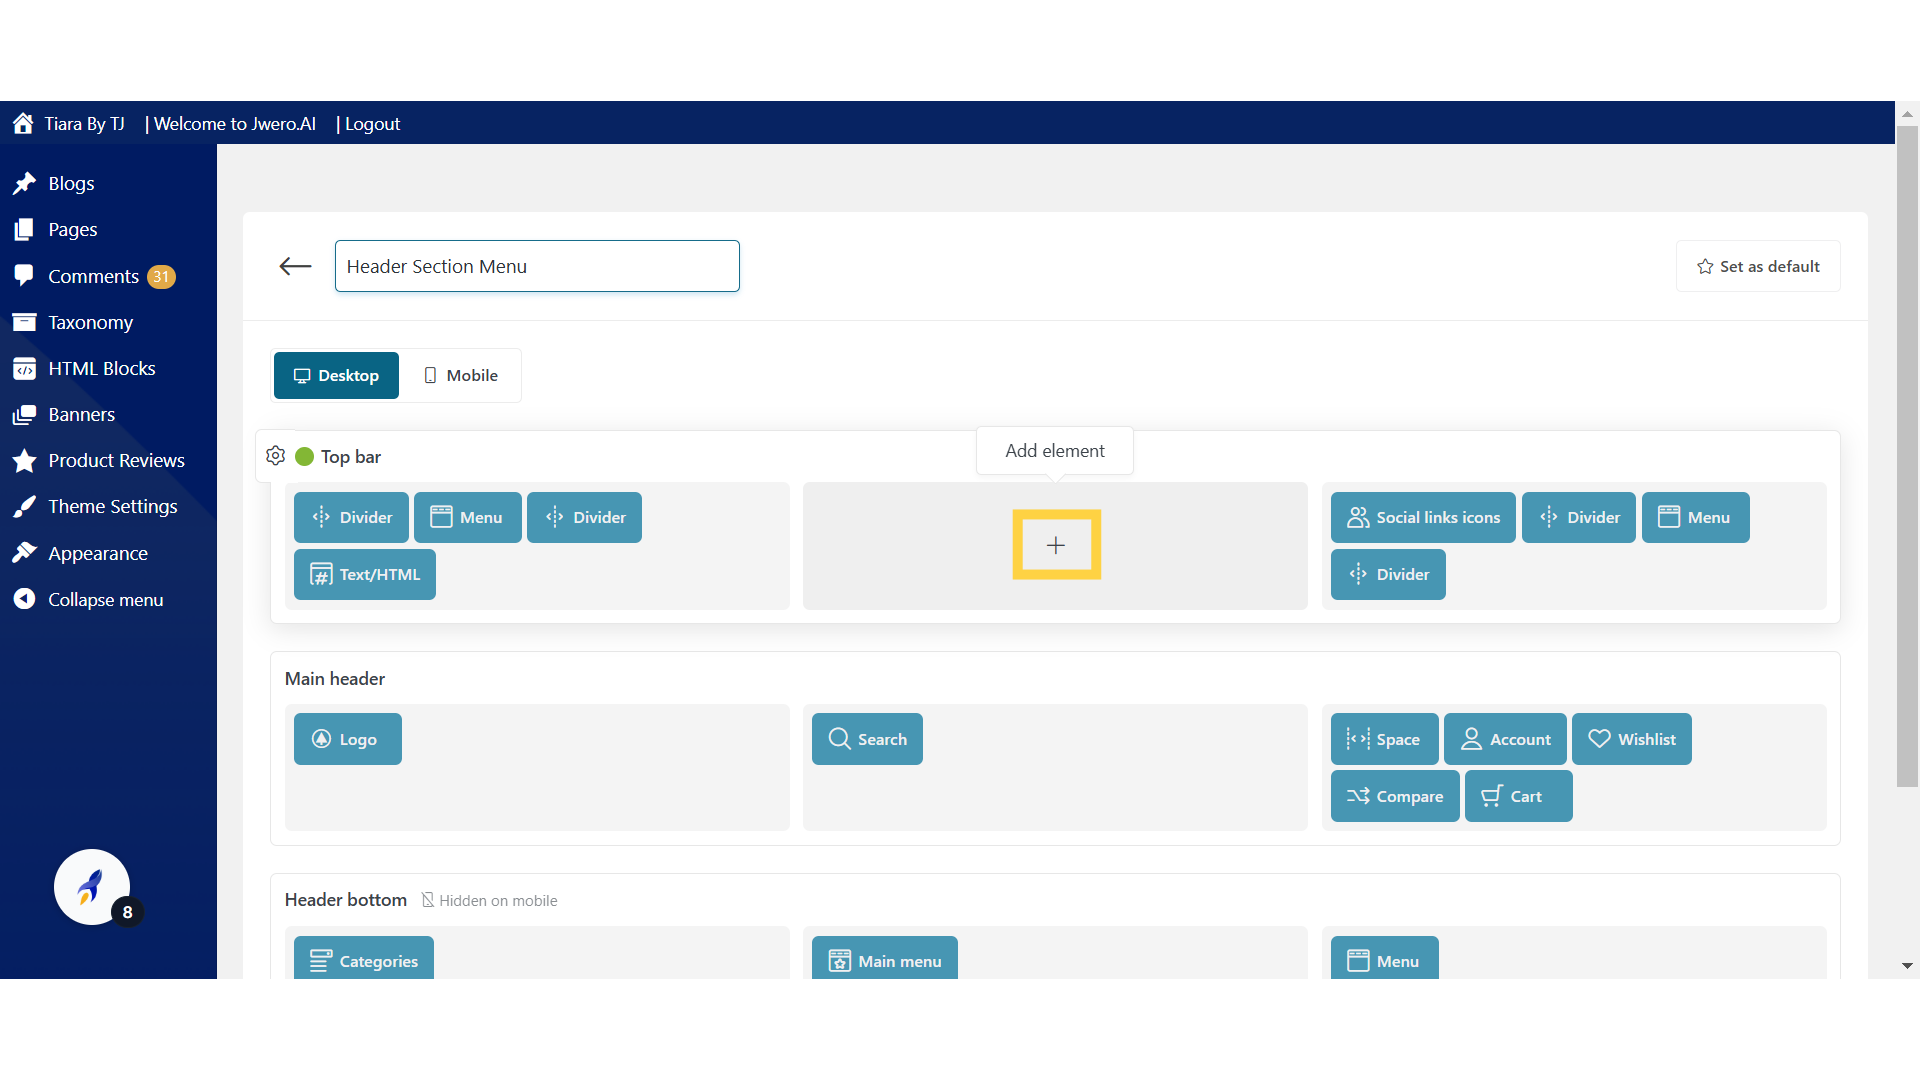
13. Add any element as per your design.
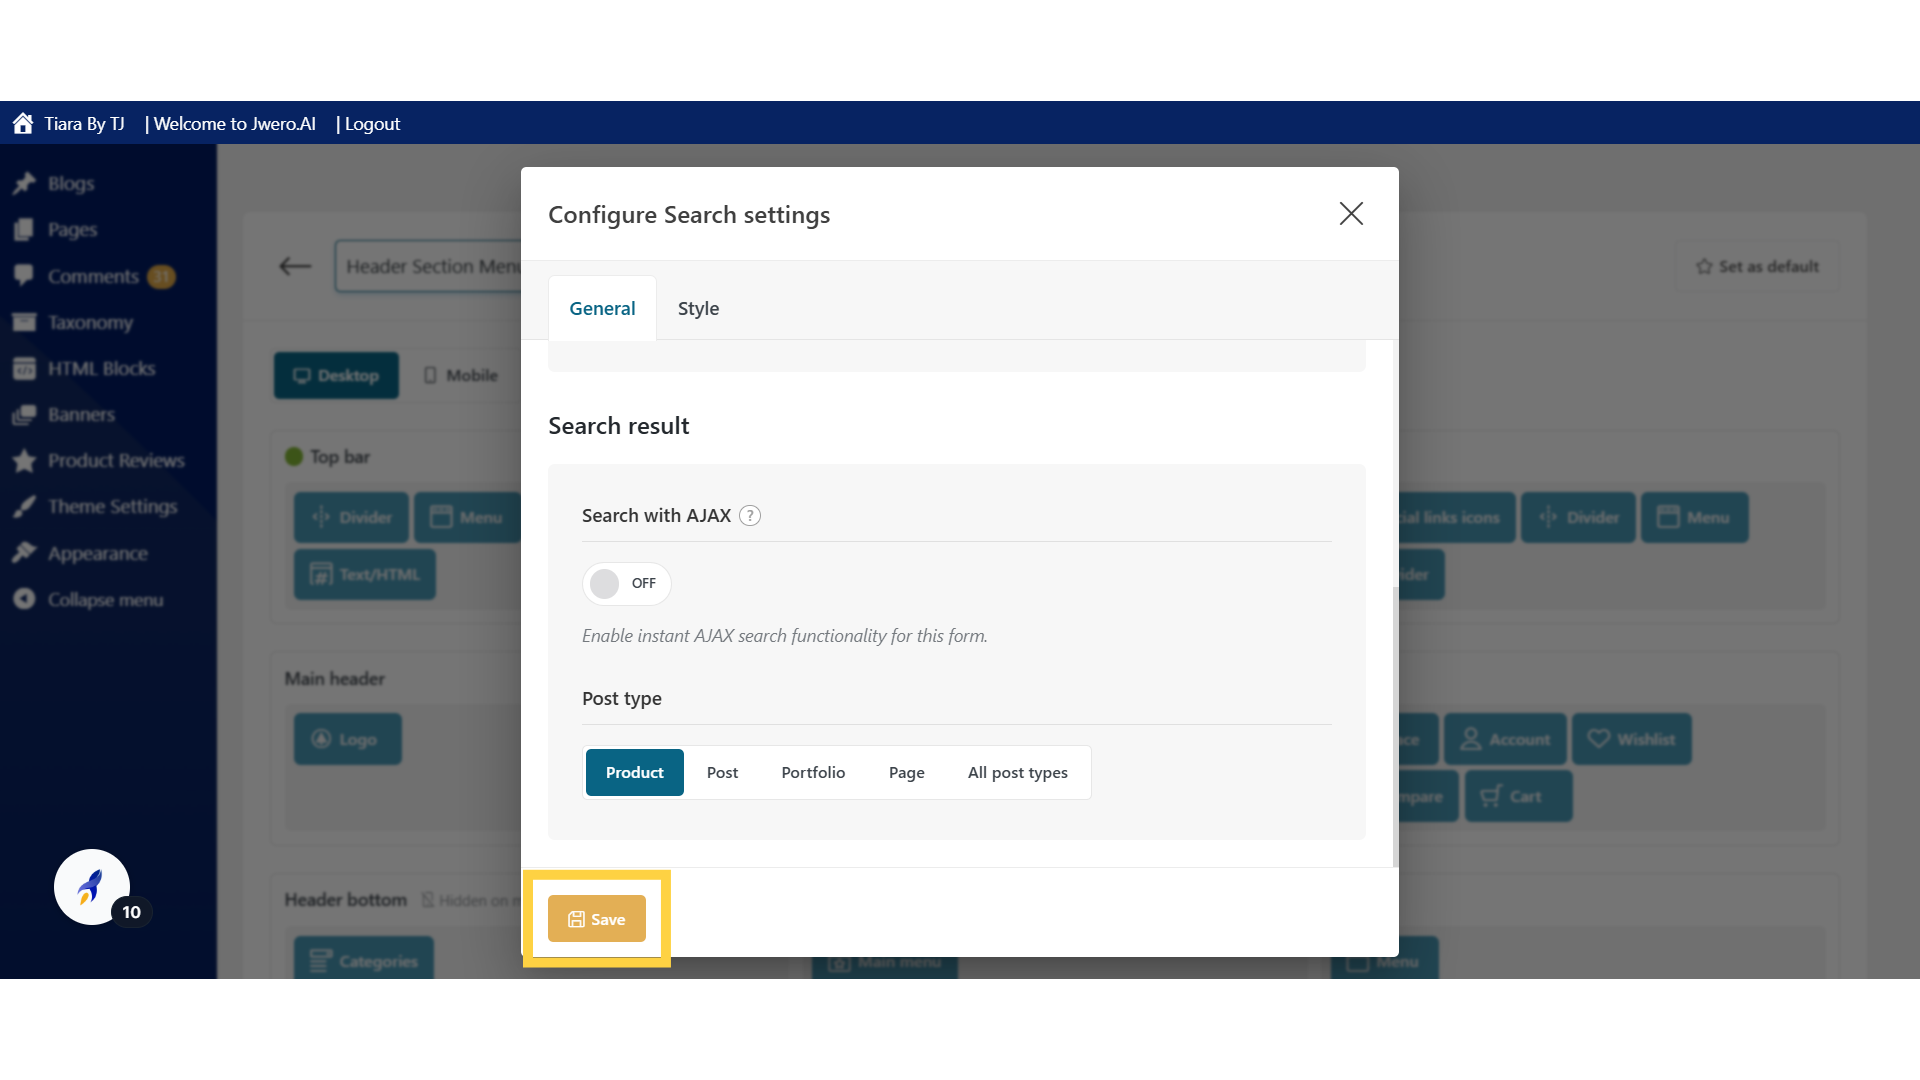
14. Configure the settings for the element you added and then click "Save."
15. To edit the element added, Click on the pencil icon.
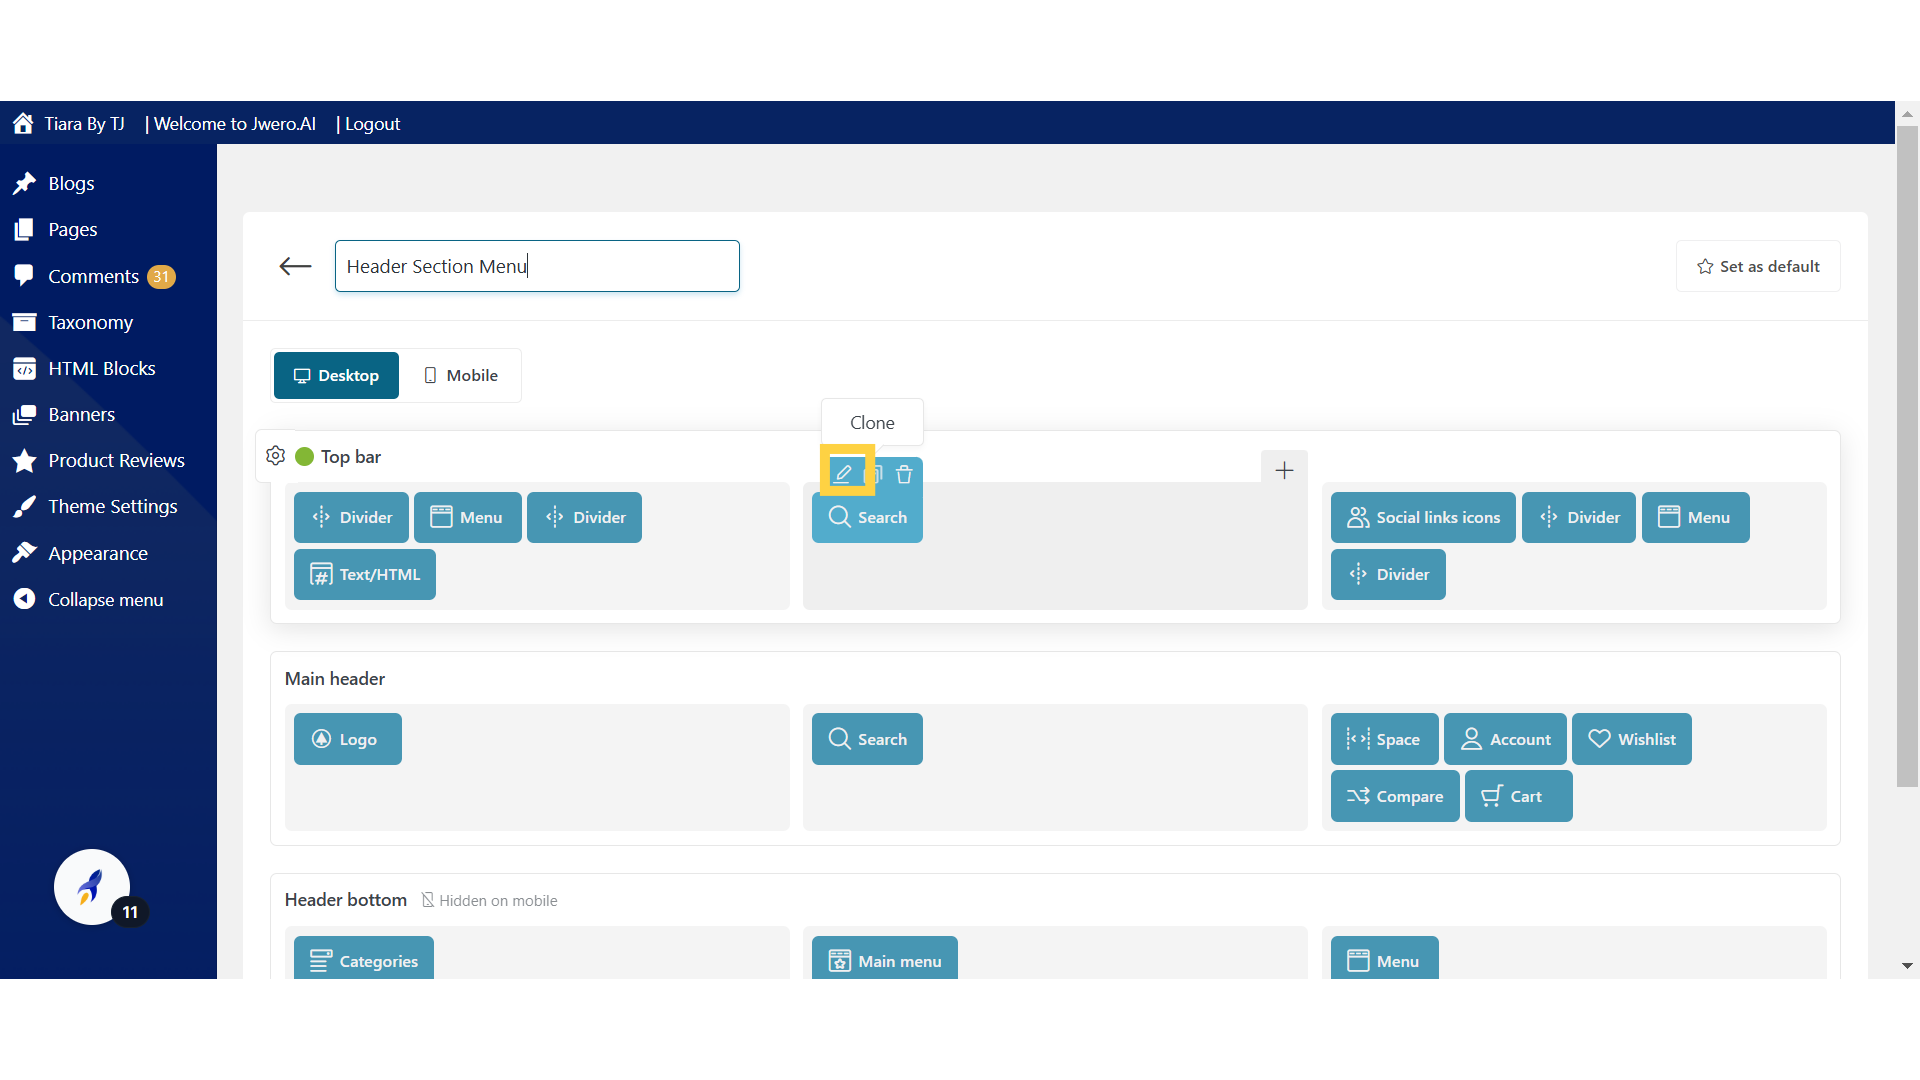
16. To clone the element, click on this icon.

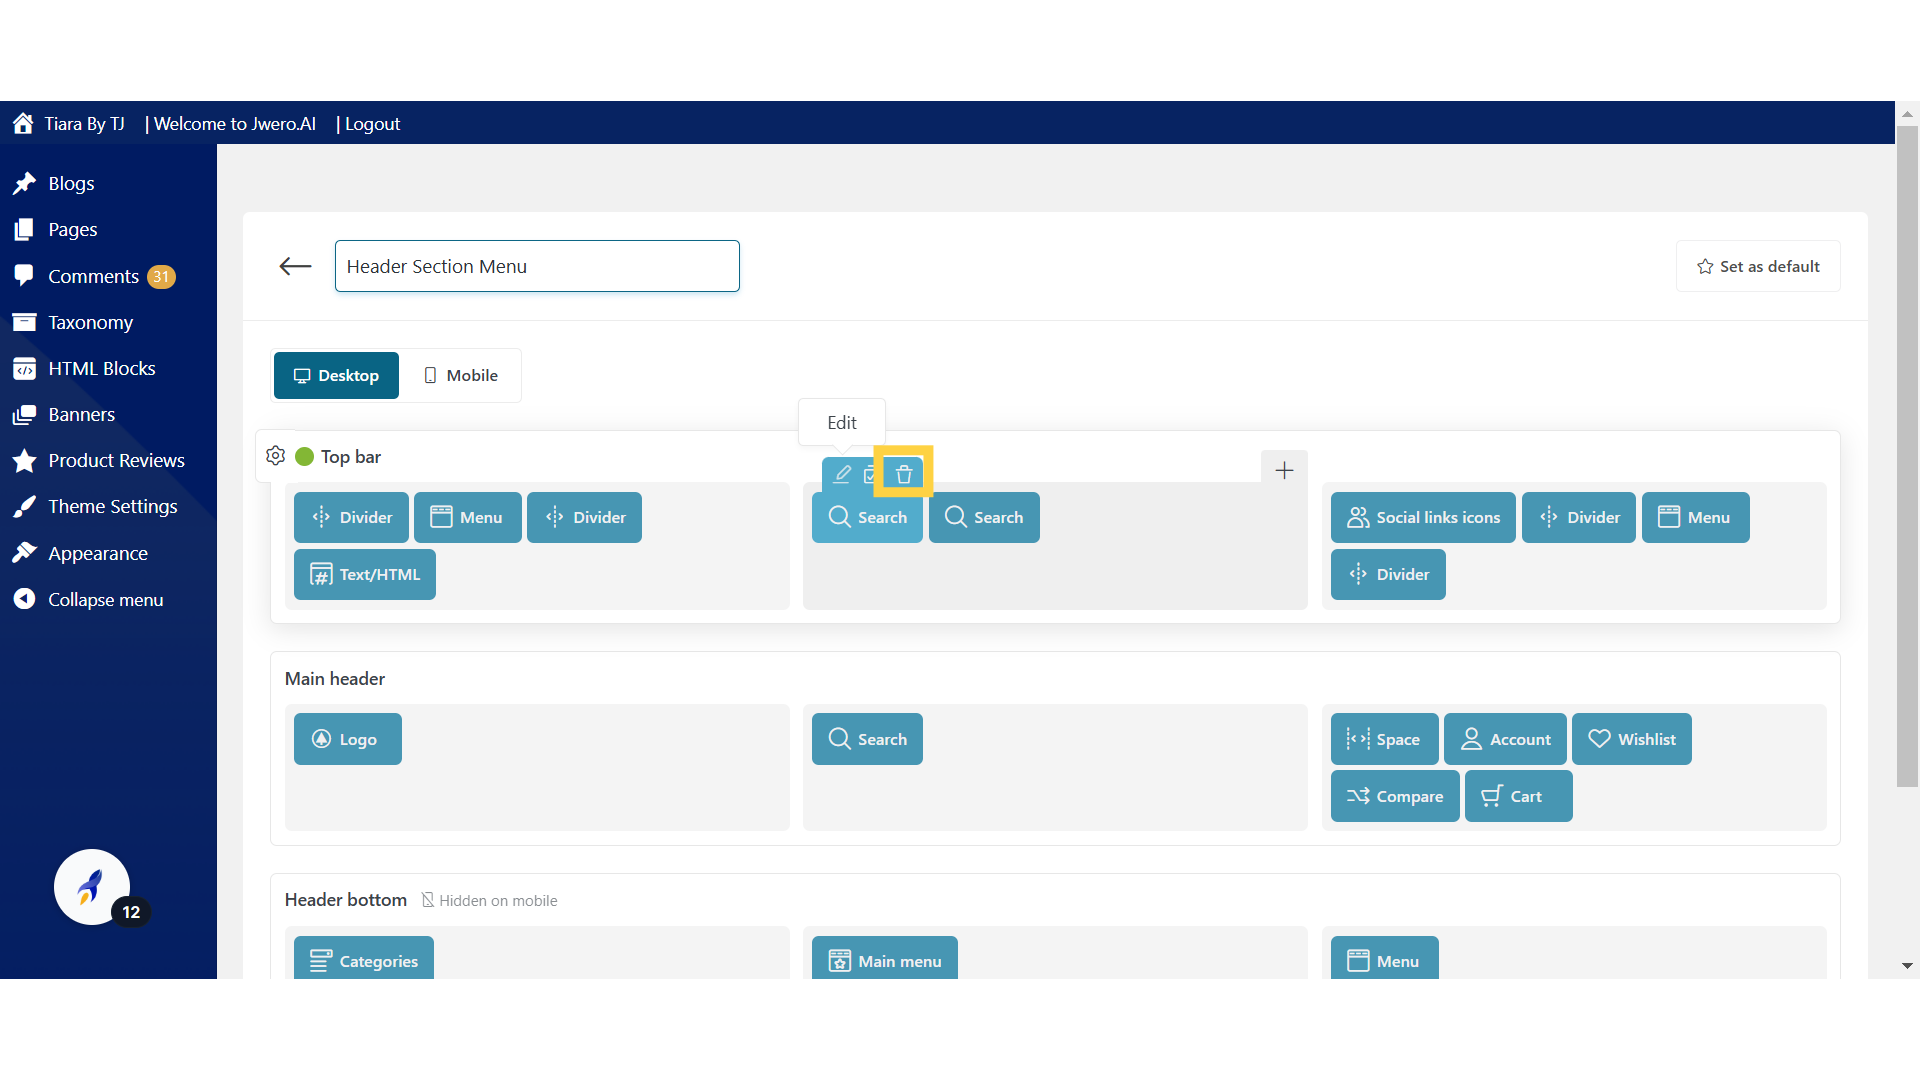
17. To delete the element, click on the bin icon.
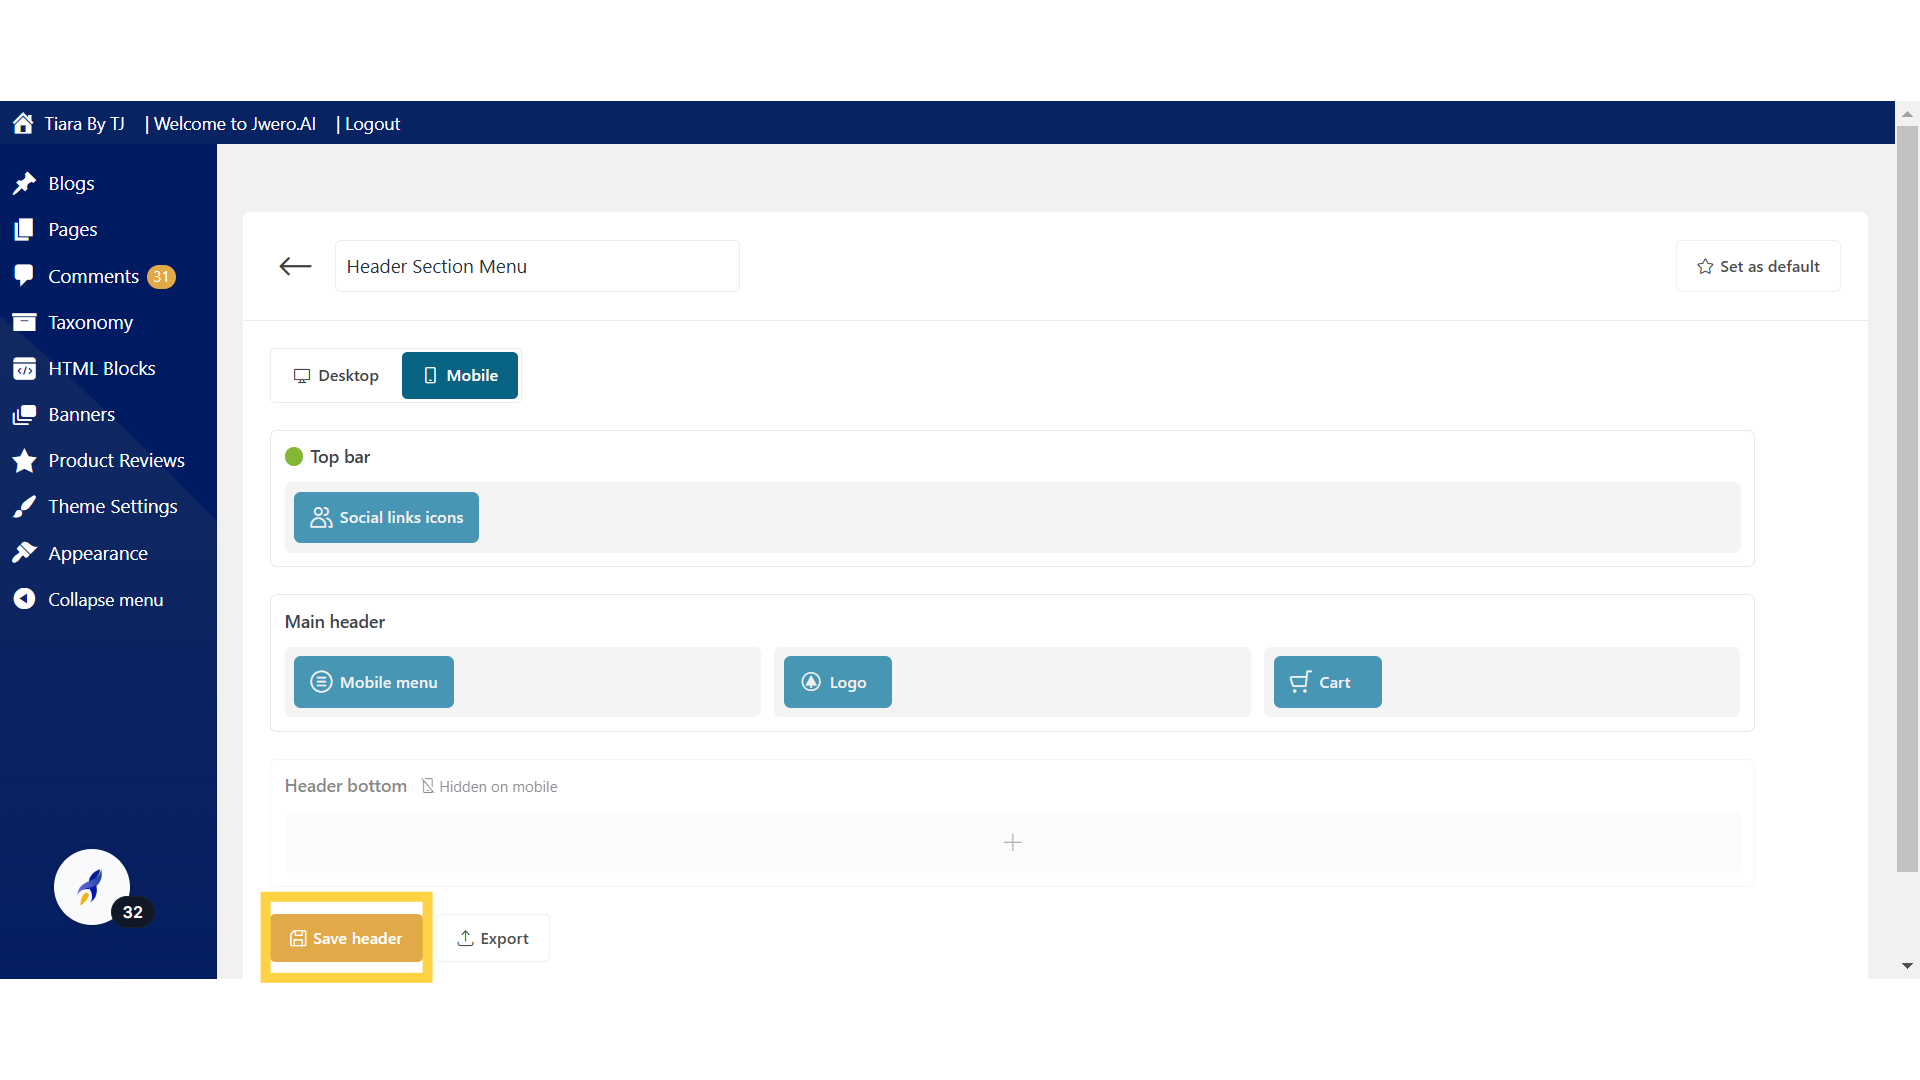
18. Once all the changes are finalized, click on "Save header".
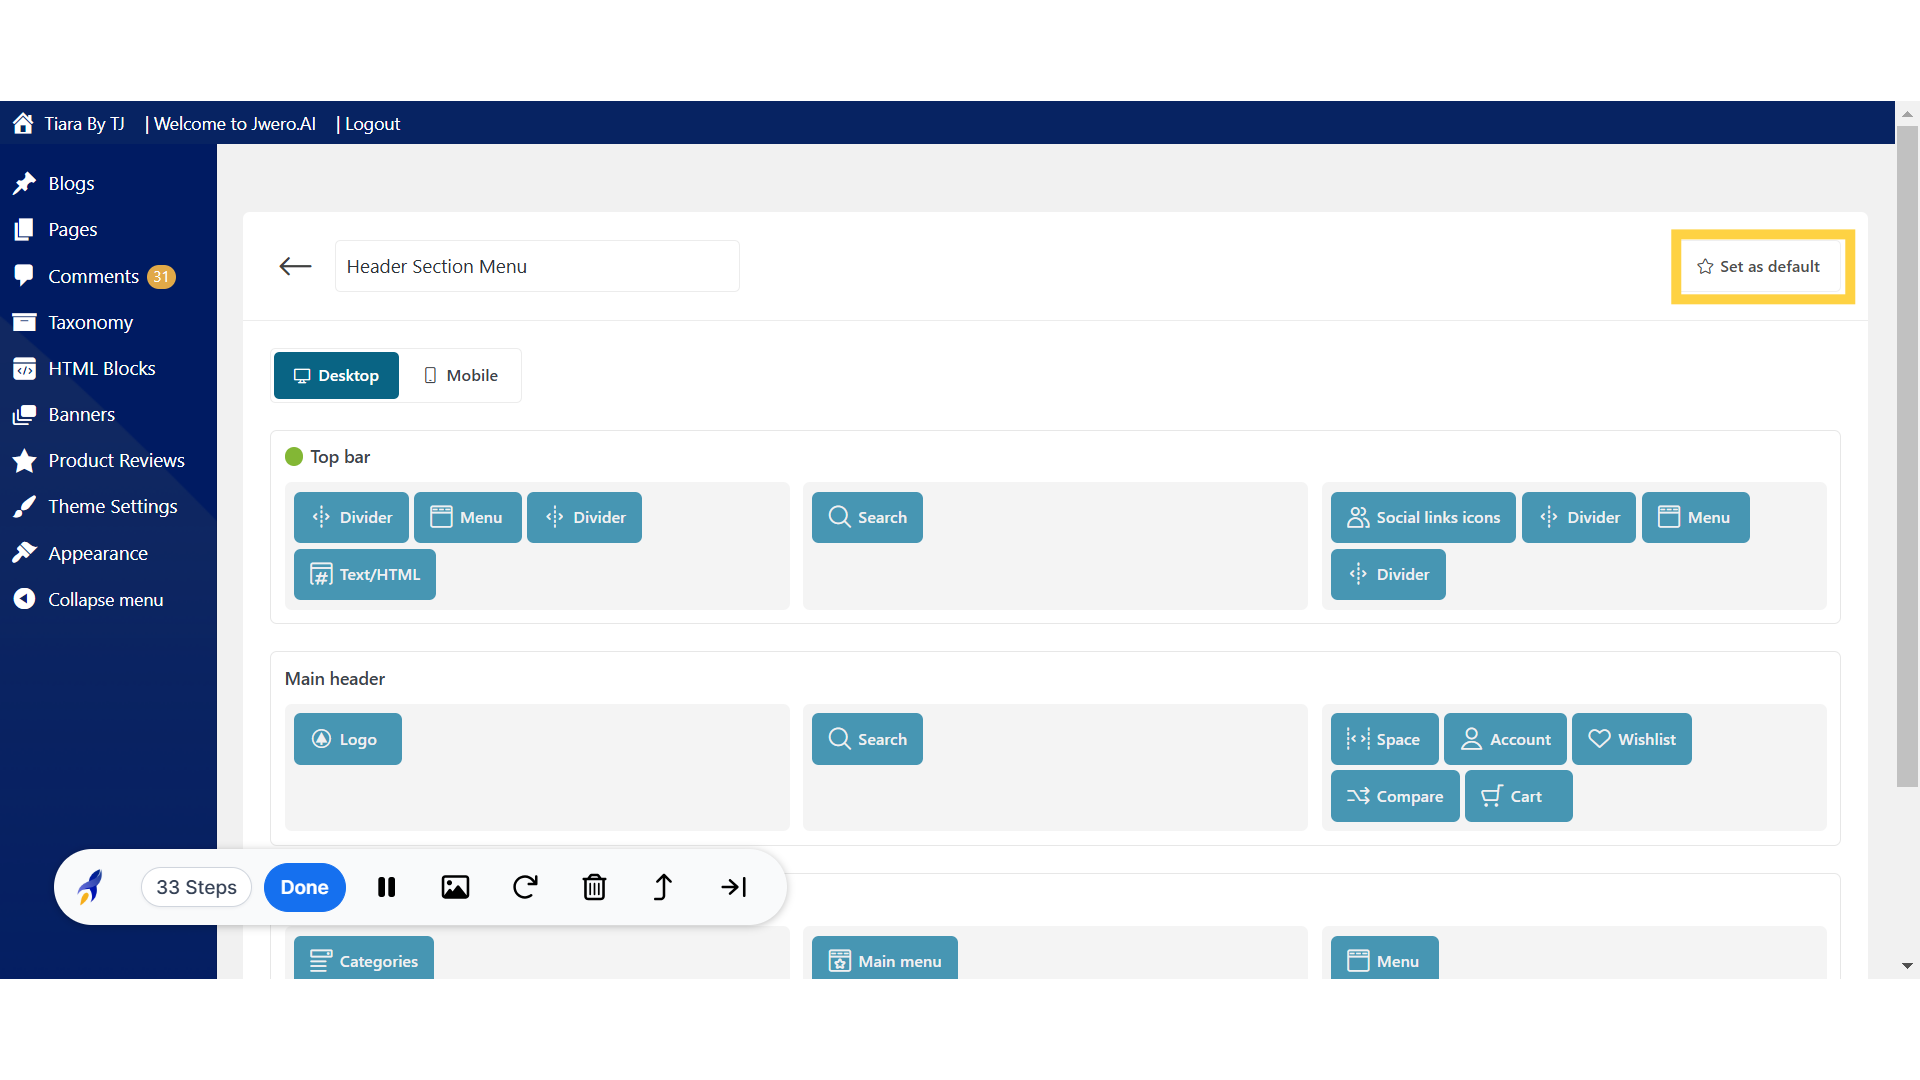
19. Set as Default
This will set the particular header layout as the default template for your website. This means that once you configure and save a header layout, you can set it as the default, so it will be applied across all pages of your site, unless you create and assign specific custom headers to individual pages.
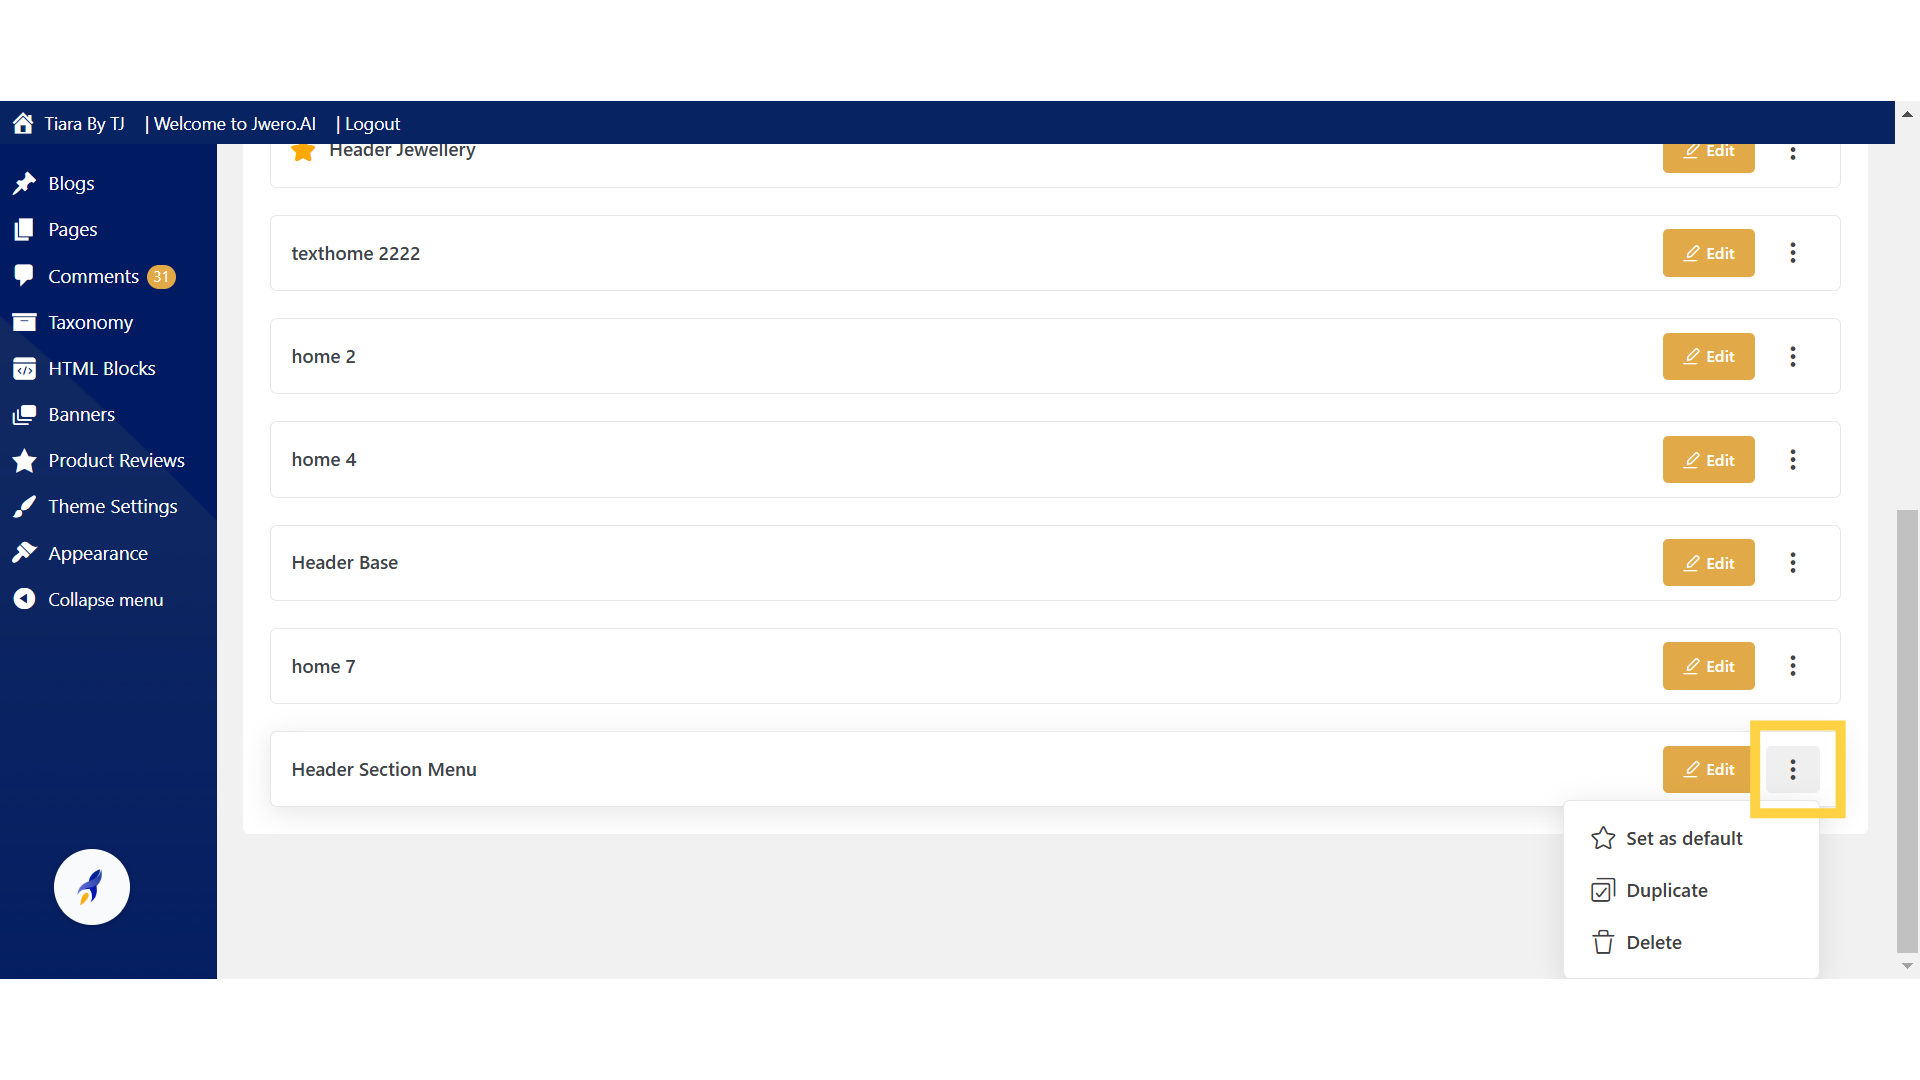
20. To Delete the Header you created, click here.
Click on 3 dots.
21. Click on "Delete".
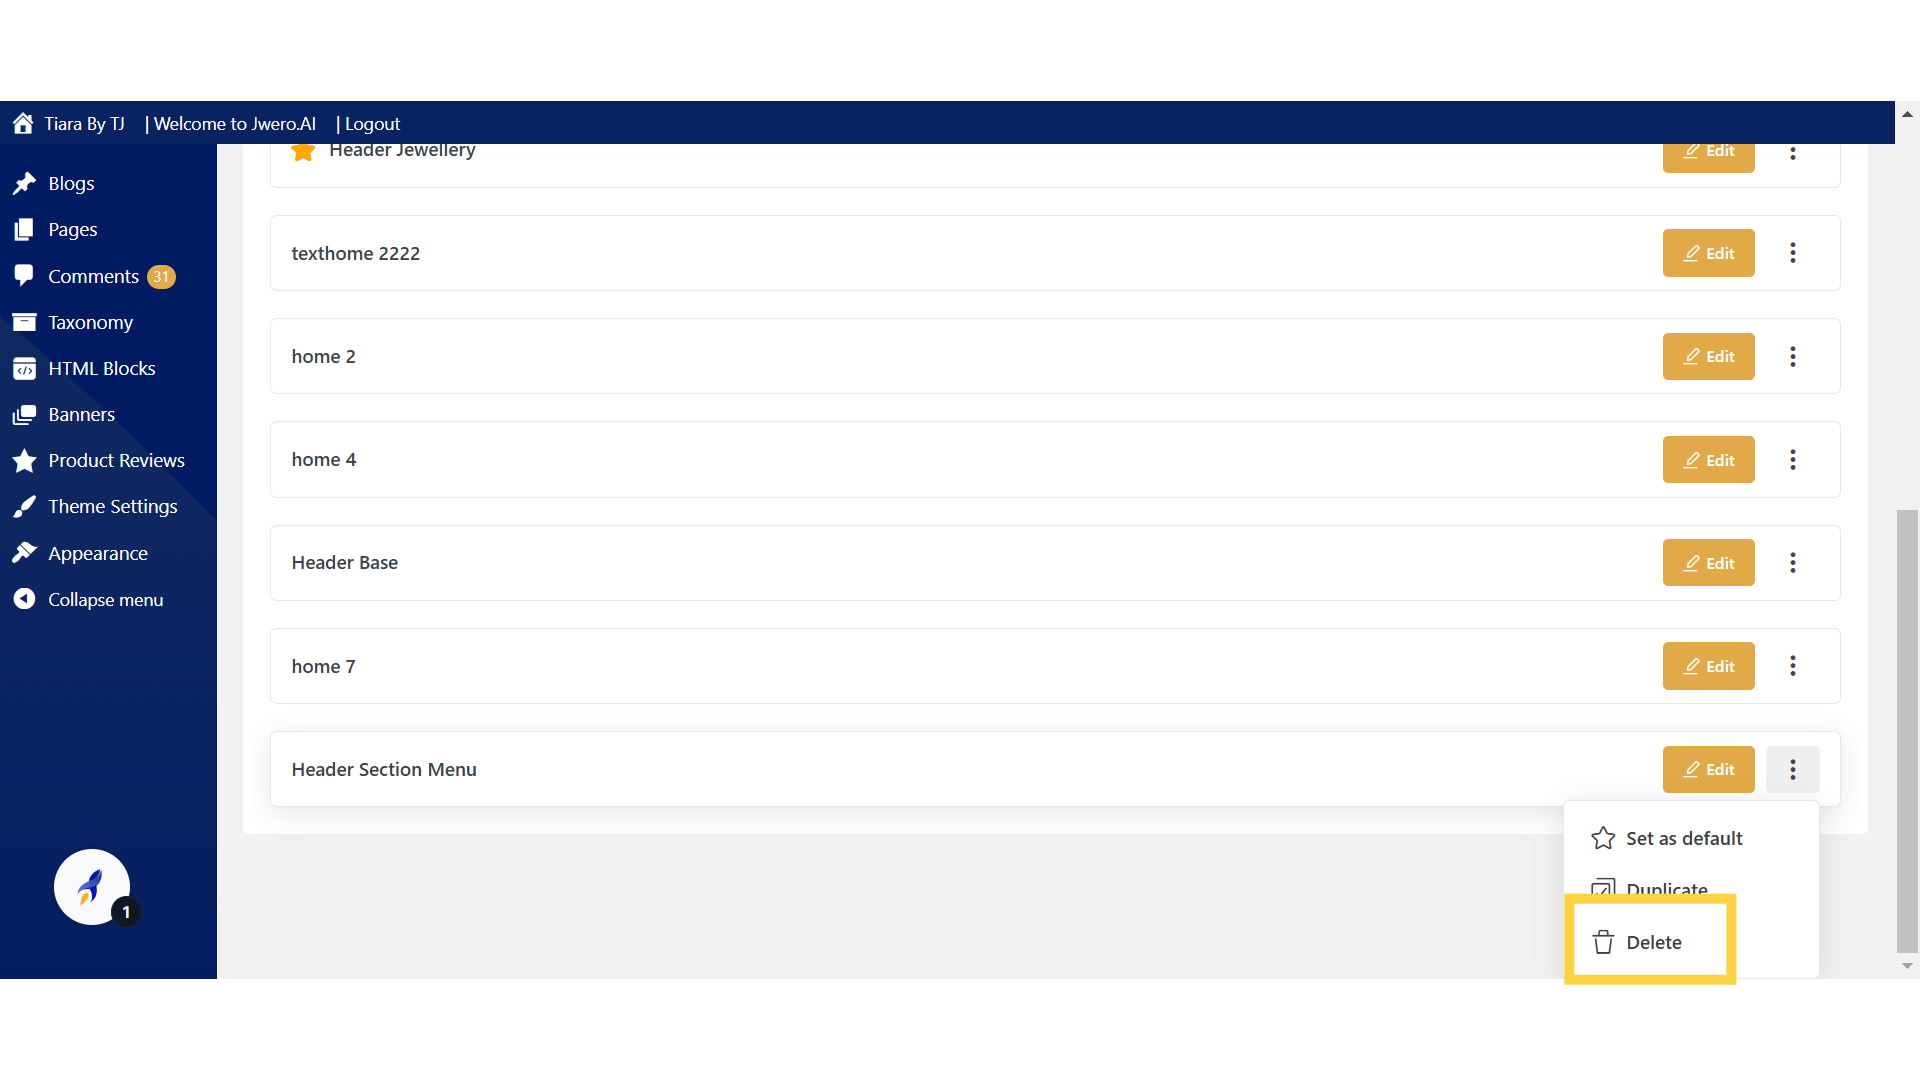
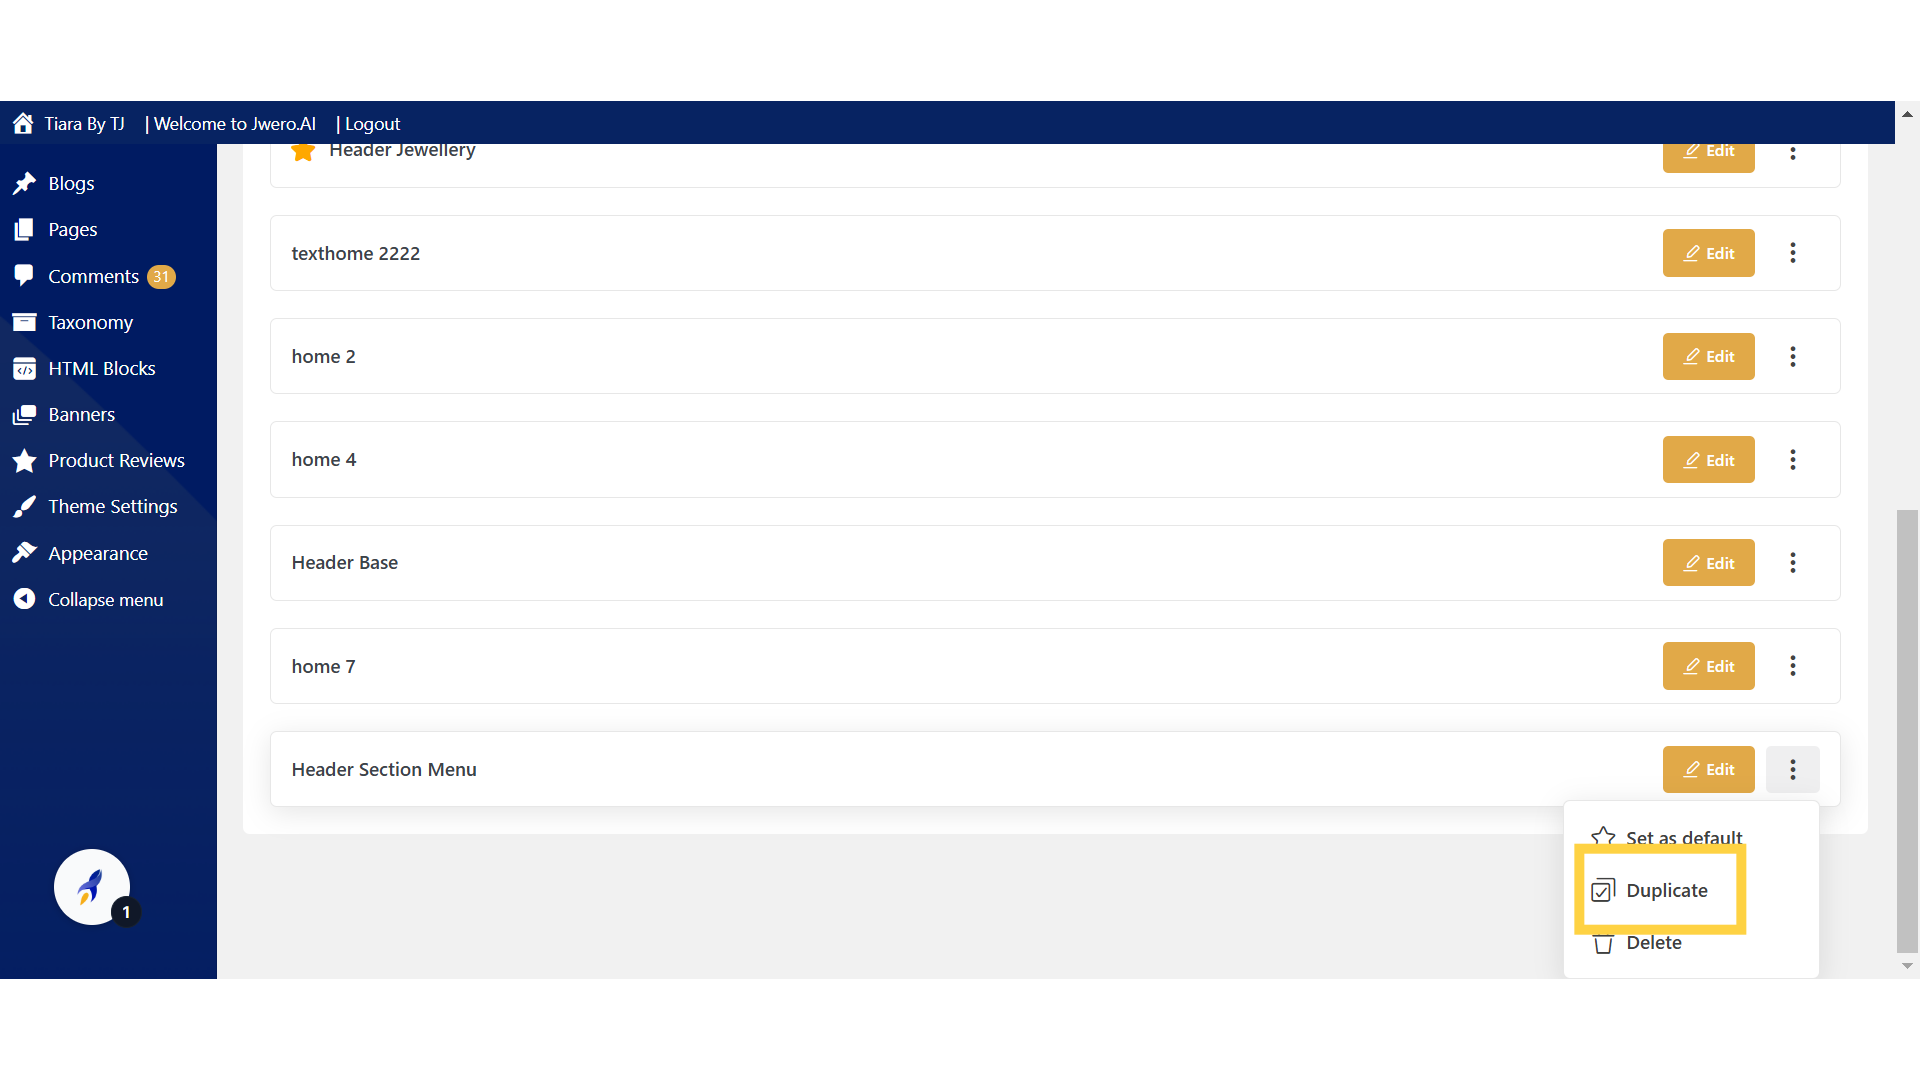
22. You can also duplicate the header by clicking on "Duplicate".
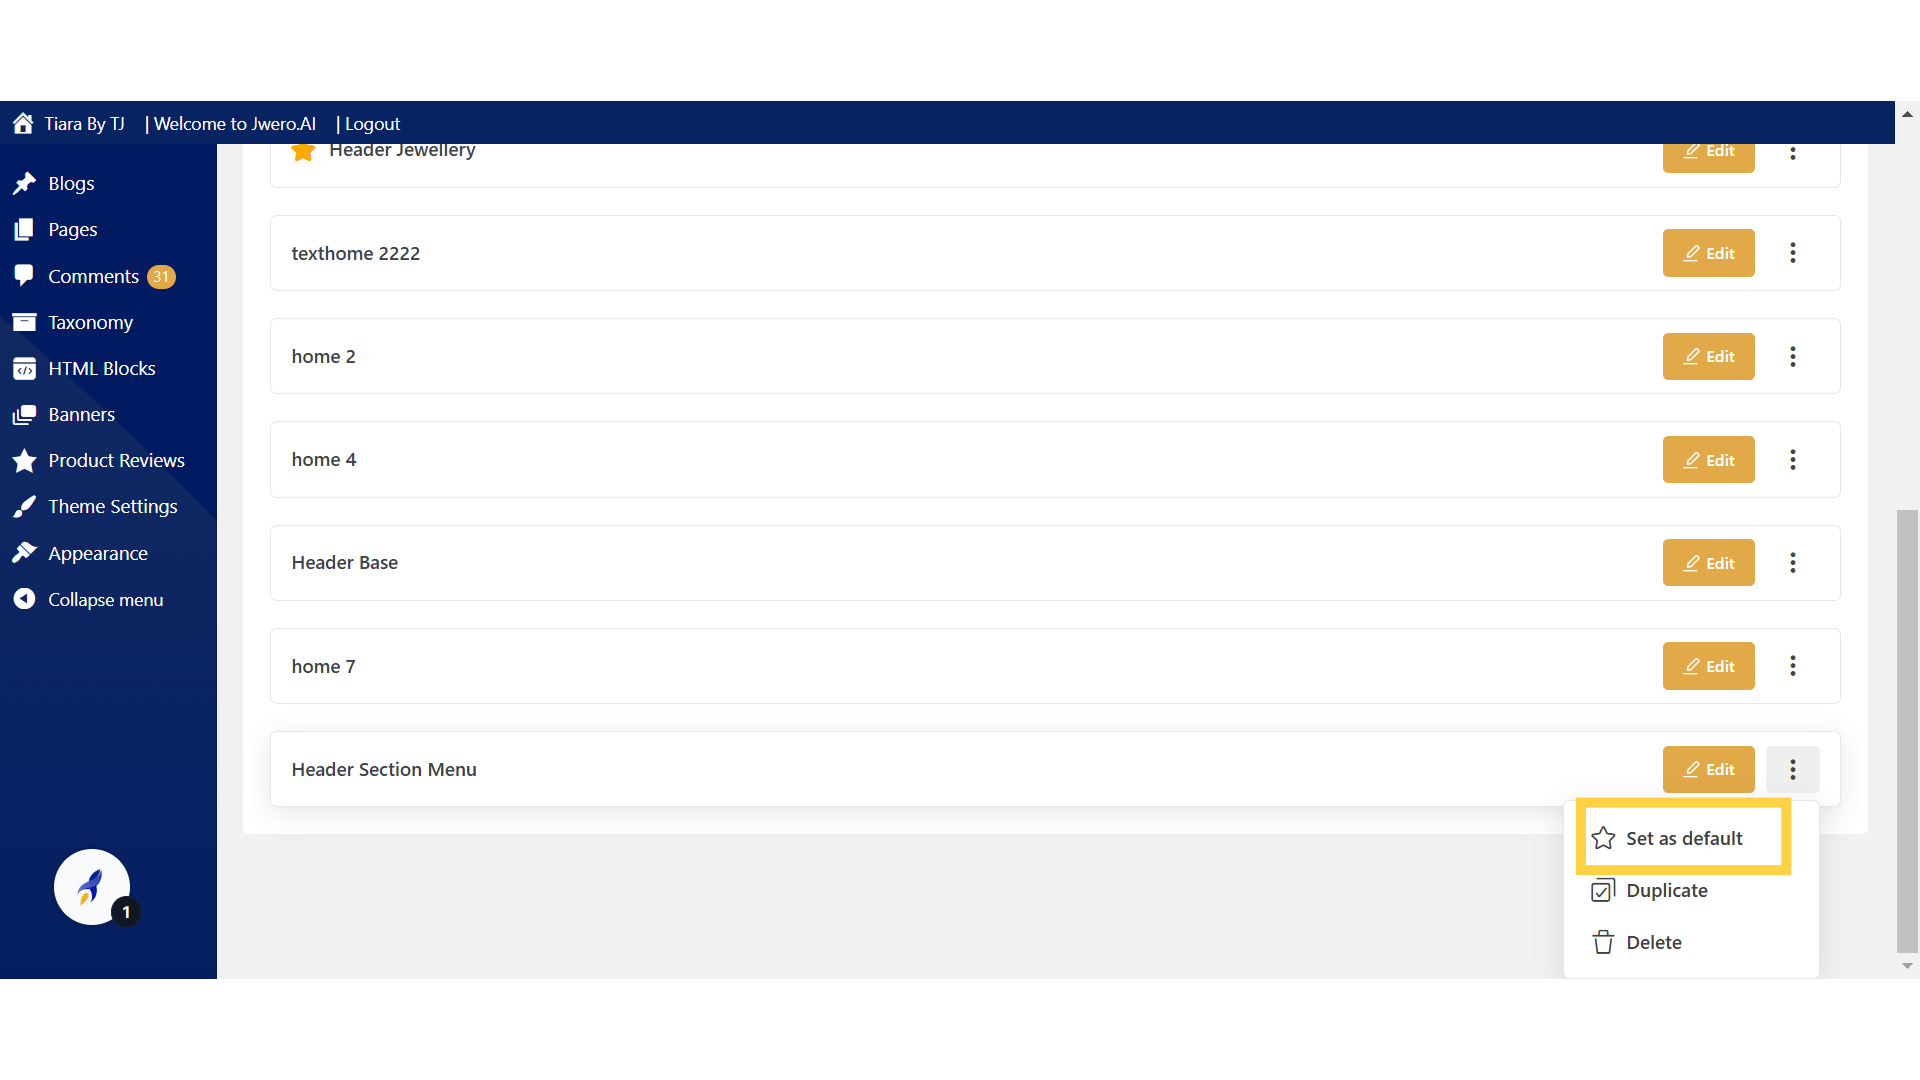
23. You can also set the header as default from here.
The guide detailed the process of creating a new header, configuring search settings, adjusting layout and style, and managing device visibility.