Design Options Of Elements
Explore the creative design of element. From adjusting positions to selecting unique styles, this guide empowers you to personalize your application. Enhance your design skills and unleash your creativity with these engaging instructions.
Go to tiarabytj.com
1. I will demonstrate the design options using the Text Block element as an example, but these options are available for every element.
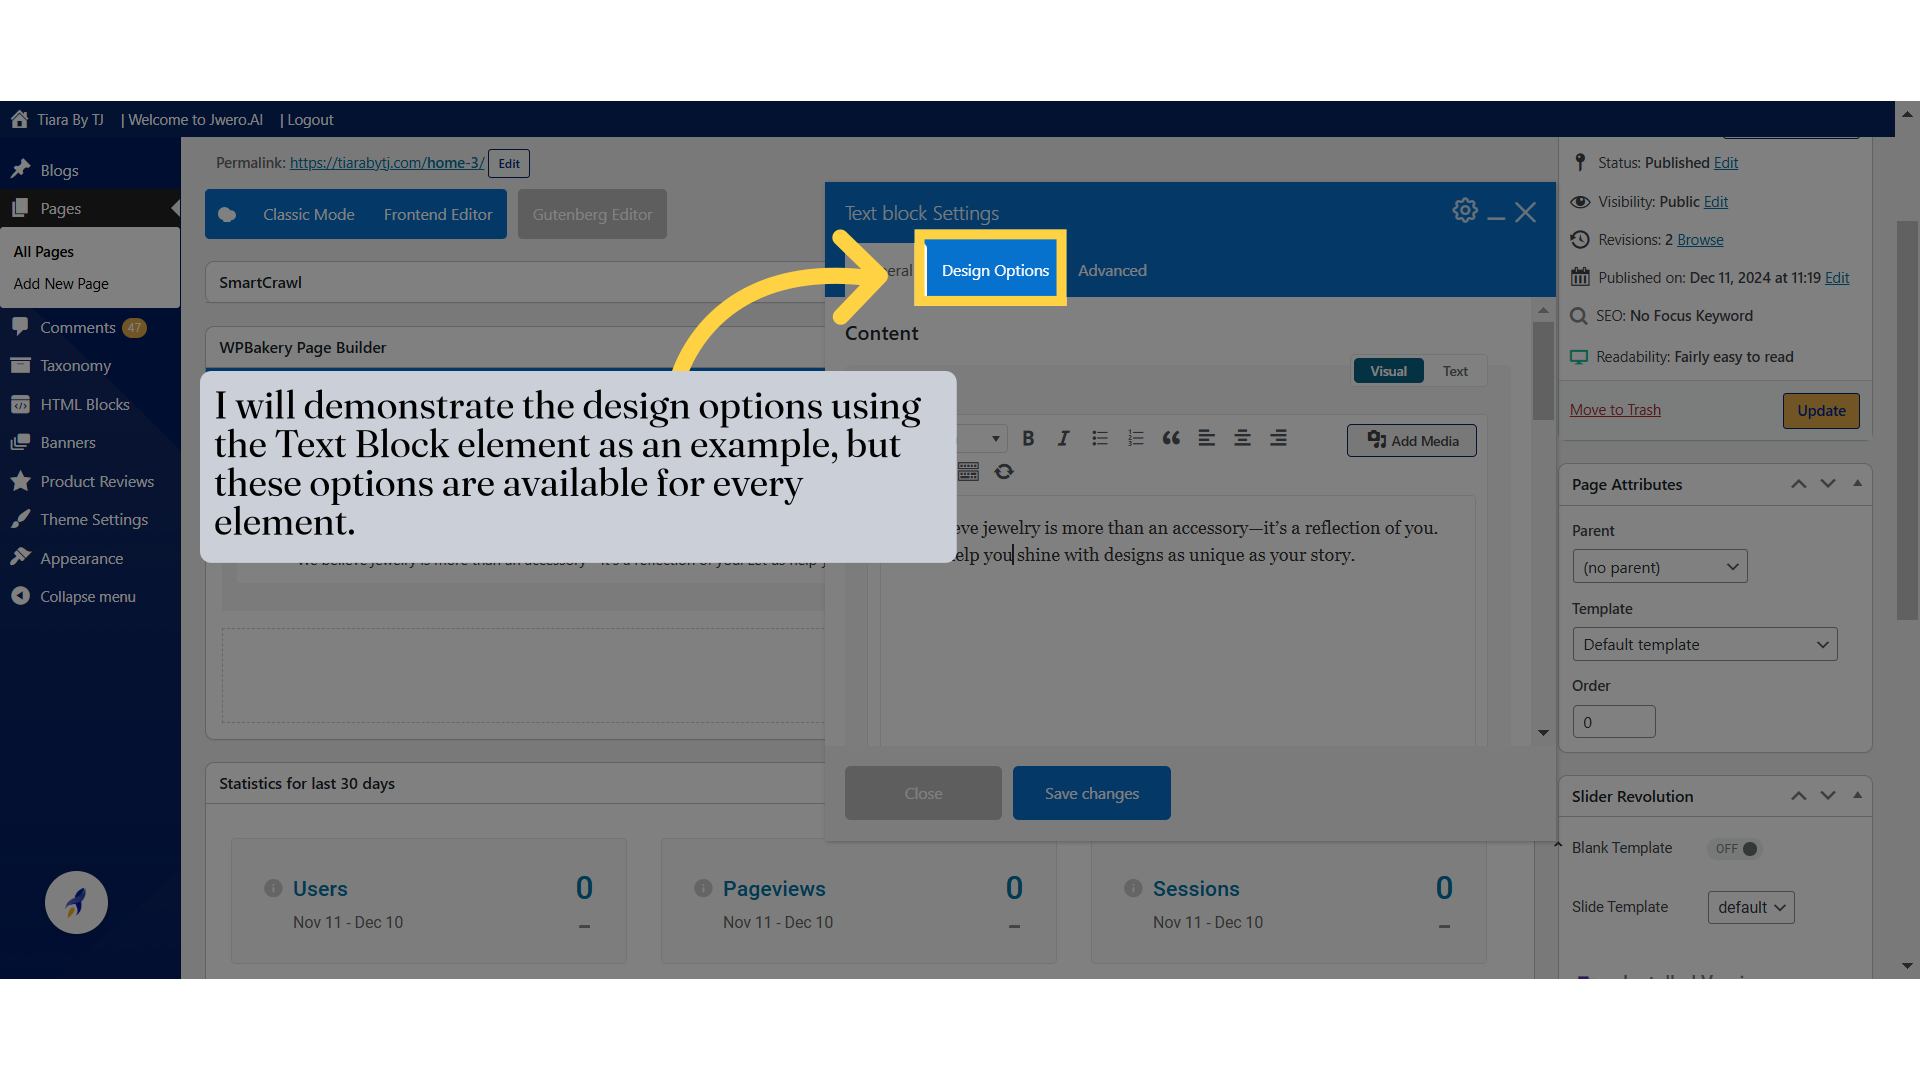
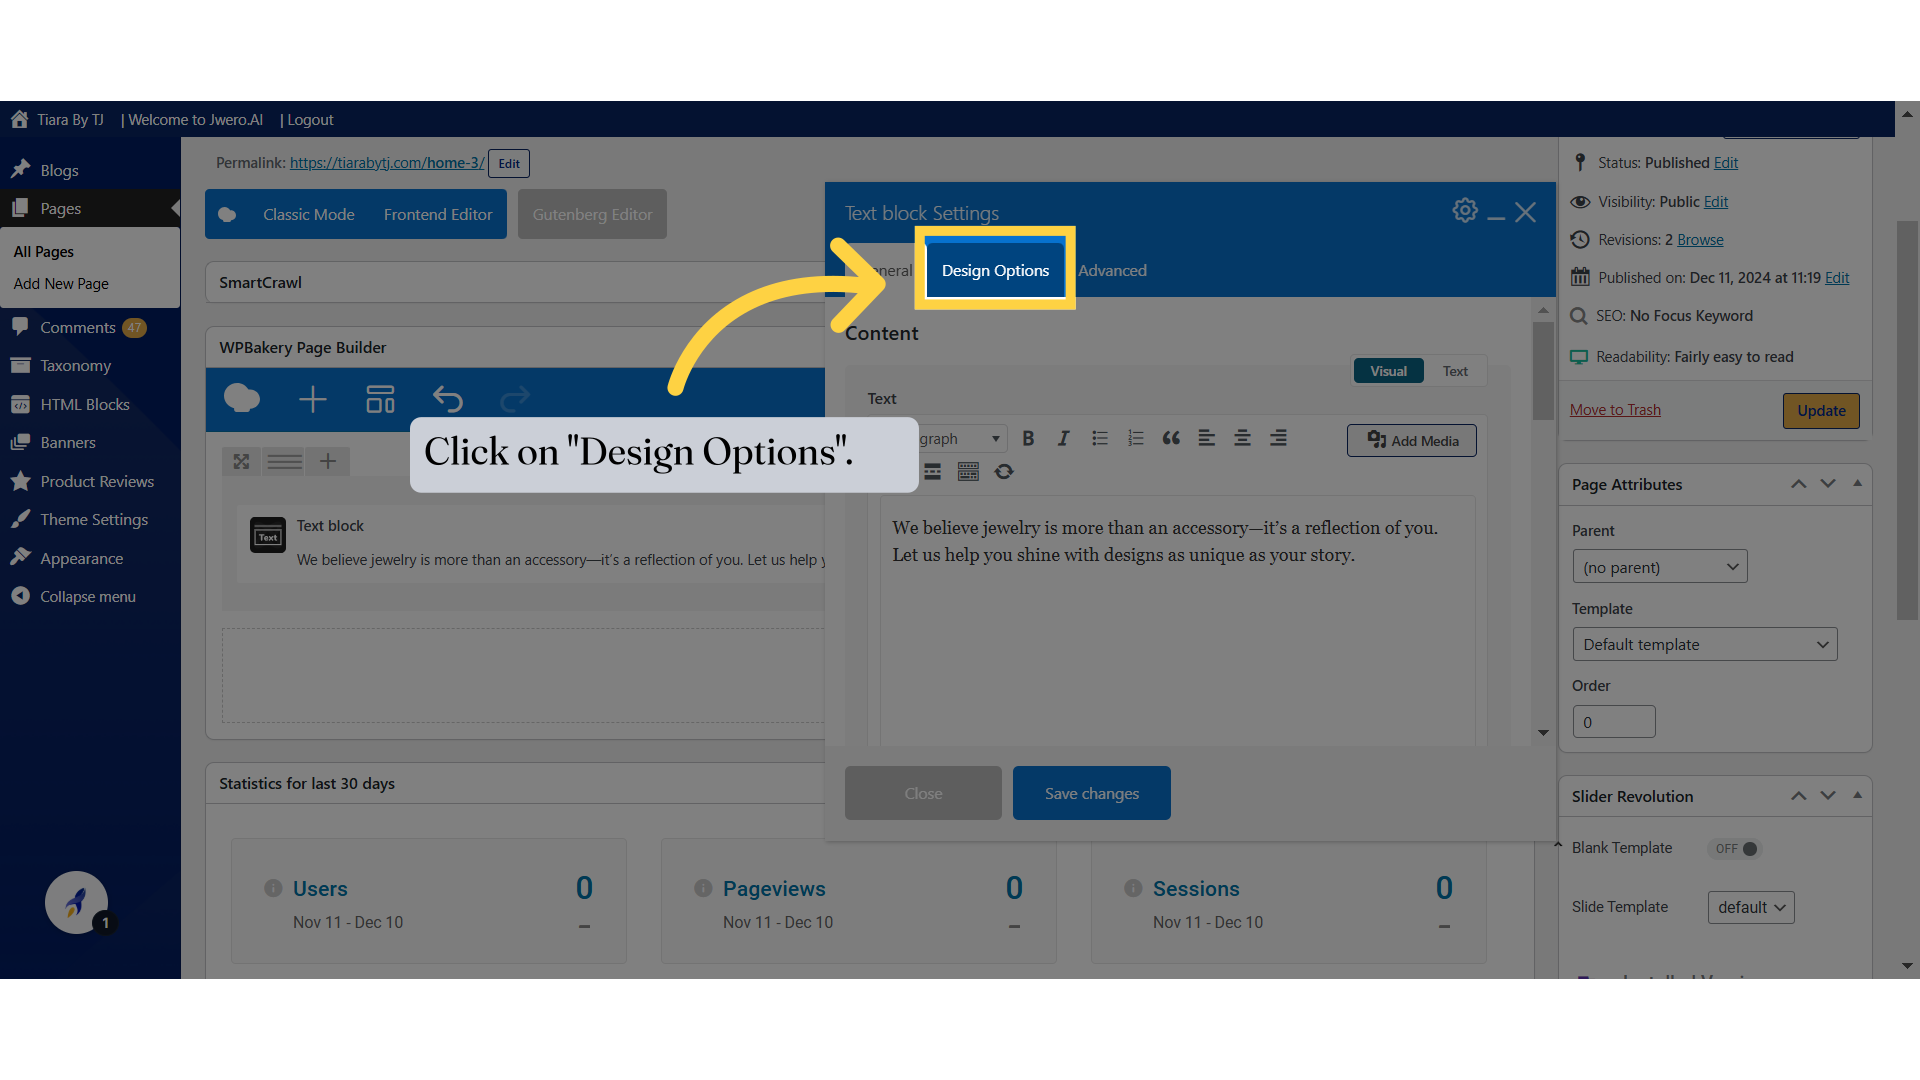
2. Click on "Design Options".
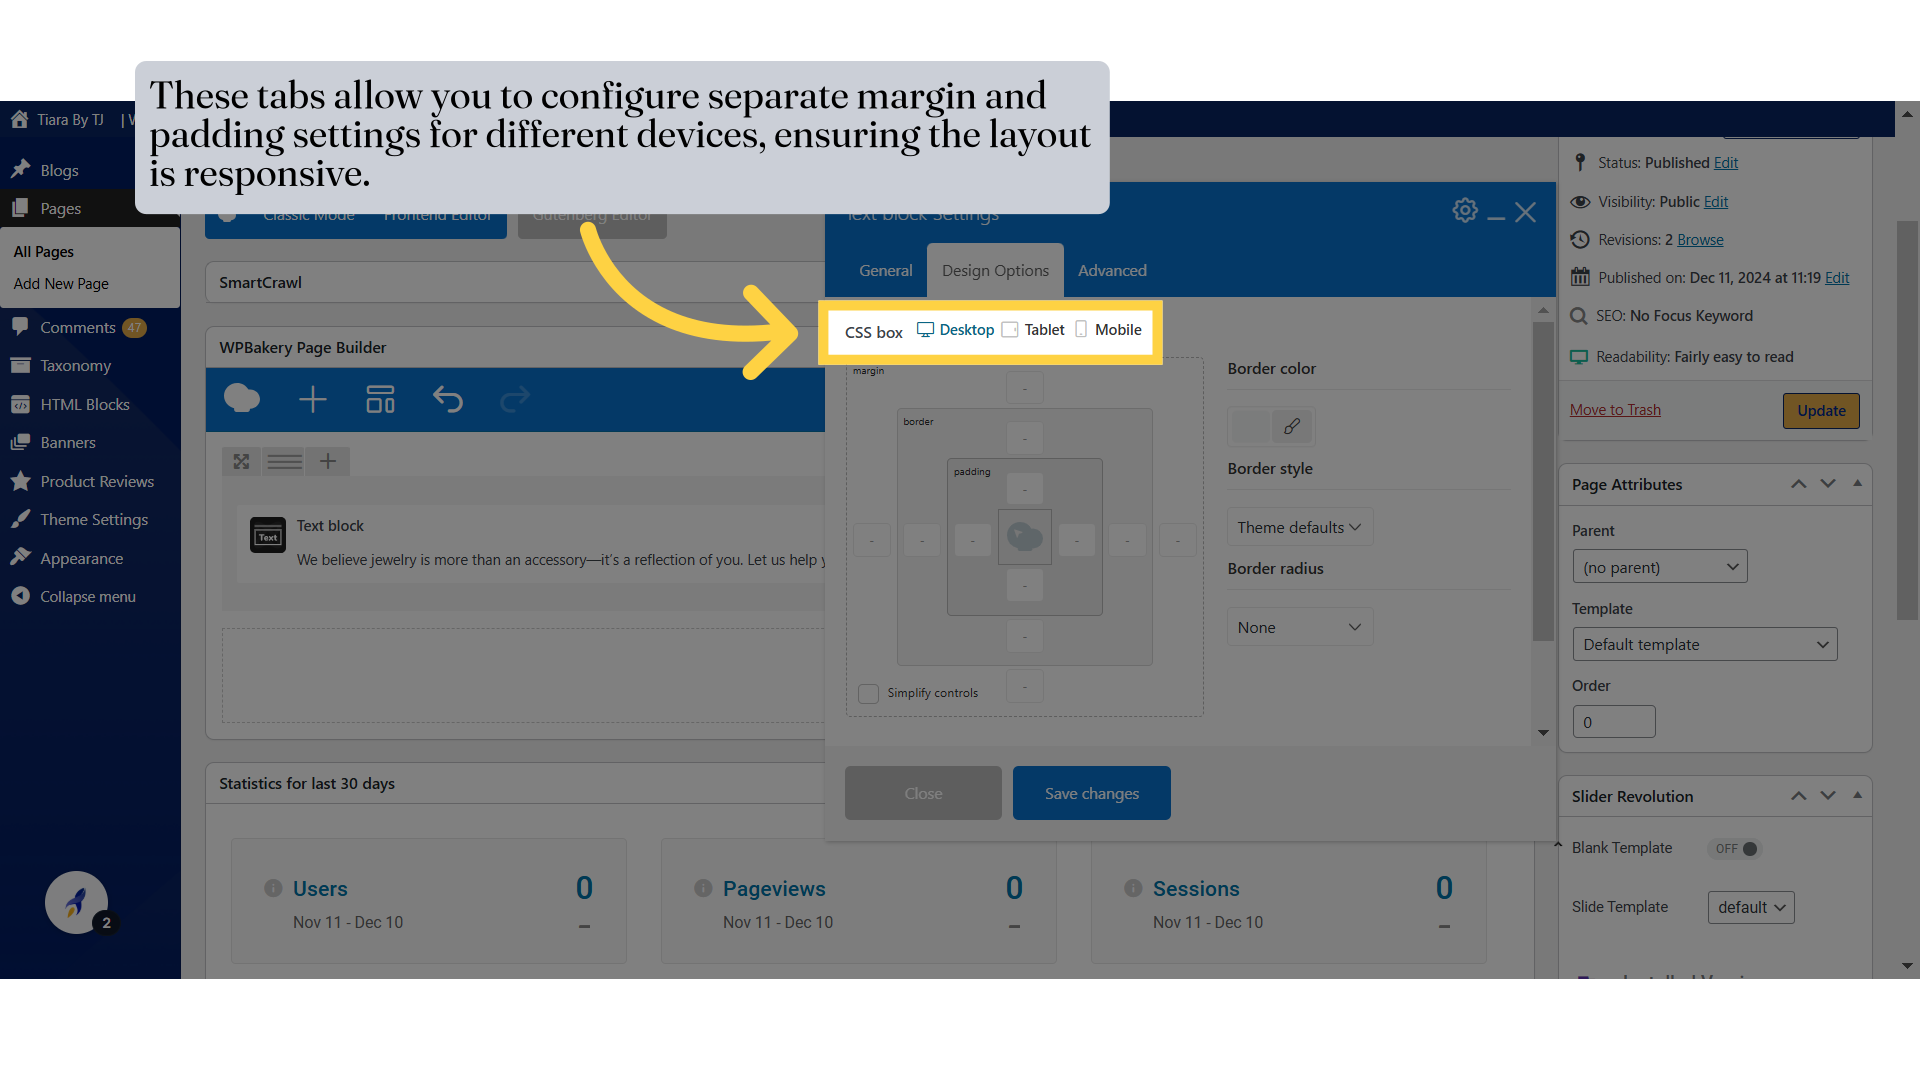
3. These tabs allow you to configure separate margin and padding settings for different devices, ensuring the layout is responsive.
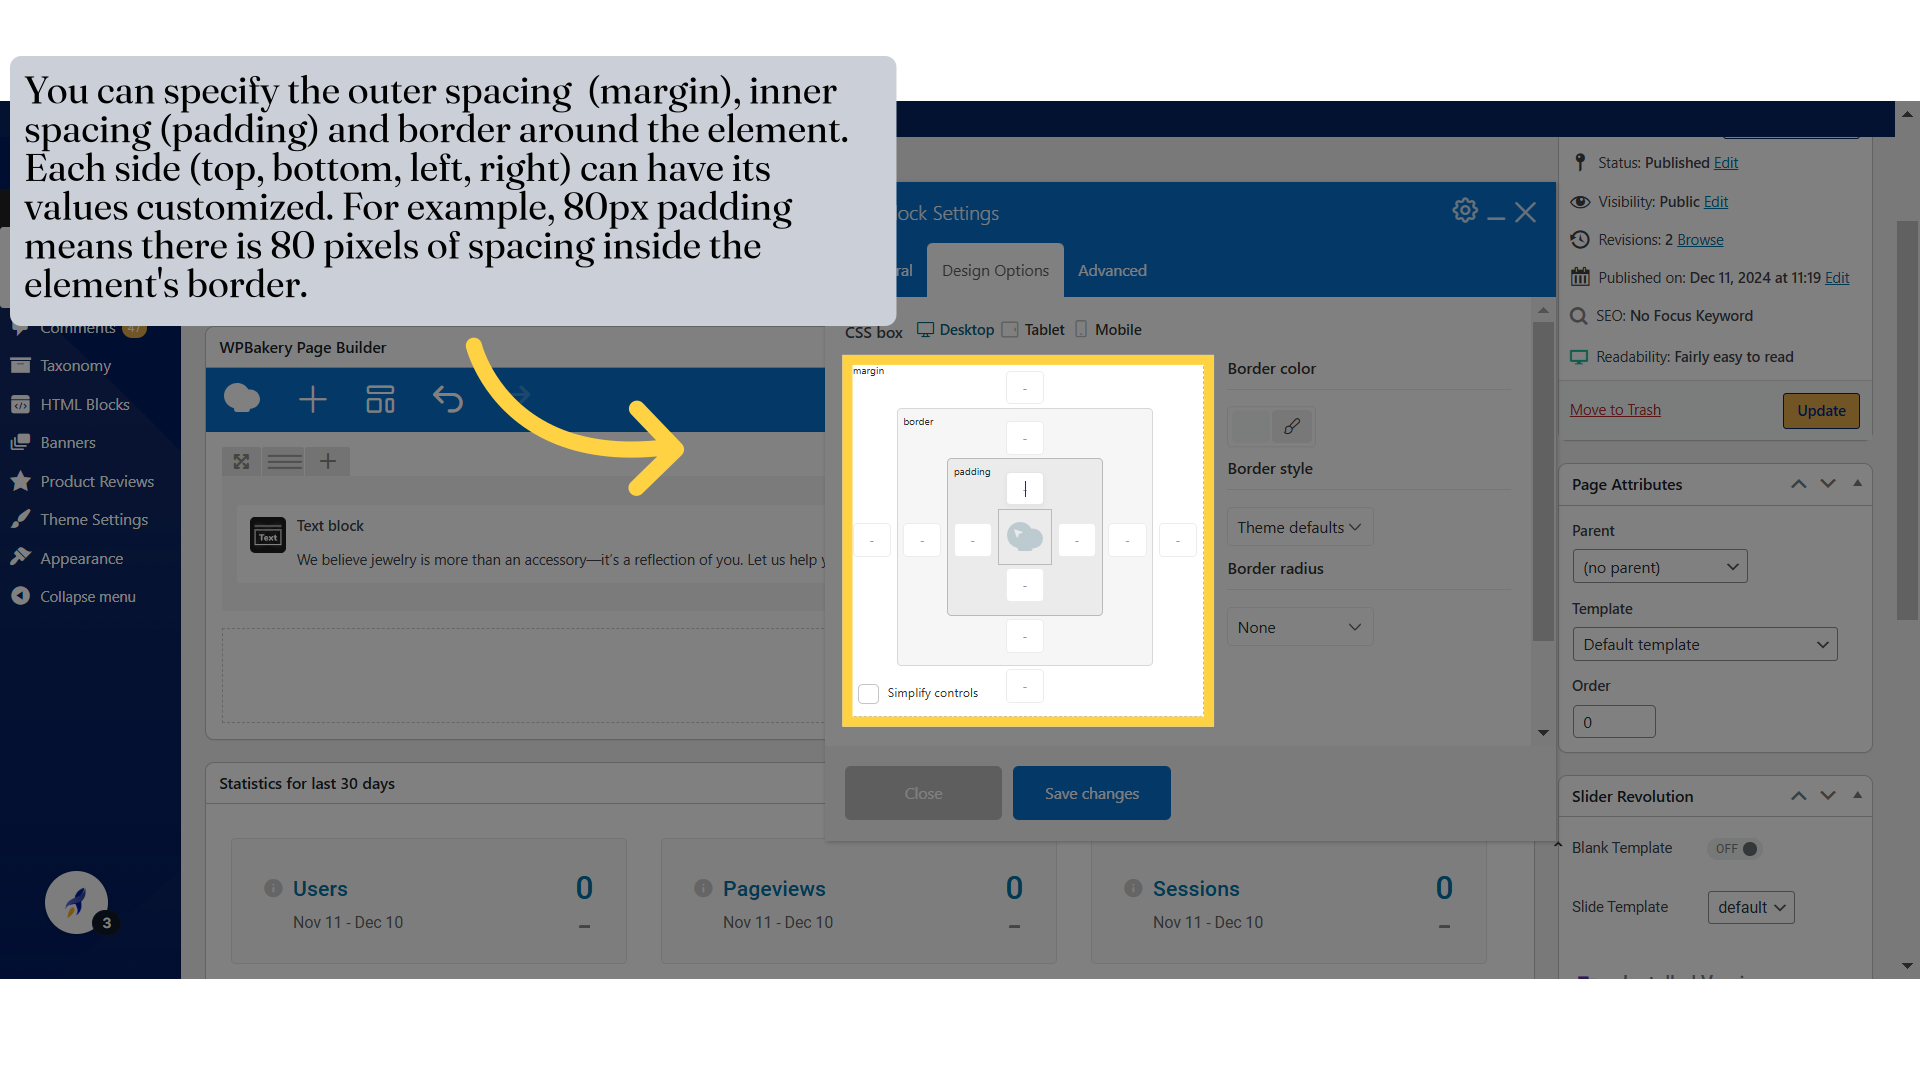
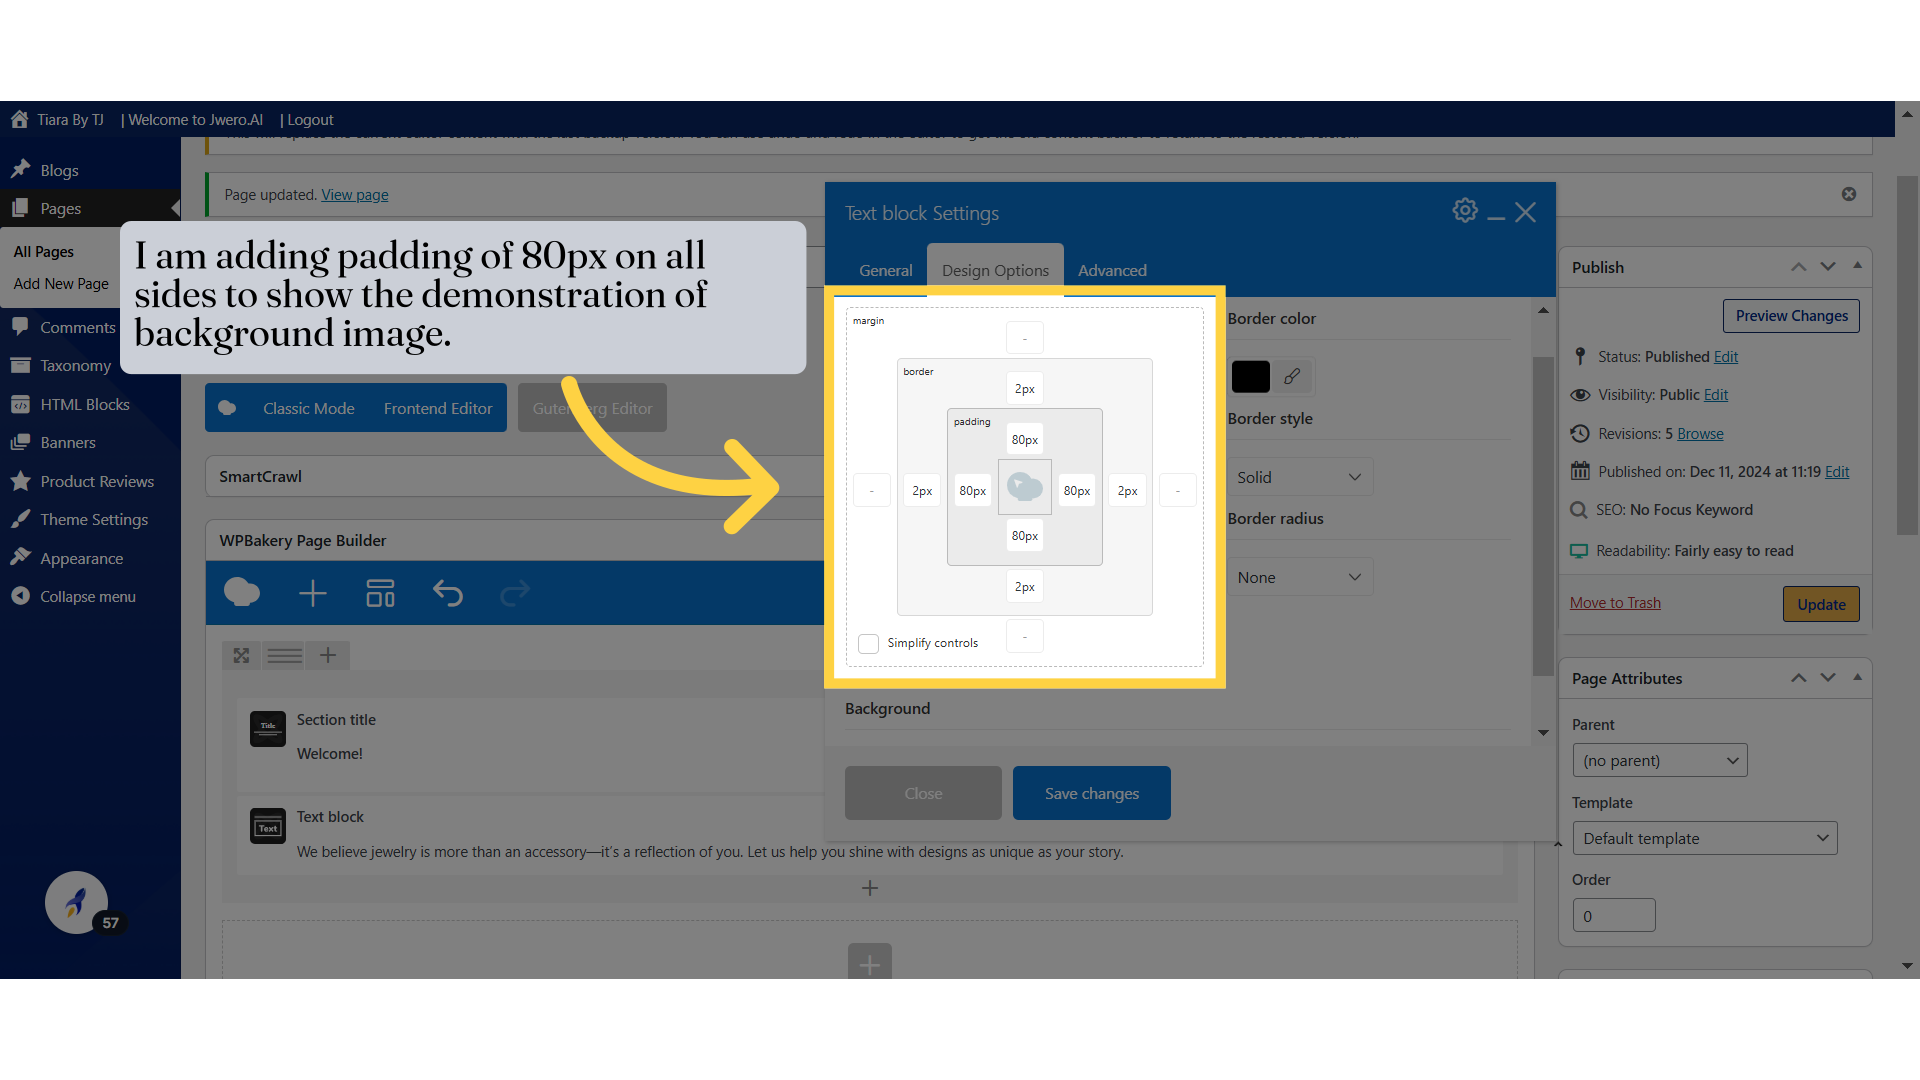
4. You can specify the outer spacing (margin), inner spacing (padding) and border around the element. Each side (top, bottom, left, right) can have its values customized. For example, 80px padding means there is 80 pixels of spacing inside the element's border.
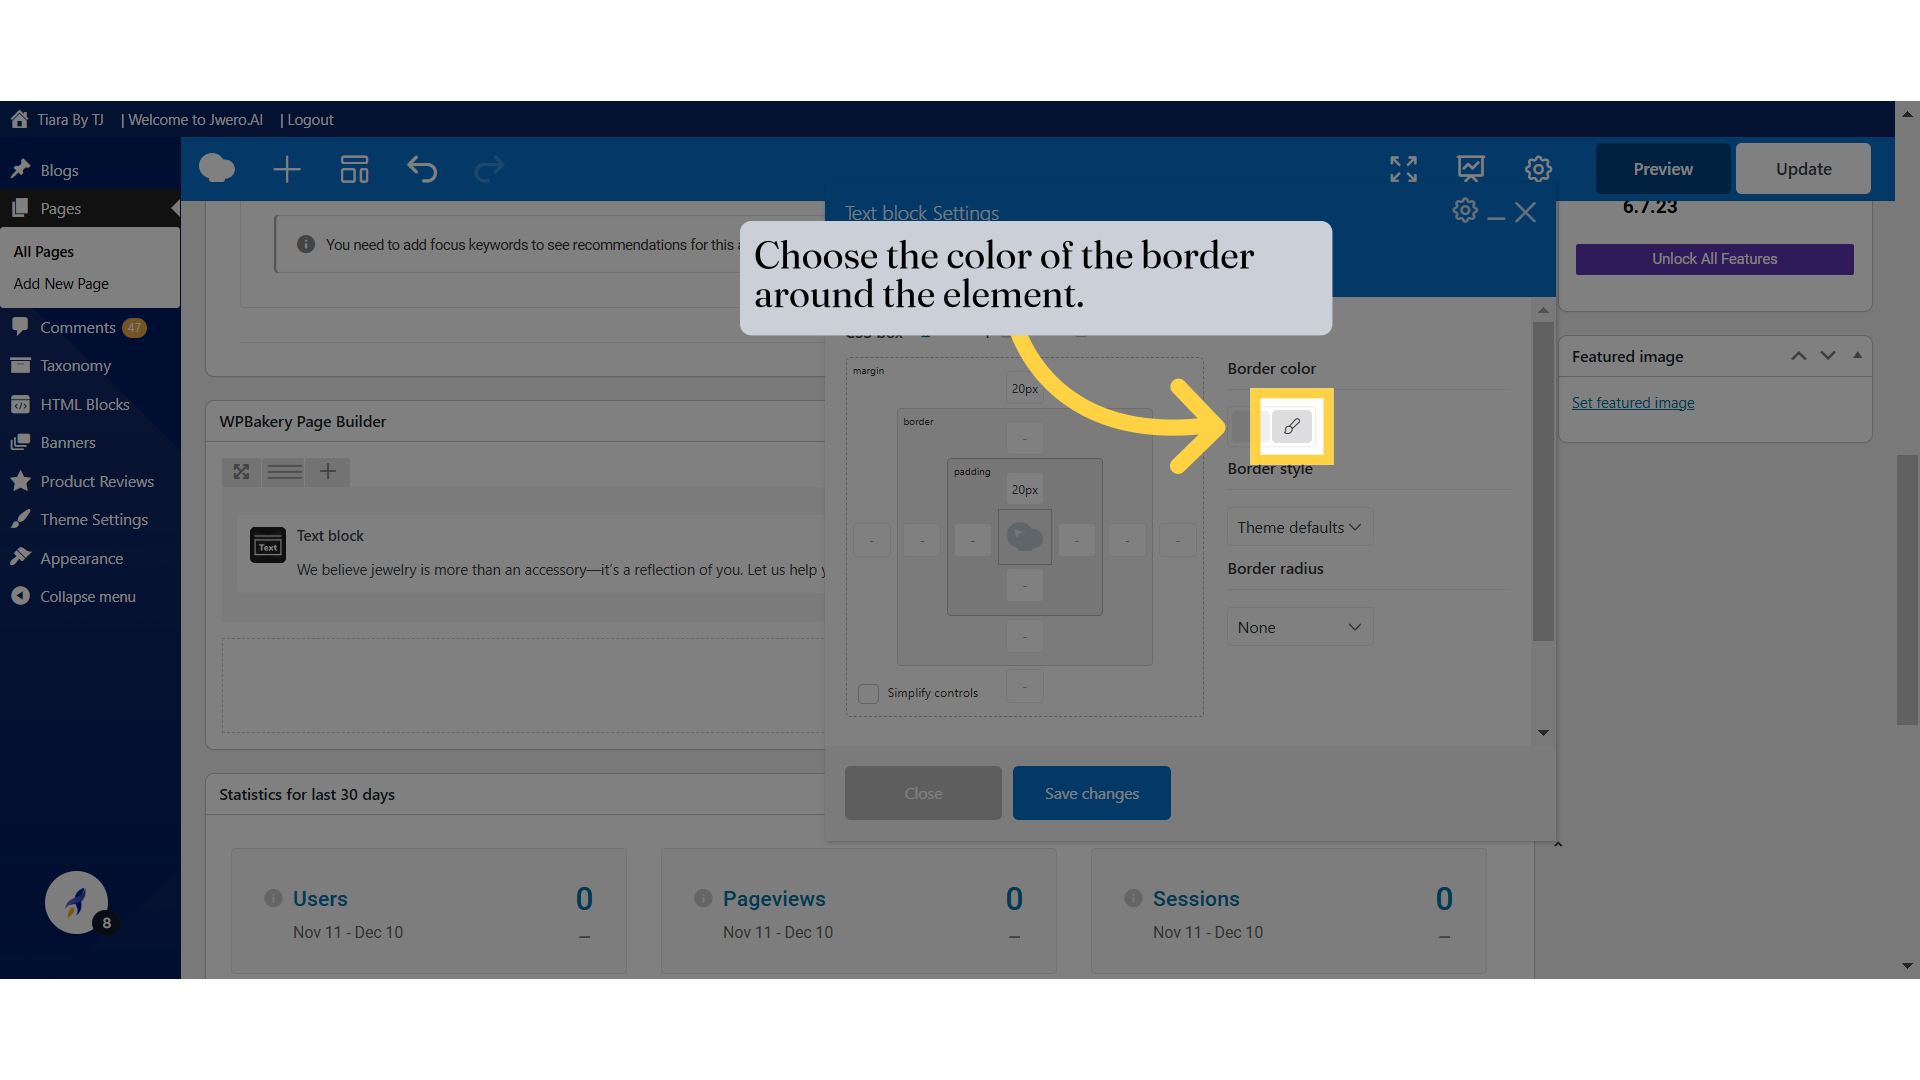
5. Choose the color of the border around the element.
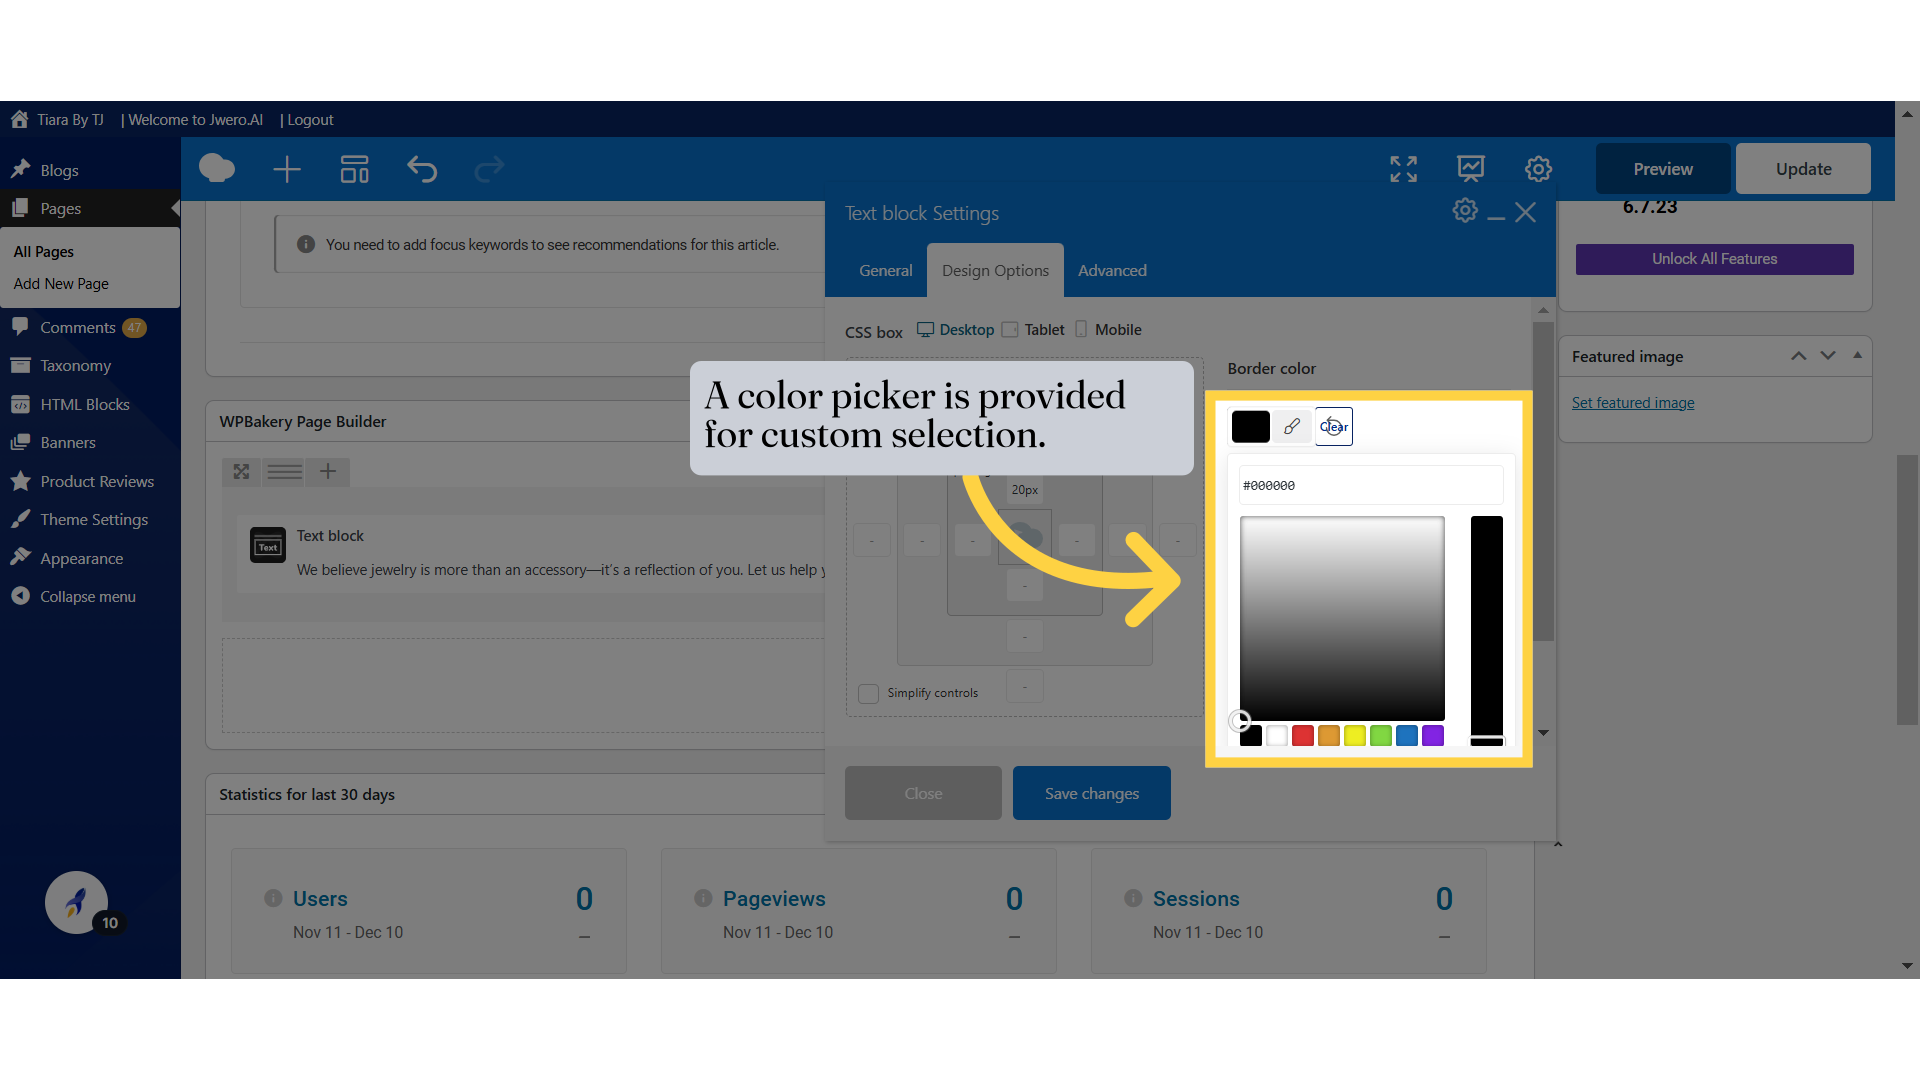
6. A color picker is provided for custom selection.
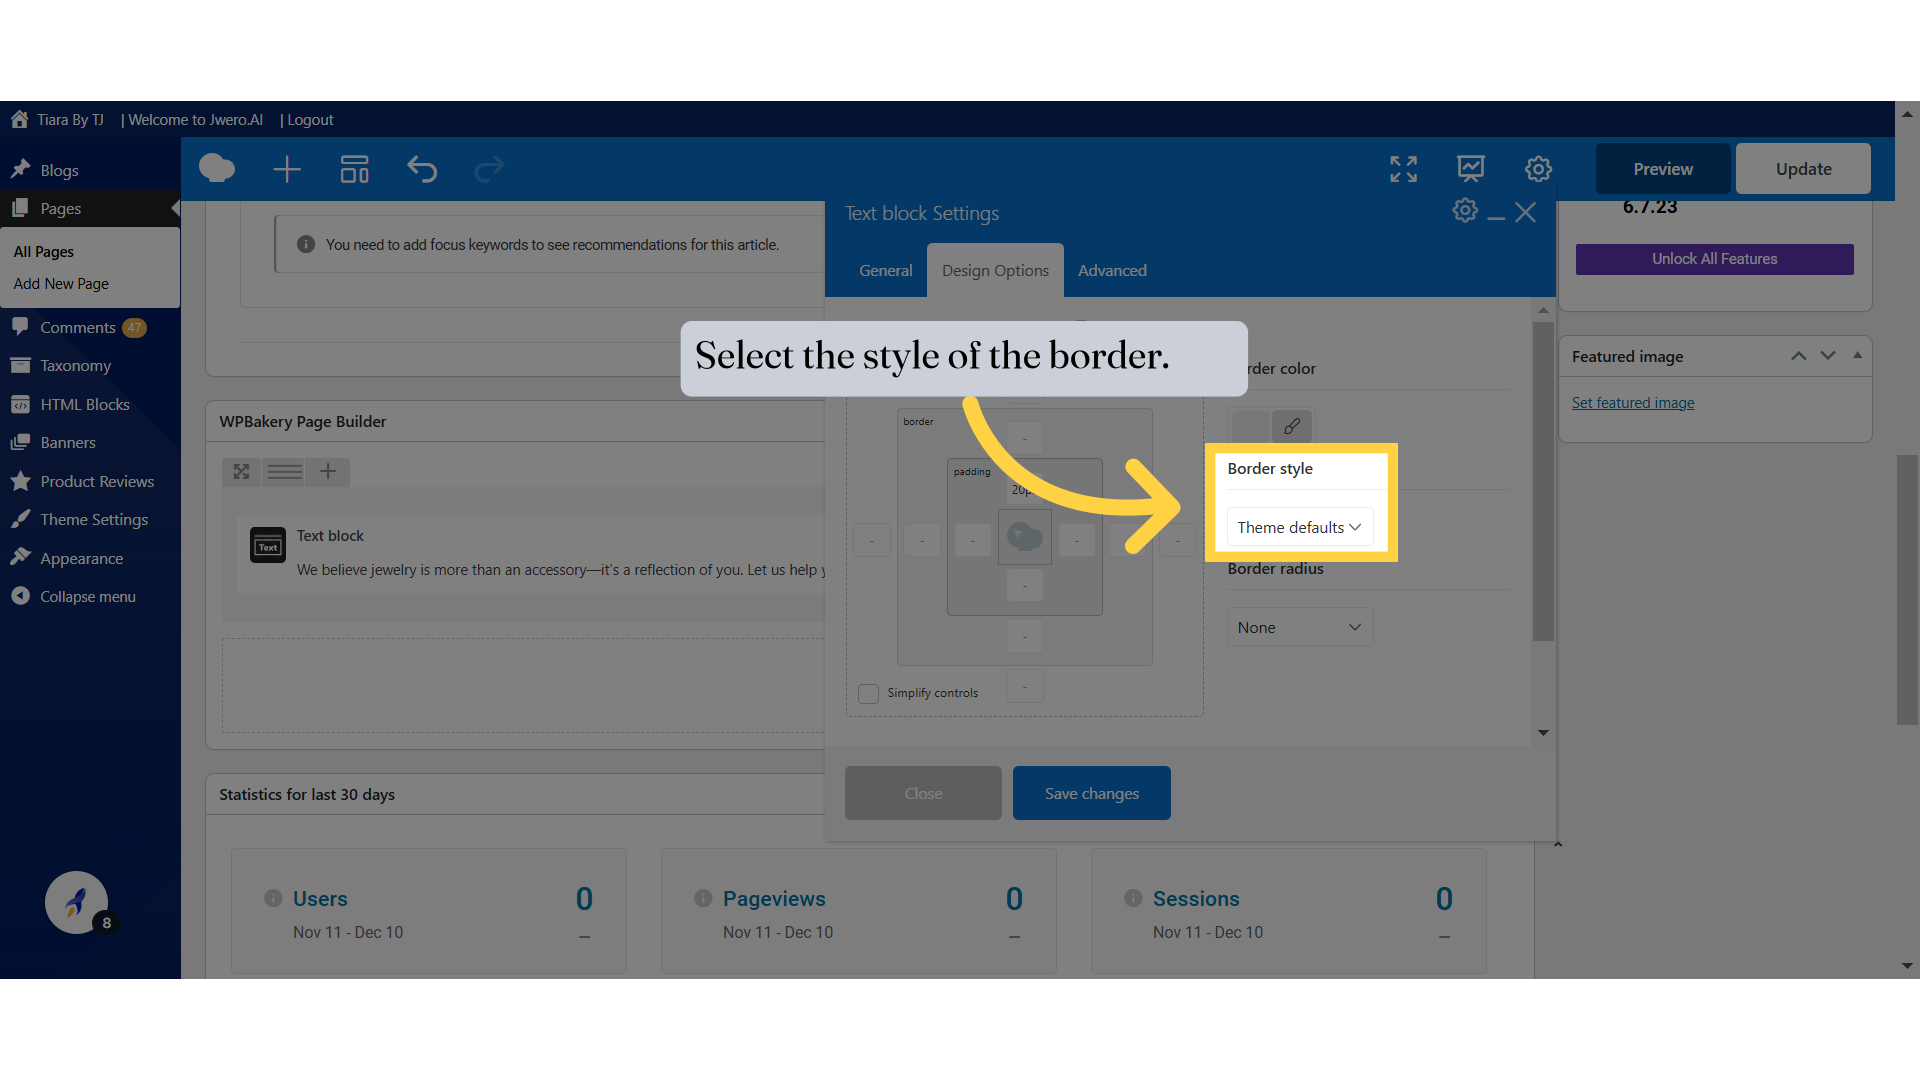
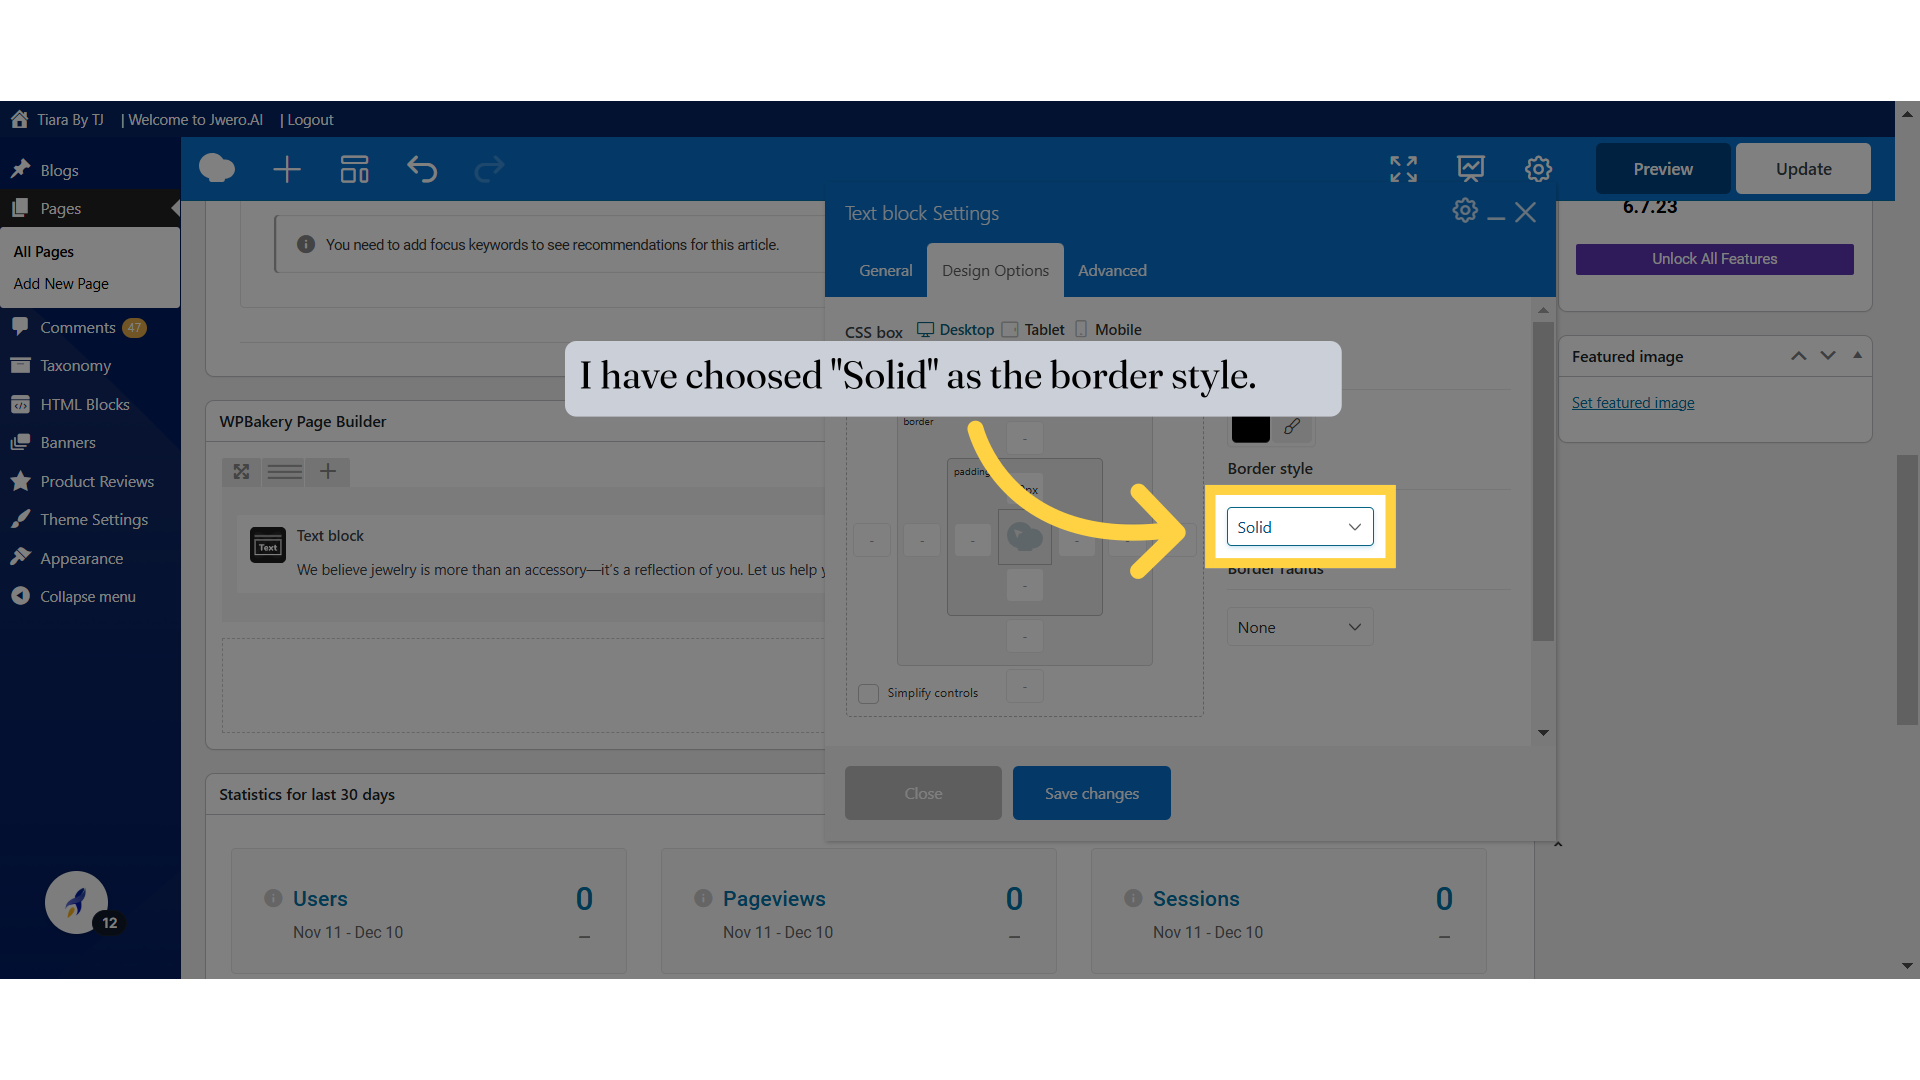
7. Select the style of the border.
8. You can choose the border style from the options available.
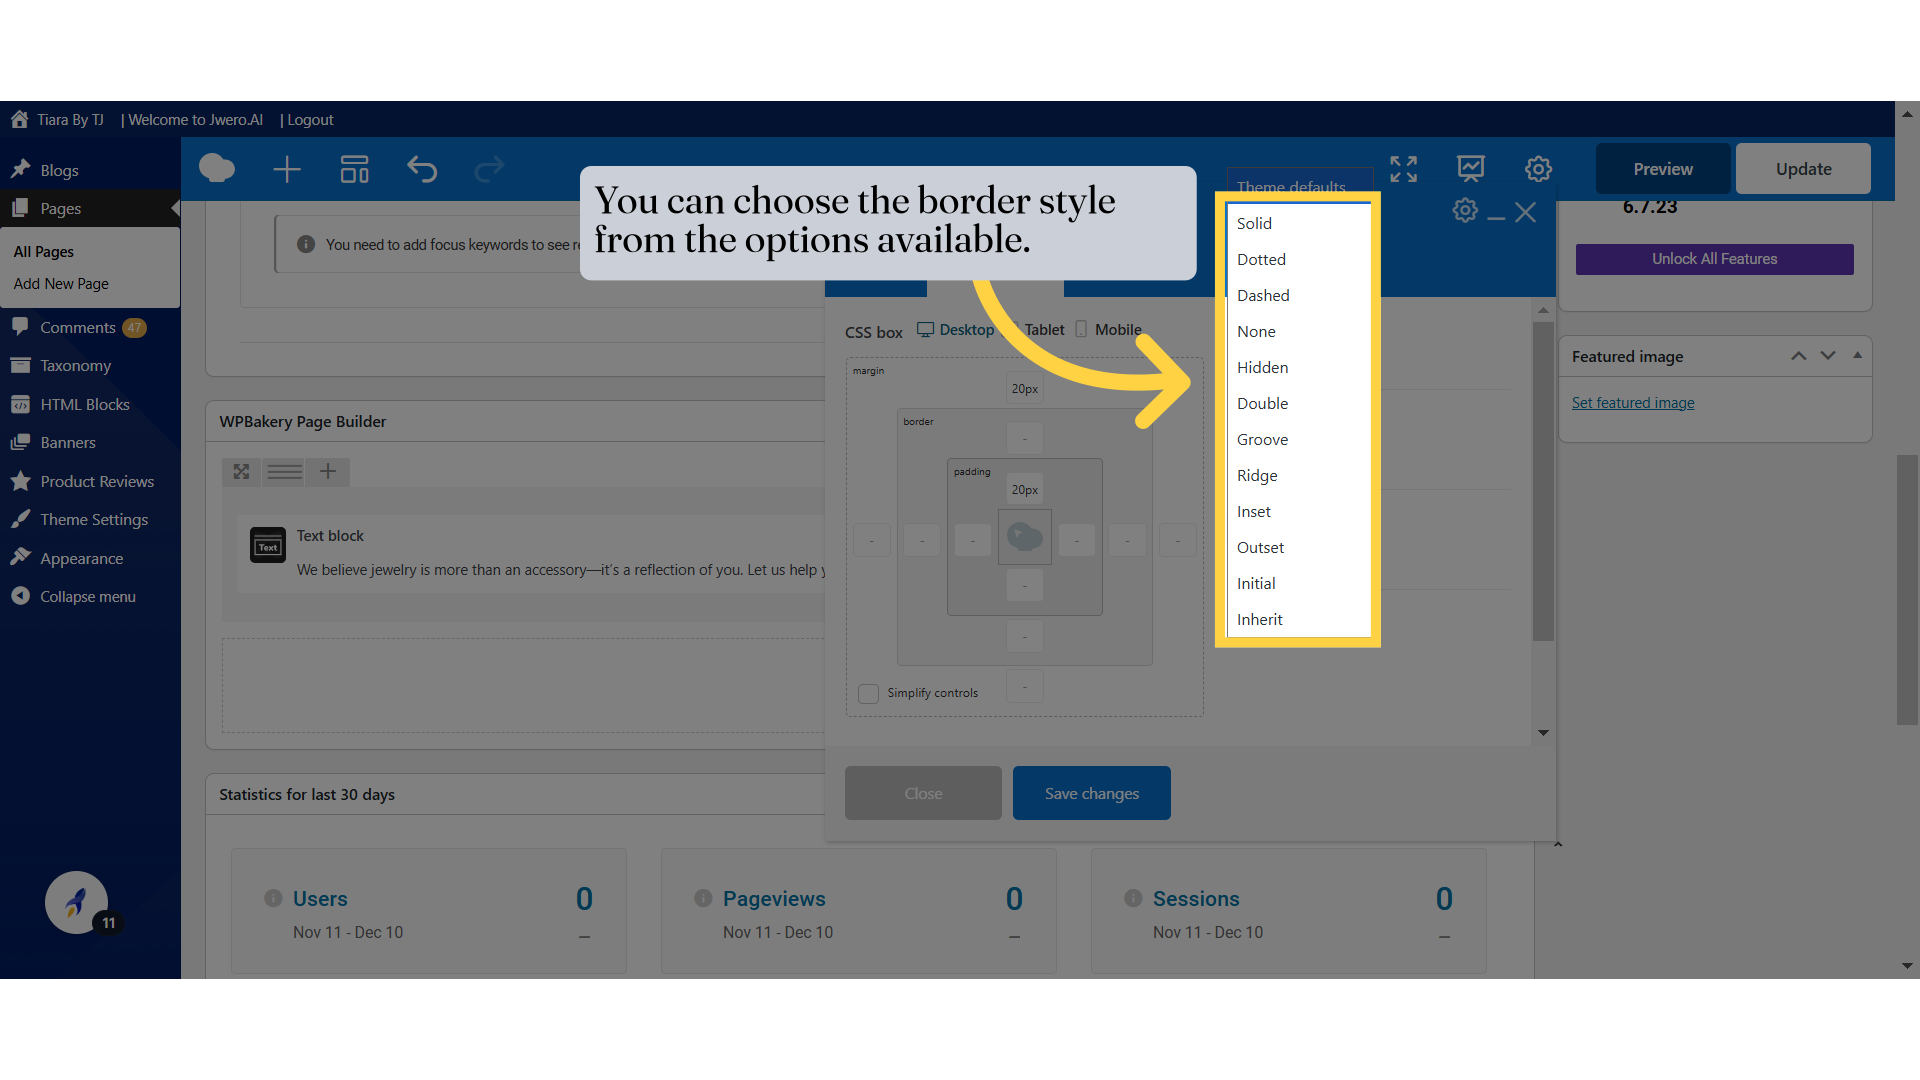
9. I have choosed "Solid" as the border style.
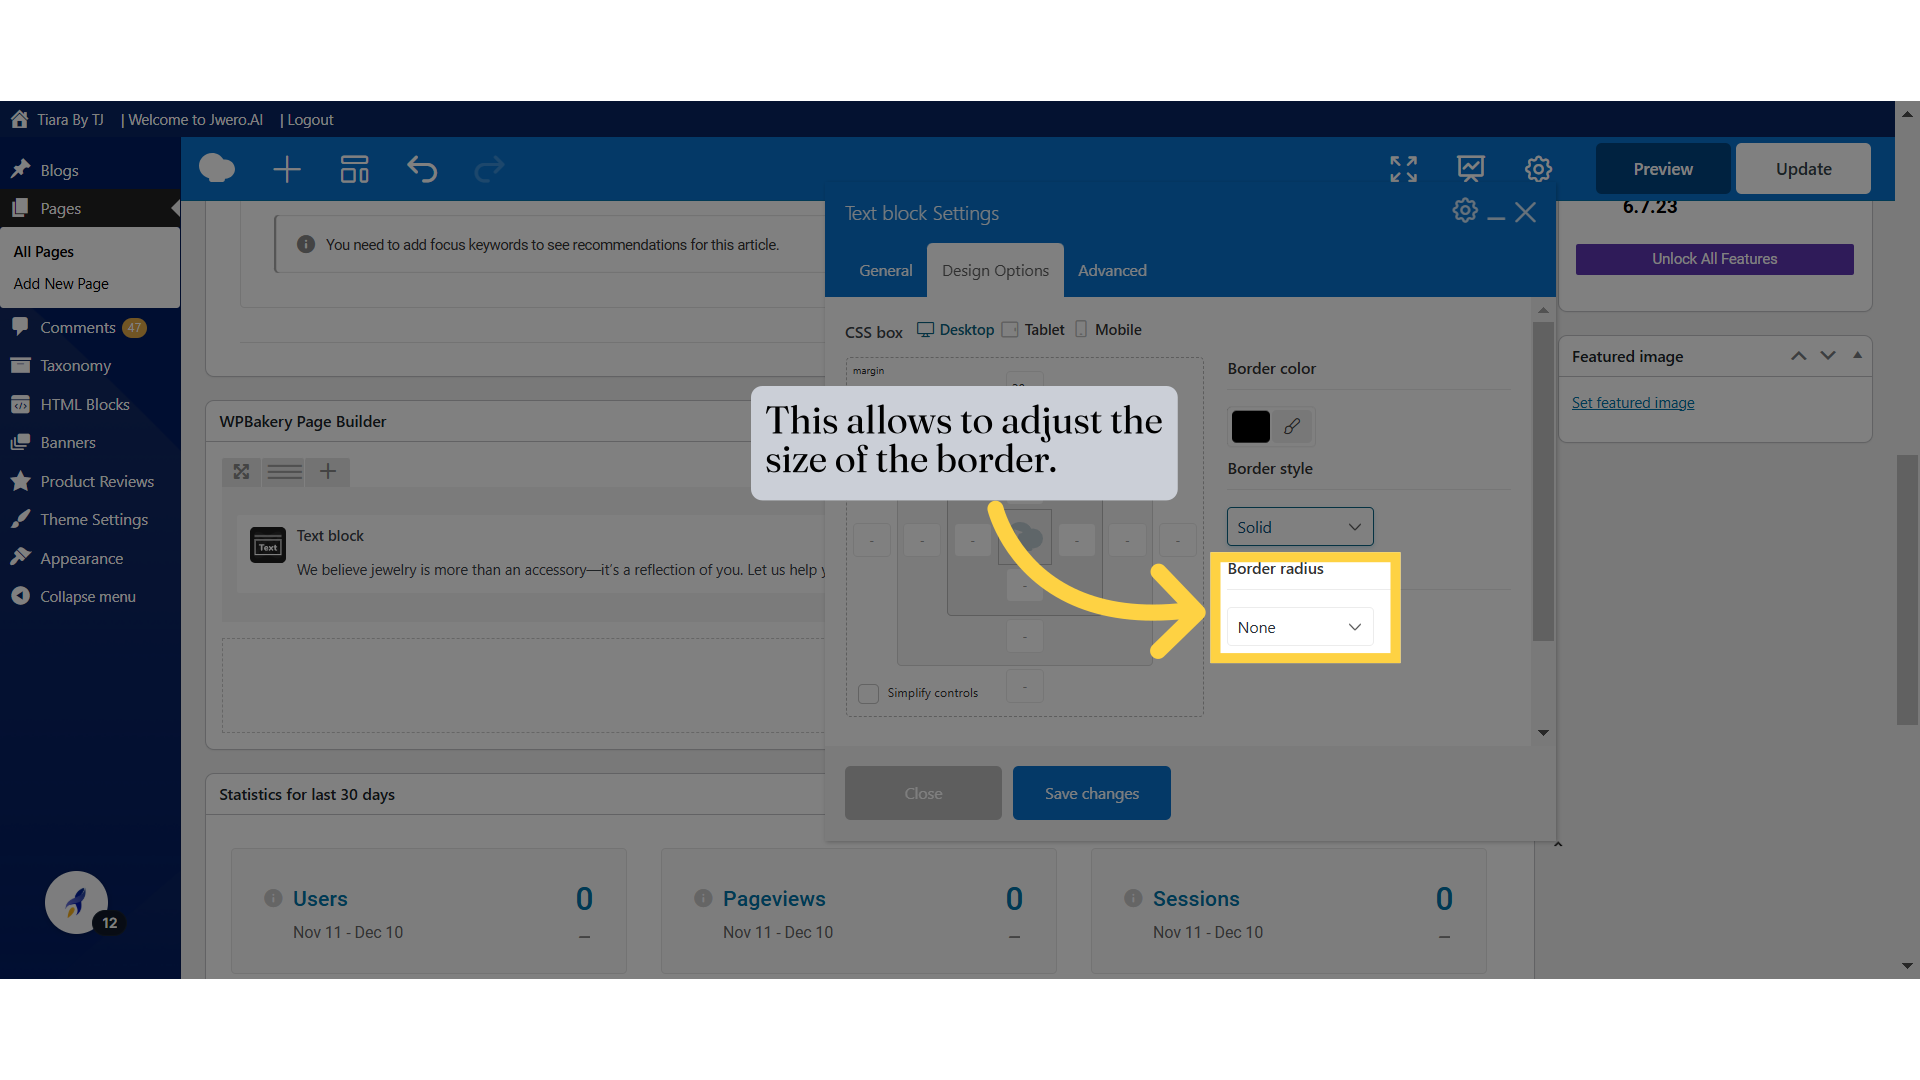
10. This allows to adjust the size of the border.
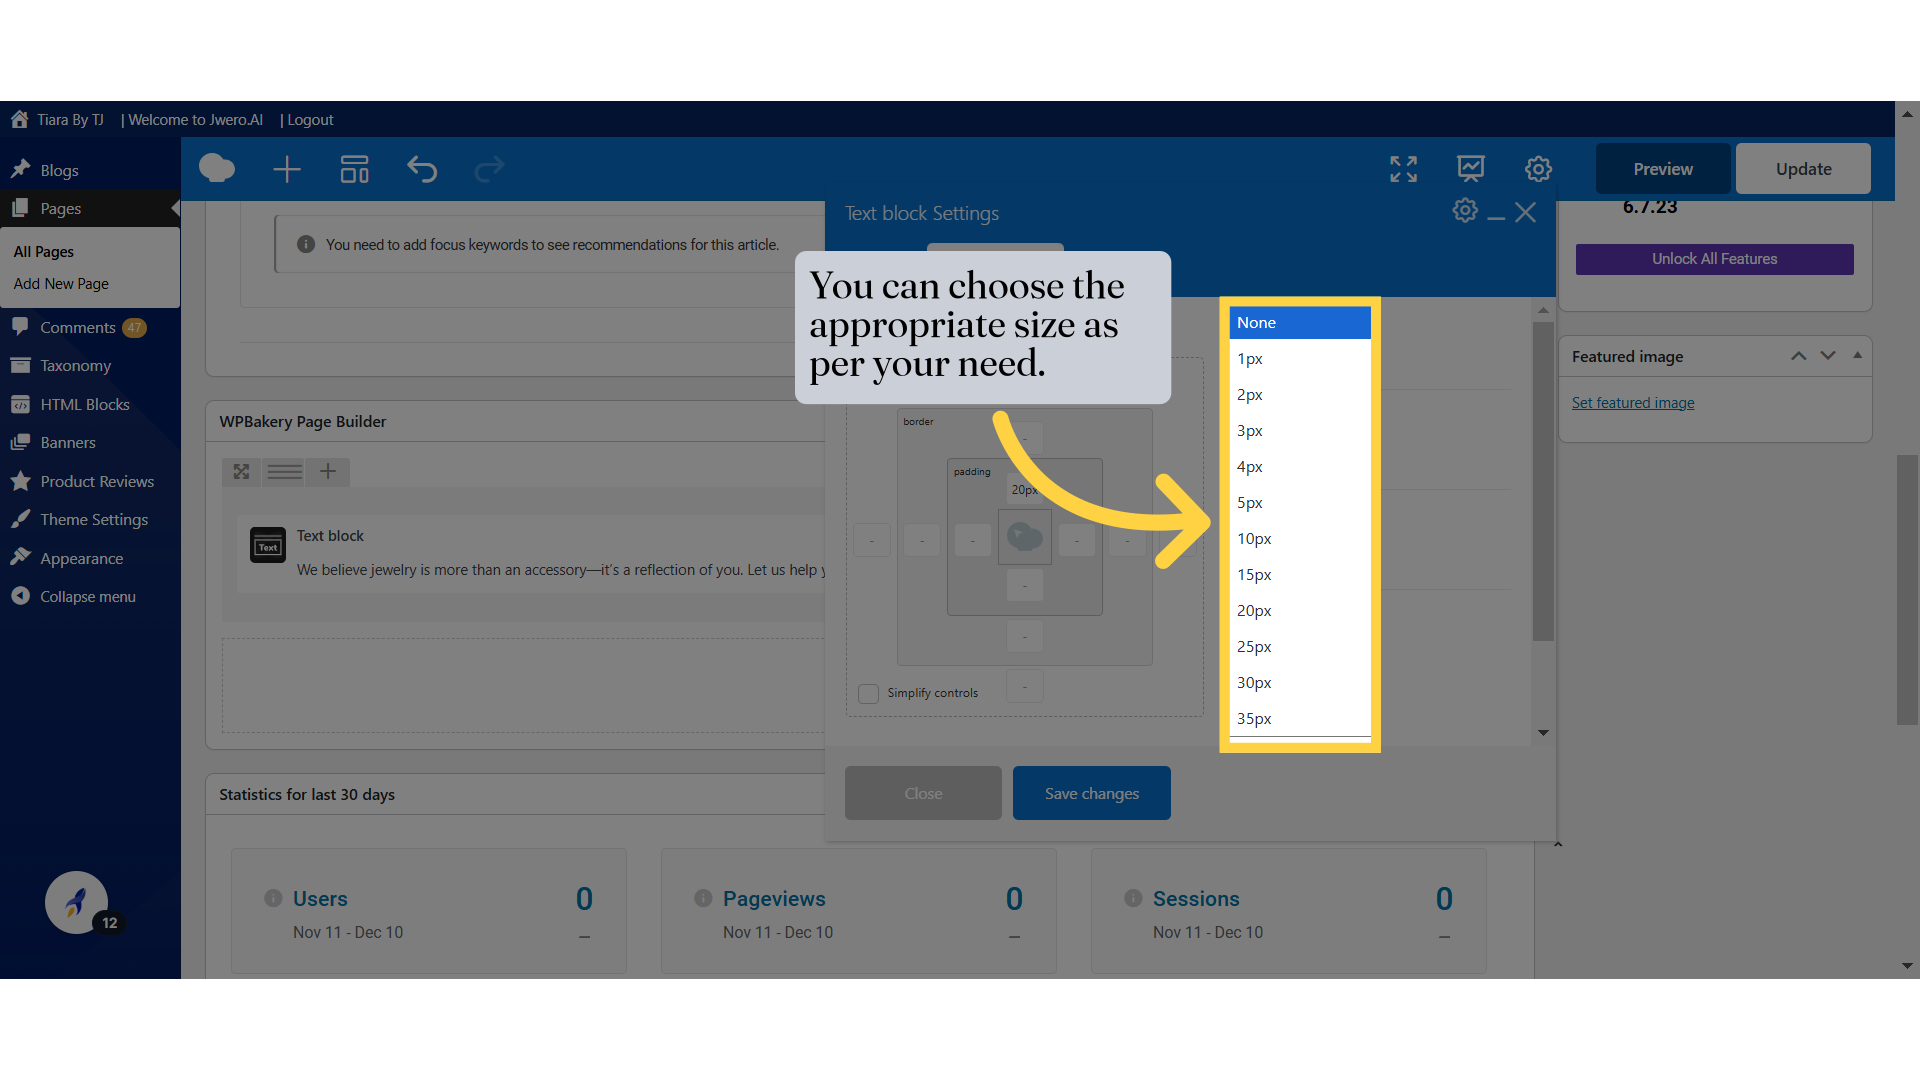
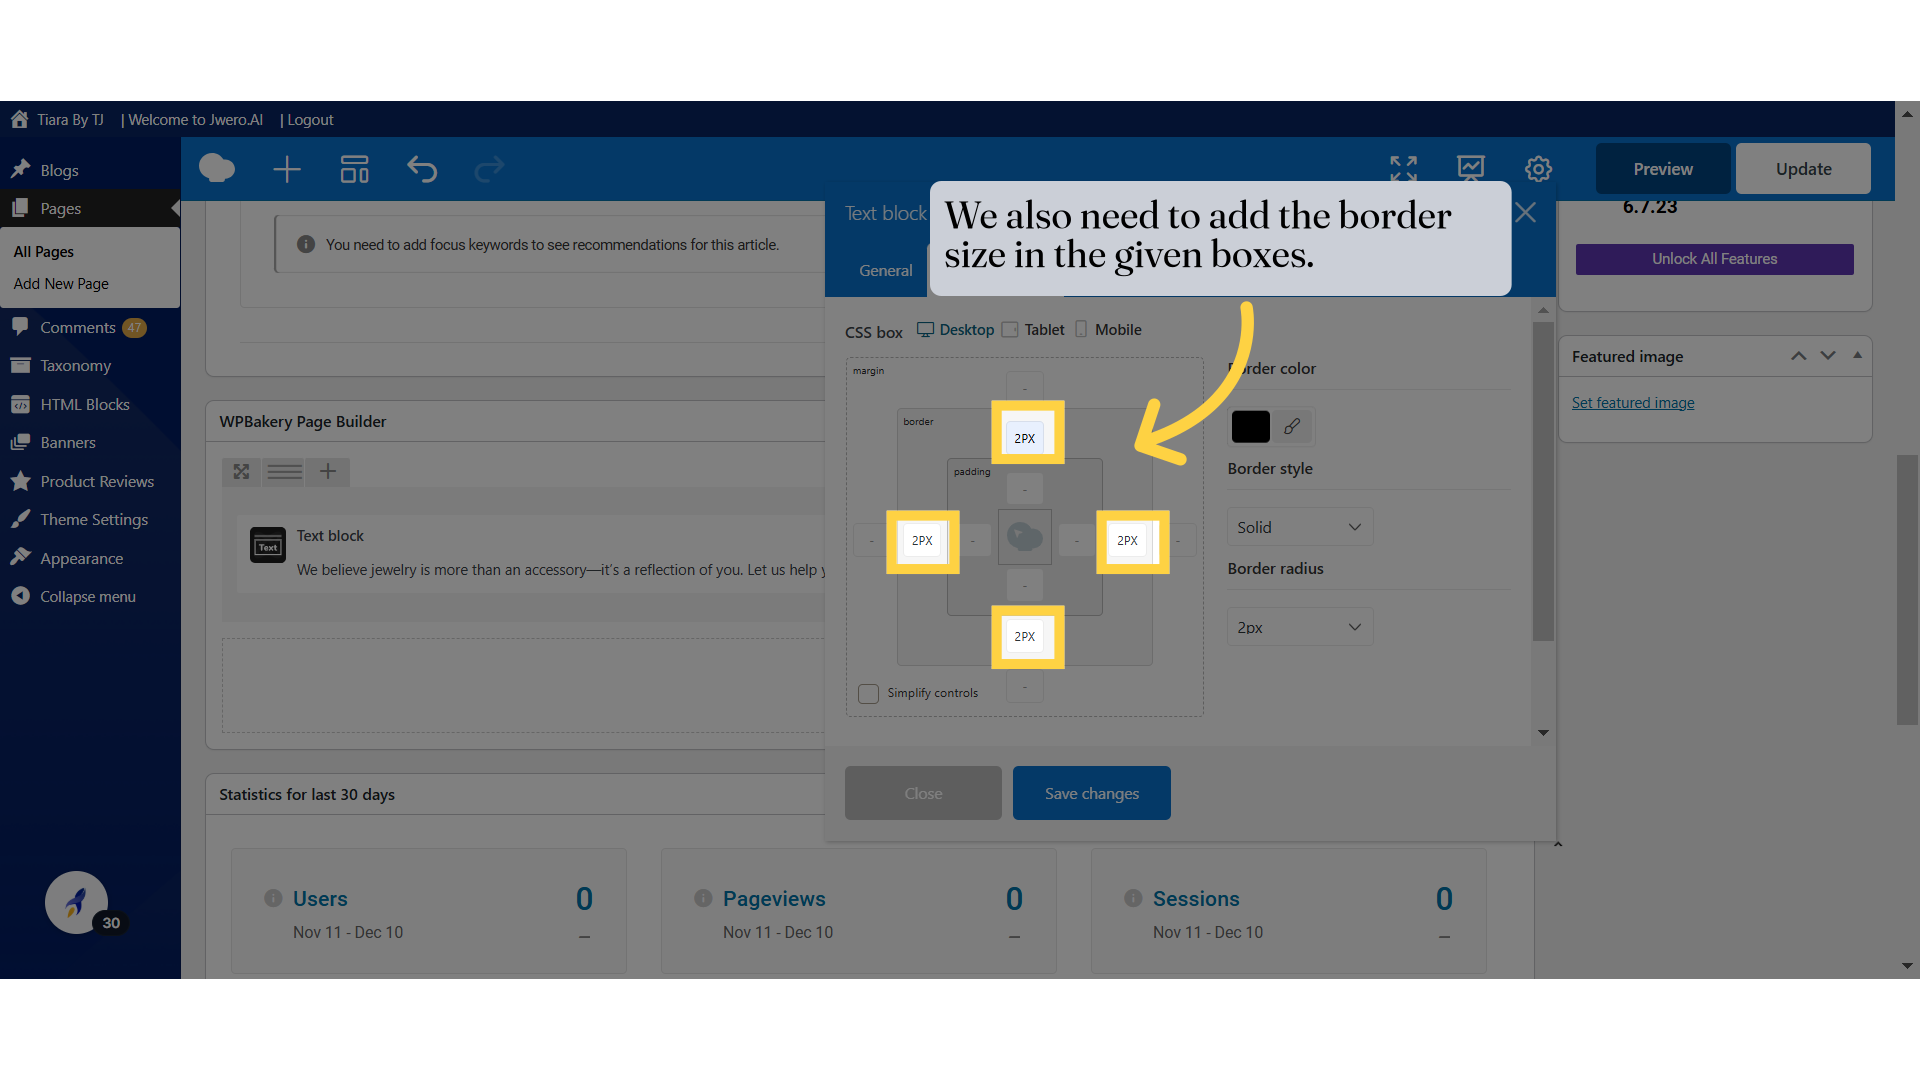
11. You can choose the appropriate size as per your need.
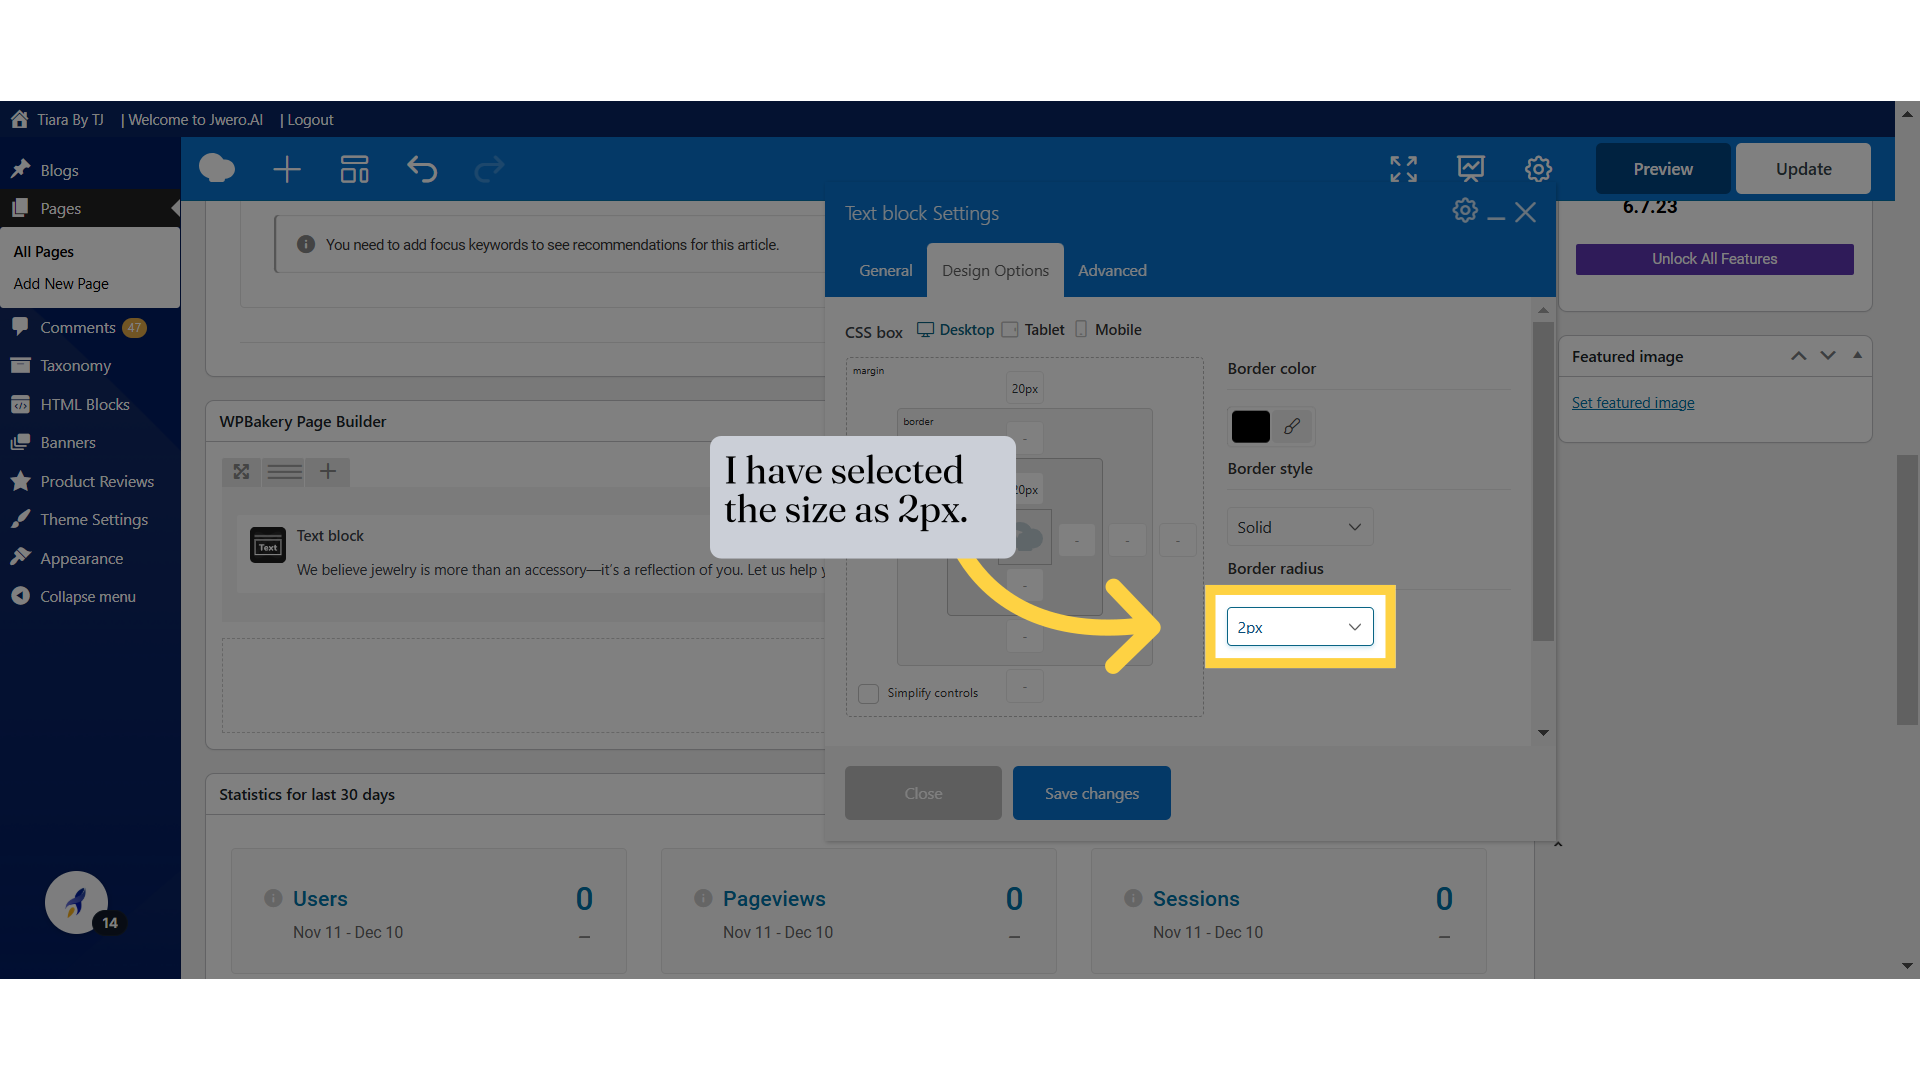
12. I have selected the size as 2px.
13. We also need to add the border size in the given boxes.
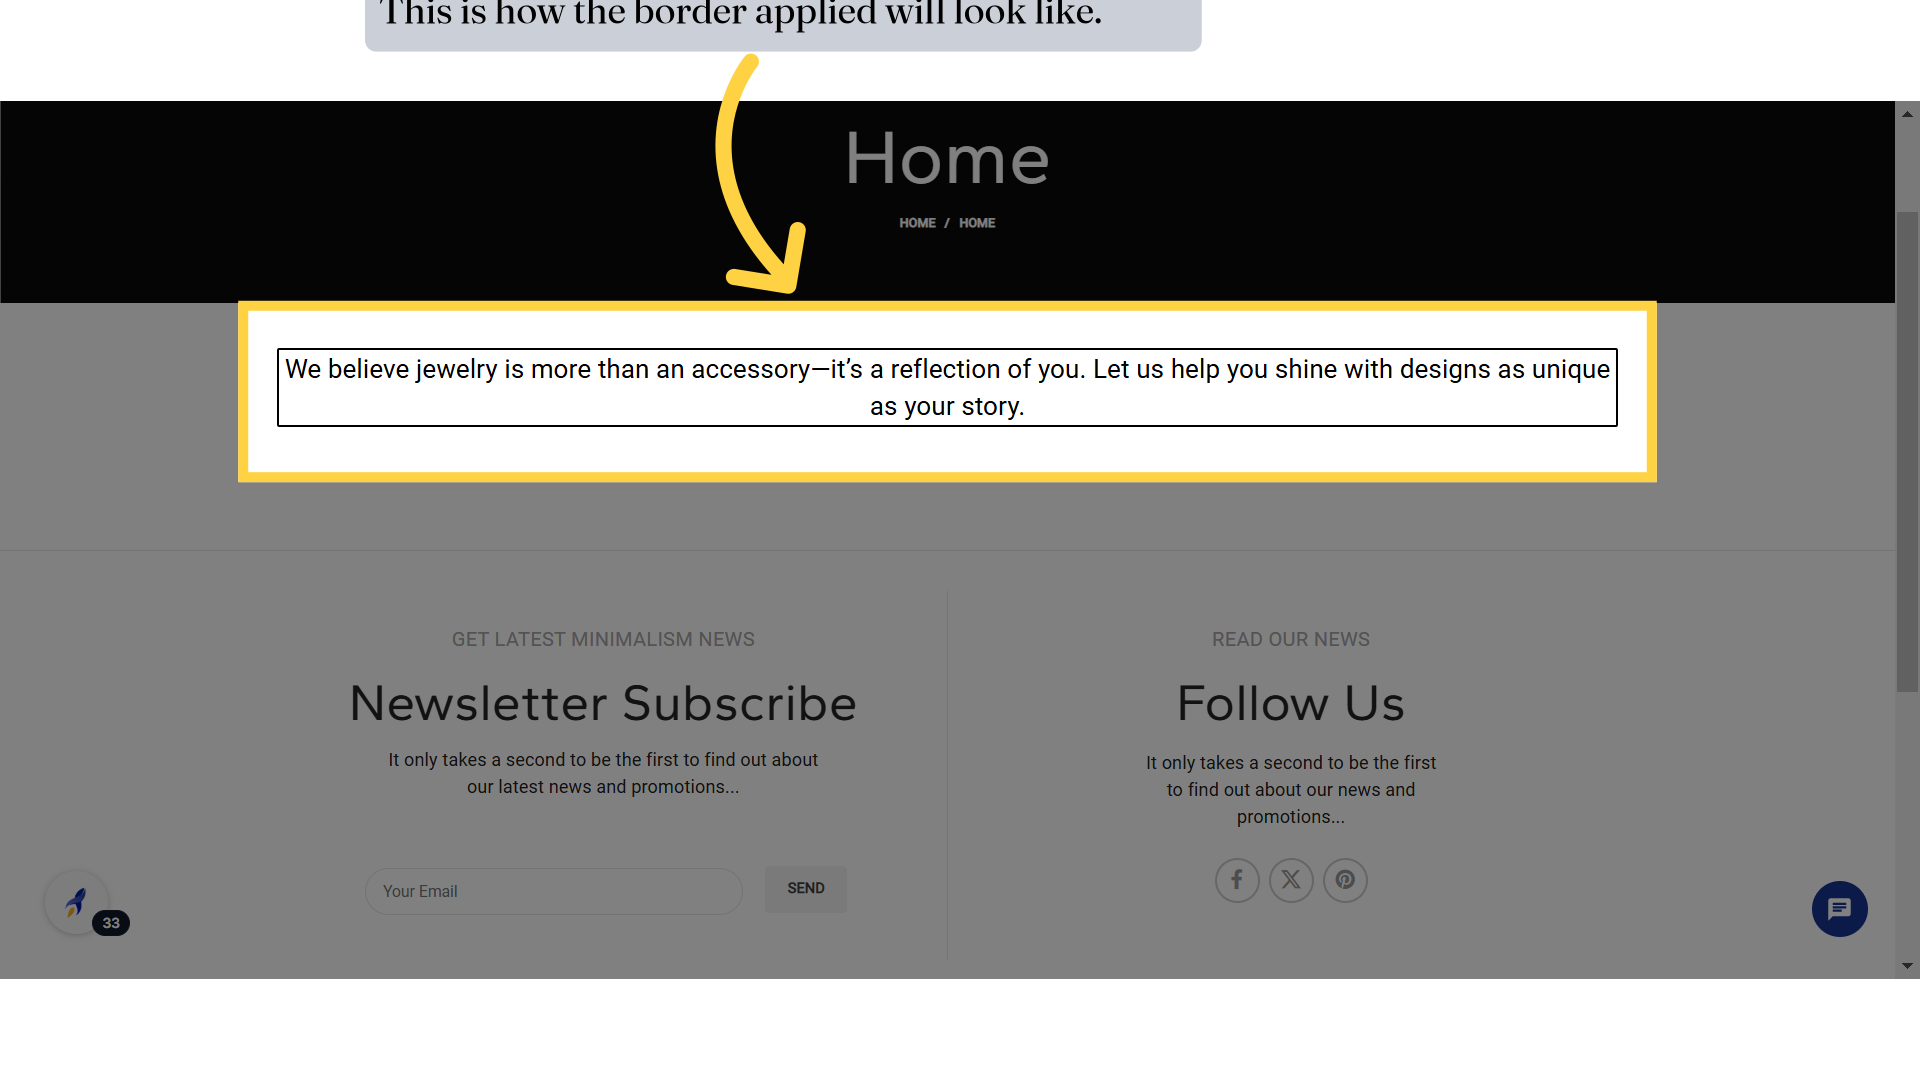
14. This is how the border applied will look like.
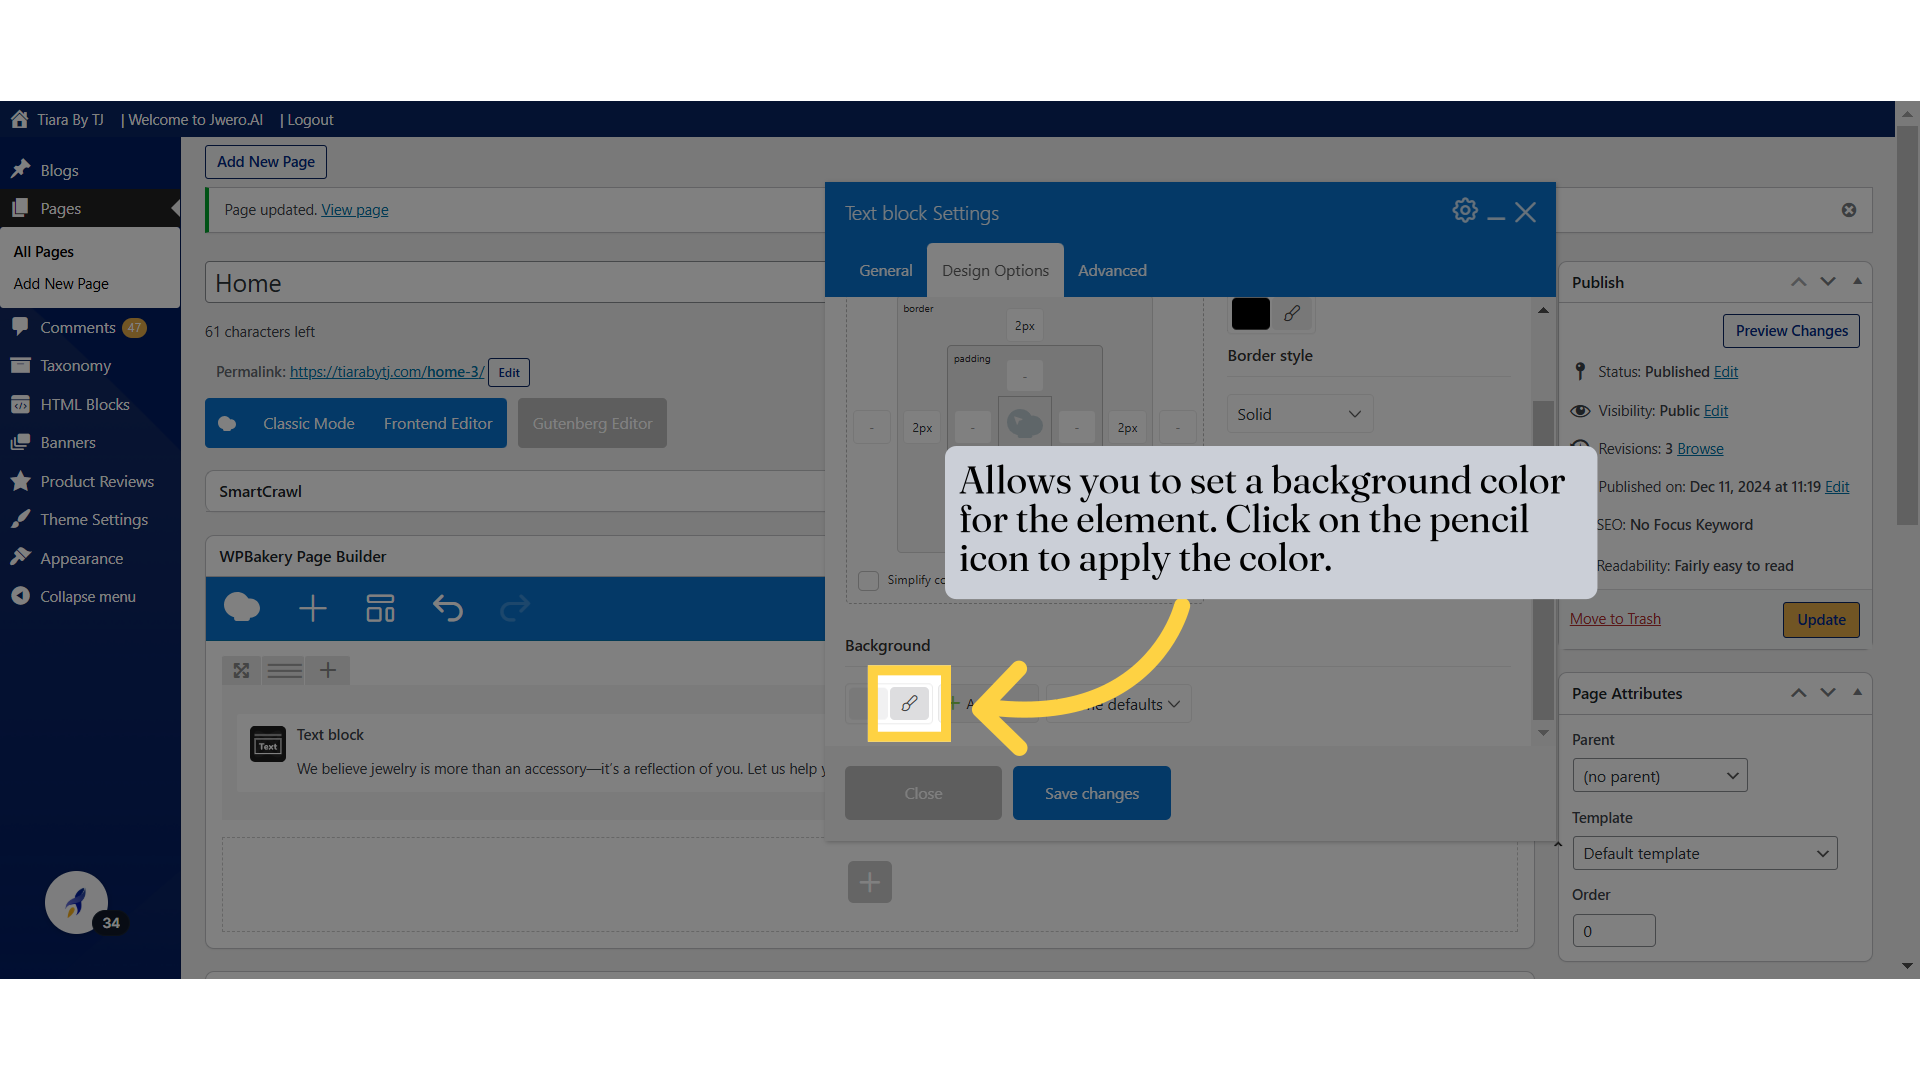
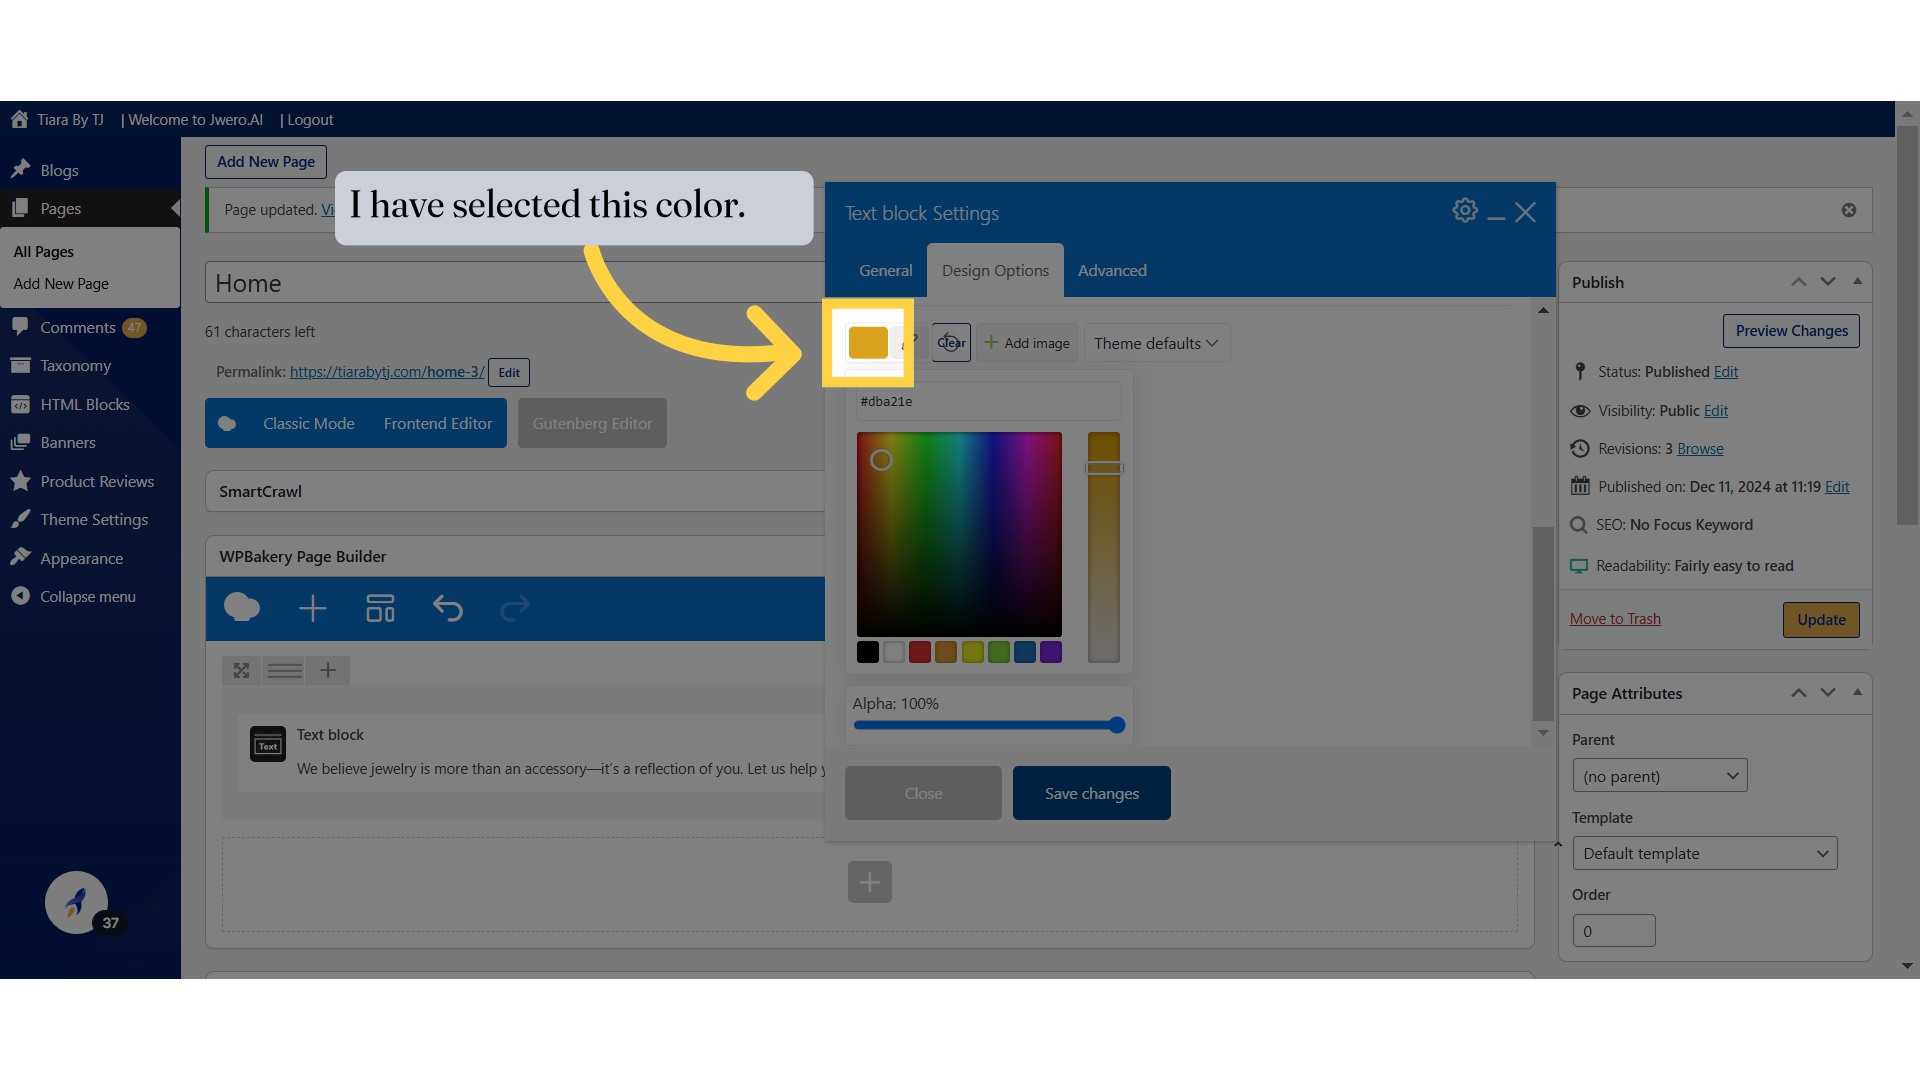
15. Allows you to set a background color for the element. Click on the pencil icon to apply the color.
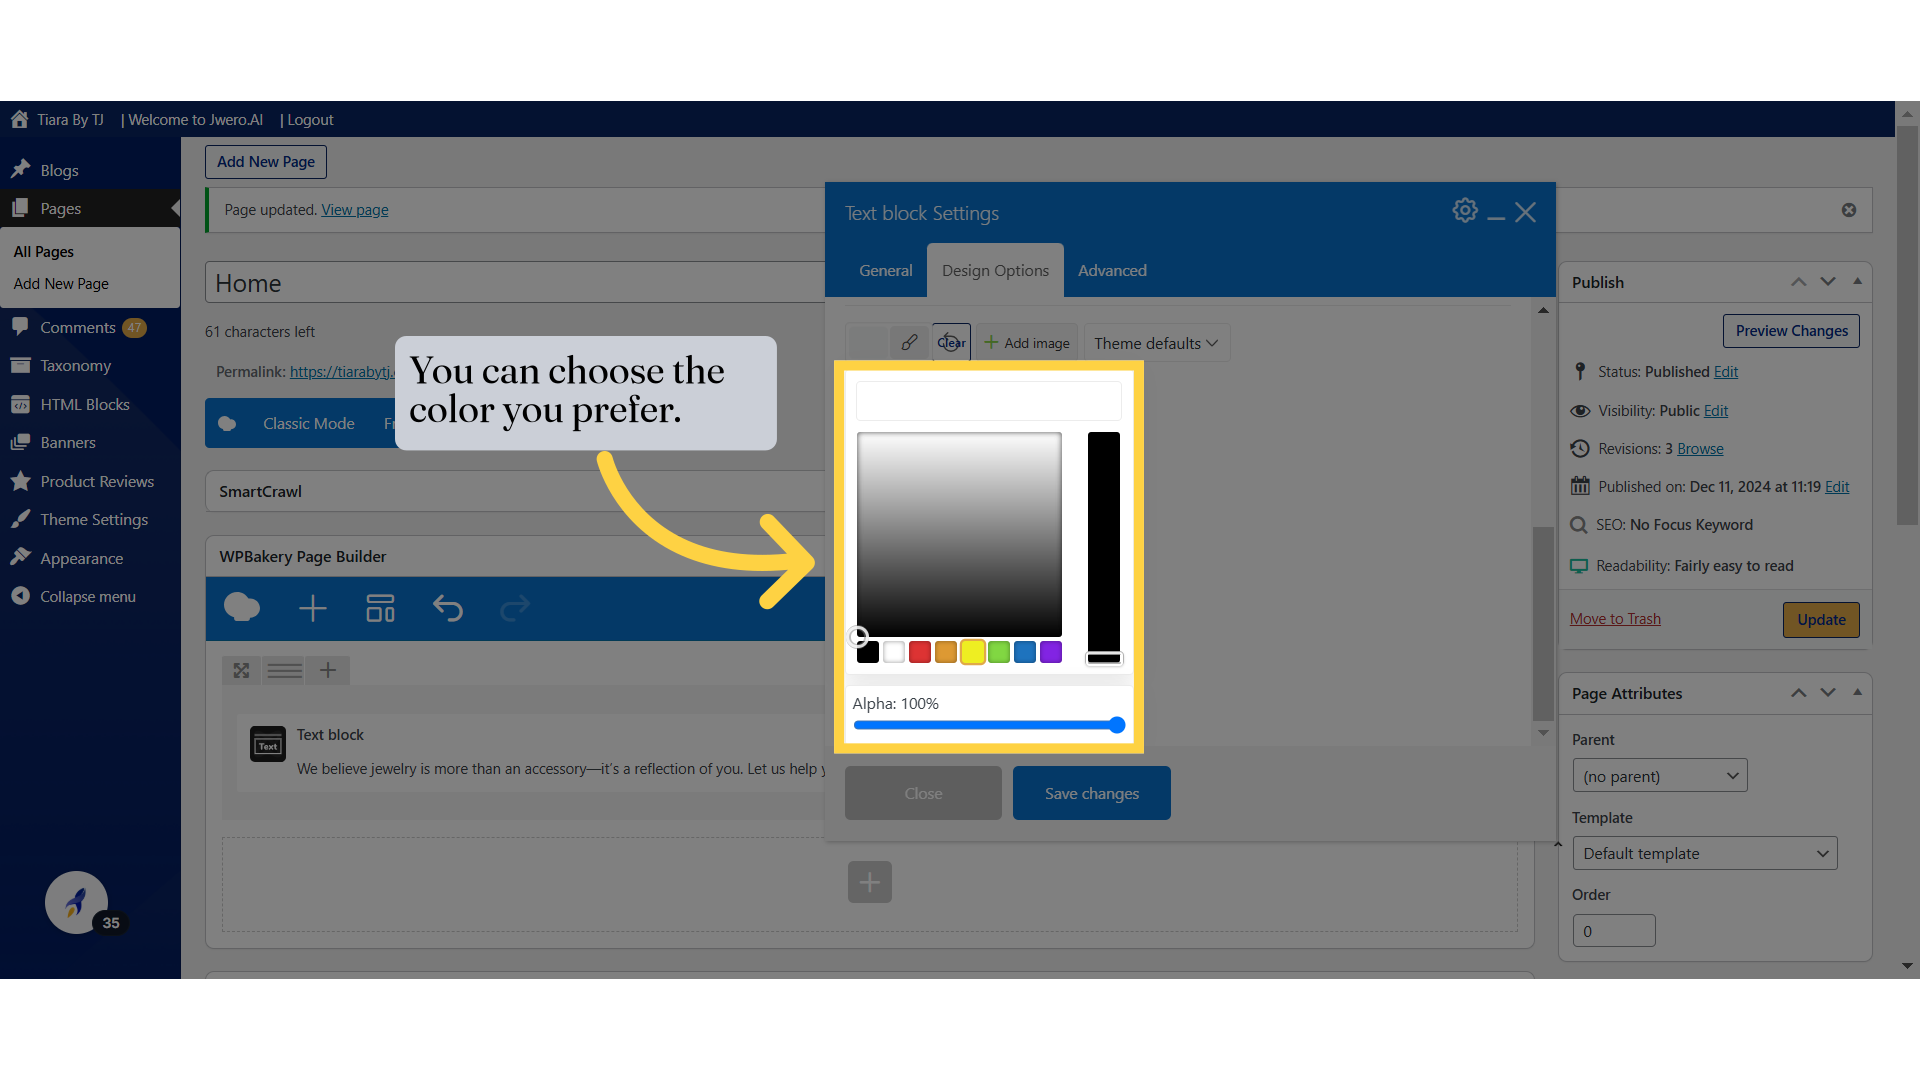
16. You can choose the color you prefer.
17. I have selected this color.
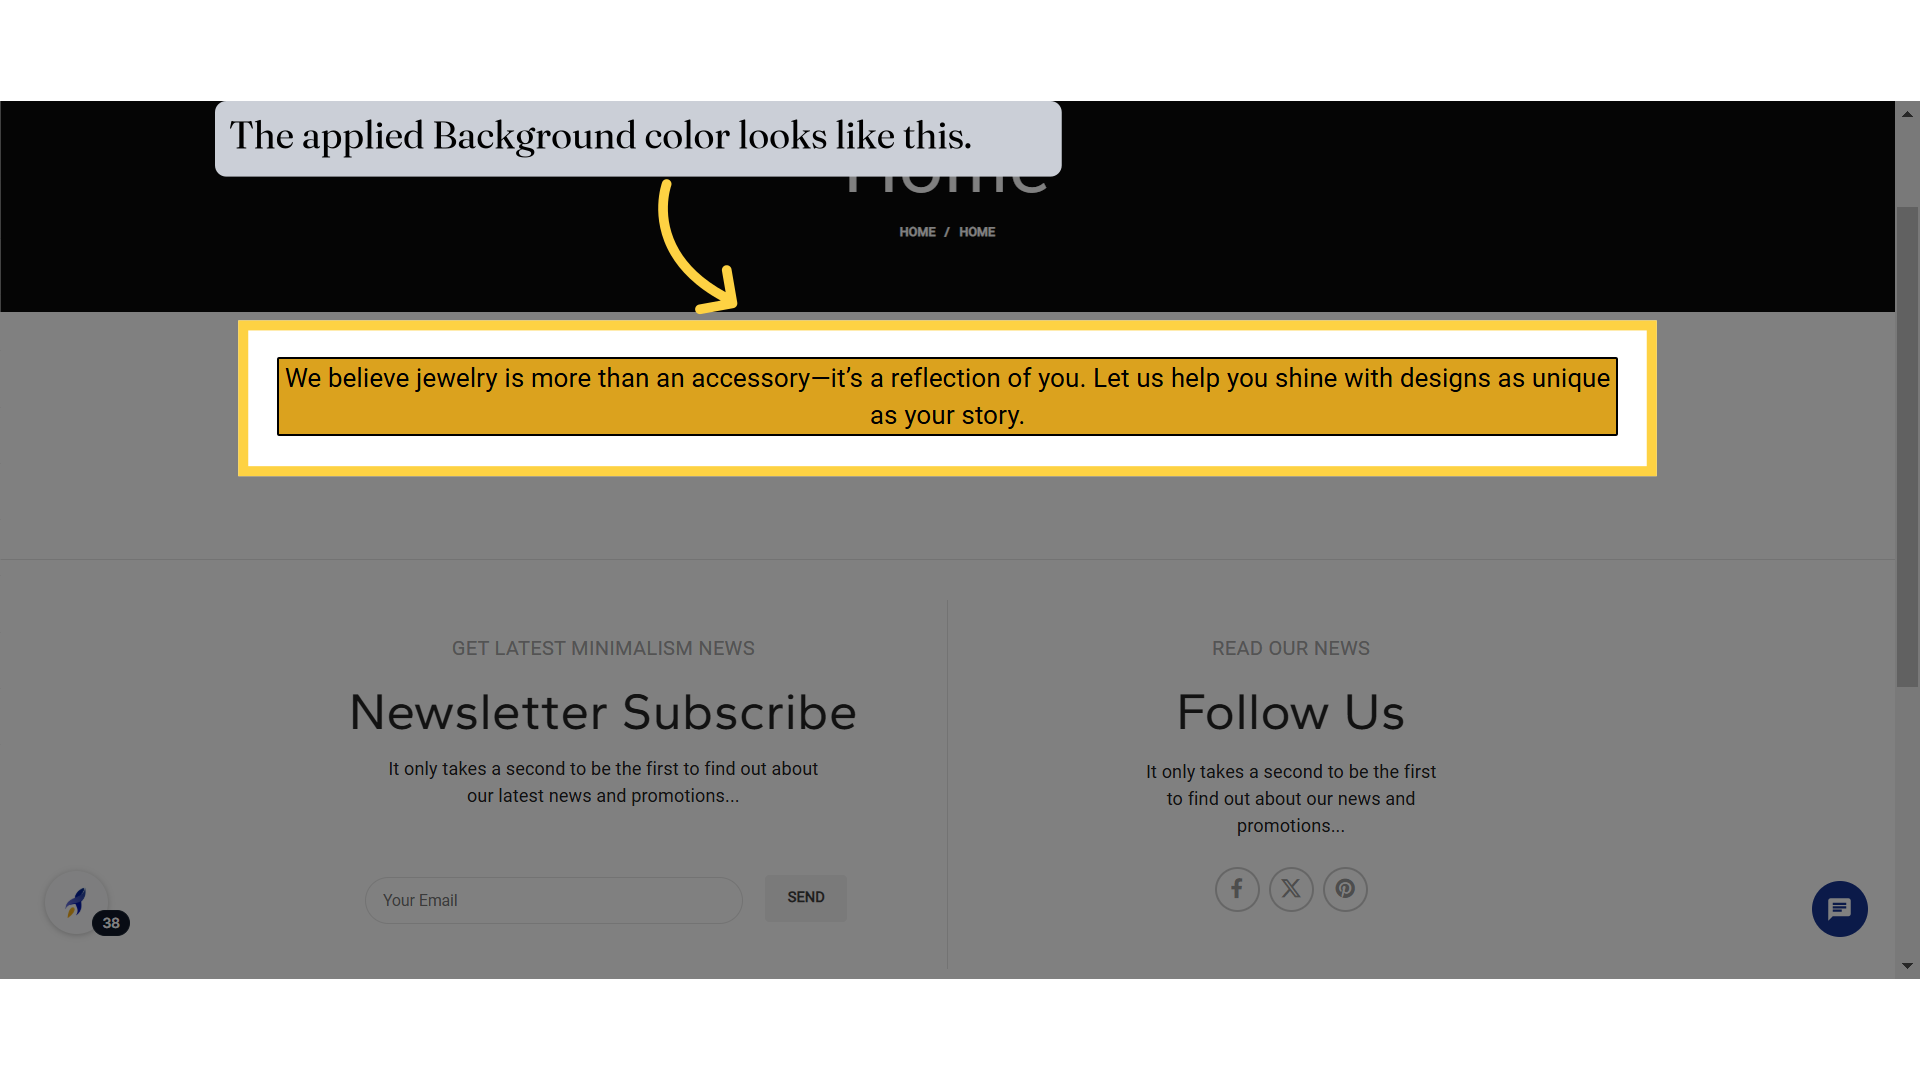
18. The applied Background color looks like this.
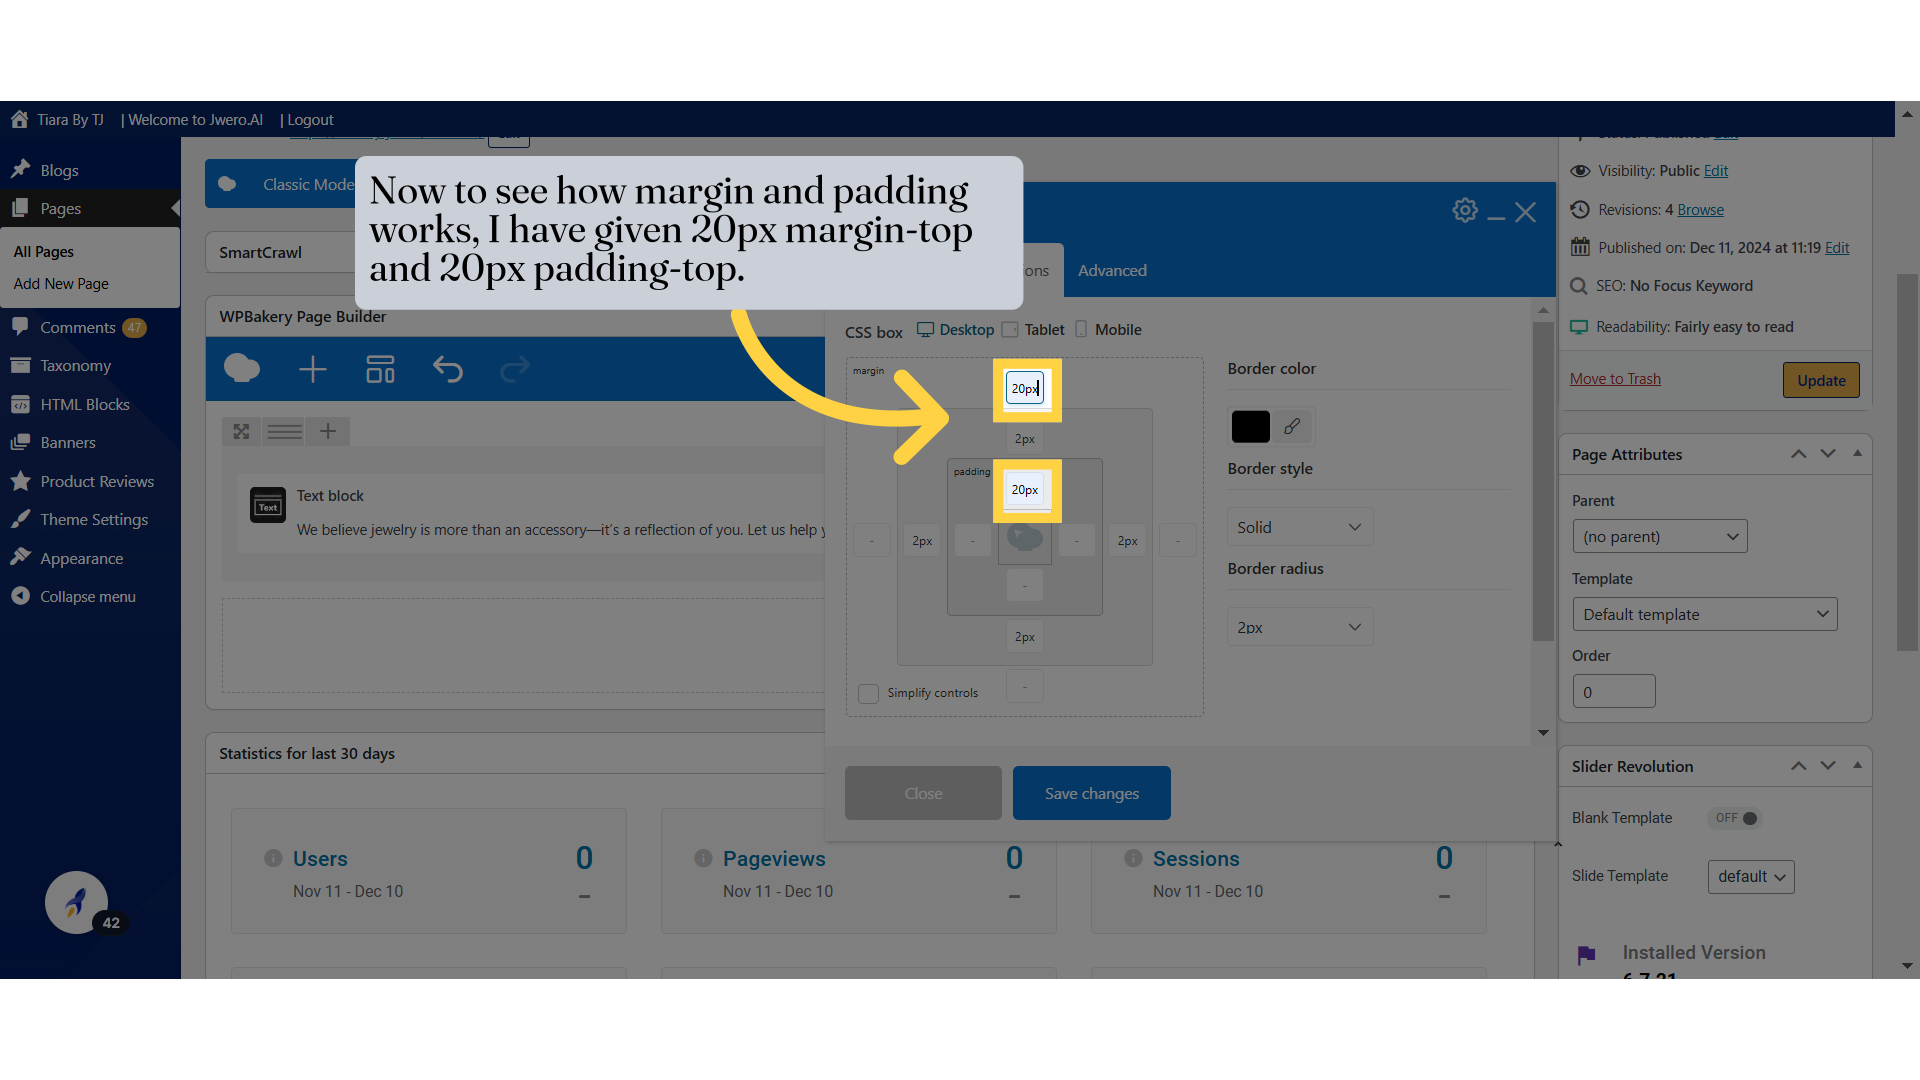
19. Now to see how margin and padding works, I have given 20px margin-top and 20px padding-top.
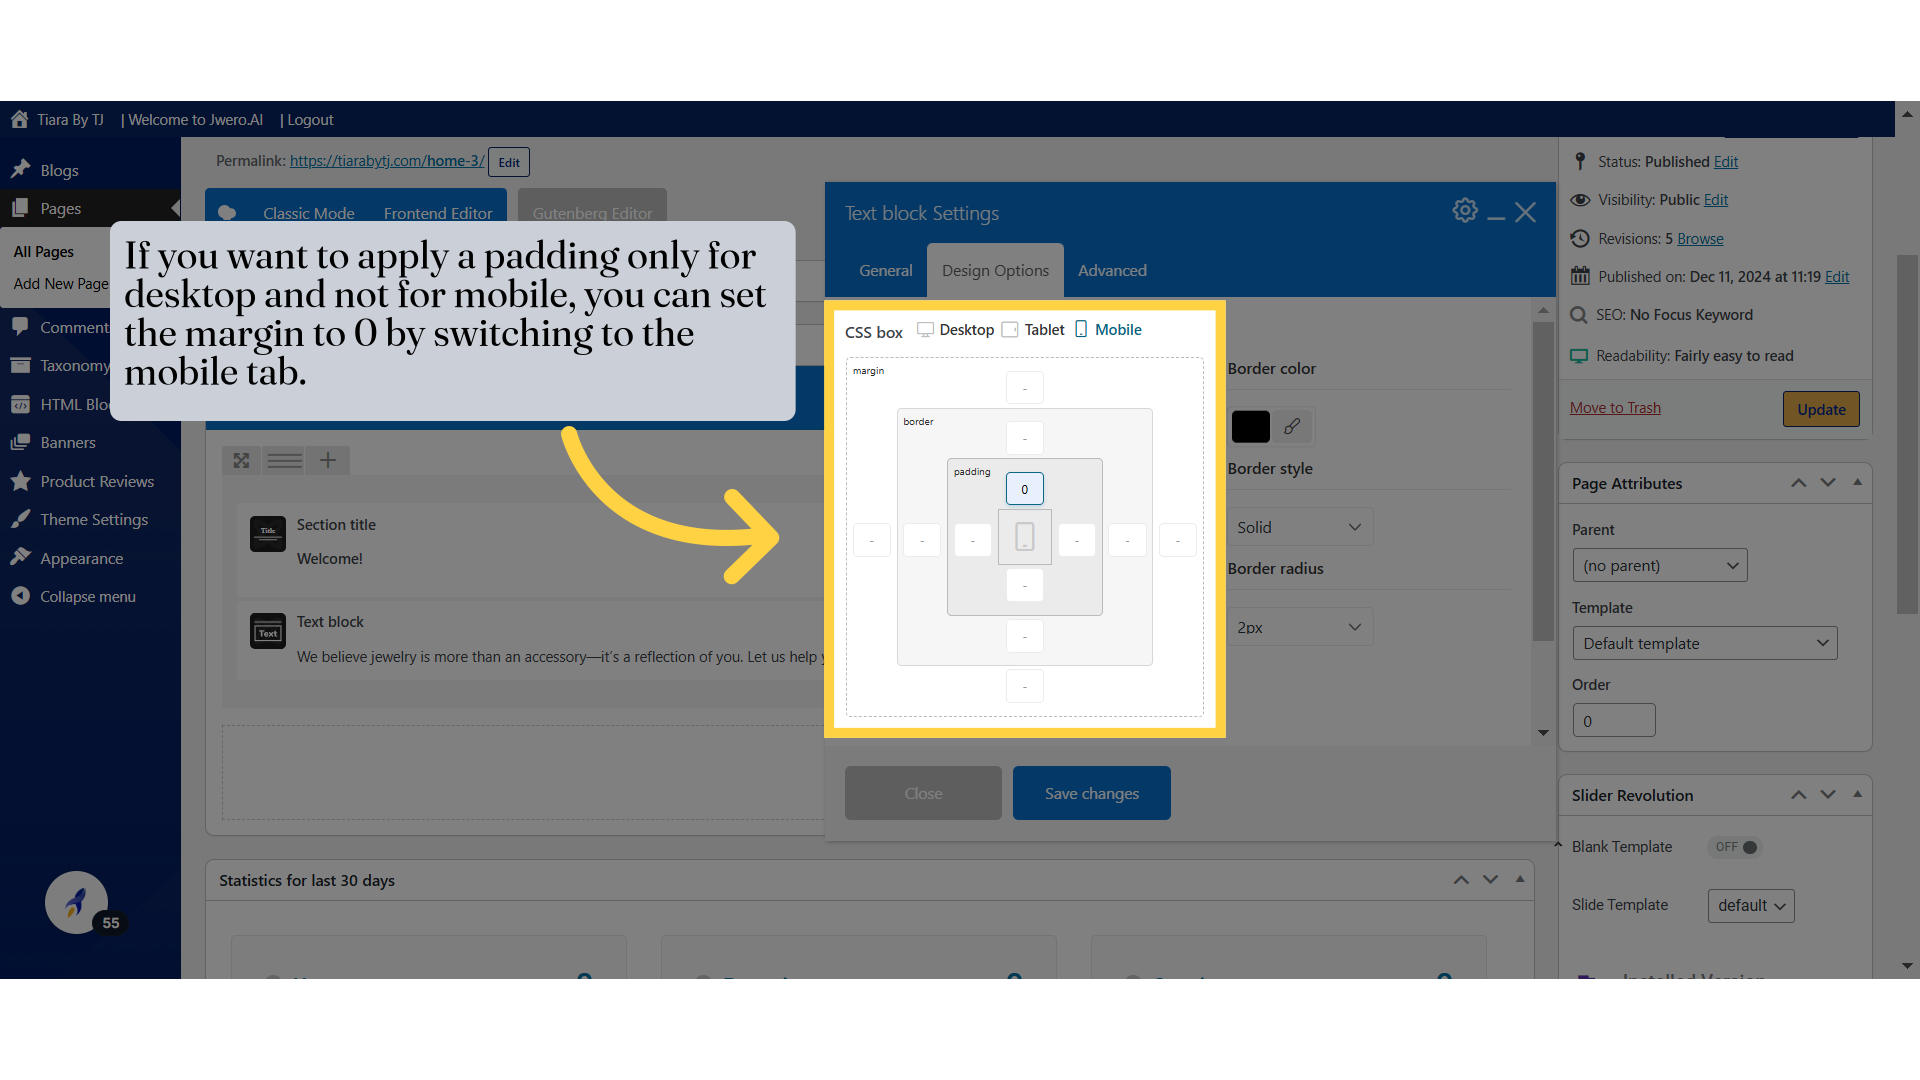
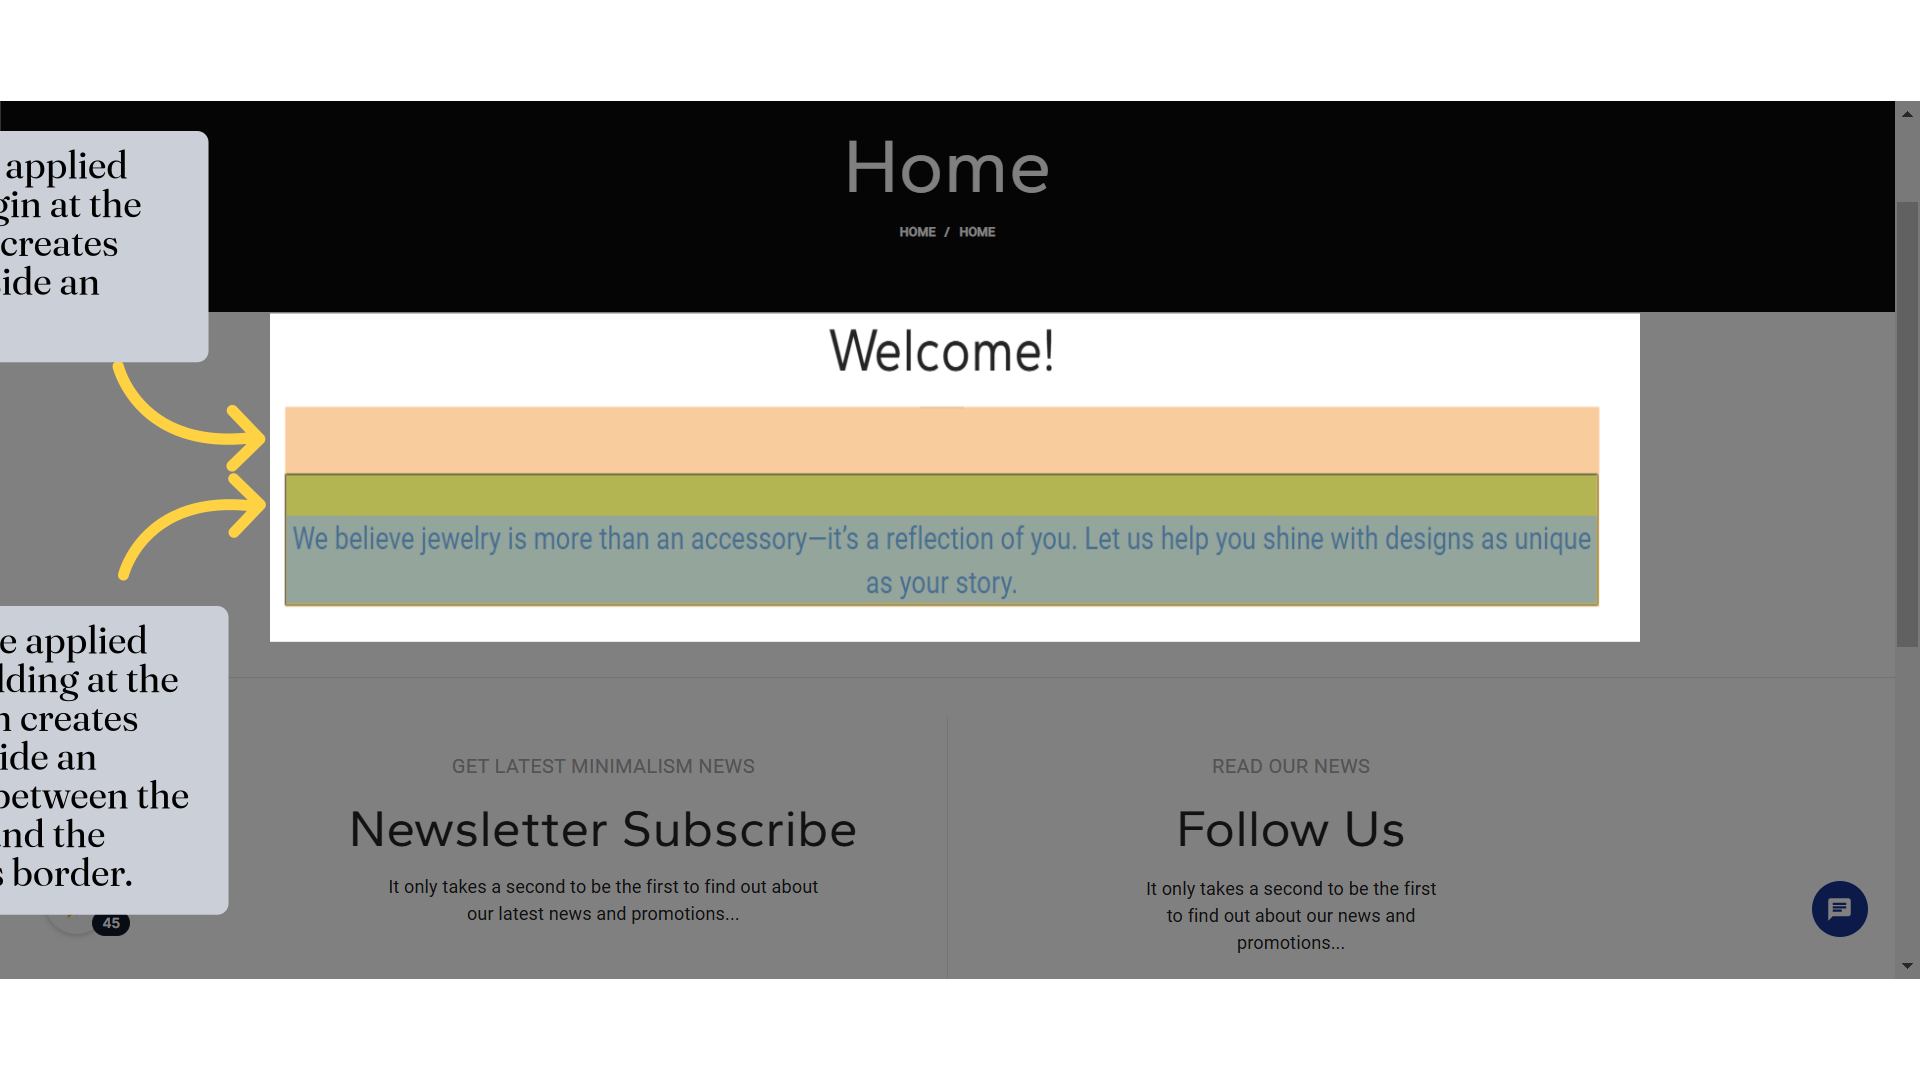
20. If you want to apply a padding only for desktop and not for mobile, you can set the margin to 0 by switching to the mobile tab.
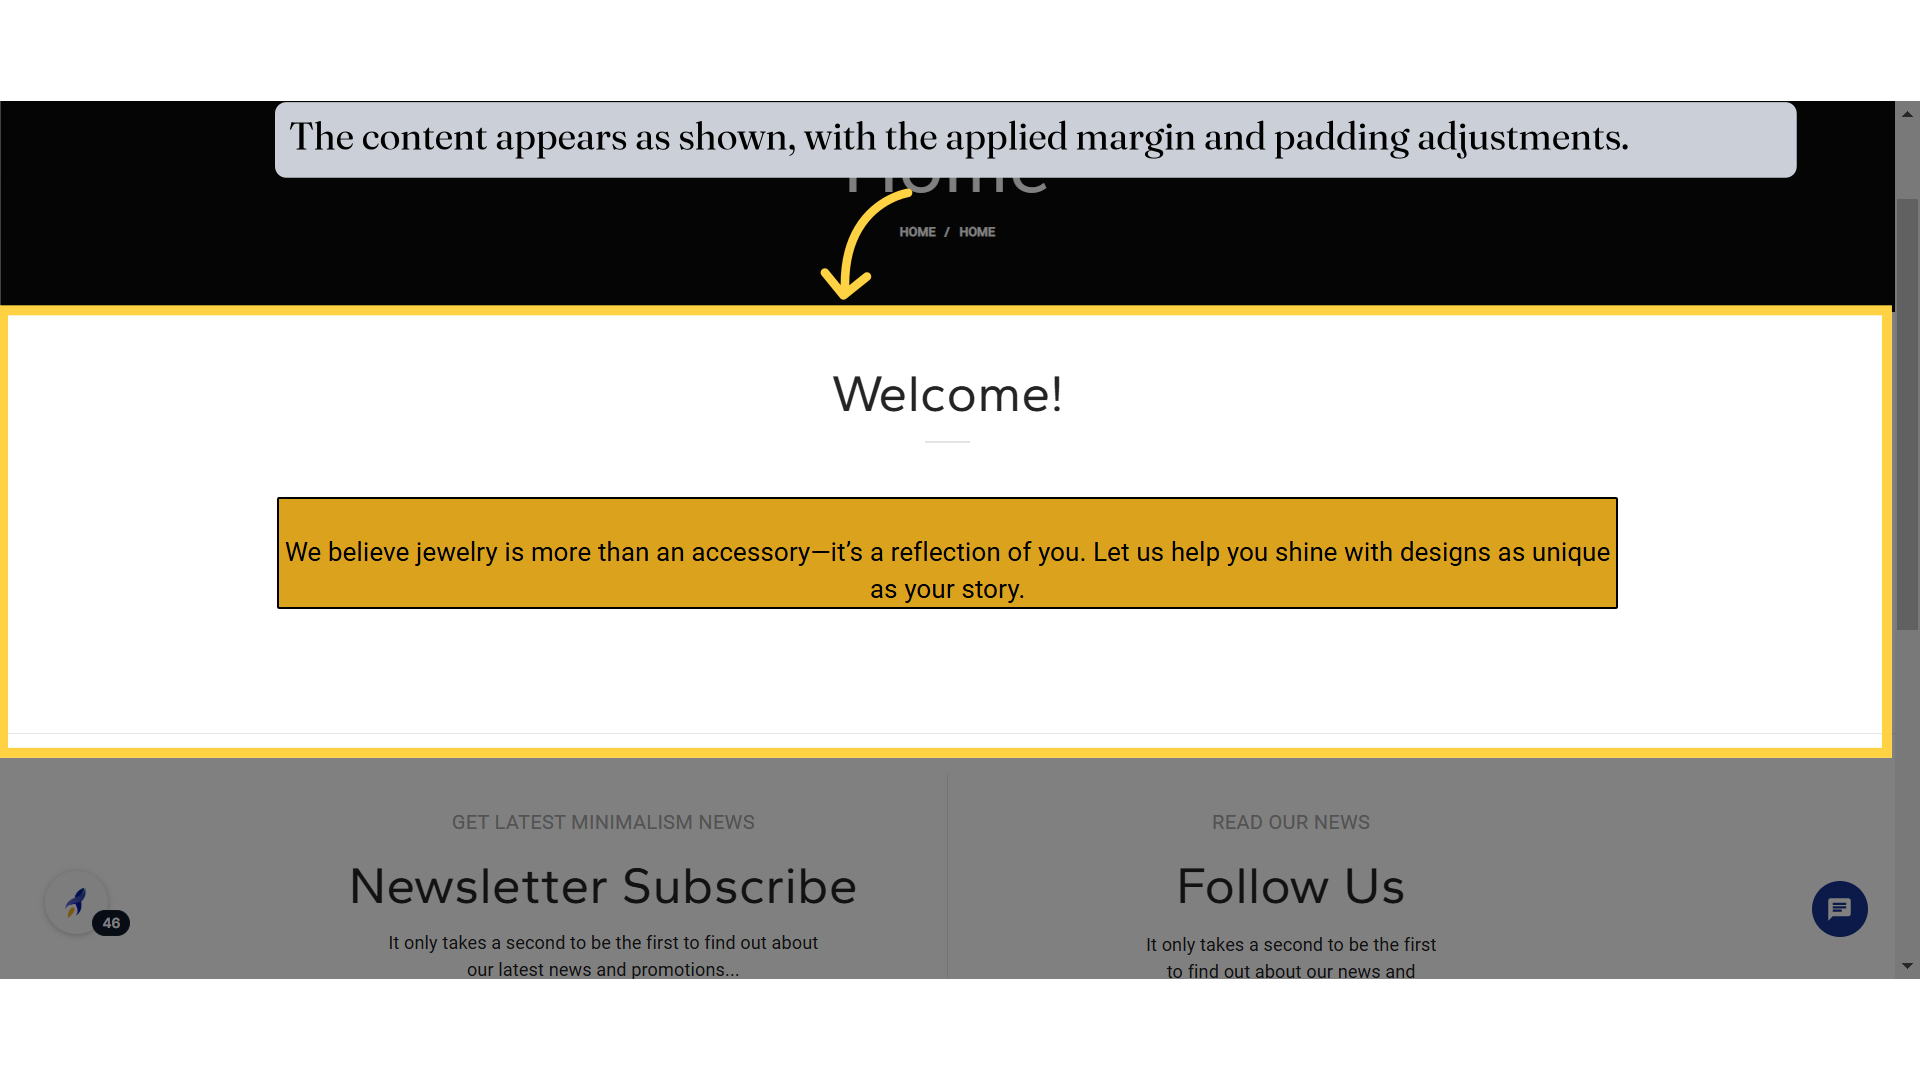
21. Click "Save changes"

22. This is the applied 30px margin at the top which creates space outside an element .
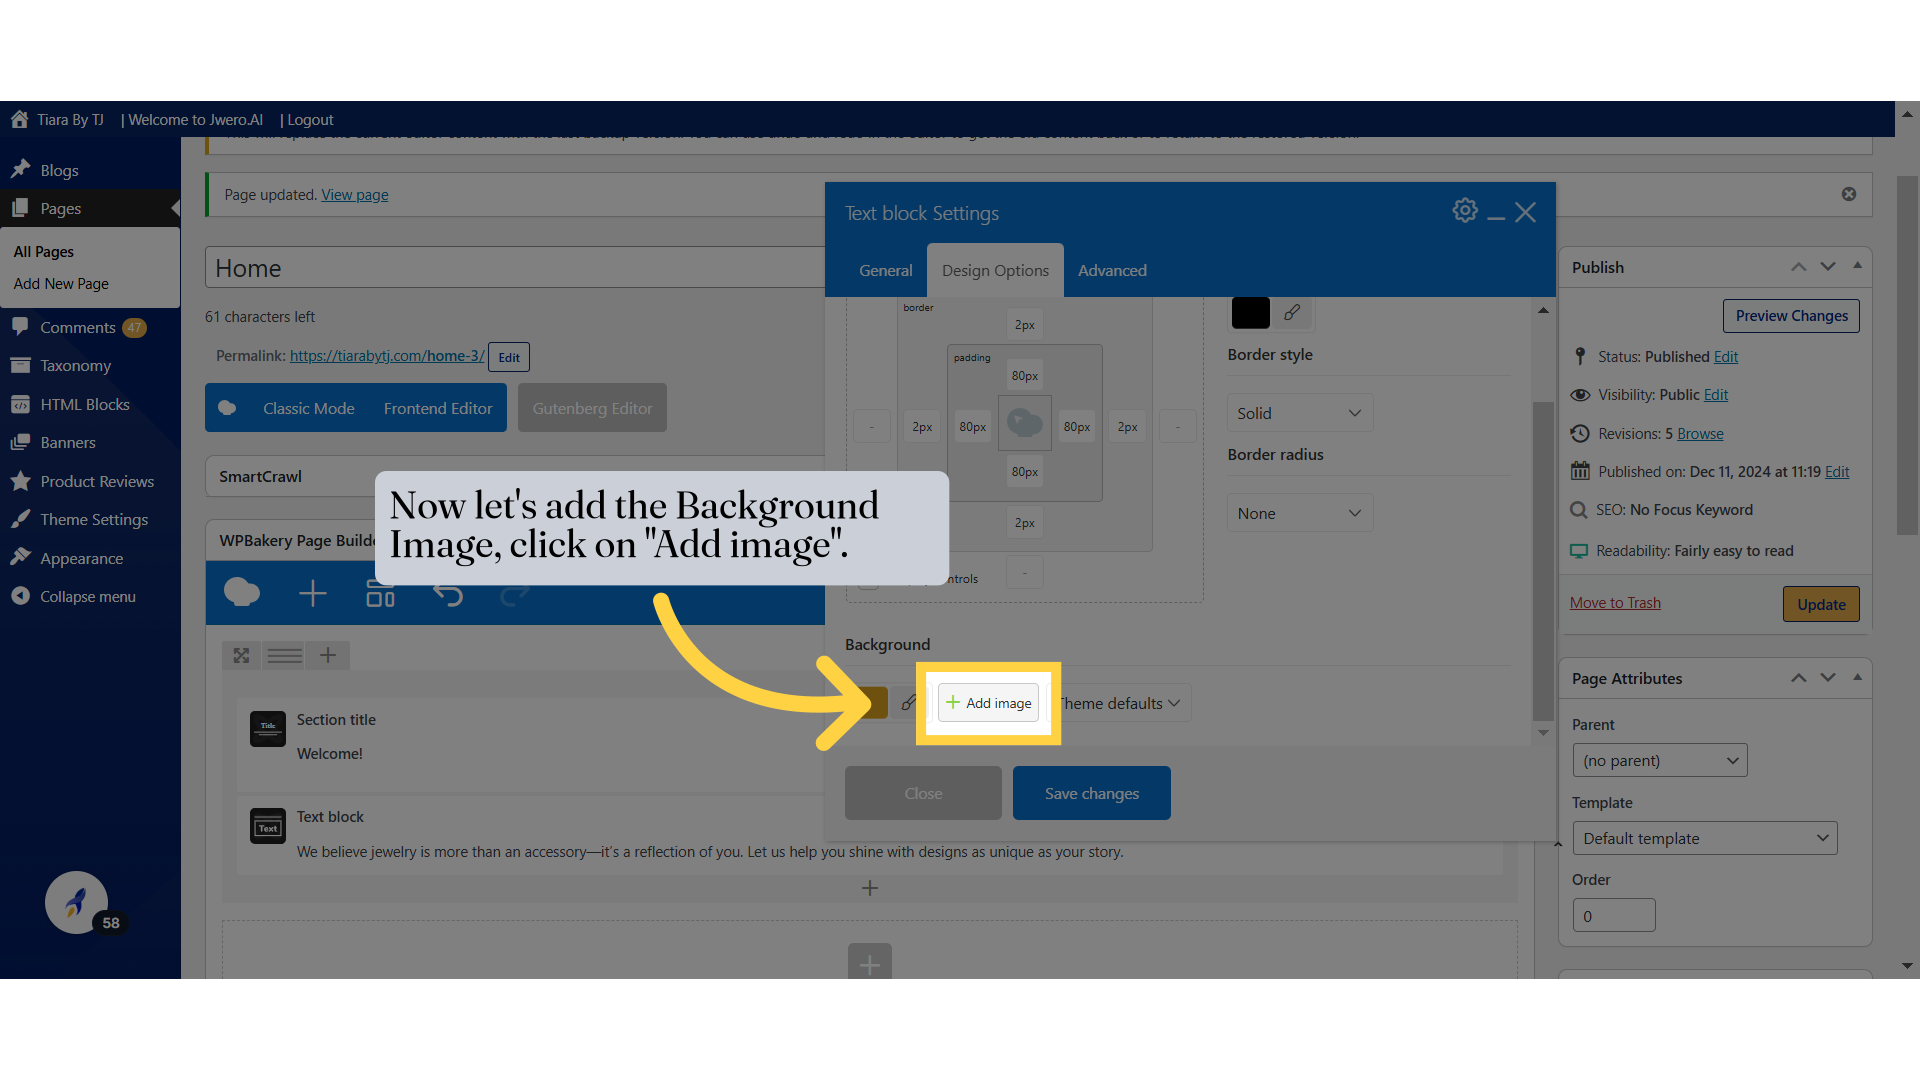
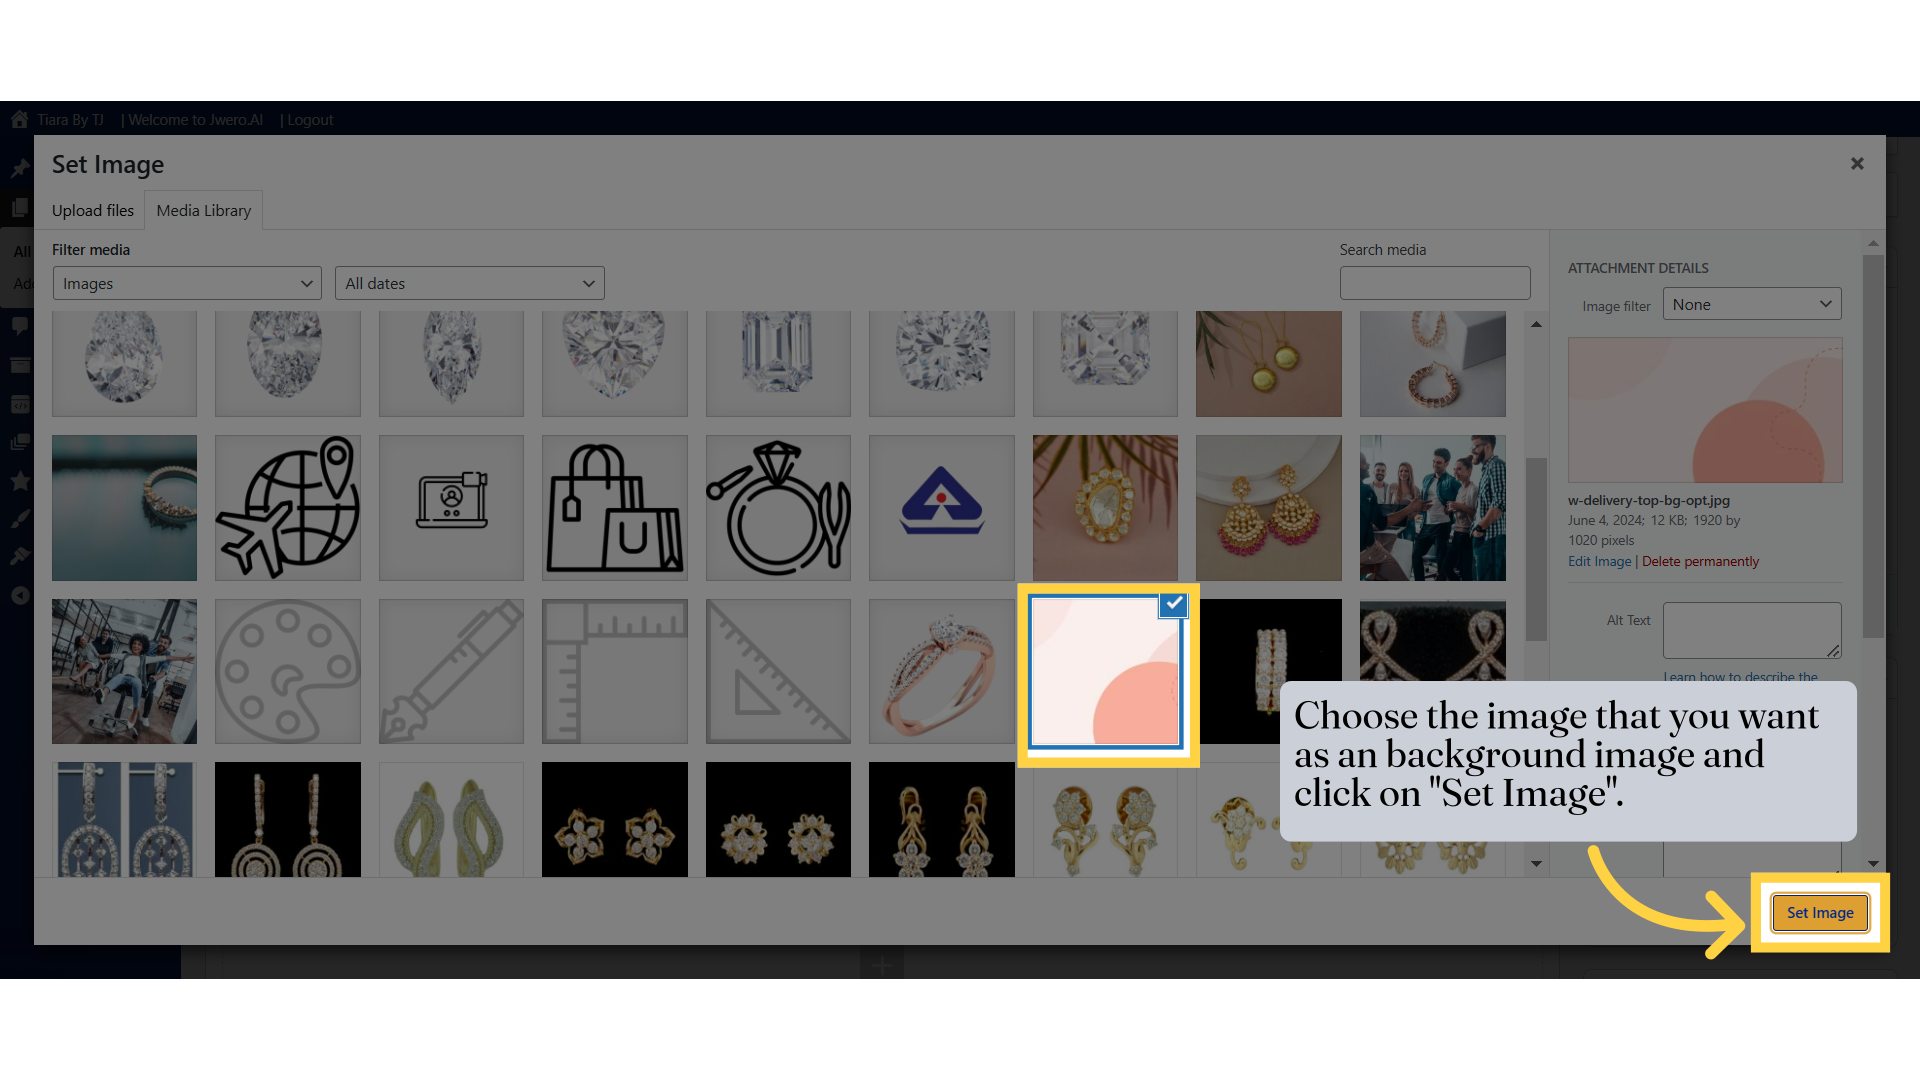
23. The content appears as shown, with the applied margin and padding adjustments.
24. I am adding padding of 80px on all sides to show the demonstration of background image.
25. Now let's add the Background Image, click on "Add image".
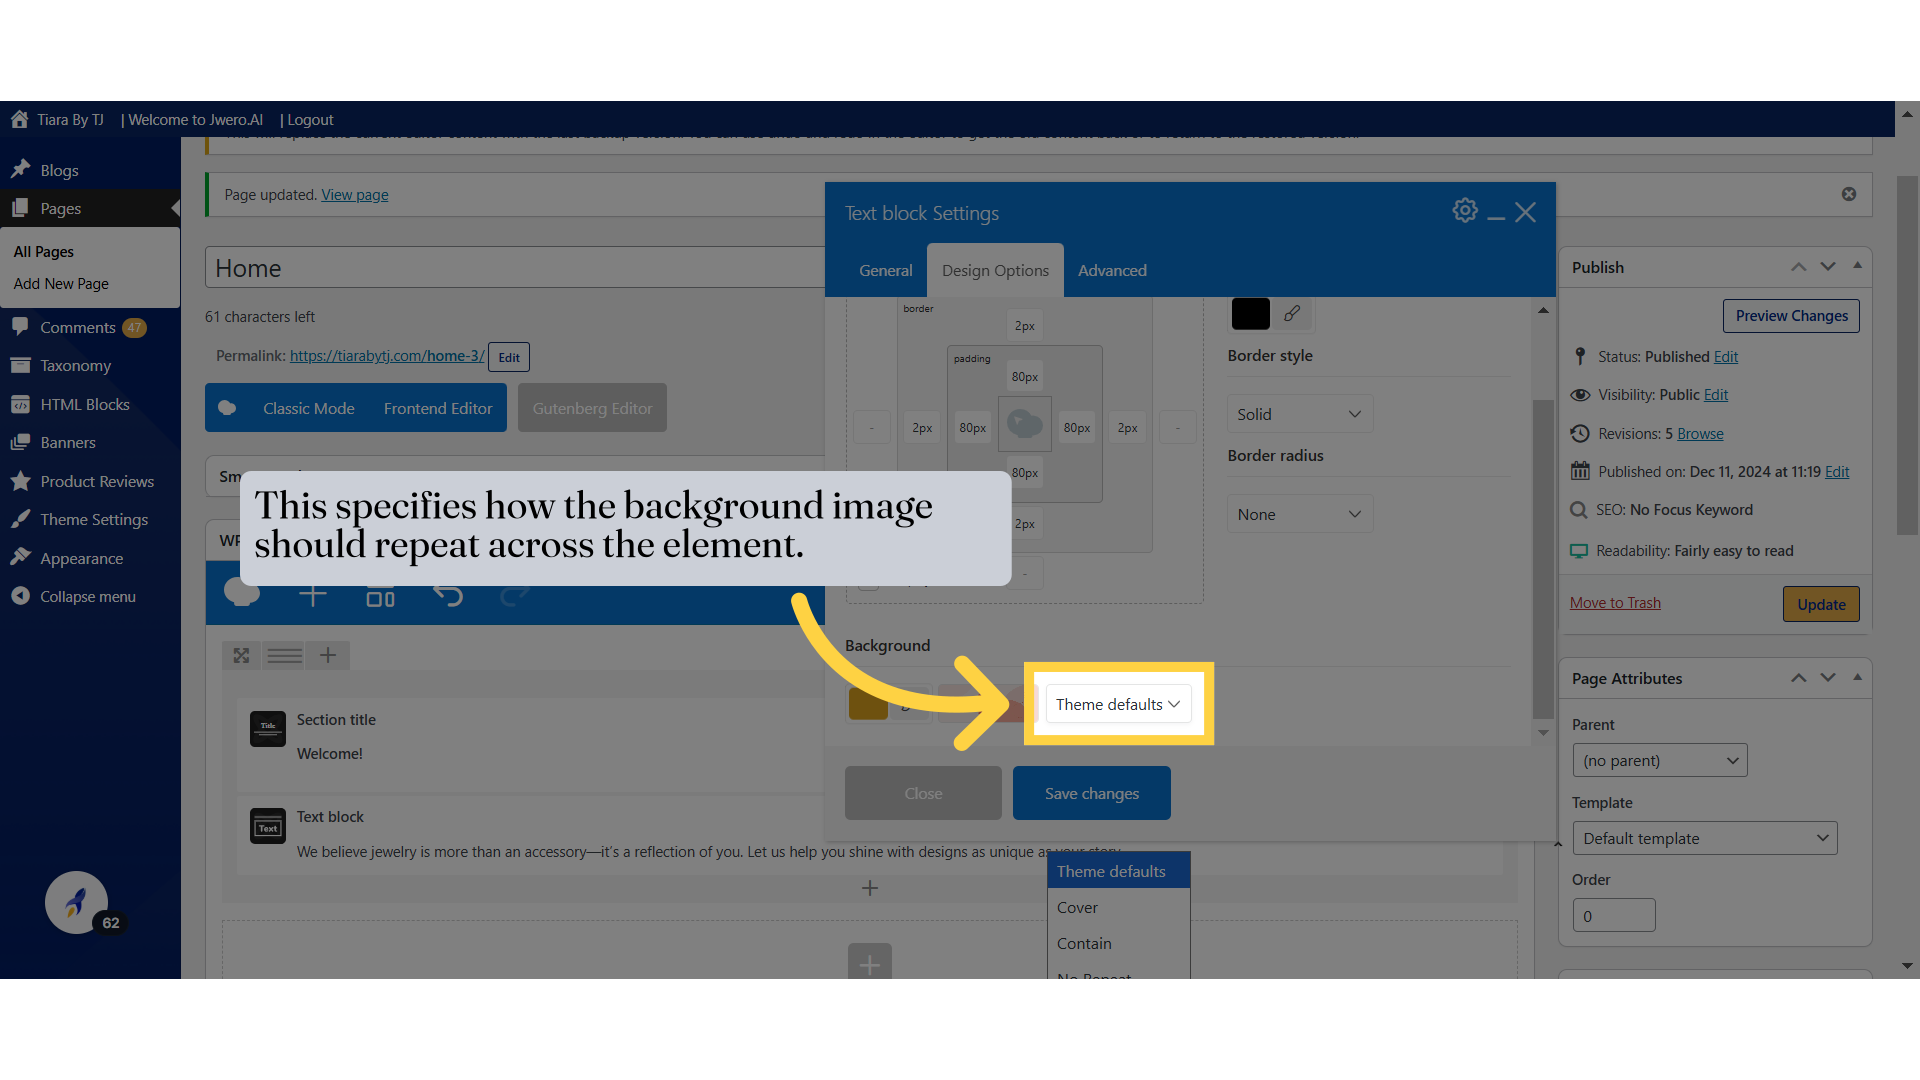
26. Click "Set Image"
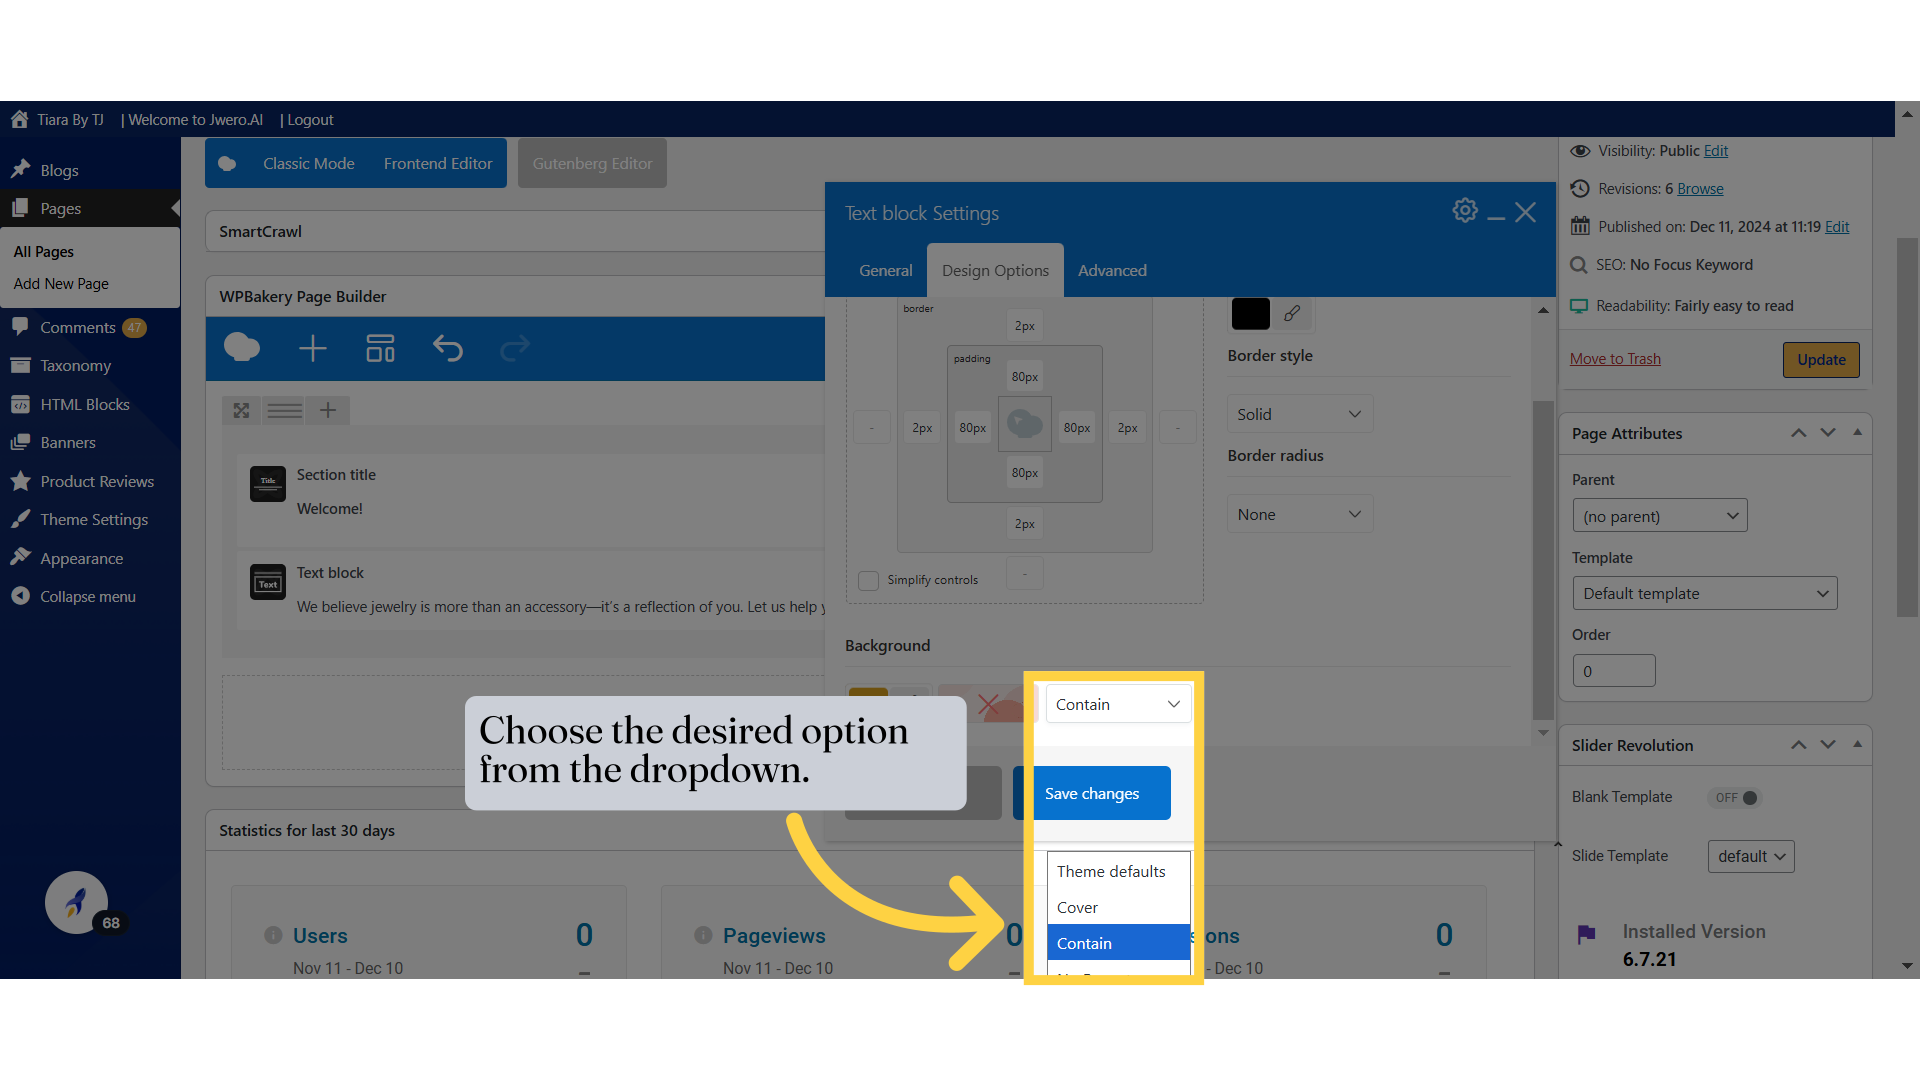
27. The selected image will appear here.

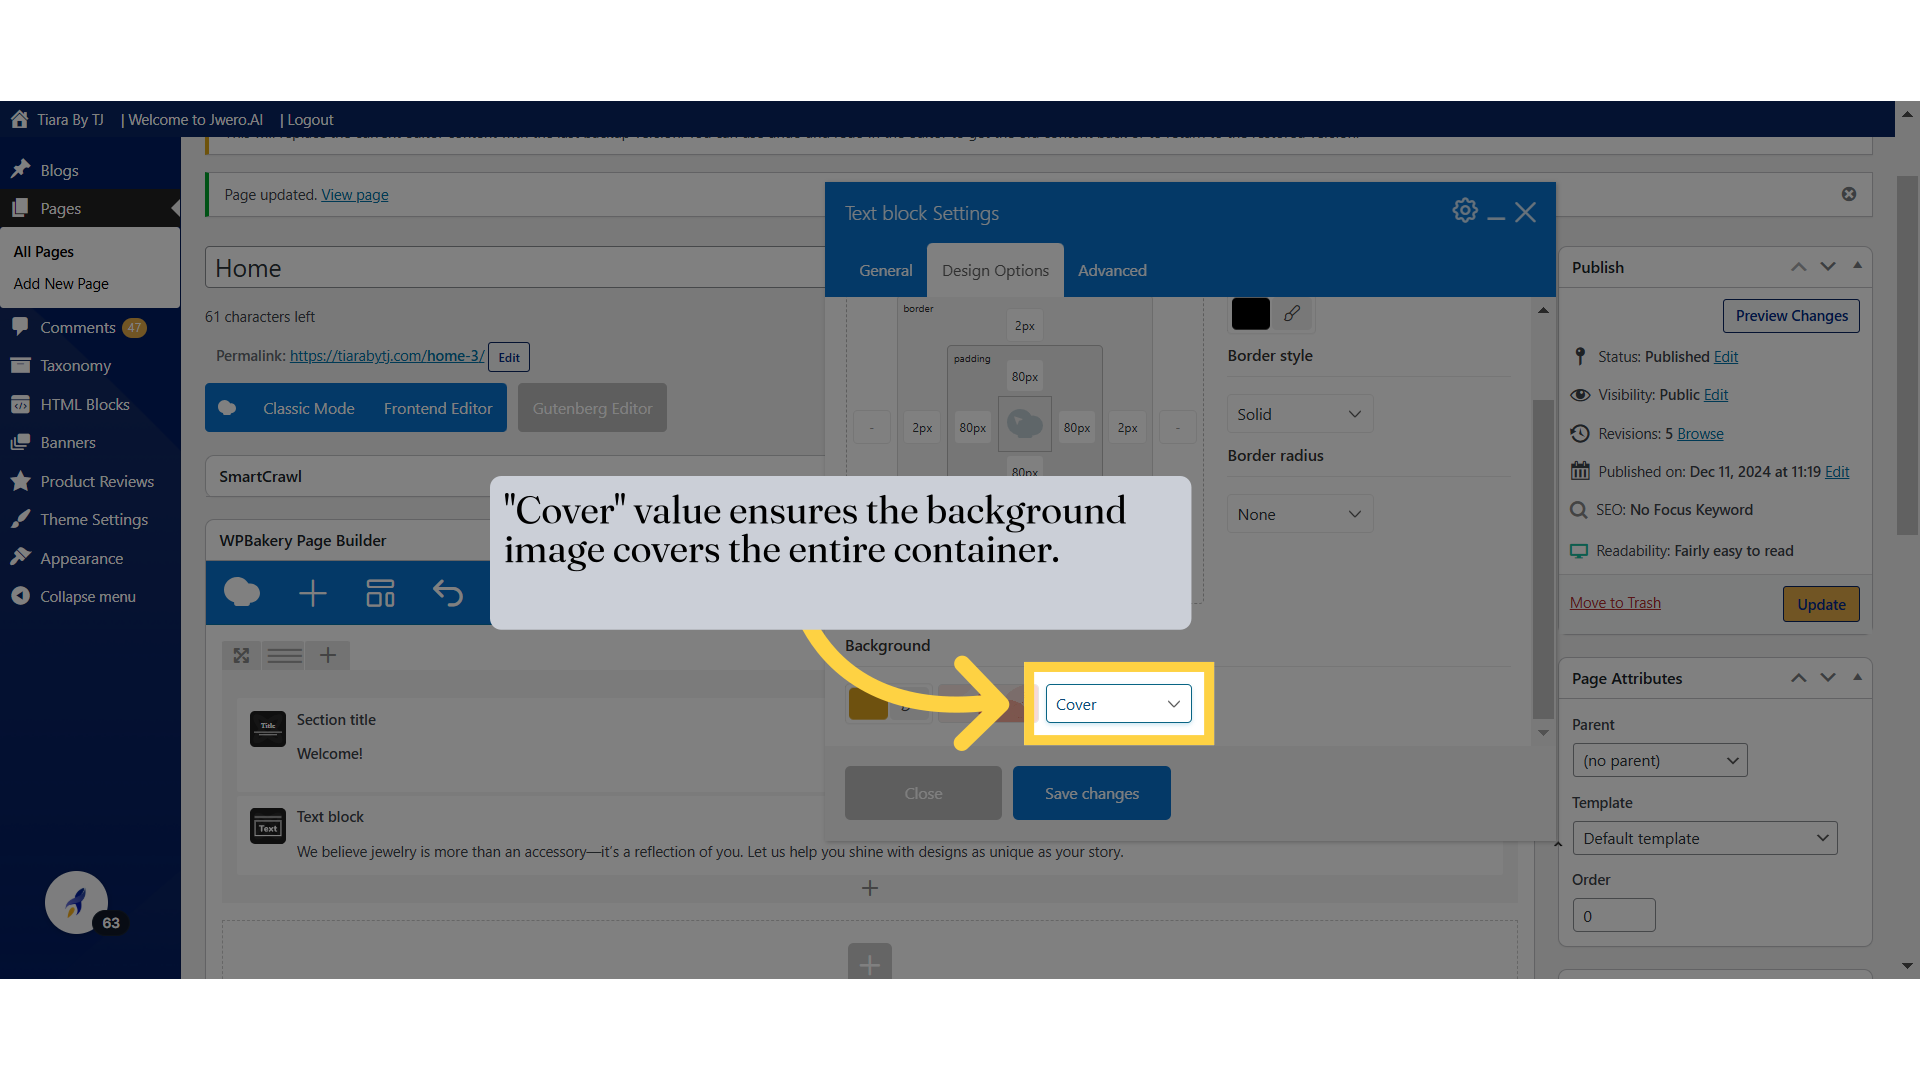
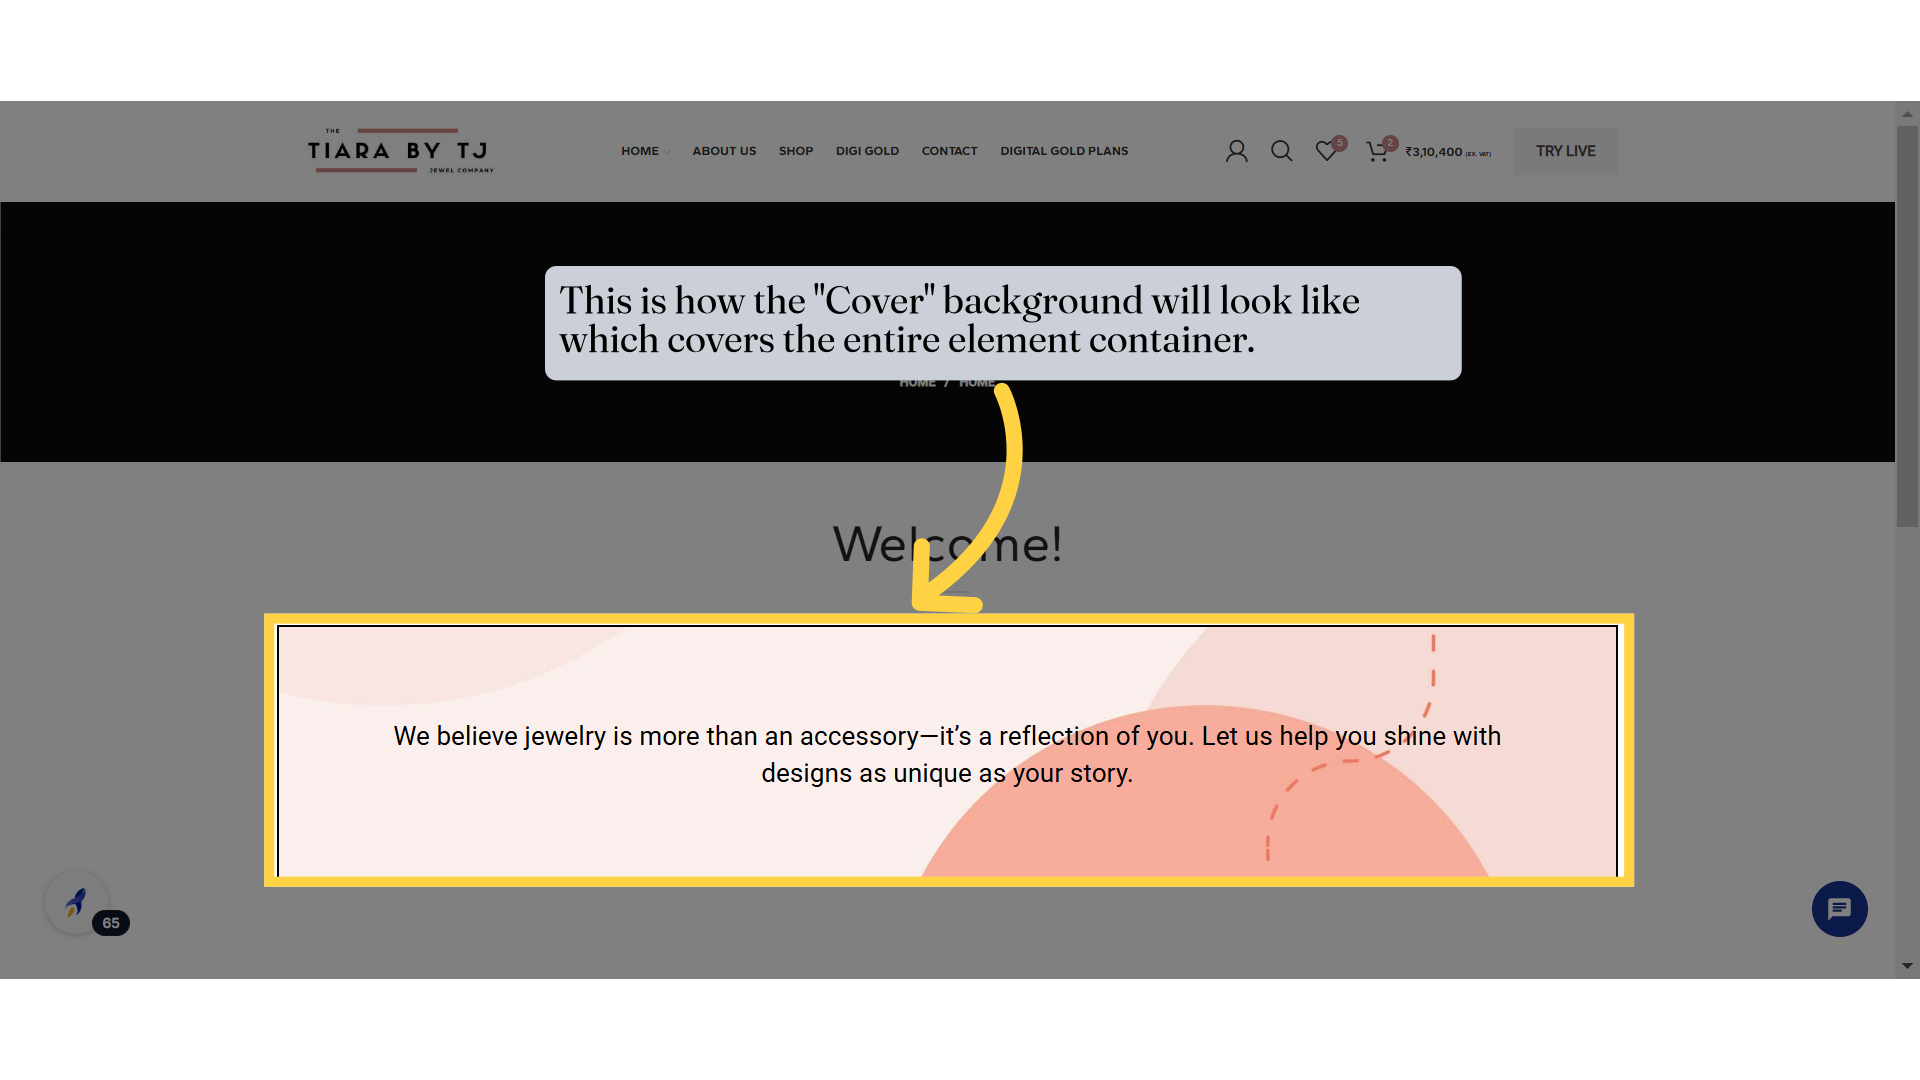
28. This specifies how the background image should repeat across the element.
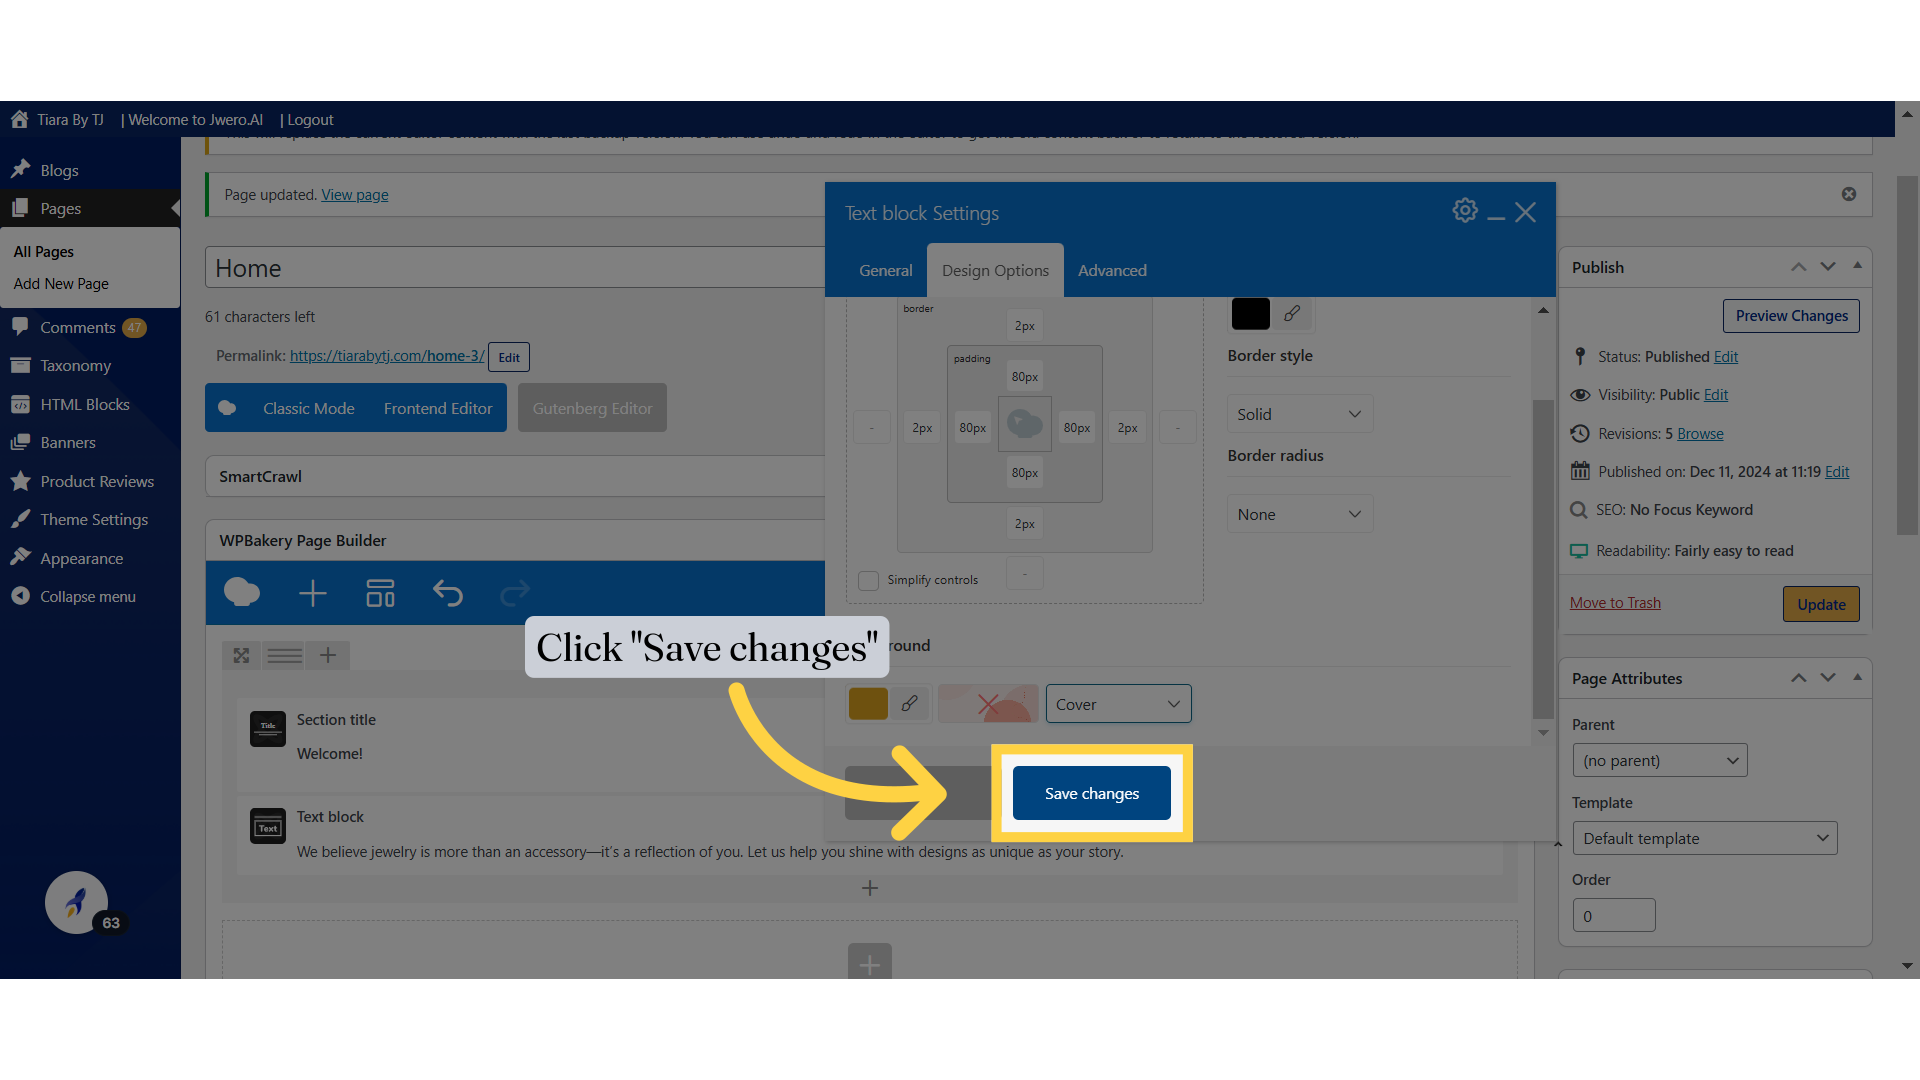
29. Choose the desired option from the dropdown.
30. "Cover" value ensures the background image covers the entire container.
31. Click "Save changes"
32. This is how the "Cover" background will look like which covers the entire element container.
Navigate to a specific section.
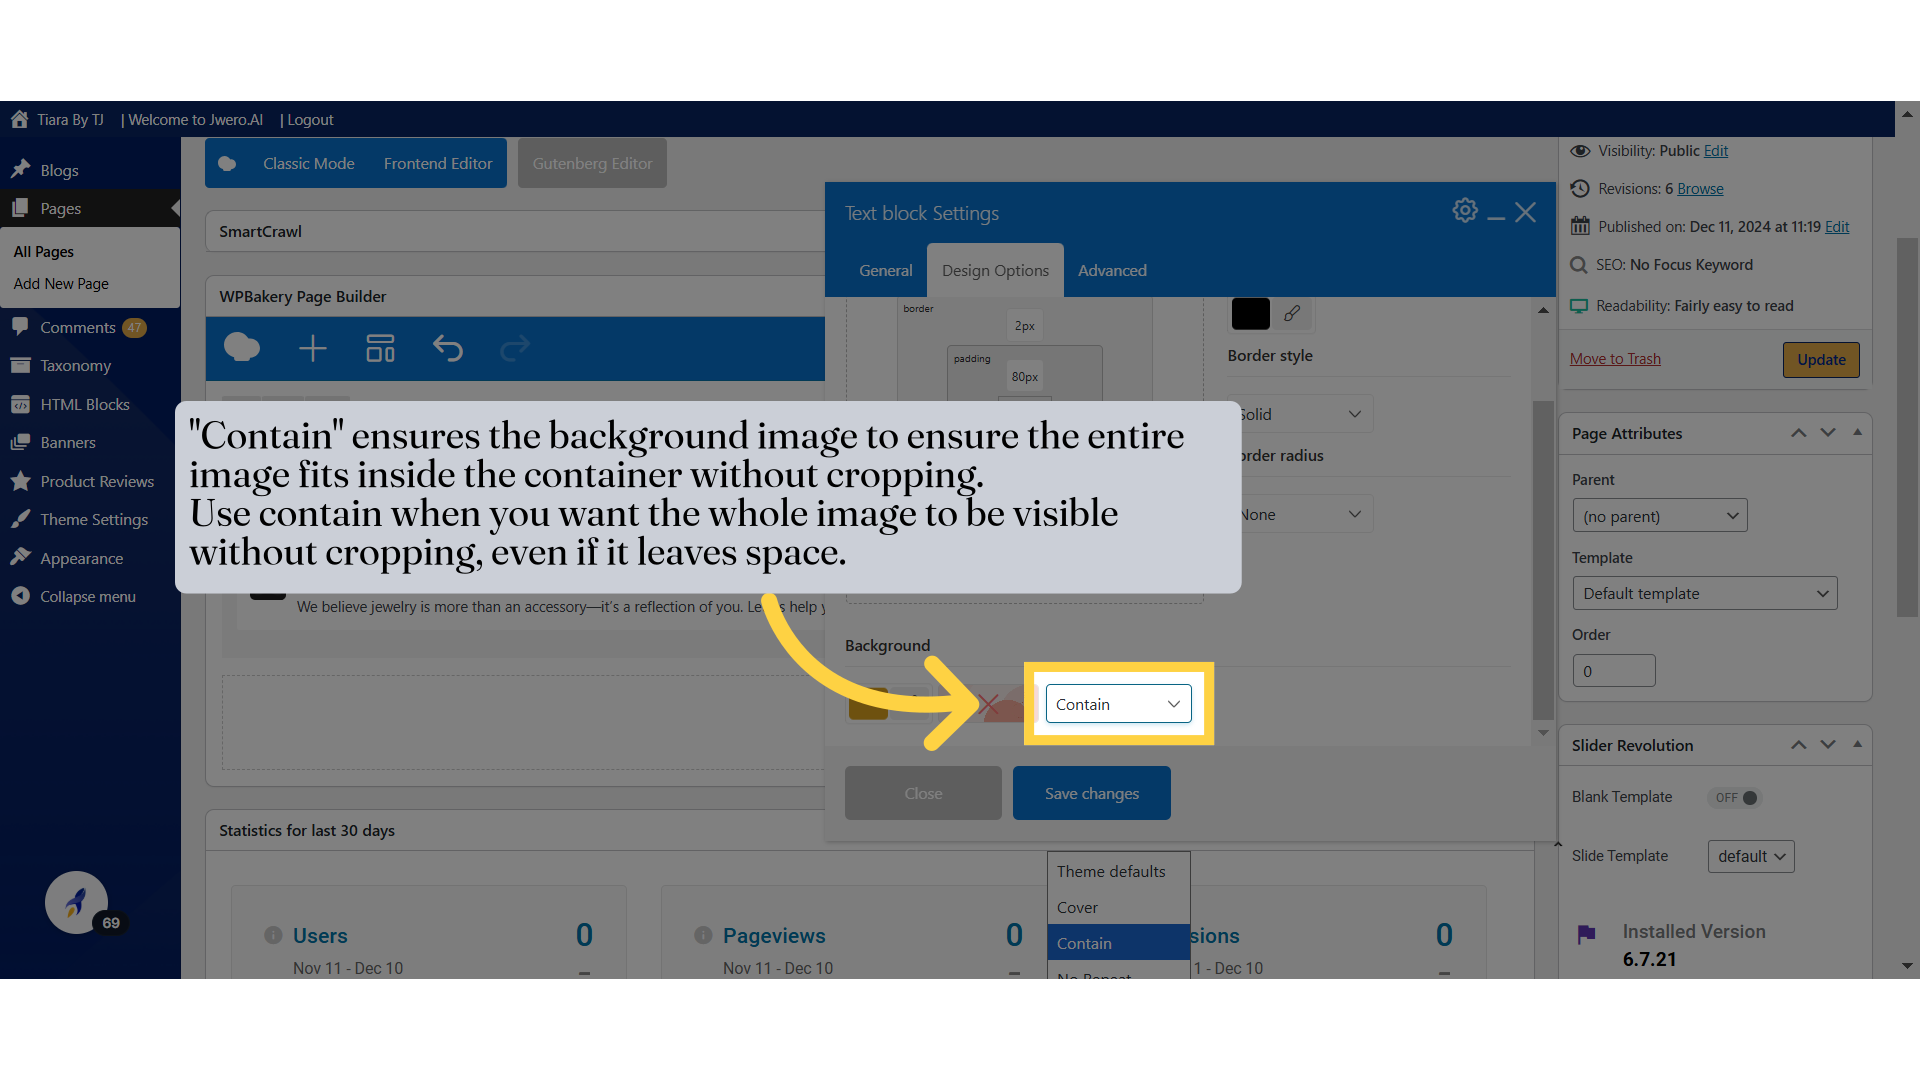
33. "Contain" ensures the background image to ensure the entire image fits inside the container without cropping. Use contain when you want the whole image to be visible without cropping, even if it leaves space.
Select a background style.
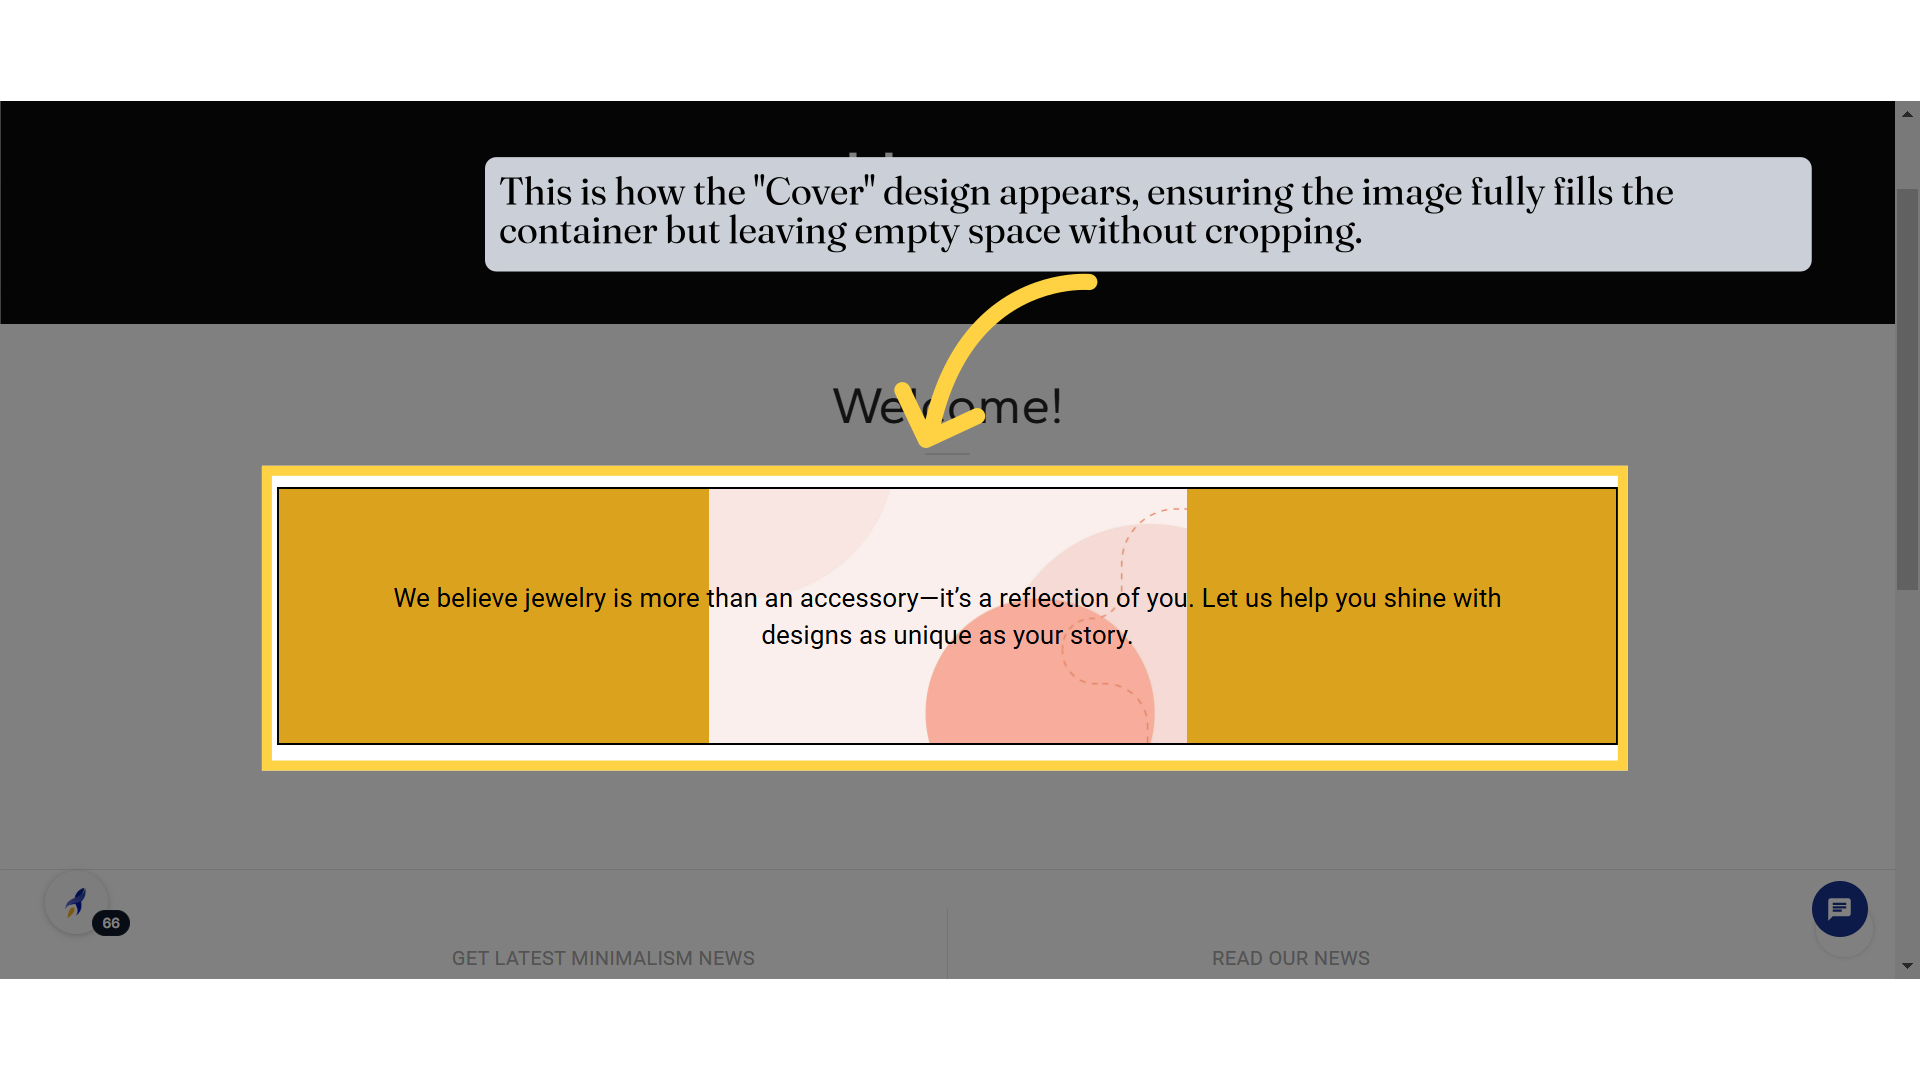
34. This is how the "Cover" design appears, ensuring the image fully fills the container but leaving empty space without cropping.
Navigate to a specific section.
This guide delves into the intricate world of designing elements in Tiarabytj. From adjusting positions to customizing styles, users can navigate through various design options and save their changes effortlessly. Master the art of element design and create visually stunning content.